2 minute read
Drafting with Edges

Fig. 2-26: Moving geometry along the green axis. Fig. 2-27: Moving an object “up” the blue axis.
Advertisement

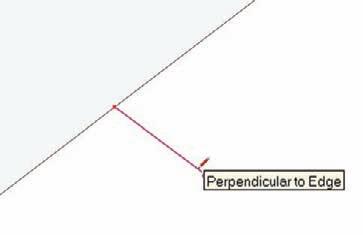
Fig. 2-28: Drawing perpendicular edges.
Drafting with Edges
Using already drawn edges is a useful method of drafting geometry. When trying to further subdivide a face, you can move or copy edges to subdivide faces as follows:
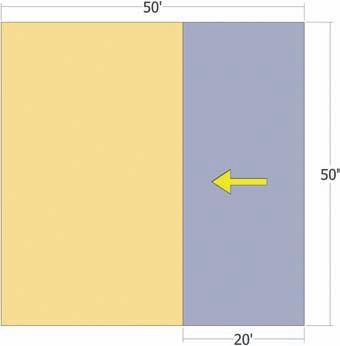
1. Draw a 50´ × 50´ rectangle. 2. Select an edge with the Move/Copy tool. 3. Copy and move the edge 20´ inward on the face.
4. Make sure the copied edge stays parallel/ perpendicular to the other edges.
Once placed, the copied edge will have further subdivided the rectangle’s face (Fig. 2-29).
Similarly, a face can be further subdivided or have details added by using tools such as Rectangle and

Fig. 2-29: The right edge of this face is selected and copied 20´ over. The copied edge will subdivide the single face into two faces.
Circle. Using the Rectangle tool on the surface will not create two faces on top of each other. Rather, the edges from the Rectangle tool will subdivide the face on which they are placed (Fig. 2-30).
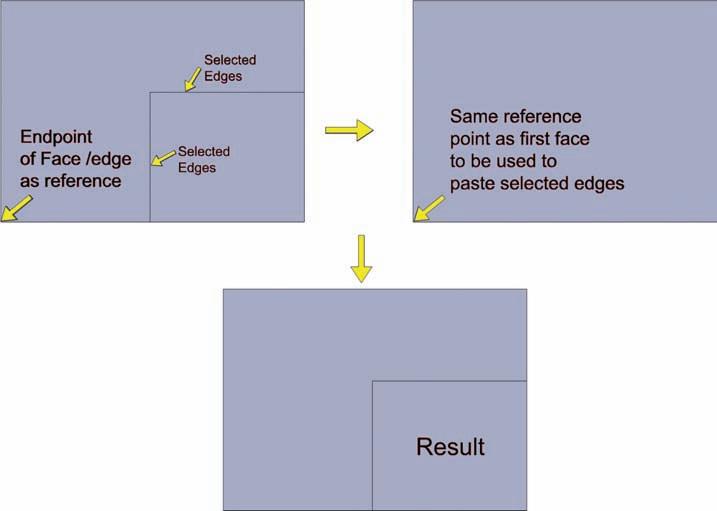
In many instances, it is useful to move geometry by using other edges for reference. One example is using the various points of an edge, such as endpoints, and midpoints to help place other geometry. This is done by selecting the geometry that is being moved or copied and using adjacent geometry for reference. This allows for simple and accurate placement (Fig. 2-31).
Another example is using the length of an edge to move or copy geometry. This is a common method when working with buildings.
Example: Draw a 30´ × 30´ rectangle. Using the Push/Pull tool, pull the face upward 25´ (Fig 2-32). Next, with the Select tool, select the four edges that compose the top surface of the cube. With the edges selected, copy a set of four edges directly downward along the vertical axis.
Use one of the vertical edges that compose the volume for reference; meaning, hover the Move/Copy tool over the edge and move the tool down. Move/Copy will reference the edge. The copied edges can be moved a specific distance by entering that distance into the VCB. Move/Copy the edges 5´ down (Fig 2-33).
Fig. 2-30: A rectangle added to a face will further subdivide that face.

Face 1 Face 2
Face 2

Fig. 2-31: Using edges for reference to move or copy other geometry to specific and precise locations. The edges in Face 1 are copied to Face 2.


