1 minute read
Adding Component Windows and Doors
Adding Component Windows and Doors
The last phase of populating the model is to add detail to the building.
Advertisement
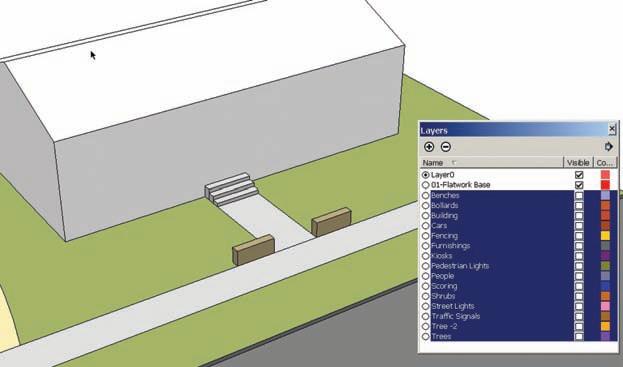
First, free up the modeling space: turn off all of the layers except Layer 0 and the Layer 01 Flatwork (Fig. 6-35).
Fig. 6-35: Turn off the component layers to clear the work environment.
If some of the components do not become invisible, select those components, right-click, and activate Entity Info. Place the components on the correct layer. Create appropriate layers as needed. The Flatwork Base group should be the only geometry visible.
SketchUp components have the ability to “cut holes” in surfaces. This ability is very useful when you create windows with transparent materials or colors that allow the objects or spaces on the other side to be visible. Chapter 9 discusses how to create components that cut through a surface, a technique that is most useful in architectural modeling.
Enter the group instance and zoom in on the building. Add detail to the building surface using window and door components. (You can download window and door components from 3D Warehouse.) Select a window component for the building. Place the window onto one of the building’s vertical surfaces (Fig. 6-36). The component will stick to the surface and cut a hole making the interior space of the building visible. If the component window were deleted, the surface of the building would heal.
Using the various window and door components available, add them to the building surface (Fig. 6-36, Fig. 6-37). Add a door component aligned with the steps and entrance.


