1 minute read
Driveway Ramp
4. Toggle off the hidden geometry and add an appropriate color to the ramp group.

Advertisement
Driveway Ramp
In this tutorial, you will build a driveway ramp. You will have to draft edges and arcs to help complete the form of the ramp. This is the first instance in which you will use construction geometry that will provide frame for the ramp.
Download from 3D Warehouse and open model: Drive_Ramp 1. Push/Pull the surface indicated by the arrow in the image downward to be flush with the adjacent road surface.

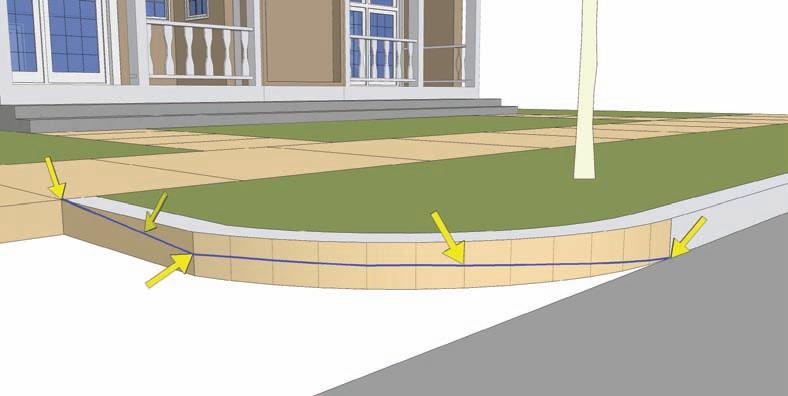
2. With Hidden Geometry set to visible, draw an edge and arc connecting the exposed vertical surfaces. Draw a single edge from the top corner to the midpoint of the first edge of the first face that composes the facet of the curve. Add an arc, starting with the midpoint of the edge to the bottom intersection. Snap the bulge (third arc point) to the edge between Facet 6 and Facet 7.
Repeat step 2 for the other side of the drive.
Top corner
Midpoint Edge between facet 6 and 7

1 2 3 4 5 6 7 8 9 10 11 12
Bottom intersection
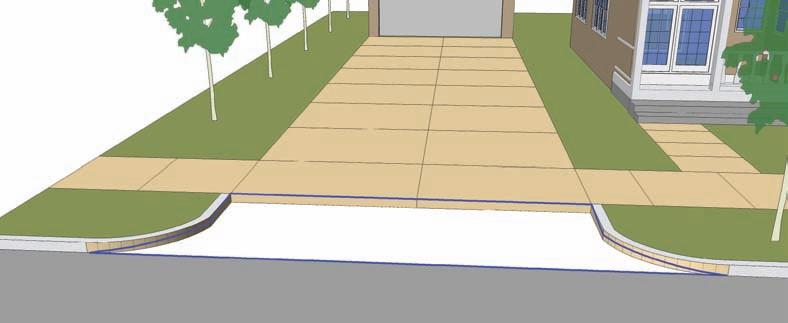
3. Select the drafted edges from step 2. Include the bottom edge adjacent to the road and the top edge adjacent to the walk. Activate the From Contour tool.
The From Contour tool will stitch all the selected edges with a series of sloping, connected faces simulating a drive ramp.
4. Add color to the ramp to match the adjacent walk. Add color to the curb face attached to the slope.


