1 minute read
Pedestrian Ramp


The tutorials focuses on street curb ramps and driveway entrances. Simple Slopes Slopes and terrain against buildings and walls are common features in the built environment, and they provide great aesthetic detail in models. By including them in your models, you can create better representations of real-world conditions. The tutorial demonstrates how to utilize simple lines, arcs, and From Contours to generate slopes; it also shows how to populate the slopes with vegetation. Swales and Mounds Bioswales and raised elevations serve a variety of purposes. They convey water, screen views, and add aesthetic detail. From Scratch, Drape, and Smoove are ideal for sculpting such terrain.
Pedestrian Ramp
Advertisement
In this tutorial, you will learn to create a simple pedestrian intersection ramp using some simple edges and From Contour.
Download from 3D Warehouse and open model: Pedestrian_Ramp_Tutorial 1. Push/Pull the “corner” surface down to be flush with the adjacent road surface.
2. Select the curved outer edge (flush with the road) and the top smaller arc-edge adjacent to the buildings and walks. With the edges selected, activate From Contour.

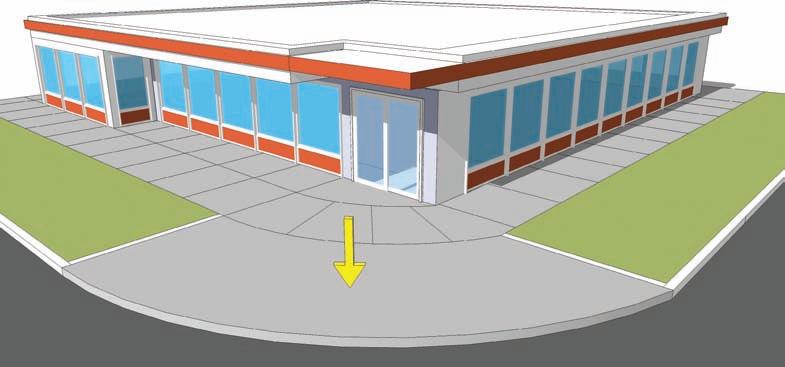
The From Contour tool will stitch the two selected arcs together with a series of faces. The generated faces create a simulated pedestrian curve. In many circumstances, From Contour will generate artifacts (extra faces) as indicated by the arrow in the graphic.
3. By turning the Hidden Geometry to visible (View > Hidden Geometry), you can reveal all the (dashed) edges that compose the stitched ramp. You can easily delete the artifact faces. Enter the group instance of the generated ramp. With the Eraser tool, delete the extra faces and edges.
Make sure to delete enough faces so that there are no overlaps with the adjacent walk.
Be as precise as possible, deleting the edges and faces that butt the original arc used to generate the slope.


