4 minute read
Campus Quad—Area 4


Campus Quad—Area 4
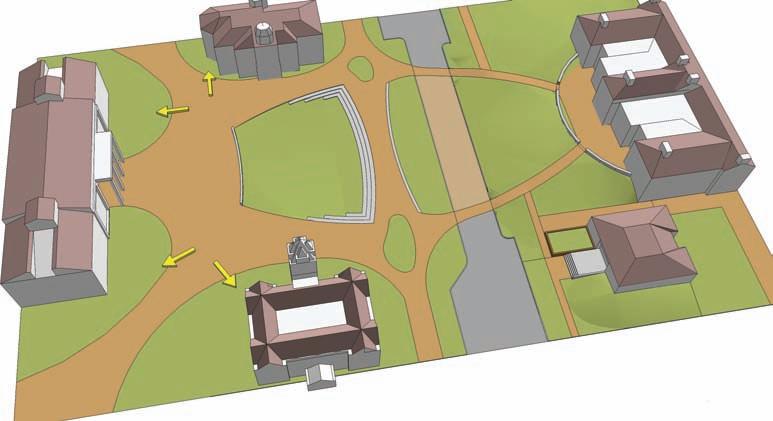
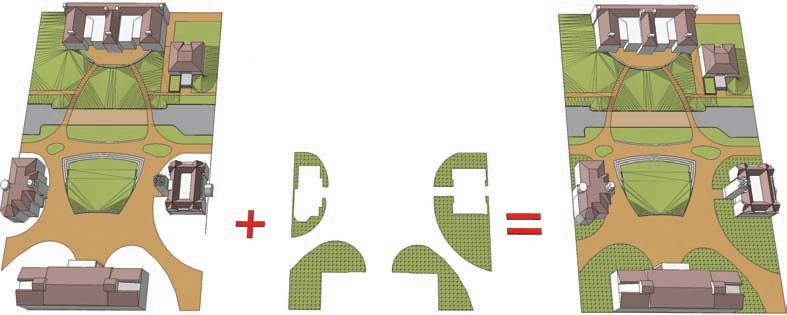
Use the same model from Areas 1, 2, and 3 to complete Area 4. This exercise will use the From Scratch, Drape, and Smoove tools to create subtle grades around the three buildings. 1. Identify the four locations that make up Area 4.
Advertisement
Building 2
Area 4
Building 3 Area 4
Building 1
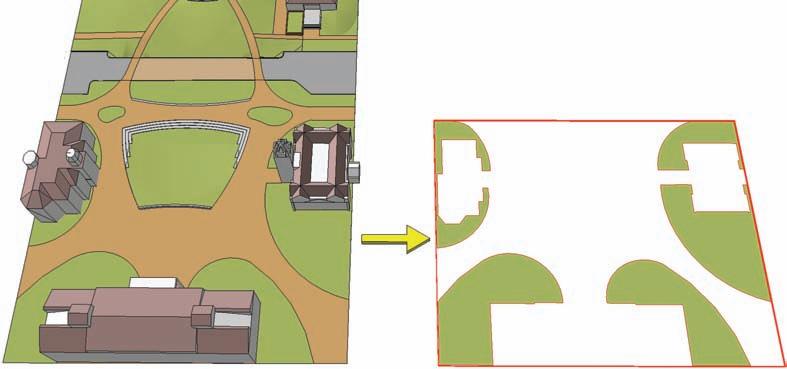
2. Select the surface areas of Lawns 1, 2, 3, and 4. With all four areas selected, right-click and select Make Group.
Lawn 4
Lawn 3
Lawn 2

Lawn 1
3. Copy the group you created in step 2 and place it directly adjacent to the base model.
Make sure to leave enough room between the copied lawns and the original model to complete the next steps.
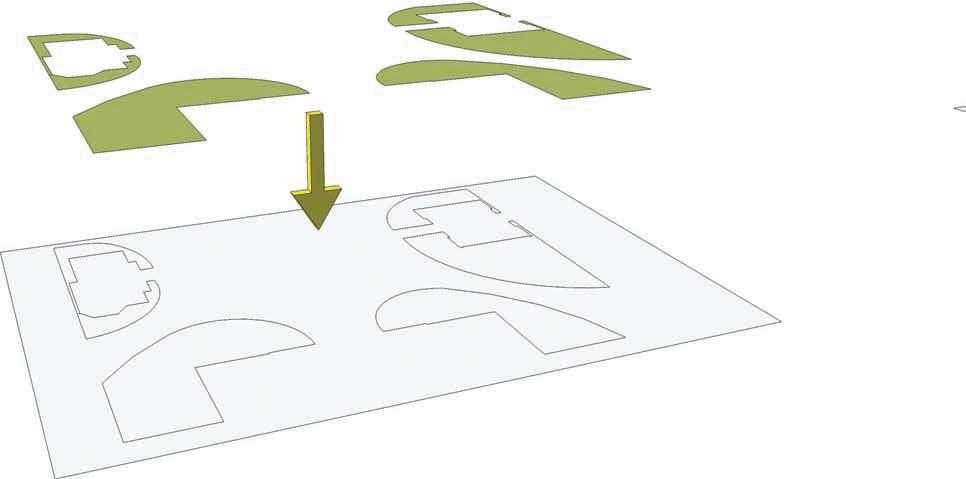
4. Adjacent to the copied lawn locations, use the From Scratch tool to create a grid that is 270´ in width and 395´ in length. The grid must be composed of 6´ × 6´ squares.
5. Place the Lawn group directly above the grid created in step 4. Ensure that the lawn grouping does not stretch nor is located beyond the bounds of the From Scratch Grid.


6. Select the From Scratch gird, right-click, and use Soften Smooth Edges to hide the grid lines.

7. Select the Lawn group and, using the Drape command, drape the Lawn group onto the grid below.
8. Enter the From Scratch grid instance and delete the extra faces and edges, leaving behind the identical form of the Lawn group. Add color to the grid cutout to represent the lawn areas. Once completed, toggle Hidden Geometry to visible. The grid faces will now be visible and ready to have Smoove applied to them. You can delete the original
Lawn group located above that was used to drape onto the grid.

9. Place the From Scratch Grid cutout back into the site plan: Select a common endpoint on the group and move it back to the common endpoint of the Campus_Quad model.
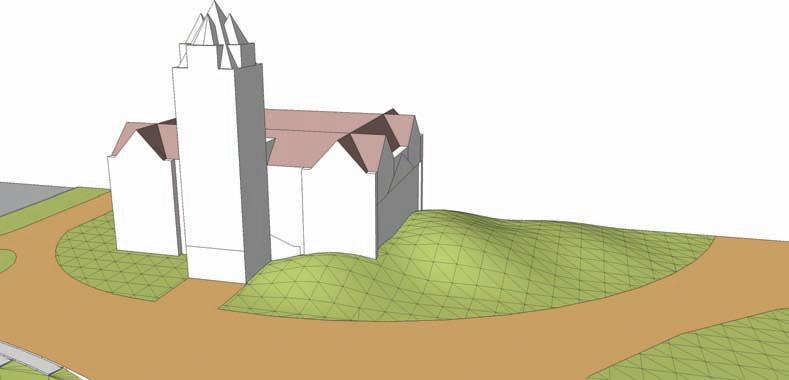
10. Starting with Building 1 (building labels shown in step 2), enter the From Scratch grid lawn instance and use the Smoove tool to gently lift the faces to simulate a sloping grade against the building. Do not exaggerate the terrain, but sculpt the simulated landform to create terrain that complements the building and site plan. You can snap the Smoove tool to the vertical faces of the building or add values into the VCB to generate a precise height to the landform.
11. Repeat Step 10 on Buildings 2 and 3. Use the Smoove tool on Building 2. Create a very subtle and minimal slope with the grid.
12. Use the Smoove tool around Building 3. As with Buildings 1 and 2, create a subtle slope with the Smoove tool.
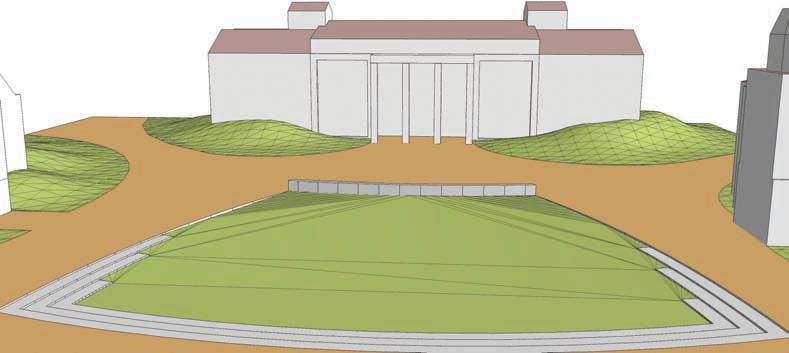
The following graphic shows the view of the Campus Quad once the grade has been Smooved around the three buildings. Hidden Geometry is toggled to visible.
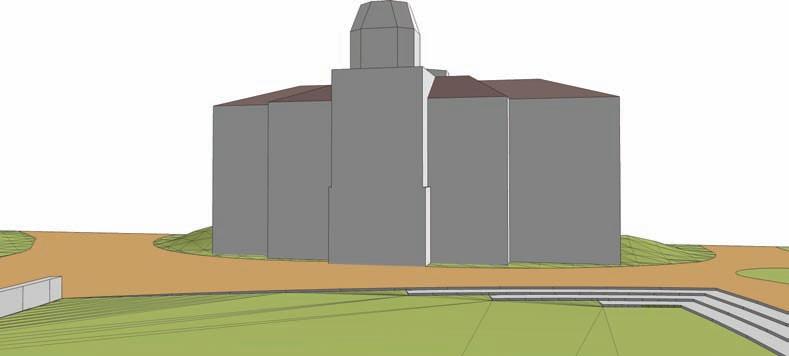
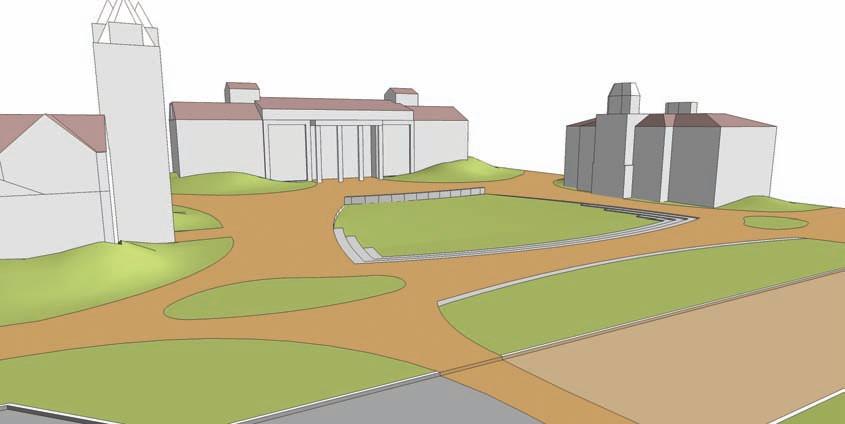
The following figure shows the view of the Quad with Hidden Geometry toggled to off. The site plan now incorporates subtle grades within the plaza areas.
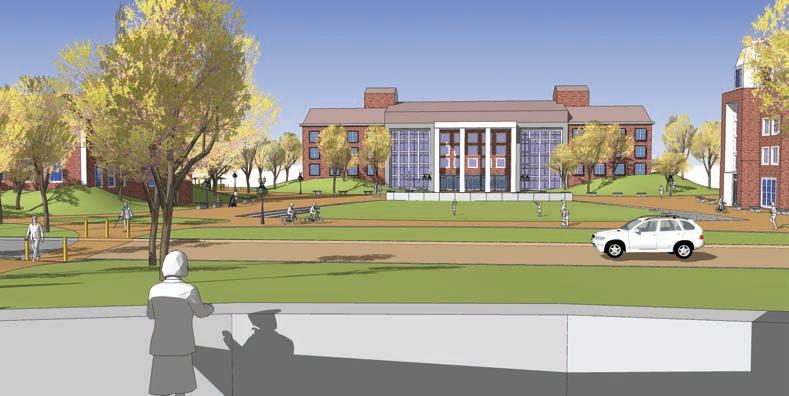
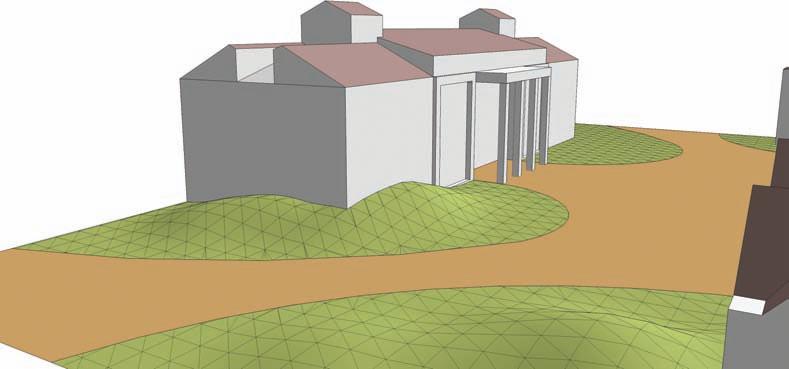
Add trees, people, bollards, benches, and other site amenities to the site plan. The buildings in these final images are clad with Material > Stone > Stone_Flagstone_Ashlar. The window components where added from the SketchUp Architectural Bonus pack found at
www.sketchup.com.

In this graphic, you can see the view looking out across the quad and across the street.
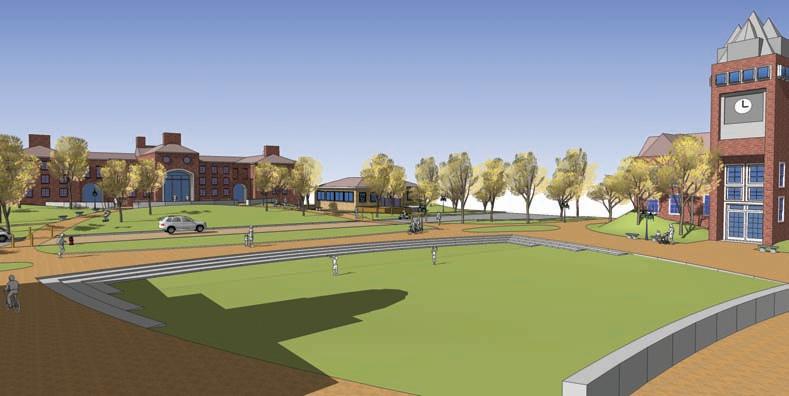
In this graphic, you can see the view looking at the large building. This view includes vegetation, site amenities, and people. These site components help emphasize the conceptual terrain added to the site plan.
This is the view from the building entry pad, out across the site.