3 minute read
Putting It All Together
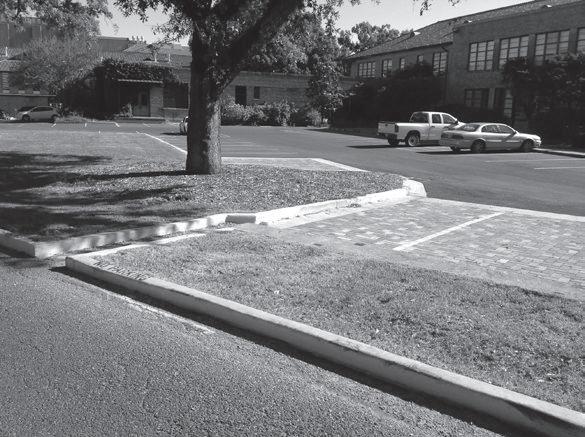
Figure 8.11 Campus quadrangle composed of a series of watershed-like shallow cells, each with a catch basin located at the lowest elevation within its cell
Site grading is as much an art as it is an analytical process. Typical landforms were reviewed in this chapter, presented as an idea, like colors of paint or a kit of parts. The kit of the designer for creating site-grading plans is a variety of landforms woven into a well-organized and seamless site-grading design. The parts in the kit are landforms found in nature and adapted to the needs of a site-grading design scheme. The landforms can be applied in solving site-grading problems and thus creating a new landscape. In Figure 8.12 the various contour patterns that translate into landform signatures are outlined, demonstrating how a
Advertisement
grading plan as a whole composition is the sum of its parts. The parts compose the assemblage of a variety of contour patterns, resulting in a cohesive site-grading plan. Figure 8.12 is a diagram—a three-dimensional drawing—to help readers visualize the grading design and storm water management concepts. Figure 8.13 is the actual site-grading plan. Area A in Figure 8.12 is the application of the watershed landform described earlier, used to create a storm water detention pond. The areas outlined as B1 and B2 are sloping planes, area C is a swale, area D is a driveway with a crown forming a concave landform, and areas E make up a series of terraced parking lots with slightly sloping or tilted planes.
B1

E
C
B2
A
D
Figure 8.12 Storm water management concept, Hamilton College at College Hill Road
oriGinAl iMAGe proVided by reed hilderbrAnd AssoCiAtes
Putting all the landform tools together to create an aesthetically inspired and functional grading plan is more than assembling a kit of parts. A process for creating a grading plan is presented in Chapter 12.

Figure 8.13 Site-grading plan, Hamilton College, at College Hill Road
oriGinAl iMAGe proVided by reed hilderbrAnd AssoCiAtes
9

CalCulating Slope and other grading CalCulationS: toolS for gaining MaStery in grading
In this chapter you will learn about:
• How to employ one simple equation for calculating slope, horizontal distance, and elevation
• How to calculate the slope of a paved or landscape surface • How to place contours to achieve an intended percent of slope • How to determine the elevation of a point or object in the landscape • How to create slope using spot elevations
This and the following chapters will together take the reader step by step through the site-grading process. Each chapter has its emphasis for presenting the tools for preparing site-grading plans and for making necessary calculations. Grading involves a number of operations; some involve making mathematical calculations and others drawing lines to create forms or areas for some purpose such as creating a level area that will accommodate a building or perhaps a tennis court. In other chapters there is discussion on drawing in scale, establishing a project’s location or boundaries, and reading topographic maps. In this chapter a kit of tools will be presented with examples of how to use the tools. These tools are the means for a designer to solve landscape-grading problems and create competent grading solutions. You will not only gain experience at harnessing your creativity to create credible landscape grading solutions, you will also learn how and when to apply the various tools. The more you use these tools, the more your capability at solving site-grading solutions will increase—increase in speed


