HOW TO UPDATE MY CUSTOMISED CONTENT
Preparing the content:
1 - Gather all the text and images.
2 - Get internal approval of the content, if needed.
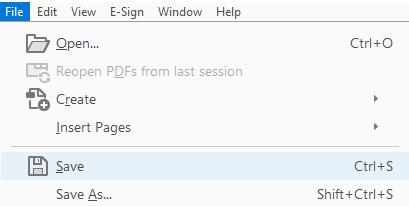
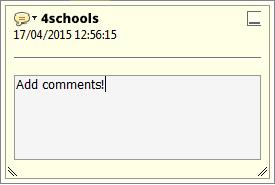
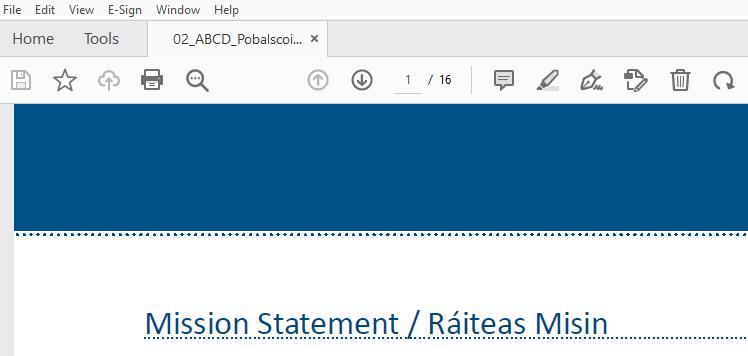
3 - Mark all changes on last year’s PDF file using sticky notes (you can find a quick how-to guide on page 2 of this document).
4 - Review to make sure that everything is ok before sending it to us.
5 - Send files as attachments, or, if they are too big to email, send them via WeTransfer or Google Drive, giving permission for everyone with the link to access it.
Adding QR codes to your journal:
- While adding QR codes is possible, we recommend limiting their use; when faced with multiple QR codes, people tend not to scan them.
- All links must be given in advance of the creation of the QR code.
- Once the QR code is created, the link cannot be changed.
- It’s not possible to create a QR code for a file that is hosted on a personal or school computer. Schools must host their files on their own website or cloud server such as Google Drive.
- It’s essential to ensure the link doesn’t change throughout the year, as the QR code is connected to the link and not to the file or content. You can update the content, but never change the link.
Other things to remember:
- A Word document is usually A4-sized, bigger than our A5 or B5 journals. Usually, an A5/B5 page can have up to 270 words. Please always keep this in mind to avoid having too much content for your customised pages.
- Checking spelling and grammar is the school’s responsibility.
- Our designers might advise on how the design can be improved. It’s worth taking their advice into consideration.
Step 01


