
6 minute read
Getting Knitty With It


My attempt to hand make a Weasley jumper
by u/neeshky
Advertisement
Knitting is possibly as close to magic as muggles can get, in my opinion. You start with a ball of wool and two sticks, and then somehow you end up with an actual thing, be it clothing or a toy or a blanket. When you see the end results a lot of people think that the process must be impossibly hard, but the truth is that with a little bit of patience and a whole lot of YouTube anybody can learn.
I started knitting several years ago, but only ever made small toys and scarves. Truth be told, whenever I looked at a more complicated pattern I immediately thought ‘I can’t do that’, and so in the end I stopped knitting altogether because there’s only so many scarves one person needs.
Fast forward to 2022, and my New Year Resolution was to stop being scared of failure, in all parts of my
life. I decided to start small by facing my fear of knitting slightly more advanced patterns. I resolved to do my best to make one wearable item of clothing, and I’ve always wanted a Weasley jumper, so I thought I’d start there.
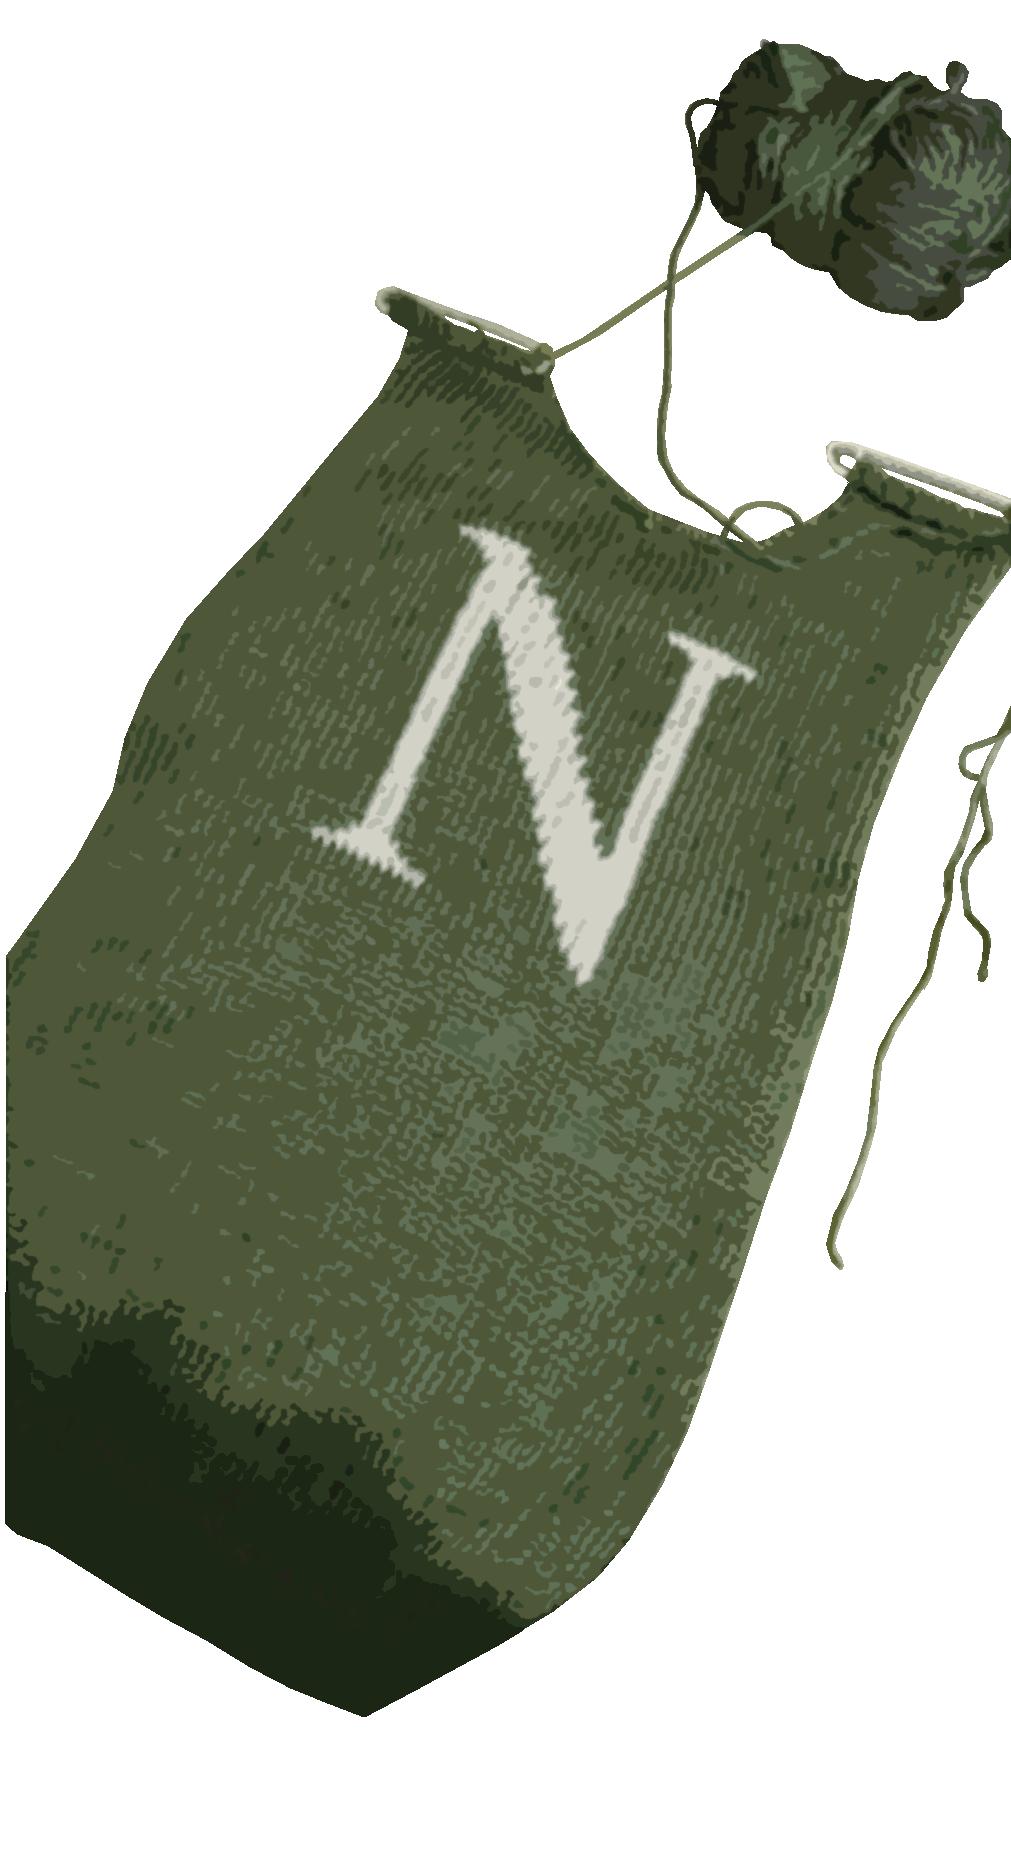
I was lucky enough to be gifted the book “Harry Potter Knitting Magic” by Tanis Gray a couple of years ago, so I dug it out, dusted it off, and set myself to reading the Weasley jumper pattern and ordering supplies. I opted for Red Heart Soft aran wool in Dark Green for the main body of the jumper, and Drops Paris in Light Grey for the letter (I am a Slytherin after all), and while I waited for delivery I started looking at the pattern itself.
The main body of a jumper is actually really straightforward, and if you can do a knit stitch and a purl stitch then around 80% of the pattern is easy peasy. I already knew how to do basic increases and decreases, opting for simple make 1 (m1) and knit 2 together (k2tg) where it wasn’t specified, and so I raced through the back piece without any problems at all.
The front piece is almost exactly the same as the back piece, however, as you get to the neck edge it becomes a little more tricky, requiring you to work on two seperate sides at the same time. This was the first time I had ever had two balls of wool attached to a piece at the same time, but it actually wasn’t as scary as it sounded and didn’t take me much time at all.
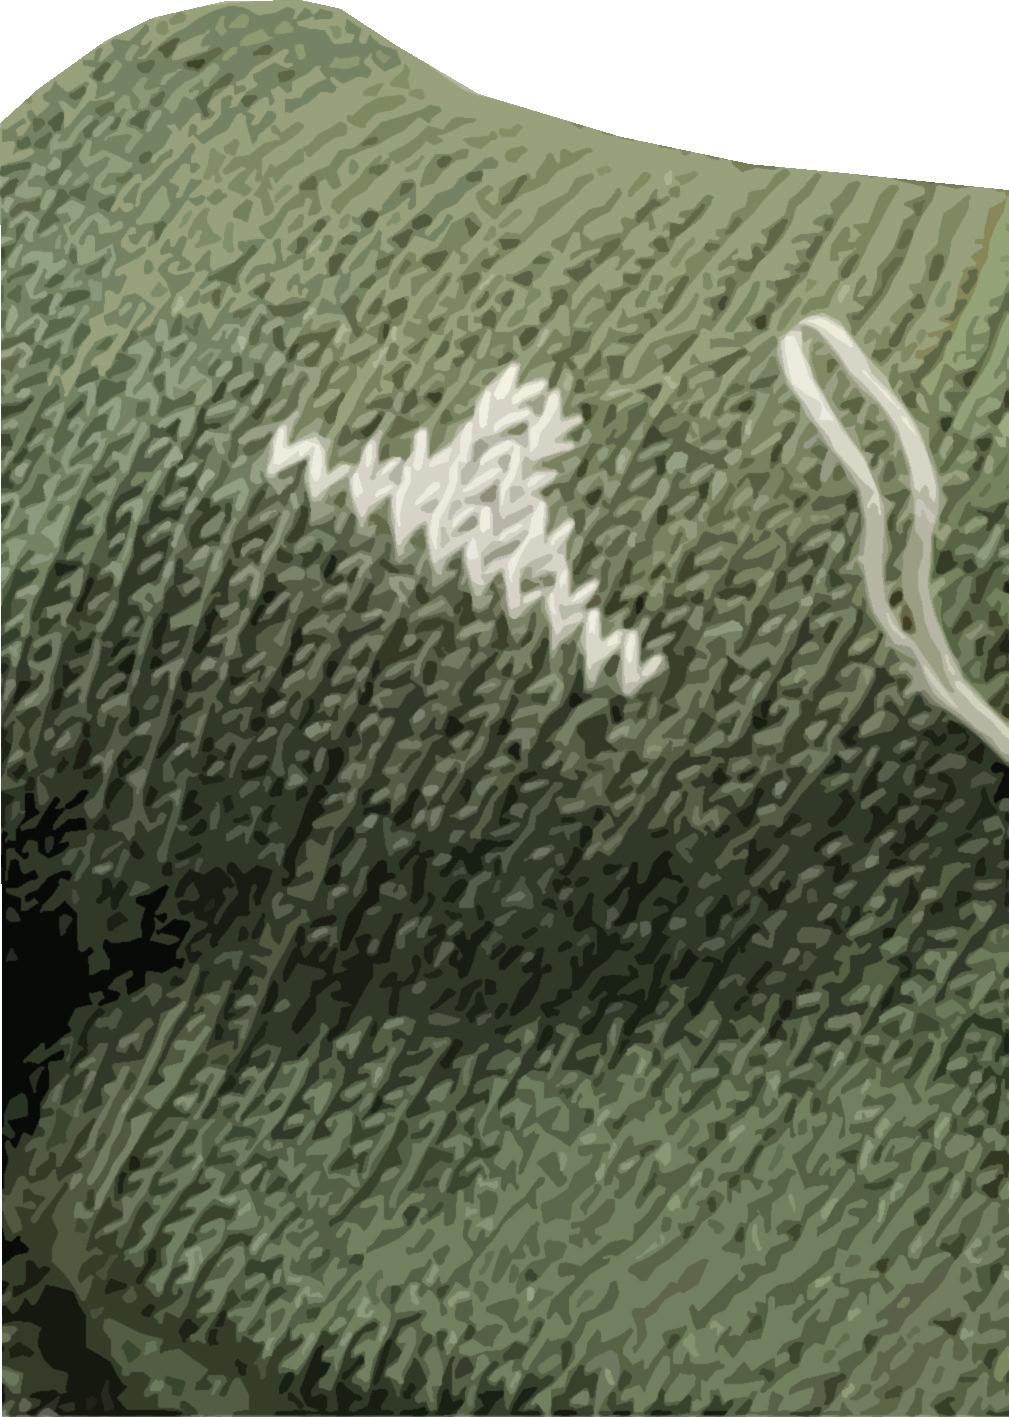
When the front and back pieces were finished, I decided to take a break from the actual knitting and tackle my first real challenge - duplicate stitching the letter onto the front piece. I have never done embroidery in my life, and this step really intimidated me, so I turned to the ever helpful ‘Very Pink Knits’ YouTube channel for guidance, Sure enough, she has a very helpful video on duplicate stitch, and the pattern in the book provides extremely clear alphabet charts, so I ignored my fear and plunged right in.
It turns out that duplicate stitching is surprisingly easy. Within a very short amount of time I had a recognisable letter forming, and before I knew it the embroidery was finished. I’m not going to lie to you, it looked a real mess from the back, but from the front it looked amazing! My first real challenge had been a success.
Emboldened by my new found embroidery prowess, I set to making my sleeves. Just like the front and back panels, these are made up of simple 2x2 rib and stocking stitch, with a clear and easy to follow increase and decrease pattern and so took no time at all.
With all the pieces of my jumper knitted and blocked, my next big learning curve began. The pattern called for the shoulder seams to be joined using a three needle cast off. Not only had I never done a three needle cast off, I’d never even heard of a three needle cast off. Back to YouTube, and once again ‘Very Pink Knits’ saved the day. The principle of the cast off was really simple to understand, but it took me a while to get my hands used to holding three needles at once. Once I
The most frightening part of the whole pattern for me was the neckband. I had never knitted in the round, and had previously had real trouble with picking up and knitting, so this was a big mountain for me to climb. I’ll be honest, this bit didn’t work out quite right. Having come to terms with the fact that I can’t identify the individual stitches to pick up, I opted to just try and evenly space the picked up stitches as best I could, and so the end result was that the neckband was a little bit stiff and slightly misshapen, but it was still serviceable and my head still fit through the hole, so I took it as a win.
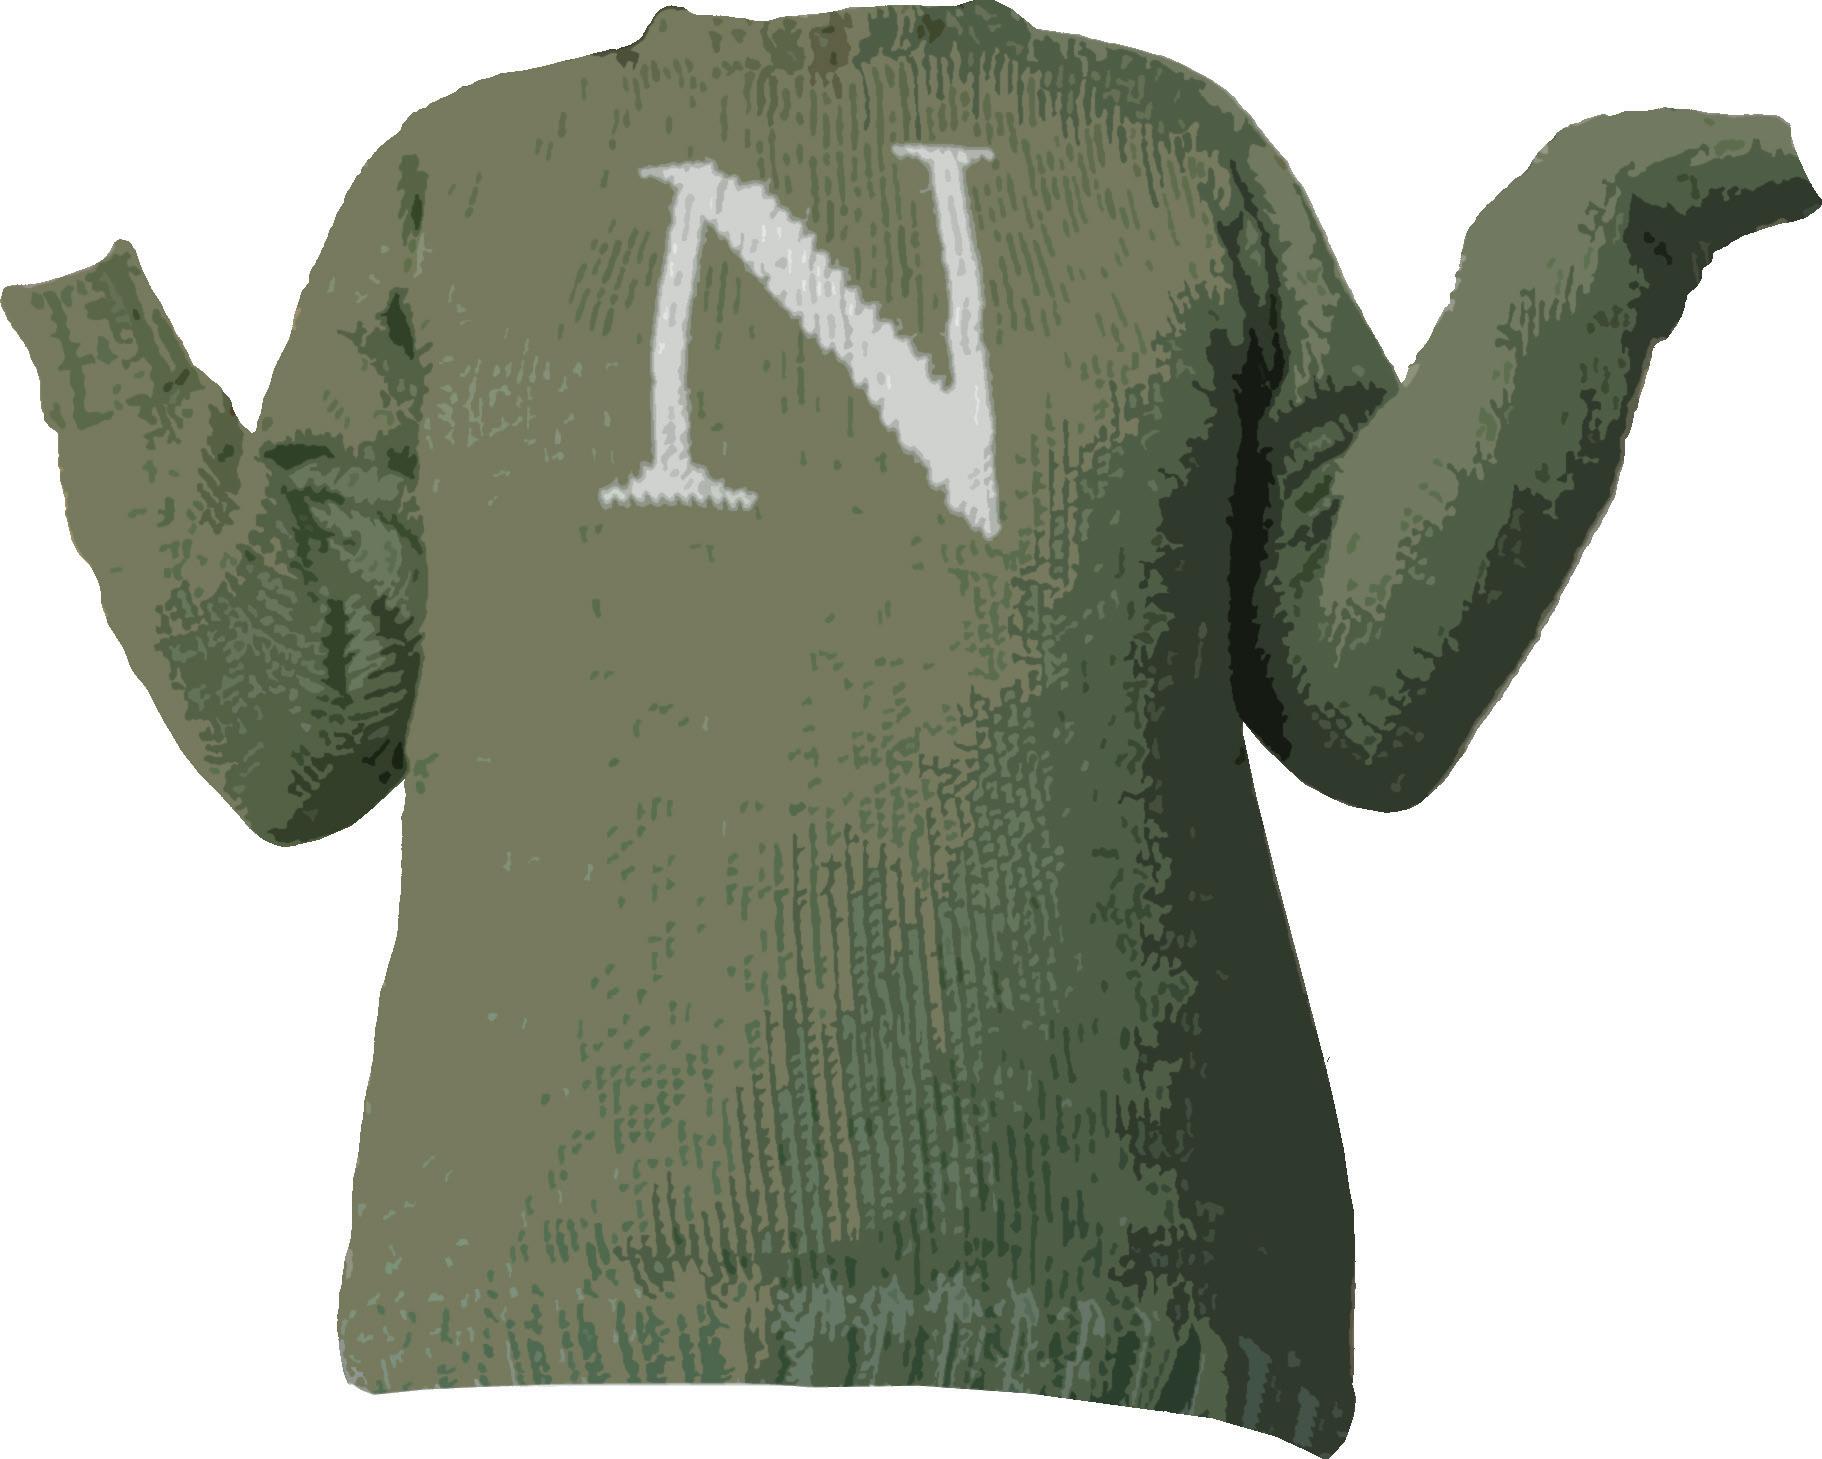
The last challenge I faced was setting in the sleeves. I had never done this before, and the instructions in the book go no further than saying “set in sleeves”. I watched several YouTube videos, but I still really struggled to understand how to make the sleeve edge fit into the sleeve hole, given that the sleeve edge was longer than the hole it was supposed to fit into. Once again, I reached a point where I just decided I was never going to understand it and so I sewed the sleeves to the hole as best I could. This means that on close inspection of the finished jumper, the sleeves bunch out a little oddly instead of hanging neatly. If I was to make this jumper again in the future I would definitely do more Overall, this was a really easy pattern to follow. With a little help from YouTube I was able to master two of the four techniques that were previously unknown to me, and though I definitely didn’t master the other two I still managed to make a wearable garment for the first time in my knitting life. The excitement and pride that I felt when I first wore my lumpy jumper was truly joyful. The book has helpful diagrams and pictures, and I would urge anyone to give it a look and have a go.
My jumper might not be perfect, far from it, but I magicked it up with two sticks and a ball of wool all by myself, and if I can do it then you can too. Now if you’ll excuse me, I’m off to attempt a Hogwarts cardigan….
Images by neeshky Graphic by freepik


