SCALLOPED EDGE APRON

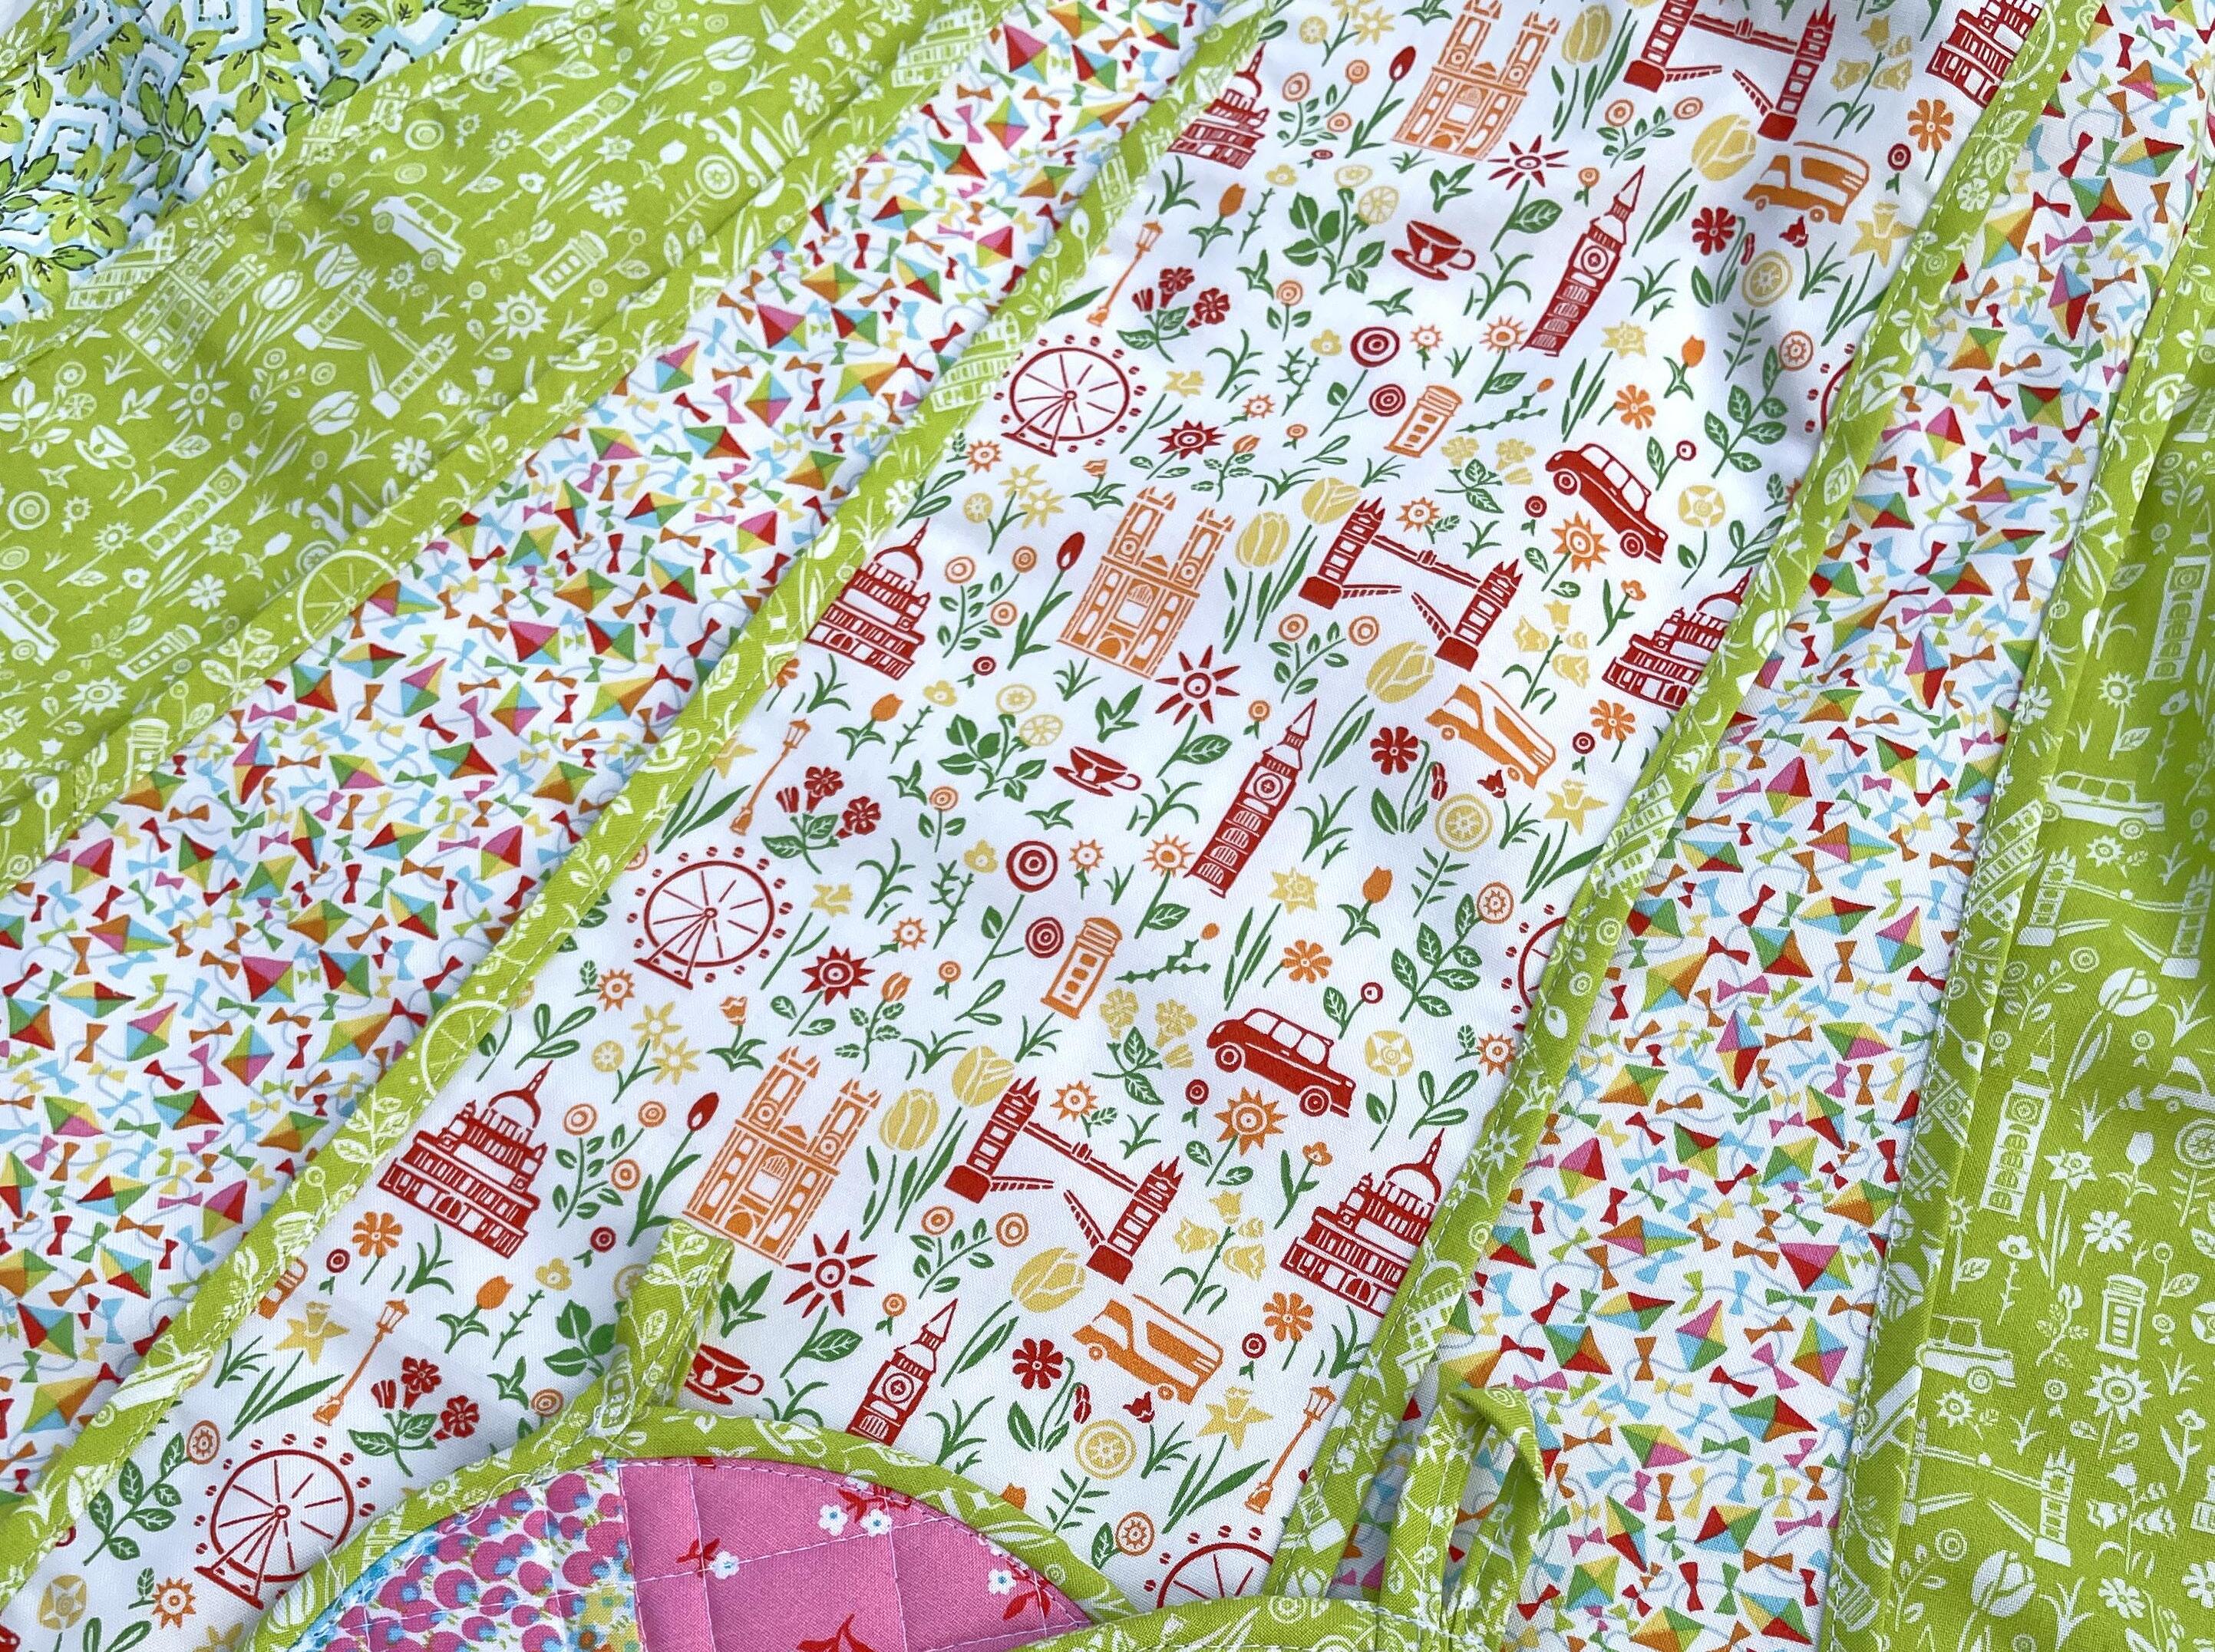
City Sights - C
•Cut 2 SIDE PANELS 3
•Cut 4 strips 7cm x 60cm for ties
•Cut 2.5cm bias strips for the edges (approximately 6.5mtr)
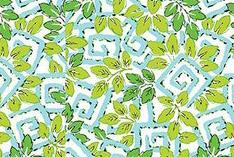
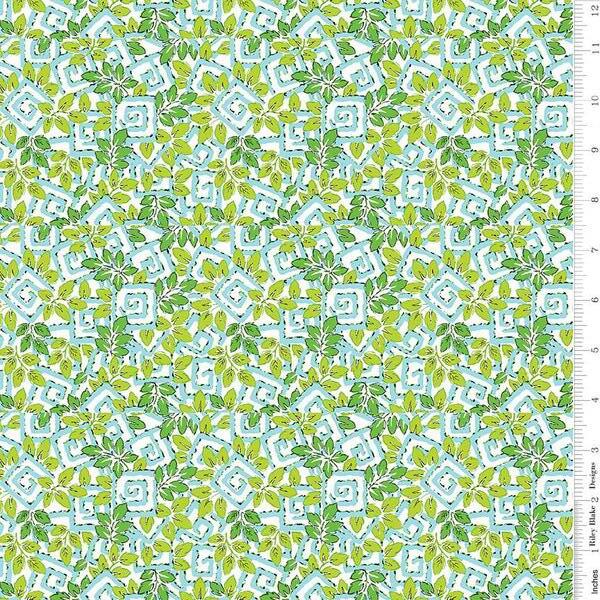
Coronation Gardens - C
•Cut 2 SIDE PANELS 4
STEP 1: SIDE TIES

Place 2 strips from City Sights fabric right sides facing. Stitch along the edges and at 45 degrees at one end. Cut excess fabric at the end. Turn inside out, press and top stitch along the edges. Repeat for the second tie.
STEP 2: ASSEMBLY
Place finished ties to the top of panels 4 aligning tie to the mark. Stitch binding around curved edge attaching side tie as you go. Take finished SIDE PANEL 4 and pin it to the SIDE PANEL 3 with wrong sides together. Bind curved edges attaching SIDE PANEL 4 and SIDE PANEL 3 as you go.
Take finished SIDE PANEL 3 and pin it to the SIDE PANEL 2 with wrong sides together. Bind curved edges attaching SIDE PANEL 3 and SIDE PANEL 2 as you go. Complete the other side of the apron in the same manner.
Pin finished side panels to the CENTER PANEL 1 with wrong sides facing. Bind around the CENTER PANEL attaching side panels as you go.
STEP 3: NECK LOOP
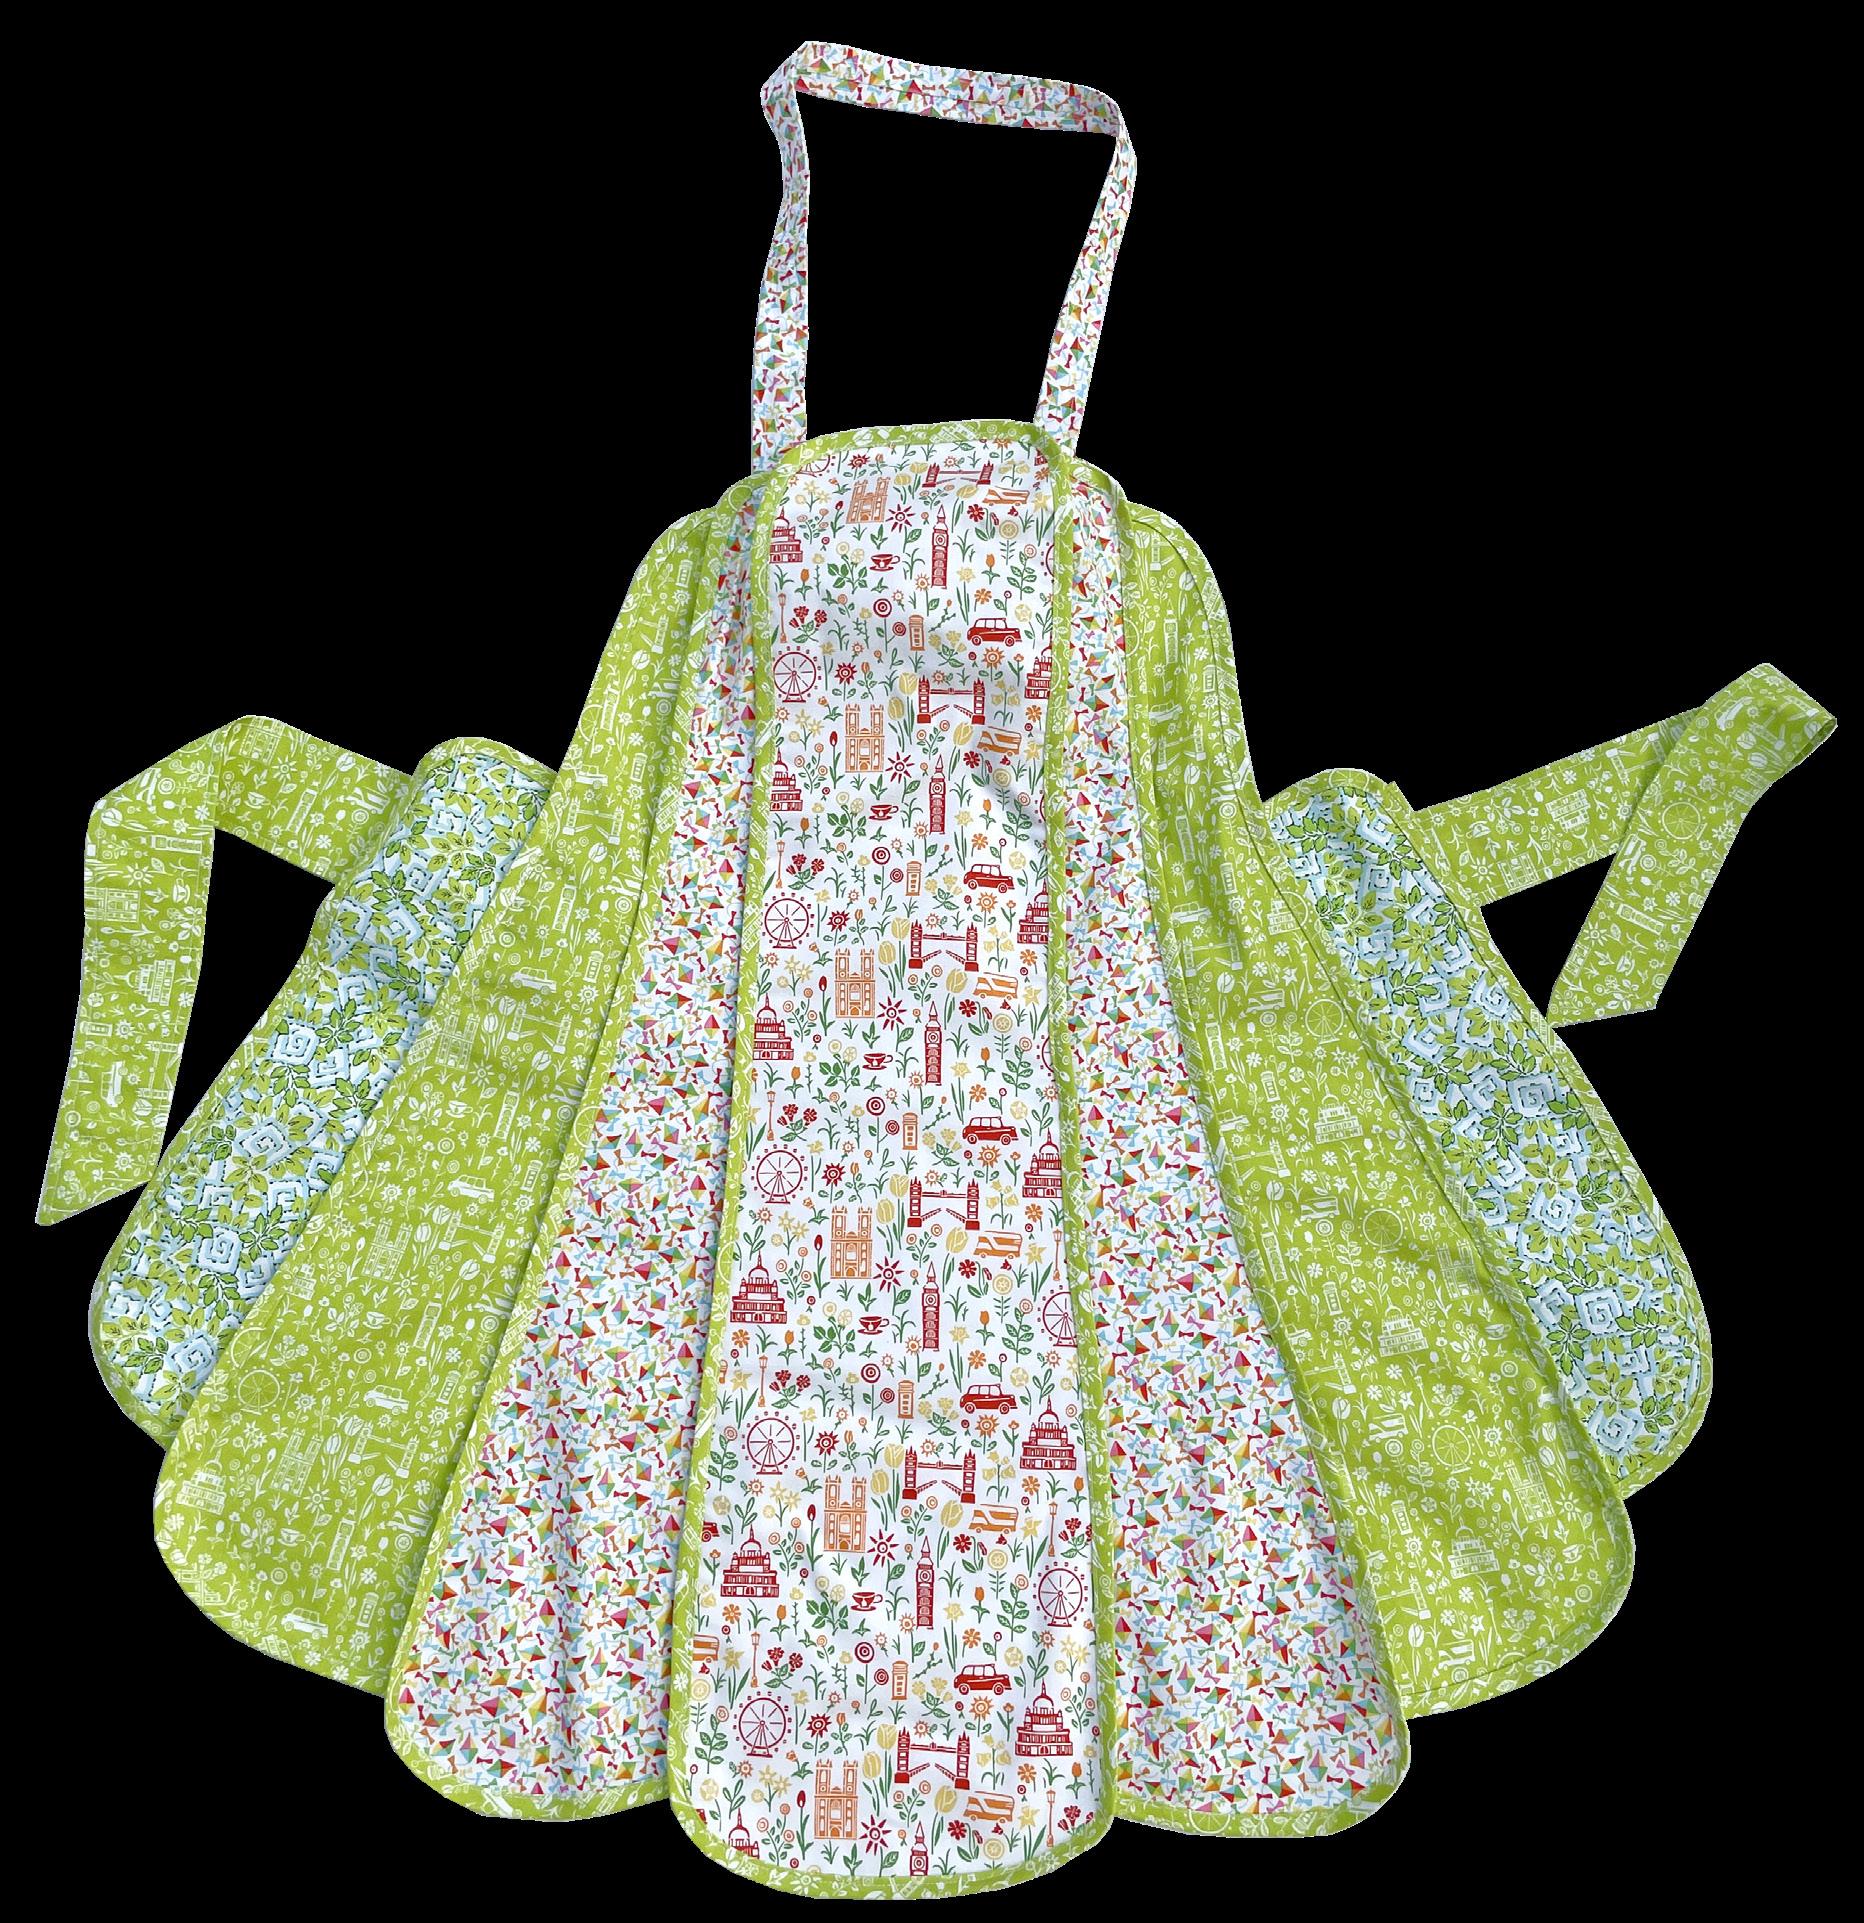
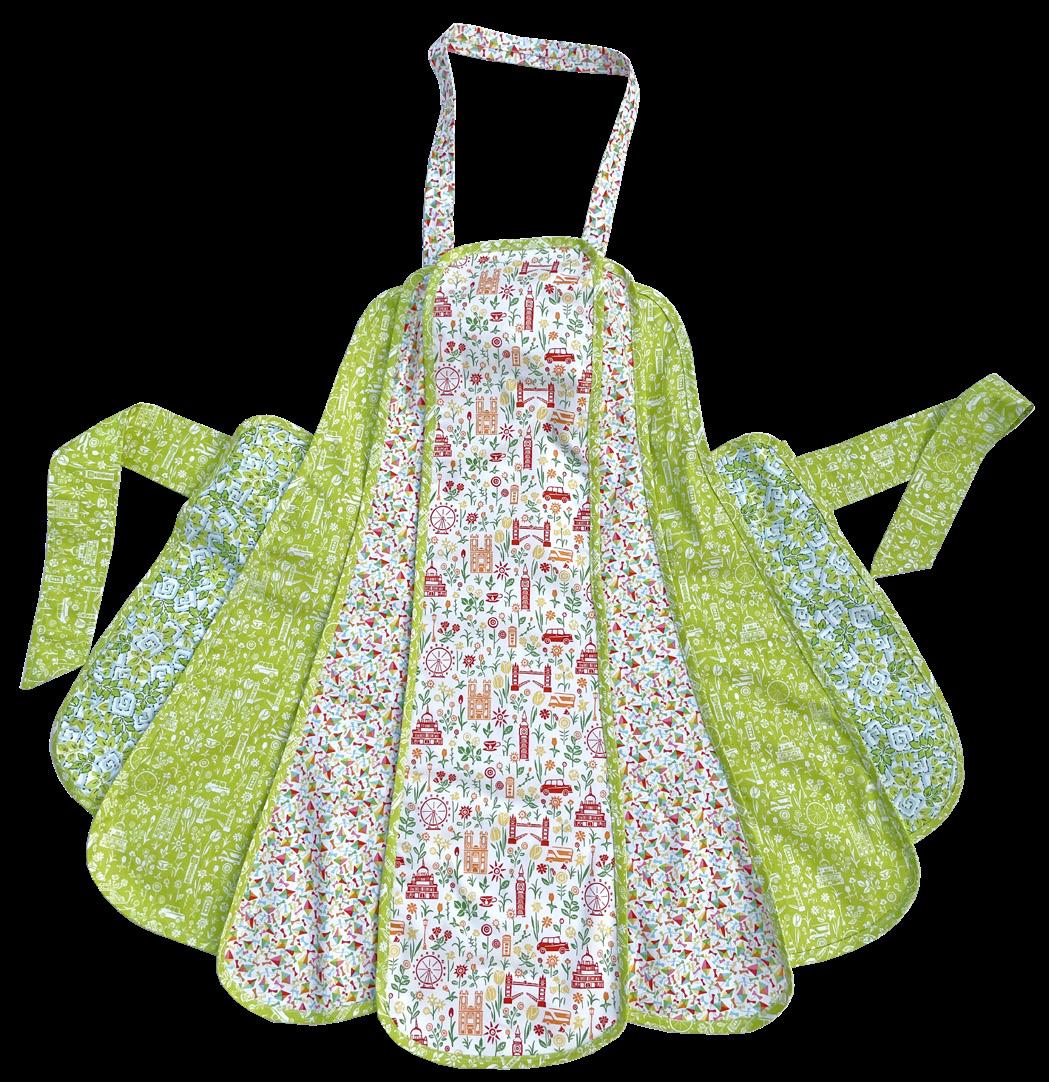
The fabric requirements is for making project as shown in the photograph. Before cutting review the placement of colours in case you want to make you own choices.

© BIRCH CREATIVE, 2023. For personal use only. Pattern not for resale. Items made using this pattern must not be resold.



Fold neck tie strip with wrong sides facing. Stitch along the long edge. Turn inside out, press and top stitch along both sides. Check the length of the neck loop and stitch it in place to the SIDE PANELS 2 as marked.
 SIDE PANEL 3
SIDE PANEL 4
