LONDON PARKS COLLECTION
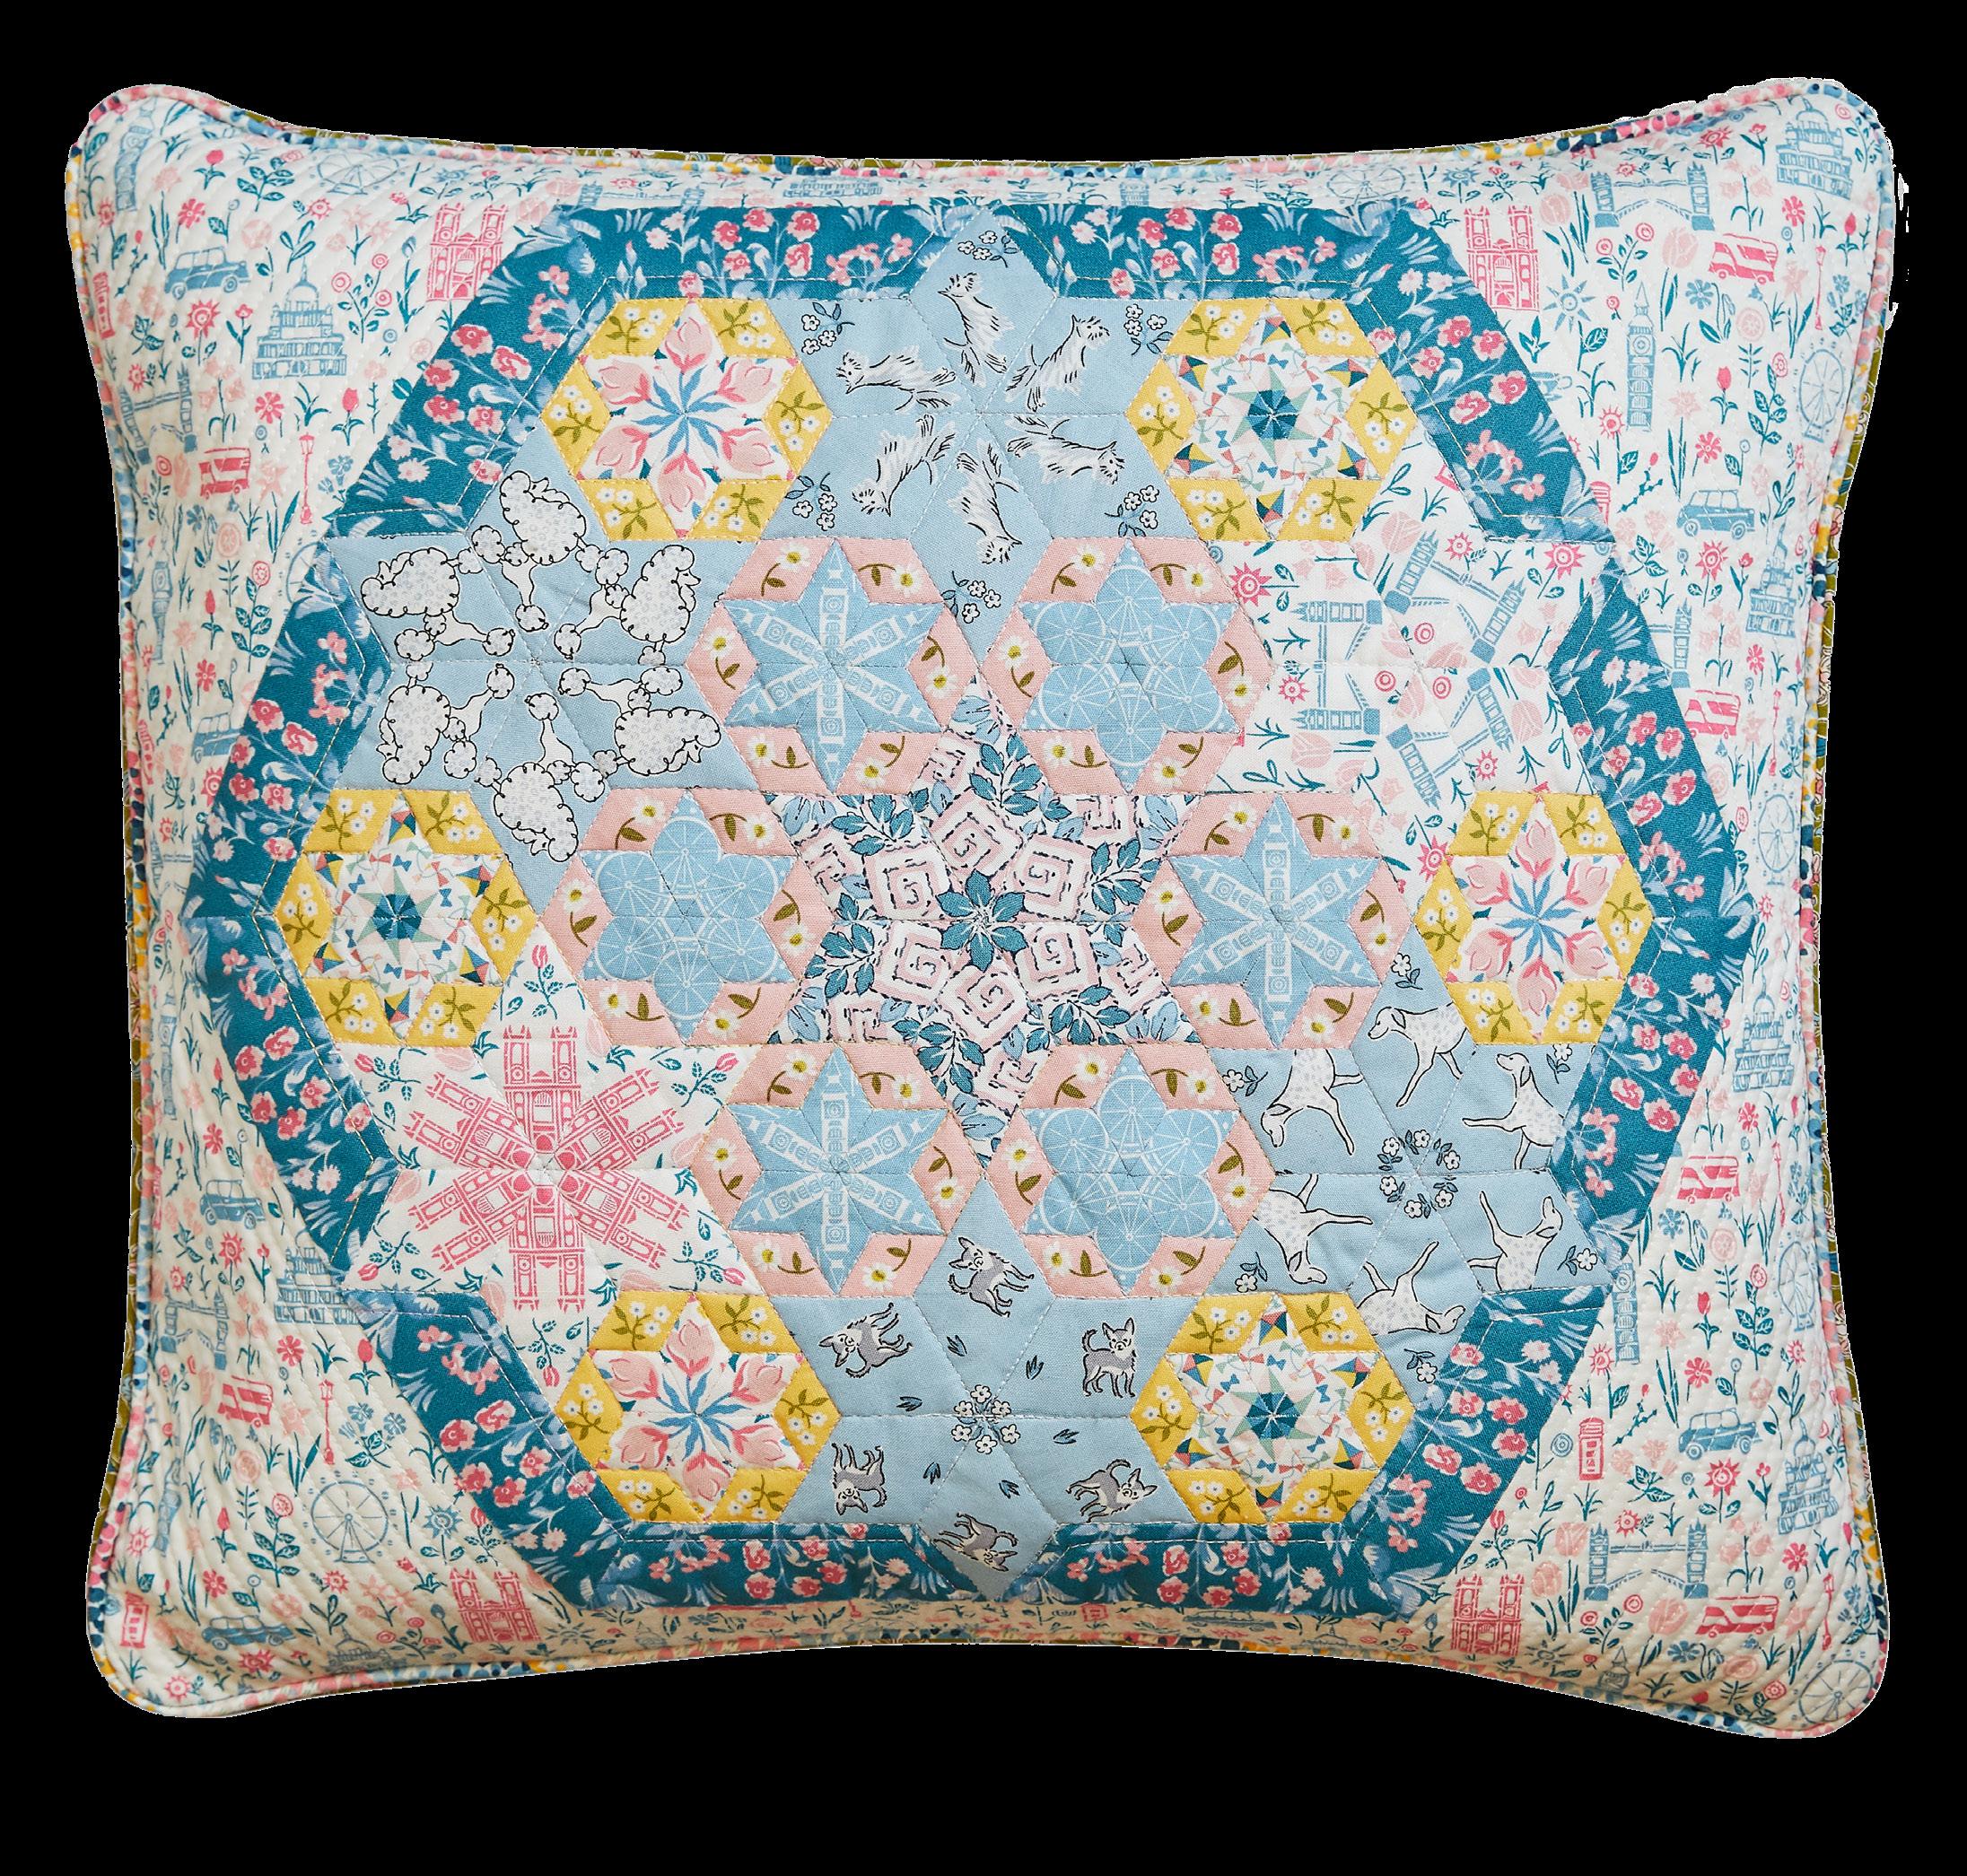
Landmarks EPP Cushion Pattern
designed by Suzanne Campion for Liberty


LONDON PARKS COLLECTION
Landmarks EPP Cushion Pattern
designed by Suzanne Campion for Liberty

FINISHED QUILT SIZE 20” X 20”
SKILL LEVEL : INTERMEDIATE
This pattern is suited for someone who has English paper piecing experience
This pattern requires an intermediate knowledge of quilting techniques and terminology. The quilt and block diagrams portrayed are virtual images. The layout and look of your project may differ when using actual fabric.
EQUIPMENT NEEDED
English Paper Pieced Centre Star Panel
EPP Papers
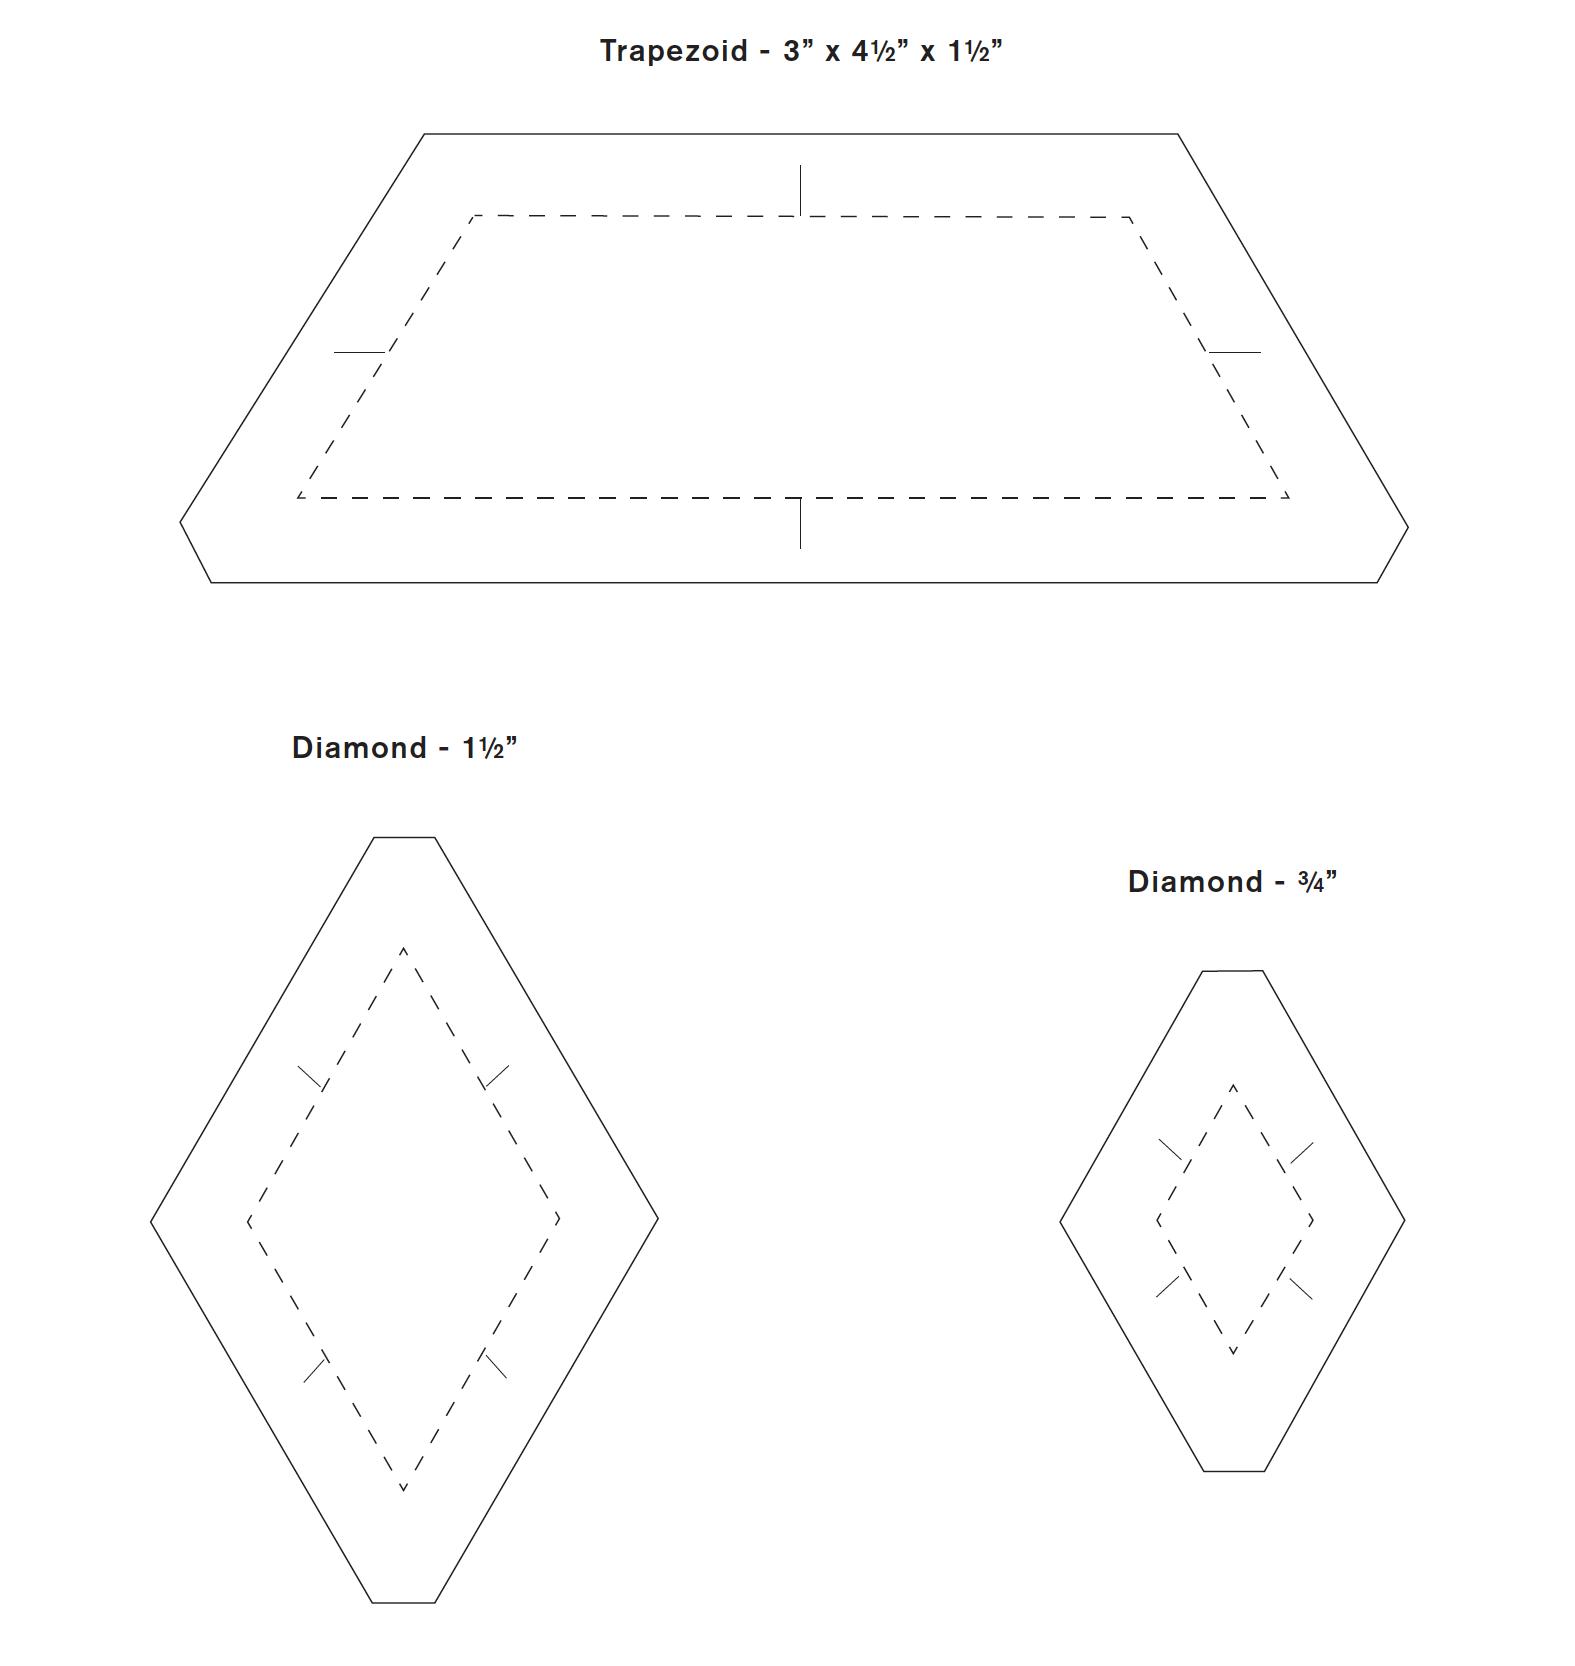
• 42 x 11/2” Diamond - 60°
• 144 x 3/4” Diamond - 60°
• 12 x (3” x 41/2” x 11/2”) Trapezoids - 60°
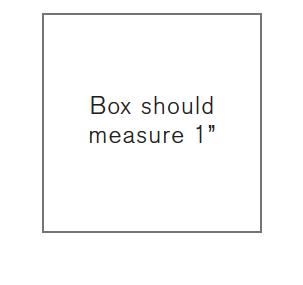
Acrylic Templates with 3/8” seam allowance or Template Plastic to make your own
Sewing Supplies
Sewing machine with ¼” foot and a zipper foot (if doing optional piping)
Hand sewing needles - size 10 applique or milliners straws
Cotton thread - 50 wt or finer
Fabric glue pen
Straight pins, scissors, fabric marking pen / pencil, fabric clips, thread conditioner
Rotary cutting equipment - mat, ruler, cutter
FABRIC REQUIREMENTS
Supplies Required
Cushion Pad - 50cm x 50cm
Cotton Wadding / Batting - 60cm x 60cm
Calico / Lining for front panel - 60cm x 60cm
Piping Cord (Optional)*
• 2.5m x 4mm
• 2.5m x 6mm
Dulwich Daisy A
1 x Fat Quarter (20˝x 22˝) Tulip Triumph A
1 x Fat Quarter (20˝x 22˝) Kite Flight A
1 x Fat Quarter (20˝x 22˝) Primrose Hill A
1 x Fat Quarter (20˝x 22˝)
Battersea Botanical A
55cm x 110cm WOF (22 “ x 44”) Emily Belle CATERPILLAR
1 x Half Metre (20˝x 44˝)
Regents Border A
1 x Half Metre (20˝x 44˝) Park Gates A
A C & D Blocks
Cushion Back Panels Cut 2 x 14” x 21” panels
A
Cord A (optional)
A
** We recommend cutting the 22” square cushion front panel before cutting EPP shapes for Stars 3 & 6
Cord B (optional)
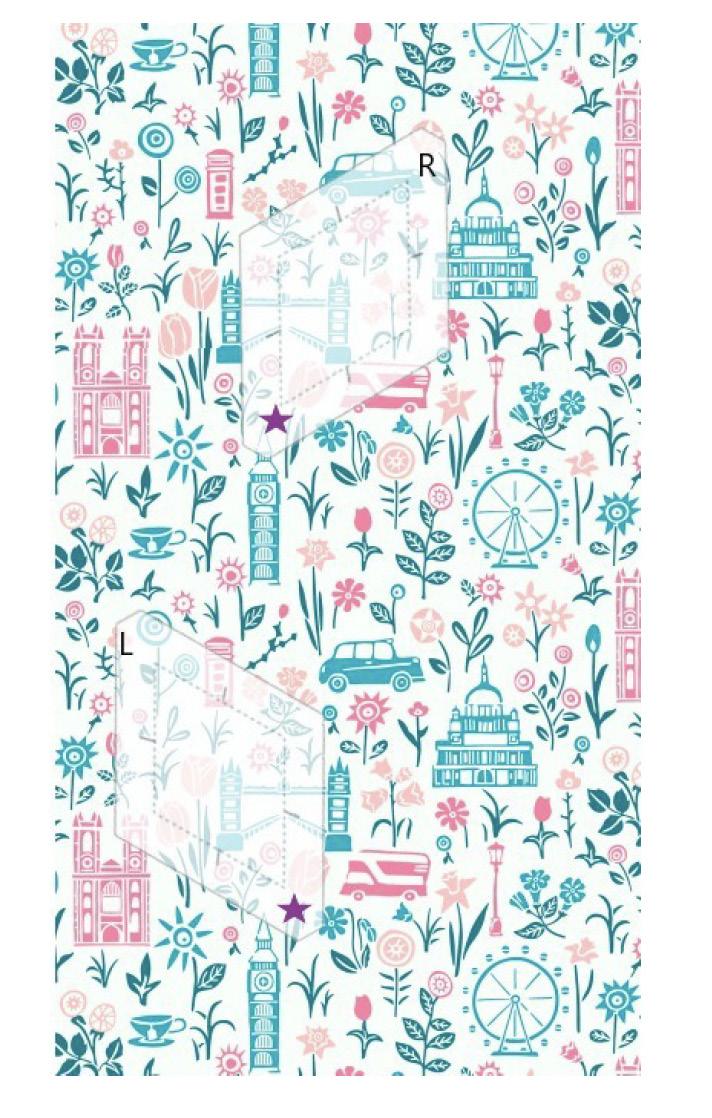
The following layouts enable you to fussy cut, select sections of the fabric to create the English paper pieced stars using diamond templates with ⅜˝ seam allowance.


The centre part of the star is marked with

Take extra care to cut all six diamonds the same, remembering to mark points on the back of the fabric for accurate piecing. For best results, press fabric before marking shapes and cutting.
When joining two fabric pieces together always use the following method unless indicated otherwise.
Centre Star 1: Cut 6 x 11/2” diamonds
Centre Star 2: Cut 6 x 11/2” diamonds
Centre Star 3:

Cut 3 x 1 1/2˝diamonds on Right
Cut 3 x 1 1/2˝diamonds on Left

Centre Star 4:

Cut 6 x 11/2” diamonds

Centre Star 5:

Cut 6 x 1 1/2˝diamonds

Centre Star 6:

Cut 6 x 11/2” diamonds

Centre Star 7:


Cut 6 x 1 1/2˝diamonds
Star Block A:

Inner Star Diamonds Cut 18 x 3/4”
Diamonds 3 blocks required / 6 diamonds per block
Outer Diamonds Cut 18 x 3/4”
Diamonds 3 blocks required / 6 diamonds per block
Star Block B:
Inner Star Diamonds Cut 18 x 3/4”
Diamonds 3 blocks required / 6 diamonds per block
Outer Diamonds Cut 18 x 3/4”
Diamonds 3 blocks required / 6 diamonds per block
Star Block C:


Inner Star Diamonds - Cut 18 x 3/4”
Diamonds 3 blocks required / 6 diamonds per block
Outer Diamonds - Cut 18 x 3/4”

Diamonds 3 blocks required / 6 diamonds per block

Star Block D:
Inner Star Diamonds - Cut 18 x 3/4” Diamonds 3 blocks required / 6 diamonds per block


Outer Diamonds - Cut 18 x 3/4” Diamonds 3 blocks required / 6 diamonds per block
Edge Border E:
Cut 12 x (3”x 41/2” x 11/2”) Trapezoids


The stars are created used 60° diamond paper pieces. Layouts for all the stars are provided above to create the designs on the front cover. You get much more accurate results if you use a template. Purchase acrylics or trace the provided template on quilters plastic template This provides a window to select the part of the fabric design you wish to fussy cut.
Stars 1, 2, 3 , 4, 5, 6 & 7 are made using the 1½˝ Diamonds. Star Blocks A, B, C & D are made using the 3/4˝ Diamonds.
On the wrong side of the fabric, position the 60° diamond template as required and draw around the outer edges: this will be your cutting line. Mark the inside points to enable you to place the paper piece accurately for fussy cutting. There are also guidelines marked to help with centring designs.

The templates have a 3/8˝ seam allowance. I find this gives a bit more wiggle room when wrapping over your paper pieces.
Ensure you repeat the same process for each 6 diamonds for each star.
To piece a star, you need to create two halves.
Firstly, sew a pair of diamonds with right side together, paying attention ensuring the centre points meet, using a whip stitch.
Place your needle in at 90° and this will make sure minimum stitching shows on the right side.
Then add third diamond, ensuring centre points meet. Repeat for second half of star and sew both halves together ensuring points match in the centre.


Personally, I prefer the speed and accuracy from glue basting; however, traditional thread basting can be used if preferred.
Top Tip - wrap the fabric around your pieces in the same direction to ensure that the centre star lies flat and the pieces will nest together and make it easier for you when sewing together.
To assemble blocks A, B, C & D you will need to add outer diamonds to stars as illustrated below.
To assemble the panel, layout your stars and blocks as illustrated below. Start with adding A & B blocks around centre star 1. Then add stars 2 / 3 / 4 / 5 / 6 / 7 followed by C & D blocks on the next round. Finally add the border using E shapes.
Once the panel is assembled, press. Remove papers and press panel again.
Fold the 22” square cushion front fabric in quarters and finger press. This will enable you to centre the EPP panel, lining up the points as shown below.
Piping Cord (Optional Extra) cont.
Fold fabric bias strip around 4mm piping cord for fabric A and 6mm cord for fabric B.
Using a zipper foot, and a long basting stitch, stitch as close to the cord as possible.
Now attach fabric covered piping cord to the right side of the front cushion panel, raw edges together.
Sew a 1/2˝ seam using your zipper foot stitching as close as possible to the cord by moving the needle position. Binding clips are useful for holding cord in place.
Clip the flange of the fabric covered piping cord to allow it to sit smoothly around the corners.
To join the start and end, fold under ¼˝ of the fabric and butt the ends of the cord up and slide under for a neat finish.
Pin panel in place and then applique stitch on to front panel. This can be done with a blind hem stitch or ladder stitch. Now you can add quilting to your cushion front. Layer your quilt sandwich by placing your cushion front backing fabric right side down. Then place your cotton wadding down and finally your cushion front.
Baste all layers with quilter’s safety pins or your preferred method.
Quilt as desired. Suggestion is to stitch in the ditch around the stars and to echo quilt in ¼˝ lines around the EPP panel. Once quilted, trim and square cushion front panel to 21˝ square.

Piping
As an optional extra this cushion can be finished with piping cord. Double piping cord has been used on the pattern cover. You my wish to use just one or none.
To make fabric covered piping cord, cut 11/2˝ strips on the bias / 45°.
You will need to cut enough strips to make a 2.5m length of cord.
Join strips with wrong side together using a ¼˝ seam and press seams open.
Repeat with Piping cord B sewing as close to A as possible. Cushion Back Panels
This features a patchwork strip that is made from 31/2˝ squares that can be cut from any of the fabrics you have used on the front.

Cut 7 x 31/2˝ squares of your choice and join in a strip using ¼˝ seam, press seams open. This will make a strip 31/2˝ x 211/2˝.
Place the right side of the patchwork fabric strip to the wrong side of the long edge of one of the back panels. Stitch ¼˝ seam. Press to the right side(front) of the panel. Optional - you can add piping cord detail between these layers.

Press under ¼˝ on the other long side of the patchwork strip. Top stitch ⅛˝ from each edge.
Optional - you can add piping cord detail between these layers.

On the other back panel piece, press under ¼” on one long edge and fold over another 1/2” hem. Top stitch close to the folded edges. To form envelope back, overlap back panels, right side facing up, to form a 21” x 21” square, the same size as the front. The hemmed panel piece should be on the bottom with the patchwork strip on the top. Baste to keep in place as show in the diagram.
Sew the cushion front and the back together with a 1/2” seam, right side together. Trim and finish seams as required. Turn right side out. Press and place cushion pad in.
Sit back and enjoy your cushion!

