@portatimber @porta_timber


@portatimber @porta_timber

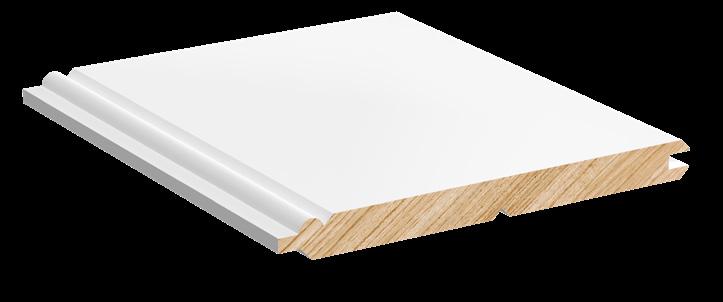
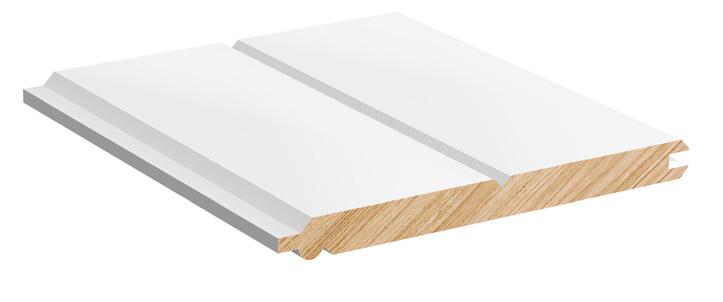
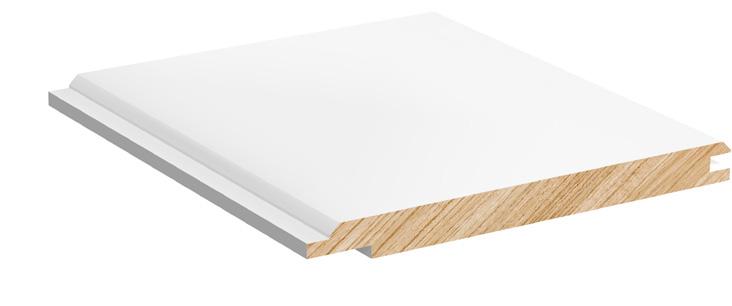
Material Composition: The Portaline Primed Pine range is crafted from finger-jointed clear pine and coated with a white water-based primer, making it ready to paint.
Versatile Installation: Portaline can be securely affixed to a variety of surfaces, including prepared plasterboard, timber, steel, brick, or masonry.
Interior Applications: This range is ideal for a wide range of indoor applications, whether working with flat or curved surfaces or needing the lining boards installed vertically or horizontally.
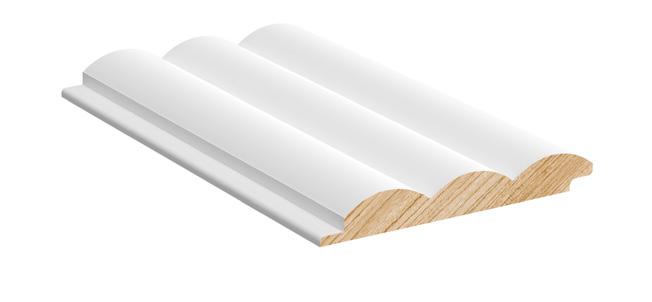
Curved Applications: Achieving curved designs is made possible with the Portaline range of curved wall beads, capable of forming curves with a minimum radius of just 300mm.
Sustainable Sourcing: Portaline timber is responsibly and sustainably sourced, holding FSC® Chain of Custody certificates.
Natural Timber Movement and Acclimatisation: Solid timber naturally expands and contracts due to temperature, ambient moisture, and humidity changes. This movement may cause a small gap between boards as the environment changes. To prepare the timber for installation, acclimatise it to your specific conditions by storing it in the environment where it will be installed prior to installation. The acclimatisation process usually takes between 48 hours to 2 weeks. This could take longer in extreme conditions. During acclimatisation, all surfaces of the boards must be exposed to the installation environment. Stack the boards with separating sticks between layers, at least 150mm off the ground.
Ideal Moisture Content: The moisture content of the boards during installation should closely match the ambient conditions at the site.
Consideration for Large Installations: Larger installations or regions with fluctuating conditions, including exposure to direct sunlight, must account for ongoing expansion by incorporating expansion joints approximately every 3 metres.
Ventilation and Barrier: Ensure proper ventilation behind the boards or consider using a vapour barrier like Bradford Thermoseal or Enviroseal for complete coverage.
Internal Use: Portaline is exclusively designed for internal use. We strongly discourage its installation in zones with water splash or elevated moisture levels, such as shower recesses or areas where a vessel (e.g., bath, basin, or tapware) is within 75mm of a wall.
Compliance Standards: Installation in wet areas should adhere to the specified requirements outlined in AS 3740:2021 and NCC Vol 1F2P2 or Vol 2 S26C5. It’s crucial to ensure that all product sides are correctly sealed using an appropriate sealer. Any cut-outs made for installing services or hardware must also be sealed to prevent moisture infiltration.
• Portaline comes primed with a white water-based primer, ready to paint with a finishing coat in your selected colour.
• It is recommended that boards are painted before installation, including the ends of each board.
• Care should be taken when painting the lining boards, not to flood the joins. Applying excess paint in the joins can cause the boards to adhere to each other.
• If the boards adhere to each other, this can inhibit the natural movement of the timber, which can potentially cause cracks to appear.
1. Measure and Prepare:
Measure the width of the area you intend to cover. Ensure the surface is flat, clean, dust-free, and completely dry.
2. Establish a Plumb Line:
Use a spirit level to establish a plumb line with the first board, ensuring a straight start.
3. Cut to Size:
Cut the boards to the correct length for your installation.
4. Paint: (first coat)
Apply a coat of paint to every side of each board before installation, tinted to your final colour.
5. Apply Adhesive:
Apply beads of general-purpose construction adhesive to the back of the lining board, positioned 20mm from the outer edge and approximately 200mm apart along the length of the board.
6. Starting Point:
Begin by installing the first board along the established plumb line. If applying boards horizontally, start at the bottom and work your way to the top.
7. Fixing the Boards:
Face fix the first board, and for the following boards, use a 20mm Brad nail through the tongue, securing them at 300mm intervals. It may be necessary to use small nails through the face of each lining board to hold them in place to support adhesive curing.
8. Check Alignment:
Continuously check that the boards are plumb (vertical) or level as needed.
9. Ensure Flush Fit:
Ensure that each board is flush with the previously installed one before proceeding with the next.
10. Nail Punch and Fill:
Punch in nails where necessary and fill any holes with wood filler. Allow it to dry, and then sand the surface.
11. Apply Finishing Coat:
Finish by applying a finishing coat in your chosen paint colour.

When installing Portaline on a masonry surface, it is essential to ensure that the surface is both flat and nonporous to achieve optimal adhesion. Depending on the surface condition, it may be necessary to install timber battens on the masonry wall at 450mm intervals to facilitate the installation process.
For external corners, there are two options.
• Use Porta DAR 12x12mm as corner blocks.
• If not using DAR, cut the lining boards to achieve a mitred finish.

We suggest commencing at the corner and progressing along the wall.
Portaline’s curved wall beads can help you achieve curved applications down to a radius as tight as 300mm.
1. Prepare Straight Walls:
To ensure a matching surface, begin by fixing the lining boards onto the straight wall and trim the edges/tongue as necessary.
2. Prepare Curved Wall Surface:
Apply 6mm ply or MDF to the battened curved wall, ensuring alignment with the existing straight wall (refer to the diagram below).
3. Attach Curved Wall Beads:
Secure the curved wall beads to the curved wall with construction adhesive, holding them in place until the adhesive cures.
Alternatively, nail the beads in position using 38x16 gauge (1.6mm) Brad nails, placing a Brad at each end for added stability.
Punch in nails where necessary and fill any holes with wood filler. Allow it to dry, and then sand the surface before painting.

Timber Lining Boards Width 91.5mm | Thickness 12mm | Cover 84mm | Length 2.7m
LINT8412


LINU8412
Curved Wall Beads Width 28mm | Thickness 12mm | Length 2.7m

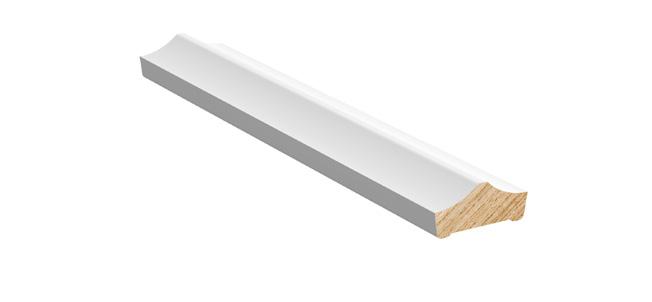
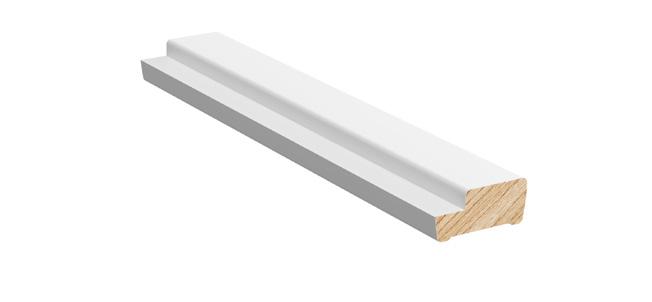
CBT2812
Timber Lining Boards Width 140mm | Thickness 12mm | Cover 133mm | Length 2.7m
