
3 minute read
Making Class Work From Home


Making Class Work Making Class Work From Home From Home
by Kadie Chiera This year has been full of changes for us all. One of the biggest and most challenging adjustments for so many families has been creating room in our homes for work, leisure and school. That’s a lot to pack into a home of any size. We’re here to help! If you have school-aged children, here are some tips to help you set your kids up for success by creating a functional and fun virtual learning space.
Advertisement
Tip 1 Tip 1

Find a space in your home that gets the least amount of use. Is there an empty wall in your living room or large hallway that doesn’t get used? Or maybe a niche in a bedroom, guest bedroom, closet or even a garage?
Tip 2 Tip 2
Look for pieces that offer storage. If you go for a simple Parsons style desk, consider adding a portable storage cart (like Ikea’s Raskog Utility cart) to house school supplies. Use vertical space to store things like pin boards and floating shelves.
Tip 3 Tip 3
Go bold! Virtual learning may be sticking around longer than we would like but it is temporary. Thus, go with happy, energizing and inspiring colors, patterns and décor. Retailers like Target, Minted and even Amazon, have temporary peel and stick wallpaper in a variety of styles, patterns and colors. Check online for easy how-to install instructional videos. If you do not want to go that route, there is always paint!
Tip 4 Tip 4
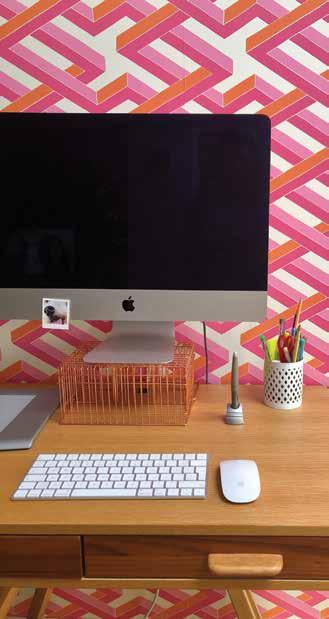
Select accessories with functional but fun pieces like desk accessories, table lamps, art, and plants – yes plants! Involve the kids when selecting things for their space so they feel like it is personalized and will enjoy using it. Furthermore, incorporate elements that are familiar to them in a normal classroom setting like incentive systems, bulletin boards of their work, a mini locker, etc.
Also, try to use a space that has as much light (preferably natural light) as possible. This will help with overall mood and morale for all the changes our kids are going through right now.
What’s in Season? Say Cheese!
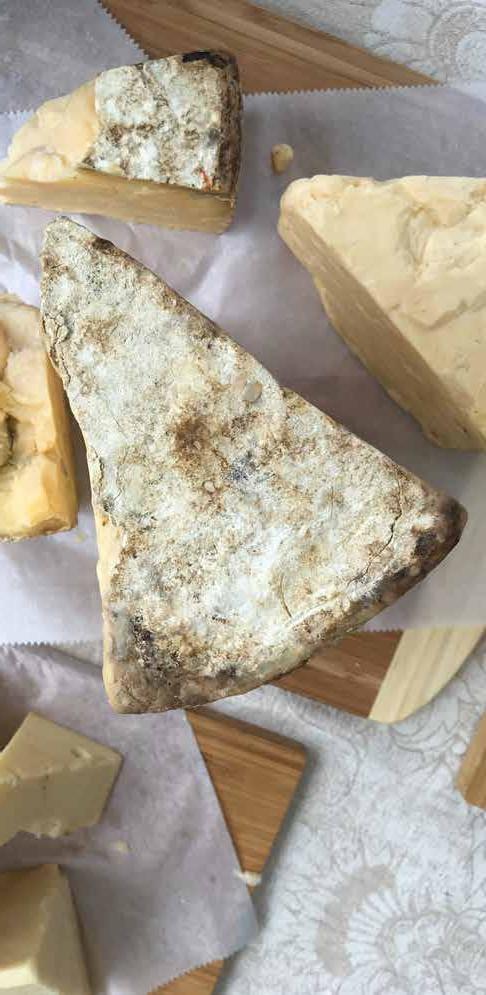
Holiday gatherings wouldn’t be the same without family photos and cheese plates. Cheese always seems to make the party. There are so many varieties of this nutritious food, (an excellent source of calcium, vitamin B12 and protein), that almost everyone can find something they like.
Made mainly from cows, sheep or goats milk, cheese began to be processed about 4000 years ago. It has a variety of textures: hard, soft, semisoft. Aging and location play a part in its unique characteristics and taste. Cheese is generally portable, has a high fat content, and a long shelf life; it was invaluable to earlier civilizations and it is still loved today as an appetizer, snack, part of the meal or dessert course.
Storing and serving cheese is particular to each type of cheese. Once you bring home cheese, the first thing to do is remove the store wrapping and re-wrap in cheese paper, parchment or wax paper. Cheese needs to breathe. Tight wrappings, like plastic, promote mold. For firm cheeses, wrap in parchment, then wrap in foil; for soft cheese, drop into a glass container lined with a paper towel and leave the lid slightly open; for brined cheese, however, keep in its brine. Cheese domes create their own temperature and humidity. If refrigerated, store in a drawer where the temperature is warmer and keep away from foods with strong smells. Hard cheeses can be frozen, but tend to crumble afterwards.
To serve, remove cheese 1 1/2 to 2 hours before cutting or serving. Wired cheese cutters work great with soft cheeses; when using a knife on firm cheeses, cut in one fluid motion, not seesawing.
Bring on the charcuterie board!


