
4 minute read
3D printing dentures - Part 3: Printing a denture from start to finish

from eLABORATE Current

By Terry Whitty
In parts 1 and 2 of this series, we have looked at choosing a 3D printer and the different CAD design programs available to design full dentures. In this final part, we will bring it all together and design and print a denture from start to finish.
I have chosen an immediate denture to demonstrate the complete workflow as there are still a lot of people hesitant to print dentures and an immediate denture in my opinion is the logical starting point. If we consider that the immediate denture is only a transitional denture to a longer term prosthetic, then it’s actually the ideal type of denture to get your feet wet with CAD design and 3D printing.
One main reason is that generally the greatest changes to the alveolus will occur post extraction and the denture is best replaced completely rather than just a simple reline. This will give the clinic the option to reposition the teeth to a more desirable aesthetic and functional position.
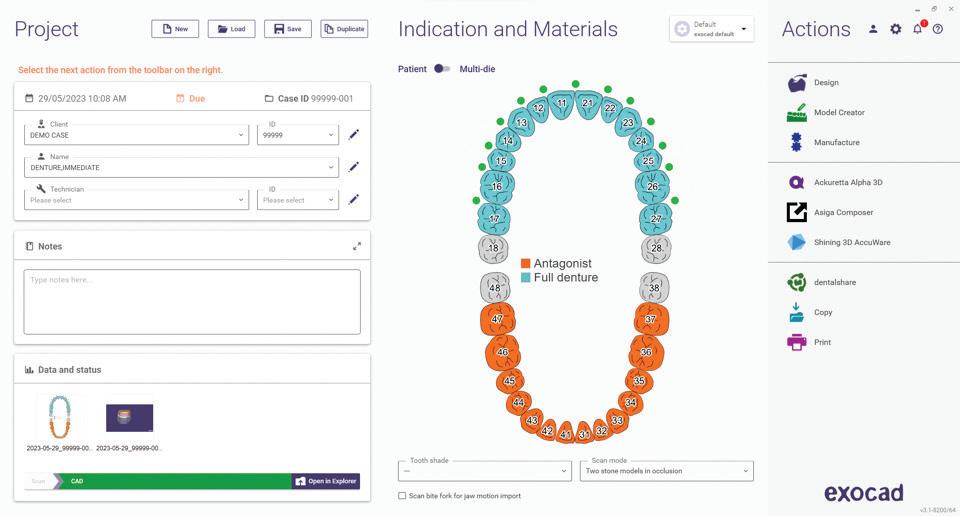
To start, impressions are taken. These can be traditional or digitally made with an intra oral scanner and we will also require a bite registration. Often, when an immediate denture is ordered, we will have a reasonable bite registration with the patient’s dentition as reference. However, it’s always advisable to have a verified bite registration confirmed by the clinician as this may indicate VD and OVD changes, ideal midline corrections and desired tooth position.


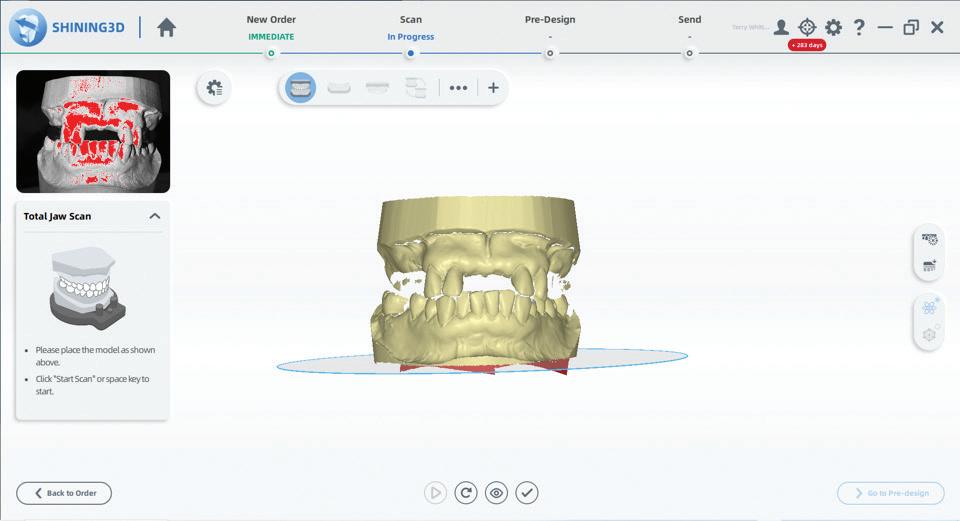
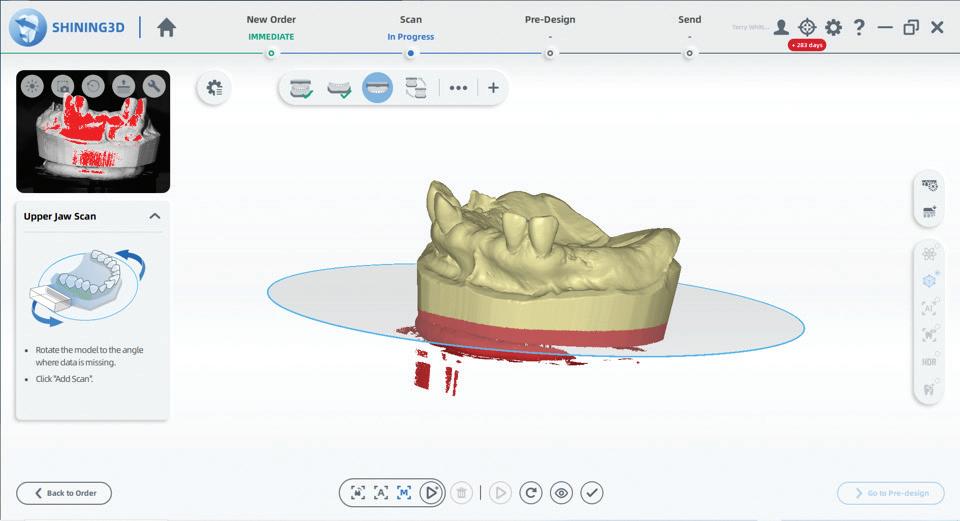


If traditional impressions are taken, they will need to be digitised. Some may pour traditional models and scan these and some may opt to scan the actual impressions. Both will yield good results if the scanning protocols are adhered to. Often I am asked about the accuracy of scanning for dentures and I can say that we have come to a point where scanning is a very mature technology and even the inexpensive scanners available on the market will yield results far beyond what is actually required to achieve amazing results.
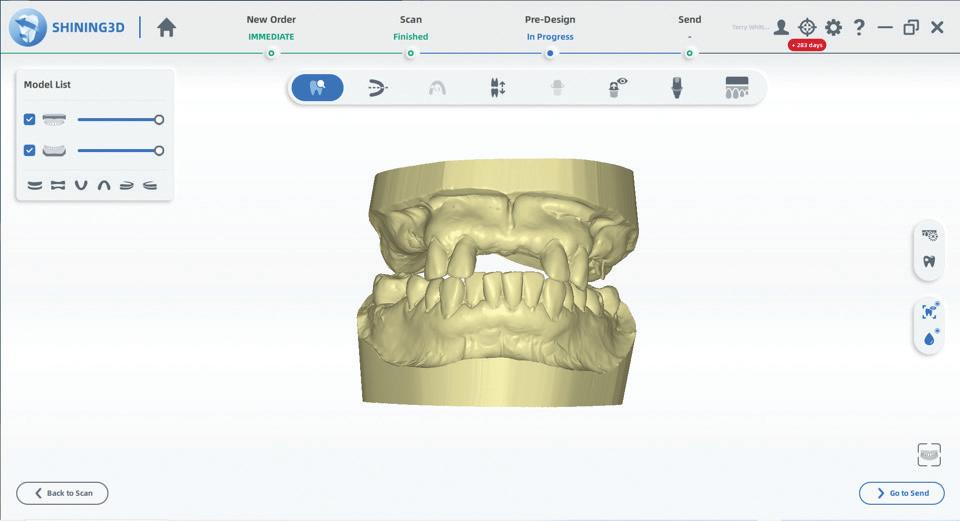
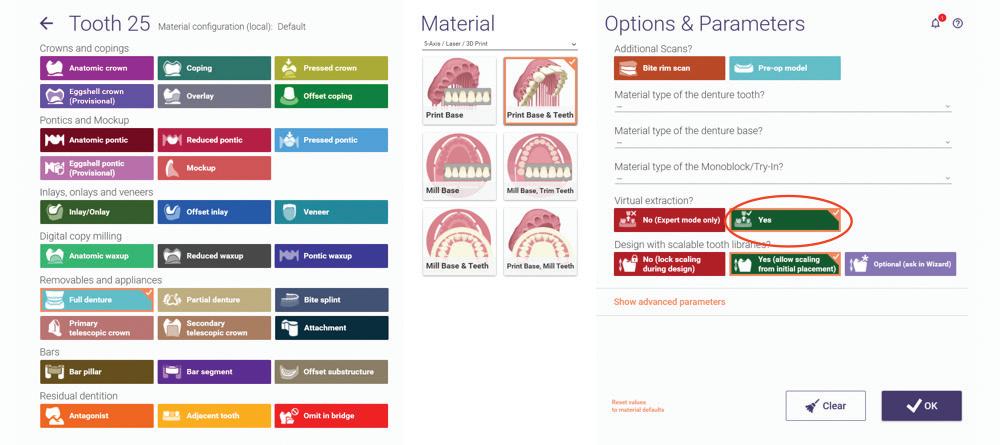
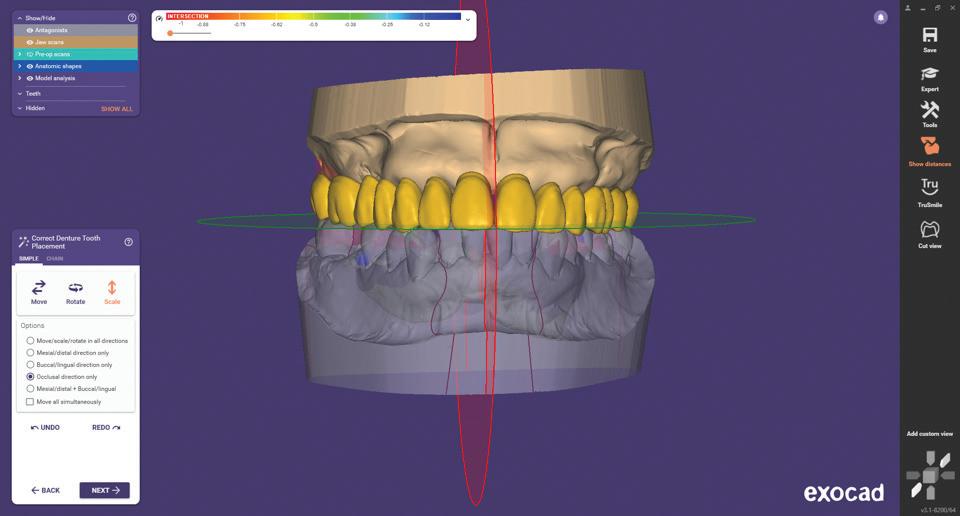
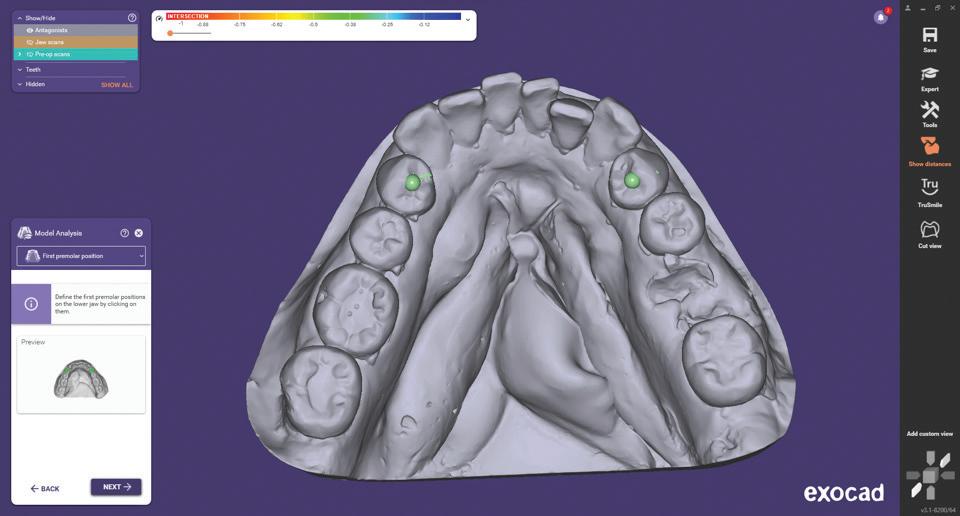
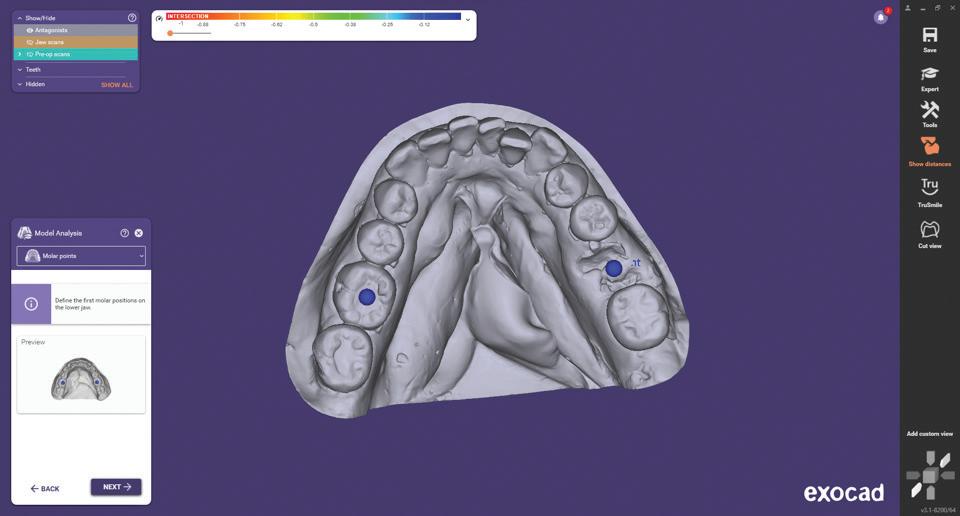
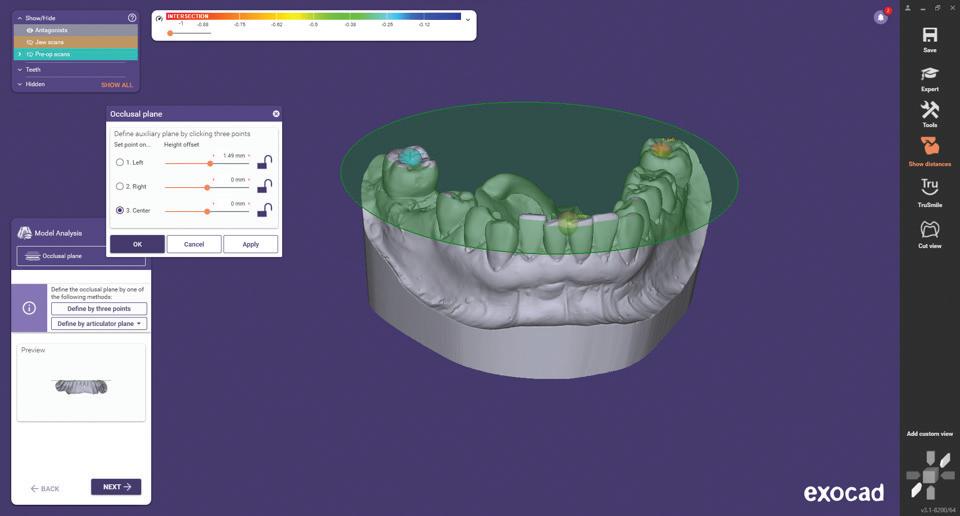
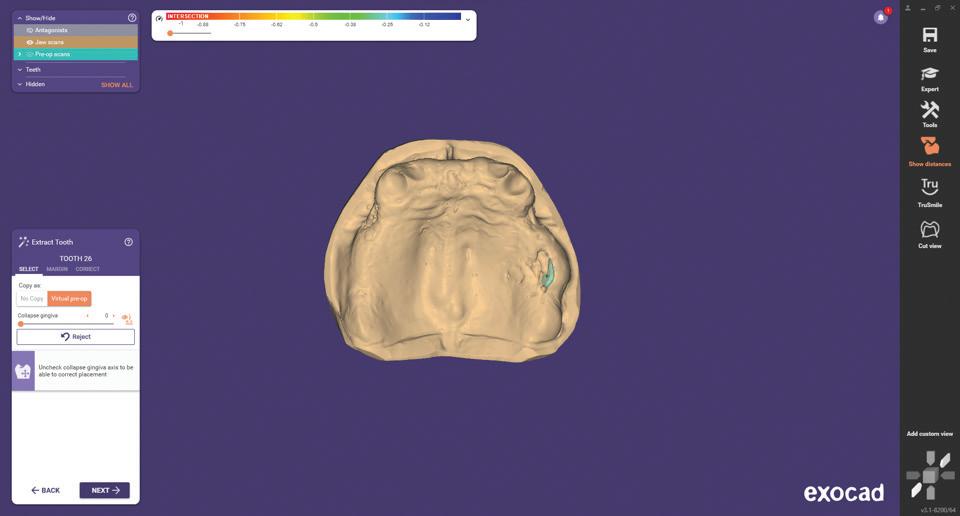
Once the impressions and registration are scanned and aligned, it’s time to choose a CAD software. For this immediate denture design, I have chosen exocad as we will be able to design this denture in an incredibly short time and most of the steps are automated. exocad will automatically digitally extract and socket the teeth, take the input from the user for a few landmarks and then choose a set of teeth it feels appropriate. Of course, you can intervene and select a different size or shape of teeth; if available you could use a carded set of teeth from the library but for our demonstration, we will select teeth that we will print. A few adjustments to the size and position, a quick reference to the pre-op model and we are ready to design the denture base.


When you first start designing dentures in CAD, you may feel overwhelmed as it is a different experience. However, once you grasp the concept and add your underpinning knowledge of setting teeth, it doesn’t take too long at all to get satisfactory results.

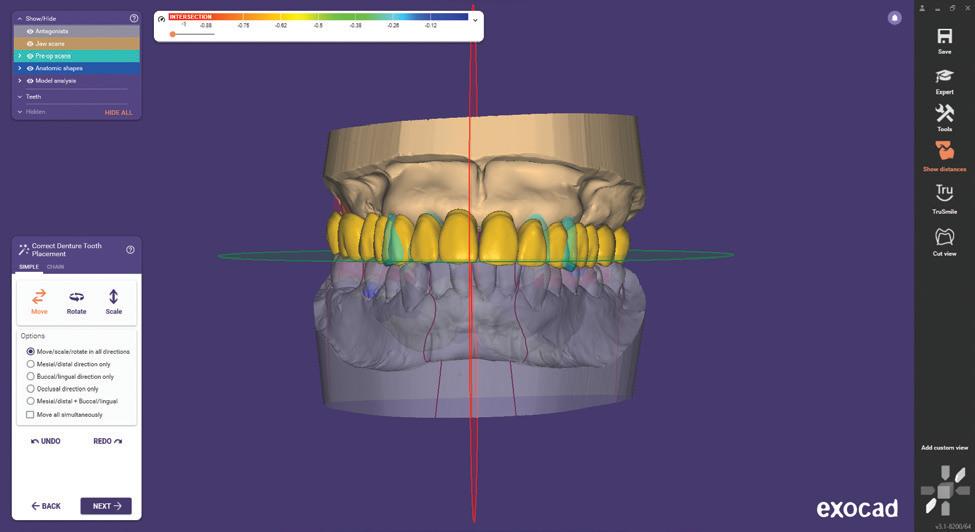

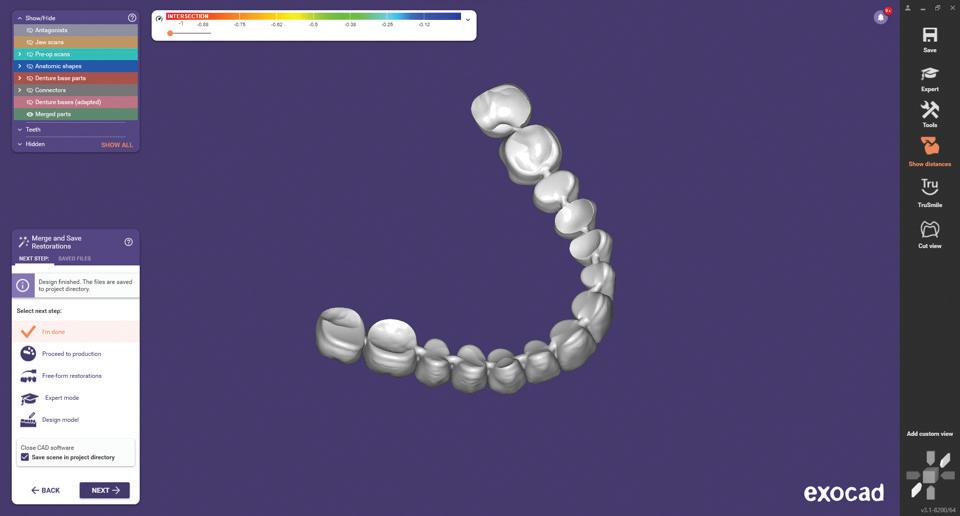
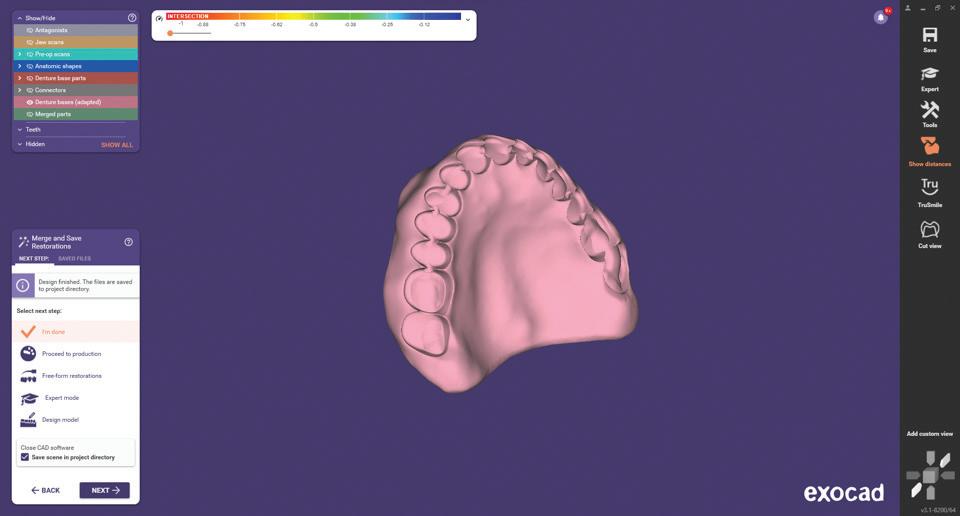
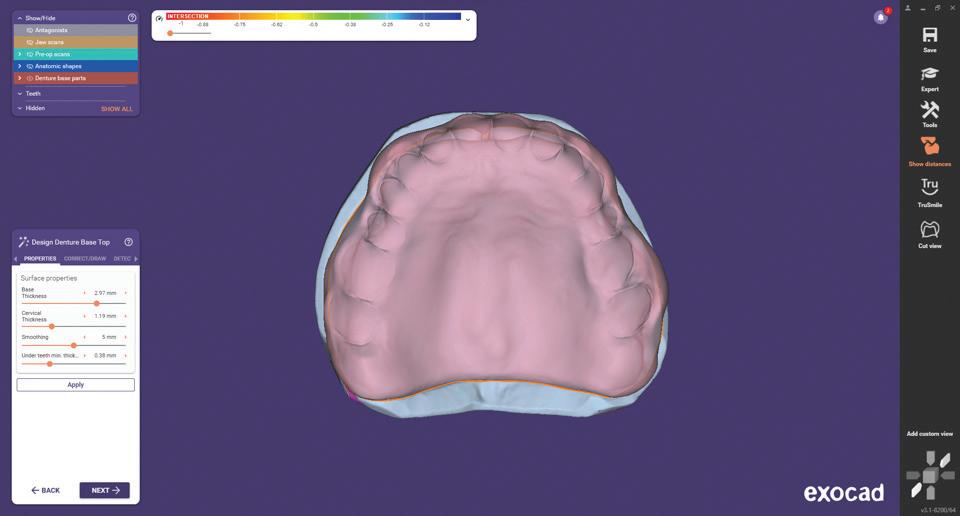
After setting the teeth, the denture base is designed and shaped to your liking. A few mouse clicks and the files will be ready to send to the 3D printer’s slicing software.

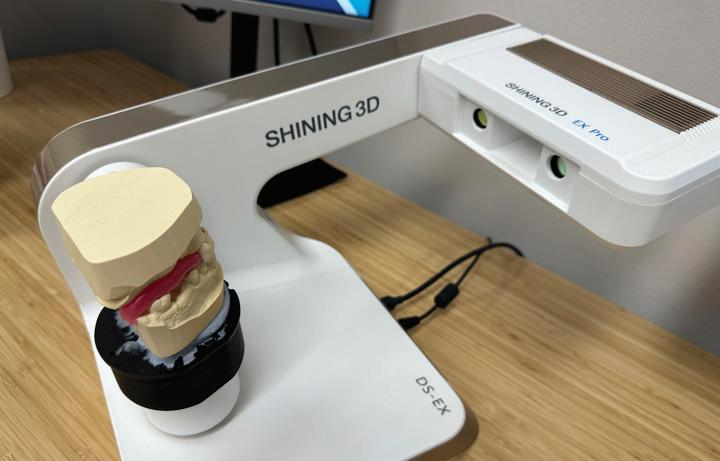
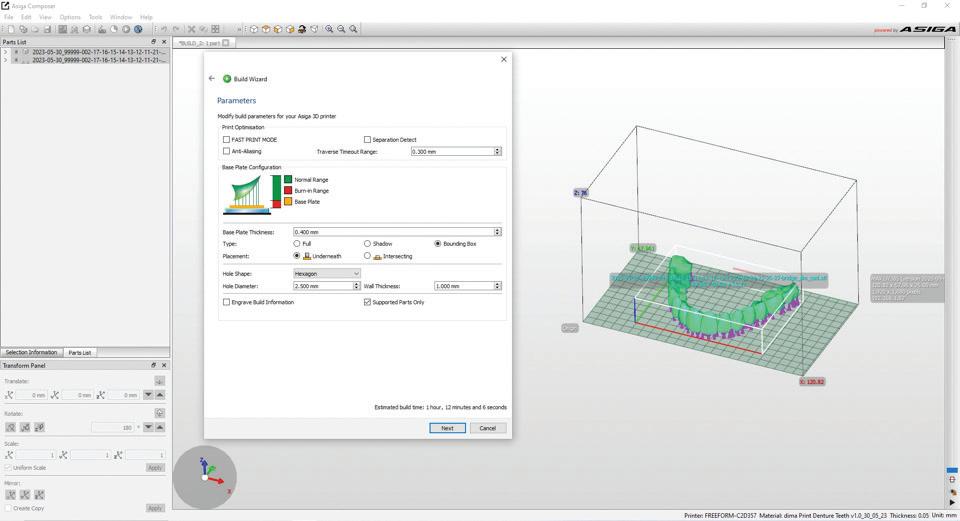
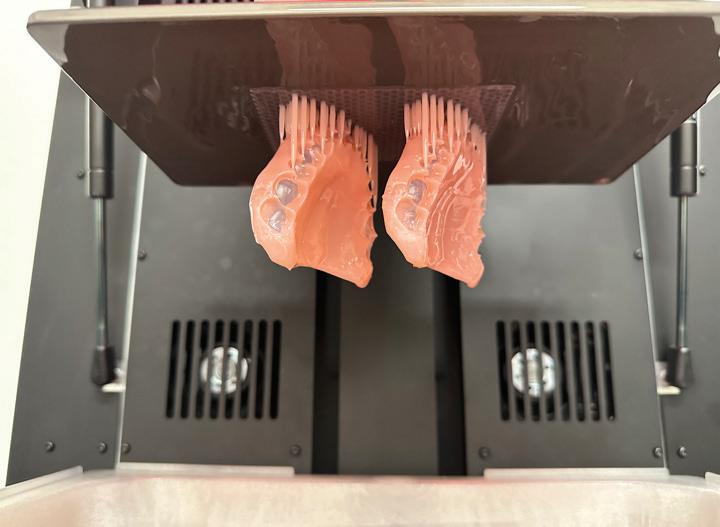
For this case, I’m using an ASIGA MAX UV printer. I will have two files, namely the baseplate and the teeth. Obviously I cannot print these on the same printer at the same time as they use different resins, so I will print one then the other. The ASIGA Composer software is very easy to use once you get your head around it. It’s a bit industrial, but nonetheless it’s still user friendly enough and there are a lot of features you just don’t really need to worry about. Make sure you select the correct resin and the correct layer thickness, set the denture and teeth to be printed in the correct orientation and pretty much the rest is automatic. Support structures will be automatically generated and these can be edited for size and population. There are lots of tutorial videos available on the internet that can help you with this part of printing so take my advice and have a look at them as they will assist with the finer points.
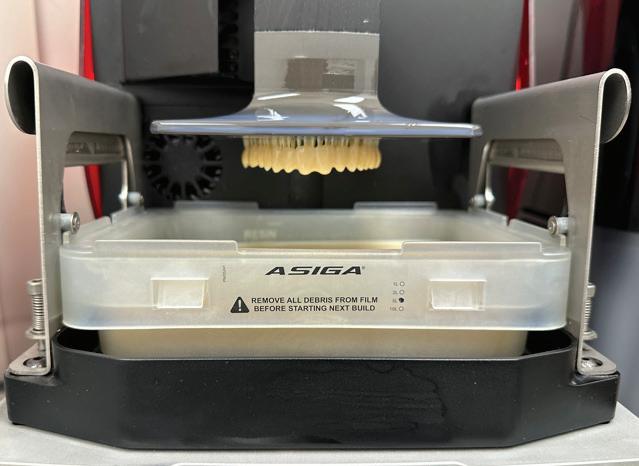
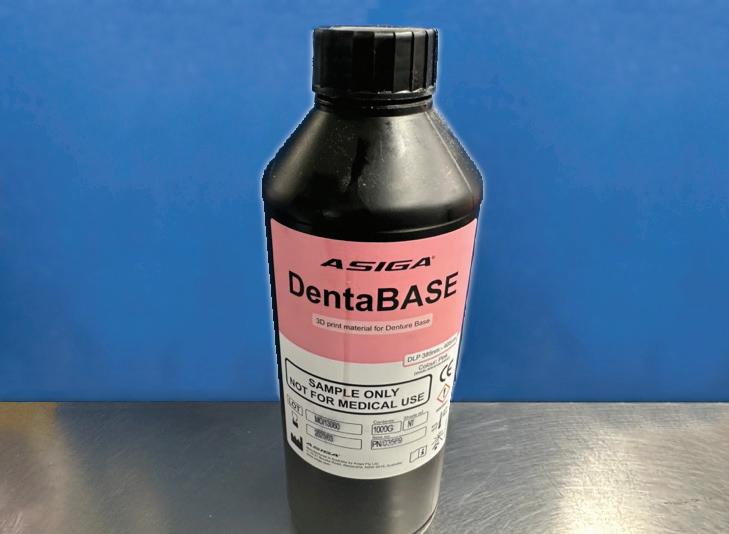
Selection of resin is our next port of call. As it stands at the moment, resins for dentures all sit in the Class IIa category. Without going into great detail, this class of 3D printable resin allows use intraorally on a long term basis. It’s much harder for manufacturers to register these types of resins with the TGA than say, a Class I resin, which is for short term intraoral use such a a surgical guide. Hence the amount of resins available for use for dentures is currently quite limited. Offerings from Kulzer, Dentsply Sirona, Saremco and Nextdent to name a few are avail- able for use. Which is the best? This is something you will have to try for yourself as its really an individual choice–all are very good. For this demonstration, I’m using Kulzer and ASIGA resins. The ASIGA resin is not registered at this time but will be shortly and I really wanted to use it for the demonstration as it’s a very good denture base resin. For the printed teeth, I’m using Kulzer DIMA.

Once the denture base and teeth are printed you can remove the supports. I remove the supports before curing as they tend to be less brittle, but you will have to decide what suits you best. Then follow the manufacturer’s instructions for cleaning and curing. This is a very important step as it will allow the resin to achieve its correct physical and optical properties and make sure the resin is cured enough to reach its biocompatibility rating.
Once cleaned, the prints can be prepared for joining; trim any leftover supports with a bur and handpiece and then test the two parts for an intimate fit. For the joining procedure, I used some of the baseplate resin on a brush and carefully wet both surfaces before pressing them together. Some people may opt for a specialised adhesive, but again, it’s personal choice. Cure for the manufacturer’s recommended time and be aware that once you do, you will not be able to separate the parts again. If you work clean and neat, finishing is very minimal with the usual method of pumice and high shining.


