
7 minute read
Session 2 . Neighbourhood Mapping


NEIGHBOURHOOD MAPPING

SESSION 2 NEIGHBOURHOOD MAPPING

OBJECTIVE
• To identify places that make your neighbourhood unique. • To understand the concept of ‘living heritage’, including tangible and intangible heritage. • To learn more about your own neighbourhood in a fun way.

TIME SCHEDULE
DAY TWO
9.00 - 9.15
9.15 - 9.30
9.30 - 9.45
9.45 - 10.00
10.00 - 11.30
11.30 - 12.00
Homework ACTIVITY WHY HOW TOOLS
Reflection on neighbourhood narrative
Establish project boundary
Introduce the timeline Briefing for mapping exercise Mapping exercise Report back and create identity map Add your favourite place
To refresh the student’s minds and allow for additions/changes To show that people have different perceptions of neighbourhood To get everyone on the same page
To put local events and key landmarks into
perspective
Divide roles, understand the 6 iDiscover categories and familiarize with the
mapping criteria.
To find places that make the neighbourhood unique Document the neighbourhood’s unique places from student perspective Allow for additional places to be added next session Teacher will ask students for any new places, additional thoughts based on conversations outside the classroom. Every student will be asked to draw their boundary on the map in red colour. The teacher will show the project boundary and all students will draw it on their own map. Teacher will introduce the timeline with 5 key landmarks or historic events in the neighbourhood, students can keep adding to it throughout the project. • Teacher will introduce the 6 iDiscover categories and explain mapping criteria. • Students are divided into groups of 3 (note taker, photographer, navigator).
Neighbourhood is divided into smaller parts that are easy to navigate • Each team comes up with a group name.
\\ Outside-the-Classroom Students go out in groups of 3 and have to locate a minimum of 10 places each that make the neighbourhood unique in the student’s perspective. • Each student group is asked to present their photos and findings to the other groups. • Assign a ‘mapping team’ to pin the places on the map and in google maps. • Teacher and students can ask questions clarifications. Ask your friends/family/teachers about their favourite site in the neighbourhood. • A3 printed maps • Two colour markers
• Tape or washing line, memory cards, marker, newspaper clippings, photographs old postcards etc.
• Videoclip: how to make timeline • Briefing Ppt • Permission form
• Place selection template • Clipboards • One camera per group • Permission form • A3 printed map with
group boundaries • A1 printed map • Small post-it’s in 6 colours • Laptop with access to
Google MyMaps


- mariana Isa, heritage output lab, kuala lumpur
notes


SESSION 2 ESTABLISH PROJECT BOUNDARY

OBJECTIVE
To get everyone on the same page.
QUESTIONS TO ASK
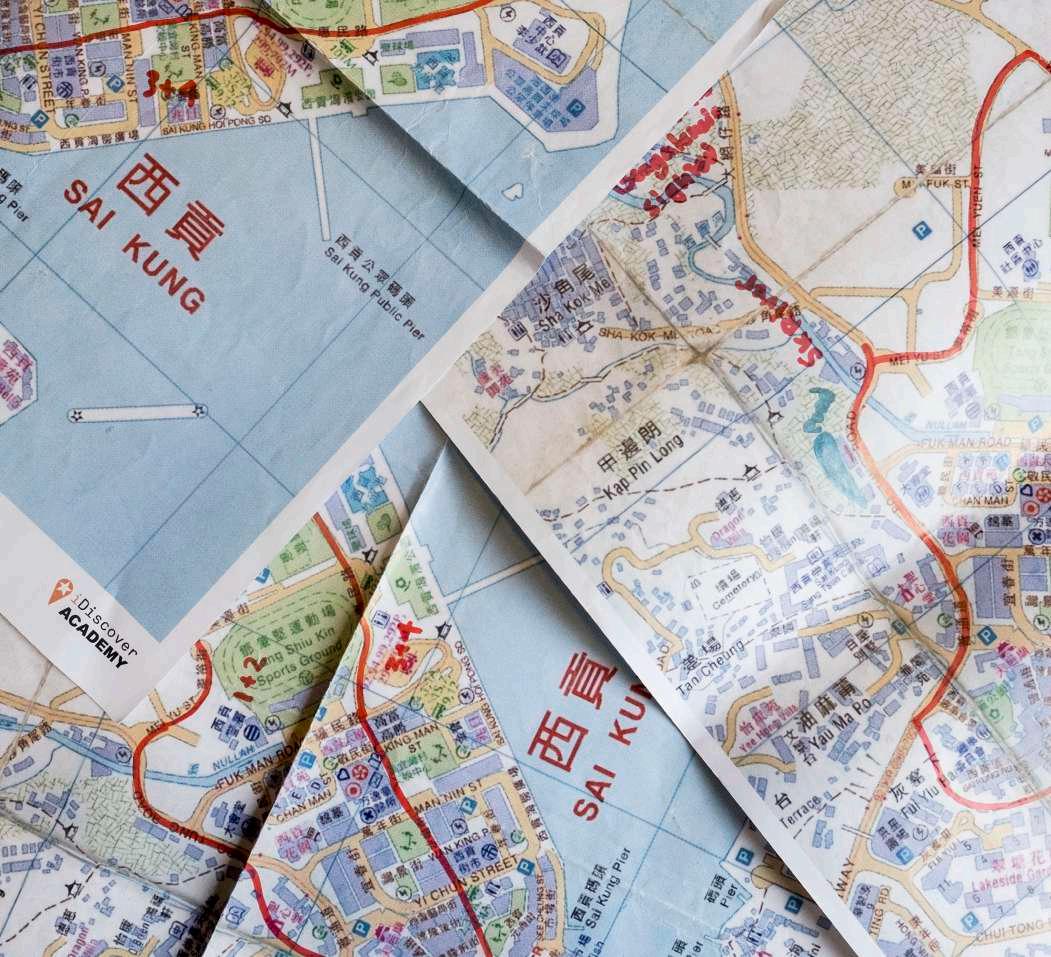
When you ask different people to draw a boundary of the neighbourhood, you’ll realise everyone defines a neighbourhood differently. A lot of times, these boundaries are different from official map boundaries. They may or may not depend on: • A train, MTR or bus station • A busy market or popular theatre • a river, road or railway line that creates a natural boundary • the name of a street • a major historic landmark
checklist
We advise to select an area that:
Is easy to navigate, from experience we know that anything around 500m by 500m works well and 1 sq km is the absolute maximum distance.
Avoids big busy roads.
Is directly around the school premises.
The boundaries are easy to recognise and familiar to the students.


SESSION 2 INTRODUCING THE TIMELINE

OBJECTIVE
QUESTIONS TO ASK PUTTING THINGS IN PERSPECTIVE
• The timeline is a simple and effective tool to put local landmarks and key events of a neighbourhood into perspective. • The neighbourhood narrative and timeline serve two purposes: - a constant and familiar reference point throughout the project - self-made display material for the exhibition • What were key events/milestones that shaped the neighbourhood? • For tips/ tricks on how to make a great timeline, watch this video
step by step guide

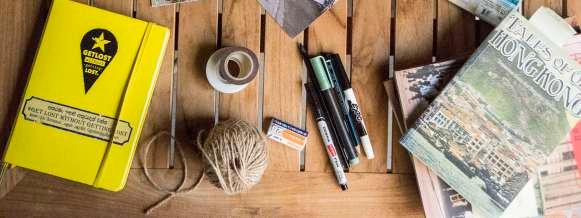
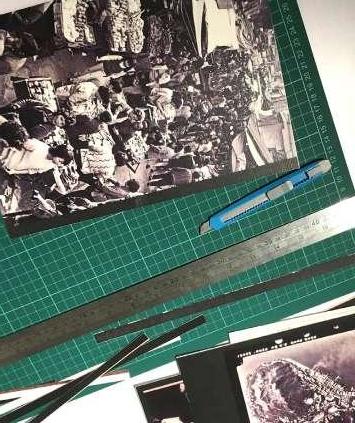
• Create the base-timeline with 5 key landmarks/ historical events in the neighbourhood. • Keep adding to it throughout the project. • Drawings, newspaper clippings, postcards, labels, photos, cartoons, anything goes! • Great opportunity for more visually oriented students to contribute to the thinking process.



SESSION 2 NEIGHBOURHOOD MAPPING

OBJECTIVE

QUESTIONS TO ASK IN OTHER WORDS
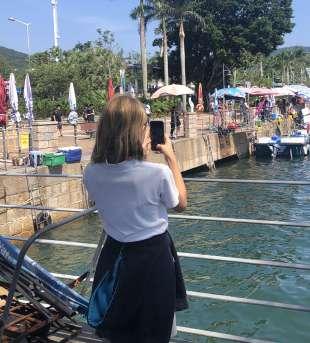
• What are the places that make this neighbourhood special? • If_____ would disappear it wouldn’t be the same place anymore • What would you show your friends from overseas, where would you bring them?

step by step guide
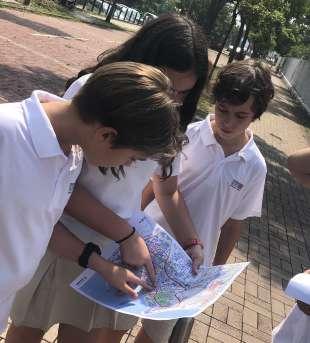
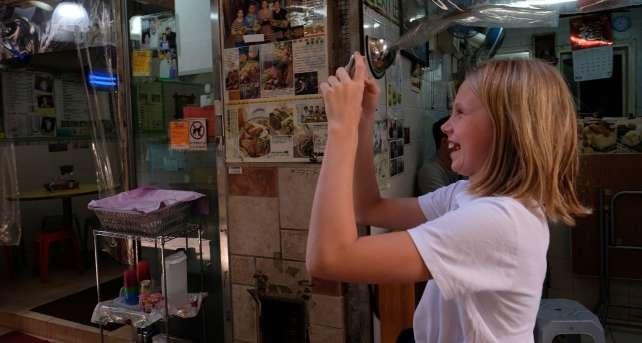
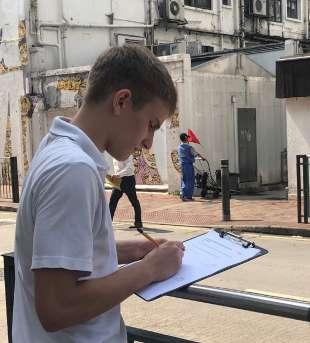
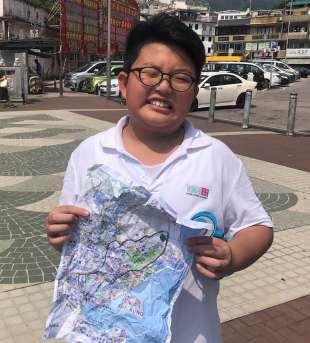
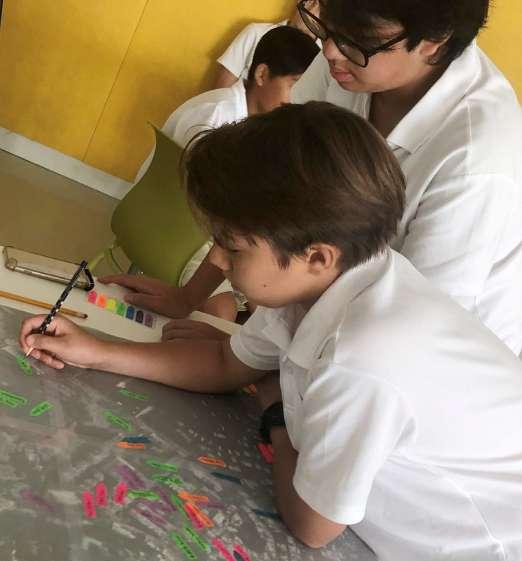
1.Students are divided into groups of three: a note taker, a photographer, a navigator. 2.Each group has to locate a minimum of 10 places each that make the neighbourhood unique in their own perspective. 3.For each site, students track the location, take a picture and write down in one sentence what makes the place unique.
6 IDISCOVER CATEGORIES
iSEE.
Local landmarks and architectural highlights.
iDRINK.
Traditional drinks & home-made brews.
iEAT.
Authentic dishes, popular snacks & famous eateries.
iSHOP.
Old trades, speciality shops & independent retailers.
iPLAY.
Favourite hangouts, squares & local hotspots.
iSURPRISE.
Urban legends, memorable stories & local festivals.
QUESTIONS TO ASK

To round off the session, use some time to reflect on some of the student’s choices: • How does this site relate to the neighbourhood narrative? • Is it really so special you can only find it in this neighbourhood, or could you find this elsewhere in the city? • What makes it so special? • Are there observations in the narrative that we don’t see represented in the selected places?

insider tips!
USE YOUR 5 SENSES TO FIND UNIQUE VALUES
• SIGHT - What do you see?
(buildings/streetscape/colours/shops/signs)
• SOUND - What do you hear?
(conversation/tram/bus/motorbikes/marketplace)
• TASTE - Have a bite!
(flavours/recipes/price)
• SMELL - What do you smell?
(trees/flowers/incense/fumes)
• FEEL - What do you feel?
(breeze/heat/space)
Keep an eye out for the unique. Trust your own curiosity.
step by step guide creating the identity map

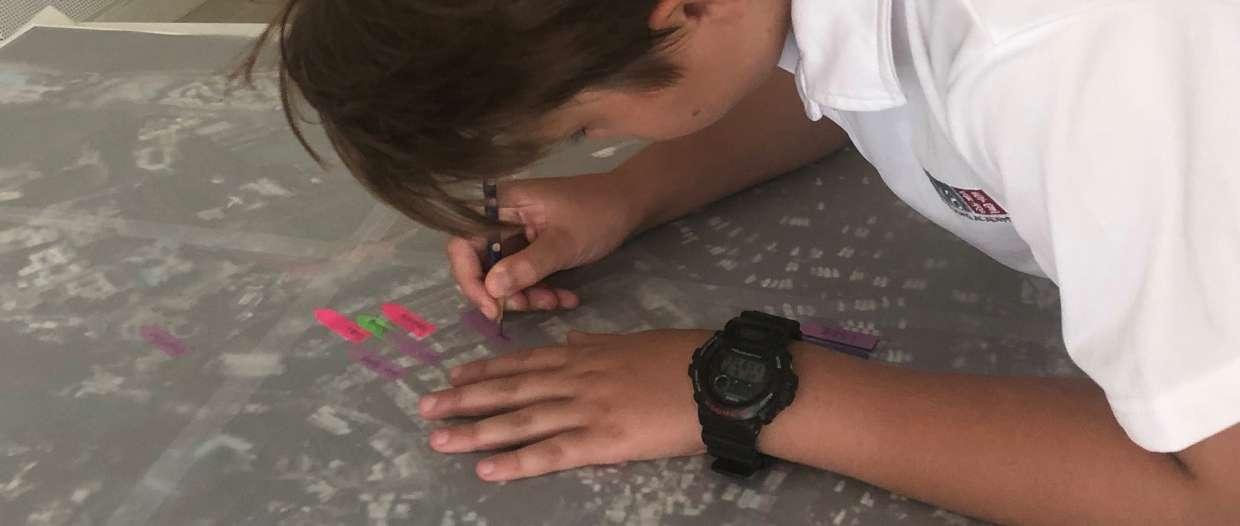
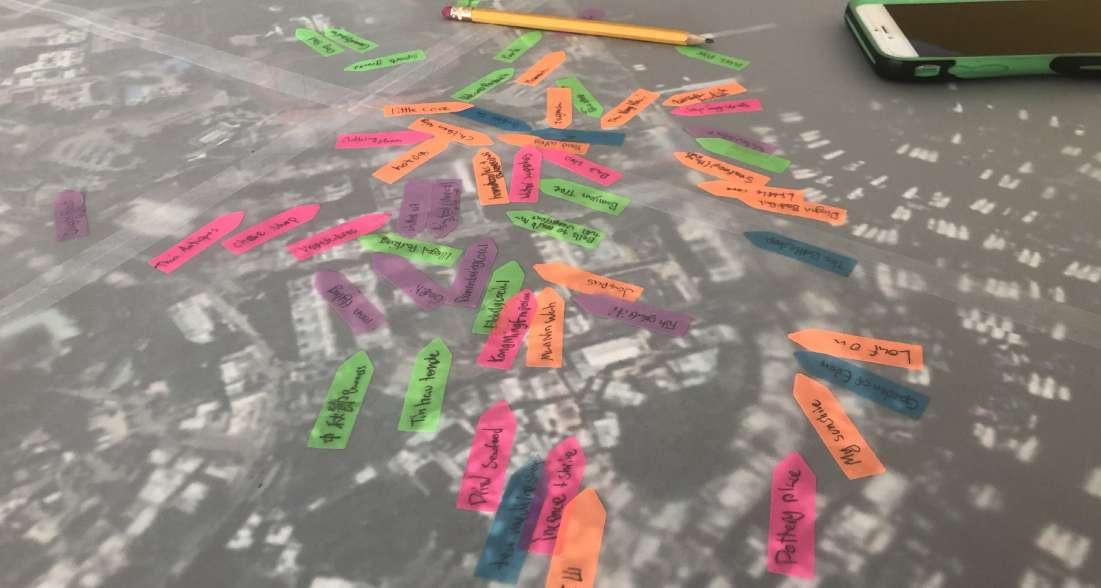
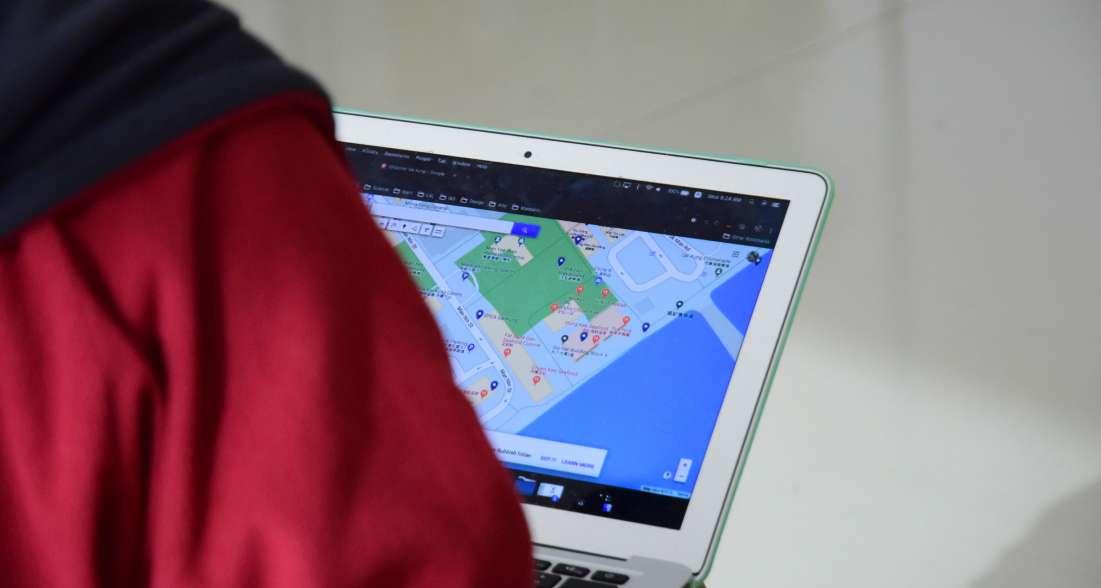
1.Each group has 3 minutes to present their 10 favourite places to the group 2.They show the 10 photos on the screen and share their observations 3.Meanwhile a ‘mapping team’ records the selected places by pinning them on the physical map and also in google maps 4.Teacher keeps the time!


- calvin, grade 9


