
7 minute read
Session 7 . Publish Content& Prepare Pop-Up

UPLOAD CONTENT & PREPARE POP-UP


SESSION 7 UPLOAD CONTENT & PREPARE POP-UP

OBJECTIVE
• To test and troubleshoot a tech product • To put design ideas and creative thinking into practice • To reflect on learning outcomes of the project and suggest ways to improve it

TIME SCHEDULE
DAY SEVEN
9.00 - 9.30
9.30 - 11.00
BREAK
11.00 - 12.00
Homework ACTIVITY
Final briefing
Finalise Map Upload Content Prep Exhibition Individual reflection sessions Distribute invitations WHY
To manage expectations and get everyone on the same page.
Let students take the responsibility for the timely delivery of a real product. To understand what the students learned and be able to continiously improve the mapping methodology.
HOW
Teacher gives final briefing.
Students divide in three teams: Tech team - upload content & coordinates into CMS and test app. Design Team - finalize & print map, make an invitation card (digital or printed). Exhibition team - put the project materials on exhibition panels, prepare project presentation, make a man schedule for the exhibition. Each student has the opportunity to reflect on the learning outcomes in an individual session. By doing it individually it should not disturb the workflow. Each team is responsible for inviting the people they have interviewed.
TOOLS
• PPT - what the final product should look like
• Exhibition panels, pins, tape, coloured markers, tracing paper, post-its
• CMS support – so students can upload content themselves
• Printers (or printshop) to
print maps and invitations • Reflection template


- khalid saleem, teacher hk academy
notes

SESSION 7 UPLOAD CONTENT

OBJECTIVE
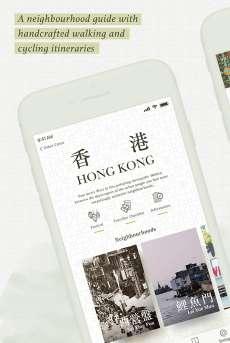
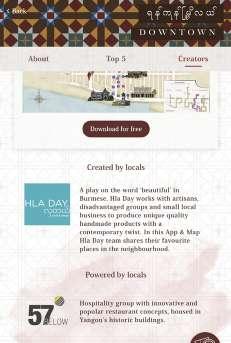
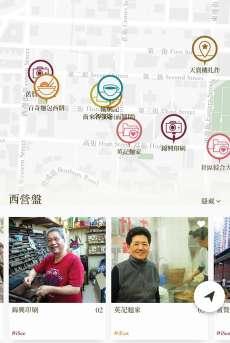

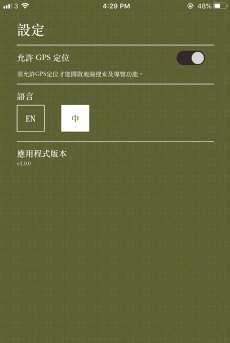
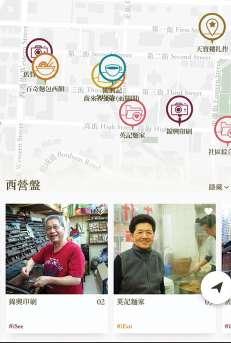
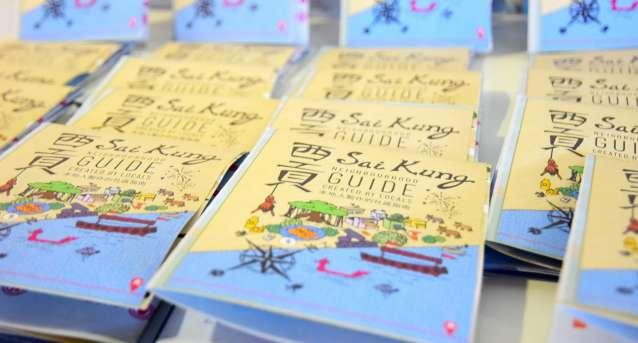
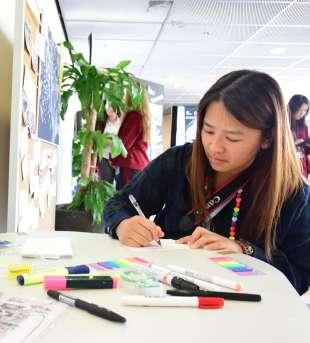
Students take the responsibility for the timely delivery of the app, map & pop-up. They divide in three teams depending on skillset and interest. 1.Tech team - upload content into CMS and test app. 2.Design Team - finalize & print map, make an invitation card (digital and printed). 3.Exhibition team - put the project materials on exhibition panels, prepare project ppt, make a man schedule for the exhibition.
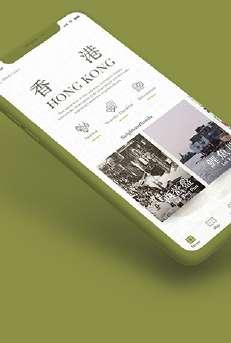

iDISCOVER CONTENT MANAGEMENT SYSTEM
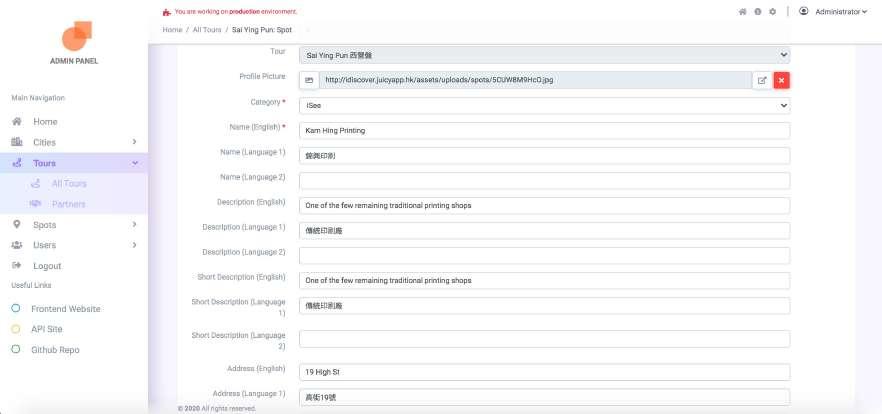
photo category

address photo captions (up to 400 characters)
Watch the online tutorial!
name of place
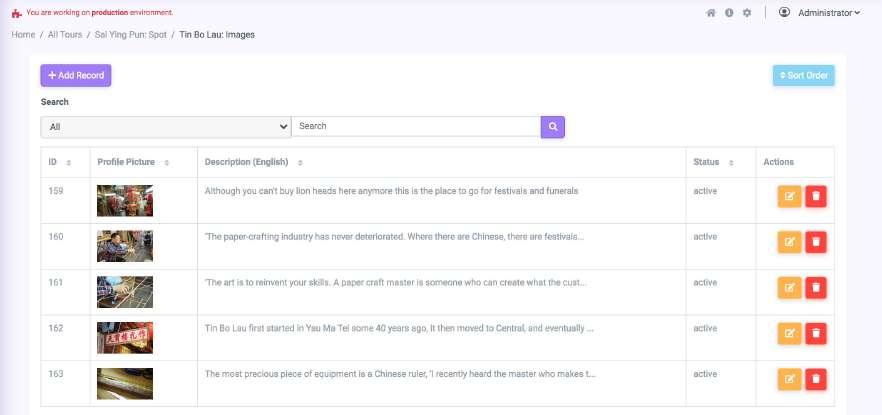
description

SESSION 7 PREPARE POP-UP EXHIBITION


STEP BY STEP GUIDE CREATING A GREAT EXHIBITION
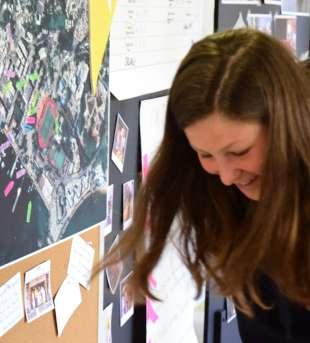
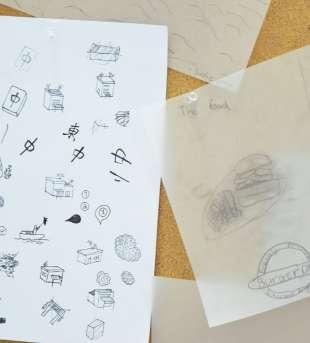
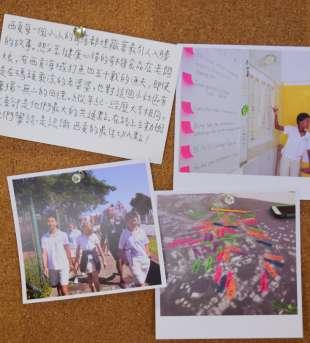
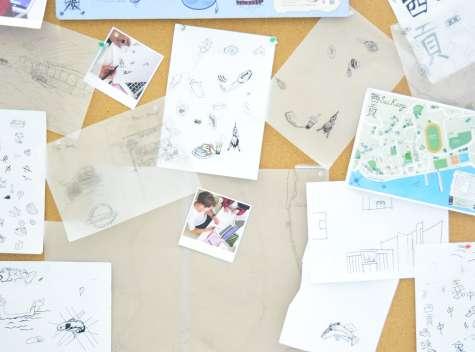
1. Get some large panels, pin boards or a wall you can use to display items. 2. For easy structuring, divide the area into the sections that correspond with the six steps in the #MapMyNeighbourhood project. 3. Use the materials from the project: the neighbourhood narrative, the timeline, pictures, sketches, neighbourhood identity map, original drawing of the A1 map, anything goes. 4. Make sure you print the map really big, at least A1, but the bigger the better, people like pointing at maps. We even printed it on a large sheet of banner plastic and put on the floor so people could walk on it. 5. Reserve a space for visitors to leave their own story of memory of place or comments/suggestions.

IDEA BEHIND A POP-UP EXHIBITION
• To share the stories and discoveries of the neighbourhood with students, teachers and the school community • To bring the stories back to the community and make them feel proud of their place • To give visitors an insight into the creative process of discovery
insider tips
A DIGITAL DISCOVERY
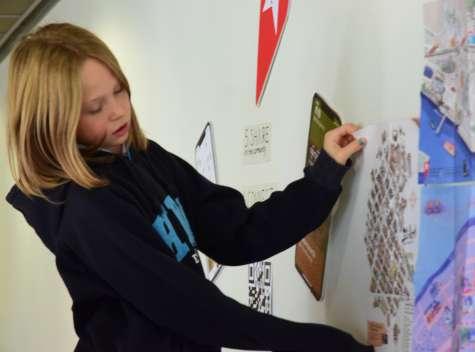
• Encourage exhibition visitors to go out and explore the neighbourhood! • Have an i-pad or i-phone available with the app route readily accessible • Have the App QR code printed on the panels so people can download easily • Distribute printed maps to visitors

INVITATIONS
• Printed invitations - to give to people in the neighbourhood. Each team is responsible for inviting the people they have interviewed. • Digital invitations – to send around in the school community.

SESSION 7 PROJECT REFLECTION

QUESTIONS TO ASK
About the project
• Describe the project in three words • What did you expect from this project? Anything happened that was beyond your expectations? • Are you happy with the outcome of the project? • What did you like most?

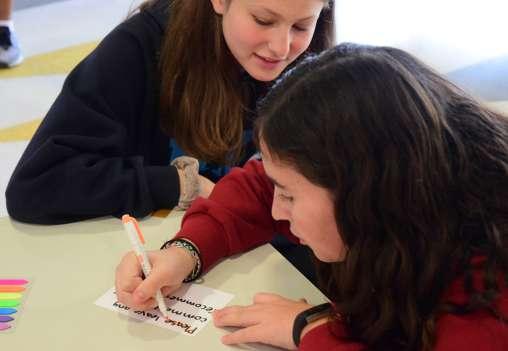
About you
• Name one skill that you’ve acquired throughout the project • Did the project increase your understanding of the neighbourhood • You think this project increased your pride, sense of belonging to the neighbourhood? • What could you have done better/would have liked to spend more time on?
About us
• What could we have done better/given you more guidance on • What would you change in the project?
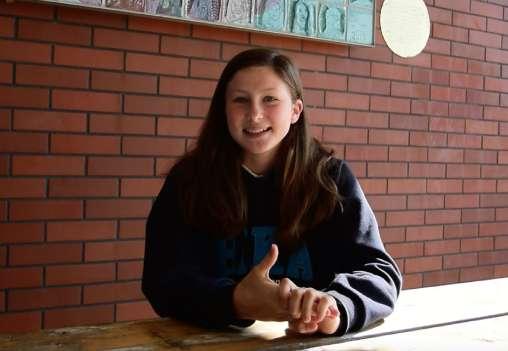
About the product
• Do you think this App&Map can teach people something new about the neighbourhood? • Do you think this App&Map can bring more visitors to the shops? • What functionality would you like to add to the app?
insider tips
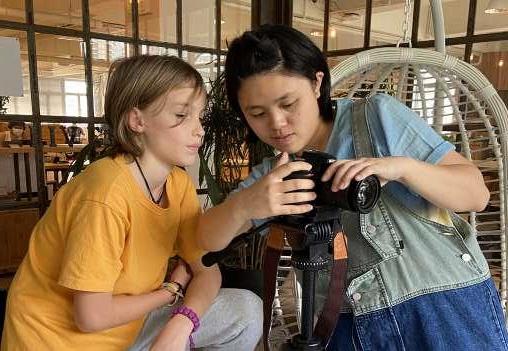
RECORD THE REFLECTION MOMENTS!

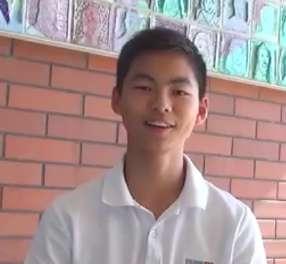
- jay, grade 9

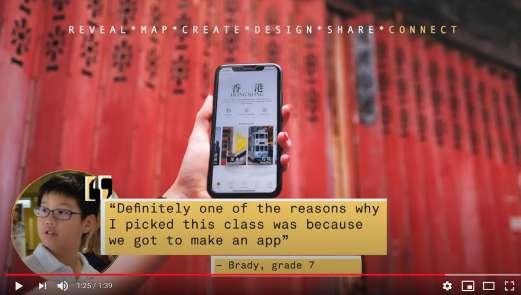
- brady, grade 7
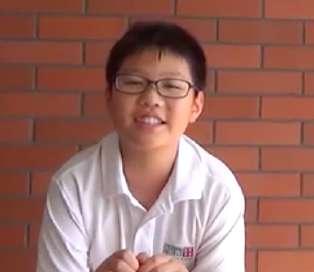
IT’S MORE INTERACTIVE WITH THE CITIZENS AND PEOPLE WHO LIVE HERE BECAUSE YOU GET TO ASK ABOUT THE HISTORY OF SAI KUNG, AND WHAT THEY’VE EXPERIENCED HERE.
- jeremy, grade 8


