2 minute read
Getting Started
To get you started with your kit, please follow the steps below. This does not use any of the MonkMakes add-on boards, so for now you don't need the alligator clips. If you have already used your micro:bit for other things, you can probably skip this section.
Step 1. Plug your micro:bit into your computer.
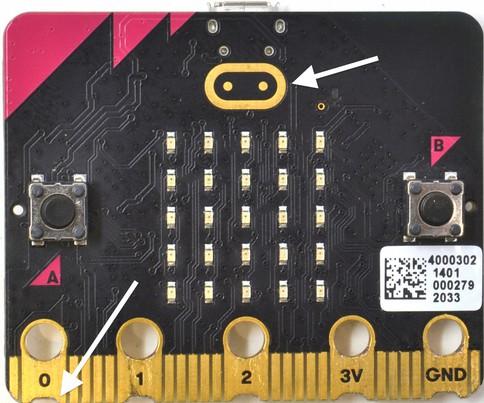
Connect your micro:bit to a free USB port on your computer.
If your micro:bit is new, then its LED display will start displaying messages and showing off various features of the micro:bit. You are going to replace this program currently running on your micro:bit with a new one.
Step 2. Open The Blocks Editor
To install the new program (incidentally the program is called welcome) onto your micro:bit, you first need to open it in the Blocks Editor. You can do this by going to the following page on your computer's web browser by clicking on the link below: https://makecode.microbit.org/_R0YbTwiDs0pE
This will open a tab that looks like this:
Page 6

Now, click on the Edit Code button (top right) to open the program in the Blocks editor as shown below.

Step 3. Install the Program
Next, you are going to send the welcome program to the micro:bit. The easiest way to do that is to pair your micro:bit to your computer. This will only work in the Google Chrome browser. To pair your micro:bit, connect it to your computer and then click on the three dots next to the Download button and then select the option Connect device. This will first pop-up some instructions, telling you to connect your micro:bit. Click on the Next button and this will open some more instructions. Click on Next again and then a pop-up will appear near the address area of your browser as shown on the left of the next page.
Page 7

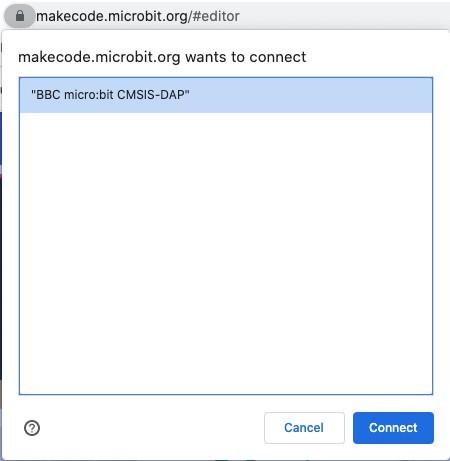
Click on whatever your micro:bit is called in the list that appears (something like BBC micro:bit CMSIS-DAP) and then click Connect. From now on, all you have to do to to put a new program onto your micro:bit is to click on the big Download button in the editor. Now click on that Download button to install the Welcome program. Once you click on the Download button, a yellow LED on the back of your micro:bit will start to flicker furiously as the program is flashed onto the micro:bit. As soon as the flashing has finished, the welcome program will start and display the message: Your Electronics Adventure Starts Here!. Congratulations, you are now ready to move on to Project 1! If you want to learn more about getting programs onto the micro:bit including options if you are not using the Chrome web browser, see: https://microbit.org/get-started/first-steps/set-up/
Page 8


