5 minute read
CHA PTER 1 SEWING BASICS
Success in any craft begins with a solid foundation of basic skills. Mastery comes with time and practice. Each time you practice a basic skill, you grow your abilities and improve. By practicing and experimenting with the techniques in this book, you will continue to develop your foundational sewing skills as well as learn new techniques. When that happens, you have truly made those skills your own. Before you know it, you will be a confident and masterful sewist!
If you are new to sewing, start by learning about both machine and hand sewing. In addition, you should understand the different tools that are available while also learning basic skills such as ironing and how to sew a basic seam. If you are returning to sewing after a long absence, you might feel your skills are a little rusty or need updating with modern sewing techniques and technology. A refresher course may be exactly what you need to feel inspired again.
Regardless of your level of sewing abilities, you are bound to learn a new tip or technique that is different or more useful than your standard method. Once you have a solid foundation in the sewing basics, you will be ready to choose a pattern and get underway with more creative projects and sewing success.
A Note about Step-by-Step Numbering
In this book, step-by-step instructions are broken down into small, bite-sized chunks for each phase of a project. Photos are given for some essential steps, but not all steps. Photos are almost always right next to the step text or mini section with which they correspond. If they’re not, they have an extra caption clarifying what they’re showing. So don’t be confused if you see more than one step 1 on a page!
Machines have lots of options and features, notions are available in all kinds of styles, and threads and fabrics come in thousands of colors and patterns. Fashion sewing has never been more engaging for the modern sewist.
Machine Setup
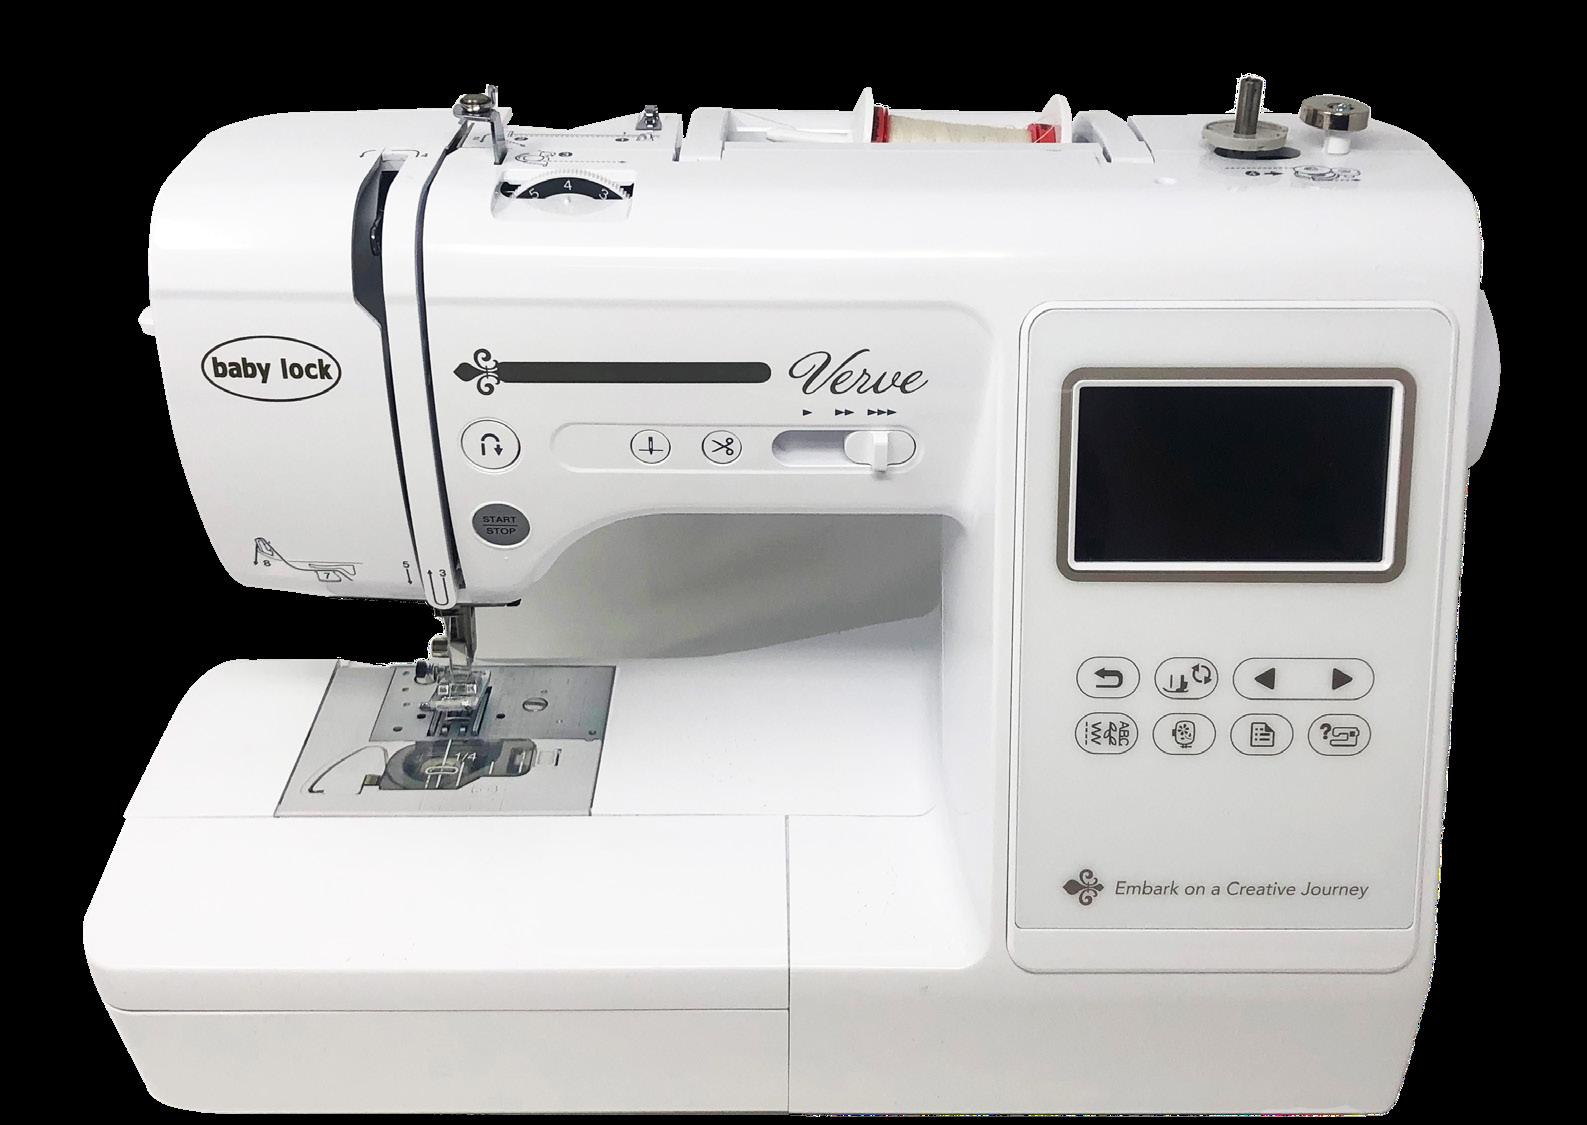
Regardless of the brand or functions, certain fundamentals concerning needles, thread, and stitching apply to all sewing machines.
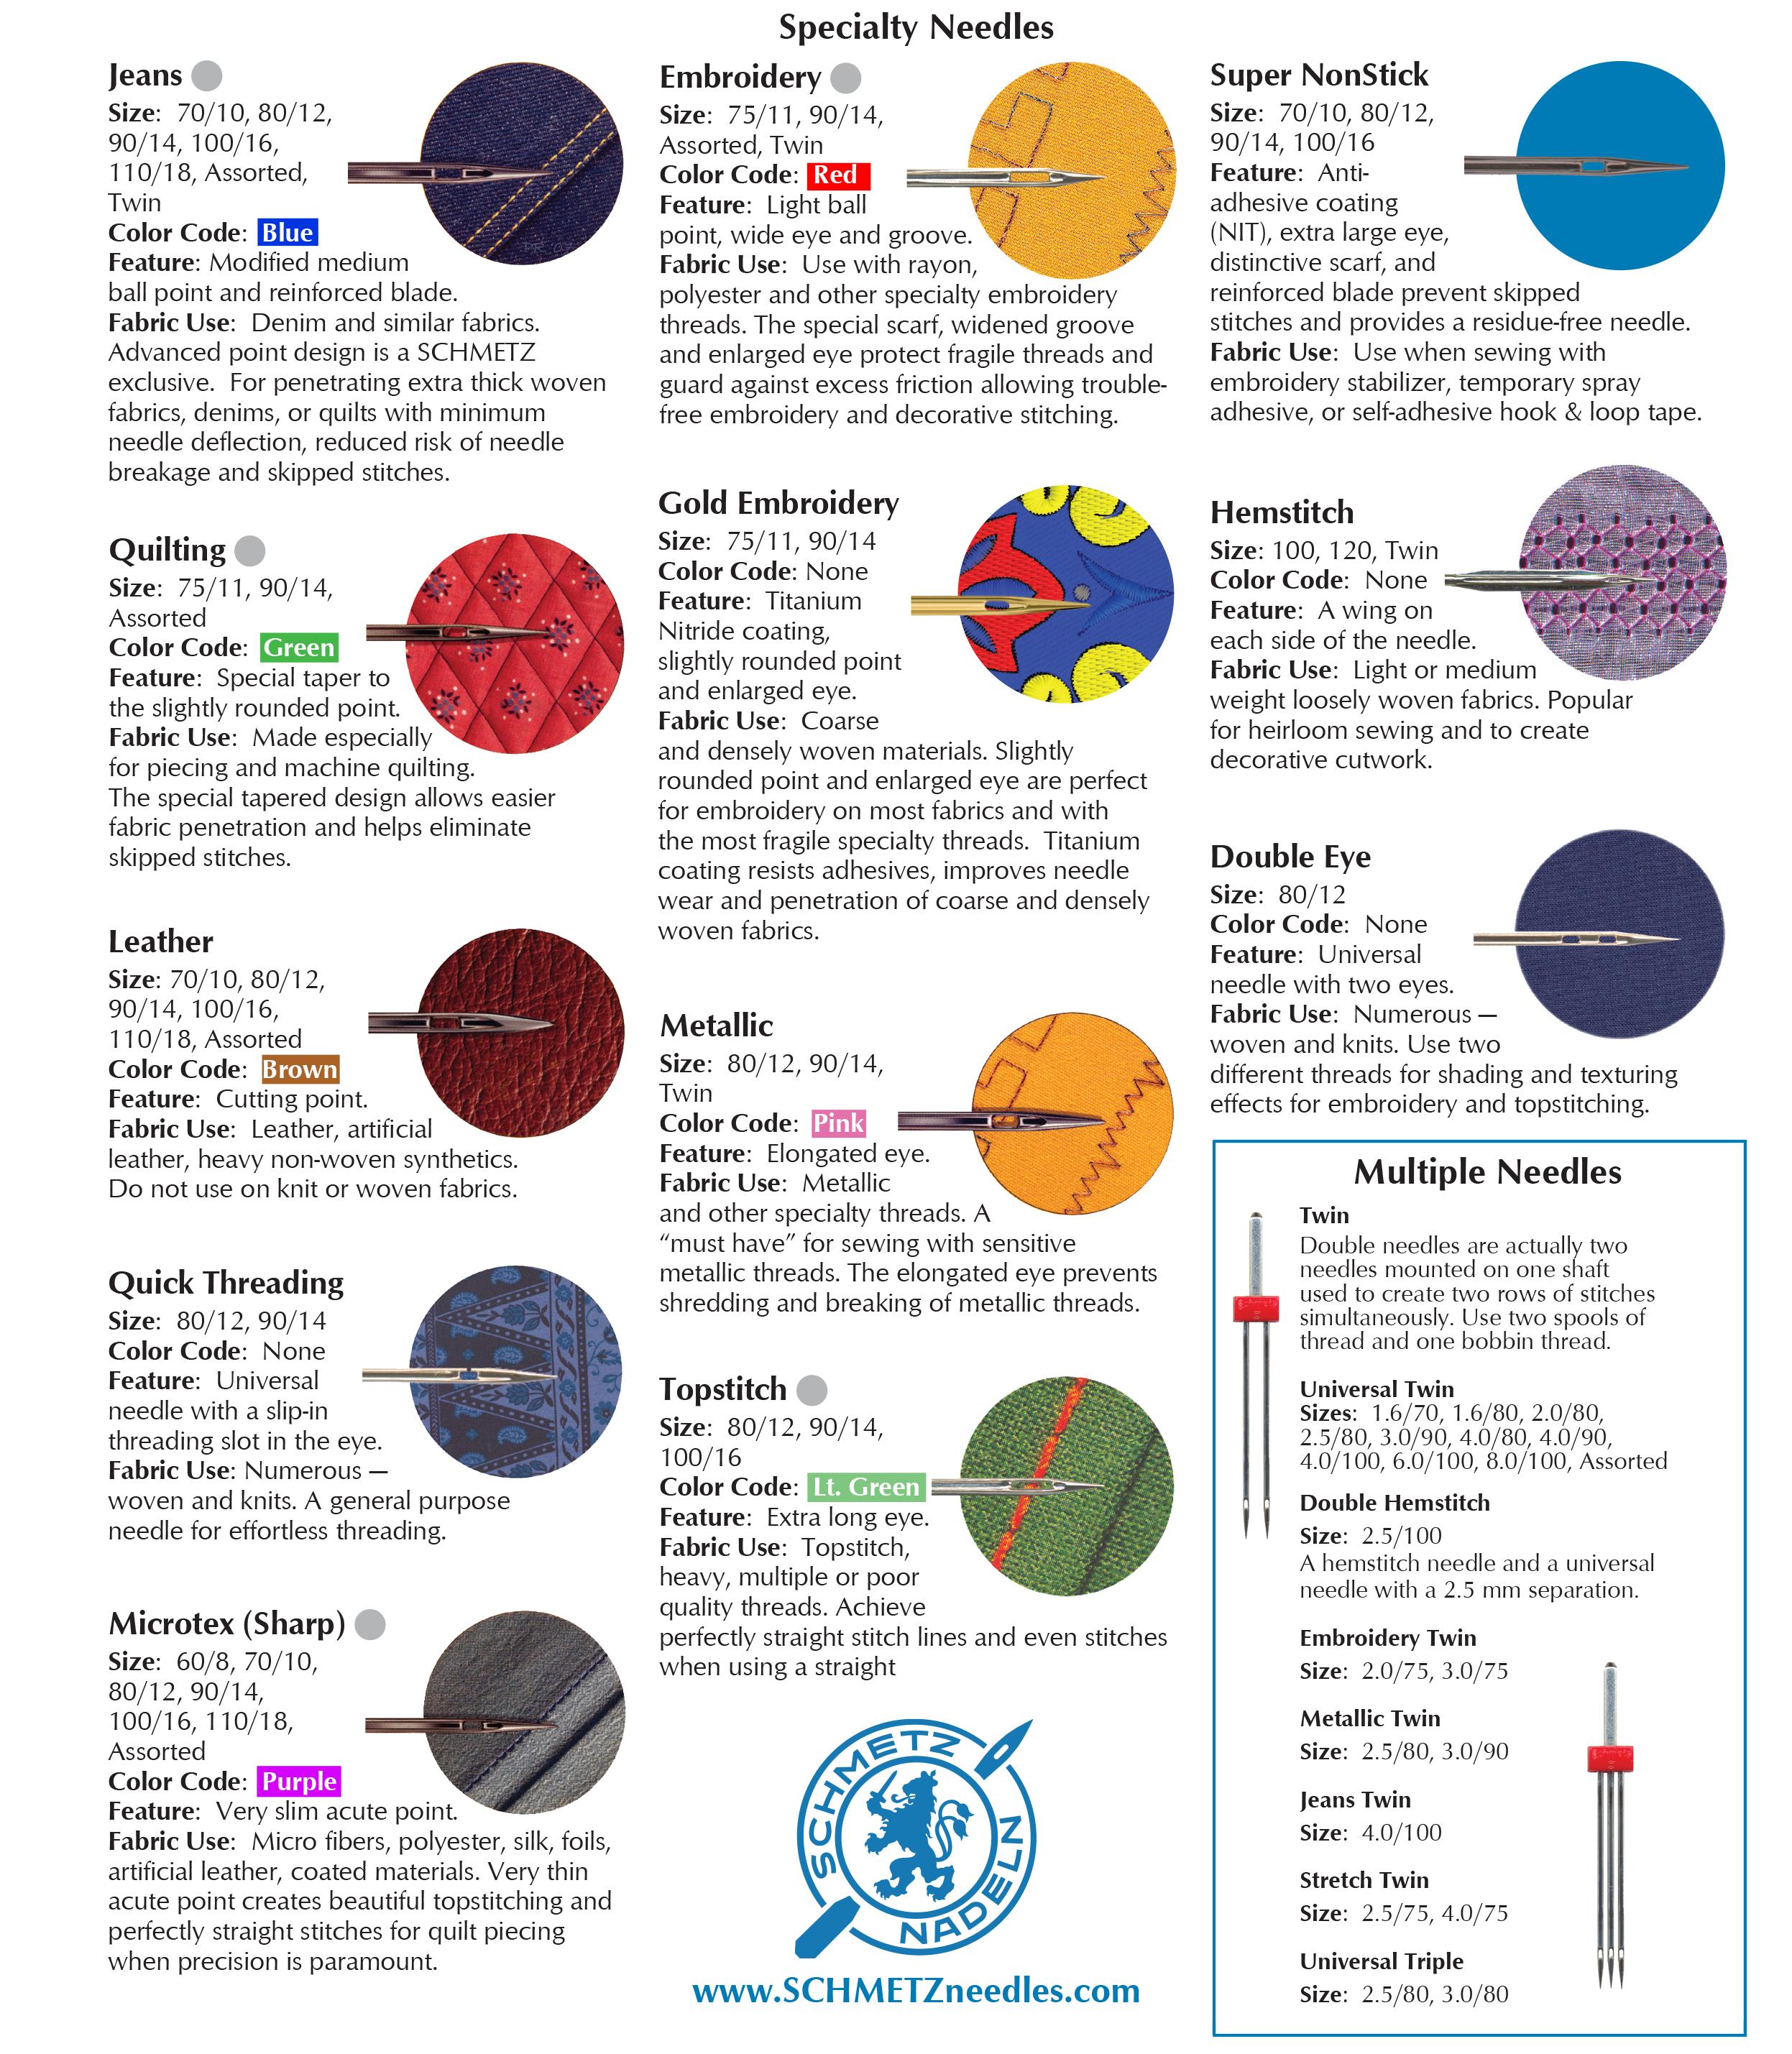
• The standard size 12–14 needle is suitable for all medium-weight fabrics except knits.
• Knits are best sewn with a size 14 ballpoint needle.
• The standard thread is a 50 weight all-purpose polyester thread or mercerized cotton.
• Set the machine to sew regular seams at 12 stitches per inch (2.5cm).
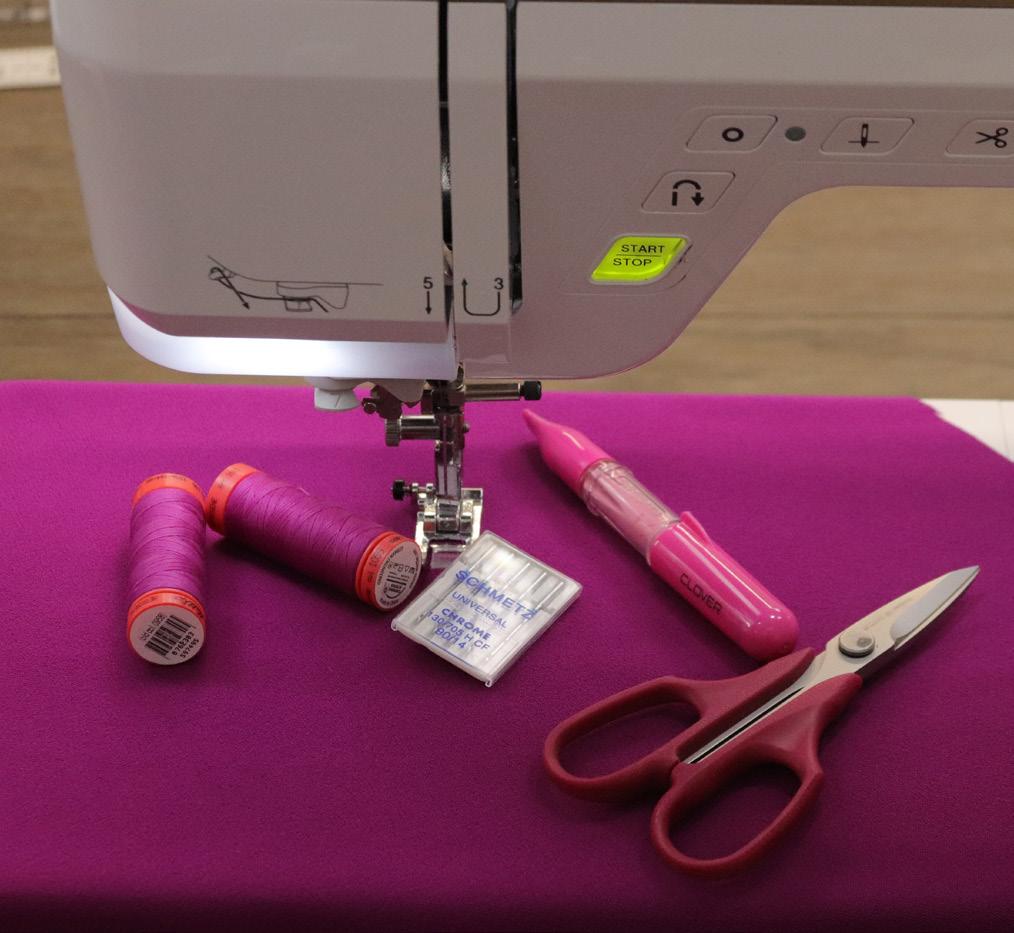
• Unless your machine makes stitches designed for knits, knit fabrics require special procedures (page 17).
For specific instructions on setting up, threading, and operating your sewing machine, see the manual that came with the machine. Note that the most common sewing machine abuses are simply failing to maintain the machine after purchase. Keep up on general maintenance with your sewing machine. See your user guide for instructions.
Tip Your machine is designed for you to only turn the handwheel toward you. Never force the machine wheel to turn in reverse. This may damage the sewing mechanisms.
Hand Sewing Techniques

No matter how sophisticated your sewing machine, there will always be a time and place for hand stitches—not only temporary basting and marking stitching, but the permanent finishing stitches that can make the difference between an amateur and a professional look.
Skilled hand work has many benefits and is necessary in those difficult places machines cannot readily reach. It provides more precision and control and can create stitches that are more elegant and less likely to harm delicate fabrics than machine stitches. The quality of hand stitching will always be apparent wherever you choose to apply these techniques, even though the stitches are often invisible and the seams are hidden.

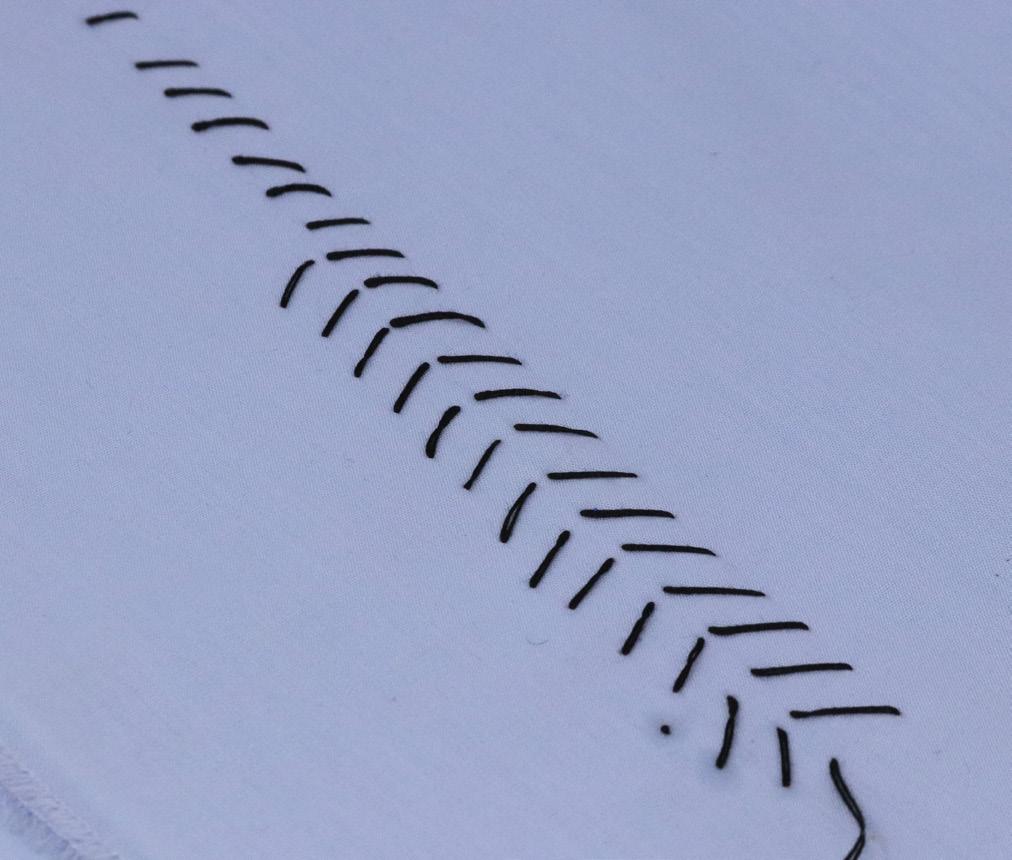
The Padding Stitch: To Add Body and Hold Interfacing in Place
The padding stitch is part of the tailor’s repertoire of permanent hand stitches and is concealed within the layers of collars and lapels, helping to give them body and shape.
1. Place the garment section to be padded in your lap. Thread the needle with knotted cotton thread and begin by bringing out the needle. Pull the needle through the interfacing and the upper layer of fabric at the top right of the area to be padded.
2. Bring the needle down at least 1/4" (0.5cm). The distance should be equal to the length desired for the diagonal padding stitch. Keeping the thread to the right of the needle, take a horizontal stitch from right to left so that the needle emerges directly below the point where the thread first emerged. The stitch should be equal to half the length of the diagonal stitch.
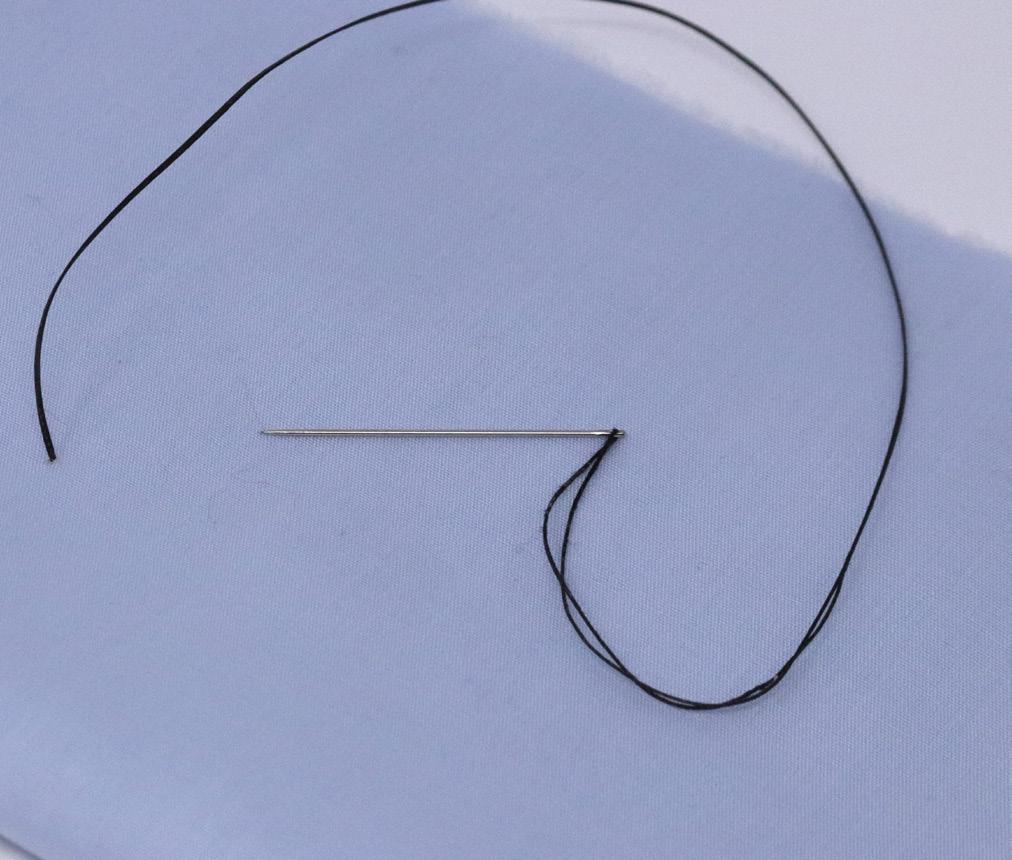
3. Push the needle through with the front of the thimble.
4. Bring the needle down the same distance as in step 2 and, keeping the thread to the right of the needle, take another horizontal stitch from right to left directly under the previous stitch.
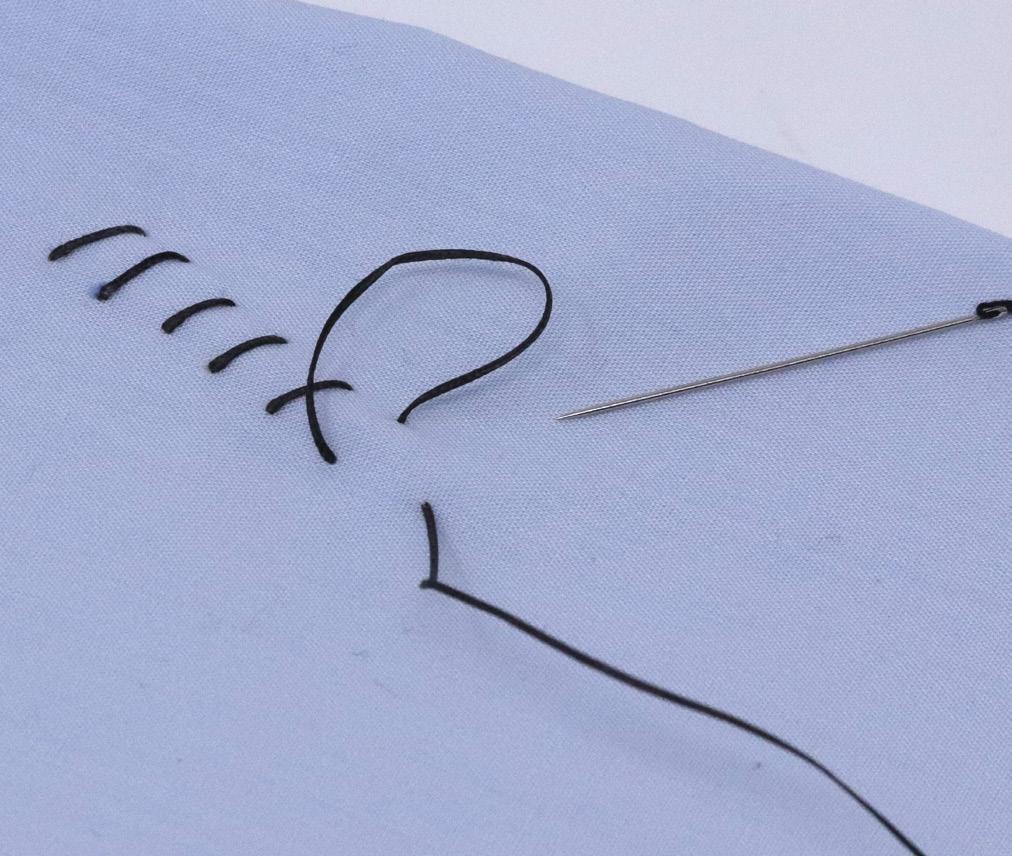
5. After taking the last stitch at the end of the row, insert the needle back where it last emerged. To begin the next parallel row, which will be to the left of the original row, take another stitch from right to left. You will now be ready to work from bottom to top.
6. Bring the needle up so that it is just short of the top of the corresponding diagonal stitch on the previous row and take a stitch from right to left directly above the previous stitch. Continue the process.
7. At the top of the row, repeat step 5. This will start the next row. Bring the needle down and take a horizontal stitch from right to left, directly below the previous stitch as in step 2. Secure the end of the thread with a fastening stitch (page 26). Start again with a new thread length by embedding its knot between the layers as in step 1.
Ironing
Use the iron as soon as you begin a project in order to smooth the material and pattern. The secret of perfect ironing is to use a long, gliding motion. Do not push when you move the iron forward. Try not to move backward so that you do not put wrinkles back in the material.
Pressing
Pressing is a quite different technique from ironing. Pressing is used to flatten details such as pleats or seams as soon as they are permanently sewn. The trick here is to set the iron straight down vertically, directly on the spot to be pressed, add heat and pressure, and then lift straight up.
Detail Pressing
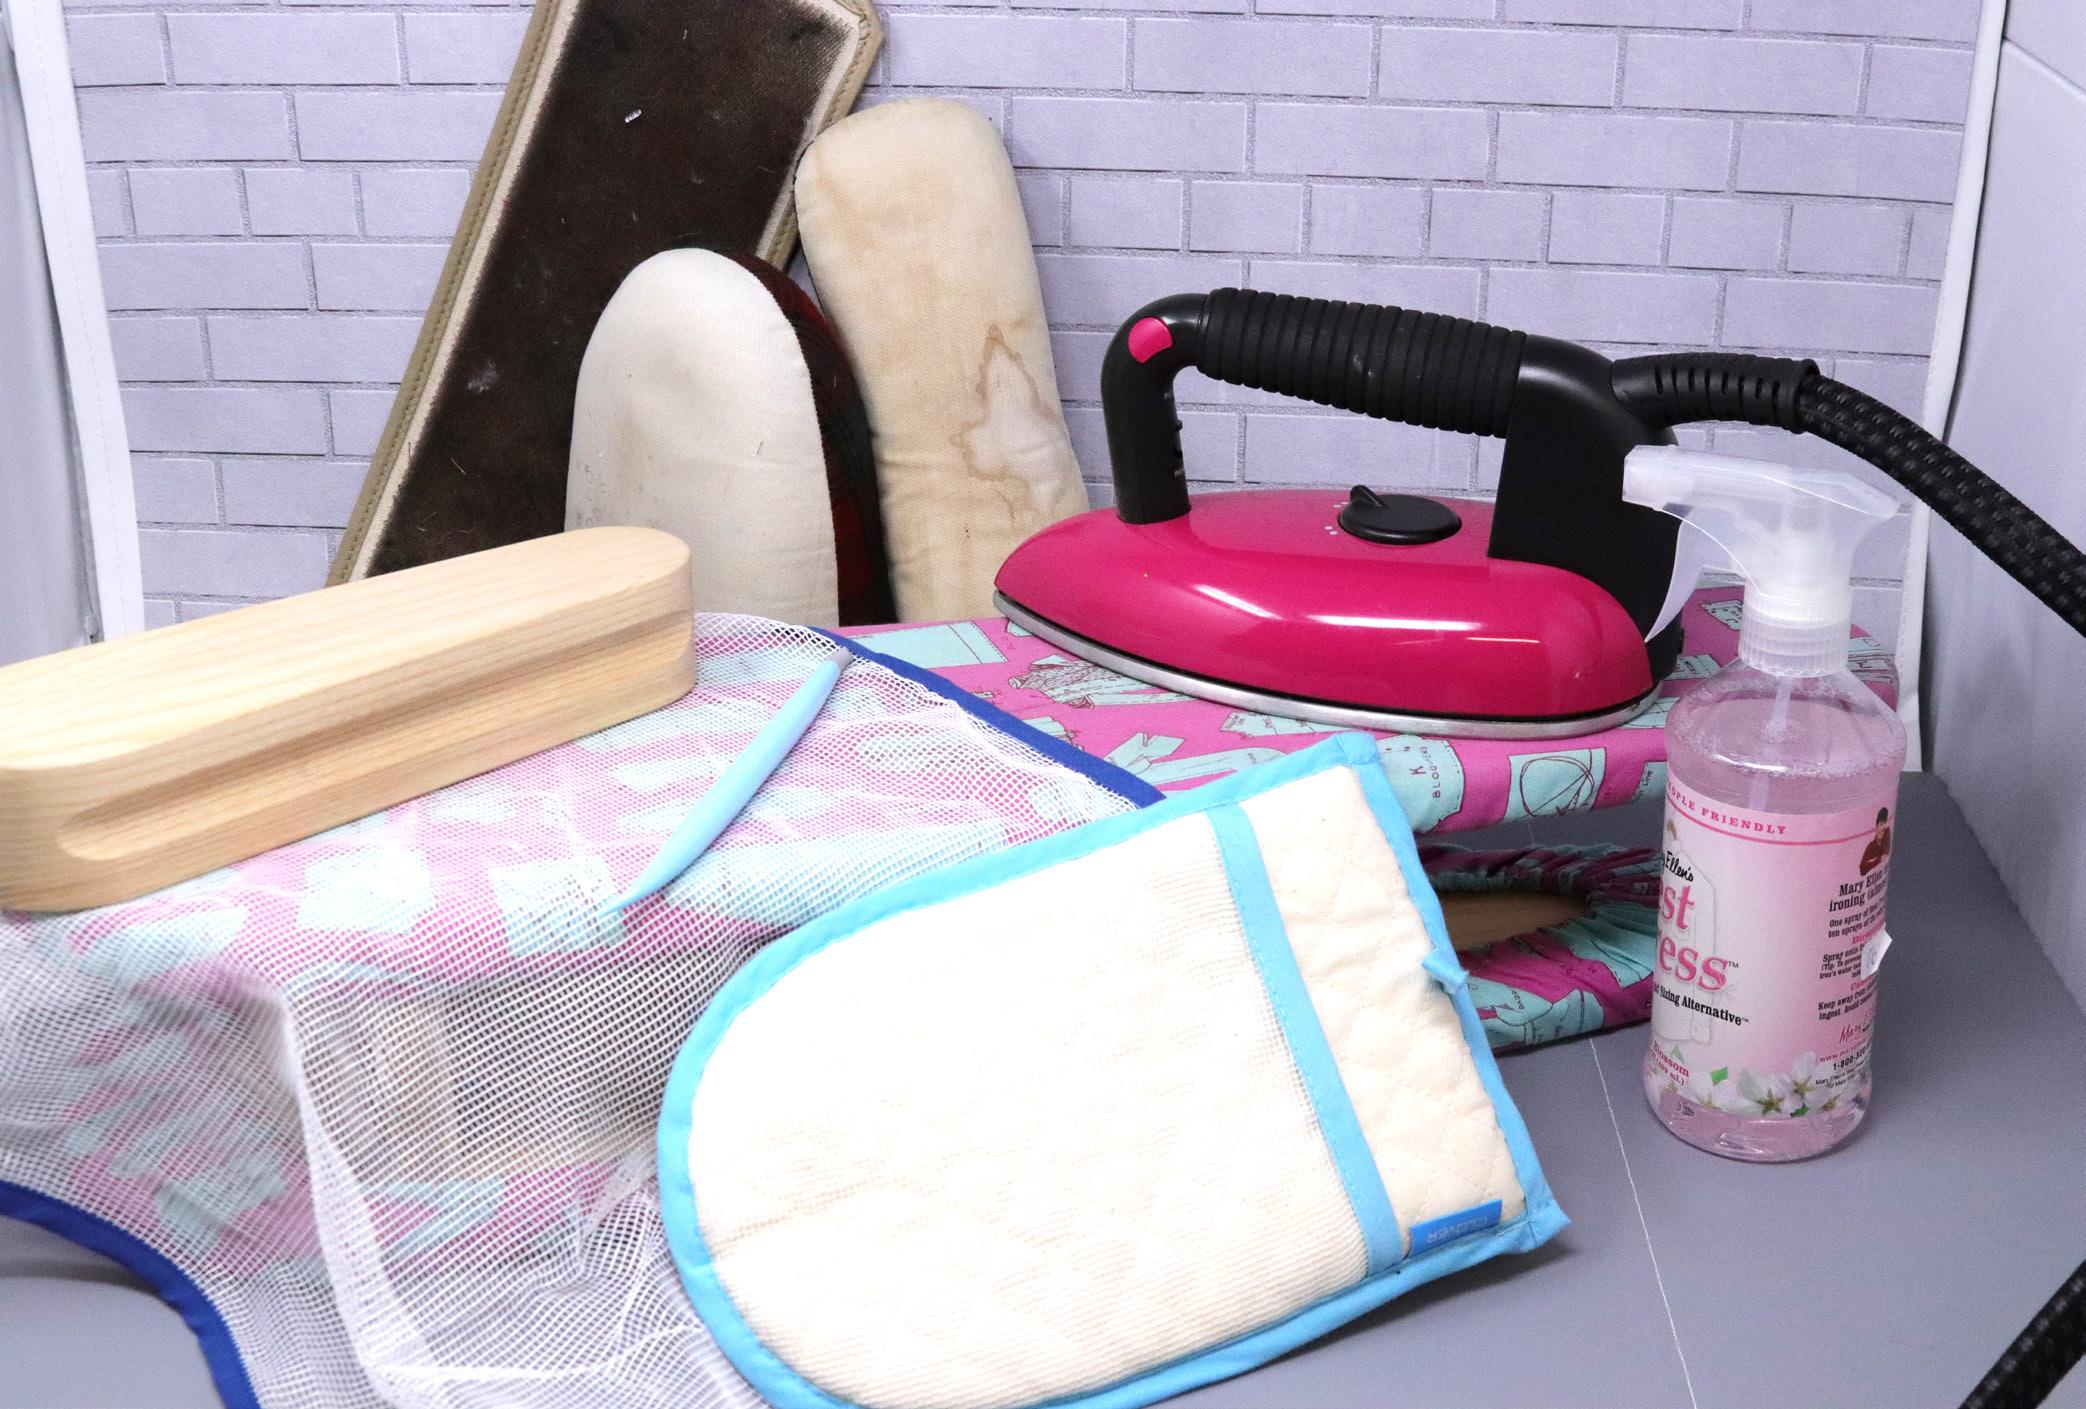
It is easier to press a seam during the sewing process than it is to wait until later when the iron must be wiggled into the corners of the completed garment. With your free hand, open the angles and folds in the fabric. Use only the point of the iron to press the confined spaces. Pressing tools such as a mini-iron or point presser are perfect to press these hard-toreach areas.
Finishing
Final ironing and pressing are done on the right side of the fabric, the side that is visible in the completed garment. Place a cloth over the material to protect it from scorching or developing a shine. Use a silicone cloth for heavy fabrics and silk organza or cotton for lightweight materials. To get the right ironing temperature, experiment with a swatch of extra material.
Of course, the most essential pressing tools are a first-rate steam iron and an ironing board with a scorch-resistant cover. Some people use an adjustable board and others may like a flat surface or table mat. In addition, specialized pressing boards and forms allow the sewist to do the extra-fine shaping and molding that help give a tailored garment its distinctive look.


