2 minute read
CHAPTER 6 DETAILS OF GARMENT CONSTRUCTION


Now that you know the construction sequence for your project, it is time to review the instructions for assembling specific elements of your garment that give you a truly custom experience—the seams, pockets, zippers, sleeves, etc. As you follow the workflow in Chapter 4 or 5 for your selected garment, return to these step-by-step instructions to complete each phase of assembly. These instructions might be more detailed and demanding than those you are used to seeing or those you found in your pattern envelope. However, the result will be a perfectly fitted, soundly constructed, custom-tailored garment that will last for years and stand as a testimony to your sewing skills.
A Note about Step-by-Step Numbering
In this book, step-by-step instructions are broken down into small, bite-sized chunks for each phase of a project. Photos are given for some essential steps, but not all steps. Photos are almost always right next to the step text or mini section with which they correspond. If they’re not, they have an extra caption clarifying what they’re showing. So don’t be confused if you see more than one step 1 on a page!
Seam Allowance
Seam allowance is the distance from the stitching line to the edge of the fabric. Traditionally, in home sewing the seam allowance is 5/8" (1.5cm), and then it is trimmed down with a serger, a specialized seam, or trimmed down to reduce bulk. In factory sewing, a different width is used for different areas of a garment and the trimming step is eliminated. If you find a particular width that works for you, feel free to modify the seam allowance on your pattern accordingly.
The Plain Seam
Basting and Stitching the Plain Seam
1. With the wrong sides of the fabric facing outward, pin together the pieces to be seamed, inserting the pins at right angles to the stitching line. Match and pin first where the seam line markings intersect. Some sewists prefer to place the pins parallel to the seam allowance, which is fine for straight seams and fabrics that will not shift as you stitch. Fabrics that are slippery or seams that have a curve are best pinned at a right angle to the seam.
2. Add pins at 1" –2 " (2.5–5cm) intervals on a straight seam and at intervals as short as 1/4" (0.5cm) on a curved seam.
3. Baste just outside the seam line markings and remove pins.
4. After trying on the garment for fit, machine stitch directly along the seam-line markings; remove the bastings. An added step for knit fabrics: To reinforce the seams, machine stitch a second line 1/8" (3mm) outside the first seam.
5. Press open.
Tip
To help keep consistent seam width, use the markings on your sewing machine as a guide. Additionally, place a piece of tape on the machine as a guide or use an adhesive seam guide. To gain even more accuracy on your seaming, trace the stitching line with fabric chalk on the wrong side of the fabric and stitch over the line.
Trimming the Seam
Because home sewing patterns traditionally have a wider seam, it is necessary to trim it down to allow for the fabric and seam to contour better to the curve of the body. Examples are the neckline, armscye, and the waistline. Clipping is a technique where you cut a right angle to the seam allowance but do not cut through the seam, which helps the fabric to lay flat on the body.
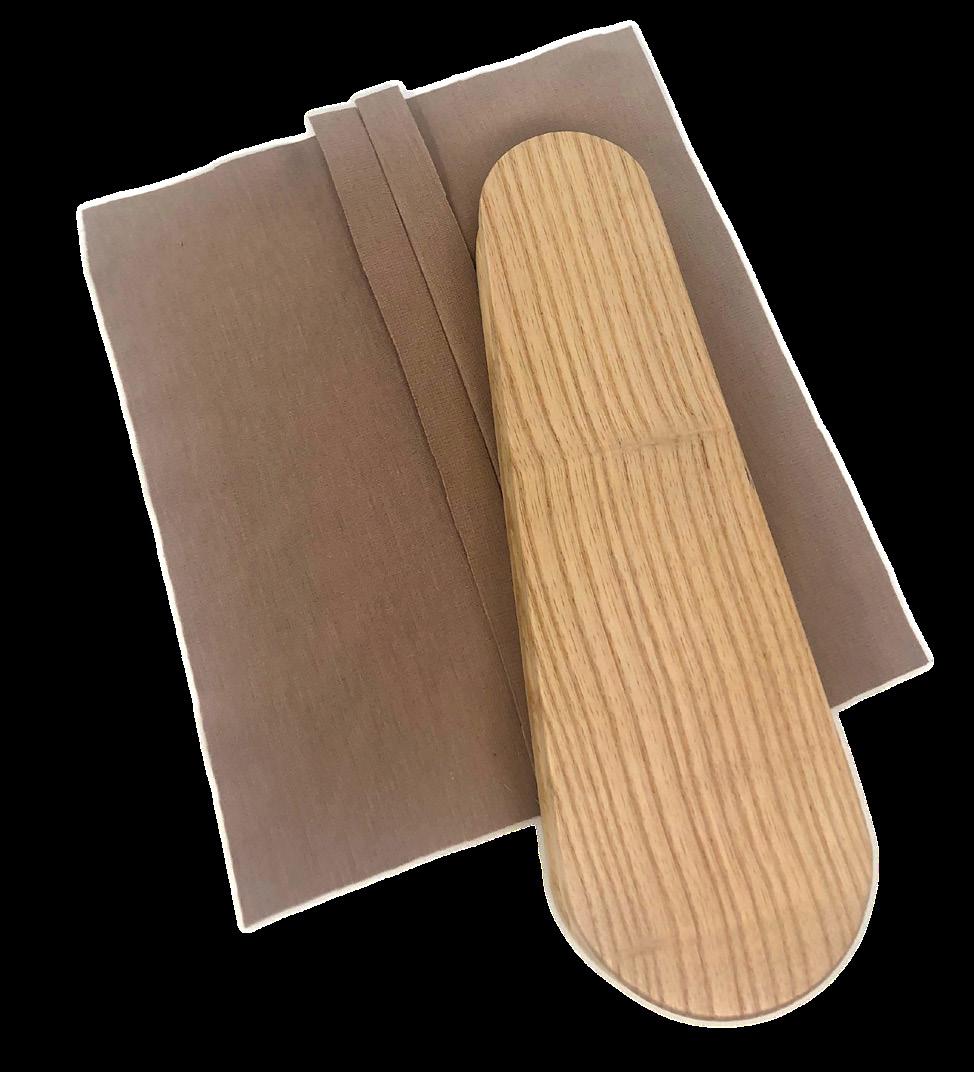
plain seam after pressing


