5 minute read
Prepare for Rendering


Step 1 : Environment Settings
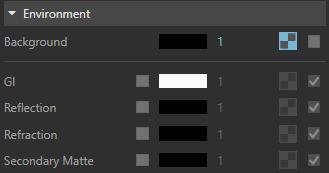
The Environment section in V-Ray render parameters is where you can specify a color or a texture map to be used during GI and reflection/refraction calculations. If you don’t specify a color/map, then the background color and map specified in the Rhino Environment dialog are used by default.
Advertisement
Background – Specifies a color/texture map to be visible in the background and used during GI and reflection/refraction calculations. Press the checkerboard button to select a texture. If a texture is selected, it overrides the color as long as the texture checkbox is enabled.
GI (skylight) – Specifies a color/texture map to override the Environment GI rays. The effect of changing the GI environment is similar to a dome light. Note that Global Illumination (GI) must be enabled.
Reflection – Specifies a color/texture map to override the Environment reflection rays. Note that you can also override the reflection environment on a per material basis (see Generic) or a per map basis. If > Select background texture and adjust parameters better environmental effect for renderings.
you do not enable the Refraction override, this group of controls affects both reflections and refractions. If you enable the Refraction override, then this group affects only reflections.
Refraction – Specifies a color/texture map to override the Environment refraction rays. This color is ignored if there is an environment texture specified.
Secondary Matte – Specifies a color/texture map to override the Environment rays affecting Matte
Workflow
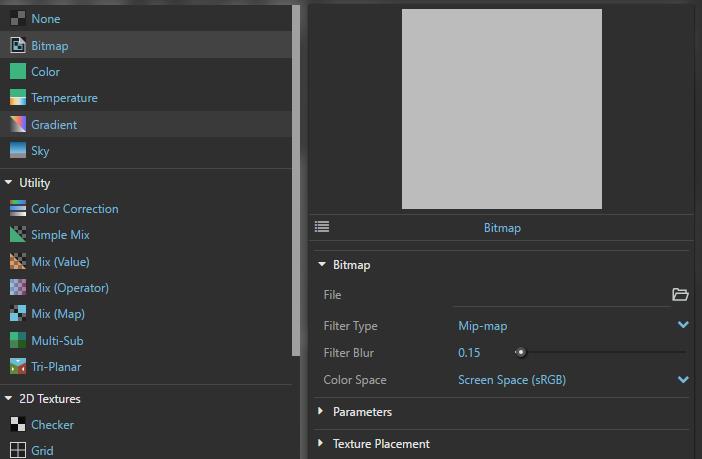
> V-Ray Asset Editor > Settings > Environment rollout > Click the icon on the right of background setting > Click the icon on the top left to open a texture library > Go back to previous window and preview the rendering + > note : Environment settings might vary from projects to projects. Try different texture and light options to get a objects.
Prepare for rendering
Step 2 : Lights Settings
Types of Lights – You can create the following types of lights using the Lights Toolbar:
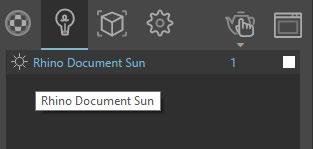
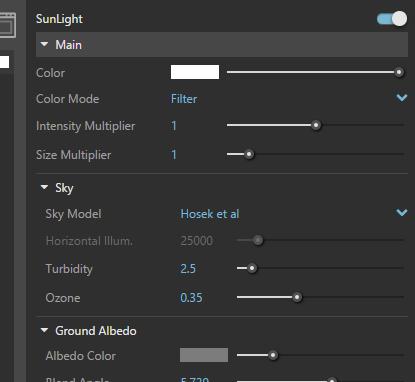
Sun and Sky System – A Sun light is a spherical light source placed at a specific location which simulates the sun in the sky.
V-Ray Lights
• Omni or Point Light • Rectangle or Area Lights • Spot Light • Dome Light • Sphere Light • IES Lights • Mesh Lights • Directional Lights
Workflow
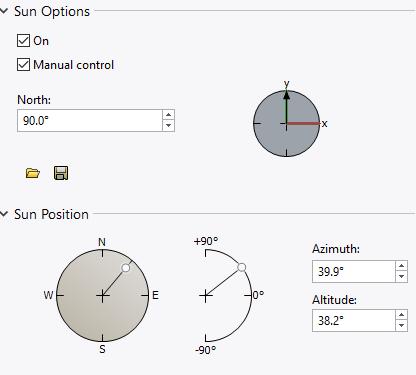
> V-Ray Asset Editor > Lights > Turn on Sunlight > Adjust Sunlight parameters on the right panel > Go to Rhino Command line> Type “lights” > Open Sun Options and Turn on Manual Control > Adjust Sun position + > note : The Sun/Sky combination is suitable for an exterior scene, or for an interior scene with windows or other openings through which the light comes.
Prepare for rendering
Step 3 : Camera Settings
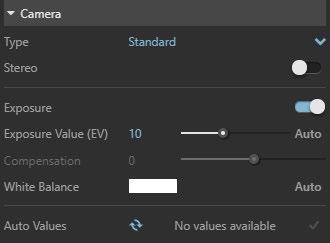
Camera Type – Specifies the type of the camera. This is where you can define the output required for VR rendering or standard imaging.
Standard – Simulates a real-world camera with equivalent parameters such as film sensitivity, f-number and shutter speed.
VR Spherical – A camera setup with the same properties as the Standard type that is useful for generating latlong images for spherical VR use.
VR Cubemap – A Cubic/Box camera setup with the same properties as the Standard type. The output of the cube sides is arranged in a single row. It is useful for generating cubic VR output.
Exposure Value (EV) – Controls the sensitivity of the Camera to the scene lighting levels. The result is a brighter or darker image. If Auto Exposure (by clicking on it) is enabled, the Compensation value becomes available. When the Auto button is enabled, the ISO, F number and Shutter speed are locked.
Adjust render exposure (EV)
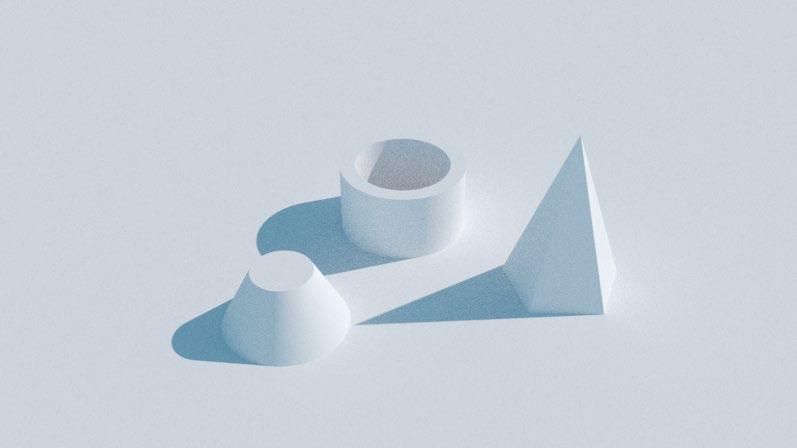
EV = 13
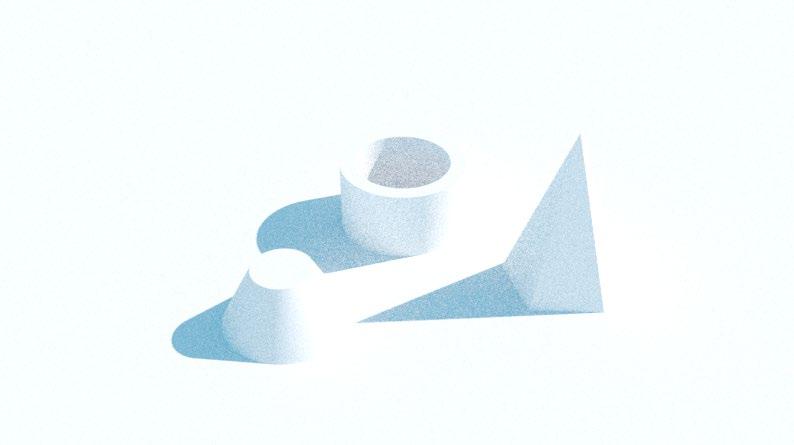
EV = 11
Prepare for rendering
Step 4 : Adding Geometry
V-Ray provides a number of tools that create geometry loaded in the scene at render time, that does not weigh to the scene.
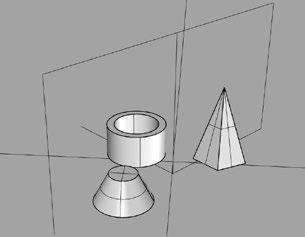
Clipper – A virtual plane for clipping geometry at render time.
Proxy Mesh – Imports geometry from an external mesh file, which is fully loaded only at render time. The geometry is not present in the scene. Instead, it is substituted by preview object that does not take any additional resources to be displayed.
Infinite Plane – A virtual plane that always extends beyond the camera view.
Fur – Creates simple procedural fur at render time.
Proxy Scene – Imports a .vrscene file as a proxy, which is fully loaded only at render time. Ex 1. Add an infinite plane


Ex 2. Add an Clipper Plane

Prepare for rendering
Step 5 : Material Usage
There are a number of different materials for use with V-Ray for Rhino. These materials are quite versatile and each can be used in a number of ways to achieve different looks as needed from simulating simple surface properties like plastics and metals to complex uses such as translucent objects, subsurface materials such as skin and even light emitting objects.
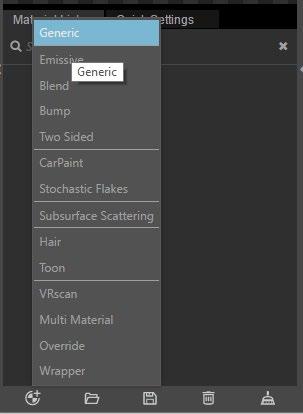
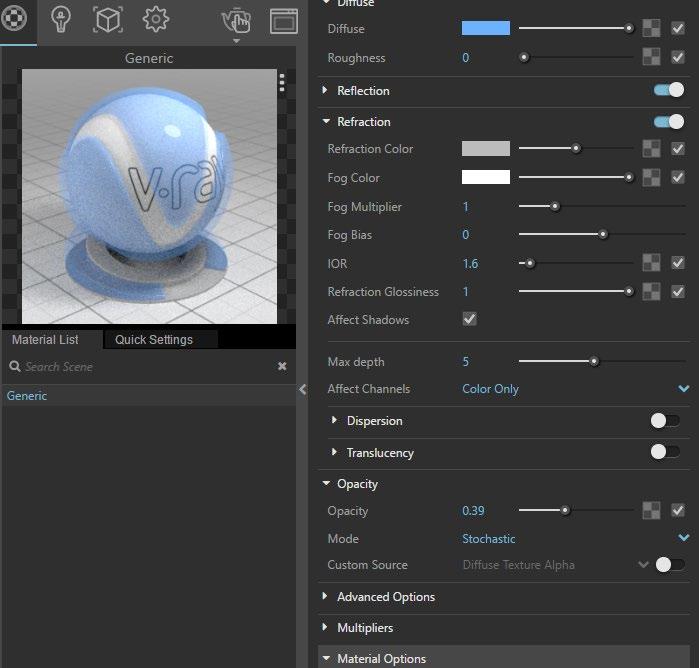
Option 1. Create a Customized Material
Step 1 > Adjust Material Parameters by the control panel on the right side or use quick settings tab
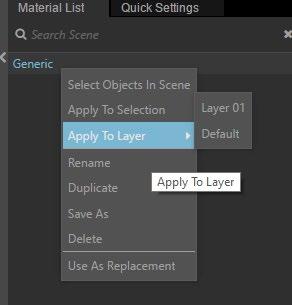
Step 2 > Right click material> Apply the material to selected layer or objects

Prepare for rendering
Step 5 : Material Usage
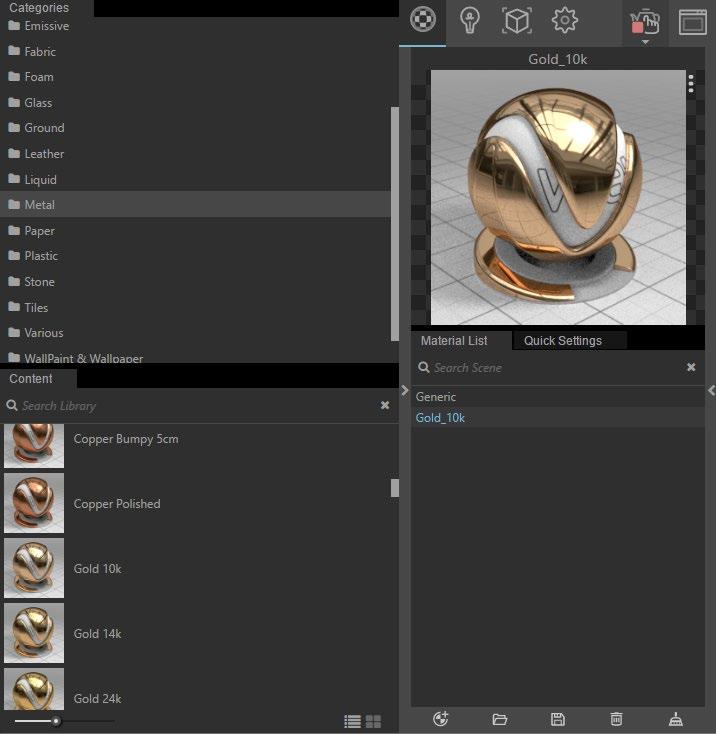
Option 2. Select from Material library
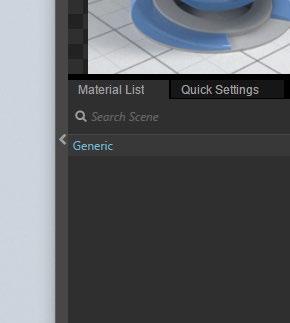
Step 1 >Click the arrow button at the left edge of the window to unfold the material library
Step 2 > Select a material and drag it to the material list on the right side
Step 3 > Right click material> Apply the material to selected layer or objects
Render without materials


Render with materials attached


