2 minute read
Rendering Output


Step 1 : Change Dimensions
A number of output settings can be accessed through the Settings tab of the V-Ray Asset Editor.
Advertisement
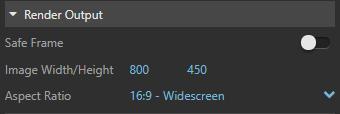
Safe Frame
Displays a visual cue in the viewport, showing the expected render output area. If there is a difference in aspect ratio between the viewport and image size, this button toggles the safe frame overlay on and off.
Image Width/Height
Specifies the width and height of the rendered image, in pixels. If stereo is enabled, this represents the size of the image for one eye only.
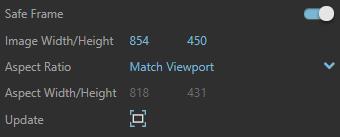
Aspect Ratio
Sets the proportional relationship between height and width of the rendering in the V-Ray frame buffer. The listed Aspect Ratio options can be grouped in three types.
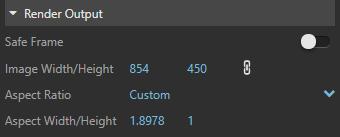
16:9 - Widescreen 1:1 - Square 4:3 - Picture 5:4 - Landscape 4:5 - Portrait Match Viewport Custom
Rendering Output
Step 2 : Save Image
Save Image – Enables you to set or change the File Path.

File Path – Specifies the file location and type to save the rendered image.
File Type – Specifies the image file format. The following file type options are available: png, bmp, tga, hdr, sgi, jpg, exr, pic, tif, vrimg.

Image Options
Alpha – Determines how the Alpha channel is handled. This option is available for the following formats: .png, .tga, .sgi, .exr, .pic, and .tif.
No Alpha – No Alpha channel is saved. The background is visible even if the output image format supports transparency. Include Alpha – The Alpha channel is saved as image Alpha or Transparency depending on the file format. Separate Alpha – The Alpha channel is saved as a separate file.

Compression Level – Specifies the image compression level for the .png file type.
Rendering Output
Step 3 : Production Render & VFB

Step 1. Select Render with V-Ray
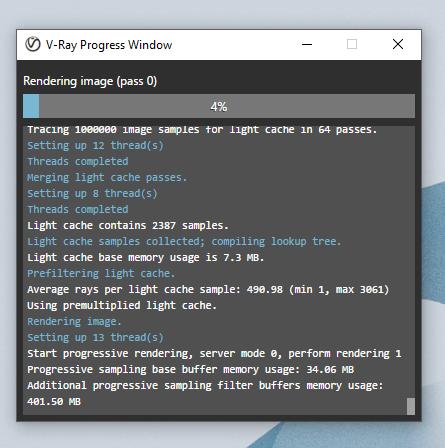
Step 2. Open and check progress window
Step 3. Click left corner button to open VFB ((V-Ray Frame Buffer)
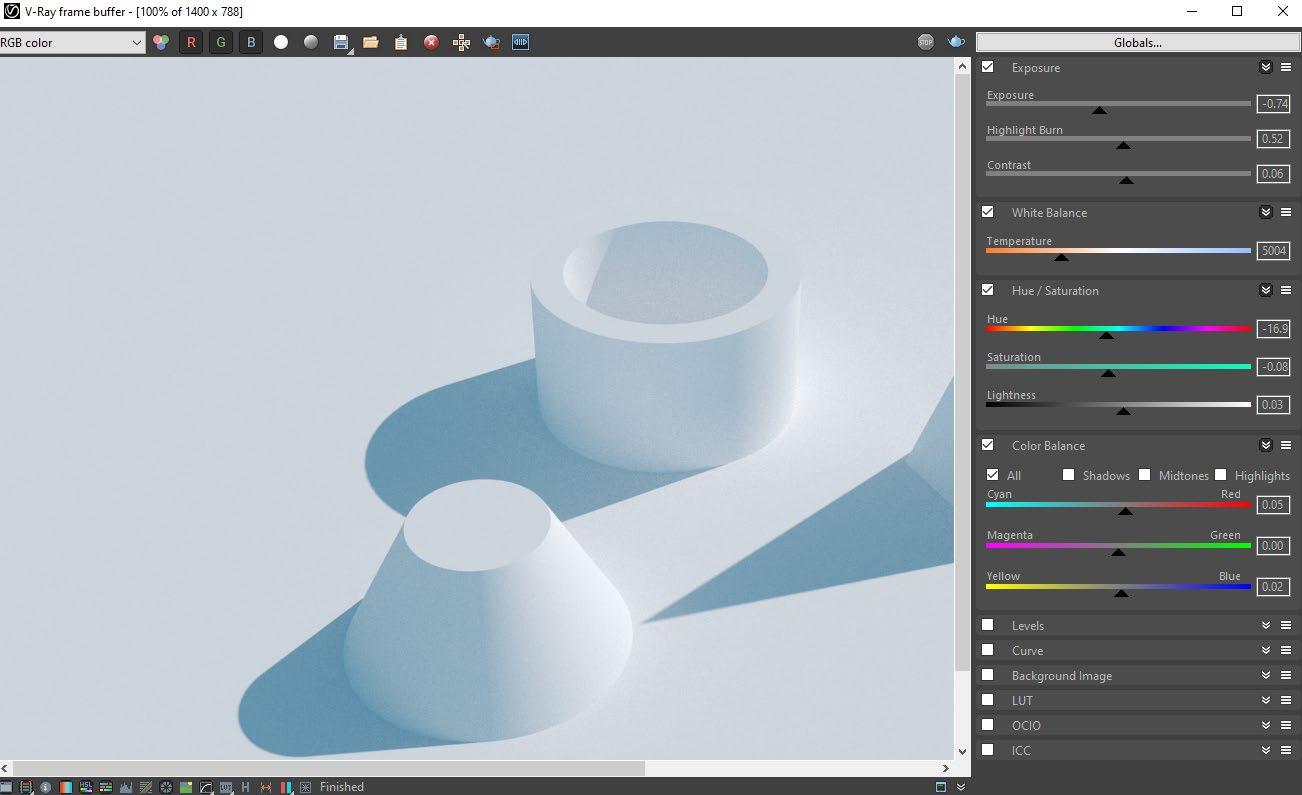
Step 4. Render output after VFB adjustment

Save image


