4 minute read
Maya Making of Quiet Room

from _feb-mar2008
by Hiba Dweib

Making of Love BicycleMaking of Quiet Room by Ongie Ongushi, Thailand ongushi@hotmail.com by Yan Chan Email: ayanchan@gmail.com Web: www.yanchan.net
Introduction
Advertisement
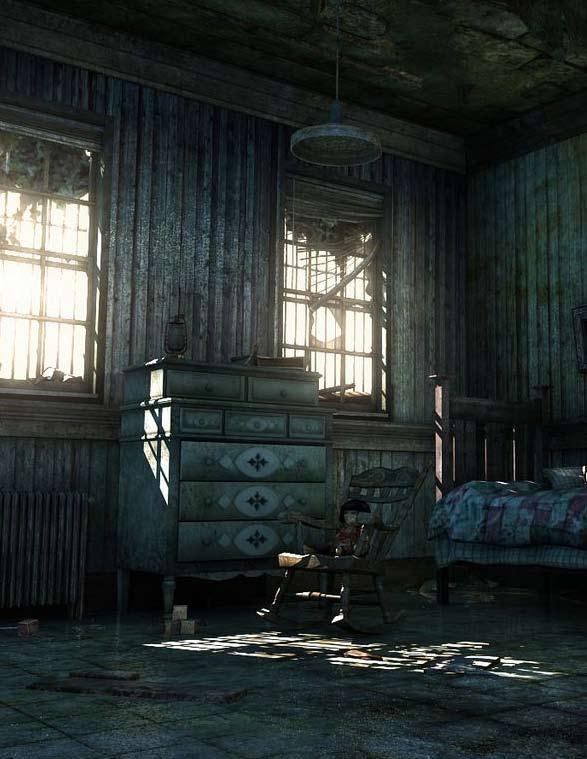
Hi everyone, in this “making of” article I am going to show the general process that I went through to create the “Quiet Room.” I used Autodesk Maya to model all of the objects and used Photoshop to do the texturing. “Quiet Room” is one of my recent personal works – I love scary movies, so I think it would be interesting to do an empty, creepy little room.
Every time before I start on any project, I collect as much reference as possible from the internet, looking at photographs, movies and games – it can help to give inspiration for what I want to do. Below is just a few of the reference pictures related to this project.

Modeling
Looking at picture reference is very important for modeling, because you can really see the scale and proportion of each object and how they relate to one another. Many objects in the scene are started from a cube or cylinder, I like to start with the simple form and keep adding details and make it the way I want. After all the modeling is complete then we can lay out all the UVs to render an ambient occlusion map, then we can start texturing.
Here are the grey and the wire frame renders.


Texturing
I usually like to look at the reference photos and find some interesting patterns and details that make sense for each object (like the quilt for the bed cover), and then I begin texturing with these details.
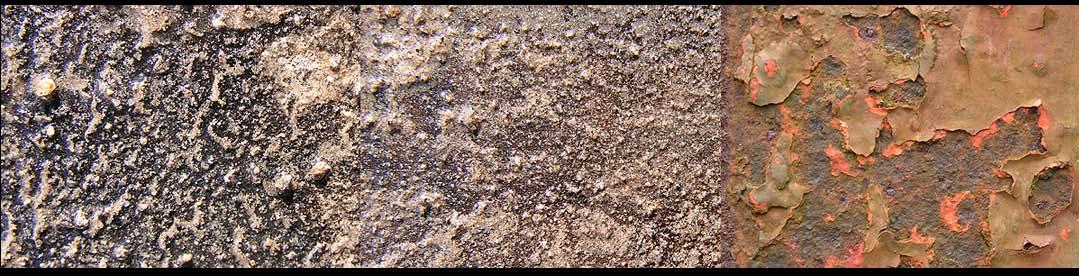
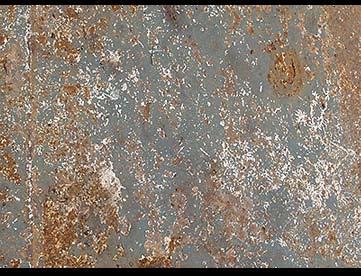
I am going to talk about how I textured one of the objects in the scene specifically - the rusted chest. Here are all the various textures that I used for the chest.
On the next page there is the image showing the process of how I overlay the textures together.

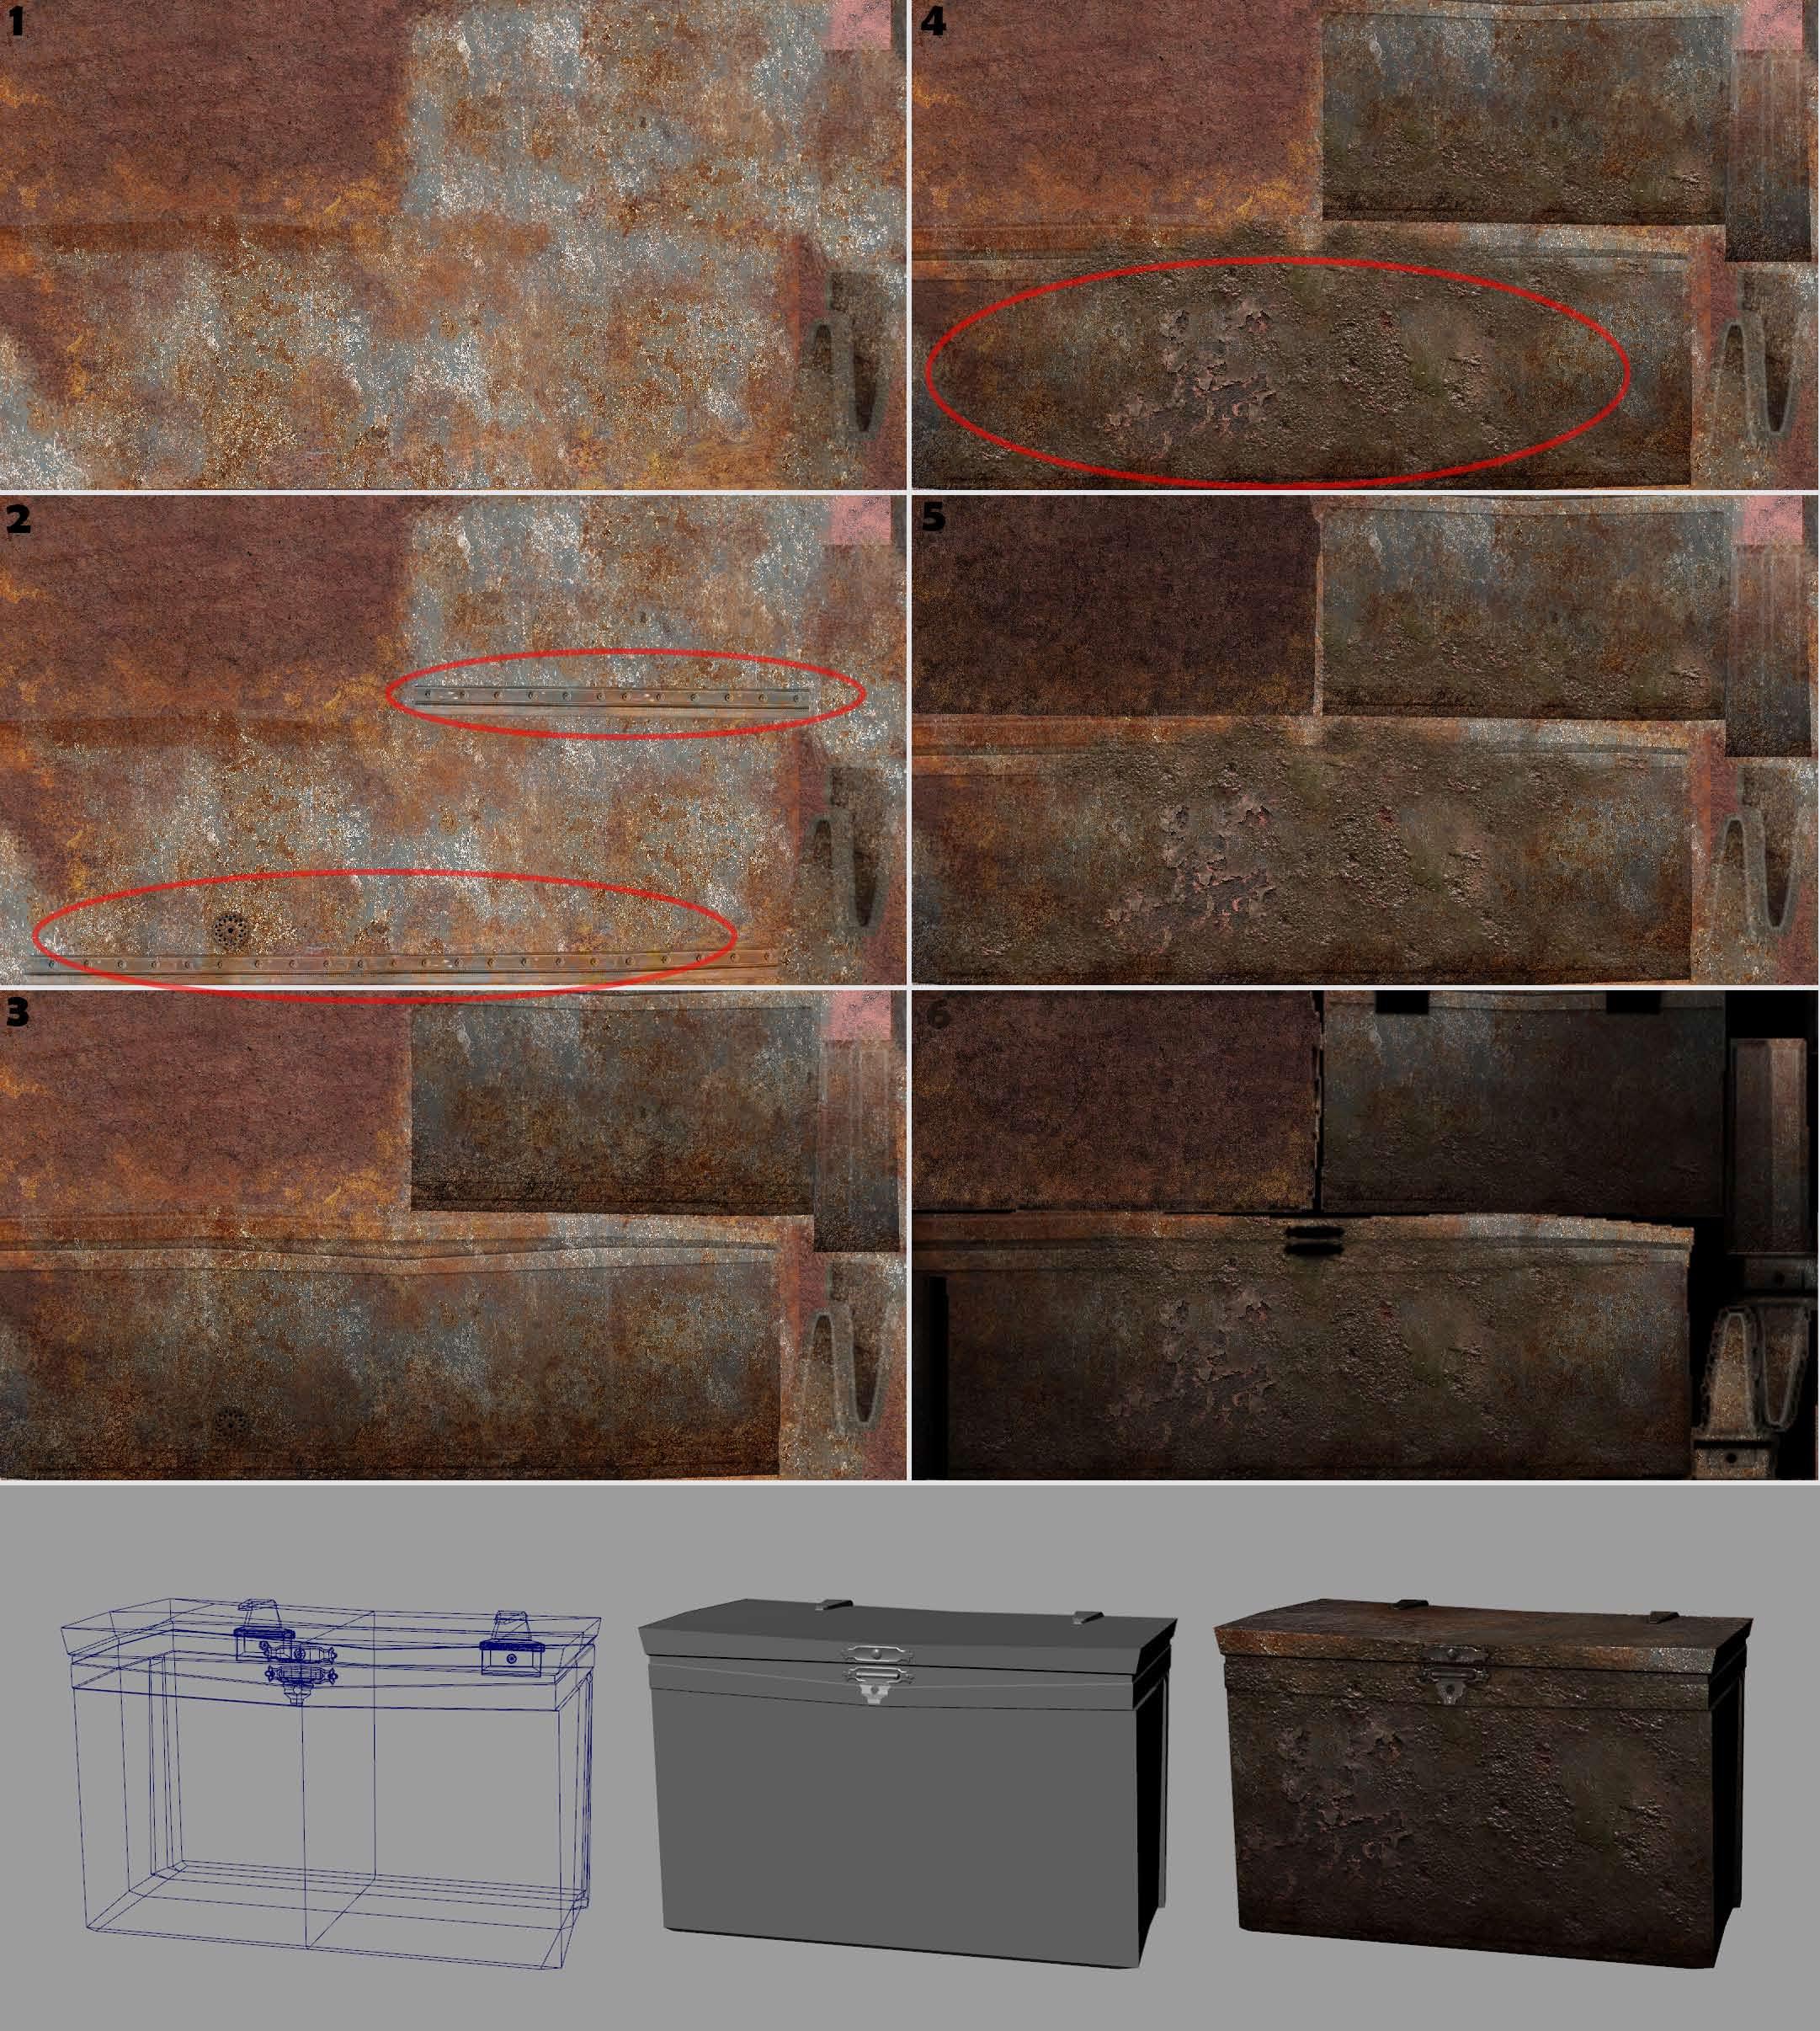
1. I pick two different textures for my base and erase some part of one of the textures, so that the texture will look blended with each other.
3. In this step, I layer the third texture and change the blending mode to “Soft Light” to help to mix the textures together and get a more of a natural look.
4. On the 4th layer of the texture, I erased part of it and didn’t change any overlay setting. Leaving the blending mode “normal” is nice so that you can see some part of the texture is not mixed in with others – it will help to show the thickness of the texture.
5. Multiple more textures are layered on top of everything for specific detail while erasing little part of it. This is important to break up the tone of all the textures and creates the different values in different areas.
6. In the final stage, just multiply AO map on top of all textures to help set the object down in the scene.
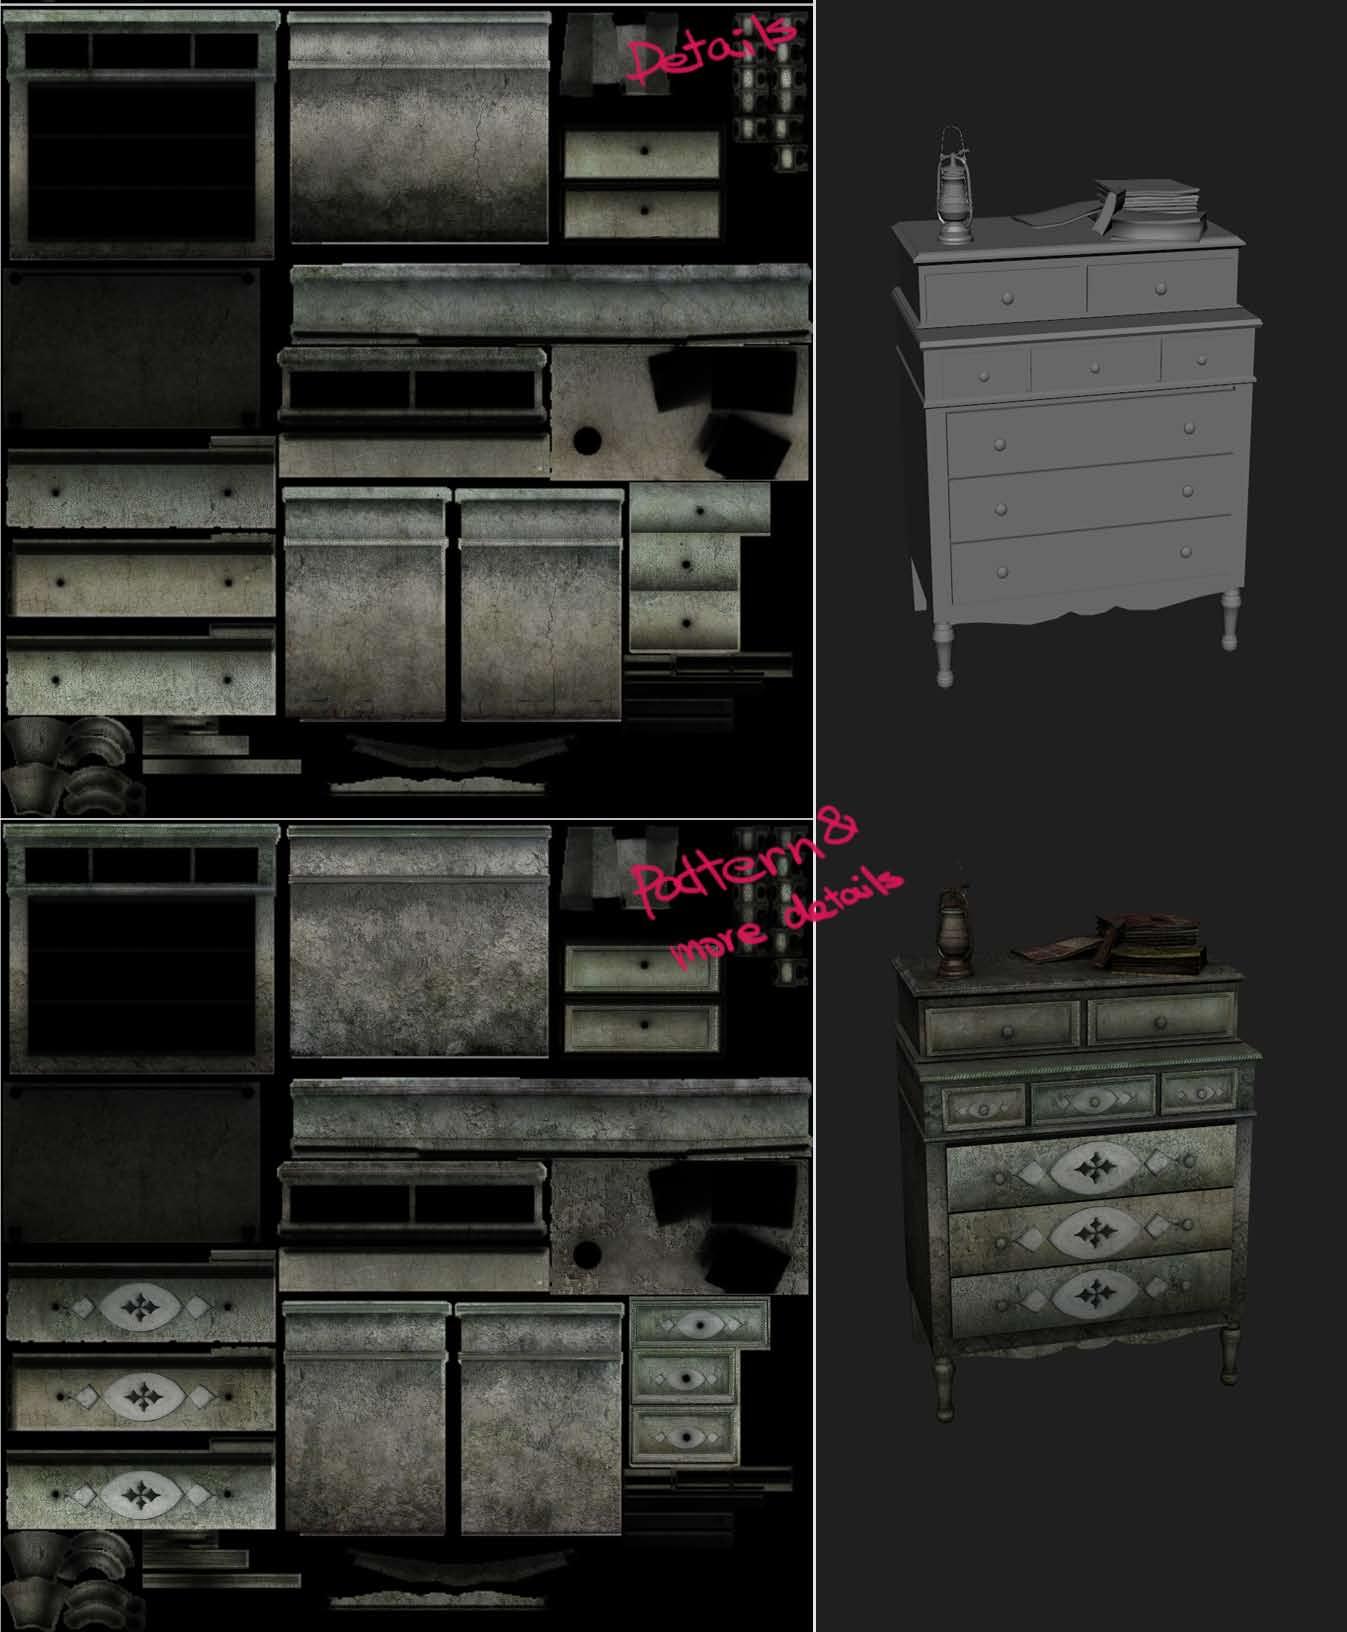
Here is the dresser texture page. It is basically using the same method as how I textured the chest.

Specular Map
Bump Map

Specular Map Specular Map
Rendering and Lighting
For the scene, I tried to do day time lighitng. So first, I created one spot light outside, for the light source coming in the window. Then I created a few ambient lights and placed them around the room to creat little pockets of color. Change the color and the shadow of the light because it can help to create the mood. I wanted to give a cold creppy feeling in the room, so I turned the color of all lights green and blue.
Focus on creating the mood mainly here, this is really important part of the whole scene. Mood will tie the whole scene together. Finally you can render with Mental Ray with final gathering turned on.

Yan Chan
Courtesy of 3DTotal.com Ltd www.3dtotal.com (c)