5 minute read
3ds Max Making of Hell Yeah!

from _feb-mar2008
by Hiba Dweib

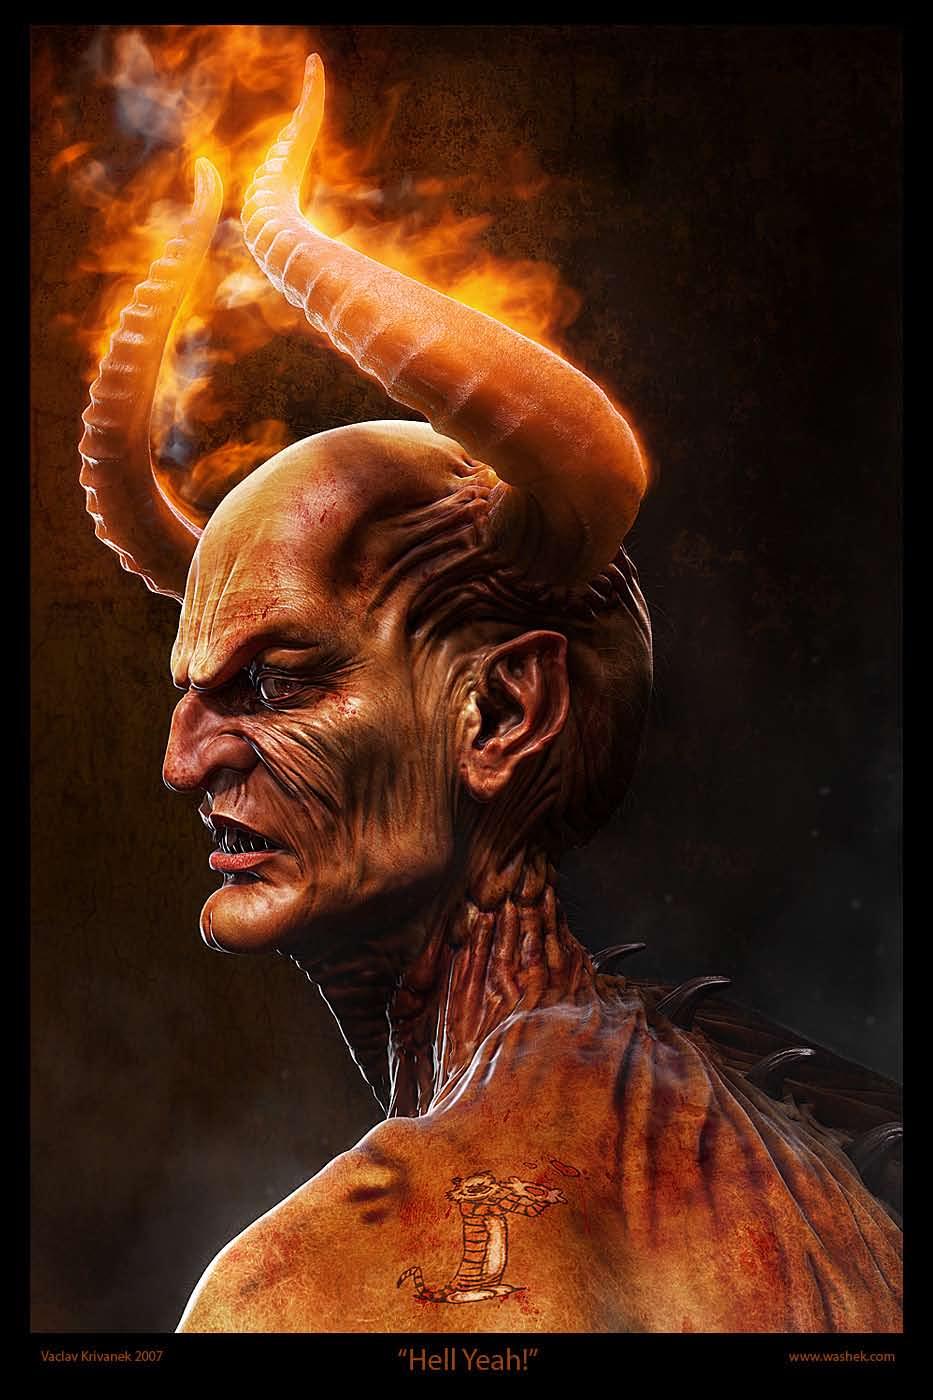
Making of Hell Yeah!
by Vaclav Krivanek, Czech Republic Email: washek@washek.com Web: www.washek.com
Advertisement
Introduction
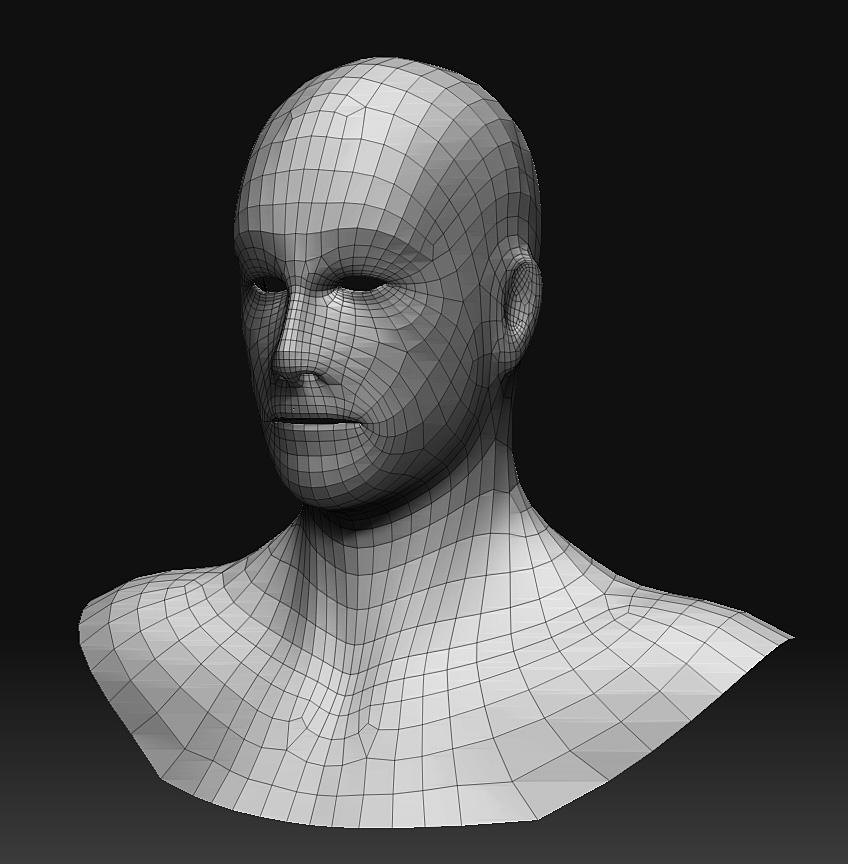
Hello, I want to share with you the small making of my Hell Yeah! portrait of the devil. First I’ve start with simple base mesh in 3dsmax then I moved my model into zbrush where fun starts.
Tip: Before you’ll export anything to zbrush, don’t forget to reset xform (especially when you’re mirroring some objects) you’ll avoid many problems.
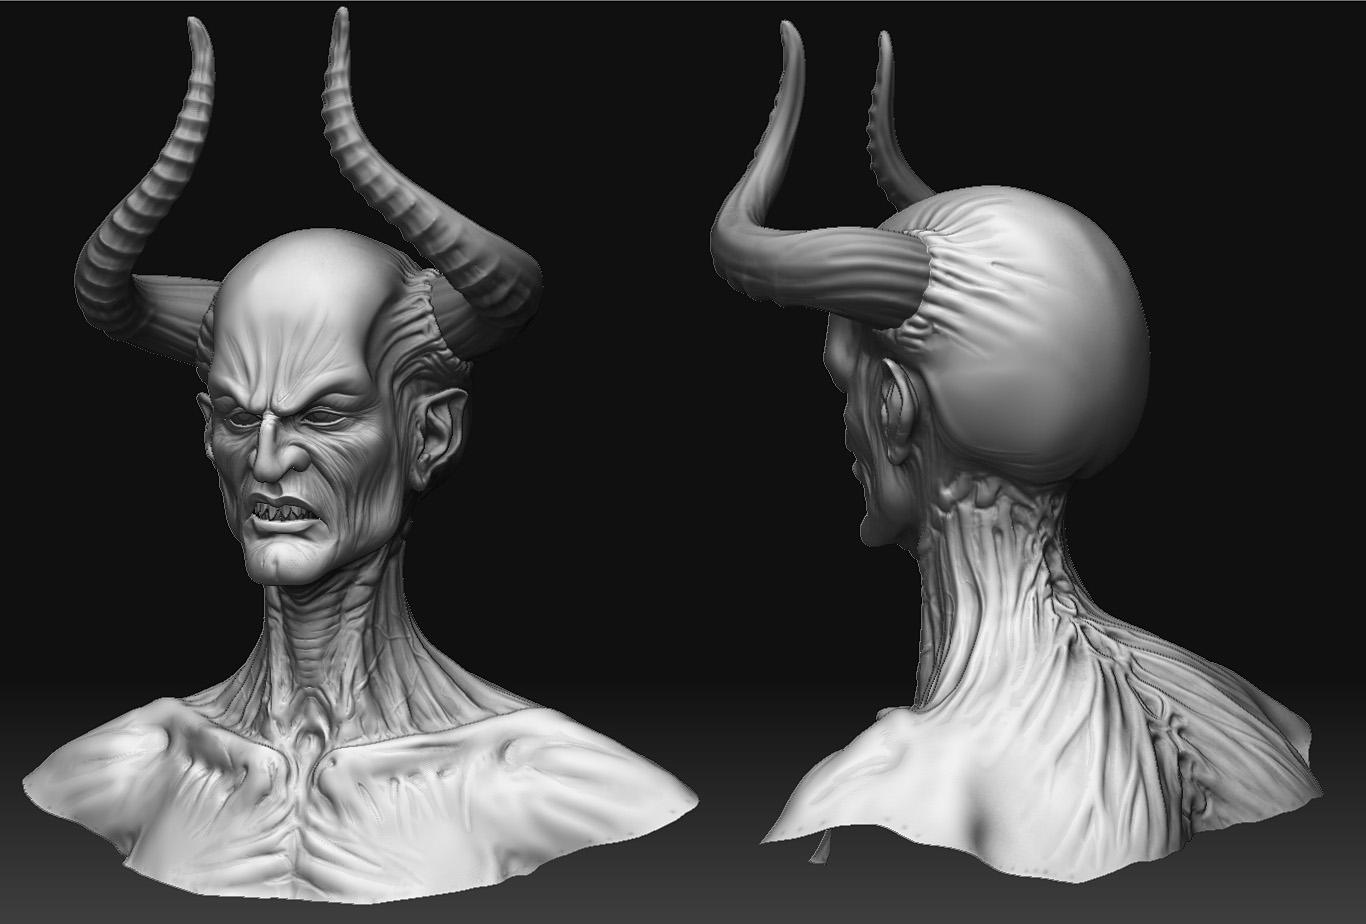
Modeling
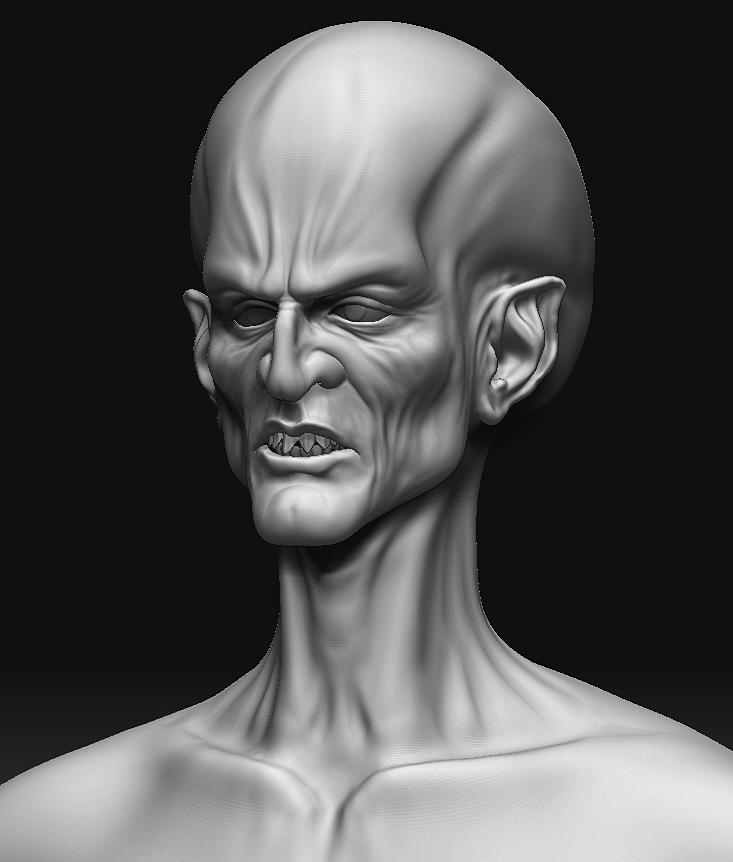
When I put base mesh in zbrush at that time I actually didn‘t know how the final version will look, so I start playing with shapes, don‘t be afraid to do crazy things like move ears far from head, make big nose or so, you can find some interesting shape and then start adding details in your model. First idea when I start sketching was to make some vampirish head but at the end I get to devil head :-)
When you’re sculpting, don’t try to subdivide it at 4th level right after you put it in zbrush, always try to get maximum details even in basic model, when you’ll be quite happy with that, then just move to another level and add more fine details.
I am mostly using just standard brushes like inflate, standard, smooth, pinch and move. I actually didn‘t use any special alphas for this sculpture. Great feature is to use lazy mouse (L) for wrinkles and smooth lines and transpose to move, scale and rotate your object if it’s needed.
Ok now I’ve finish my sculpture so I need to put it back to max and start the texturing, you can use erotology if its needed, but I was ok with second subdivision level and I knew that I won’t use it in some animations so I delete the first one and export the second one to max. Then I’ve done some unwrap, great tool for unwrap characters and organic things is unfold3d, UVLayout or other similar programs focused just on unwrapping, it’s much easier and faster than to do it in max.
When I get my head unwrapped, I’ve import it back to zbrush as a first level of the model.
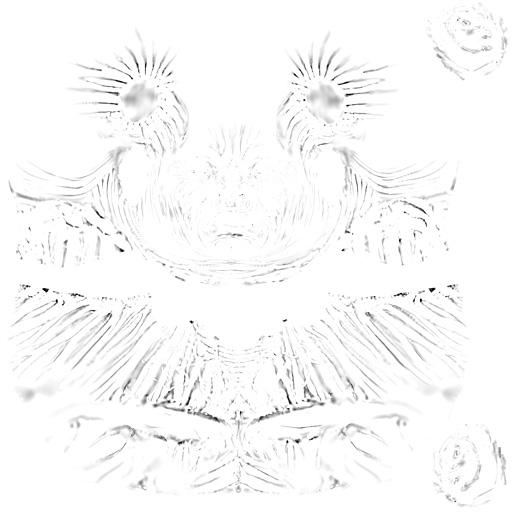
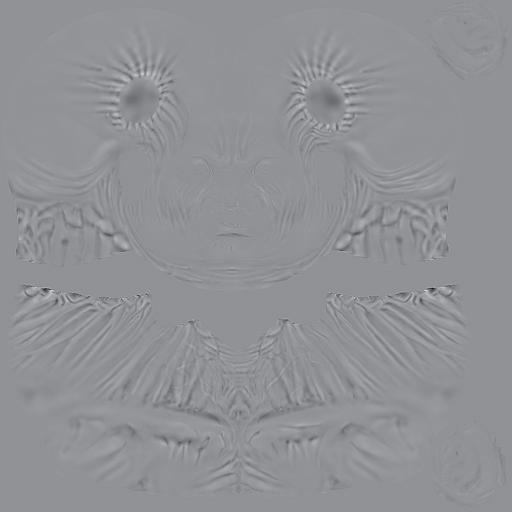
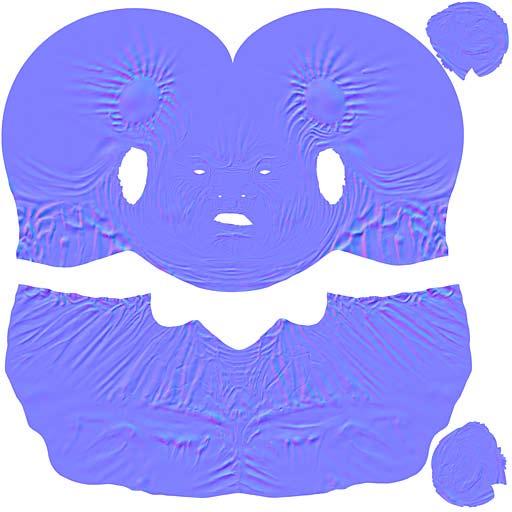
Tip: Do not change anything on the model when you’re doing unwraping, if you do any change even one edge you won’t be able to import it back to zbrush at a first level of your sculpture.Then I generate displace, normal and cavity map.
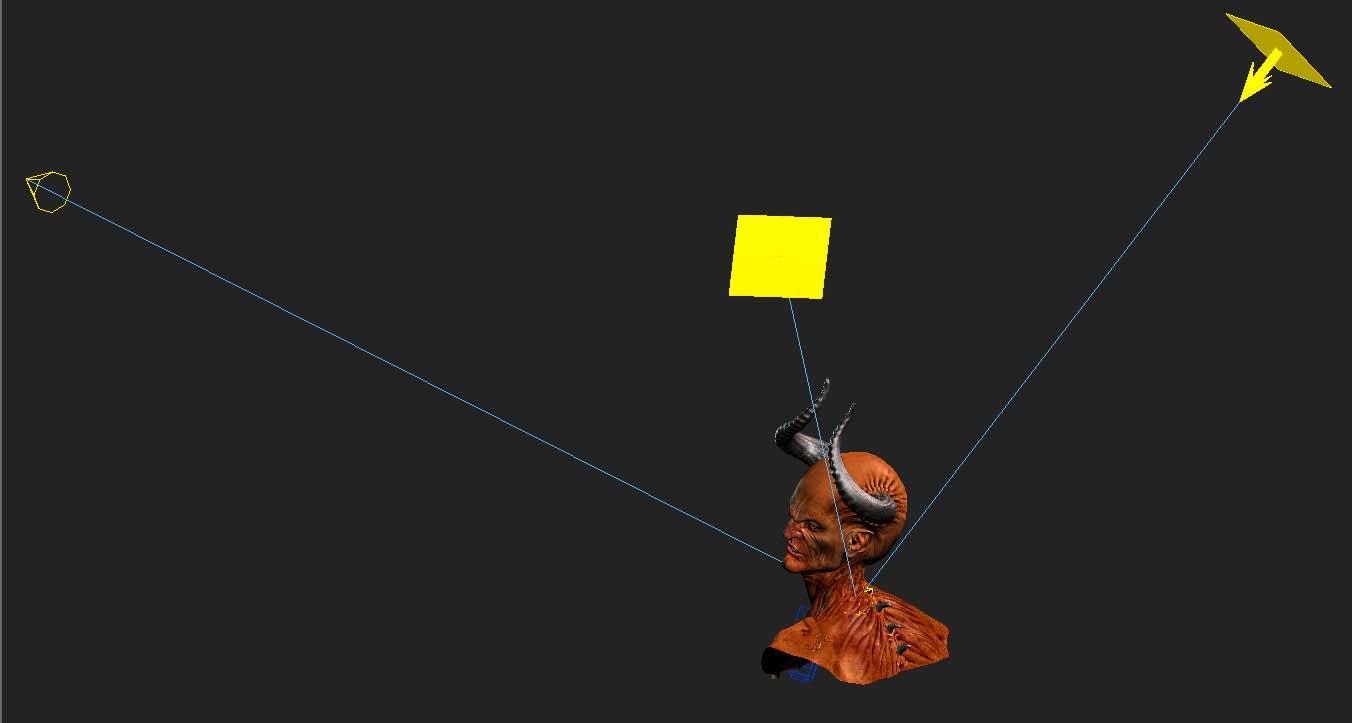
Then I start working with the model in max, just setup some basic lighting and composition to more define the final scene, I also use some basic rig to play with pose but now I am mostly using transpose in Zbrush to pose my characters. Here is some final setup of lights, pose and camera.
Then I start with some texturing in Photoshop. I played a lot with layer blending, just take some concrete photo and blend it nicely to the texture or so, face area is made from many pictures of people and repainted and blended together. Sometimes is good to take one channel from normal map and multiply it into texture, like this you can increase some fine nice detail. I didn’t actually play a lot with parts which won’t be visible in the final render.
Here are the final diffuse textures:


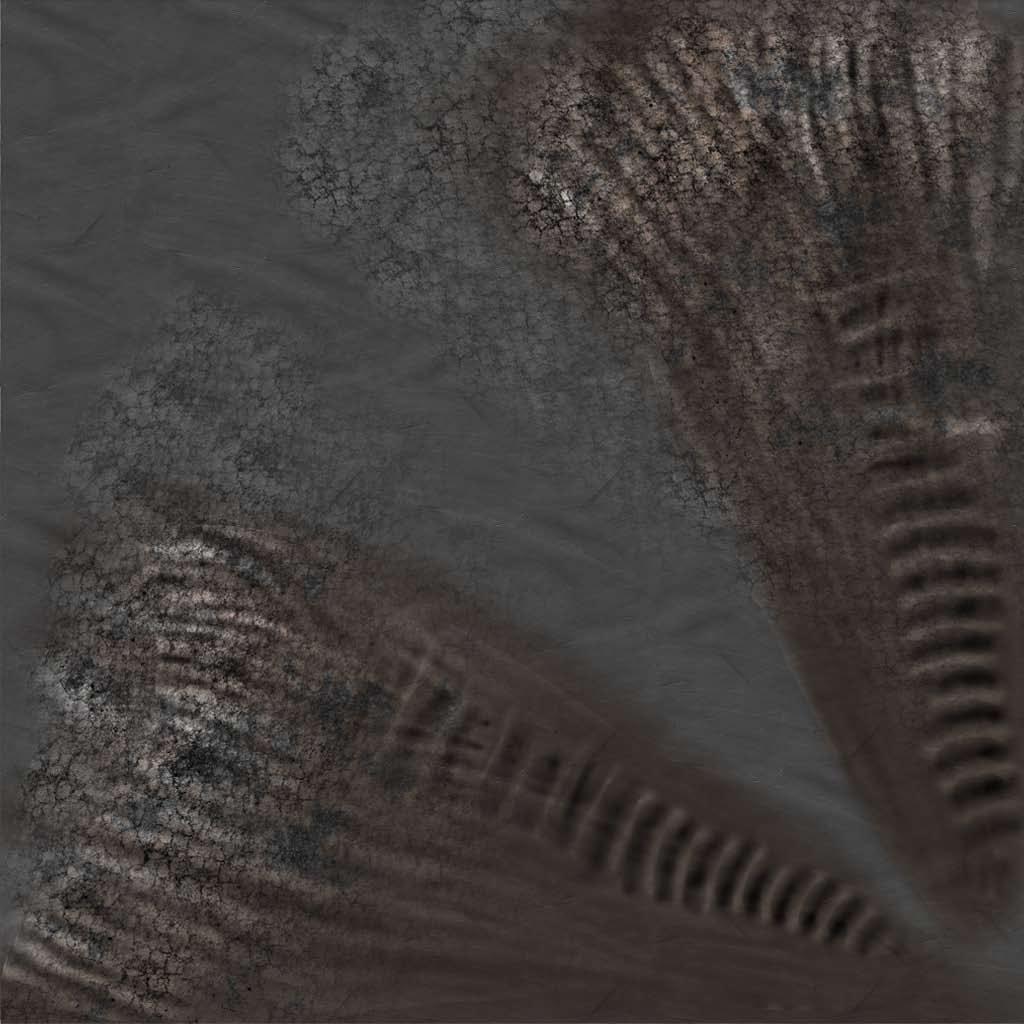
I’ve also used some SSS, some specular and reflection masks.
I am using Brazil v2 render system and at that time I had some beta version where included displacement won’t working well, but brazil can handle many polygons so I’ve used Normal displace modifier in max where I put my displace from Zbrush, then just put some turbosmooth on level 3 to get almost same result as some MTD.
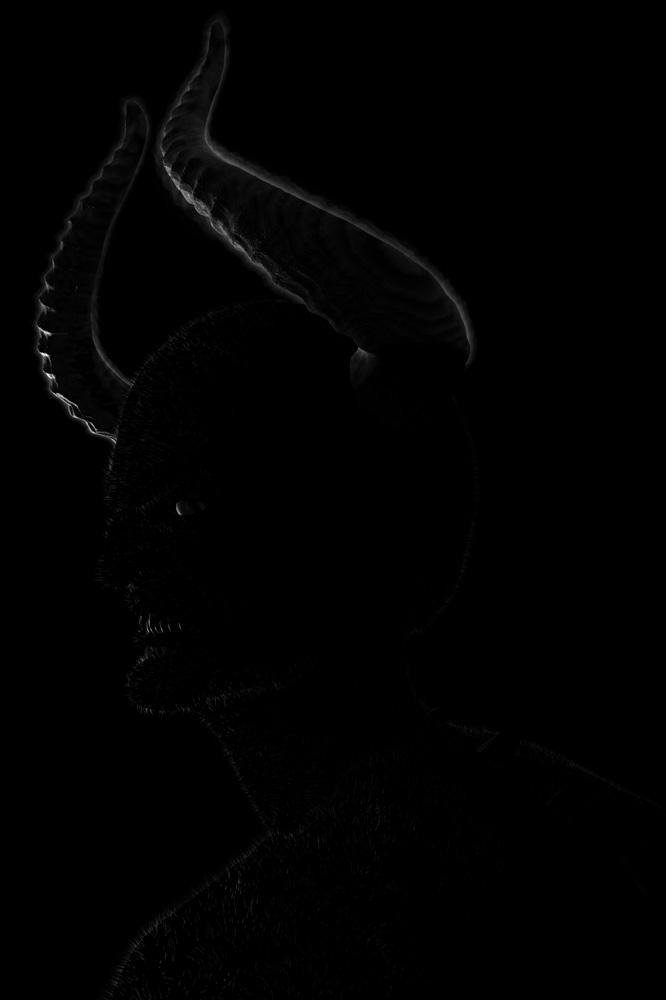
I’ve used just 3 lights and very small amount of GI, one main from left with shadows casting and two others not so intensive to see some contours on the head without shadows.
Ok now I start to play with shaders. For skin shader I used normal Brazil skin shader, you should always try to tweak shader on some simple ball and do not waste your render time on your final model. When you’re happy with some result on the ball you can put that on final model and do your final touches on it.
Here is one of many render tests.

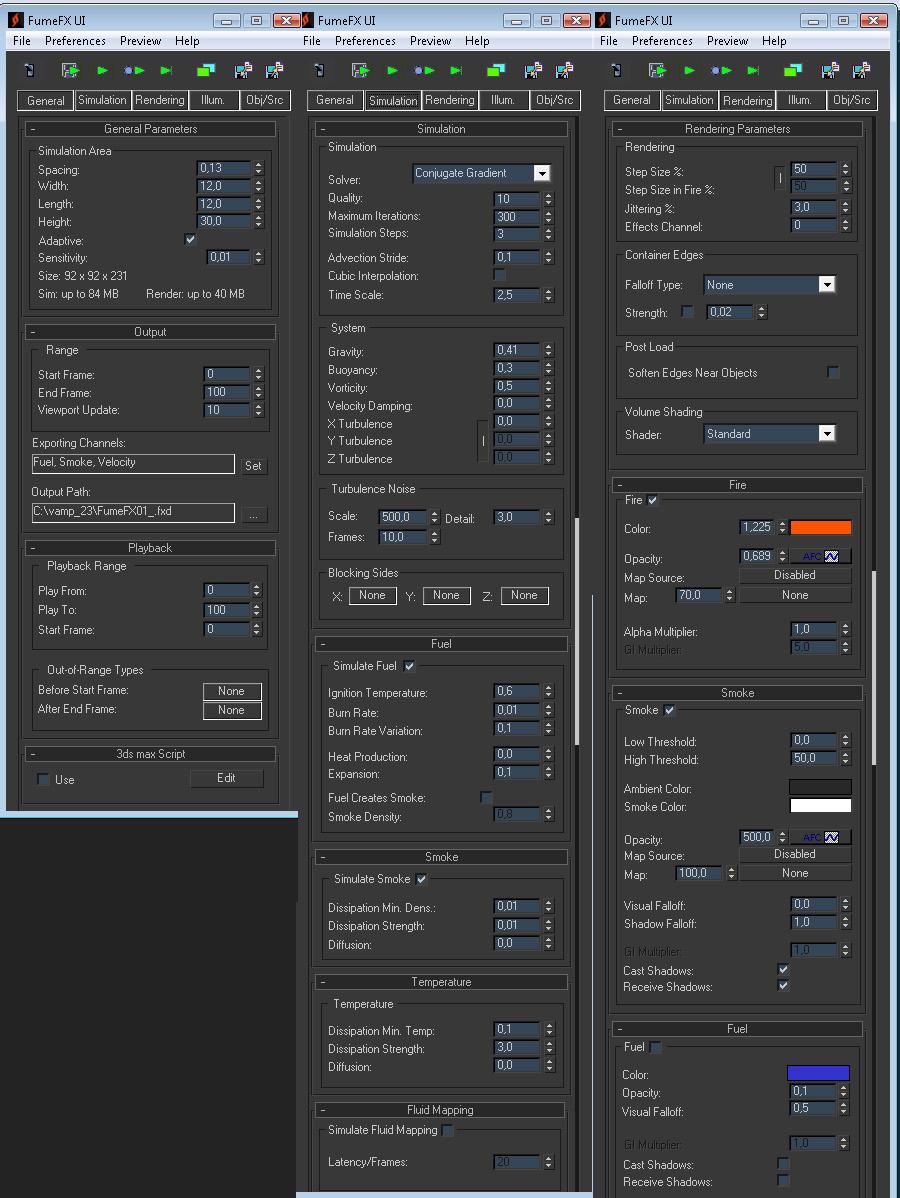
Ok now is time to do some flames, I used Fume FX plug-in for max, it’s really easy to use and you get amazing results. I`ve select the horns as a source of flames. Here is some setup in fume FX dialog for horns
Then I just click render and let it counting for a while, at the end I go through all the frames and pick the one most interesting for me. I also made few smoke renders to put on his body.
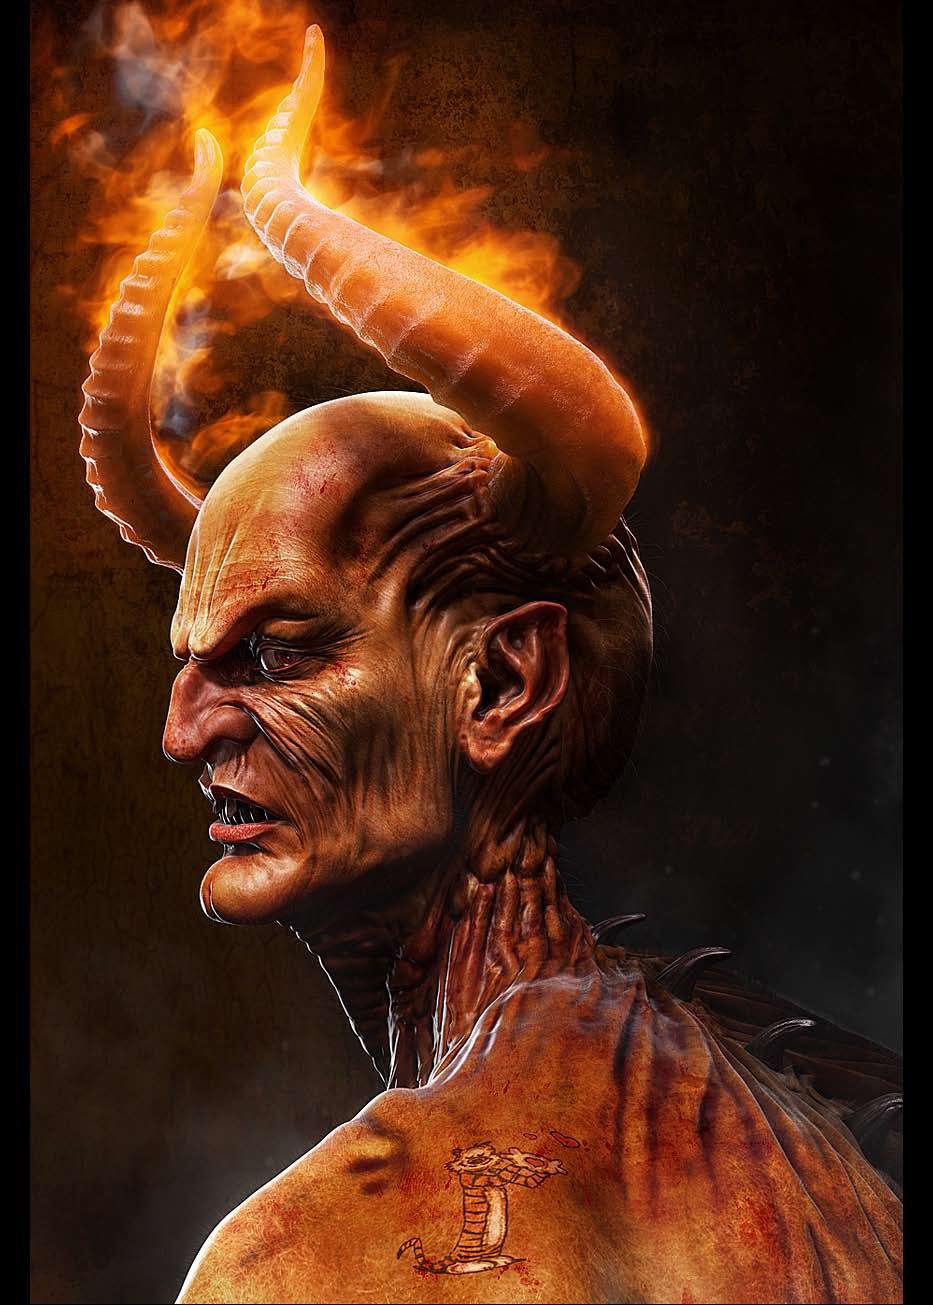
Here is the final render with flames and some smoke.

Then I render few more smoke to put in front of his body to combine them in the final picture. As last thing I render some fur on the body with default settings just tweak the size and length of them to get some nice fine fur details in hi-res render. I should use mask for the places where I didn’t want to grow fur but I was in big rush at the end so I just overlay it and erase parts where I don’t required.
In final compositing in Photoshop, I made few color correction, paint some hairs on head, add those smoke renders, add even more blood on some places, tweak
contrast and add simple background. And here is the final result as you know it.
I hope you enjoyed this small making of and now you get a better idea of how I did it. Bye
Vaclav Krivanek
http://www.washek.com washek@washek.com