2 minute read
Photoshop 3d Models in CS3
from June2007
by Hiba Dweib
3d models in CS3
Many of you already tried hands on the Photoshop CS 3 extended version; if not then try now because Photoshop CS 3 added a support for 3d models. That means you can import 3d models, change model position, lighting or rendering, edit model textures and easily composite models with 2d content. Currently CS 3 supports five formats of models (u3d, .3ds, .obj, .kmz, and Collada file formats).
Advertisement
Like to mention Extended version is $350 costly in comparison to standard version but Photoshop CS3 Extended enables you to edit 3D and motion-based content and perform image analysis. So, before buying first decides will you actually need these features...
In this tutorial we will add an airplane (.3ds) in the middle of airport road in just few minutes. And believe me no authority will be able to detect who is the culprit. So, let’s start.
Step 1: Firstly open you picture and then open a 3ds format file like any other file. Yes, you are right in 3d software’s we have to actually import the 3ds files but in CS3 just open it.


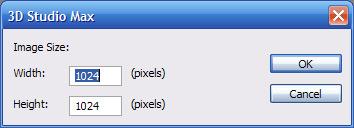
Step 2: It will ask for the image size, by default size is 1024 x 1024 and after processing open a 3d file with transparent background.
If you see the layers palette then 3d icon is available on the palette file icon and many other sub files also shown there, which are textures.


Step 3: Drag the 3d file on the 2d image and then double click on the 3d file icon and you will see on top menu bar many 3d tools are added for rotation, scaling, dragging, playing animation, rendering, lighting etc.
Step 4: Rotate and scale the plane as per scene requirement. Click on the icon “Lighting and Appearance setting” in the menu bar and change lighting to “Day lights” or any other as you like, experiment is the key here. And press ok. If you have noticed in the same option box you can also change the appearance of the 3d object to wireframe, solid wireframe, shaded illustration and many more.


Step 5: Now the final thing is if you want to change any texture then double click on the texture in the layers palette and file will open for editing inside Photoshop.
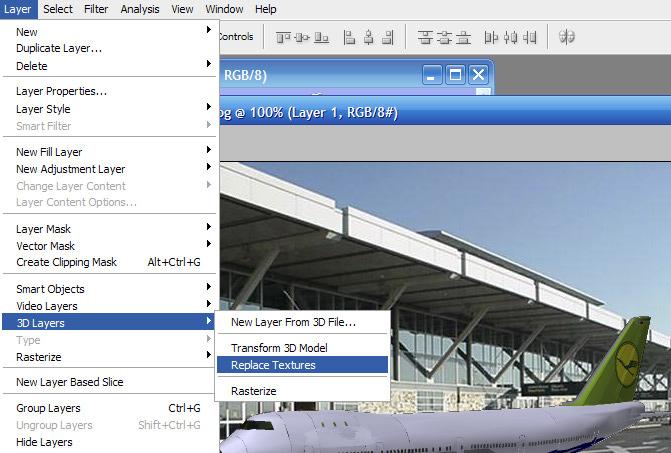
Step 6: Make the changes and save the file. And that change automatically updates on the 3d file like we have changed the color of tail from blue to green. But this change will not update your main 3d texture inside 3d software. And if you like to change main texture too then goto Layers > 3D Layers > Replace Textures
That’s it for now; add shadow for the plane, so that looks on the ground.


