3 minute read
After Effects Animating Spirograph
from June2007
by Hiba Dweib
Animating Spirograph
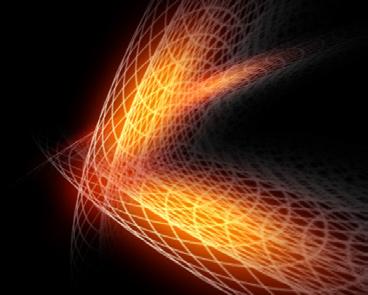
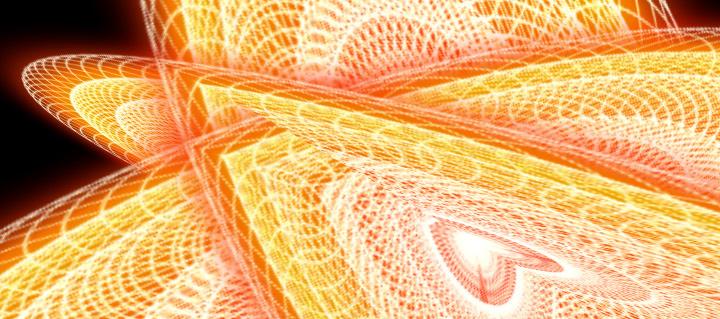
In this tutorial we will create spirograph style animation using any version of Illustrator and After Effects. A Spirograph is a curve formed by rolling a circle inside or outside of another circle. The pen is placed at any point on the rolling circle. Hope you have created lots of spirograph in the childhood.
Advertisement

Step 1: Create a new 1024 x 768 pixels size document inside illustrator and select an Ellipse Tool (L) to draw the circle or any shape you like. Press Shift for creating a perfect circle. Just remember that line color is black and Fill color is transparent.
Step 2: After creating a design select the whole design and choose the rotate tool and by pressing “Alt” key click on the design.
Step 3: This will open a rotate popup dialog, choose 5 degree inside the angle, press Copy and then OK.
Step 4: Now just press Ctrl + D and keep doing to add more overlapping copies to complete your spirograph.. If design goes out of the canvas then select the full design and scale down.
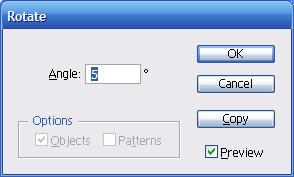

Step 5: When design creation is complete then change the line color of the design to white and save the file in “AI” format.

Step 6: Create a new composition in the after effects sized 1024 x 768 and import the illustrator file.
Step 7: Press R and rotate the spirograph from 0 second to 5 seconds.
Step 8: Enable the 3d layer button and rotate the spirograph in Z axis.
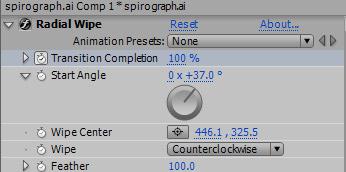
Step 9: Apply Radial wipe transition (Effect > Transition> Radial Wipe) on the layer and set Transition Complete – 100% at 0s and 0% at 5s. Increase the feather value and also change the wipe center. Check the settings dialog box image below.


Step 10: Apply the Glow effect (Effect > Stylize> Glow) on the layer and choose the following settings. Try increasing the Color Loops value for more exciting and different shades of colors.
Step 11: Now select the layer and pre-compose. Layer Pre-compose…
Step 12: Now your effect is almost complete, just duplicate the layer two times and enable the 3d layer for those and rotate the spirograph in all the axis to get the mirroring effect. Try changing the modes to ADD, SOFT LIGHT and others too.

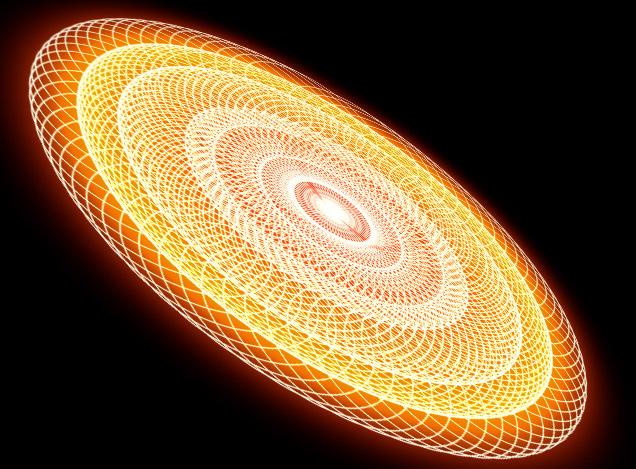

Step 13: Add the camera layer (Layer > New > Camera) and move the camera world in the world to get the desired effect. I am not writing any settings for this because it totally depends on the experiment and settings are useless until each and everything in the scene created using exact dimensions which we are not doing here... because our main object understands the concept so we can create more wonderful effects.
Step 14: After everything is complete our background is looking little empty, so create a solid layer in the bottom and apply a ramp effect on this background layer.


