1 minute read
Creating a lower third

from Xpression Notes
by Team_FPA
Xpression CG notes
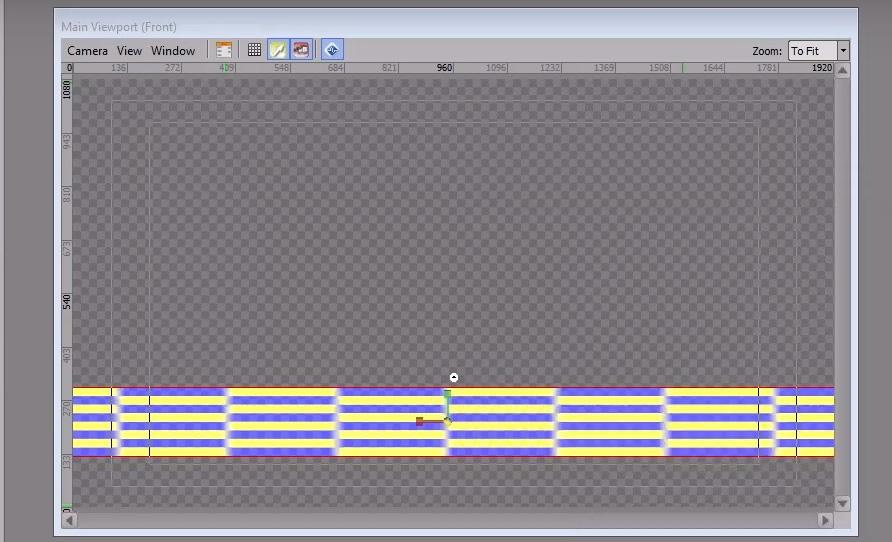
Creating a SIMPLE Lower Third Graphic 00:32:56 - 00:35:41 - Add a Quad to the your project - Use the scale tool to reduce the size and shape to a bar that stretches across the length the of
Main Viewport and is approximately one in high (give or take…you can eyeball it) - Use the move tool to move the object to the lower third area of the screen
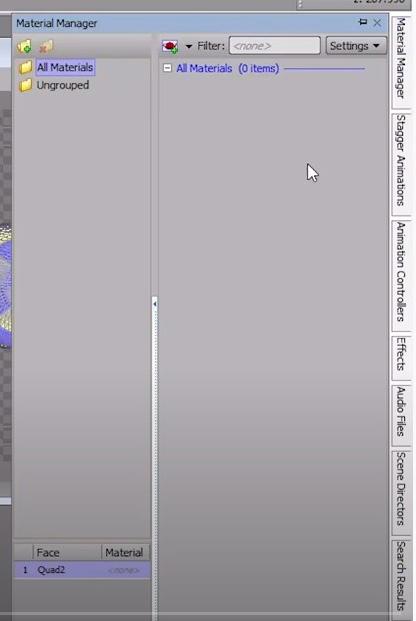
- Create a new material
• Make it any color you want • Bear in mind that the color of the material will determine the color of the font you use for your text
- Apply the material to your quad • The quad will now be visible to you in the Scene Manager - Add a text object to your scene from the Object Library - Click on the text and an I-bar will appear in the Main Viewport (text prompt)
Xpression CG notes
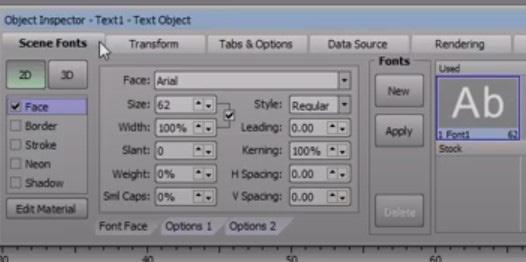
• Use the Move Tool to drag the new text object down over top of the bar that you just created • Notice that the Object Inspector has changed

• First tab became the Scene Fonts tab
Type “John Smith” • Click outside of the text object in the Main Viewport • Notice the change in the Inspector when the text object isn’t selected
• Reselect the text object in the Object Manager (did you get a purple bar?)
• Make any changes you want to the font and its appearance • Change the font size • Change the border • Change the stroke • Give it a drop shadow
• Rename the object “NAME” in the Object Manager