1 minute read
Exporting a package

from Xpression Notes
by Team_FPA

Xpression CG notes
Exporting a Package
If you are working in Classroom 1, you will need to export a package of your project in order for all the elements in it to transfer over when you open it in Studio A or B control rooms.
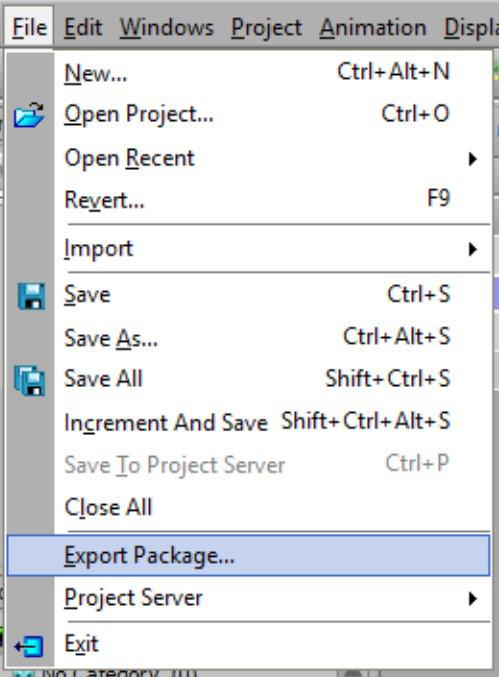
1. Choose Export Package... from the File drop down menu
2. Click the Browse... button to choose the destination for the package • Staff recommends you save this to the Desktop of the computer you are working on, and then transfer the package to your file on the Member Data Drive (m:)


Xpression CG notes
3. Give the project package an appropriate name (relevant to the show your project is for) • Click the Save button

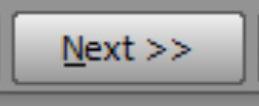
4. Click the Next >> button in the Export Project Package window
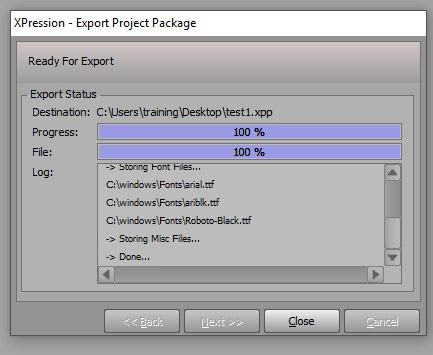
5. Confirm the package is saving to the desktop
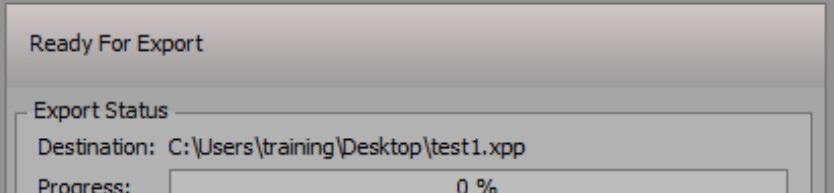
6. Click the Export button • The progress will reach 100% when the export is completed • Click the Close button
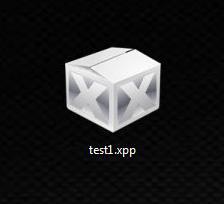
7. Move the package from the desktop to your folder on the Member Data
Drive (m:)
8. Now go to either studio A or B control room and launch
Xpression CG on the CG computer

Xpression CG notes
9. Navigate to the Xpression package you created in Classroom 1 and drag it to the desktop of the CG computer you are on
10. In Xpression, go to File>Open and double click on the package file
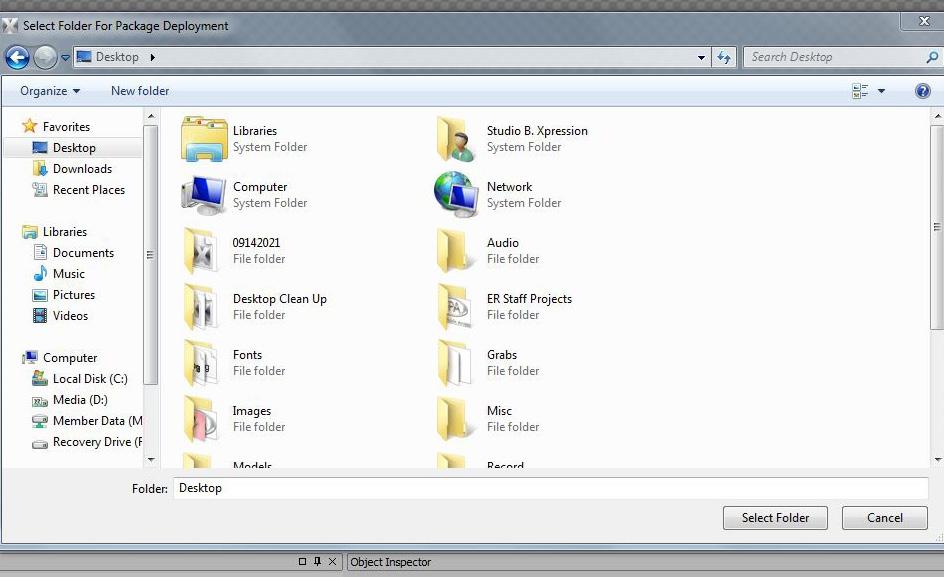
11. Choose your destination for package deployment • Staff recommends choosing Desktop
12. Click the Next button
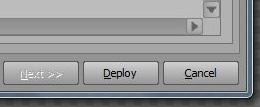
13. Click Deploy • If you are asked to replace an existing font file, click Yes
Xpression will now open the contents of your package