P H O T O I N S I G H T S
February 2023
The Heavy Lens Debate

Practicing Graphic Design III
Camera settings for landscapes
Photography quiz
Photo tours
Ask Jim Student Showcase
Back issues
Jim Zuckerman’s
Table of Contents

2
On the cover: A snow leopard photographed during Jim’s Winter Wildlife Workshop. This page: A snowy owl in flight in Saskatchewan captured during Jim’s Snowy Owl Worksop. 4. The Heavy Lens Debate 11. Practicing Graphic Design III 15. Camera settings for landscapes 20. Photography quiz 22. Jim’s eBooks 25. What’s wrong with this picture? 27. Short and sweet 29. Ask Jim 30. Photography tours 32. Student Showcase 38. Past issues 43. Subject index
Because I love making images, I’ve recently done some initial experimenting with AI -- artificial intelligence. There is a lot of debating going on with this new frontier. Comments and questions like: This isn’t photography, who owns the copyright, isn’t this just an amalgam of other people’s images, isn’t this cheating, this really isn’t creative because a computer is making the art, etc. etc.
Over the course of many years -- centuries, even -- people can’t help themselves but debate, criticize, complain, bemoan, and accuse artists and artforms they don’t approve of. When the impressionistic style of painting was introduced in France in 1860, the art community was up in arms because it wasn’t a depiction of reality. In the beginning, artists like Picasso, Dali, and Chagall weren’t understood or appreciated at all. Now if you owned one of their paintings you could retire in style.
And when Photoshop was first introduced and photographers started really experimenting with it, there was (and in some circles still is) controversy about whether or not it’s ‘cheating’ to manipulate photographs to such a degree.
Maybe I have a simple mind, but all of these reactions to new art forms make me roll my eyes and yawn. I’m tired of it. I love making beautiful, compelling, and intriguing images, period. If artist Tarinan von Anhalt can have the blast of a jet engine blow paint on a canvas, and if that is lauded as great art, then come on. Anything goes.
So, getting back to AI, in a future issue of Photo Insights, when I feel I have a collection of excellent work, I’ll feature this new technology. But for now, I’m going to continue experimenting with it and having a good time doing it!
Jim Zuckerman photos@jimzuckerman.com www.jimzuckerman.com

3
The Heavy Lens Debate
Before each photography tour I lead, I send out a pdf format eBooklet with information about the tour, and I include a list of recommended camera equipment. If the tour is largely focused on bird or wildlife photography, long lenses are obviously ideal. But so often, clients will still ask if they should bring their heavy glass -- usually a 500mm f/4 or a 600mm f/4.

I know exactly what they are saying. They really don’t want the burden of carrying such a big lens and dealing with the weight, the hassle of airport security. and hoping there is enough space in the overhead compartment on the
plane for their gear. The nightmare for photographers when traveling is that airline personnel could insist on checking in this heavy, expensive equipment.
On the other hand, these lenses are super expensive. What was the point of paying all that money and not using them?
So, when I’m asked whether the client should bring a large lens, I feel like I’m between a rock and a hard place. It’s hard for me to give an intelligent answer since every photographer thinks and shoots differently. For this article, though, I thought I would summarize my
4
thoughts on the subect, and I’m hoping you may find this helpful.
The unexpected
On my recent winter photo tour to Iceland, if a client had asked me if a 700mm focal length was needed, I would have said -- knowing he or she was essentially asking permission to leave such a large lens at home -- no, it’s not. Go ahead and leave it home.
And yet the picture below of frost on a black sand beach made such a pretty pattern that I had to photograph it. I filled the frame with the graphic design using a 500mm focal length plus a 1.4x teleconverter giving me 700mm of focal length. I had been to this beach before but had never seen frost like this interwoven with ripples in black sand. Had I not brought the right equipment to Iceland, I would have

missed this shot.
What you have to debate in your mind before any trip are these things:
1. How important is it that I don’t miss photo opportunities?
2. How much weight can I physically carry before photography isn’t fun any more? In other words, how much will it hurt to carry heavy gear and is it worth the pain?
3. Will I be on any small planes where weight is a safety issue?
4. Can I replace heavy glass with lenses that have the same focal length but weigh a lot less?
This last question is important because the
5
answer is yes. But this requires some serious compromises when it comes to speed and ISO.
Pros and Cons of long lenses
In 2007, I bought a Canon 500mm f/4 instead of the 600mm f/4. I debated between the two for several weeks, and in the end chose the smaller lens (still quite heavy, of course) primarily because it was a lot easier to carry, and it fit into a case that didn’t draw attention. Airline checkin personnel were less likely to weigh it. I figured the loss of 100mm of focal length could be made up by a teleconverter.
I sold the lens last year because I’d developed lower back problems from the heavy gear I had carried for many decades. I replaced it with the new Canon 100-500mm lens which I’ve come to love. Here are my conclusions in compar-
ing the two types of lenses, especially when it comes to traveling. Whether you travel internationally or to a nearby national park, packing and carrying photo equipment requires careful thought.
The only advantage of heavy glass, specifically the 500mm f/4 and 600mm f/4 lenses, is that they are fast. This means the large f/4 aperture lets in a lot of light. More light, in turn, gives the photographer the ability to use fast shutter speeds with relatively low ISO settings in reduced lighting conditions.
The disadvantages of the super telephotos are significant. They are very heavy and, for many people, it’s hard to handhold such weight as you’re watching for a bird to fly or an animal to run. A sturdy tripod is required to stabilize these large lenses, and this becomes another

6
Morocco Photo Tour

August 29 - September 10, 2023

7
burden for you.
Super telephotos are very expensive, and they are inhibiting in one imporant regard. The fixed focal length means you don’t have the flexibility of a zoom. On occasion when I was using my 500mm f/4 lens, at a particular distance an animal made the perfect composition. However, if it approached too close to the vehicle I was shooting from or the blind I was using, I had to switch to a shorter focal length lens. The picture on the next page of a mother and newborn baboon is an example. I had been shooting them with the 500mm f/4, and the mother walked up to our Land Rover and sat down. I had to add one extension tube between the lens and the body to allow me to focus on the two animals. The minimum focusing distance of the 500mm lens I was using is 14.5 feet and the baboons were closer than that.
The Canon 100-500mm lens I now use is much, much lighter, it’s smaller and takes up a fraction of my backpack compared to the 500mm f/4. It is much less expensive, and most importantly it has a fantastic zoom range. This gives me tremendous compositional freedom. In addition, it focuses very close. The minimum focusing distance is only 35.4 inches (90 cm).
The very relevant disadvantage is that it is an f/4.5 - f/7.1 lens. For bird photography, when shooting in diminished light like diffused sunset, below, that’s a big deal. That means when it’s set to 100mm, the maximum aperture is f/4.5. At full extension to 500mm, however, the largest aperture available is f/7.1. That’s 1 2/3 f/ stop smaller than f/4.
To put this in practical terms, this light loss is the difference between using 400 ISO versus

8

9
1200 ISO, or 3200 ISO versus 10,000 ISO. With respect to shutter speeds, it’s the difference between using 1/3200th of a second versus 1/800.
In order to use super fast shutter speeds especially in low light environments or to use small lens apertures for increased depth of field, the ISO has to be raised. The guinea fowl picture below, for example, was taken from a blind in South Africa at dawn with artificial light mixing with the dim ambient light. I shot this with the Canon 100-500mm lens plus a 1.4x teleconverter giving me 700mm of focal length. The teleconverter cost me one full f/stop of light, so now the maximum aperture was f/10. That pushed the ISO to 12,800!

Had I been using a fixed focal length lens with a maximum aperture of f/4, the teleconverter would have made the effective aperture f/5.6, and the ISO in that case would have been 4000.
That’s a significant difference.
However, in our favor now is the remarkable post-processing tools like Topaz DeNoise AI and Topaz Sharpen AI. If it weren’t for the ability to mitigate noise and to sharpen images that need it, I would not be enthusiastically endorsing the Canon 100-500mm zoom. But we do have these tools, and in my own work they have saved hundreds of pictures that needed technical help.
Every photographer wants super sharp images that are free of noise. The two routes to get there are 1) use and carry super expensive and heavy lenses along with a sturdy tripod, or 2) use a much less expensive zoom lens that is significantly smaller and lighter and has an incredible minimum focusing distance, and in post-processing address the issues of that degrade the photographs. §
10
Practicing Graphic Design
Part 3
Graphic design as it relates to animals is more challenging than when photographing people or architecture because you have no control over how an animal holds itself, how it runs, or even how it turns its head.
Animals in moton make great pictures if and only if their bodies define attractive shapes. Look at the two shots of a fox, below, and you can see what I’m talking about. Both images were taken at 20 frames per second which gave me a lot of choice in determining which frame was the best. The image on the left shows high speed action, but the position of the legs leave a lot to be desired. They are not graphically pleasing. The image on the right shows a beautiful spread of the legs, and the front left leg is artistically bent. It’s impossible to stop the action in your mind and carefully compose the fox with a perfect leg position, and that’s why a fast frame rate is so important when photographing animals


in action. I used a shutter speed of 1/1600th of a second to insure sharp pictures.
With pictures of birds in flight, it’s all about the shape and design of their wings. Obviously, it’s important to have an uncluttered background and lighting is very important, but it’s the wing position that makes or breaks the photograph. The roseate spoonbill on the next page exemplifies this. I took this from a small boat in Tampa Bay, Florida, shooting straight up. This is one reason I don’t use a tripod when photographing birds in flight. A tripod would not allow the camera to be angled like this; even if it did, I would have had to contort my neck into a very uncomfortable position. Handholding the telephoto requires a certain amount of strength in your arms and shoulders, but I find this to be much easier to take good shots while not being constrained by a tripod.
Birds with large beaks, like toucans, make
11
strong graphic shapes when their head is turned to the side. Had the keel-billed toucan from Costa Rica, at right, been looking straight at the camera, the picture would have looked almost silly. It certainly won’t have the visually compelling graphic shape that the image at right has.


Herbivores are challenging to photograph because most of the time they have their heads in the grass. This does not make a strong picture. Whether you’re photographing an elk, a horse, or a rhinoceros, animals grazing don’t present attractive graphic shapes.
Compare the two pictures at the top of the next page. As pretty as sunrise lighting was when I photographed the two horses on the left, this is not an exciting image. I took it, so I liked it enough to push the shutter, but it’s not great. It lacks a dynamic artistic design. The com-
12
parision shot was taken in essentially the same kind of light, but here you can see the wonderful shape of the horse. The head is held high, the mane is flying, and even the legs are bent nicely. This is a great example of the power of graphic design.
Visually compelling lines are important in creating strong images of all kinds of subjects in-


cluding reptiles. For example, the green tree boa, below, taken during my Frog and Reptile workshop, is positioned in such a way that its coils form S-curves and C-curves. This couldn’t have been more perfect.
Knowing what to look for with respect to graphic design will help you to know precisely when to push the shutter button. §

13
BEST of SOUTHERN NATURE
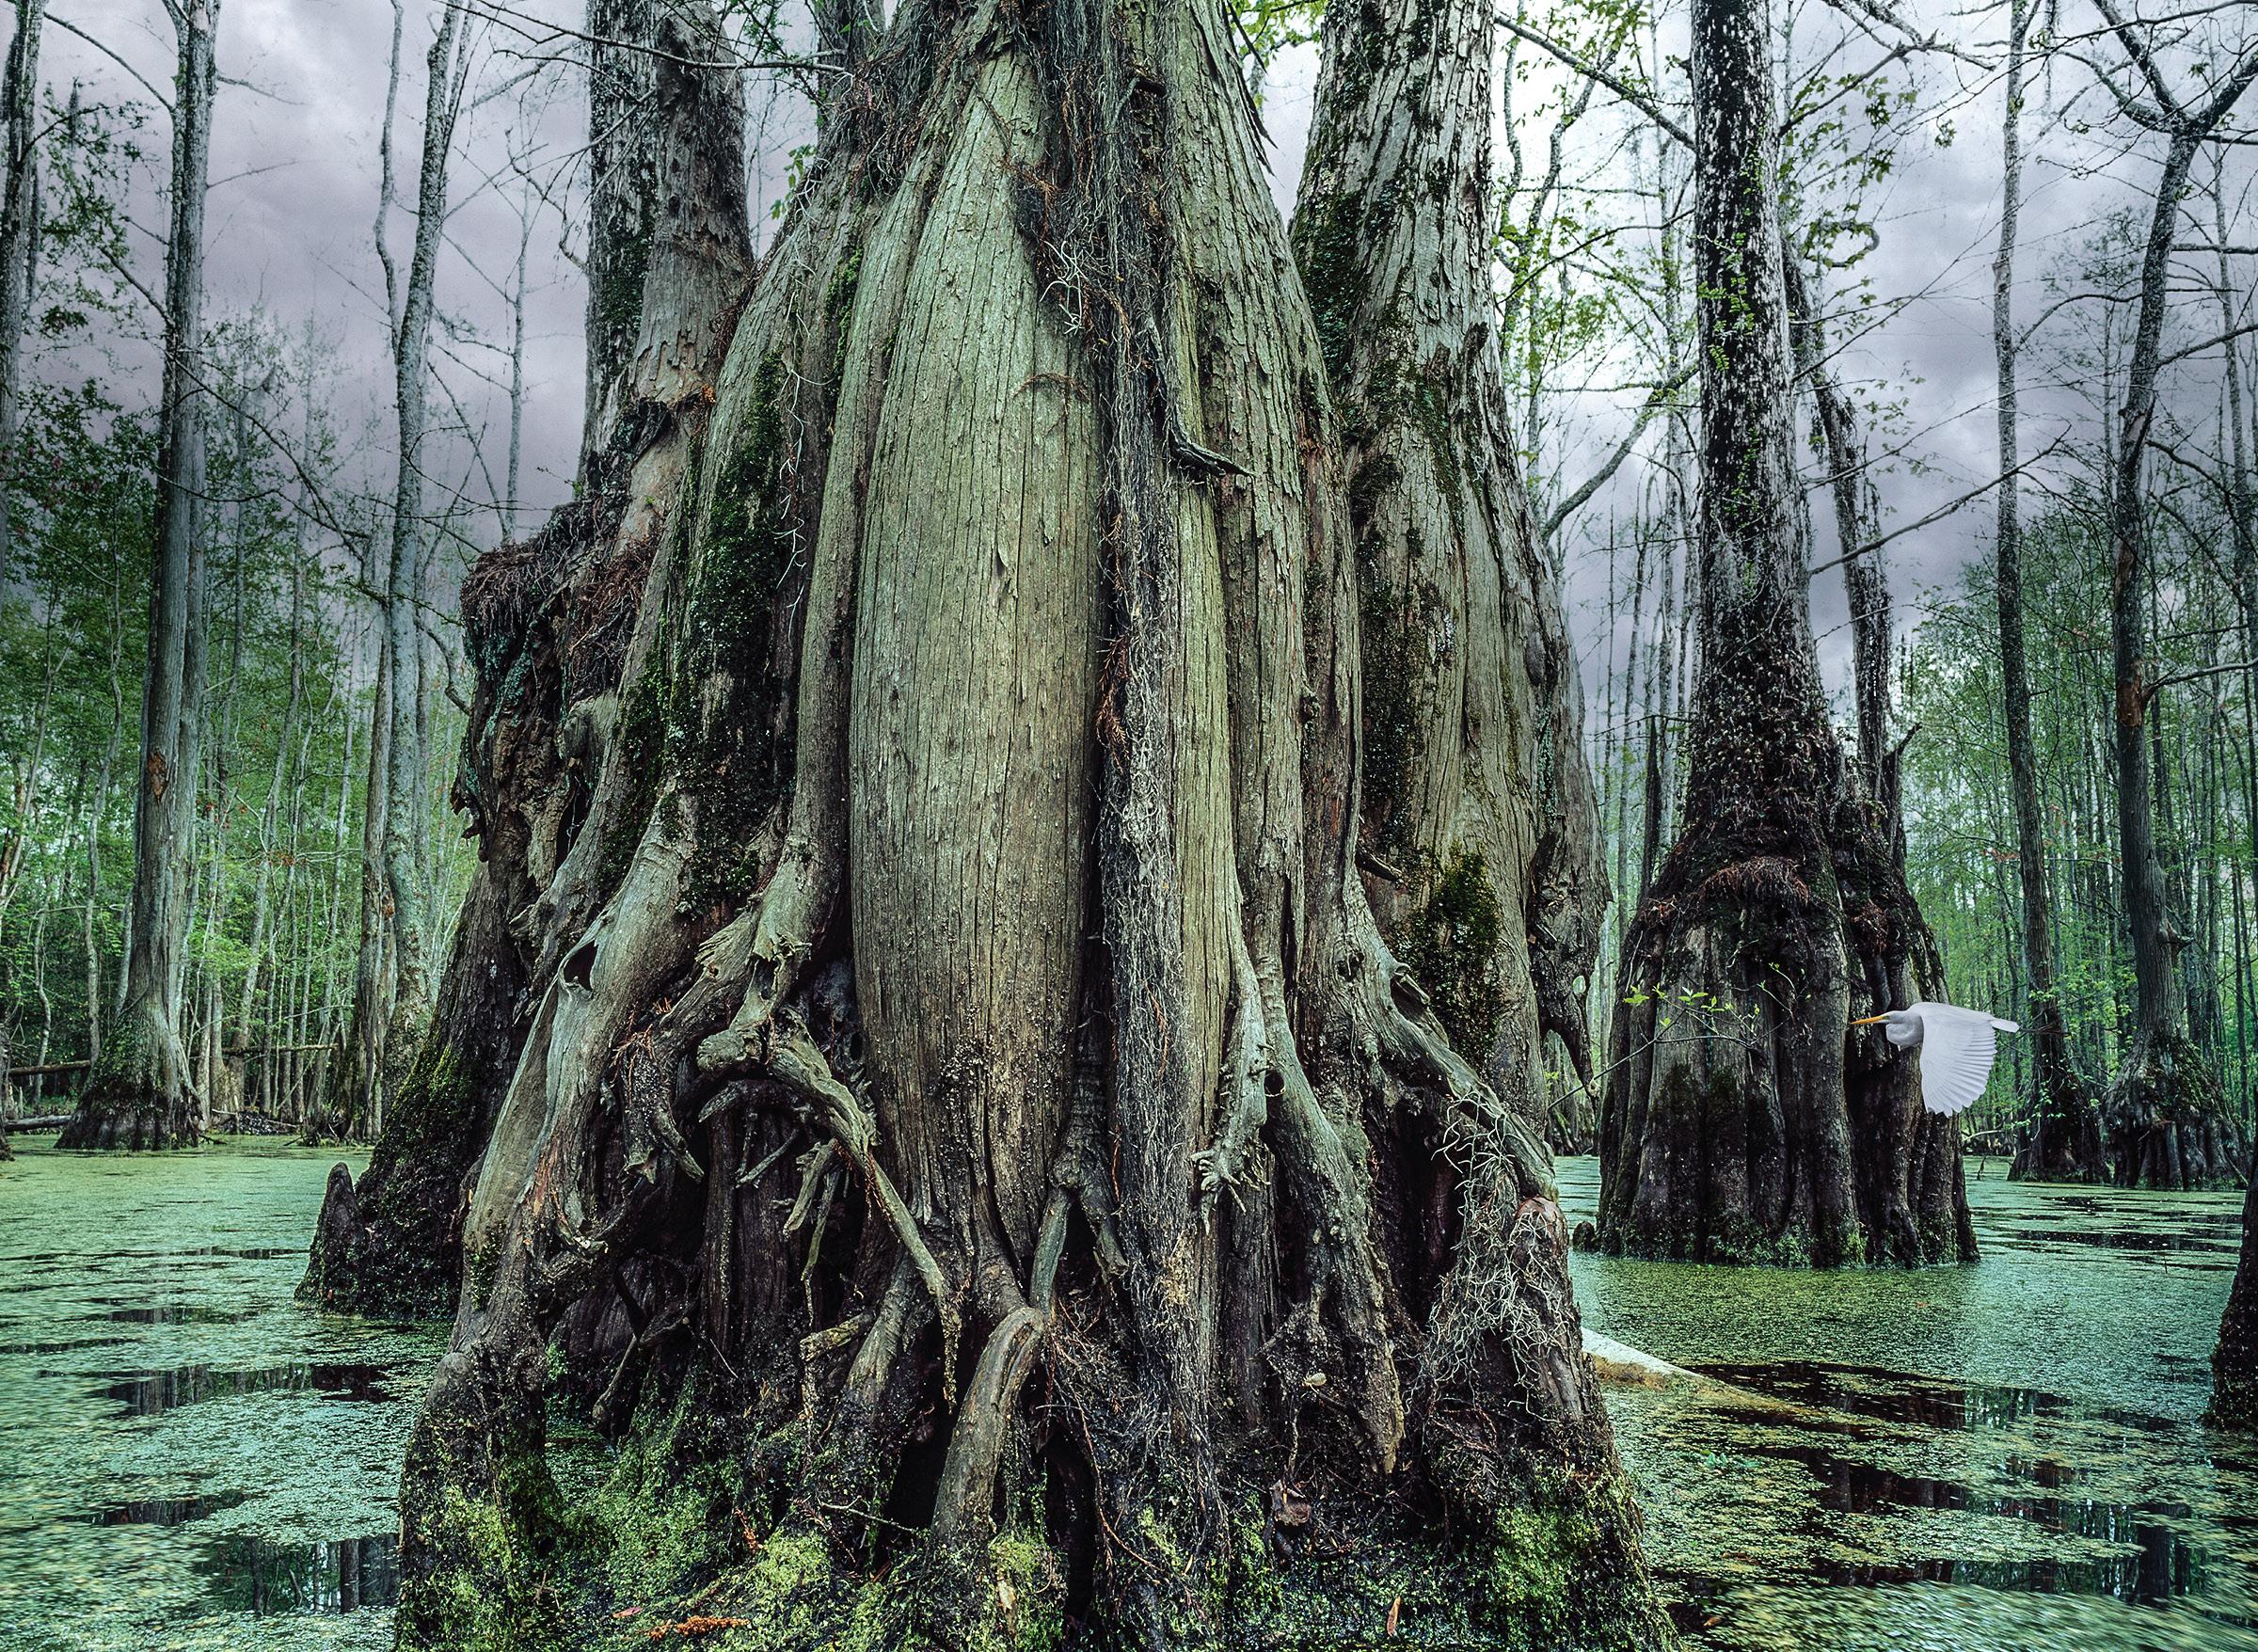
April 1 - 6, 2023

14
Camera Settings
for Landscapes
During every photography tour I lead, the number one question I get is what camera settings should be used for any particular situation. In the January issue of Photo Insights, I discussed camera settings for photographing birds in flight. Now I want to talk about the best camera settings for landscapes.
Not all landscape situations require the same settings. I’ve itemized the various possibilities.
Scenario 1: There is a foreground and background, and you’re using a wide angle lens.
Since all landscape images should have complete depth of field, the lens aperture should be f/22 or f/32. Assuming you are using a tripod, the ISO should be very low, such as 100 or 200. The shutter speed doesn’t matter because the camera is stabilized by the tripod. With a low ISO and a small aperture, the shutter will be fairly long, especially if you are shooting when the sun is low in the sky or the day is overcast.
Scenario 2: There are no foreground elements; you are shooting a distant scene like a range of mountains with a telephoto and a tripod.
If the distant scene is far enough away so it will

15
be in focus at any lens aperture, like the Torres del Paine range in Patagonia, below, then use f/8 because this is considered the sharpest aperture. If you are on a tripod, shoot with 100 or 200 ISO and, again, the shutter speed doesn’t matter. Don’t shoot this with a small aperture because it won’t be as sharp as f/8 and the shutter will be unncessarily slow.

Senario 3: You are handholding the camera, you are very close to the foreground elements, and there is a distant background.
Use a small lens aperture like f/16 to f/22 so you still have extensive depth of field, and raise the ISO until the shutter speed is fast enough for a sharp picture. With a wide angle lens you can usually get away with 1/60th of a second for the shutter. I prefer, if there is enough light, at least 1/100th to be absolutely certain the pictures will be sharp.
Scenario 4: You want to blur moving water
and you are using a tripod.
To blur water using a wide angle lens, like Skogafoss Falls in Iceland on the next page, I usually use between 2 and 4 full seconds. Since this is a landscape shot and I want the immediate foreground sharp, I choose f/32 as the aperture. The ISO should be low like 100 or 200. This means maximum quality.
To blur water using a telephoto lens, I typical opt for 1/2 to one full second. Telephotos magnify movement significantly. This is obvious in the viewfinder, thus a super long exposure isn’t needed to get the ethereal effect of moving water.
Scenario 5: You are photographing landscapes from a small, private plane.
Due to the vibration and possible turbulence of the plane, a fast shutter is required to get sharp pictures. A shutter speed of 1/1250 is good enough, but I tend to err on the side of maximum sharp-
16
ness, so I typically use 1/2000th of a second. So I don’t have to raise the ISO too high, I shoot wide open -- typically f/4 or f/4.5. If you have a faster lens, great. Use f/2.8 if you have it. This helps keep the ISO down so you get the best quality. I put the exposure mode on manual, and I set the aperture and the shutter as I’ve explained. I then put the ISO on auto. It will vary per the amount of ambient light that’s on the scene.
Scenario 6: You are using a wide angle lens and the camera position is within 1 to 3 feet of the immediate foreground as shown in the shot of a Patagonian lake, next page.
Definitely use the smallest lens aperture, but you also have to maximize the depth of field by using my hyperfocal distance formula. This is much simpler than actually measuring distances for the mathematical calculation. My approach has worked for me from the beginning of my career.
Take the focal length of the lens, say 24mm, and divide that by 3. The answer is 8. That is the distance in feet (not meters) where you should focus. When you focus to 8 feet with the smallest lens aperture -- probably f/22 or f/32 -- this will give you the maximum depth of field given the focal length of the lens and the distance from the camera to the foreground.
If you are using a 14mm lens, then you’d focus about 5 feet into the composition starting from the camera position.

You have to be on a tripod to be able to use a low ISO. The shutter speed will be long, but with non-moving objects that’s fine.
You can use the same technique handholding the camera, but you’ll need to raise the ISO until the shutter is at least 1/60th of a second. If it’s windy, I’d make the minimum shutter speed 1/125 while handholding. This should guarantee sharp pictures with a wide angle. §
17

18
WHITE HORSES of the CAMARGUE


Spectacular photo opportunities of horses in action
May 8- 13, 2023

19
Photography Quiz
1. A ‘fast lens’ refers to:
a. The maximum aperture
b. The ability to keep a running animal in focus
c. Whether or not a lens is image stabilized
d. None of the above
2. The best way to eliminate wire mesh in a zoo situation is to:
a. Use a telephoto lens
b. Shoot with a large lens aperture
c. Place the lens up against the wire mesh
d. All of the above
3. A lower shooting angle on an animal is advantageous because it:
a. Allows more depth of field
b. Gives greater stature to an animal
c. Avoids busy backgrounds
d. All of the above
4. The primary reason image stabilized lenses are beneficial to wildlife photographers is:
a. The photographer can handhold the lens at slower shutter speeds in low light conditions when shooting a stationary subject
b. The photographer can handhold the lens at slower shutter speeds in low light conditions when shooting a moving subject
c. The lenses are more forgiving regarding focus
d. The lenses are lighter to hold
5. In which of the following shots should you not rely entirely on your in-camera meter:
a. Horse and rider silhouette on page 19
b. Fox running in snow on page 21
c. Snowy owl on page 8
d. Waterfall shot on page 17
6. HDR should only be used with wildlife if:
a. They are backlit from the sun
b. The camera is mounted on a tripod
c. You are using a telephoto lens
d. The subject is perfectly motionless
7. Most photographers would meter a picture like the arctic foxes on page 24 by:
a. In-camera meter and no exposure compensation
b. In-camera meter and underexpose by 1 1/3 f/stops
c. In-camera meter and overexpose by 1 1/3 f/stops
d. Use a 5-frame HDR sequence of images
8. With what circumstances can autofocus be fooled:
a. When tall grass is in front of the subject
b. When contrast is extremely low
c. When the subject is off-center
d. All of the above
9. Learning how to control certain insects is the secret to getting great pictures of them. The best way to control butterflies is through:
a. Temperature
b. Sunlight
c. Humidity
d. Food plants
10. Hand held HDR can produce tack sharp results only when:
a. A wide angle lens is used
b. A fast frame rate is selected
c. Hold your breath and squeeze the shutter gently
d. All of the above
20 Answers on page 48
UPCOMING PHOTO WORKSHOPS
Frog and Reptile Workshop
This is a macro workshop where you will have up close and personal encounters with exotic poison dart frogs and primitive looking reptiles. Jim will explain how to use a ring flash to simulate difused daylight, and he will talk a lot about depth of field as it relates to macro work. This workshop takes place in Kansas city.

February 25 - 26, 2023
Mystical Swamps of Louisiana

Autumn in the swamps of Louisiana (and Texas) is spectacular. The mix of orange and green leaves is beautiful, and at this time of year we have the best chance of photographing fog. There are egrets, herons, and osprey to photograph as well as alligators in this primeval and mystical environment.
October 21 - 25, 2023
Winter Wildlife Workshop
Photograph beautiful North American mammals plus a snow leopard in natural environments. Mountain lions, red foxes, arctic foxes, bobcats, lynx, wolves and more are in their full winter coats. This is a very special workshop.
January 16 - 20, 2024

1919 10 w
21
Click on any ebook to see inside


18
Expand your photographic artistry with eBooks
22


2321 212123 21 1919 eBooks continued Click on any ebook to see inside 23
WINTER WILDLIFE WORKSHOP

January 16 - 20, 2024

23
24
What’s wrong with this picture?
The problem with this picture is depth of field. The beak of this Egyptian goose was a few inches closer to the camera than the eyes, and that made this photographic situation very challenging given the 700mm focal length I was using. I’d combined the Canon 100-500mm lens with a 1.4x teleconverter, and not only did this give me extremely shallow depth of field, but the maximum aperture of f/10 wasn’t enough to recover the loss of focus on the beak.
And, my ISO was already 12,800. If I closed down one f/stop to f/14, the ISO would have been 25,600. The conclusion I came to was that this was an impossible situation to get an ideal picture given the low light level, the focal length, and my distance to the goose. I applied Topaz Sharpen AI, but the beak was just too soft for the software to make it look good.

25
This is the same goose but shot from a different angle. In this composition, the beak and the eye are on similar (but not identical) planes. That made all the difference.

So, the solution in this particular situation was for me to move my shooting position to make the most important elements approximately equidistant to the camera, which is to say they were on similar planes.
Don’t underestimate how shallow the depth of field is with long lenses. It’s great to have significant magnification when photographing wildlife, but focus falloff happens so quickly, especially when you are relatively close to the subject. Sometimes it’s necessary to remove the 1.4x or 2x teleconverter just to gain dof. Then, in post-processing, you can crop the image and then run it through Topaz Gigapixel AI to regain the lost pixels and to frame the subject as you originally wanted to. §
26
1. I find that it’s quite effective with wildlife photography to lighten the eyes of animals just a little. It makes them pop just enough to add impact to the pictures. I use the dodge tool in Photoshop for this, and I usually lower the opacity to 60 or 70%. This helps you regulate the application of the tool better.

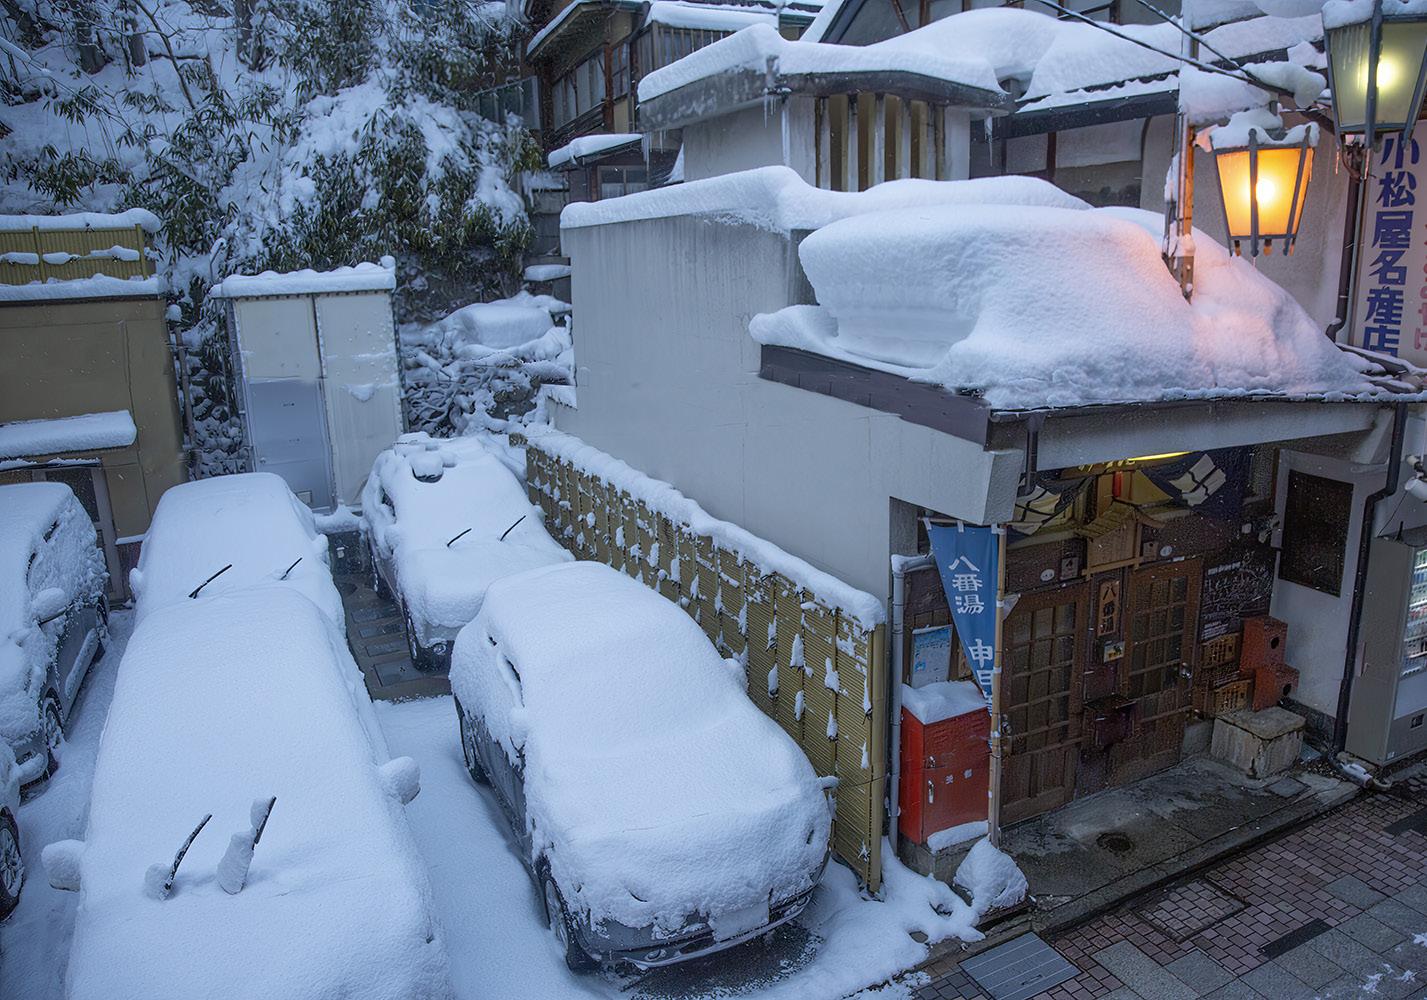
2. Don’t hesitate to shoot through glass. If there is any degradation of image quality, which there usually isn’t, you can use Topaz Sharpen AI to improve the picture. This is a street scene in a village in Japan. I liked the mood and the perspective that was only available from this second story view point.
3. When photographing pets, stuffed animals make great props. They add to the ‘cuteness factor’ reminiscent of the movie ET when the extra-terrestrial hid in the closet camouflaged by stuffed animals. Make sure the dog or cat and the stuffed animals are on the same plane so depth of field is not a problem.

4. Even though this is a winter scene, you can expect the camera’s meter to give you a perfect exposure because the mountain lion is middle toned and its body occupies the large, central area of the viewfinder. Since meters take most of their information from the center of the frame, you’d get a correct exposure here. §

27
SHORT AND SWEET
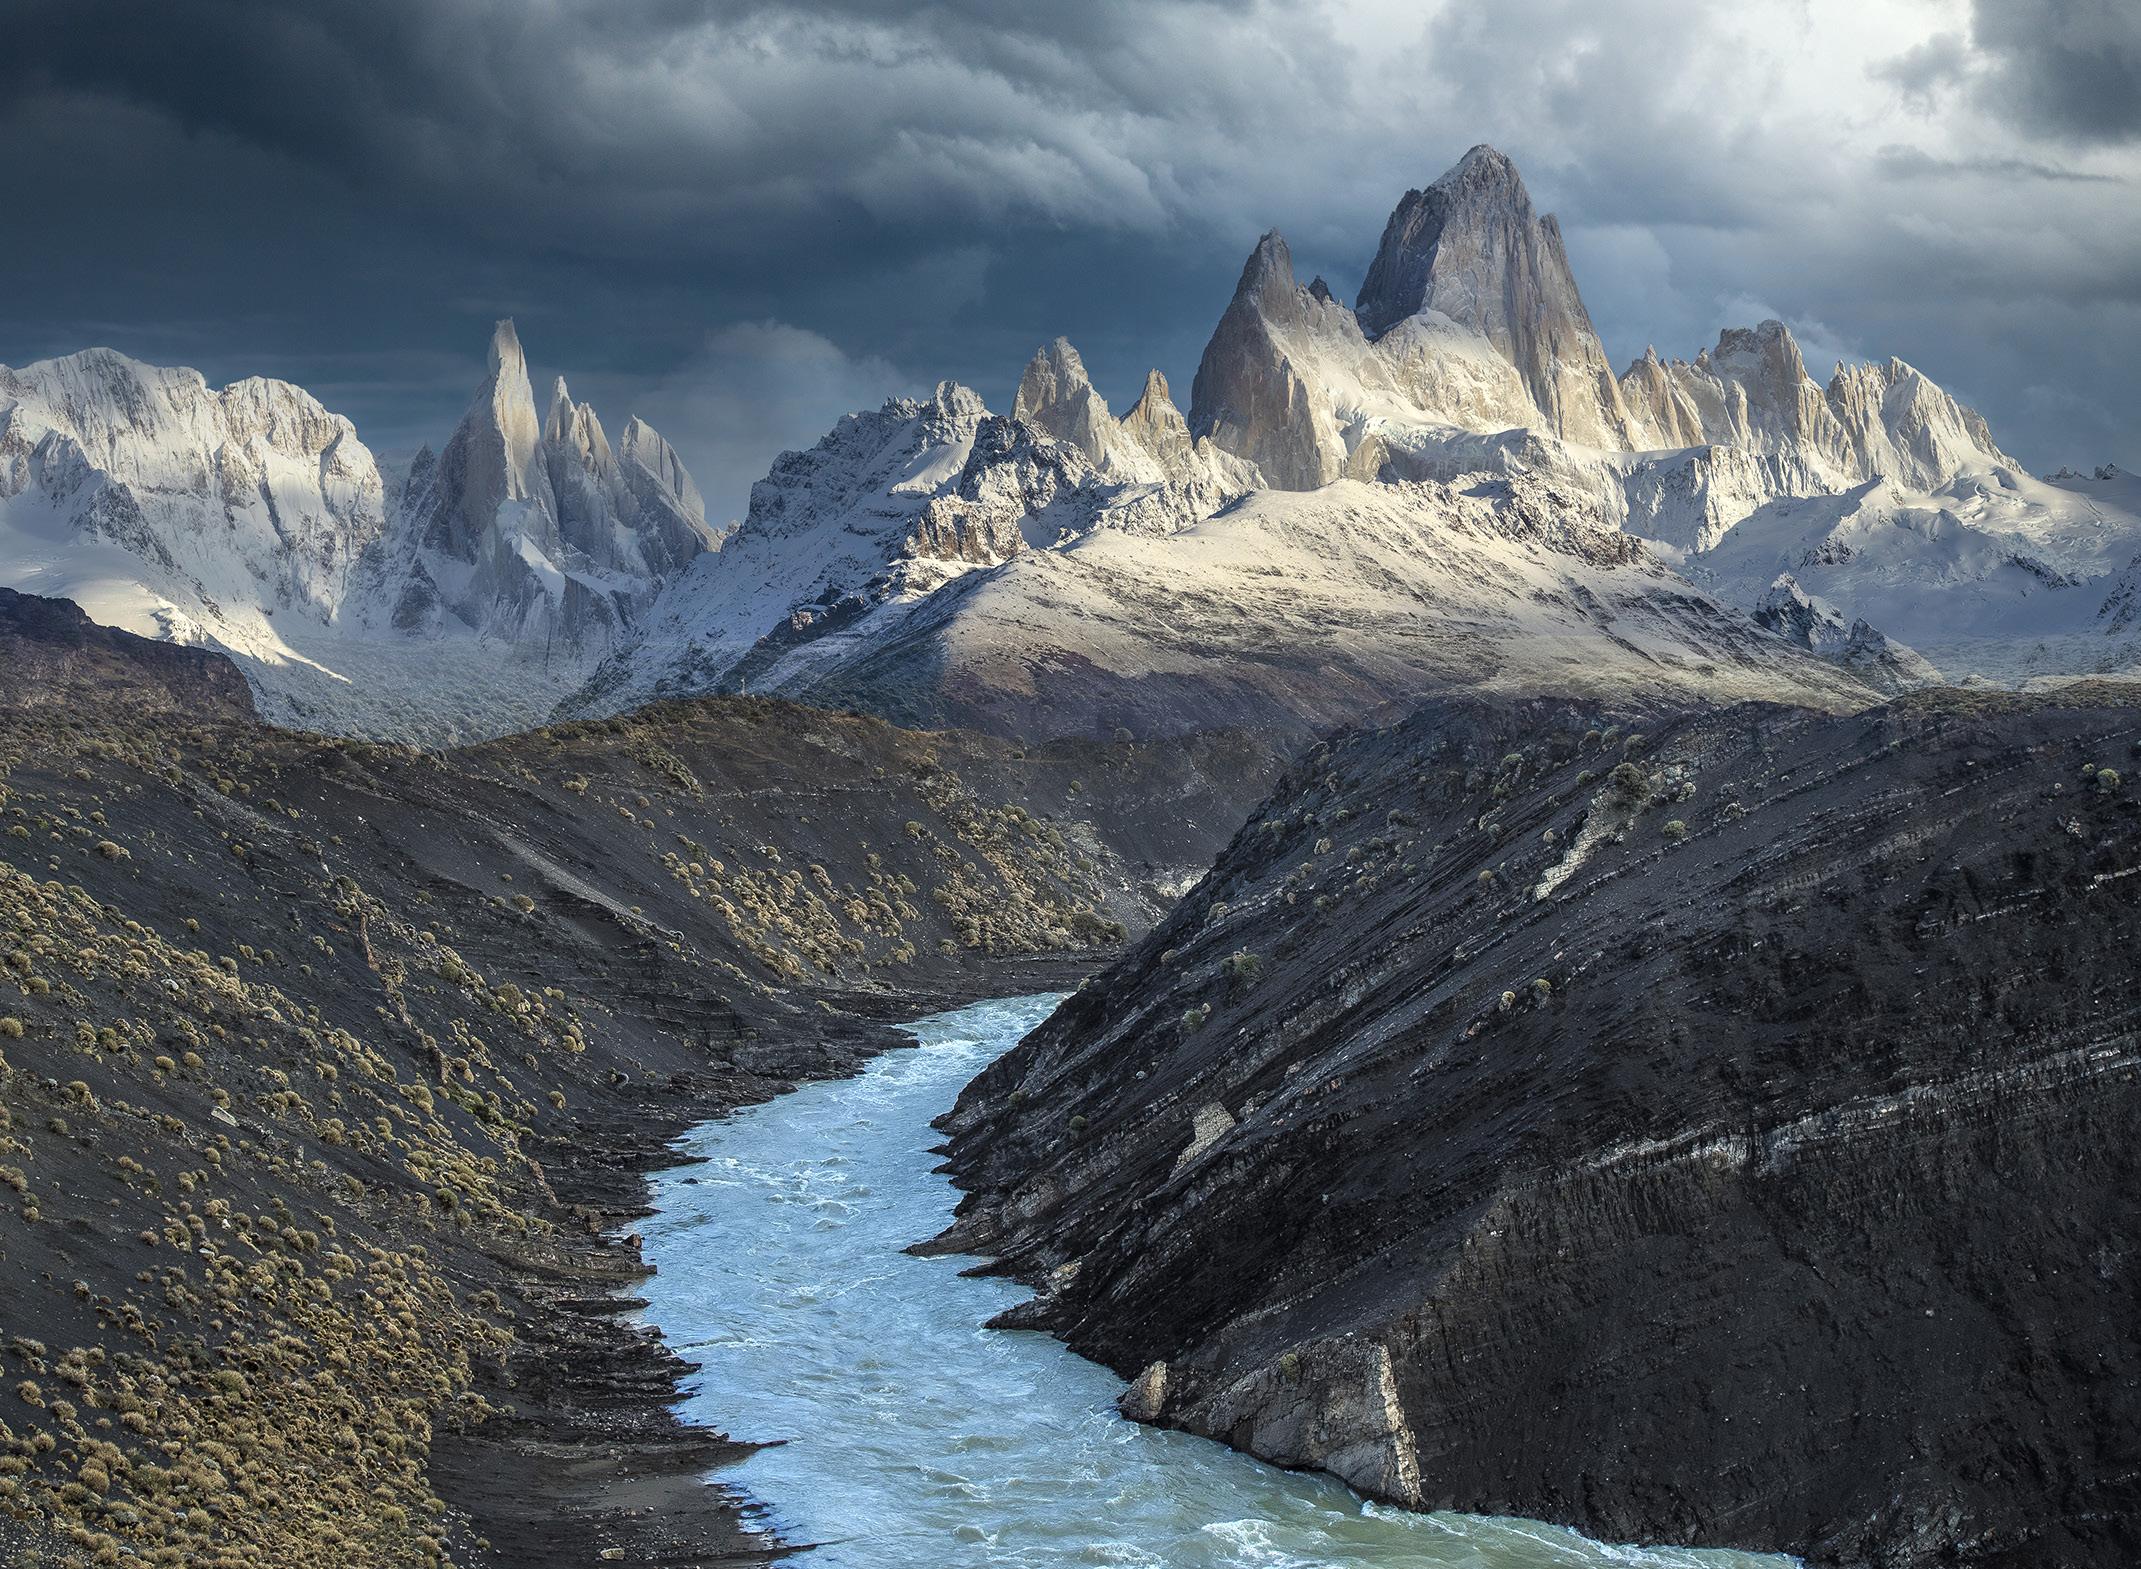
Patagonia Photo Tour
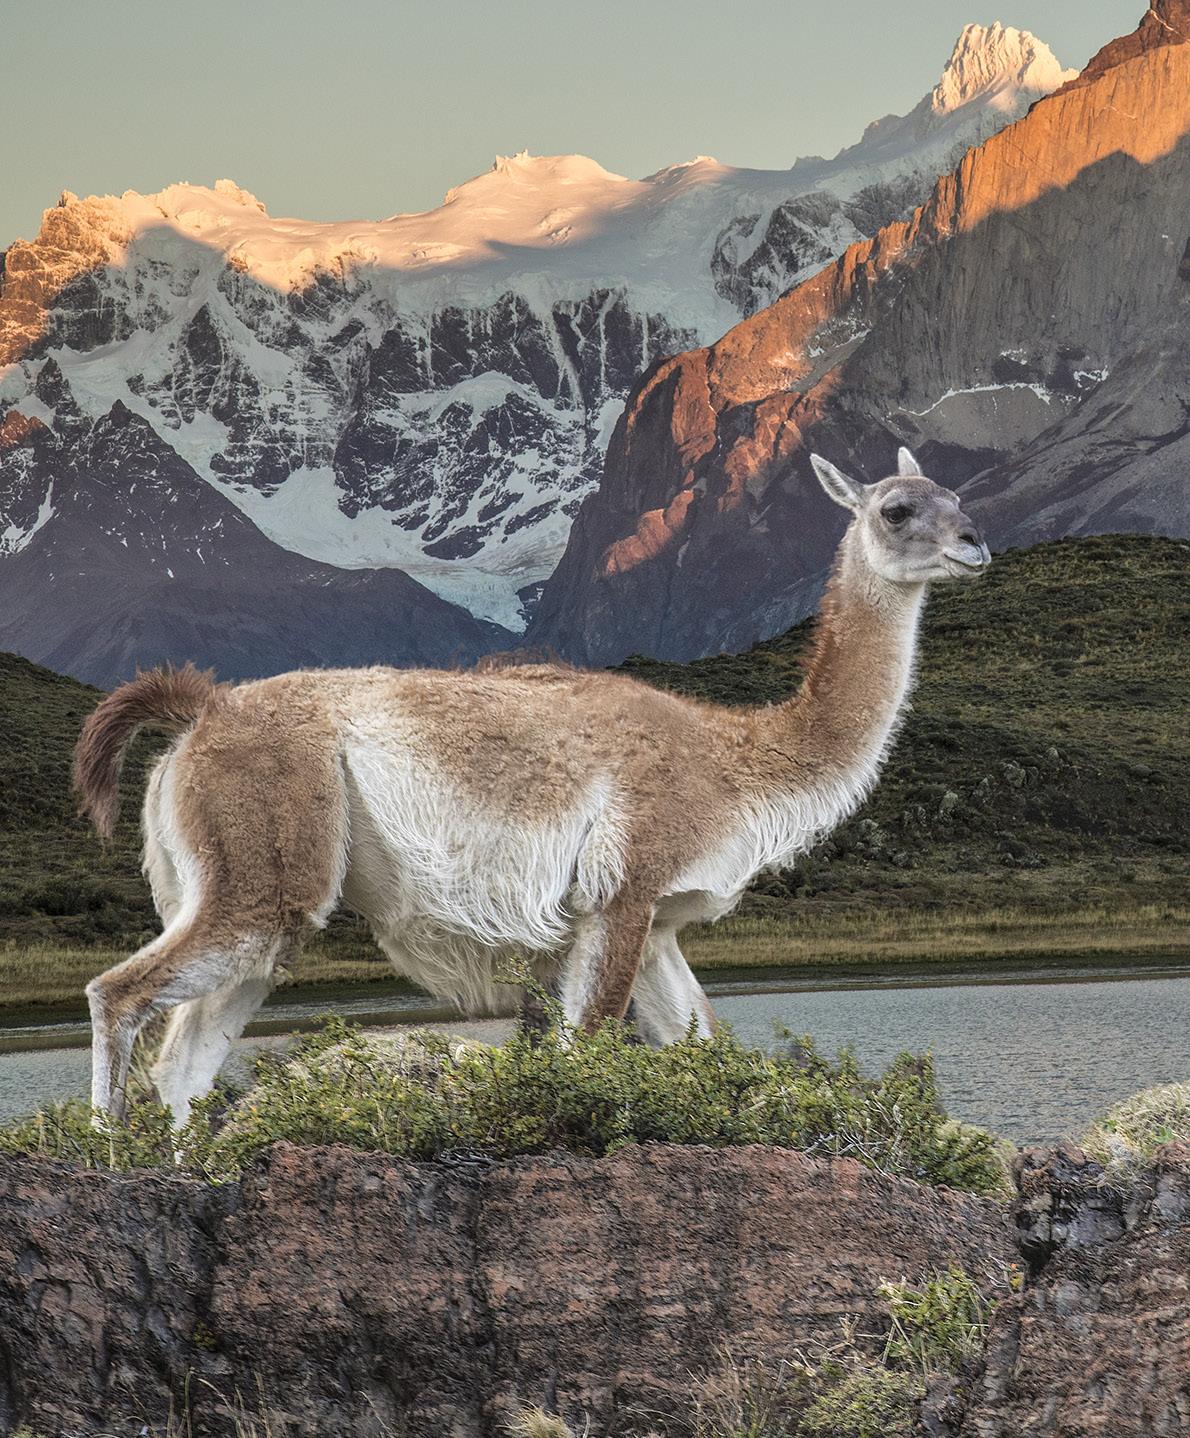
April 20 - May 1, 2023
28
ASK JIM
Every month, Jim will answer a question from his online students, from people who participate in his tours and workshops, or from subscribers to this magazine. If you have a question you’d like Jim to answer, please drop him a note at photos@jimzuckerman.com.
Q: Jim . . . Do you take a tripod on all your trips? I find it to be a burden, and I’d like to leave it at home but I also don’t want to miss out on getting good pictures.
Barbara Middleman, Troy, Michigan
A: When I used to shoot a medium format film camera, I used a tripod for every shot and I took it with me everywhere when I traveled. Now, with the ability to use higher ISO settings than ever before, I find I’m using a tripod less and less. I now only bring a tripod on a photo tour if I’ll be shooting at night (cityscapes, the Milky Way, the aurora borealis, etc.) or twilight. I don’t bring a tripod when I’ll be photographing wildlife on safari, for example, or when I am primarily focusing on birds. When I travel to Europe, I always bring a tripod because I do a lot of night shooting in beautiful cities and villages.
If you are fine with shooting at high ISO settings like 5000 to 10,000 and you know how to use Topaz software to eliminate noise, you really don’t need to bring a tripod on most trips.

29
Most cathedrals don’t allow tripods; it’s just a matter of raising the ISO and shooting wide open.
Partial List of Photography Tours 2022 - 2024
BEST of SOUTHERN NATURE

Apr 2023
TEXAS BIRDS/BLUEBONNETS
Apr 2023
PATAGONIA

Apr/May 2023
WHITE HORSES, FRANCE

May 2023
CHICAGO by NIGHT

Jun 2023
ENGLAND and WALES

Sep 2023
HUDSON RIVER VALLEY
Oct 2023
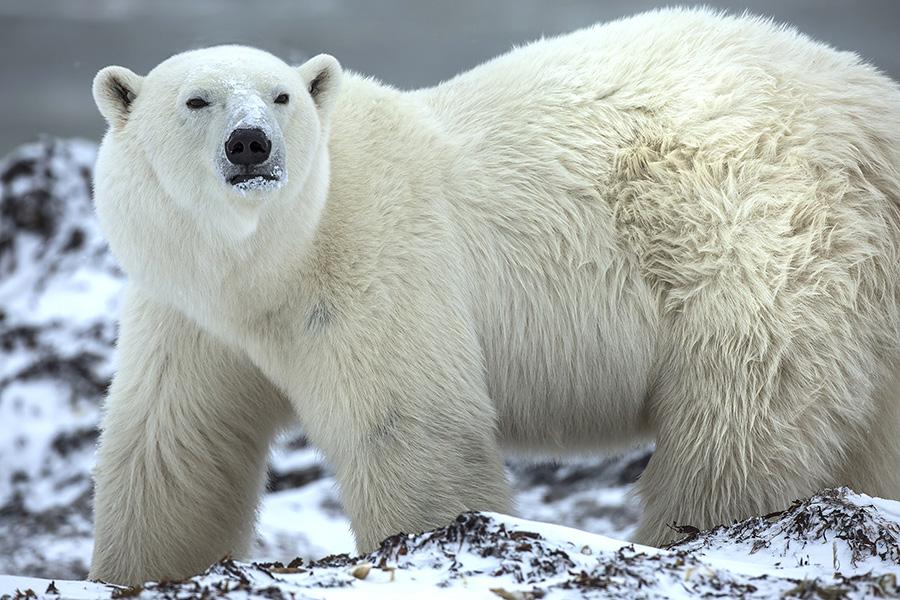
POLAR BEARS/Canada
Nov 2023
WINTER WILDLIFE

Jan 2024
ICELAND DRONE TOUR

HOLLAND & BELGIUM

Apr/May 2024
INDONESIA

Jul/Aug 2024
Aug 2024
For a complete list of all the photo tours/workshops Jim conducts, go to his website: www.jimzuckerman.com.


30
Polar Bears from

Ground
November 9 - 16, 2023 j Based in Churchill, Canada
Level
31
Student Showcase
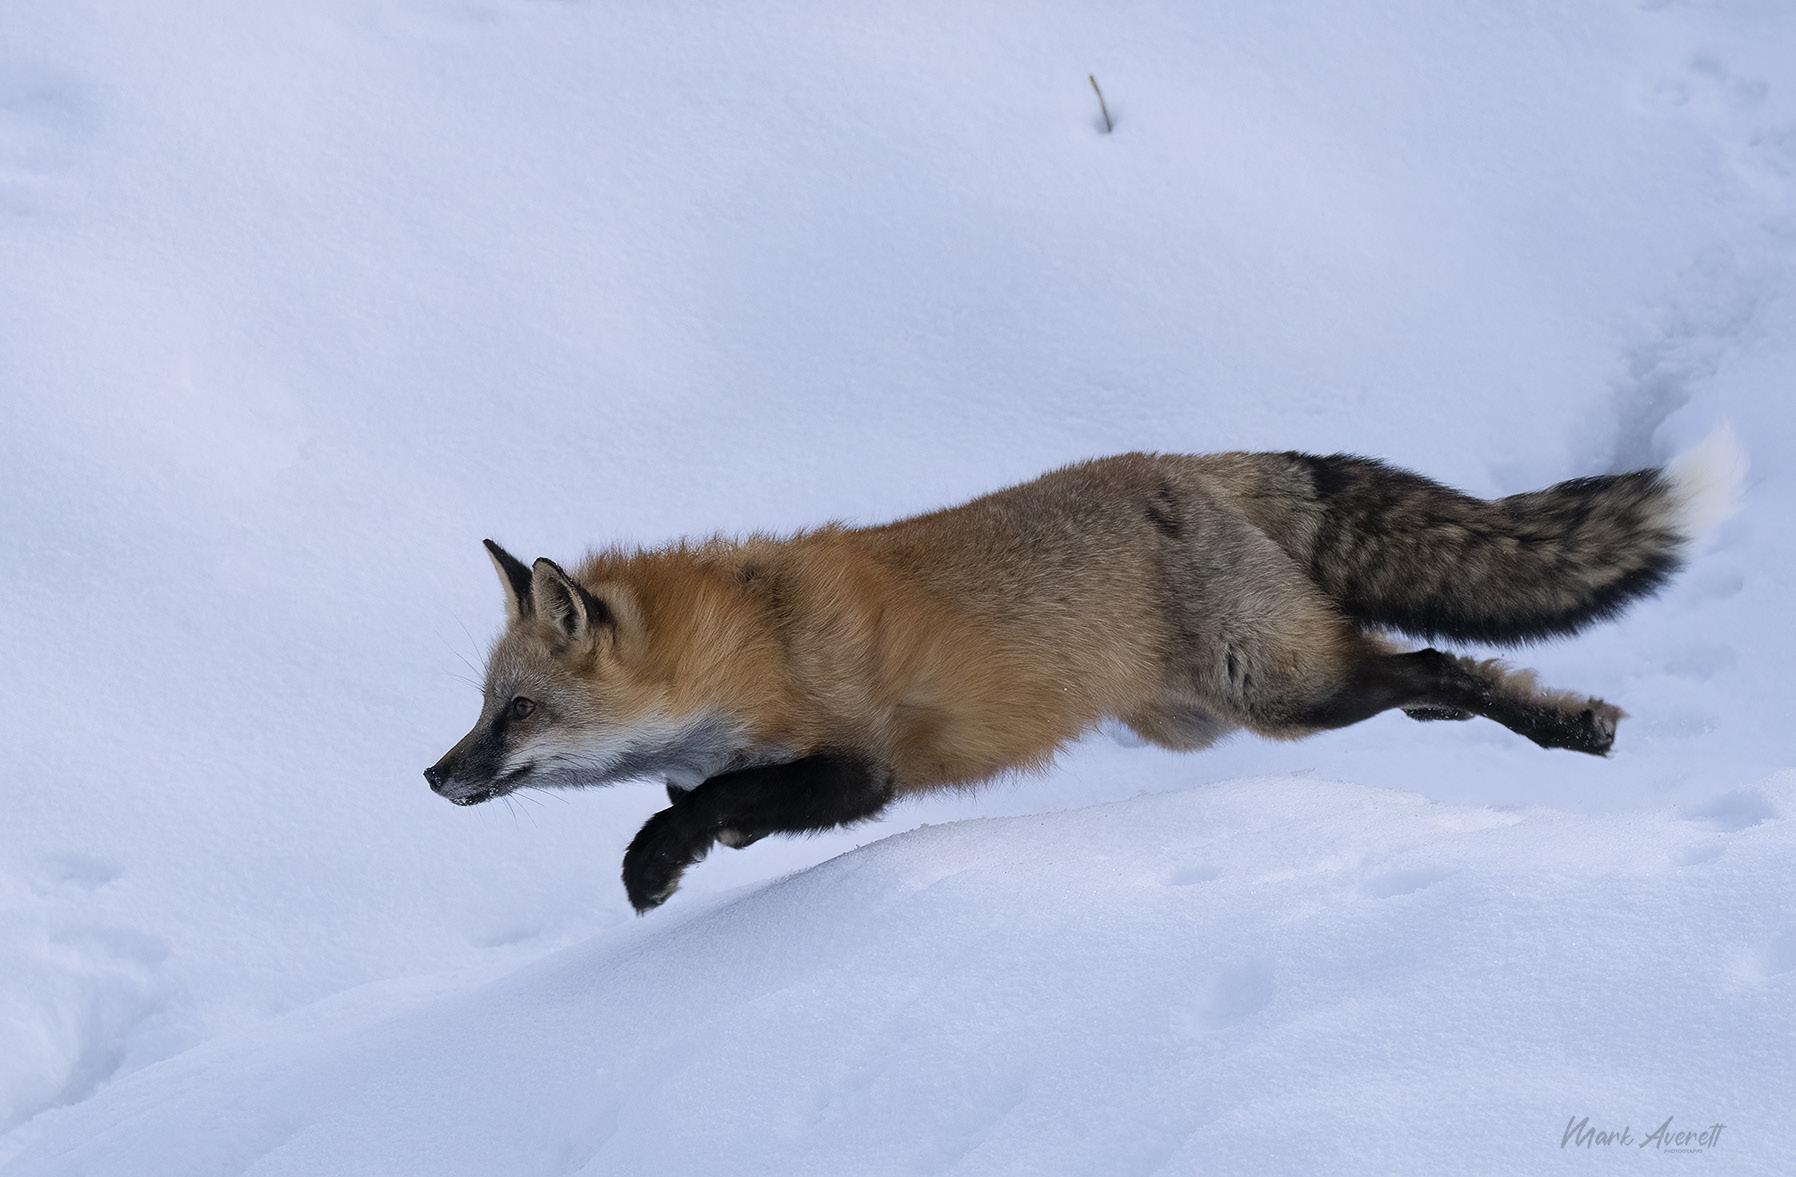
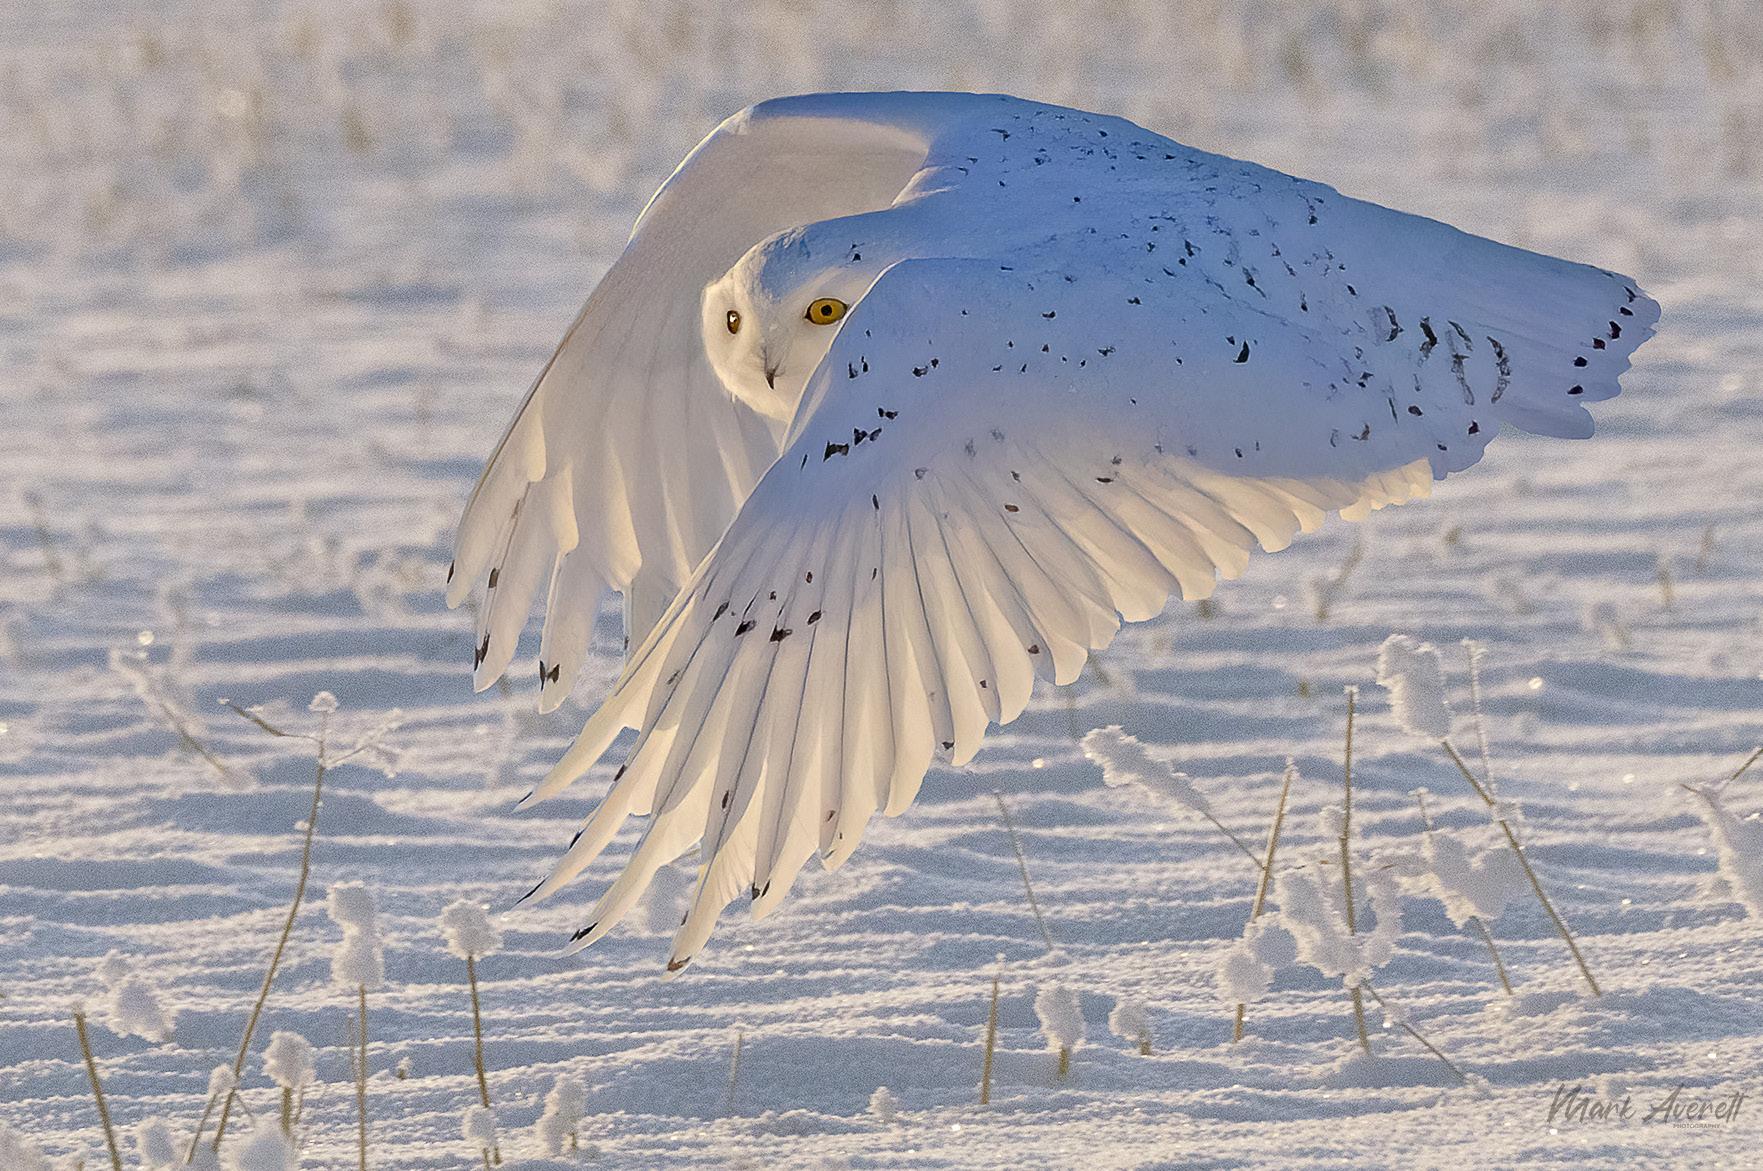
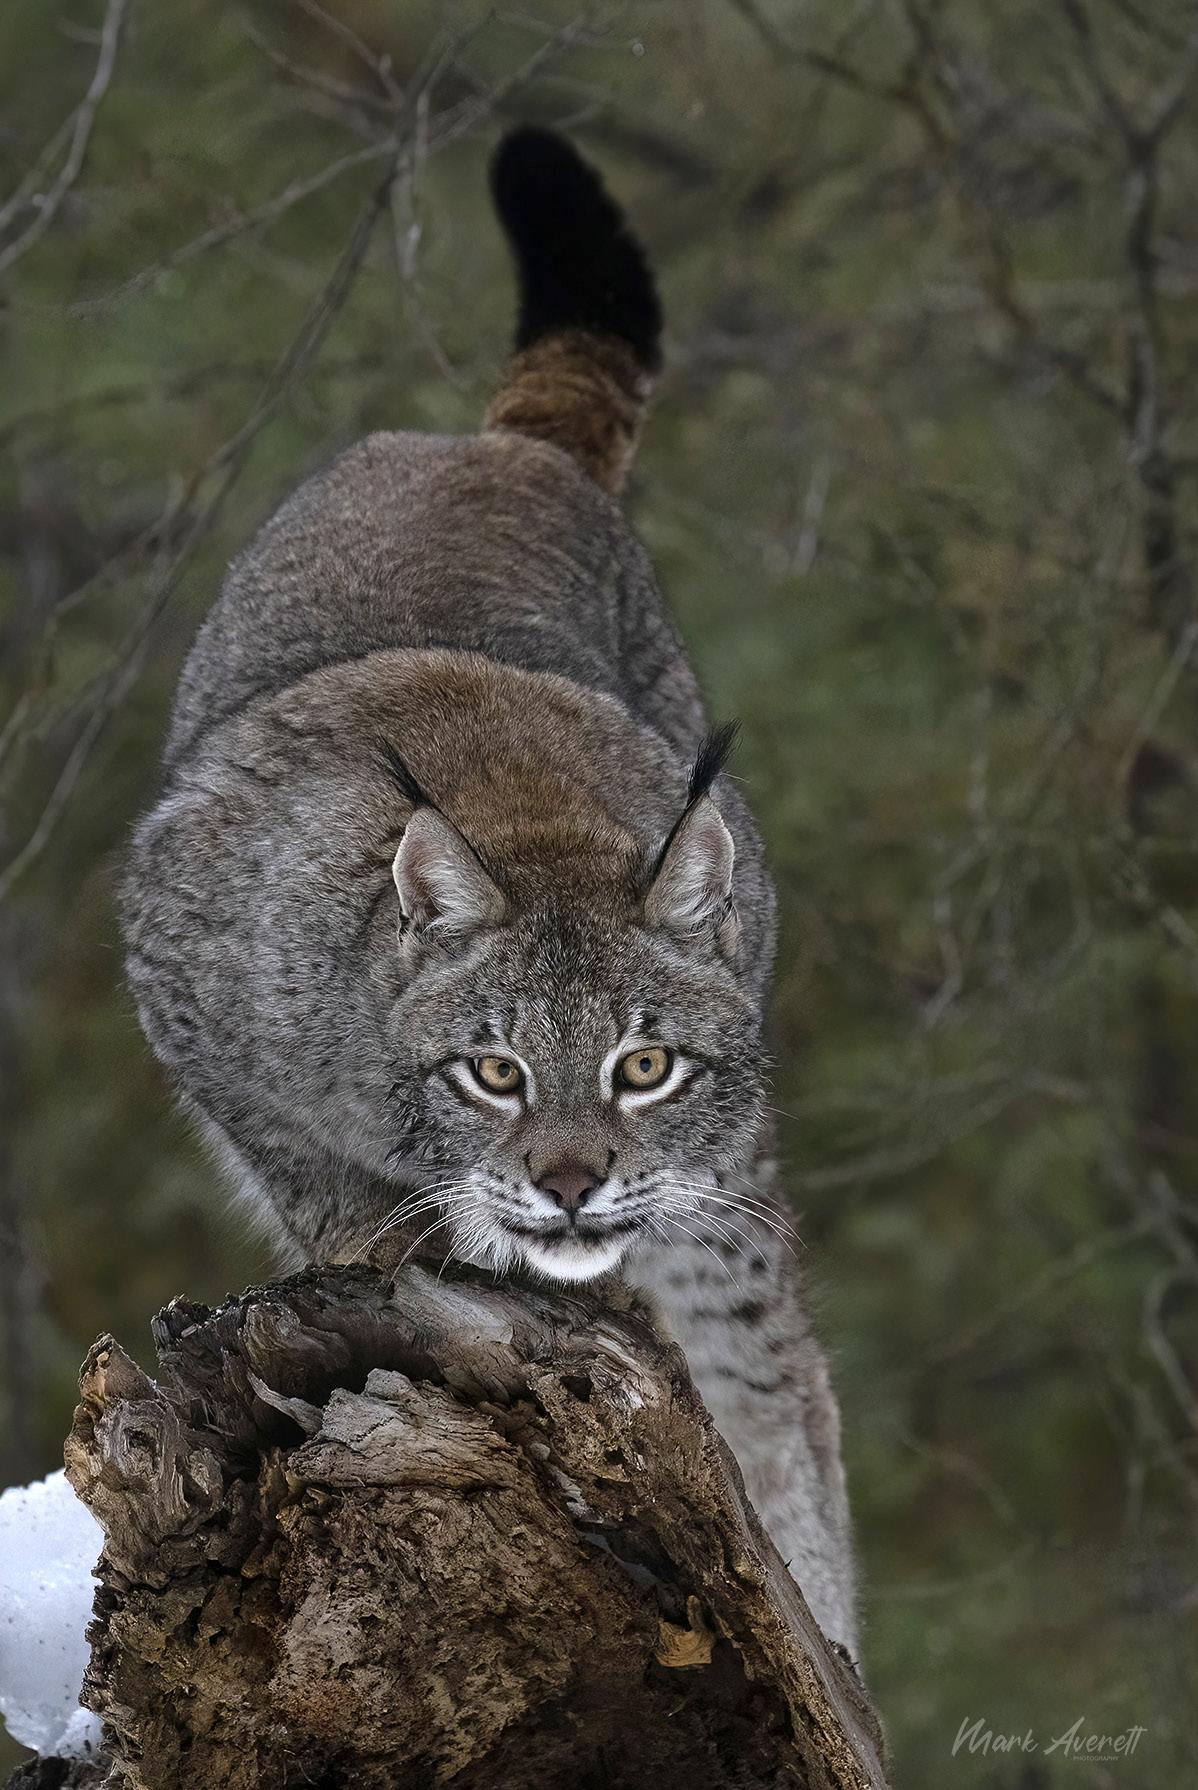
Each month, Jim features one student who took beautiful and inspiring images on one or more of his photography tours or workshops. It’s really fascinating how photographers see and compose such different images even though we may go to the same places. Everyone gets great photographs on Jim’s trips.

32 27 27
32
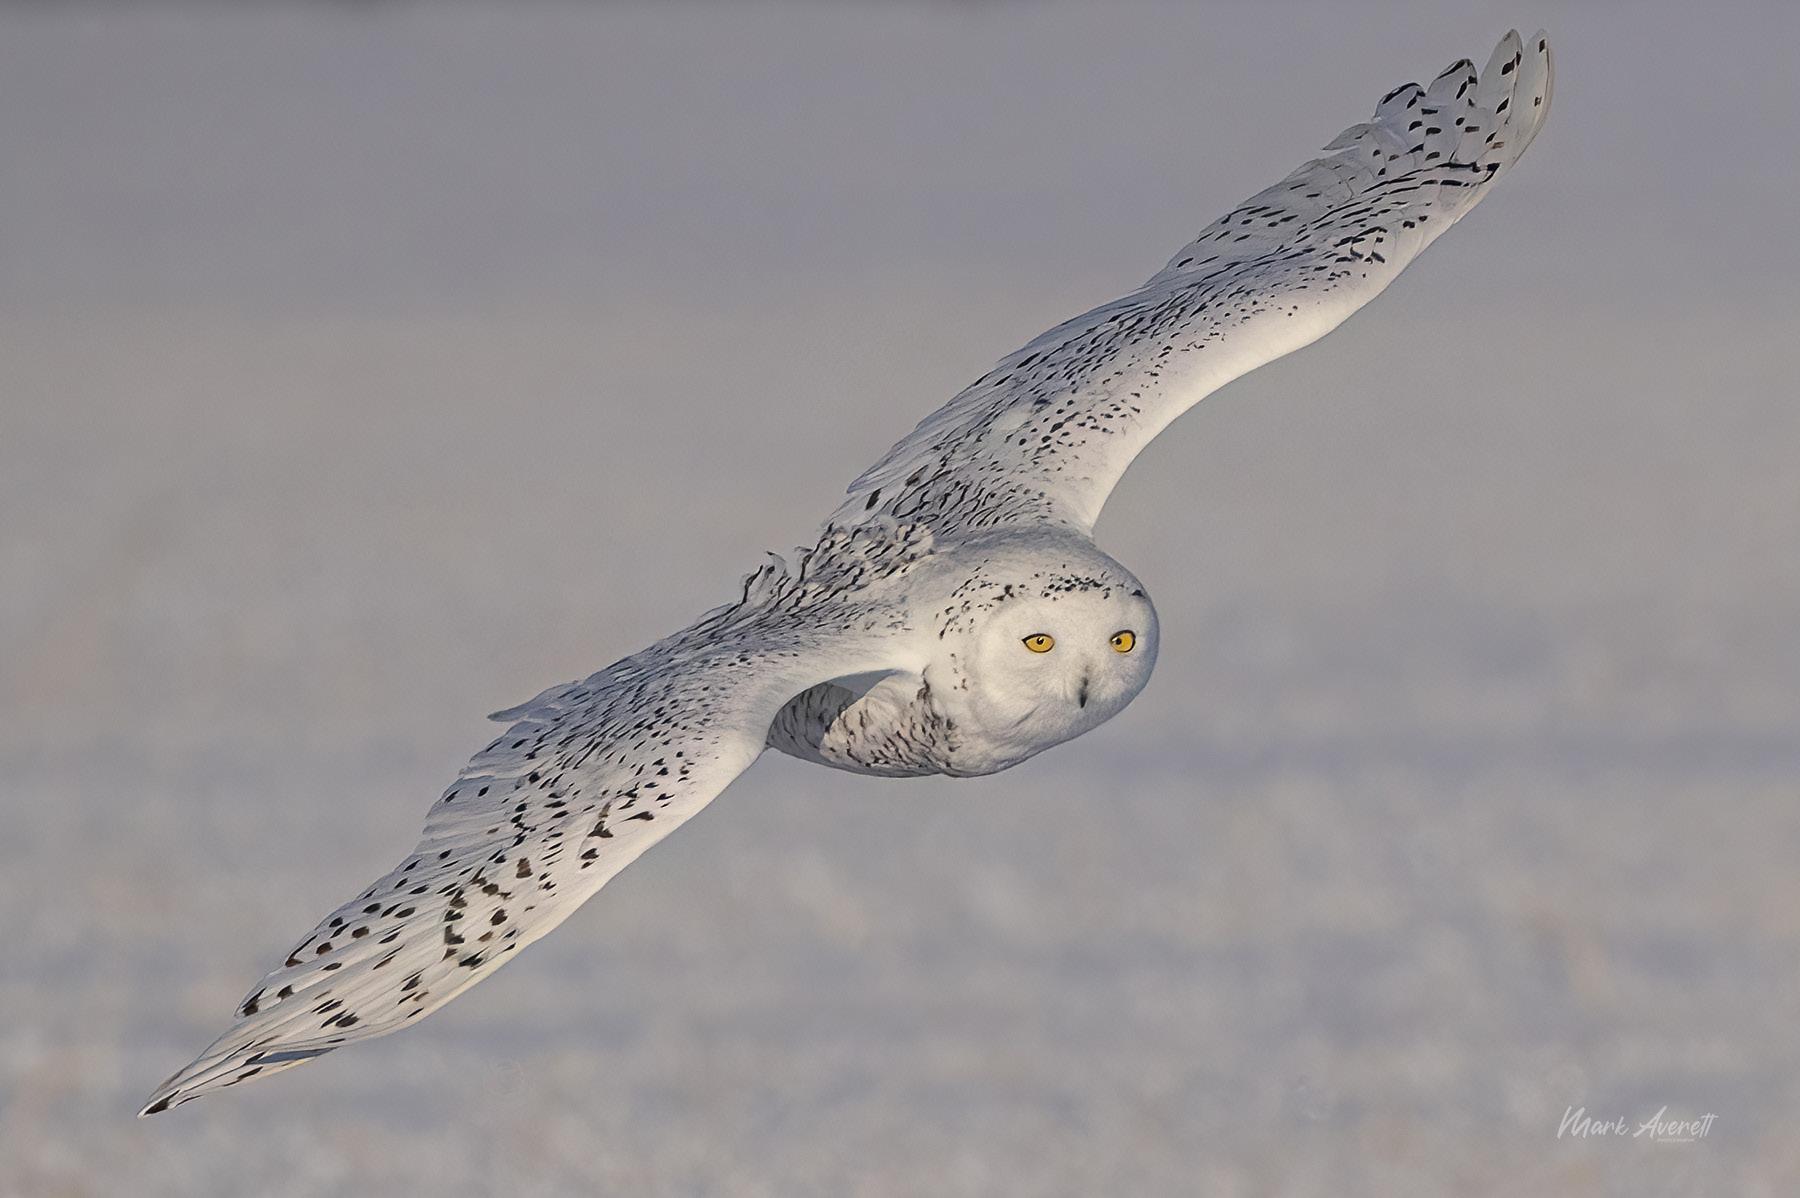
Mark Averett, Jensen Beach, Florida Snowy Owl Workshop, Winter Wildlife Workshop


33 3331 31 29 29
Student Showcase, continued
Student Showcase, continued

2933 293129 31 33 35 33 37
34

33 33 31 31 33 34
35
Student Showcase, continued
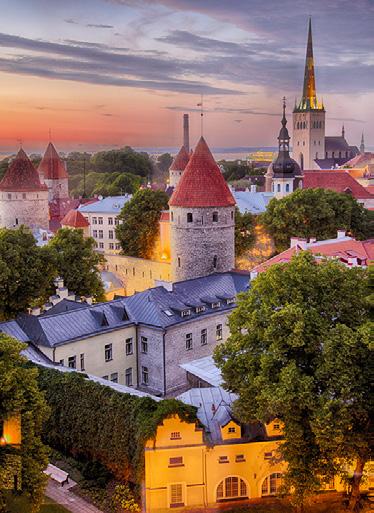
ENGLAND & WALES PHOTO TOUR


Medieval ruins Quaint villages
Awesome architecture
September 12 - 22, 2023
36
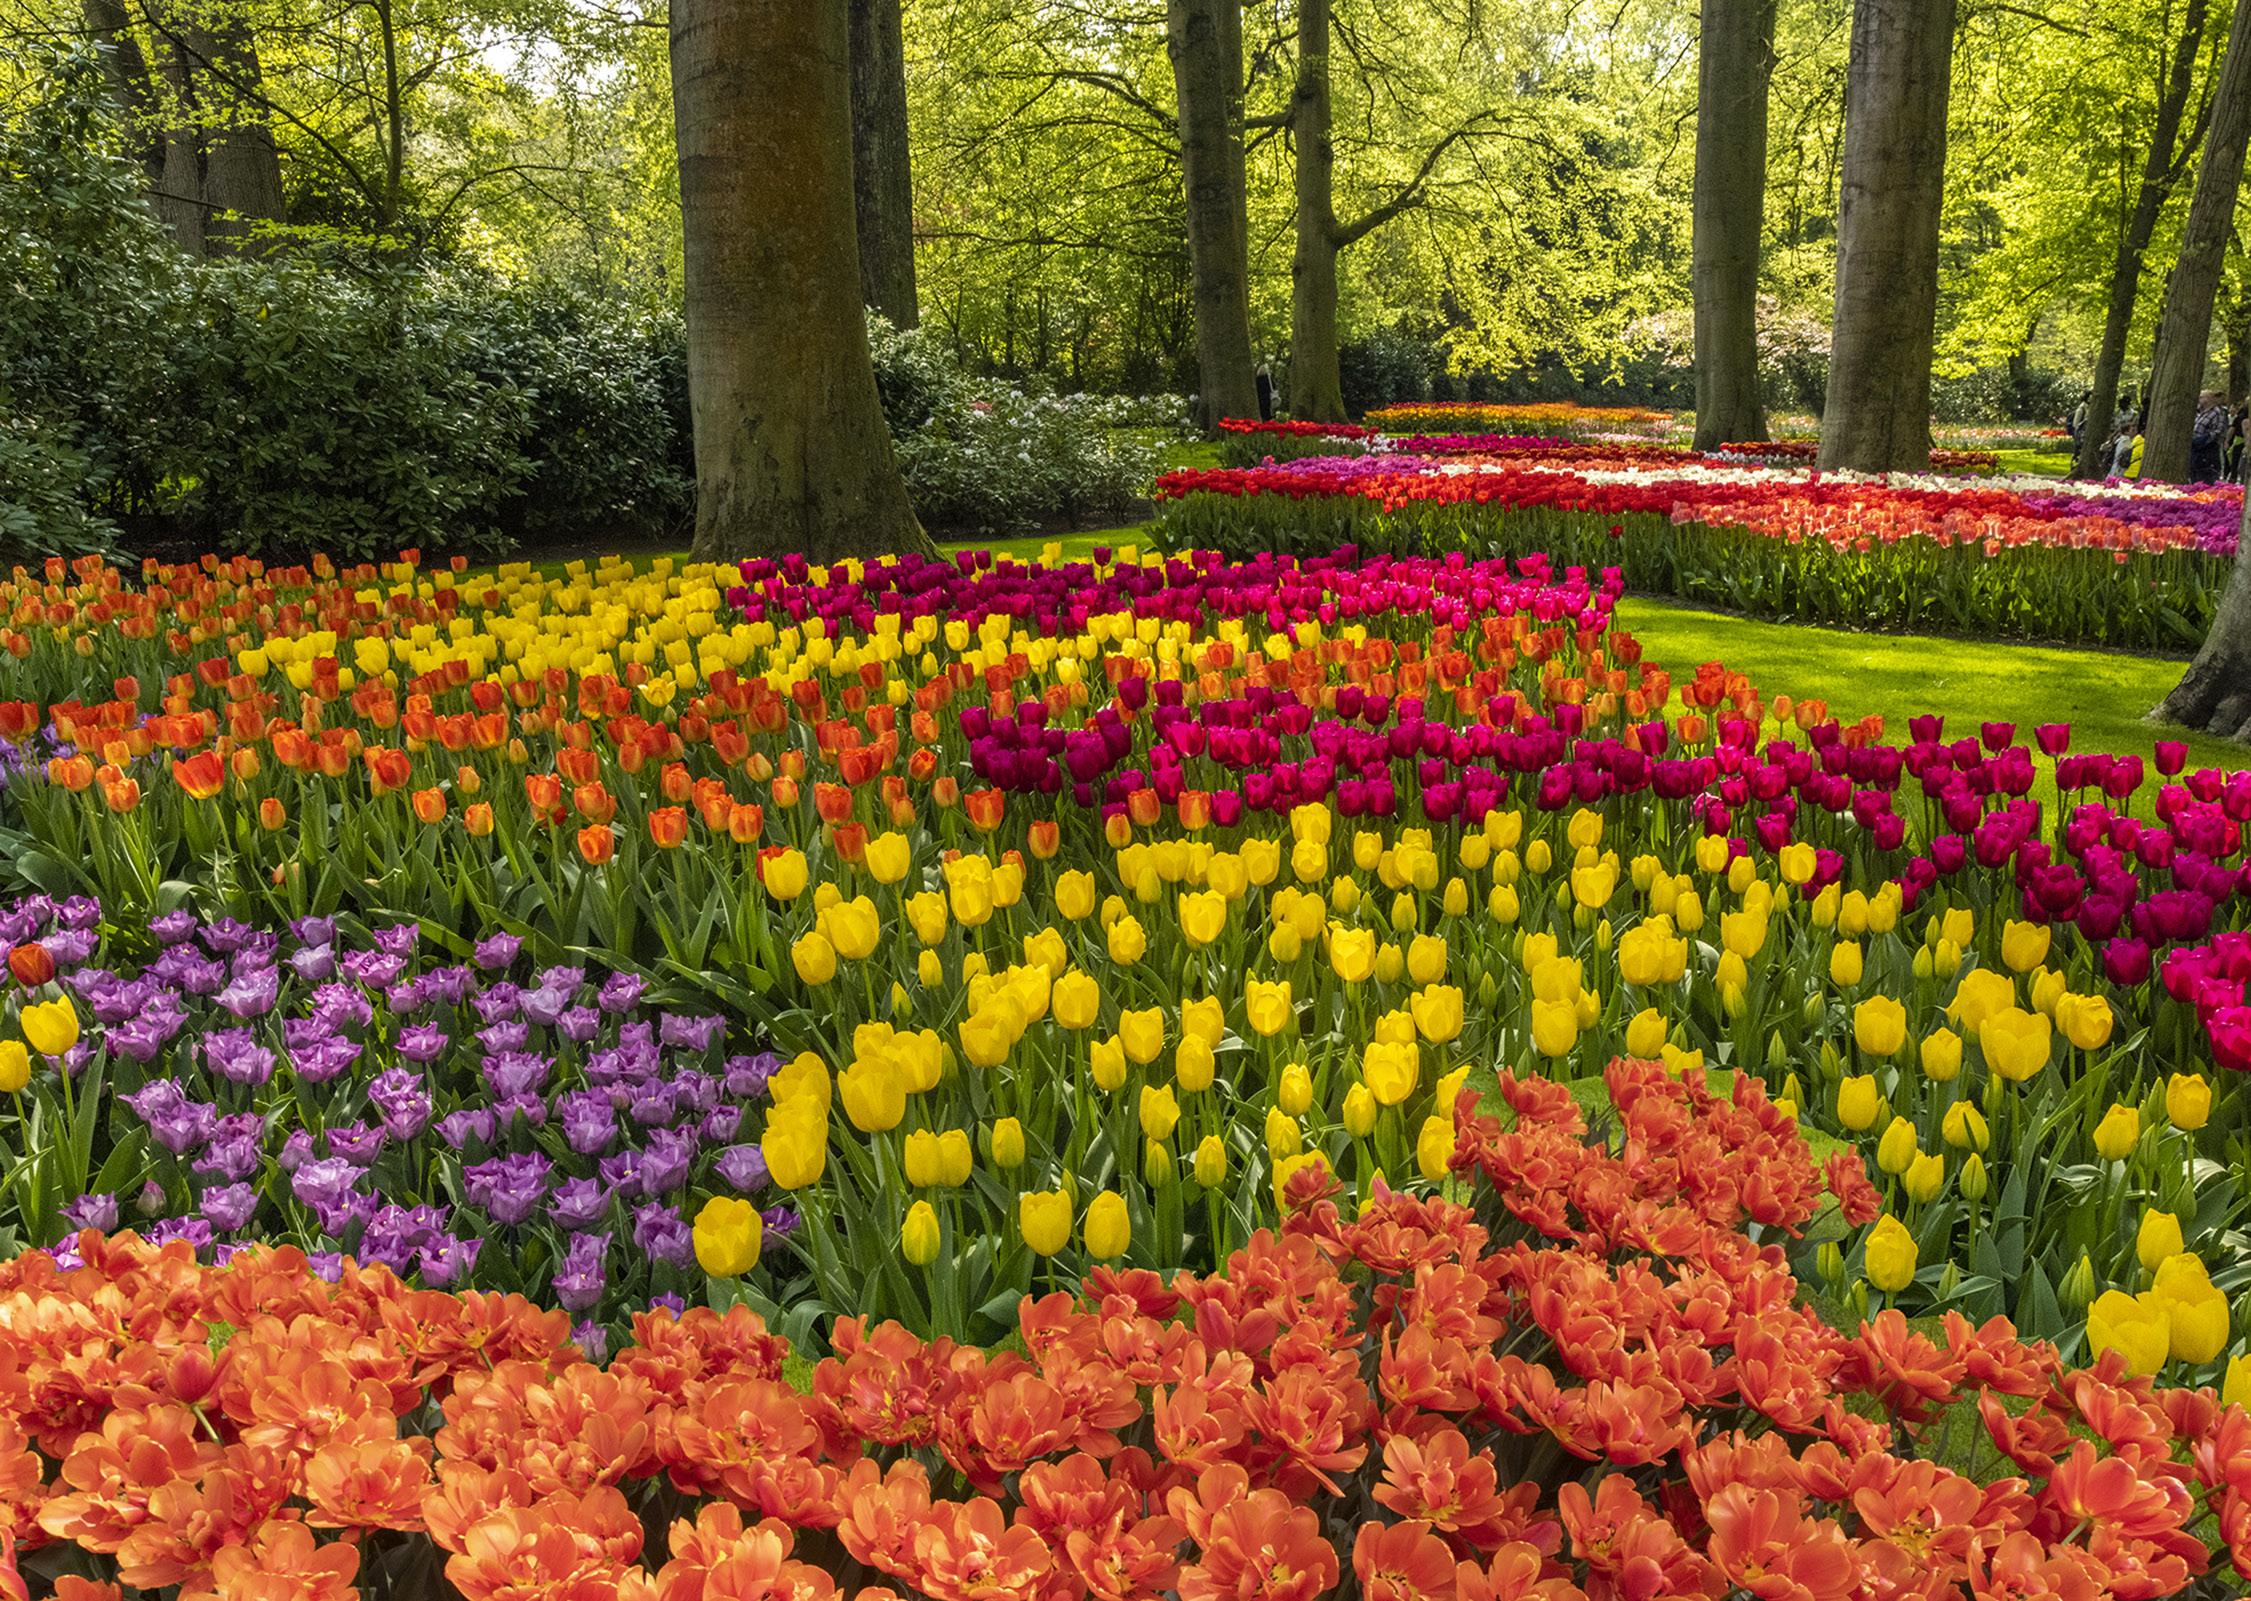
HOLLAND & BELGIUM
April 24 to May 2, 2024
37







Nov. ‘12 Dec. ‘12 Jan. ‘13
on the past issues of P H O T O I N S I G H T S you would like to read. Feb. ‘13 Mar. ‘13 Apr. ‘13 May. ‘13 Jun. ‘13 Jul. 13 Aug. ‘13 Sept. ‘13 Feb. ‘14 Mar. ‘14 Apr. ‘14 May ‘14 Jun.‘14 Oct. ‘13 Nov. ‘13 Dec. ‘13 Jan. ‘14 38
Click










39
O T O I N
I G H T
Sept. ‘14 Oct. ‘14 Nov. ‘14 Dec. ‘14 May ‘15 Jun ‘15 Jul.‘15 Aug.‘15 Sept.‘15 Oct.‘15 Nov. ‘15 Dec. ‘15 Jan. ‘16 Feb. ‘16 Jan. ‘15 Feb. ‘15 Mar. ‘15 Apr. ‘15
Click on the past issues of P H
S
S you would like to read.




Mar. ‘16 Aug. ‘16 Jan. ‘17 Feb. ‘17 Mar. ‘17 Apr. ‘17 May ‘17 Jun ‘17 Jul. ‘17 Aug. ‘17 Sept. ‘17 Sept. ‘16 Oct. ‘16 Nov. ‘16 Dec. ‘16 Apr. ‘16 May ‘16 Jun ‘16 Jul. ‘16 Click on the past issues of P H O T O I N S I G H T S you would like to read. Oct. ‘17 40







41
on the past issues of P H O T O I N S I G H T S you
to read. Nov. ‘17 Dec. ‘17 Jan. ‘18 Feb. ‘18 Mar. ‘18 Apr. ‘18 May ‘18 Jun ‘18 Jul ‘18 Aug ‘18 Sept. ‘18 Oct. ‘18 Nov. ‘18 Dec. ‘18 Jan. ‘19 Feb. ‘19 Mar. ‘19 Apr. ‘19 May ‘19 Jun ‘19
Click
would like










Jul. ‘19 Jan. ‘20 Jun. ‘20 July ‘20 Aug. ‘20 Sept. ‘20 Oct. ‘20 Nov. ‘20 Dec. ‘20 Jan.. ‘21 Feb.. ‘21 Mar.. ‘21 Feb. ‘20 Mar. ‘20 Apr. ‘20 May ‘20 Aug. ‘19 Nov. ‘19 Dec. ‘19 Sept/Oct. ‘19 42
Click on the past issues of P H O T O I N S I G H T S you would like to read.









43 Apr.. ‘21 May ‘21 Jun.‘21 Jul.‘21 Aug.‘21 Sept. ‘21 Feb. ‘22 Mar. ‘22 Jul. ‘22 Aug. ‘22 Sept. ‘22 Oct. ‘22 Nov. ‘22 Apr. ‘22 May ‘22 Jun. ‘22 Oct. ‘21 Nov. ‘21 Dec. ‘21 Jan. ‘22


Dec. ‘22 Jan. ‘23 Feb. ‘23 44
Subject index for past Photo Insight issues
1/3 focus law Jul. ‘15
3D sphere Mar. ‘16
90 degree finder Mar. ‘13
Abstracts in soap Feb. ‘15
Abstracts, Shooting Mar ‘19
Aerial photography Jun. ‘13
Aerial photography Jan. ‘21
African safari May ‘16
Airplane windows Mar. ‘16
Alien landscapes Jan. ‘13
Anatomy of 8 photographs
Angled perspectives
‘16
‘19
Aperture vs. shutter speed May ‘14
Aperture priority
Aurora Borealis
Auto white balance
‘14
‘17
‘13
Autofocus, when it fails Apr. ‘15
Autofocus failure Aug. ‘15
Autofocus failure Jan. ‘17
Autofocus challenges
‘18
Auto ISO Nov ‘17
Auto White Balance Mar’ ‘21
Autumn Foliage Sep. ‘18
Autumn Color Sep. ‘20
Autumn foliage photography Oct. ‘21
Back button focus
‘18
Backgrounds, wild Nov. ‘12
Backgrounds, busy Apr. ‘13
Backlighting Apr. ‘16
Backlighting Oct. ‘22
Birds in flight Aug. ‘13
Birds in flight Jan. ‘14
Birefringence May ‘18
Birds in flight Mar. ‘16
Birds in flight, camera settings Jan. ‘23
Bird Photography Jun ‘19
Blacklight photography Feb. ‘21
Black velvet Mar. ‘14
Black and white conversions Mar. ‘17
Black and white solarization
Black and white with color
Blown highlights
Sep. ‘17
Jan. ‘20
Feb. ‘18
Blue monochromes Jan. ‘22
Black Plexy
Blur, field
Aug. ‘22
Nov. ‘18
Blur technique Oct. ‘17
Bokeh Jun. ‘15
Botanical gardens, shooting Apr. ‘22
Butterfly photography Jul. ‘14
Camera buying guidelines
Dec. 21
Camera settings for landscapes Feb. ‘23
Camera setting priorities
Jun. ‘17
Canon R5 Mar. ‘21
Capturing lightning Jun. ‘13
Capturing what you don’t see May ‘21
Catchlights Jul. ‘16
Changing perspective May ‘21
Cheap flash stand Apr. ‘13
Children photography Jun. ‘14
Choosing a telephoto lens Dec. ‘20
Chromatic aberration May ‘13
Chrome Dec. ‘18
Cityscapes Aug. ‘14
Cityscapes May ‘16
Clone tool, fixing an issue Sep. ‘17
Clone tool technique
Jul. ‘20
Composites and Light Dec. ‘17
Compositing images Apr. ‘19
Compositing, 7 steps Jan. 22
Composition, different approach Jan. ‘15
Content-aware, New Aug. ‘20
Content aware move tool Jan. ‘23
Contrast vs. exposure Jul. ‘15
Converting to black and white Mar. ‘22
Correcting keystoning Jun. ‘21
Creating a star field Jan. ‘14
Creating Art out of Motion May ‘22
Creating a Sketch
Creative blurs
Dark backgrounds
Dec. ‘17
Jan. ‘14
Nov. ‘19
Dawn photography Jan. ‘17
Dawn photography Feb. ‘17
Dead center Jan. ‘13
Dealing with smog Oct. ‘16
Decay photography Sep. ‘15
Define Pattern Sep. ‘18
Depth of field Aug. ‘16
Depth of field confusion Jan. ‘20
Depth of field and distance Dec. ‘18
Depth of field and obliqueness May ‘21
Depth of field, shallow Apr. ‘20
Depth of field vs. sharpness Nov. ‘20
Double takes Apr. ‘20
Drop shadows Apr. ‘19
Dust, Minimizing Aug. ‘19
eBook, how to make Jan. ‘13
Eliminating people from photos Jun. ‘22
Embedded in Ice Oct. 17
Energy saving bulbs Sep. ‘14
Exposing for the sun
Sep. ‘16
Exposure, the sun Jul. ‘13
Exposure technique Sep. ‘13
Exposure, snow Jan. ‘14
Exposure triangle Nov. ‘14
Exposure, to the right Apr. ‘15
Exposure compensation Sep. ‘16
Exposure compensation Mar. ‘21
Extension tubes Dec. ‘13
Face sculpting Apr. ‘21
Face sculpting
Feb. ‘22
Festival photography Sep. ‘20
Fill flash Sep. ‘13
Filter forge
Feb. ‘13
Fireworks Jul. ‘13
Fireworks, Compositing Jun ‘20
Fisheye lenses May ‘13
Fisheye lenses
Fisheye fantasies
Feb. ‘15
Oct. 21
Flash backlighting May ‘15
Flash, balancing exposure Oct. ‘15
Flash, balancing off-camera Dec. ‘18
Flat art Sep. ‘16
Flexify 2 Mar. ‘20
Flood fixes problems Nov. ‘19
Floral Portraits, Indoors Aug. ‘21
Flowers May ‘15
45
Jan.
Jan.
Sept.
Apr.
Dec.
Apr.
Oct.
Subject index for past Photo Insight issues
Flower photography
Flowers in harsh light
Focus on the eyes
Focus points
Focus points
Focus stacking
Focus stacking
Focusing in the dark
Foreign Dancers, Photographing
Foreign models
Fractals, generating
Fractals
Framing
Freezing ultra action
From Terrible to Beautiful
Fun with paint
Fundamental ingredients
Fundamentals That Make Great Photos
Fun With Christmas Lights
Fun with Food
Graphic Design
Garish imagery
Getting money for used gear
Great subjects
Great ceilings & HDR Panos
Green screen
Ground level shooting
Grunge technique
Heavy Lens Debate, The
HDR, one photo
HDR at twilight
HDR, realistic
HDR, hand held
‘20
‘17
‘19
L Bracket Feb. ‘18
L Bracket Feb. ‘21
Landscape photography Dec. ‘12
Landscape photography
Landscape photography
Apr. ‘14
Nov. ‘16
Layer Masks, The Power of Feb. ‘22
Light fall-off
Feb. ‘14
Light painting Dec. ‘21
Lighting a face
Oct. ‘13
Lightning photography May ‘20
Liquify Feb. ‘18
Liquify Distortions
Sept/Oct. ‘19
Long lens portraits Oct. ‘18
Long Lenses for Flowers Jul. ‘20
Low light photography May ‘15
Luminar 4 Jan. ‘20
Macro flash Nov. ‘12
Macro flash Sep. ‘14
Macro flash Aug. ‘15
Macro flash Aug. ‘22
Macro photography and DOF Feb. ‘22
Macro trick May ‘19
Managing soft focus Jul. ‘21
Mannequin heads Apr. ‘16
Metering modes Nov. ‘16
Meters, How They Work Jul. ‘18
Meters, when they fail Dec. ‘16
Metering situations, Impossible Jul. ‘19
Middle gray
Nov. ‘15
Minimizing dust on the sensor Nov. ‘21
Mirrors Jan. ‘19
Model shoot Jan. ‘17
Moon glow Oct. ‘16
Mosaics Jun. ‘17
HDR, hand held
‘17 HDR, hand held
HDR panoramas
HDR, choosing the number of frames
High wind
Highlights, overexposed
Histograms, Why I Don’t Use
Histogram problems
Hotels with a view
Humidity
Hummingbird photography
Hyperfocal distance
Image resizing
Implying motion
Impossible DOF
Impossible DOF
Indestructible camera bag
Infrared photography
‘22
‘14
‘15
Mundane to Ideal Nov. ‘19
Museum photography Mar. ‘13
Natural Light Portraits Aug. ‘21
Negative space
Jan. ‘16
Neon edges on black Aug. ‘14
Neutral Density filters
Jun. ‘18
Neutral Density filters and water Mar. ‘22
Night photography
Night Safaris
Feb. ‘14
Jun. ‘18
Night to Twilight Dec. ‘17
Noise reduction Feb. ‘17
Oil and water May ‘20
‘18
‘16
‘17
‘14
‘14
Insane ISO settings Dec. ‘22
Interiors Oct. ‘15
iPad: Loading photos Aug.‘17
iPhone photography, pros and cons Apr. ‘22
Jungle photography Dec. ‘14
Kaleidoscopic images
Jan. ‘15
Kaleidoscopis images Aug. ‘20
Keystoning, correcting Aug. ‘15
Optical infinity
Jun. ‘16
Organization of photos Mar. ‘18
Out of focus foregrounds Jan. ‘20
Paint abstracts May ‘13
Paint abstracts Aug. ‘21
Painting with light Sep. ‘15
Panning motion Dec. ‘16
Pano-Mirrors with a twist Jan. ‘18
Parades Sep. ‘13
Parallelism Nov. ‘19
Parallelism and DOF
Feb. ‘21
Perspective, Super Exaggeration of Dec. 21
Photo terms Nov. ‘22
Photography to Art Dec. ‘17
Apr
‘21
Jul.
‘16
Dec.
Mar.
‘15
Sep.
‘20
Mar.
Aug.
Oct.
‘16
Nov’
17
Jun.
‘13
Sep.
‘13
Jul.
‘19
May
‘17
May
‘17
Aug.
‘19
Oct.
‘16
Apr.
‘13
Jan.
‘19
Jan.
‘21
Jul.
‘20
Dec.
‘15
Jan.
22
Apr.
‘15
Jul.
‘19
Mar.
‘13
Oct.
‘22
Feb.
‘13
Feb.
‘23
Apr.
‘13
May
‘13
Jun.
‘15
Dec.
‘16
Nov
Jul.
‘18
Jun.
‘16
Jun.
Apr.
Apr.
‘17 Highlights
Feb.
Jun
‘19
Apr.
‘20
Mar.
‘20
Oct.
‘13
Apr.
‘13
Jul.
‘13
Aug.
Sept.‘14
Feb.
Jan.
Dec.
Jul.
46
Subject index for past Photo Insight issues
Photography solutions Jan. ‘18
Photoshop, content Aware Nov. ‘12
Photoshop, sketch technique Apr. ‘13
Photoshop, replace background Apr. ‘13
Photoshop, actions palette Dec. ‘13
Photoshop, layer masks Feb. ‘13
Photoshop, the clone tool May ‘13
Photoshop, soft foliage Oct. ‘13
Photoshop, mixer brush tool Sept. ‘14
Photoshop, b & w with color Jun. ‘14
Photoshop, drop shadows Jul. ‘14
Photoshop, creating texture Feb. ‘14
Photoshop, face mirrors Feb. ‘14
Photoshop, liquify Mar. ‘14
Photoshop, face mirrors Aug. ‘14
Photoshop, digital spotlight Sep. ‘14
Photoshop, enlarge eyes Nov. ‘14
Photoshop, darken the periphery Dec. ‘14
Photoshop, mirror images Dec. ‘14
Photoshop, beam of light Apr. ‘15
Photoshop, polar coordinates Mar. ‘15
Photoshop, chrome May ‘15
Photoshop, actions palette Nov. ‘15
Photoshop, cut and paste Nov. ‘15
Photoshop, geometrics Oct. ‘15
Photoshop, plugins Oct. ‘15
Photoshop, multiple selections Apr. ‘16
Photoshop, sharpening Apr. ‘16
Photoshop, Flood plugin Apr. ‘16
Photoshop, Desaturation Aug. ‘16
Photoshop, making a composite Aug. ‘16
Photoshop new tool May ‘20
Photoshop, place one element behind Aug. ‘18
Photoshop, the pen tool Feb. ‘16
Photoshop, canvas size Jan. ‘16
Photoshop, using the earth Jun. ‘16
Photoshop, define patterns May ‘16
Photoshop, paste into Nov. ‘16
Photoshop, b & w with color Feb. ‘17
Photoshop, open a closed door Apr. ‘17
Photoshop, palettes May ‘17
Photoshop, My favorite plugins Jan. ‘20
Portrait options Jan. ‘19
Portrait techniques Nov. ‘15
Portraits Mar. ‘13
Portraits, mixed lighting Aug. ‘14
Portrait Professional Nov. ‘19
Portraits, Lens choice Sept/Oct. ‘19
Portraits, side lighting Sep. ‘17
Portraits, window light Mar. ‘15
Portraits, outdoors May ‘17
Post-processing checklist Dec. ‘13
Post-processing: Contrast Aug. ’17
Practicing graphic design, Part I Dec. ‘22
Practicing graphic design, Park II Jan. ‘23
Practicing graphic design, Part III Feb. ‘23
Predictive Focus Sep. ‘18
Problem/solution Apr. ‘17
Problem Solving in Photoshop May ‘22
Problem with cruises Jan. ‘18
Protecting extremeities from the cold Dec. ‘22
Protecting highlights Dec. ‘12
Puppies Jan. ‘15
Puppy photography Feb. ’18
Reflections
Feb. ‘13
Reshaping faces Oct. ‘22
Restoring old photos Jun ‘20
Ring flash, advantages Jul. ‘21
Ring flash versatility Oct. ‘21
Rule of Odds
May ‘22
Safari May ‘13
Safari strategies Jul. ‘15
Seeing as the lens does Nov. ‘14
Seeking Cool Snow Photos
Selective filtering
Jan. ‘21
Mar. ‘18
Selective focus Jun. ‘15
Self-critiques Jul. ‘13
Self-critiques
Self-critiques
Sensor cleaning
Oct. ‘13
Nov. ‘20
Jun. ‘18
Sepia and dark contrast Jun. ‘15
Shade May ‘14
Shady side Jun. ‘18
Shadows, Paying Attention to Mar. ‘18
Sharpness problems Mar. ‘14
Shooting in Inclement Weather Nov. ‘22
Shooting through wire mesh Sept. ‘14
Shooting into the light Jun ‘20
Silhouettes
Jun. ‘13
Silhouettes, How to make Apr. ‘22
Silhouettes, Exposing for Sept/Oct. ‘19
Silvered landscapes
Mar. ‘20
Sketch, How to Make Jun ‘19
Skies make or break a picture Aug. ‘21
Sky replacement Nov. ‘20
Sky replacement strategies Aug. ‘22
Snow exposure Nov ‘17
Snow exposure
Soft light
Nov. ‘19
Jan. ‘13
Smart phone photography May ‘19
Stained glass
Mar. ‘17
Star photography Jul. ‘16
Star photography and noise Jan. ‘18
Stock photography Sep. ‘14
Sunrise & sunset Jan. ‘19
Tamron 150-600mm Apr. ‘14
Ten reasons photos are not sharp Jan. ‘19
Texture, Adding Mar ‘19
Texture Mapping in 3D Jul. ‘21
Topaz AI Gigapixel Mar ‘19
Topaz glow Jan. ‘15
Topaz glow Sep. ‘17
Topaz Impression Sep. ‘15
Topaz Remask 5 Oct. ‘17
Topaz Simplify 4 Dec. ‘12
Topaz simplify 4 Jun. ‘14
Topaz Studio Apr. ‘18
Translucency & backlighting Nov. ‘18
Travel photography Feb. ‘13
Travel portraits Mar. ‘14
Travel tips Apr. ‘14
Travel photographer’s guide Jun. ‘17
47
Subject index for past Photo Insight issues
Twilight photography in the rain Apr. ‘19
Tripods Mar. ‘18
Two subject sharp rule May ‘14
Two subject focus rule Jan. ‘20
Two subject focus rule Jun. ‘21
Urban heights
Ultra distortion
Unusual Panos
Upside Down Reflections
Warm fingers in winter
Water drop collisions
‘21
‘18
‘22w
‘18 When You Needed a Zoom
What NOT to do in photography
‘15 White balance
White vignette
‘15 White balance, custom
Wide angle conundrum
Wide angle lenses
Wide angle portraits
Wide angle lenses
Wide angle lenses: Outside the Box
Wide angle keystoning
Wildlife photos with wide angles
Window light
Window light portraits
Window frames
Winter photography
Winter bones
Winter photography
Winter photography
Wire Mesh, Shooting Through
Workflow
‘19
‘14
‘17
‘22w
‘17
‘15
‘15
‘18
‘16
‘12
‘13
‘15
Quiz answers
Your score
90% - 100%: You could have been a pro
80%: Your glasses probably need a new prescription
70%: Don’t quit your day job
60%: You should really be using an iPhone
48
Jun.
May
Nov.
Aug.
‘21
Nov.
‘15
May
‘18
Apr.
Aug.
Dec.
‘21 White on White
‘20
Aug.
Feb.
Mar. ‘16
May
Mar. ‘13
Nov.
Jun.
Jun.
Nov
Mar.
Dec.
Aug.
Feb.
Dec.
May
Dec.
Nov.
‘18
Jul. ‘18
May
‘13
1. a 2. d 3. b 4. a 5. d 6. d 7. c 8. d 9. a 10. d
PHOTO INSIGHTS®
published by Jim Zuckerman
All rights reserved
© Jim Zuckerman 2023
email: photos@jimzuckerman.com
Edited
by:
Donald Moore
This page: A collection of old cars, Moriarty, New Mexico

49


