Focal Points
The Magazine of the Sierra Club Camera Committee

Booking a Photography Workshop or Tour
Chair Programs
Treasurer Membership
Editor Communications Meetup
Instagram Outings Outings


Booking a Photography Workshop or Tour
Chair Programs
Treasurer Membership
Editor Communications Meetup
Instagram Outings Outings
Joe Doherty
Susan Manley
Ed Ogawa
Joan Schipper
Joe Doherty
Velda Ruddock
Ed Ogawa
Joan Schipper
Joan Schipper
Alison Boyle
joedohertyphotography@gmail.com
SSNManley@yahoo.com
Ed5ogawa@angeles.sierraclub.org
JoanSchipper@ix.netcom.com
joedohertyphotography@gmail.com
Velda.ruddock@gmail.com
Ed5ogawa@angeles.sierraclub.org
JoanSchipper@ix.netcom.com
JoanSchipper@ix.netcom.com
AlisoniBoyle@icloud.com
Focal Points Magazine is a publication of the Sierra Club Camera Committee, Angeles Chapter. The Camera Committee is an activity group within the Angeles Chapter, which we support through the medium of photography. Our membership is not just from Southern California but is increasingly international.
Our goal is to show the natural beauty of our world, as well as areas of conservation concerns and social justice. We do this through sharing and promoting our photography and by helping and inspiring our members through presentations, demonstration, discussion, and outings.
We have members across the United States and overseas. For information about membership and/or to contribute to the magazine, please contact the editors or the membership chair listed above. Membership dues are $15 per year, and checks (payable to SCCC) can be mailed to: SCCC-Joan Schipper, 6100 Cashio Street, Los Angeles, CA 90035, or Venmo @CashioStreet, and be sure to include your name and contact info so Joan can reach you.
The magazine is published every other month. A call for submissions will be made one-month in advance via email, although submissions and proposals are welcome at any time. Member photographs should be resized to 3300 pixels, at a high export quality. They should also be jpg, in the sRGB color space.
Cover articles and features should be between 1000-2500 words, with 4-10 accompanying photographs. Reviews of shows, workshops, books, etc., should be between 500-1500 words.
Copyright: All photographs and writings in this magazine are owned by the photographers and writers who created them. They hold the copyrights and control all rights of reproduction and use. If you desire to license one, or to have a print made, contact the editor at joedohertyphotography@gmail.com, who will pass on your request, or see the author’s contact information in the Contributors section at the back of this issue.
https://angeles.sierraclub.org/camera_committee
https://www.instagram.com/sccameracommittee/

Lisa Langell
The election of Donald Trump weighs heavily on my mind, as it should for anyone concerned about climate change and the environment. If you haven’t already, I recommend reading two books back-to-back. First, pick up Michael Lewis’ “The Fifth Risk,” about how little interest the incoming administration had in actually governing. Next, read the environmental portions of Project 2025. The first administration was staffed by incompetents and grifters. If they had an ideologically driven goal, they were largely incapable of achieving it. This administration, I fear, will not be incompetent and will know how to achieve their goals of dismantling the very agencies they will be appointed to oversee.
A case in point. In the first Trump Administration Barry Myers was appointed to head NOAA, the Commerce Department agency that oversees the National Weather Service. Myers was the CEO of the private forecasting service Accuweather. He asked for this appointment so he could prevent the NWS from issuing public weather forecasts (“the government should get out of the forecasting business”). He wanted to use the NWS data to sell private forecasts through his company. His appointment was never confirmed by the Senate.
Project 2025 has identical goals. According to the document, NOAA "has become one of the main drivers of the climate change alarm industry and, as such, is harmful to future U.S. prosperity." They want to privatize weather forecasting, too, but the difference is that the P2025 people are not all grifters and sycophants. They might succeed.
What can we do? I’m not one for grand gestures. I think we can collectively, at our own personal levels, remind ourselves and our fellows about how we all benefit from the government services our taxes create. For example, I expect that we all have a weather app on our phone, perhaps more than one. It benefits all of us to have access to the weather at our fingertips. Would these apps exist without the taxpayer-funded NWS forecasts that underlie them? I think not.
But what else can we do? I’ve been on a personal campaign to raise awareness of our public lands. Yosemite and Yellowstone are great, but few people are aware of Valley of the Gods, which is part of Bears Ears National Monument. I make photographs of these places, share them with people, and tell the story of the place (like how during Trump I this area was removed from Bears Ears National Monument). I want to educate them, but more importantly I want them to care about these places. Photography can spawn emotional ties to places that viewers have never been..
Finally, we need to create art to keep ourselves connected to the world around us. Take your camera out and shoot. Shoot with a group, shoot by yourself, show your photos to no one, or splash them over billboards, just get out and shoot. We cannot hide and hope it goes away. The man who will soon occupy the White House cares only for himself. The continued well-being of you and your descendants means nothing to him.
Our semi-annual Members’ Show will be on December 12 at 7pm PST. The meeting is on Zoom. Please register here:
https://us02web.zoom.us/meeting/register/ tZcpfu2grjMiHdAUAbtZPQ5beq3Bv3zUXtQh
Before 7pm on the night of the show, please upload no more than ten images here:
https://www.dropbox.com/request/8DVRFawqZiDQNk09KXFf
Images should be 2000 pixels on the long side, sRGB colorspace, and jpg.
If you want your images sorted, append numbers to the beginning of each file, like so: 01, 02, 03, 04, . . . 10.
This meeting will not be advertised on Meetup to prevent zoom bombing.
Saturday December 28, 6-9am
This will be a winter photography outing, which in years past has been full of fog, birds, and great light. Details to follow on the SCCC Angeles Chapter Website.


By Lisa Langell
Booking a photography workshop is more than a trip –it's an investment in your skills, creativity, and passion. As a leader of numerous workshops, I've learned what makes them great. Here are 15 tips to help you choose a workshop that aligns with your goals, style, and budget.
Workshops and tours are different experiences. A photography tour may take you to beautiful locations at the right times of day, but you’ll rely mostly on your own skills. Little instruction or help troubleshooting your gear is typically offered. Workshops, however, involve structured lessons, hands-on guidance, and feedback.
To clarify your needs, here are a few questions to ask the company and/or leader:
• Will there be classroom instruction or only fieldwork?
• What skills are required to participate fully?
• Who’s joining – serious photographers or nonphotographer type participants? For example, birders may rush to spot as many species as possible, frustrating photographers who need time for the perfect shot.
• Will you be scouting the location shortly before the workshop meets?
• What are the minimal skills I need to arrive with in order to participate fully in this workshop?
• What gratuities, transfers, etc. are included? If not
included, how much money should I plan on bringing to cover those expenses across the various guides, photo instructors, drivers, leaders, kitchen staff, docents, etc.?
A leader’s approach can make or break your experience. They set the tone, provide guidance, and good ones know how to manage group learning and dynamics effectively. Look for someone knowledgeable, supportive, and focused on participants’ images over prioritizing their own shots. Investigate their teaching style through direct questions, reviews, or referrals. Questions to ask:
• Will you be providing instruction on how to use our cameras? Are you familiar with my brand and model of camera?
• Will you prioritize participant success over your own photography?
Smaller groups mean more individual attention and camaraderie. While larger groups aren’t inherently bad, if you are taking a workshop, sufficient support is essential. Ask about:
• Group size and participant-to-instructor ratio.
• The group size, seating arrangements, and whether there’s a chance your group might merge with another photography group or with the public (e.g., a boat tour with 100 ticketholders from the general public, six of which are your tour-mates).


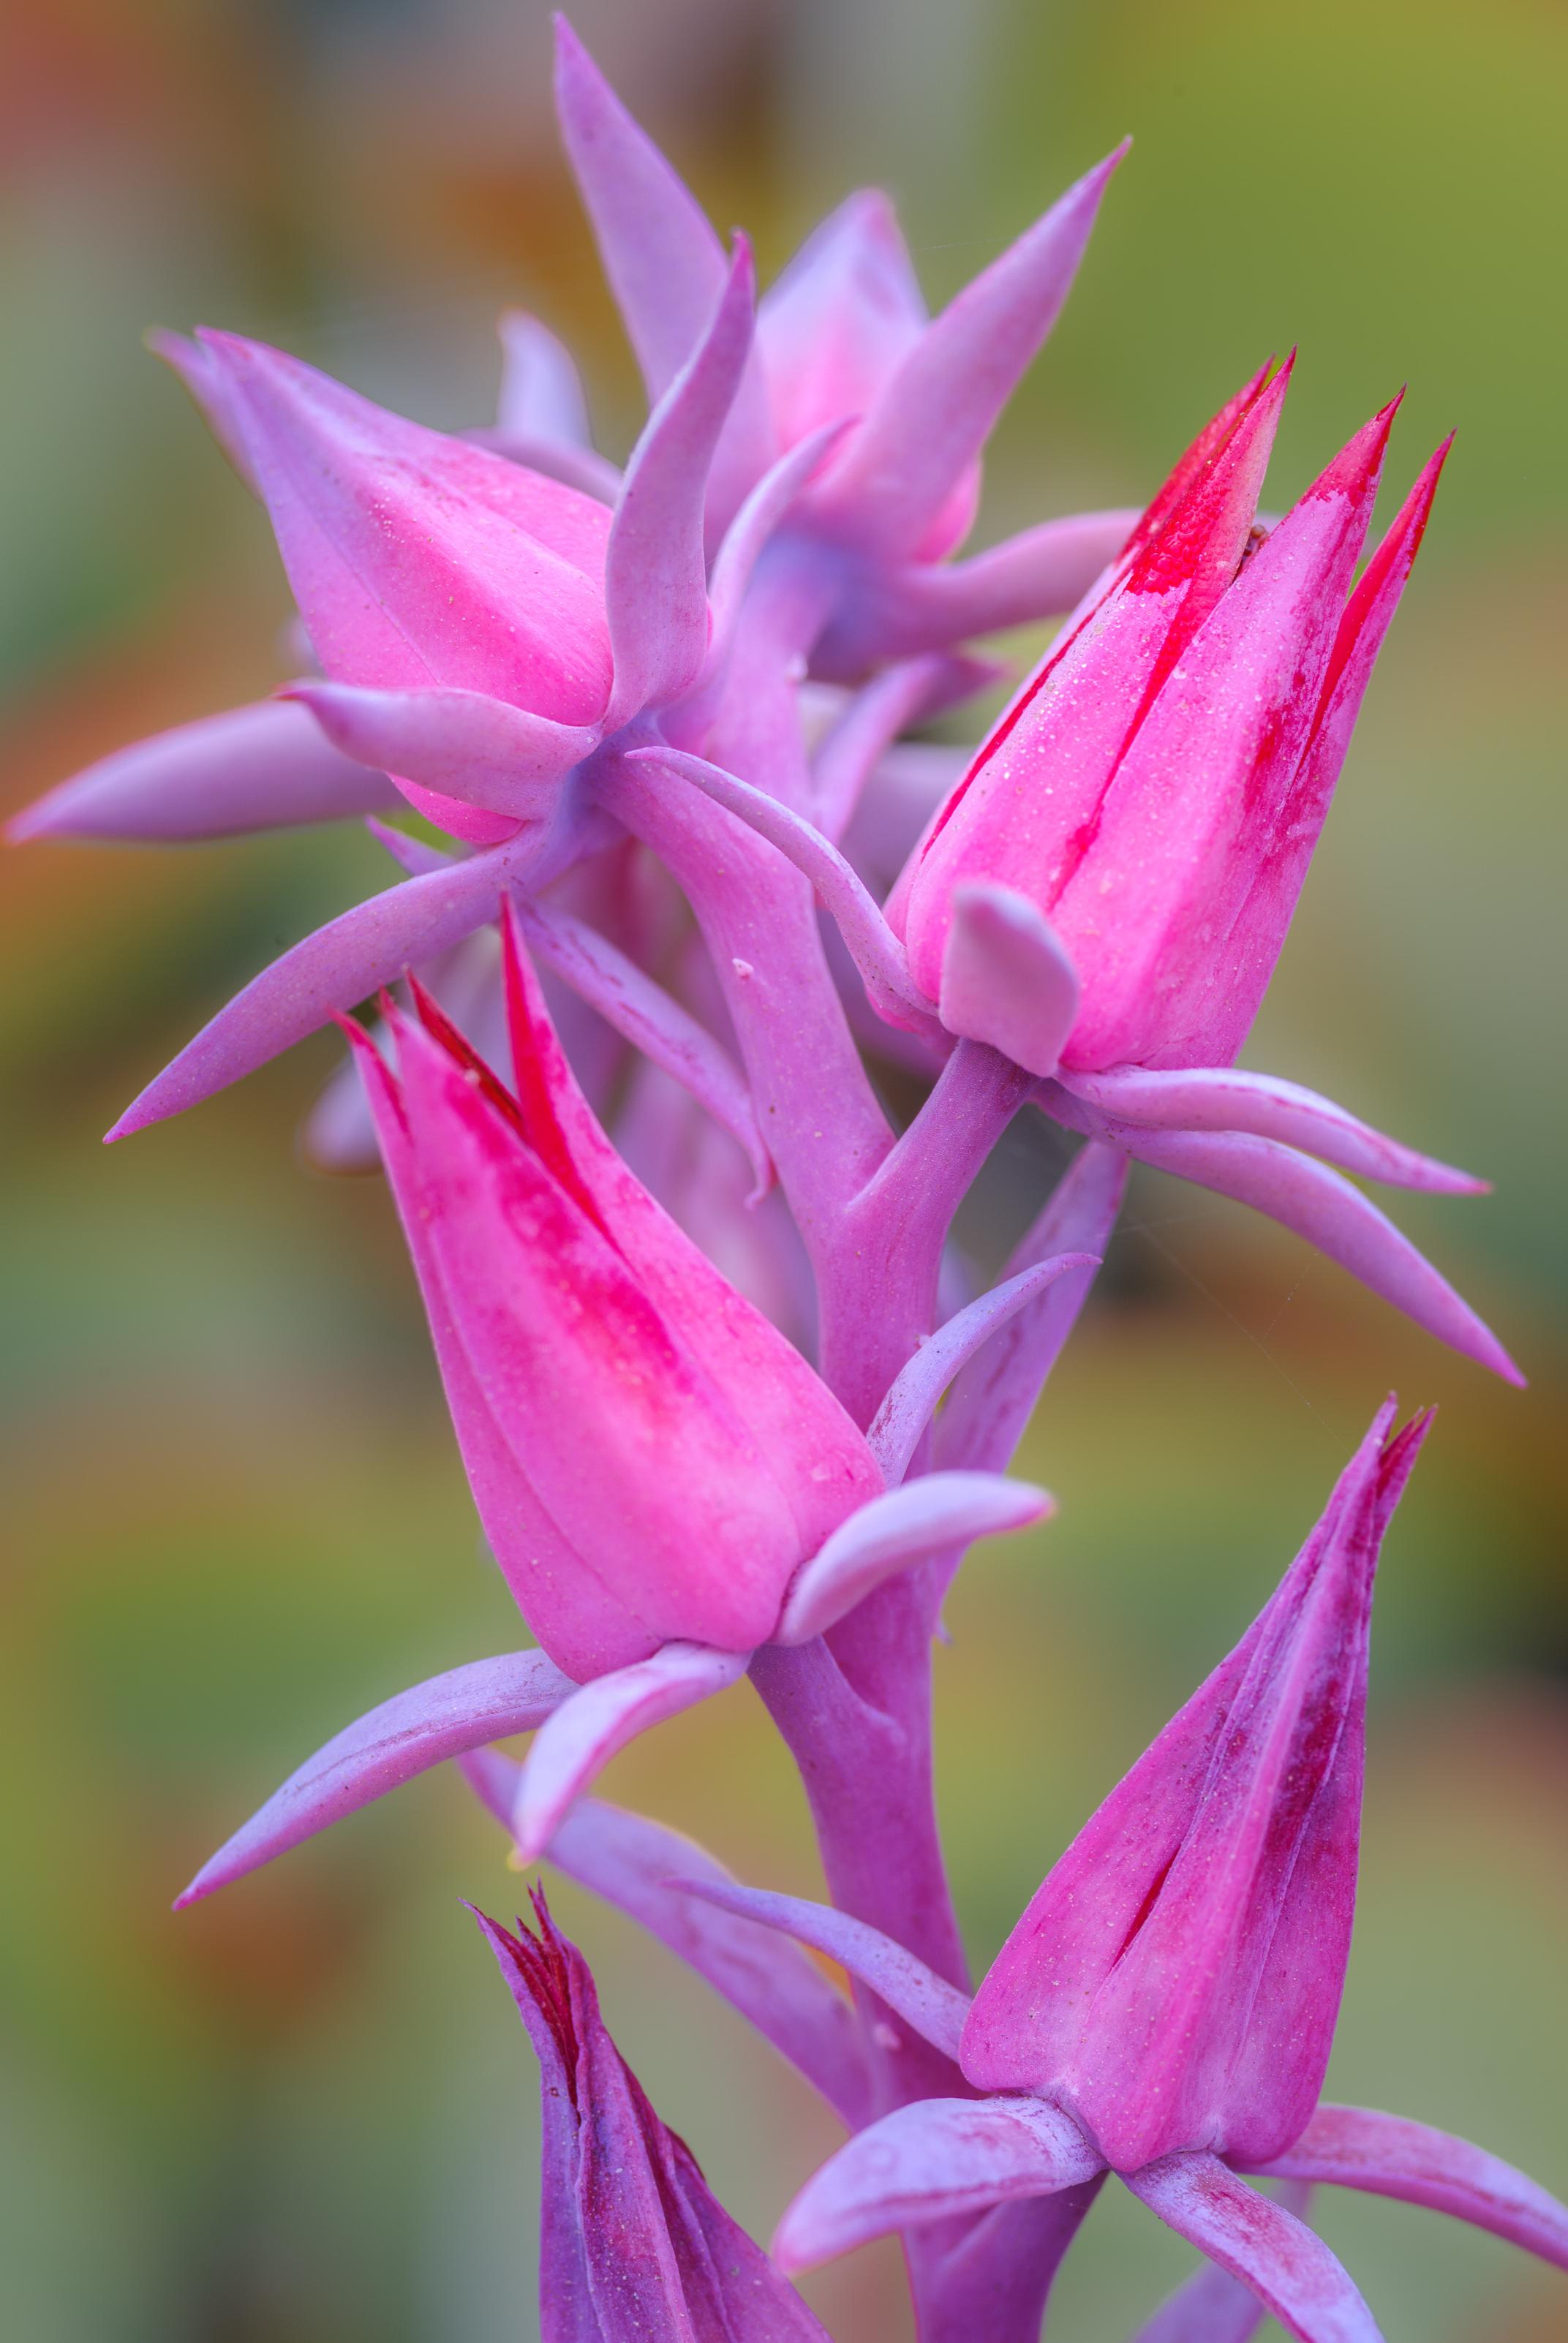
This photo was taken during a workshop when unexpected weather forced us to change plans. Instead of our original location, we shifted focus to artistic photography, exploring creative compositions and details under unique lighting conditions.
Some leaders may hesitate to share their itinerary publicly out of fear that it might be copied by competitors. However, I believe you should always be able to see a general plan before booking. Workshops are a significant investment, and it’s too risky to sign up without some idea of what you’re paying for.
An effective itinerary should manage your expectations well. It should include key locations, timing, and the flexibility to adapt to unexpected photo opportunities or changing weather. Look for evidence of back-
up plans. If a leader doesn’t have backup plans – a plan B or even plan C – you might end up sitting around with nothing to do. It’s the leader’s responsibility to anticipate potential challenges and be ready with alternative options to keep the group engaged and making the most of the experience.
• How many locations will we be visiting every day, and how long will we typically stay at each location?
• Do you have backup plans should the weather or something else require a change of plan?
• Can you share your general itinerary?
Photography Gear: As a photographer, you likely have more gear than you can take on a trip. A good workshop leader provides guidance on essential equipment like lenses, camera bodies, specialty items, tripods, filters, and power converters well in advance. This ensures efficient packing and full preparation for the conditions you'll encounter. If unsure, ask your leader for advice.
While leaders can inform and guide decisions, they may not fully envision how you visualize the world through-the-lens. For example, wide-angle lenses are popular for landscapes,
yet long lenses like 70-200mm or 100400mm can compress details, creating stunning layers with visual interest. Because two people can see the same scene and choose to use very different lenses and settings with which to execute their unique vision for the shot, it is not possible for a leader to give the “exact right answer” to questions about what lenses to bring. That said, they should be able to help inform your decisions.
Clothing: When it comes to clothing and accessories, I have a few general recommendations:
• For moderate climates with variable weather (temps between 40-90°F), dress in
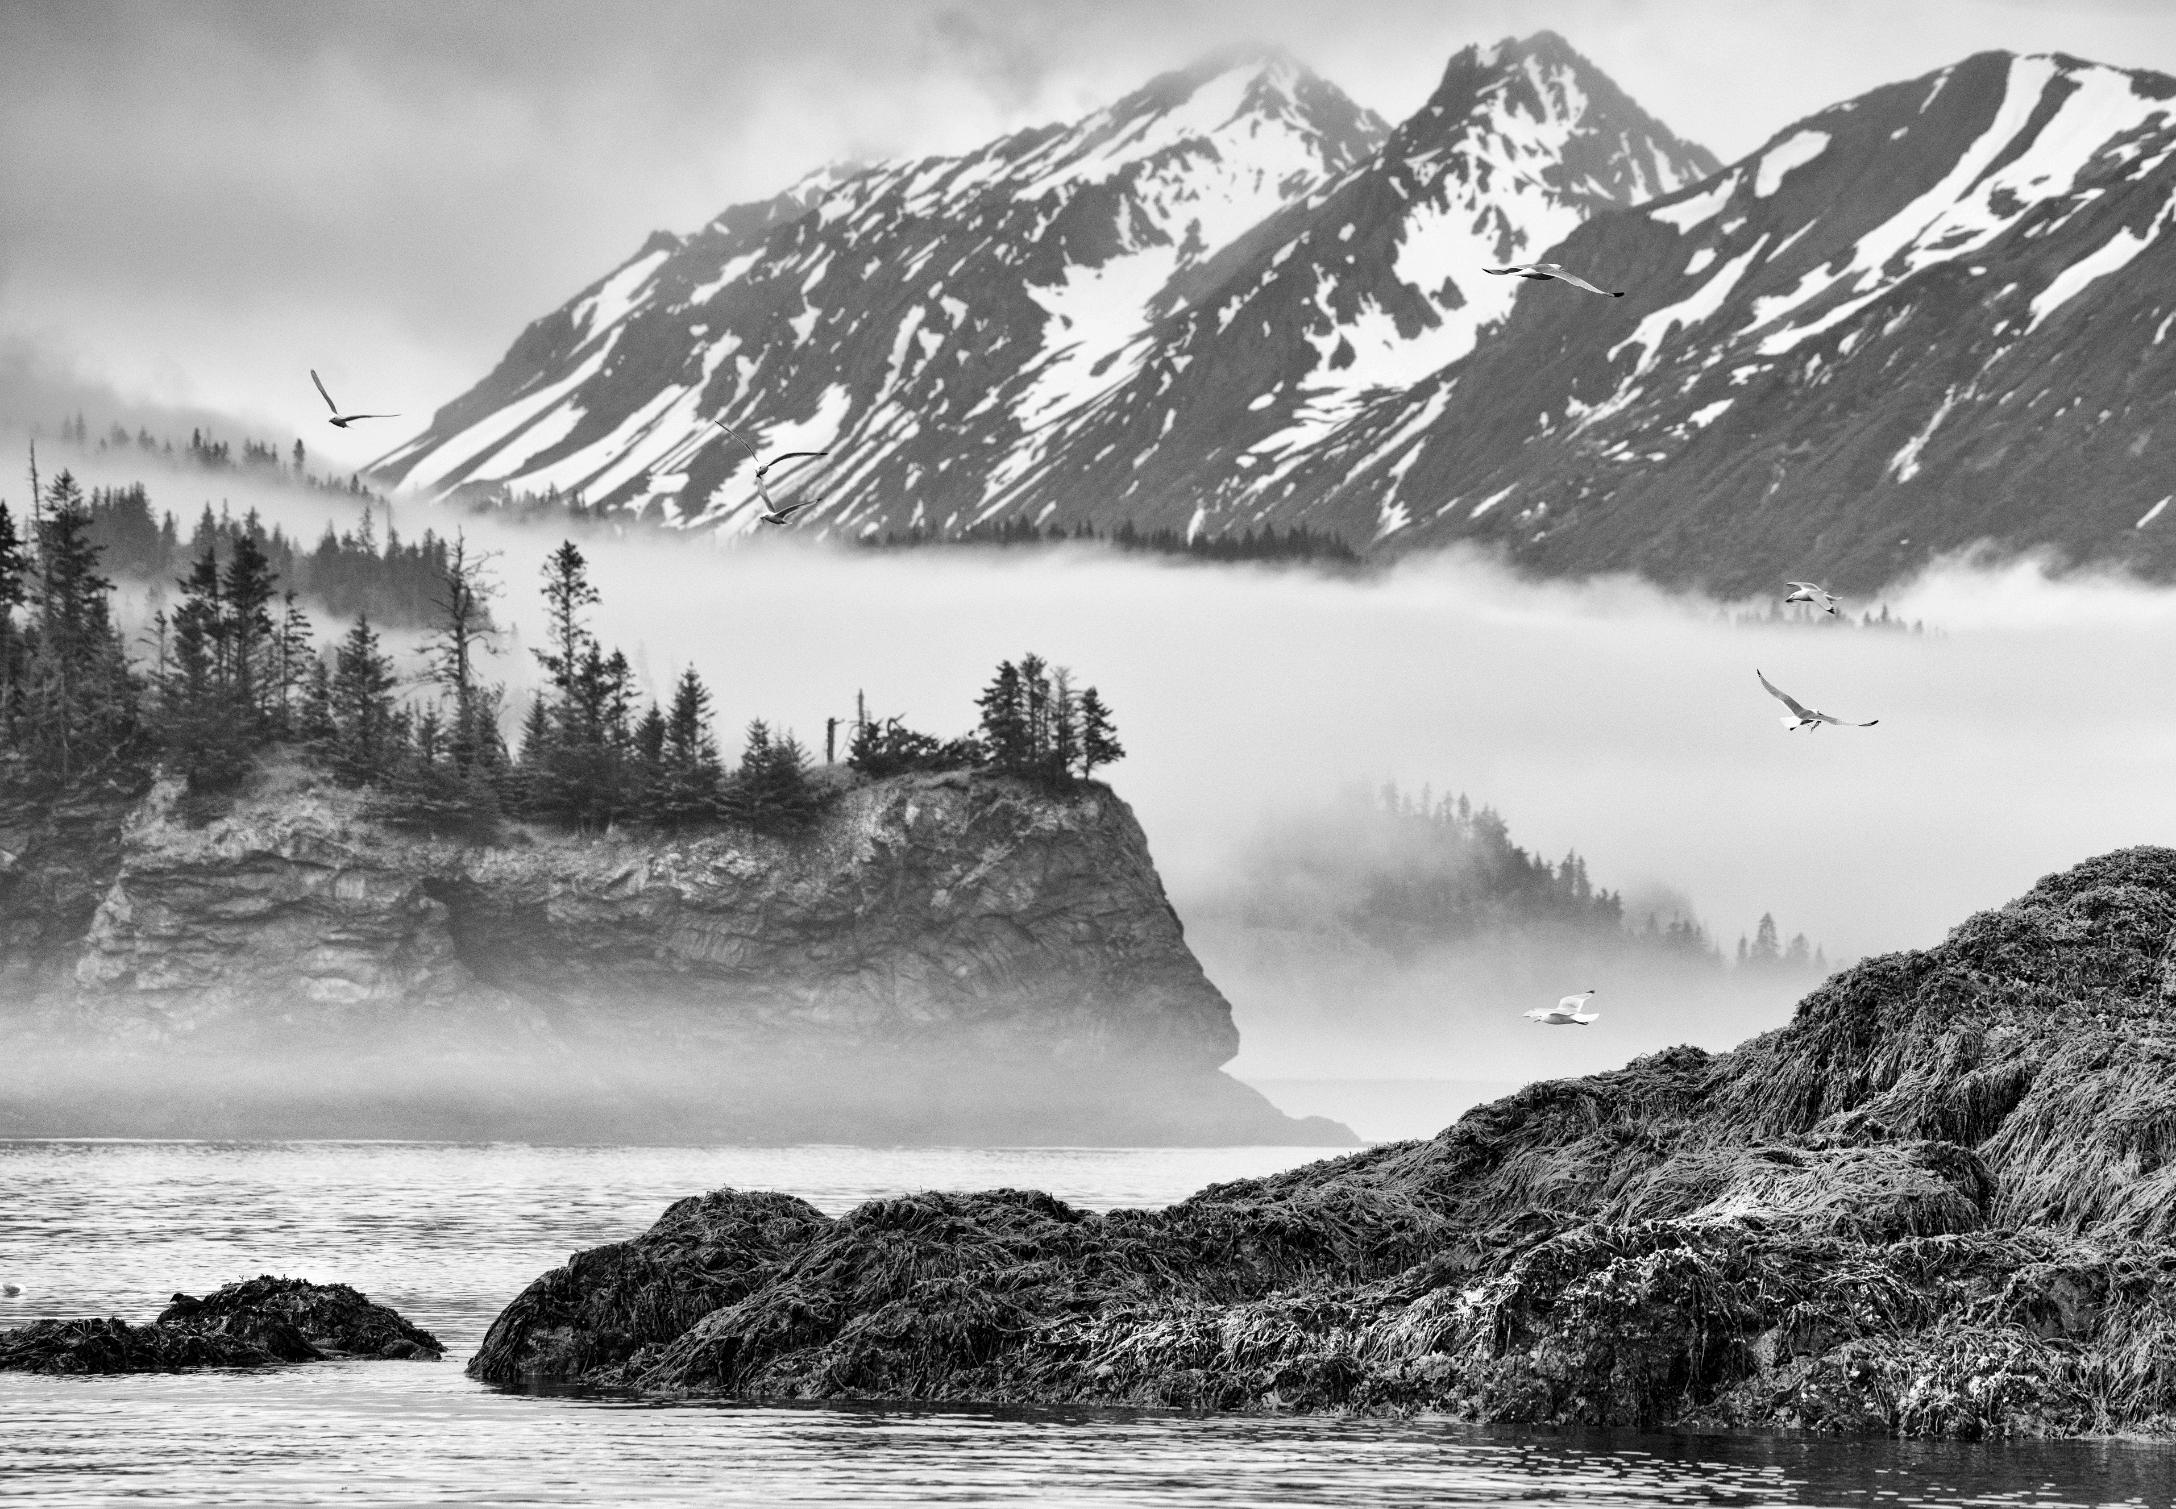
Most photographers instinctively reach for wide-angle lenses for landscapes; however, the landscape image above was captured at 204mm. Although an atypical choice for landscape imagery, this image benefits from the compression effect of long lenses, creating layers upon layers with tremendous visual interest.
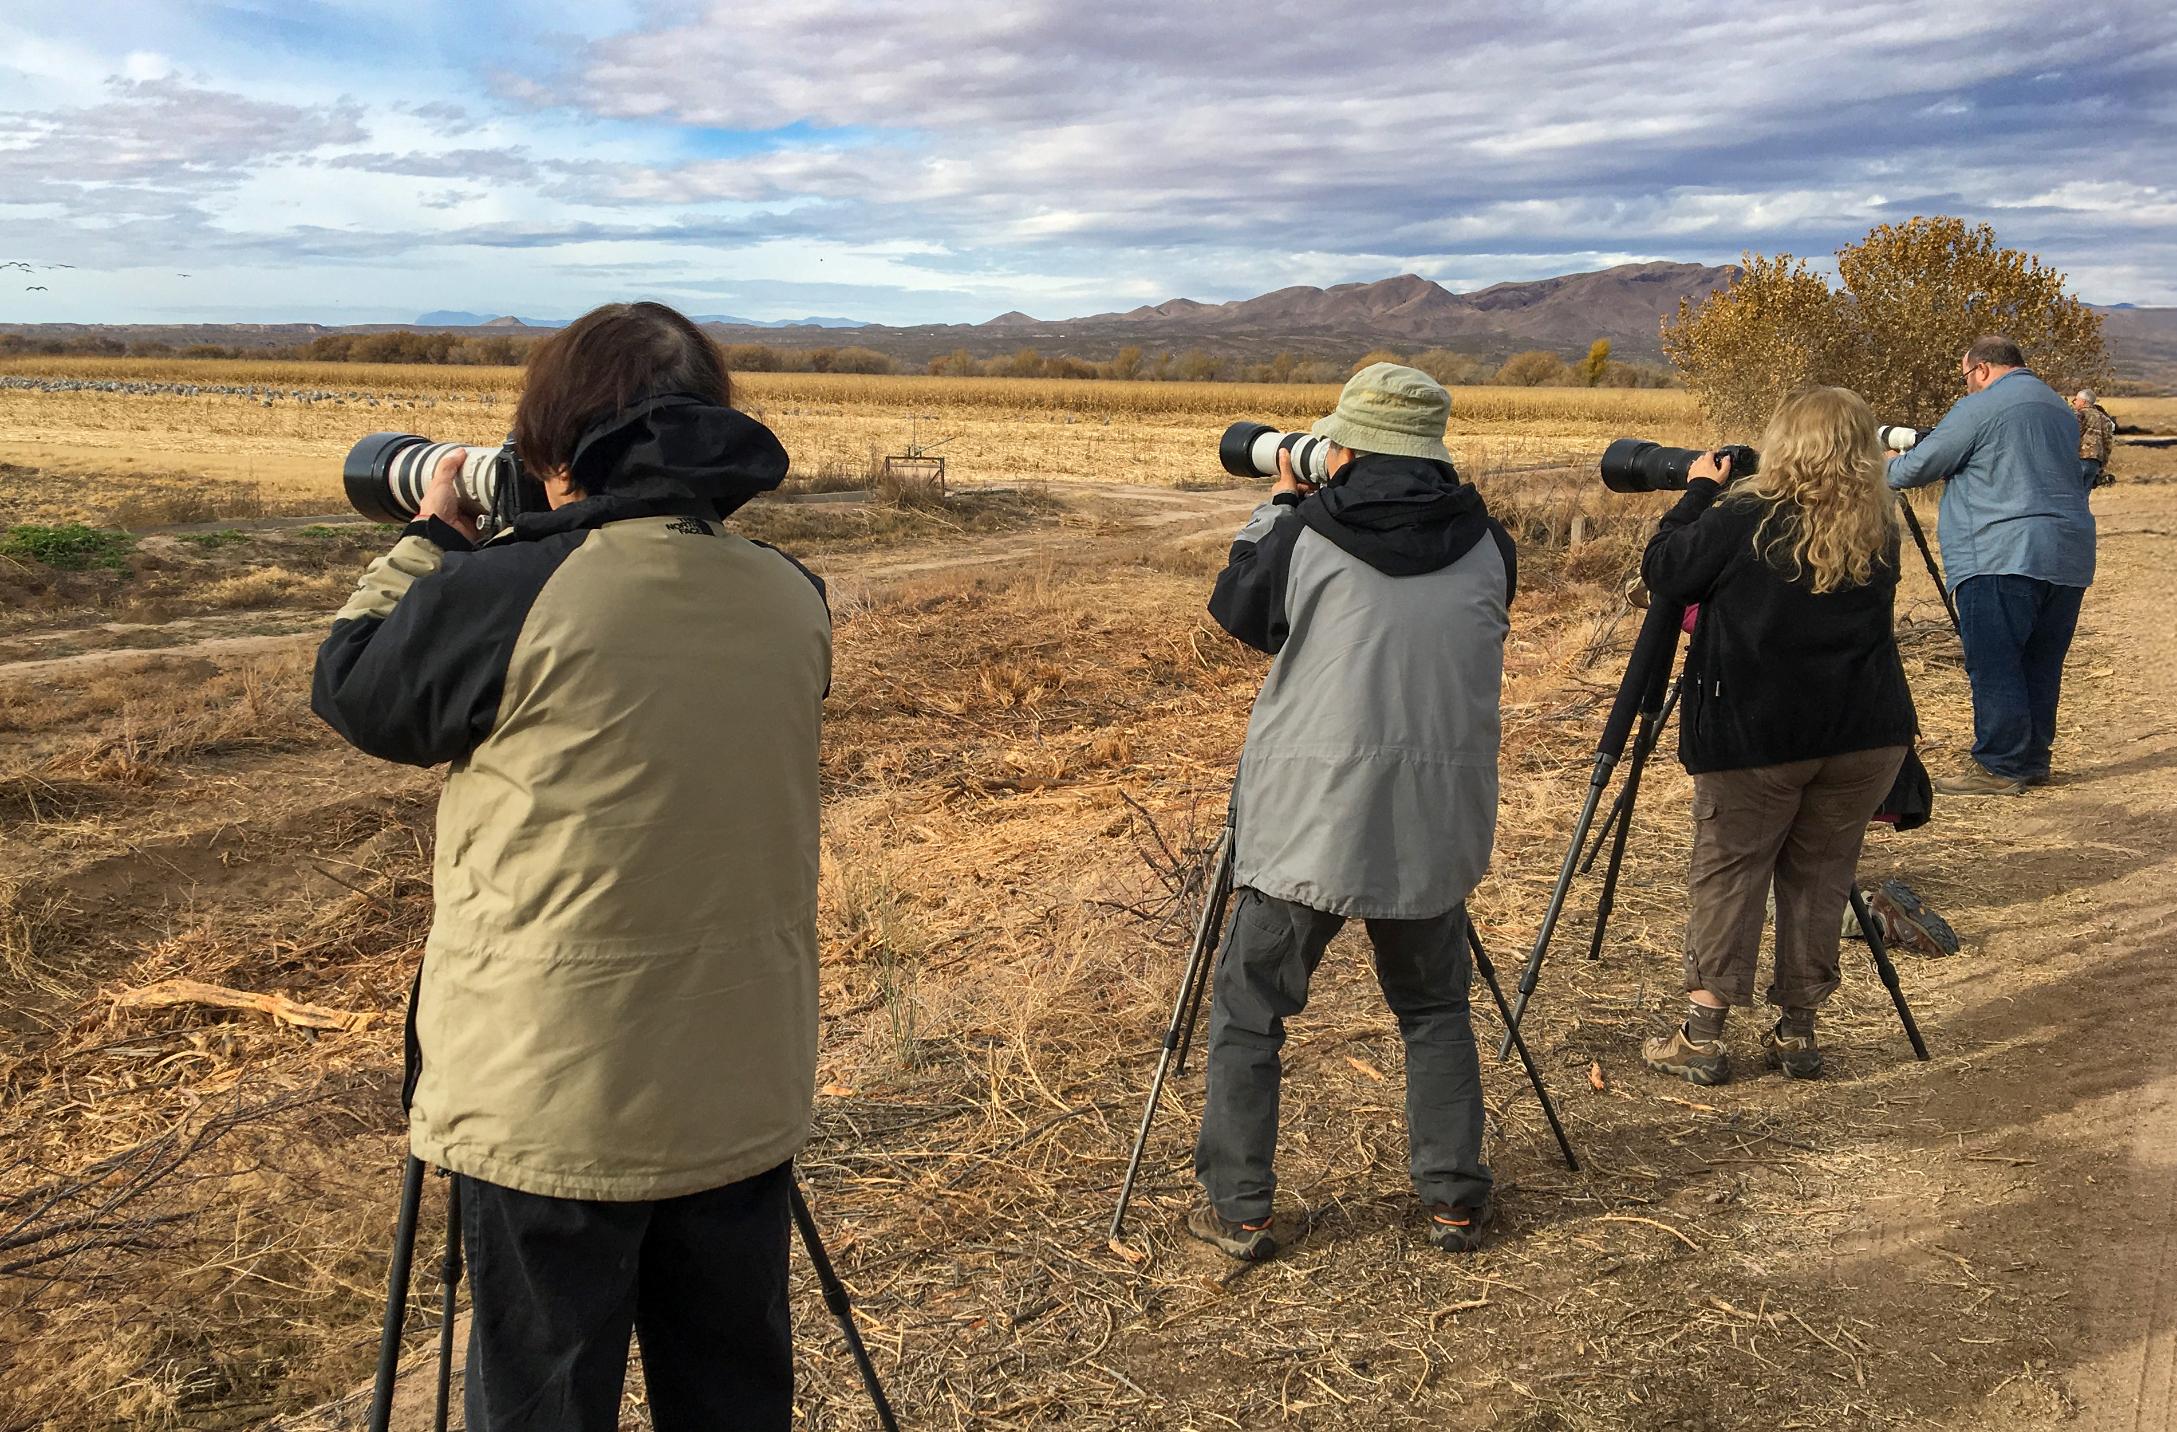
Workshops require groups of photographers to be in close proximity to one another while still respecting each other’s space and optimal positions to get the shot.
layers with a wind/waterproof outer shell for warmth. You can add/remove up to about five layers easily and save packing space by skipping bulky coats.
• Use breathable, quick-drying fabrics like synthetics over slow-drying cotton.
• Pack items you can hand-wash for light travel.
• Ensure outerwear is waterproof (not just water-resistant) for wet weather.
• If you are heading to areas with more extreme weather your instructor will need to advise you on appropriate clothing.
6. Dive into the Details
Review the fine print on cancellation policies, additional costs, and what’s included (tips, excursions, gear rentals, etc.). Some
workshops provide emergency shopping options or local tips, as in my Alaska workshops, where guides’ gratuities are covered, and essentials can be purchased upon arrival.
Ensure your workshop promotes responsible photography, adhering to laws and respecting local wildlife and environments. Verify that the organizer prioritizes ethical practices aligned with your values.
A photography workshop is a shared experience, and respecting the group dynamic is key. Positive, collaborative energy benefits everyone. Disruptive behavior or negative attitudes can hinder the experience for the

whole group. Come with an open mind, be willing to share, and be supportive of your fellow participants – photography is about both capturing beauty and connecting with others who share your passion.
Occasionally, participants will sign up for a group workshop or tour; but maintain the heightened expectations of a one-on-one, private experience. If you register for a group tour or workshop, you should expect a group experience – with both their benefits and drawbacks. If history has shown you are impatient with others, are not interested in their creative needs, and/or you need significant attention and support, I recommend exploring a bespoke guide. They can tailor the tour to your needs and fully focus on you without distractions. Additionally, you will not have to be concerned with any irritations, or
inconveniences that a group experience may occasionally provide.
Workshops vary in their skill requirements. For instance, understanding manual exposure or knowing your camera’s settings is often a prerequisite. Arriving unprepared can hinder your experience and disrupt the group. Practice beforehand to maximize the workshop's benefits.
You are your best advocate. Manage your and the leader’s expectations. Here are questions to ask:
• What skills do you need to know before arriving to successfully participate?
• Which settings or menu features within your camera you should know before you

arrive – such as using exposure compensation, switching from electronic to mechanical shutter, in-camera focus stacking, enabling the histogram, turning on/off image stabilization, and more. Identify the gaps and then learn those things prior to arrival. When a mismatch happens, the leaders, the fellow participants, and you may be left feeling frustrated or worse.
Permits are essential, especially when photographing in protected areas. Permits are costly and time-consuming for the workshop leader or company to obtain; however, they are necessary if you visit almost any land or
property that is not owned or leased by the tour company itself. Even places that are free to access for the general public will often require the photography tour/workshop company to submit paperwork and pay for a permit because the tour is operated commercially.
Permits are required for national, state, and most public lands, even small city parks. Permissions are usually needed for private property. Leaders must prove to the owner or governing agency that they have the proper business licenses, liability and vehicle insurance, emergency plans, first aid certifications, and much more before they are issued a permit.
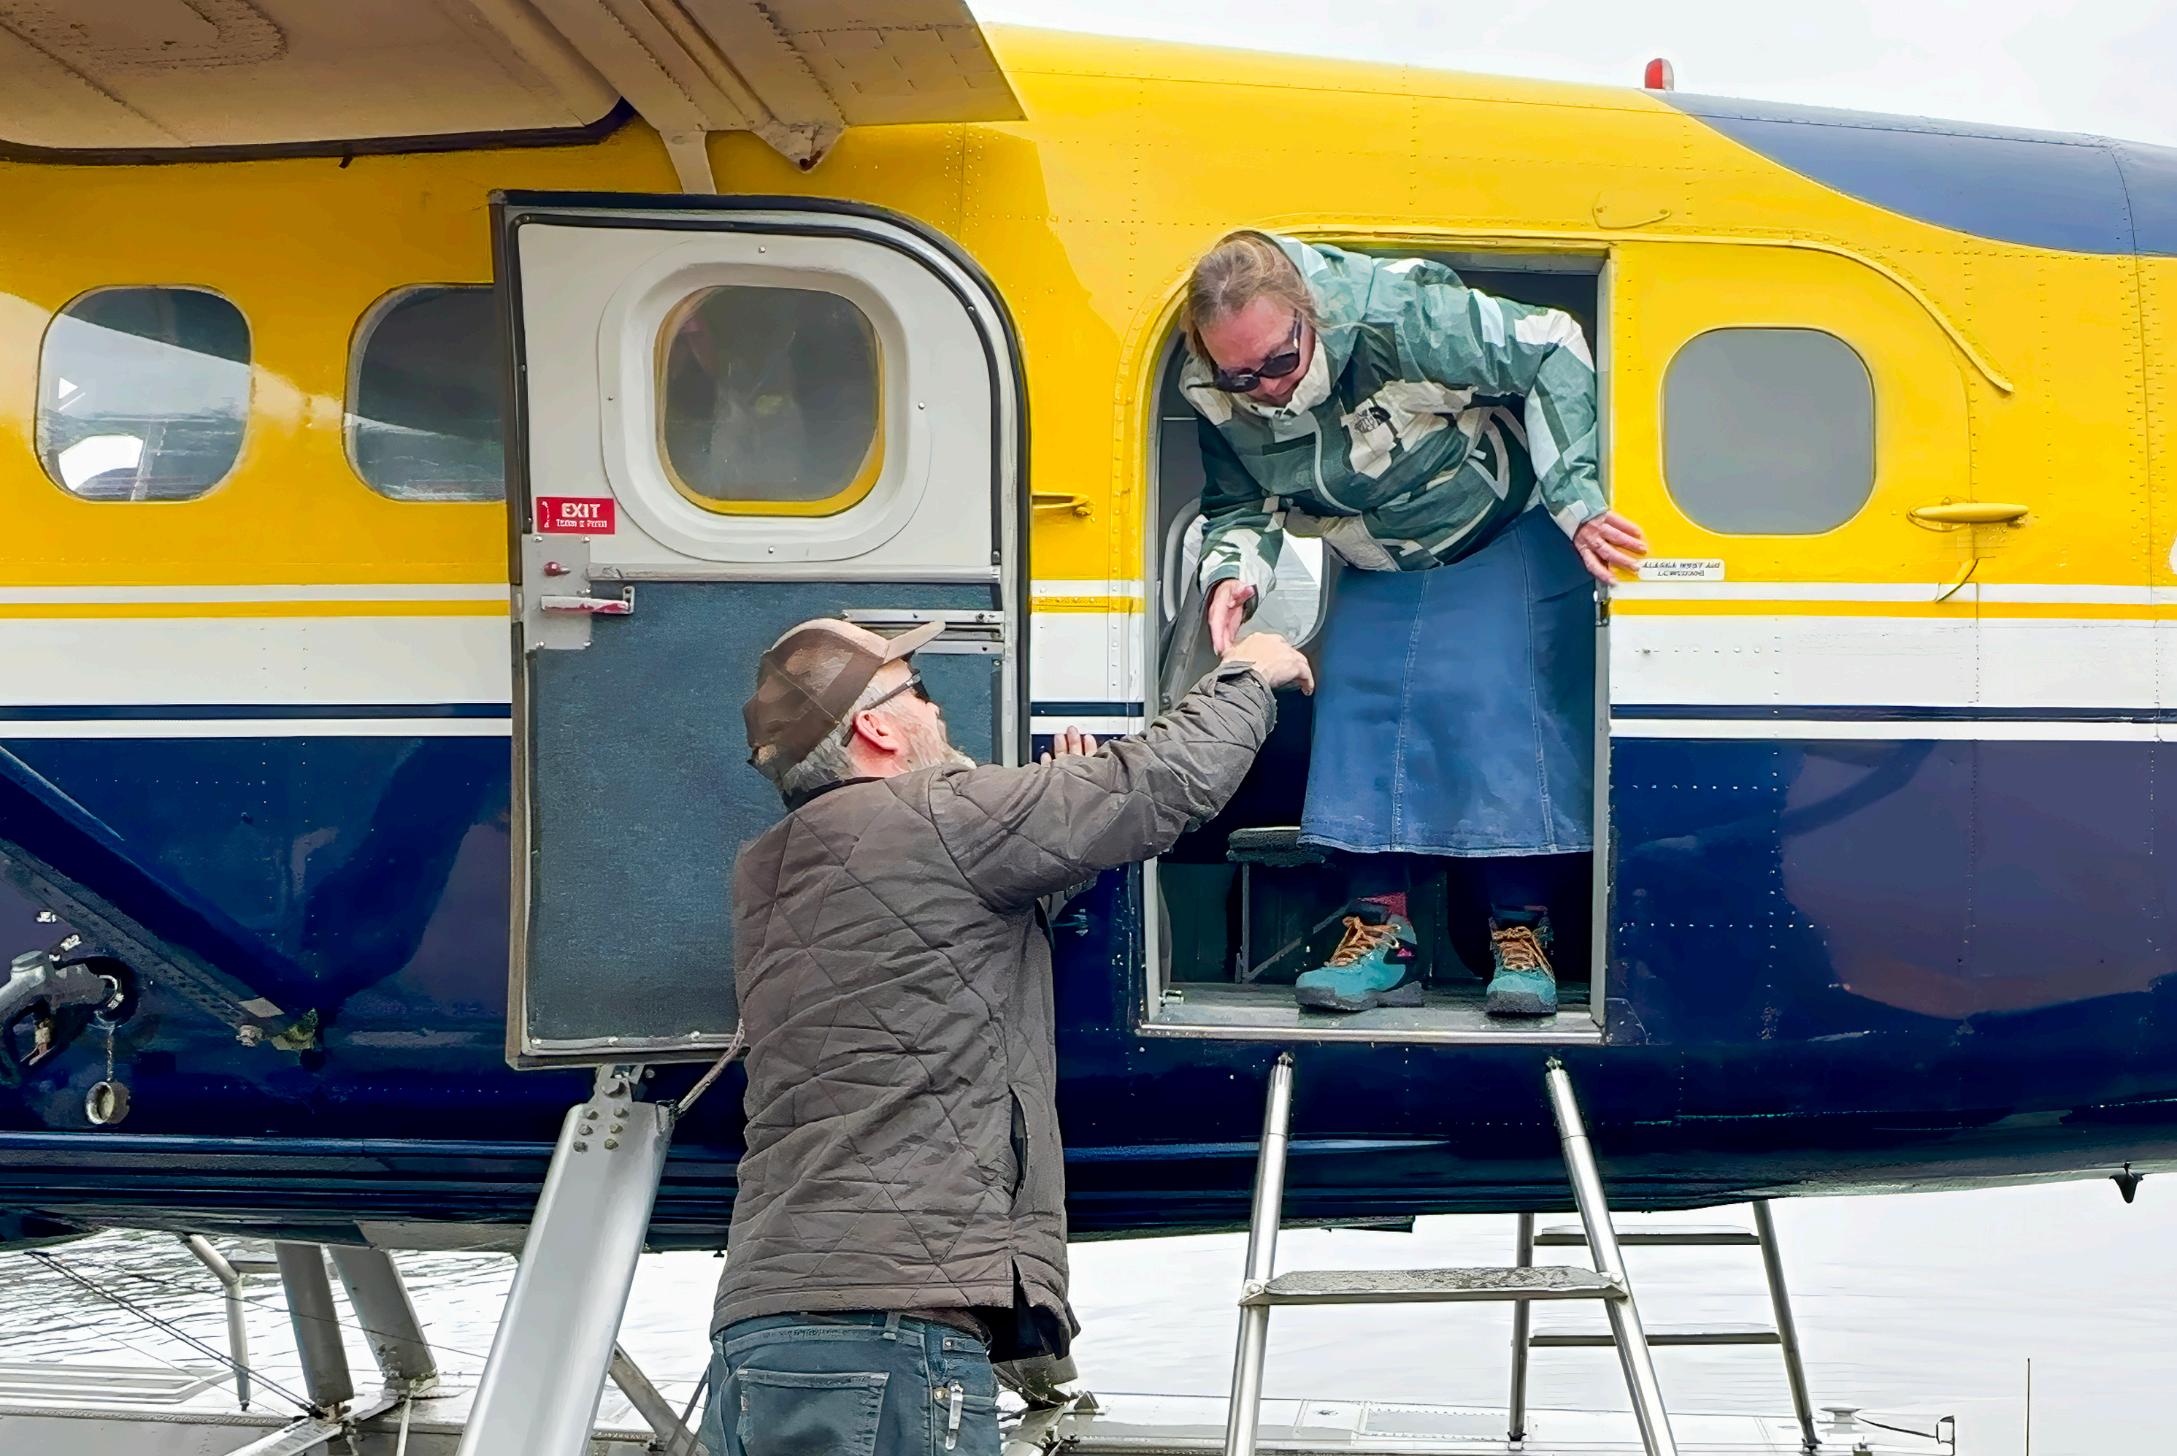
A workshop may present physical challenges that are unusual or unexpected. A good leader will provide you with details, and whether there is anything in particular you should do before the trip to prepare yourself to have the best experience.
Permits are limited and costly. They must usually be obtained 3-12 months before an event. Obtaining these prized permits takes hours to complete and can cost hundreds to thousands of dollars per excursion. For example, the Coronado National Forest permits I obtain for my four Magic of Hummingbirds workshops cost Langell Photography about $3,500 annually to obtain. They are typically required for any tour, workshop or commercial activity in those locations. Companies that take the time and pay the fees to obtain these permits are doing the right thing for everyone –including you. Your tour costs may be higher as a result, but true professionals take the time to do things the right way.
If the workshop leader or their company does not secure the proper permits, the entire event is put at risk. Rangers commonly approach leaders in-the-field and if they do not have the proper permits, they and their
group members are asked to leave immediately. They are typically banned for the duration of the tour (minimally).
How does this affect you, the participant? With your tour destination now off-limits, it results in missed opportunities, disappointment, frustration, and wasted money. Your leader may or may not refund you in these situations. This scenario is more common than you may realize. It could mean you won’t get what you paid for, so it is critical to verify that the organizer has all the necessary permissions in place. Taking care of these details makes all the difference in ensuring a worry-free workshop.
Workshops may range from leisurely walks to strenuous hikes. Ask about activity levels, restroom access, seating opportunities, and necessary equipment (e.g., walking sticks, special shoes, etc.). Planning ahead ensures

you’re prepared for the physical requirements. If you’re unsure whether a workshop suits your fitness level, ask the leader for specifics. Knowing what to expect will help you focus on photography without unexpected challenges that could hinder your experience, which may also impact the experience and pace of other guests.
12. Understand Insurance Needs Trip Insurance for you.
Did you know you can insure your investment in a workshop or tour? Trip insurance is obtained through an optional policy you can purchase. Typically you must purchase it within 1-30 days after you register for a trip, but the window varies by policy.
Once obtained, it protects you from financial losses that can occur ahead of, or during, travel. These can include obtaining reimbursement for non-refundable registration fees, travel costs, medical emergencies and evacuation, lost or damaged gear, and more.
I do not consider trip insurance optional – it is a crucial safety net for attending any workshop. Get medical insurance if you are traveling outside of the area in which your own medical insurance covers you. It can cost tens to hundreds of thousands of dollars, for example, to be retrieved in remote Alaska by air-ambulance and flown to the nearest medical facility, because you were injured or had a heart attack.

Tours and workshops by qualified, professional companies are often more costly due to the overhead needed to operate legally and responsibly. There are extensive insurance requirements for both general and high-risk activities like escorting guests via bush flights, hot air balloons, snorkeling, small watercraft, snowmobile, horseback and more. Specialized insurance for these activities is costly, yet essential. As the participant, you should verify that the tour company has current commercial liability insurance for your peace of mind in case of unforeseen events. Do not assume the company is adequately insured. Ask them questions like:
• Do you carry liability insurance for your operations? (Or if you prefer greater detail, ask, “could you please provide a copy of your Certificate of Insurance to verify your liability coverage?”)
• Do you have 9+ people in your transportation vehicles and/or do they weigh over 10,000 pounds? If so, do you have a USDOT Authorization Number for that vehicle?
Your tour company should be happy to provide that documentation for you as they know it will give you peace of mind.
Accommodations and meals can make a significant difference in your workshop experience, so it's important to be informed.
Accommodations/Lodging: Ask if you will have a private or shared room or cabin. Ask about the type of facilities available. Some workshops include comfortable lodges with modern amenities, while others may involve
more rustic, off-the-grid settings. Some have laundry options, complimentary breakfast, refrigerators, elevators and staff who can assist with your bags, while others do not.
If you have a roommate, I suggest early-on that you have an open discussion about each other’s boundaries and needs. Doing this at the onset will preserve the much-needed respect and comfort you both need to make the trip enjoyable.
Meals: Meals are important to keep you satisfied and energized. Inquire about your options for dining. Ensure that if you have any dietary restrictions, you communicate with your tour/workshop company to determine whether these can be accommodated.
Note that there is a big difference between “medically necessary” dietary restrictions versus “dietary preferences.” When they are medically necessary, it can completely change how cooking is done, how food is handled, the grocery list, budget and more. It also can involve far more labor for the chef. Please be very clear in advising your tour company about medically necessary dietary restrictions. Additionally, be flexible when you simply have dietary preferences. A “keto” type diet is a preference, but will not typically harm you physically if you do not perfectly adhere to it while on your workshop. But a person who is allergic to peanuts can die if they are exposed. Be realistic with what a chef or workshop leader can do to accommodate preferences.
Connectivity can vary significantly in remote photography locations, and it’s something to plan for. Ask your workshop leader well in advance about Wi-Fi availability, cell service, and any technical limitations you might
encounter. This will help you manage your own expectations for communication as well as those of your loved ones while you are away.
Remote workshops often lack Wi-Fi or cell service. Prepare for offline workflows by bringing backups like hard drives and memory cards. Check how long software like Lightroom can function without internet access.
The most meaningful workshops are about more than just technical skills—they're about embracing new perspectives and finding inspiration. Be open to learning, take feedback in stride, and soak in the experience.
The joy of photography comes from both the process and the final image, and the best memories often come from moments you never expected. A good leader will help foster this positive environment with you and the group.
Booking a photography workshop or tour is an investment in yourself, your skills, and your creativity. By asking the right questions, understanding the details, and being prepared, you’ll set yourself up for a truly enriching experience. I hope these 15 tips help guide you toward a workshop that not only meets your expectations but far exceeds them.

It’s not unusual for a workshop to have no connectivity (Wi-Fi or cell phone coverage), electricity, or plumbing.
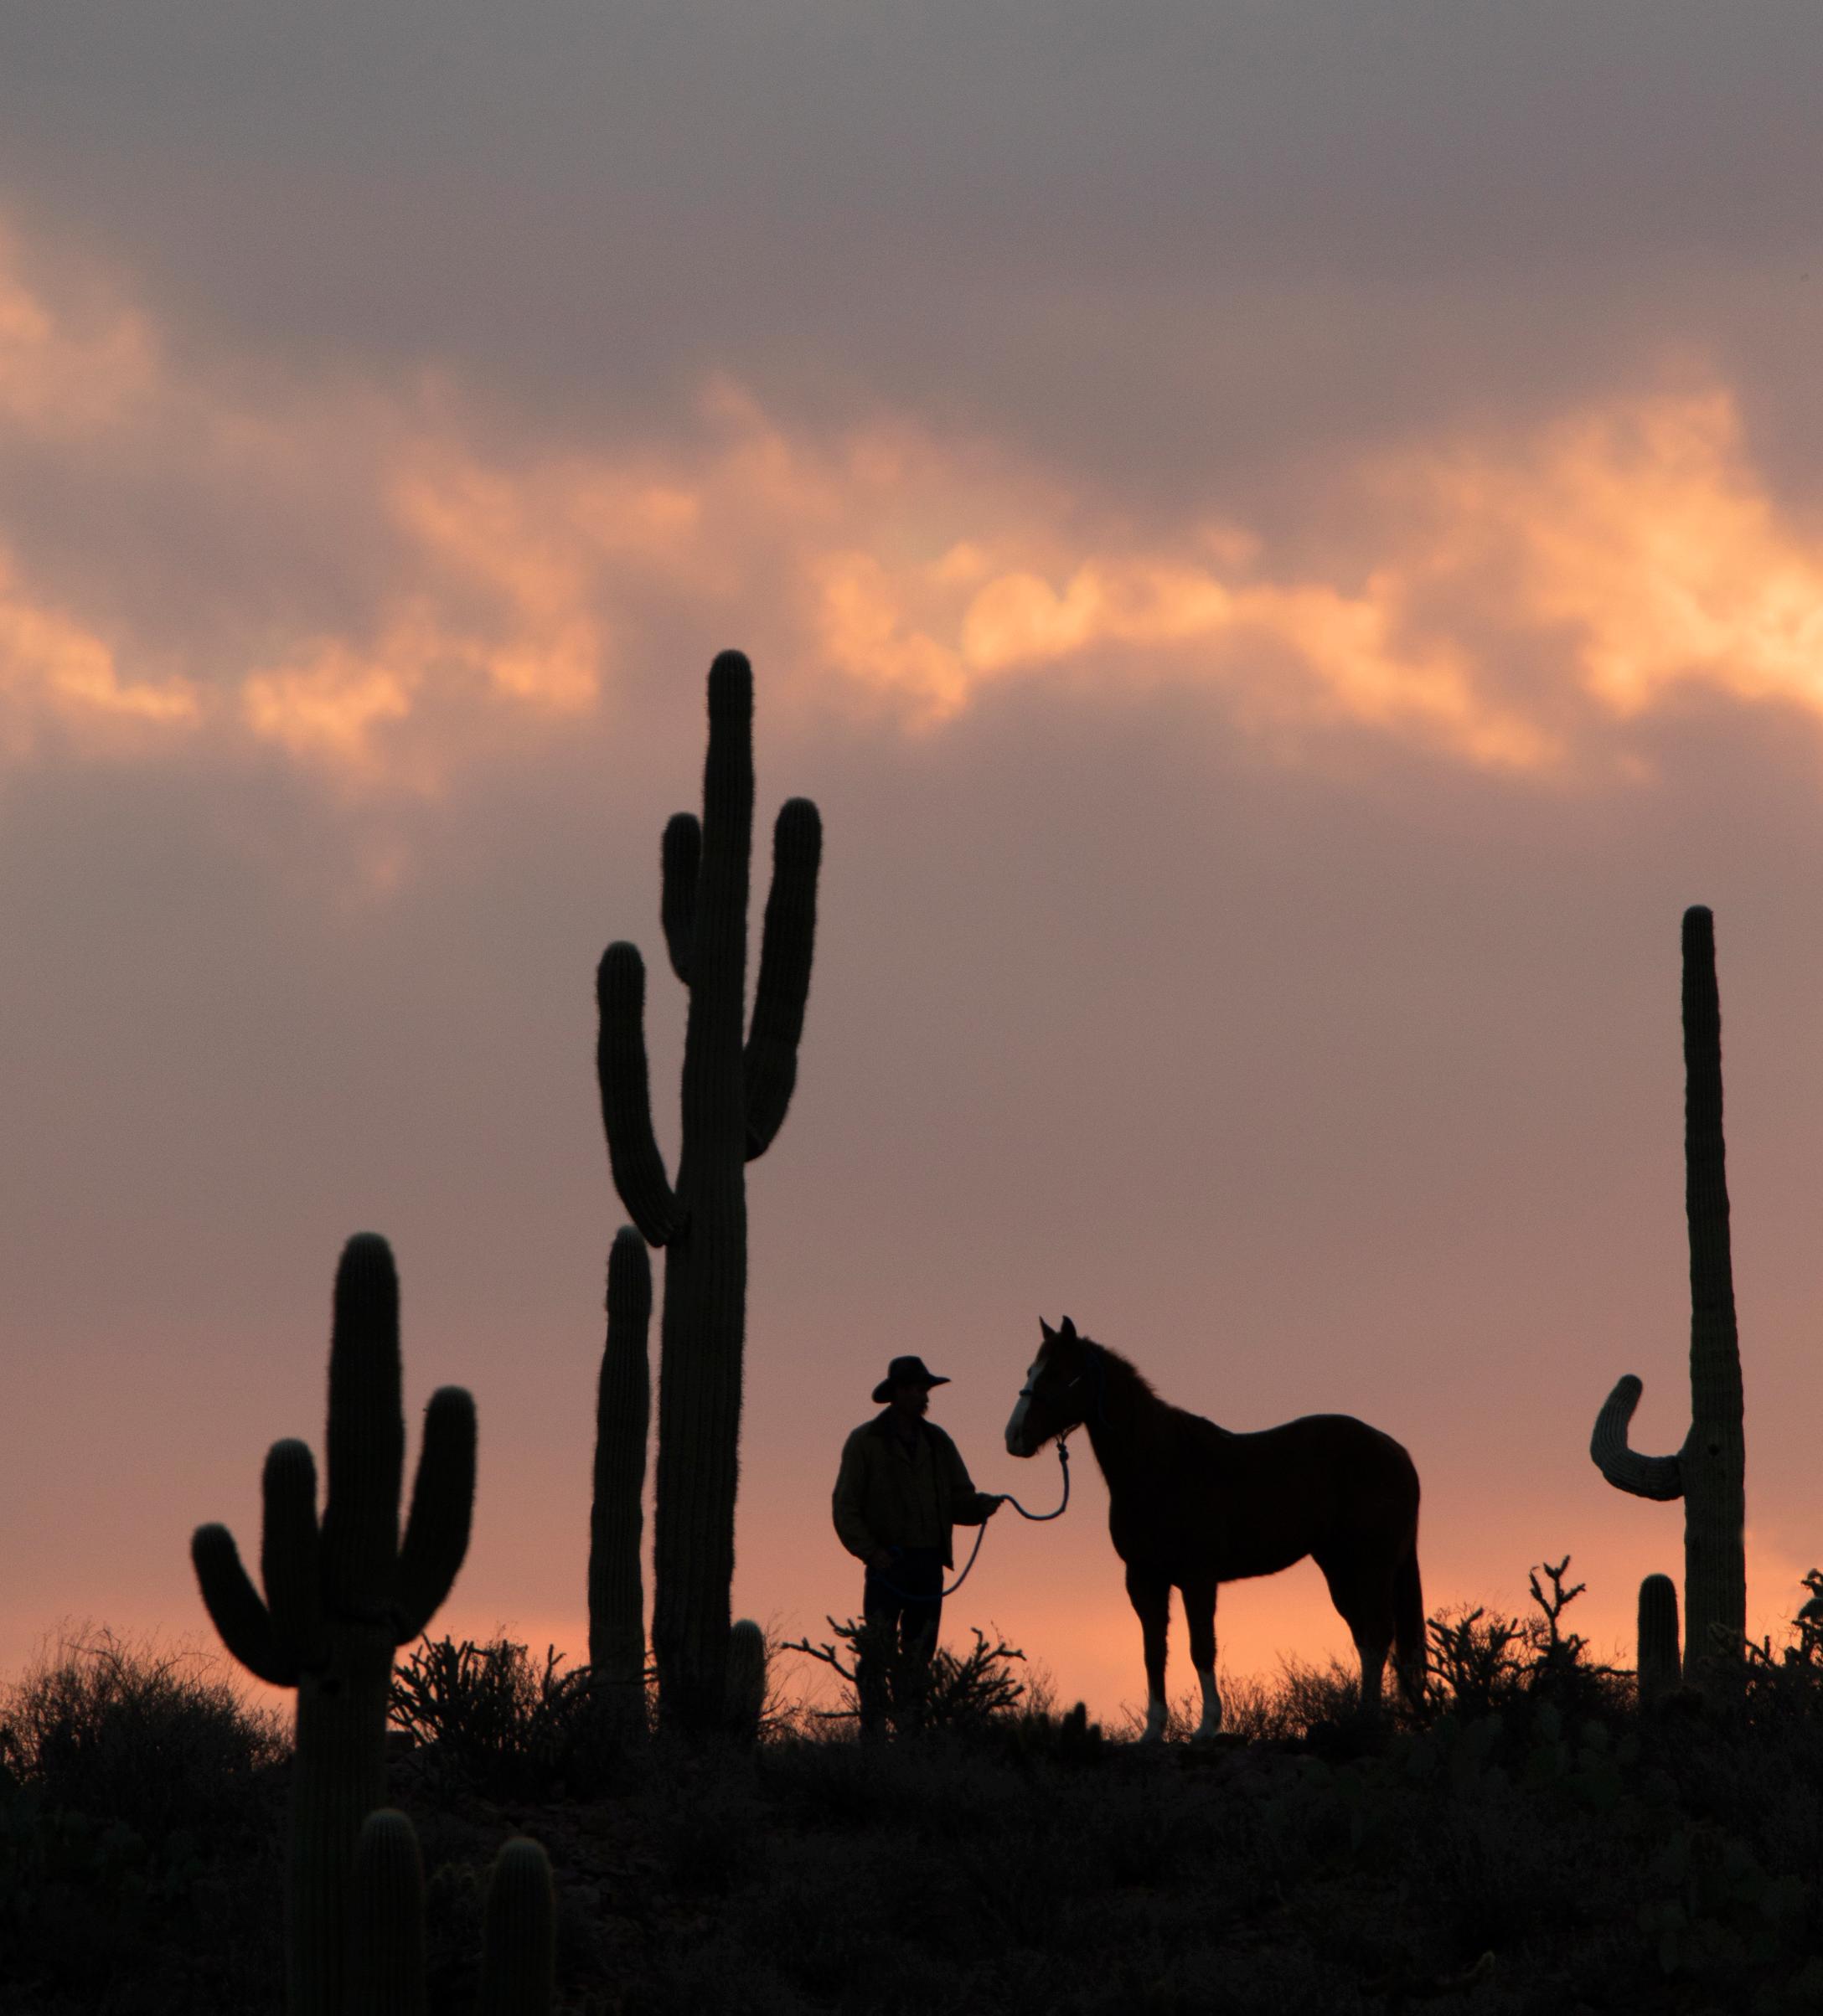
Lisa loves creating nature photography and art that is inspired by her background in psychology and design. When Lisa isn’t having fun making photographs, she’s thriving on teaching photography. Langell Photography offers thoughtfully crafted workshops and online education year-round. Our handcrafted itineraries and instruction provide you with immersive, rich, educational and productive opportunities that nurture your photography goals. We know it is important for you to create incredible images – but we ensure you have a delightful time throughout the process! Check out the website at: www.langellphotography.com/
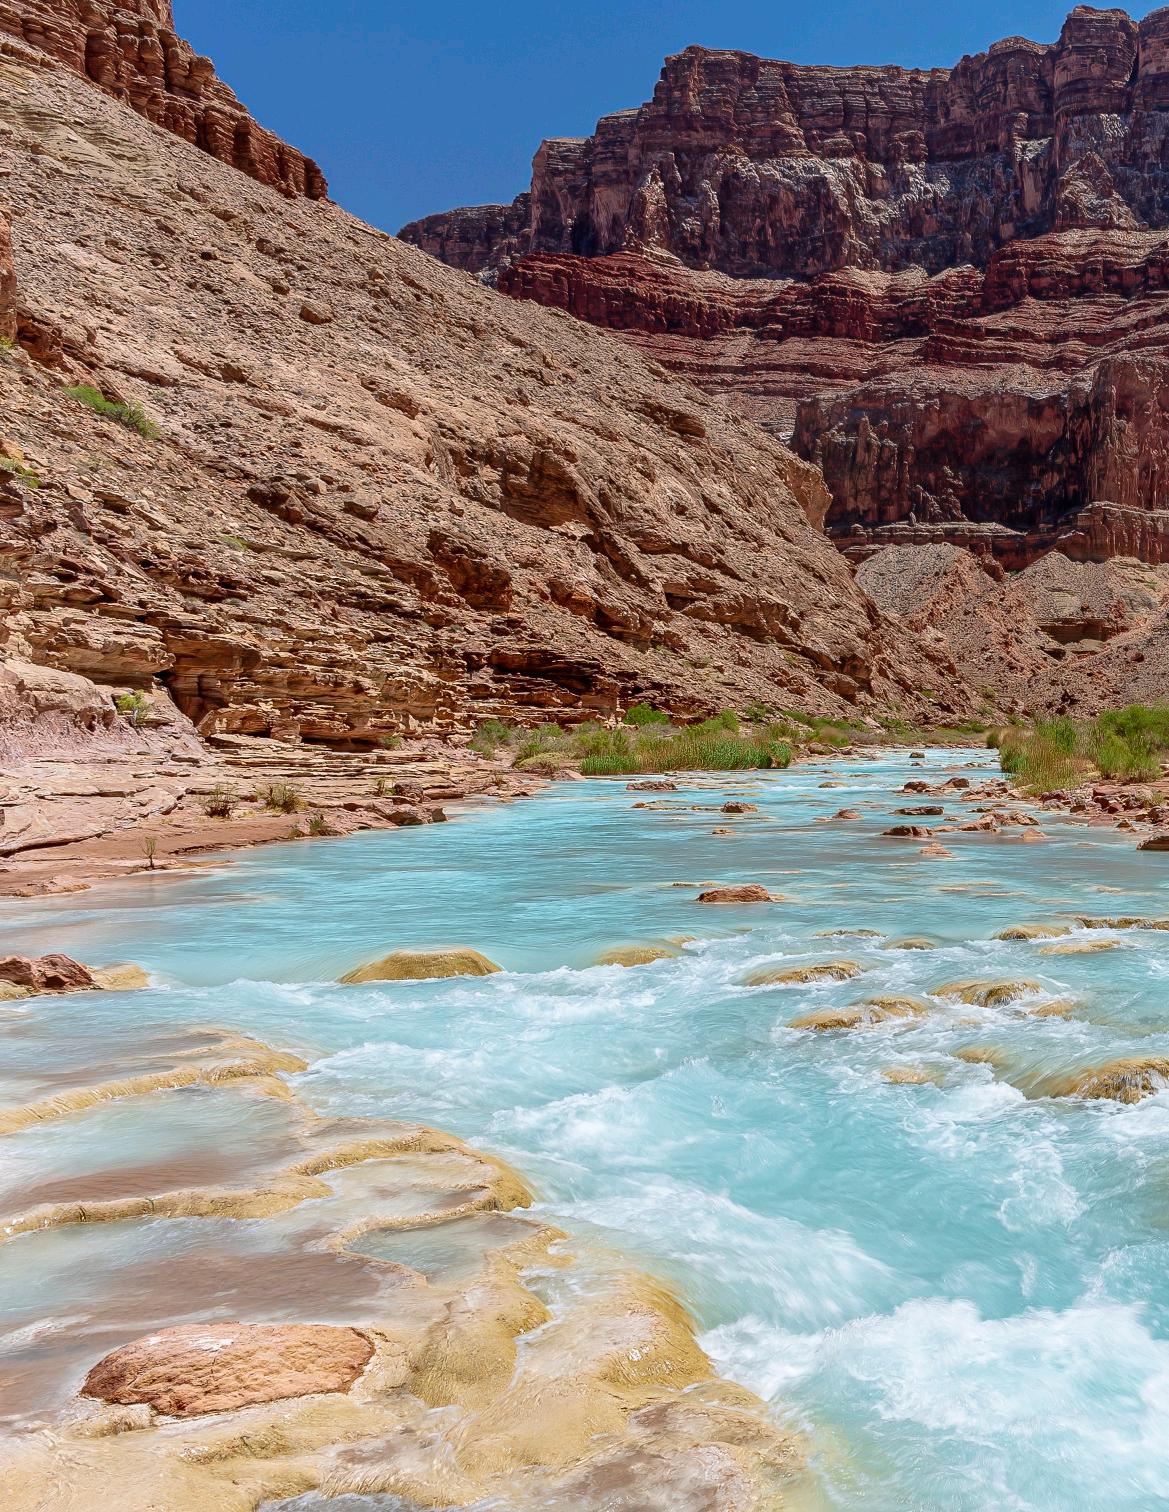

Mile 62. The mineral laden turquoise water of the Little Colorado River, a mile or so upstream of its confluence with the main Colorado River.
This third installment continues the story and photos of my trip down the Colorado River in May of 2022.
What is a typical day like when rafting on the river?
The river guides who staffed the boats doubled as the camp crew and were up early making coffee and then breakfast for our entourage. Around 5:30 each morning, the sound of a conch shell announced coffee was ready. Mornings were busy for me: I was simultaneously striking camp, exploring the
area for photo opportunities, and eating breakfast. In the past, the crew would invite those clients so inclined, to assist them in meal preparation. Currently, however, to minimize any chance of spreading illness, only camp staff were allowed to do so. Staff was adamant that everyone wash their hands often. After each meal, however, we were asked to help with clean up and washing dishes.
We were traveling with Canyon Explorations/ Expeditions, based in Flagstaff, Arizona. The

Mile 68. Tanner Beach is one of the widest, largest campsites along the river. To the east, Comanche Point is a prominent landmark, visited here by the Moon.

company provided tents, chairs, sleeping bags, sleeping pad, bag liners, and a tarp for each person or party. Each person was assigned three dry bags to stow gear. The sleep kit (sleeping bag, pad, bag liner and tarp) would go in one 55-liter bag. A second 55-liter bag was for our clothing and personal items not needed for the day. These two larger bags, would be strapped to the boats and not available until we reached camp later that evening. Into a third smaller 20-liter dry bag, we would put whatever items and clothing one might need for the day. These would be accessible to us, secured to the boat with a locking carabiner. Tents and chairs went into their own communal and extra-large dry bags. After breakfast, all the bags were stockpiled on the beach, the guides would go to the boats, and then call out for whichever item(s) they were ready to load next. The rest of us formed a “bag line” much like a bucket brigade to hand the bags and gear down to the awaiting boats. In the evening, the bag line process was reversed as the boats were unloaded and gear was distributed at the next camp site.
On this particular trip there were five oar boats, one paddle boat and two inflatable kayaks. The larger 18-foot inflatable oar boats accommodated our gear plus one oarsperson, and three to four passengers. Passengers in the oar boats had only to sit back, hang on and enjoy the view. The paddle boat was staffed by one guide and up to six passengers, looking for a more exhilarating experience. Passengers here were required to paddle. I chose the oar boats so as to be freer to photograph as we floated down the river. The kayaks were available to those who passed a competency test, which included rolling the kayak and righting it. The guides needed to ensure one could maneuver the kayaks safely. These were deployed typically in calm water or no worse than mild rapids.
According to the company’s literature, and the guides themselves, we were encouraged to pick a different boat each day to rotate among the staff, rather than form “fixed” cliques with particular guides. Over time, I found waiting until morning to ask if a particular guide had room on his boat came at a disadvantage. It seems, reserving a spot on a boat became almost a competitive sport, with people securing “reservations” often the day before. Eventually the guides stopped promising space on their boats the day before, thereby giving everyone a fairer chance in the morning. For some of us, myself included, the concern was we didn’t want to be forced to accept a ride on the paddle boat, if all spaces on the oar boats were already spoken for.
The boats were tied up side-by-side along the shore. Once loaded and ready to go, the boats would shove off from shore, in zipper-

like fashion with the downstream boat leaving first, followed by each succeeding upstream craft. On this non-motorized trip, we were carried by the current, which averages four miles per hour. The oars and paddles were used largely to steer, and not for propulsion. We covered the 225 river miles from Lee’s Ferry to Diamond Creek Beach in 16 days. Because our trip was billed as a “hiker special” we would be covering fewer miles each day to allow more time to explore side canyons by hiking. But for the hikes, our journey would otherwise be completed in 15 days.
If one doesn’t have two weeks to spend on the river, one can opt for a trip that covers either just the upper canyon, or the lower canyon. The dividing point is at Phantom Ranch.
Those opting for the upper canyon, will end their trip at Phantom Ranch, and then have to either hike or ride out. Conversely, a lower canyon trip starts at Phantom Ranch. Another alternative, is a motorized trip. Compared to our inflatable 18-foot boats, the larger, motorized inflatables passed us like an aircraft carrier. These vessels can make the full canyon trip in a week. But one has to listen the drone of the outboard engine echoing off the canyon walls all day.
In fairness to these motorized craft, one literally saved our bacon. By about the fourth day, our guides realized that one of the two propane tanks we carried, which were used to cook with, was leaking. Our trip leader got on the satellite telephone and informed the

company office of our predicament. Soon another propane tank was loaded onto a motorized boat, about to depart from Lee’s Ferry by a rival company. Within a few days, the boat caught up to us and delivered the replacement tank. Thus, starvation (and cold bacon) was avoided. There is a camaraderie among the river guides and companies to assist each other, rather than see each other as rivals.
Communication within the deep and remote canyon is very limited. There is no cell phone service. If and when communication with the outside world is needed, the leader has a satellite telephone for this purpose. Canyon
Explorations/Expeditions asks its clients to not bring cell phones (the exception was their use as a camera) or other communication devices, such as SPOT emergency locators. This is to prevent false alarms from summoning emergency responders – it has happened! On another day, the satellite telephone was used – this time to summon a helicopter for a medical evacuation. One of the passengers on our trip came down with, what we learned later, was a severe ear infection and could not continue. On the day of the evacuation, we were on a wide sandy beach near Mile 68. Fortunately, of all 15 campsites we occupied, this one was the


easiest for a helicopter to approach and land. Like a scene out of MASH the copter circled and then landed in the zone we had prepared for it, while we were hunkered down some distance away, along to shore, to avoid injury should the rotor wash fling sand and small pebbles at us. The evacuee was flown to the south rim, and from there transported by ambulance to a hospital in Flagstaff.
The number of stops we made varied with the number of side trips we made each day. Some days we explored side canyons to get to waterfalls, scenic grottoes, rock art or a major tributary (Kanab Creek). One of the main takeaways I got from this trip was how
different much of the river was than my expectation. Probably 97% of the distance we traveled was on placid leisurely moving water. But the marketing of river raft trips often emphasizes the thrilling white-water rapids. Although most of our elevation loss occurred in the relatively short rapids, most of the distance traveled was by way of calm smooth water. Until this trip, I didn’t realize how much of the river is so calm and peaceful.
I’ll continue my story of a typical day on the river in a future issue. Stay tuned for more adventure!
By James Novaes
Foreword
Joe and I recently participated in a photography conference print swap. A large table was covered in envelopes of prints, and participants took turns picking one and either keeping it or trading it for another that had already been revealed. One item stood out. It was a box, that when opened, was a treasure, not only because of the print, but because of its presentation. After that box had been opened it seemed like everyone traded the print they picked up for that submission.
We asked the photographer, James Novaes, to write about his thinking about the presentation of his photograph at the swap.
Velda
As photographers we exercise an incredible amount of effort in creating an image – from the initial travel plans, to the final edit in photoshop – and how we share the photo with others. For some, the photographic process ends on a social media post. Others may print their image, often considered the third and last process of creating an image.
For me printing is not the final step. How I offer my work to viewers, and how I present my art to clients are what I consider my next steps. I want to present my art in a way that connects meaningfully with my viewers and potential clients.
The delivery of the art package is a crucial component of that. It leaves a lasting impression of the character of the artist, and the respect and honor they have for their art as well as their client.
The Logo. My logo is an important aspect of overall presentation and branding. It should be simple, yet convey the essence of your brand identity. I sought a professional graphic designer to help create a logo that is memorable and demonstrates alignment with my brand. I use it with all my collateral.
The Box. I package my prints in a box I designed with my logo to accommodate various print sizes and for easy shipping. Most of my prints are on A4 paper (8.3 x 11.7 inches) or A2 paper (16.5 x 23.4 inches). I created the boxes at UPrinting (uprinting.com) with the specific size of 4”x4” X 18.5” which allows the shipping of various print sizes once rolled into the box with glassine protective paper. Your imagination is the limiting factor on what size and style of boxes you wish to create.
I make special arrangements for larger images such as a large metal print. These are usually printed by Bay Photo Lab (bayphoto.com), and shipped to me. I always order the heavyduty box as it is well built, protects the image, and it can be used again to ship the image to the client. When I receive the print I will add the relevant documentation, etc., and either deliver it in person or ship it in the packaging it arrived in.
The Presentation Elements. I wrap the print with acid-free glassine paper for its protection. Also in the box I’ll put a handwritten thank you letter to the client; a certificate of authenticity; a pair of white gloves to handle the art as it is being unwrapped by the client; my own logo stickers; and business cards.
Print Editions. I limit each print to editions of only ten. This limitation may create further value to the artwork for the client. It does mean I need to keep a record of all of the images sold, and I also keep electronic copies of the certificates of authenticity for each image sold.
The Thank-You Card or Letter. The thank you letter should always be hand-written and personal as there is no higher honor than to have your artwork hanging in a client’s home.
The Gloves. The gloves are included so that as the box is being opened by the client, they recognize that every care was placed into the package, and it should be handled with care and the respect the art deserves for its longevity.
Other Items. Stickers of my logo are added to the package as a token of my gratitude for their patronage. They are fun and perhaps it may conjure up conversations about my work with others. There’s nothing like grass roots advertising.
An embosser is another tool that conveys professionalism and integrity of the artwork. This can be used on envelopes and certificate of authenticity cards. The certificate of authenticity will be attached to the art for years to come in order to validate its origin.
Please note that there are other vendors that may better meet your needs. That is not as important as taking the time to be as thoughtful of the delivery of the image as when you took the photo and made it into the art the client now wants to own.

In our call for submissions to this issue, we asked our members to write a few hundred words about a workshop they enjoyed, and why. Was it the location? The education? The adventure? The camaraderie? Some combination of the above, or something else?
Sexton
It has been my pleasure to attend two of John Sexton’s photographic workshops. Sexton served as photographic assistant and consultant to photographer Ansel Adams from 1979 to 1984. His finely crafted large format photographs have appeared in many publications and are included in permanent collections and exhibitions throughout the US. So you can imagine his workshops are very popular and hard to get into because there is a limited attendance.
For my first one, I was on a waiting list and by some miracle there was a last minute cancellation, so I jumped on the opportunity. That one, “The Expressive Black and White Print Workshop” was held at John’s residence in Carmel Valley and it was during the time I was struggling with improving my skills with B&W film and darkroom techniques. I came away with lots of ideas about what I could do better and I appreciated John’s instructive comments on my own work during the portfolio critique sessions.
For the second workshop, I was again fortunate to get into John’s “Mono Lake and the Eastern Sierra: Exploring Autumn Light Workshop” in 2018. By then I had switched to using digital cameras and printing for about 15 years. I was still making black and
white gray scale prints, but with an ink jet printer. I found producing color prints was an absolute joy compared to the older wet darkroom procedure. So the impetus for taking that workshop was not only the location (I had co-lead several SCCC fall color trips into the Mono Basin), but because John had invited Charles Cramer, a well known artist who has photographed extensively in Yosemite, as an instructor to complement and attract photographers that were not necessarily silver gelatin print makers. The Mono Basin is such a magical place and John and Charles knew the best locations including ones in eastern Yosemite. The outdoor sessions were grueling in that we got out before sunrise, and photographed late into the evening.
Not to detract from John’s consistently excellent presentations, but having Charles in the demonstration lectures and seeing his work, really captured my interest about what it takes to go from an image you like to a final digitally made print. I enjoyed John’s reminiscing about working with Ansel, his approach to previsualization, and the subtleties of Charles’s techniques to produce such exquisite color prints.


Colleen Miniuk / “In the Footsteps of Georgia O’Keeffe,” May 2024
I had a friend who confessed to me that she didn’t particularly like O’ Keeffe’s work. However, because we’d both had great experiences with Colleen Miniuk, she consented to do this workshop with me anyway. We both love her energetic, creative, flexible style.
Colleen writes and lectures in a rigorous way about creativity and how artistic composition affects our brains. She also regularly waxes poetic about pie. Really, she has quite a range.
We were based at Ghost Ranch in northern New Mexico. Our accommodation was atop
a mesa. We had private rooms, and the building had a conference room for lectures and critiques. The view was so lovely that several of us drank our wine, ate our pie, and shot sunset from there one night.
O’Keefe lived at Ghost Ranch as well as in Abiquiu, where we had a wonderful house tour with lots of time for photographing. Michelle, our guide, remarked (with a smile) that our group was “kittenish,” as we scooted around photographing while she was showing us around.
In Santa Fe our tour of the O’Keeffe Museum began an hour before opening. Being


immersed in her work was remarkable, as were artifacts like her tools and trademark black dress. One of her paintings, a straightup view in Glen Canyon (now Lake Powell) brought me vividly back to a place familiar to me. I had a profound moment of connection.
We also ducked into to the Rainbow Man Gallery to check out the extensive collection of Edward S. Curtis material. Though none of this is related to Ms. O’Keeffe, Colleen was game for the detour. In fact, she often begins workshops saying, “The plan is the plan until the plan changes and the plan changes often so plan on it.” The line is, in fact, delivered without punctuation.
We took great advantage of photography opportunities in and around Ghost Ranch. Several trails begin there and continue into the Carson National Forest. I particularly loved the Box Canyon trail with its photogenic cottonwood trees and dramatic reflections.
Somewhere between silly and creative (not a bad summary for working with Colleen), I created a composite of favorite O’Keeffe subjects, a battered skull, the moon, and Cerro Pedernal.
I’d been increasingly thinking of flower photography as a bit trite, but living a few days in Ms. O’Keefe’s shoes did convince me to activate my beginner’s mind and play with them.
Another short detour was to Hernandez, the site of Ansel Adams’ famous Moonrise, Hernandez, New Mexico. Things have changed some since 1941 but it was lovely to stand in his footsteps there.
As for my friend, she did come to appreciate the artist, though neither of us came far enough to wrap our minds around the very abstract work like her series based on the door in her Abiquiu courtyard.
I think the whole group appreciated the deep dive into O’Keeffe’s life and work, and felt we had a vastly greater understanding of both. She was extraordinary and utterly uncompromising, and we appreciated her for both.
We certainly had fun.

National Park Photography Expeditions (NPPE)
Over the years I have taken many photo workshops covering different genres of photography – travel, street photography, documentary, the photo essay and landscape photography. I enjoy learning different points of view from the instructors and enjoy sharing the workshop experience with other photographers. Another reason I join workshops – they do all the navigating to the best locations at the best times of day. All I have to do when I get there is set up my tripod and start shooting.
Recently, I explored photo opportunities in the "Arizona Strip" with National Park Photography Expeditions (NPPE https:// www.nppemasterclass.com). They offer
Masterclasses that encourage students to think thematically about what they see and create a body of work that goes beyond documentation to expressive fine art photography. There is ample in-the-field instruction as well as post production instruction in Lightroom to practice creative segmentation. All workshops include two one-on-one online sessions with the instructor in Lightroom when you get home. NPPE also offers a Mentor in Fine Art Photography Program for working professionals or experienced visual artists who wish to create marketable images through thematics for the exhibition, collection, and the fine art illustration market.

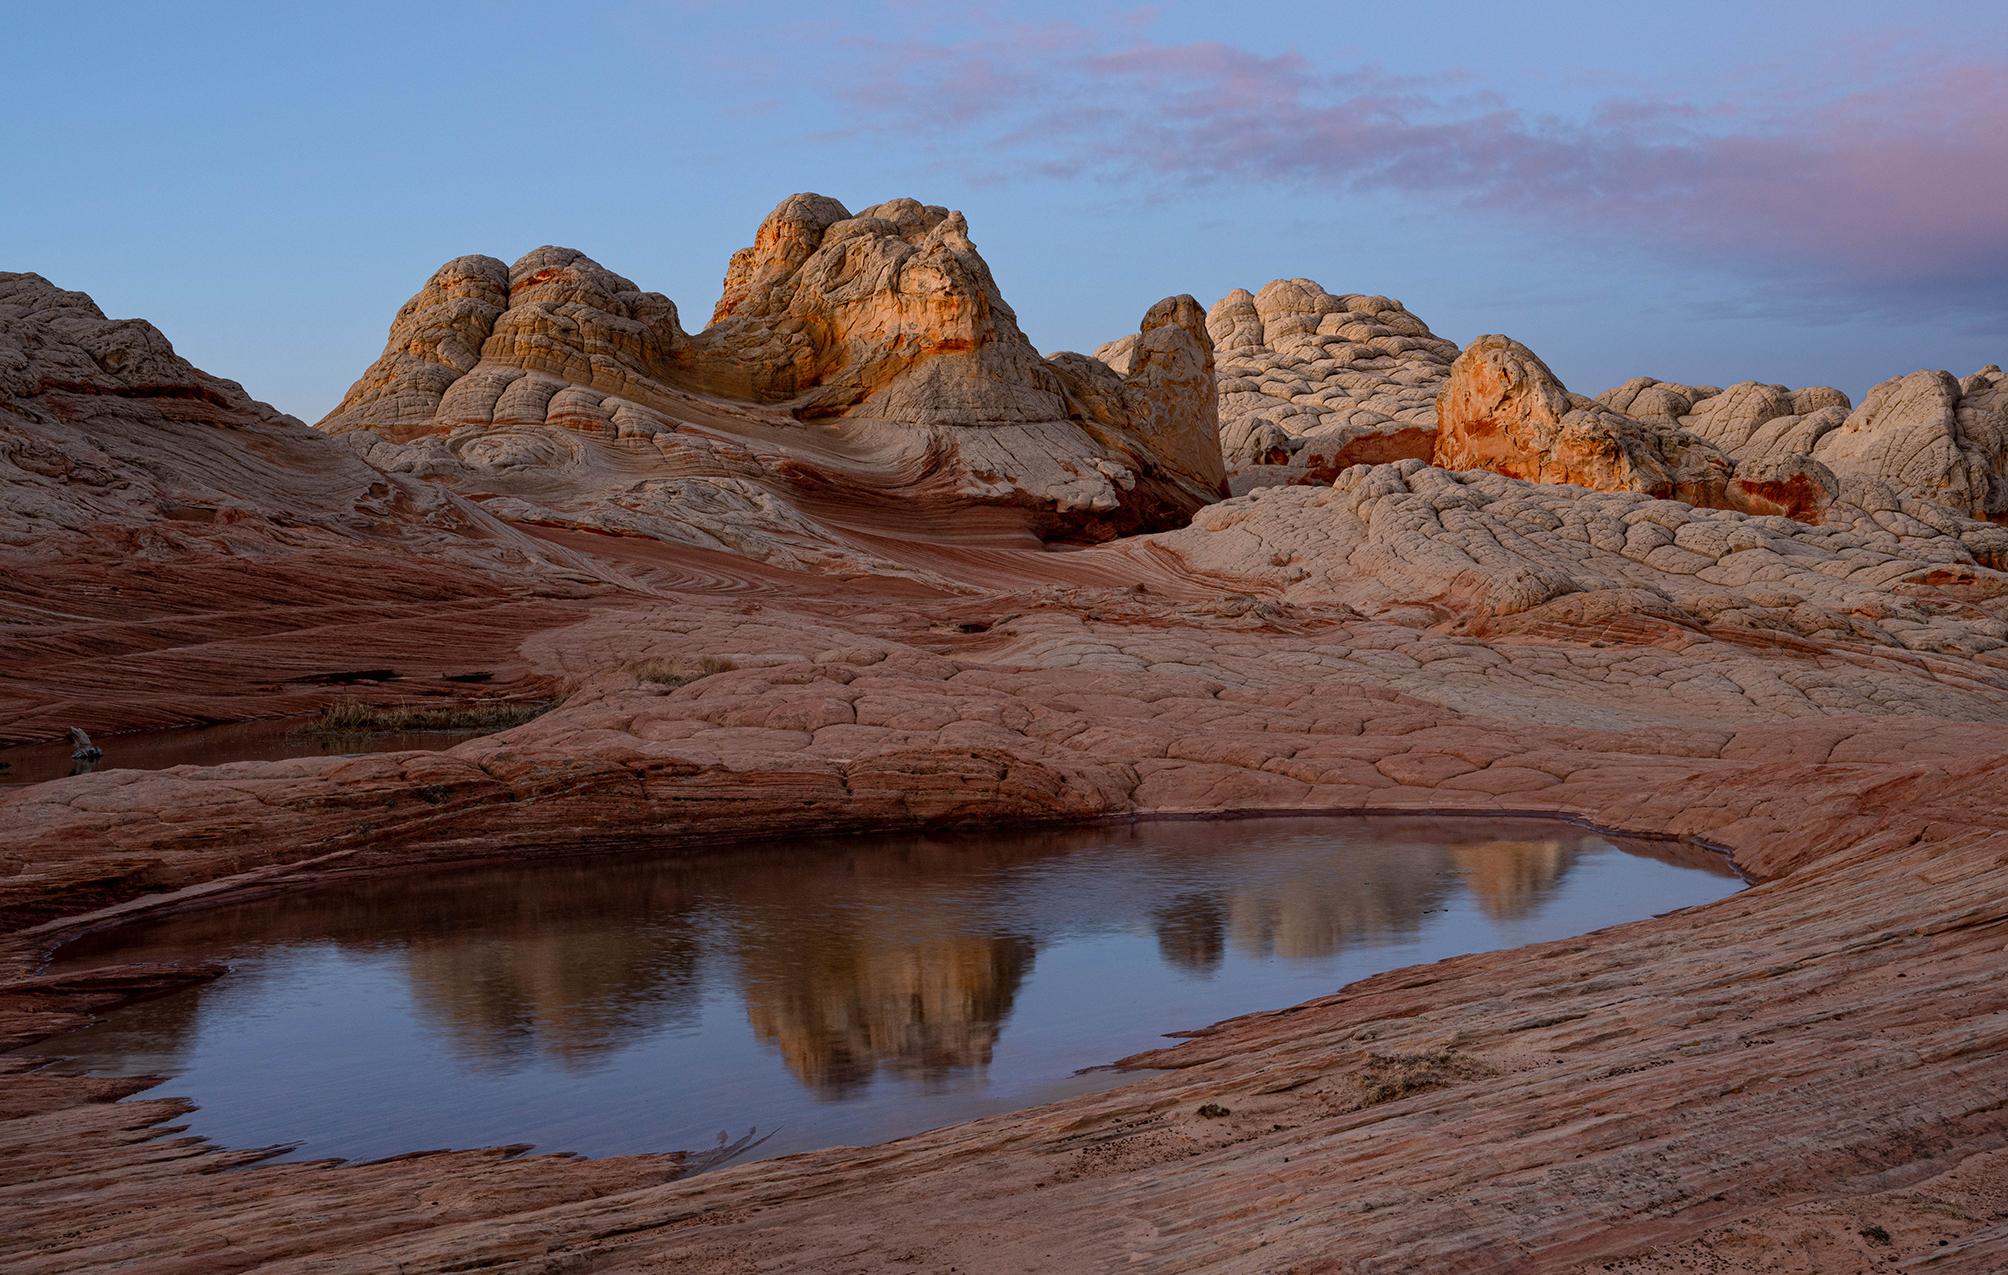

Joe Doherty
Karen Schuenemann / Wilderness at Heart Kenya
There is a lot that one can do to prepare to shoot wildlife in Africa. You can have the right gear and practice with it, get all of your vaccinations, and pack the right clothes. But there is so much that happens there that you can’t prepare for, and so it’s good to go with someone who has done it before.
Karen plans trips for photographers. That means one truck for three photographers, rather than a multiple trucks with a gaggle of photographers. It means lodges near the
wildlife. It means flexibility in our scheduling to match what’s happening on the ground. And it means hiring a driver/guide who has a photographer’s sensibility.
The trip was all-inclusive, including airfare from LAX. We spent the first night in Kenya at the 120-year-old Norfolk Hotel in Nairobi, and then hit the road. It’s possible to travel from lodge to lodge by plane, without seeing the country in between. I’m glad we drove everywhere because we saw everything from


children herding cattle along dusty roads to lustrous farms in the hills. We saw towns, cities, and villages. Traveling this way meant that when we approached a lodge and saw baboons and warthogs it was part of the continuum of experience. We weren’t just dropped into it.
And what we saw was fantastic. Between Karen and our driver, Daniel, we were taught a lot about animal behavior and how to photograph it. We were not there to get snapshots, which meant that we occasionally sat in one place waiting for something to happen. Sometimes that thing was a relief (a
gerenuk safely guiding its newborn into the brush) and sometimes it wasn’t (a lioness killing an impala after lying in wait for 50 minutes).
You cannot be prepared for the behavior of the animals. As long as we stayed in the truck we were safe. Lions, cheetahs, leopards, rhinos, and every other animal ignored our presence most of the time. The exception was the elephants, and it’s good to have an experienced driver in those moments. Most of the time they just watched us, but on at least one occasion our truck was thrown into reverse as a bull elephant turned to charge.
I learned a few lessons from this trip. The first is to slow down and just enjoy the place. It’s magnificent and timeless. The elephants have been walking past Kilimanjaro to the water at Amboseli for a very long time. The vultures, hyenas, and other animals have been cleaning up leftovers for an equally long time. We weren’t there to photograph a single event. We were there to photograph Kenya.
A second thing I learned is that my equipment, while good, wasn’t good enough. With a Nikon D850 and a Tamron 100-400, on too many occasions the autofocus locked onto the tree behind the subject instead of the
subject. I’ve since upgraded to a Nikon Z8. The lens is perfectly adequate, and Topaz DeNoise and Topaz Sharpen can help.
A third thing I learned is that the wildlife aren’t just outside of the truck. They are everywhere. Vervet monkeys will climb into the truck or into your room and grab whatever is loose before running out again. One grabbed food off my plate as I went to get a drink. So even though we were in a controlled environment, we weren’t always in control. However, at the end of the day, everything went according to plan.

Lisa Langell / The Magic of Cowboys
I like photo tours. I like workshops. I always come away having learned something. Sometimes it is a location, or a new or improved skillset, or a different way of seeing. In almost every case I meet likeminded photographers who become a part of my friends, a part of my community. I am of an age where many people’s world gets smaller, and this benefit has been rewarding and joyful.
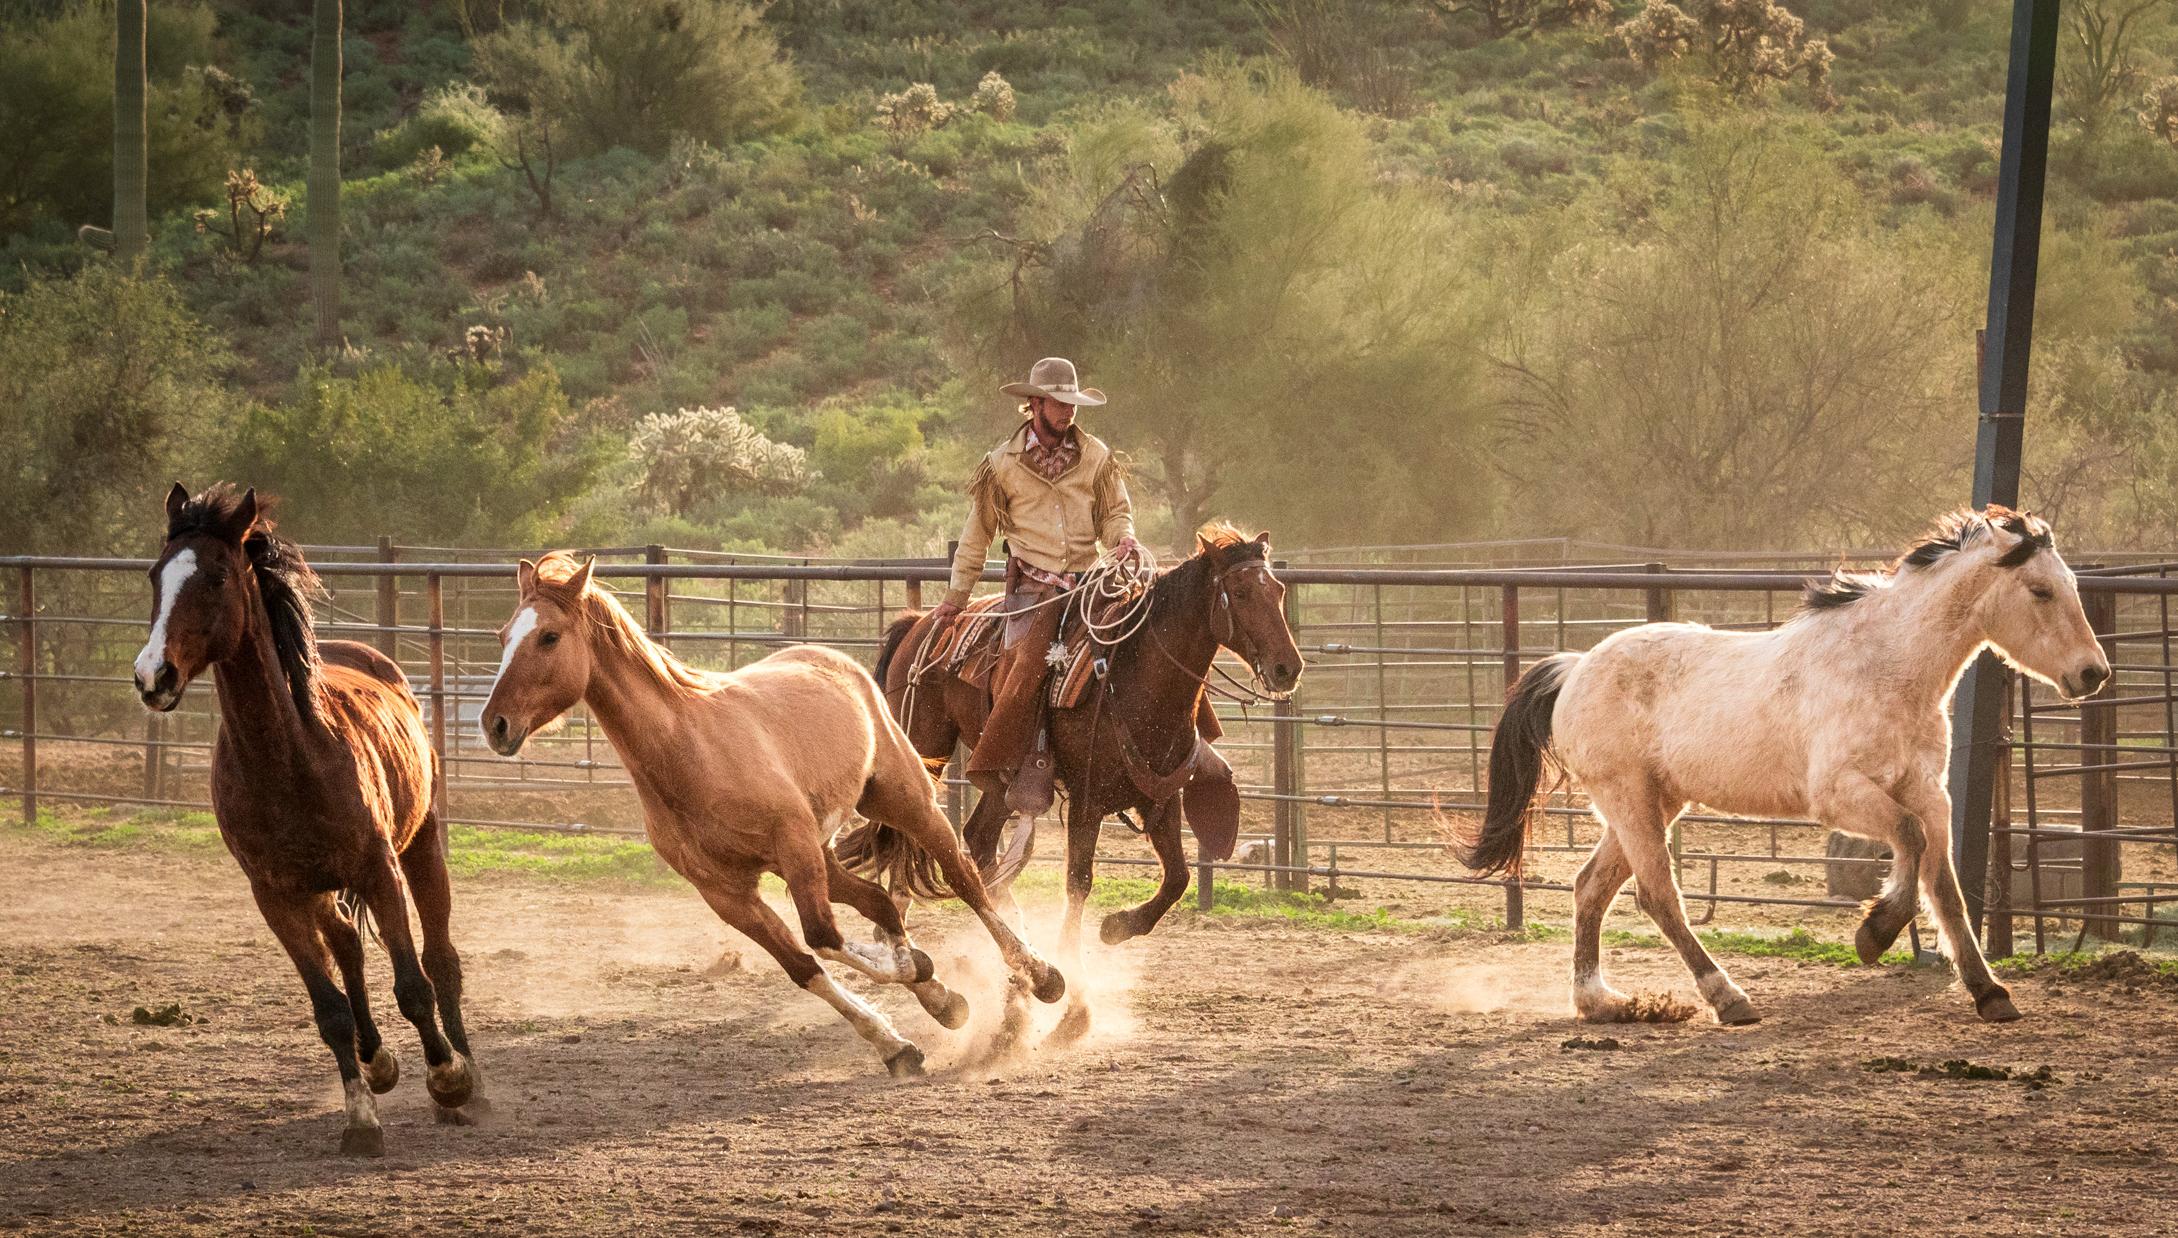
So picking a favorite workshop for this issue was difficult. However, The Magic of Cowboys workshop, offered by Lisa Langell Photography, was a little different for me because it was subject-specific, and it gave me the opportunity to see how a largish welloiled event with many components was organized. I had wanted to photograph cowboys, cowgirls, horses, cattle, and a ranch for a long time but the occasion hadn’t come up. And honestly, the thought of asking some handsome rough-and-tumble cowpoke if I could take his picture thoroughly intimidated me.
Then circumstances, and several friends, came together, and in January 2023 we and many
more photographers met at a working ranch in Arizona. While there were more than a typical number of participants, the staff was robust and there were enough models to provide a variety of photographic opportunities when we broke up in smaller groups. The models were professional ranch workers and rodeo performers who were comfortable in front of a camera and Lisa arranged for us to get model releases –something I hadn’t even thought about. Some events were choreographed but there was plenty of time to do our own setups.
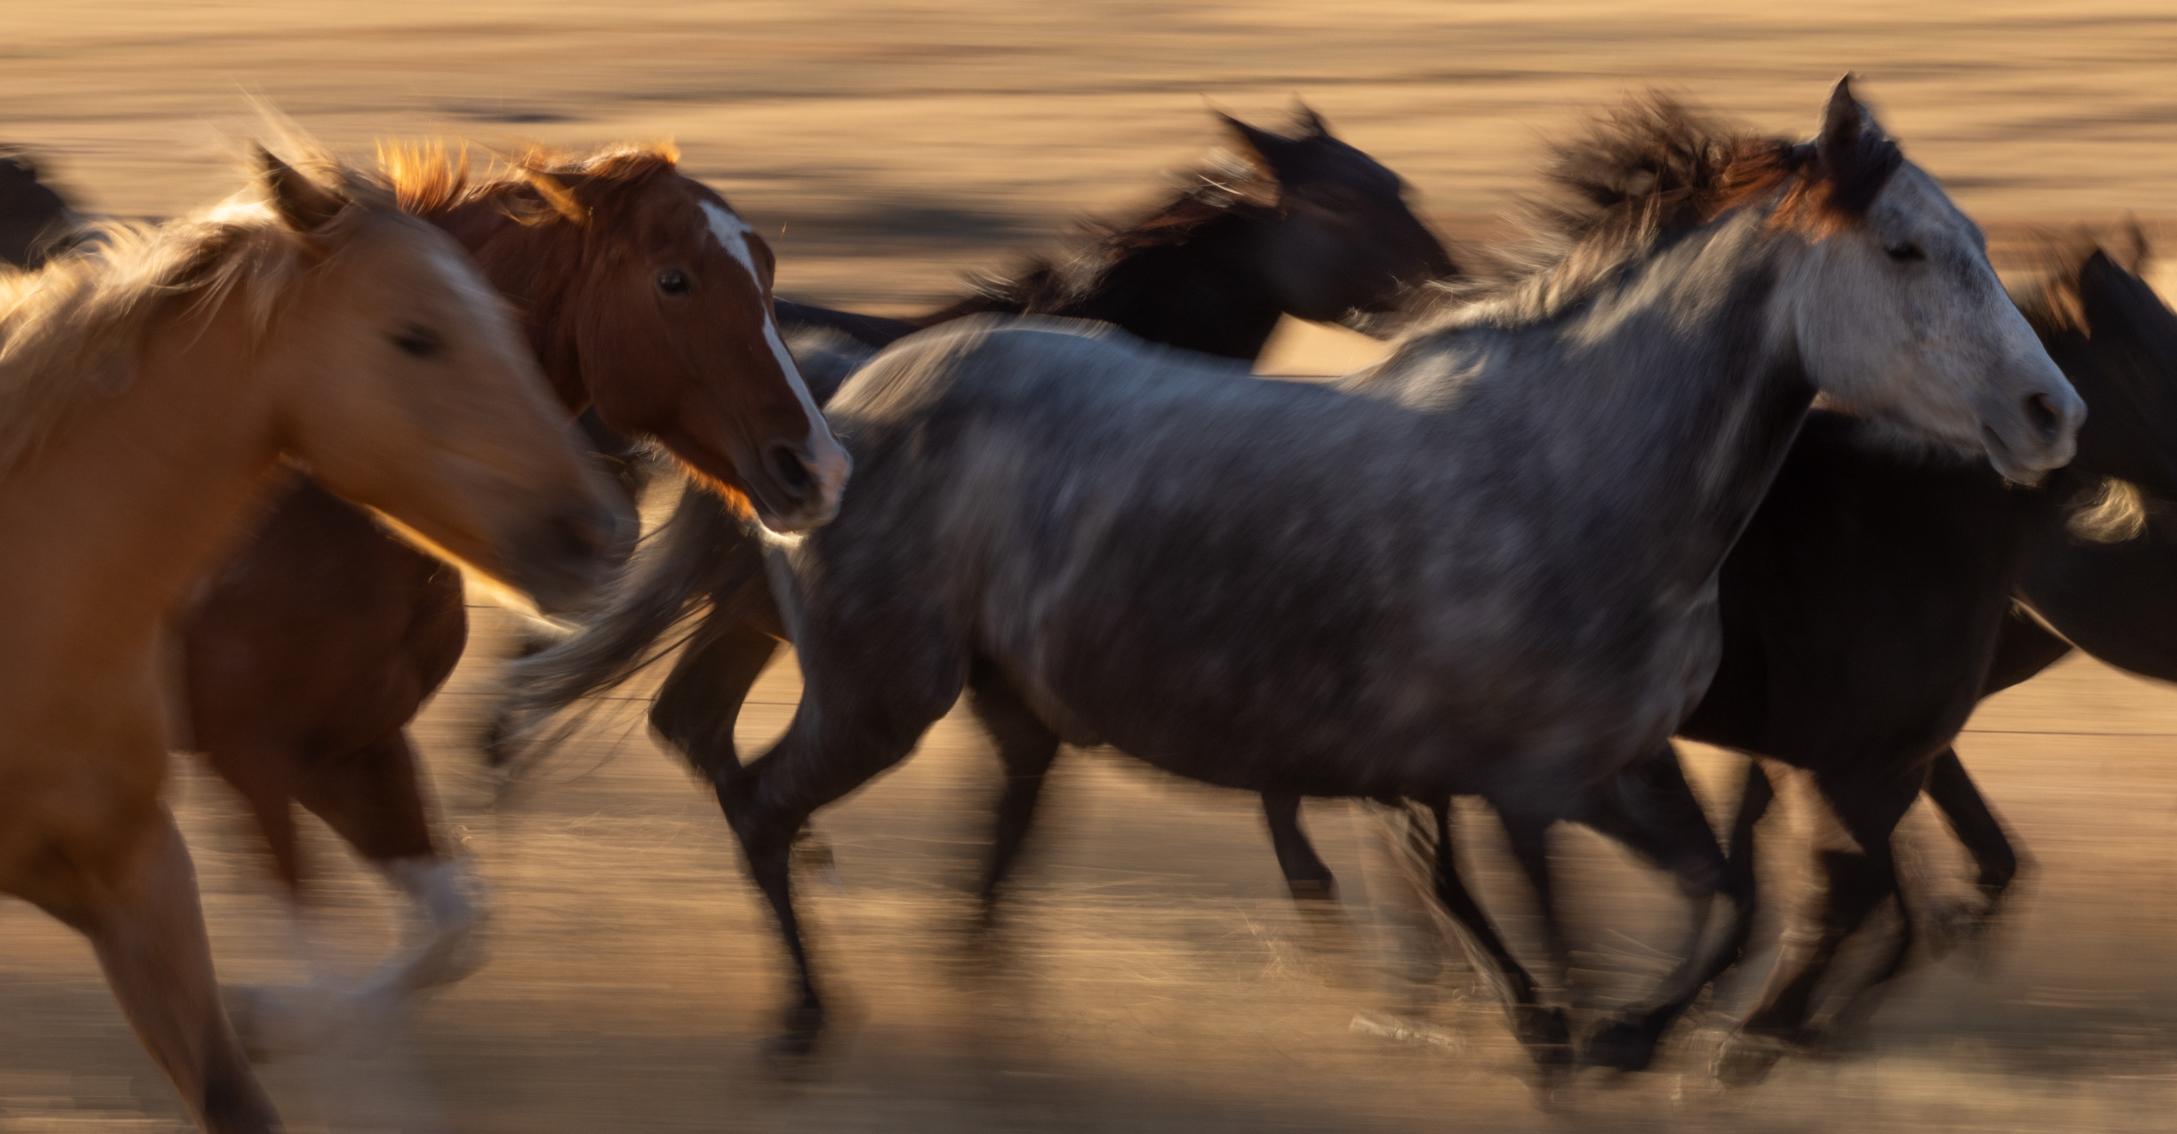
Class time included guest speakers and demonstrations. Image critiques during and after the workshop itself were, as always, enlightening. I learned some of the elementrs of how to pose someone; how to pan images; how to take high-key and low-key images; and received useful feedback. Lisa provided lots of action opportunities including period reenactments. The planning was exceptional and the assistance was easy and helpful.
I look forward to taking more workshops with Lisa.



By Alison Boyle
On November 15, seven participants gathered for an SCCC Outing at Mussel Shoals in Ventura. The weather on this day was very windy and the ocean was roiling. These conditions are not optimal for tide pools but we nonetheless enjoyed our time.
Historical highlights
The area adjacent to Mussel Shoals was home to the Chumash. They harvested from the sea and got fresh water from the stream that flows from what is now known as Padre Juan Canyon. They made boats out of redwood planks sealed with tar.
Mussel Shoals is a very small town with a history of well drilling and oil and gas production. After many oil spills and unprofitable operations the man-made island just off shore has been added to the California Coastal Sanctuary. Decommissioning of the site will begin at an unknown date.
Exploring the tidepools
Our outing got us outside to explore the abundant marine life living on the rocks of aptly named Mussel Shoals. Mussels here are very large. We also saw plenty of giant green anemones, so large that they sag from the rocks. Other finds included chitons, piles of kelp washed ashore from the churning waves, and plenty of surf grass. If you look under the rocks, you’ll find colorful sponges and sea pork. They are often found out of direct sunlight. Birds like oystercatchers and gulls were seen taking advantage of the low tide as well.
It turned out to be a wonderful day despite the wind. We had opportunities to meet new people, and talk with old friends. We made pictures to remember what we’d seen. Some of us may return on a calmer day to explore again.


By Joe Doherty
One of the many challenges of film photography was getting the color right. The available tools included the choice of film (Kodachrome, Ektachrome, Vericolor, Kodacolor, Fujichrome, Agfachrome, 3M, etc.), warming and cooling filters (81B, 82A, etc.), and various processing techniques (push, pull, cross-process, dye transfer, internegatives, Type R prints, Cibachrome, etc.). Photographers seeking a certain look would fine-tune their images through trial and error, eventually settling on film/filter/ processing combinations that matched their vision.
Digital photography gives us the same flexibility, and with even greater variety and efficiency. The sensors in modern cameras have higher dynamic range and capture more color information than even the best color film from 20 years ago. Software feedback is instantaneous compared to overnight film processing. It isn’t necessary to test multiple film types as they’ve been replaced by color profiles. In short, we can do everything we used to do, better.
But better also comes with more complications, more choices, more possibilities, which means even more trialand-error. It can be overwhelming. In this article I explain four different approaches to fine-tuning color, which can be used as quick stand-alone adjustments or integrated into your workflow to create a personal statement. It isn’t necessary to use them, of course. Sometimes it’s just nice to know you have them in your toolkit.
Since I am an Adobe user this discussion is going to be about Lightroom/Adobe Camera Raw, but similar tools are available in other workflows.
Camera sensors capture three colors: red, green, and blue (RGB). For every four pixels, there are two green pixels, one red pixel, and one blue pixel. The camera records how much light strikes each pixel in each color. For example, all pixels will record equal values of light when subjects are color neutral (a gray card). Blue pixels will record more light than red or green pixels when the subjects are blue (a blue sky).
The raw pixel data are combined and averaged by our computers to create the colors that we see on our monitors. Engineers have done their best to faithfully translate what was captured into what we see, but that’s often not what we desire. Maybe we desire landscapes that have Kodachrome blues. We desire shadow detail and sparkling highlights. We desire contrast on overcast days and high dynamic range in sharp sunlight. In short, we don’t want a faithful translation, we desire a photograph.
That’s where profiles come in. Adobe Color, Adobe Landscape, Adobe Vivid, etc., are shortcuts that produce the feeling of a photograph. They do this by taking the “faithful” translation and changing the values of different pixels to adjust color, saturation, contrast, and exposure. It’s like choosing which film to shoot after the fact. The presets


Adobe Neutral color profile. This can be considered a “faithful” translation of the scene according to the relative luminance of the red, green, and blue sensors on the camera. There is no added contrast, color, or saturation. If you are experimenting with color and contrast on your own, this is a good starting point.
Adobe Color color profile. This is what you might expect from a good color negative print or consumer slide film. It’s pleasing to the eye, in that it has contrast, it’s on the warm side, and there is some brilliance and saturation in the colors. If you have a lot of photos to process with similar lighting conditions, this is a good place to start.
Adobe Landscape color profile. This might be comparable to Kodachrome or Fuji Provia. The contrast and saturation are tweaked higher, and there is a definite color cast that favors warm tones. Sometimes choosing this profile and hitting the auto exposure button is all that’s needed to finish a photo.
that come packaged with Lightroom are the same as profiles, and new profiles and presets can be downloaded and installed on your computer to simulate other films and styles.
Treat the profile as a starting point for your experiments, and don’t be anchored to one or another. Just because the profile contains the word “Landscape” does not require you to use it for landscapes. I will often choose Adobe Neutral (the “faithful translation” profile) if my scene is particularly contrasty or the colors are highly saturated. It allows me make those adjustments on my own.
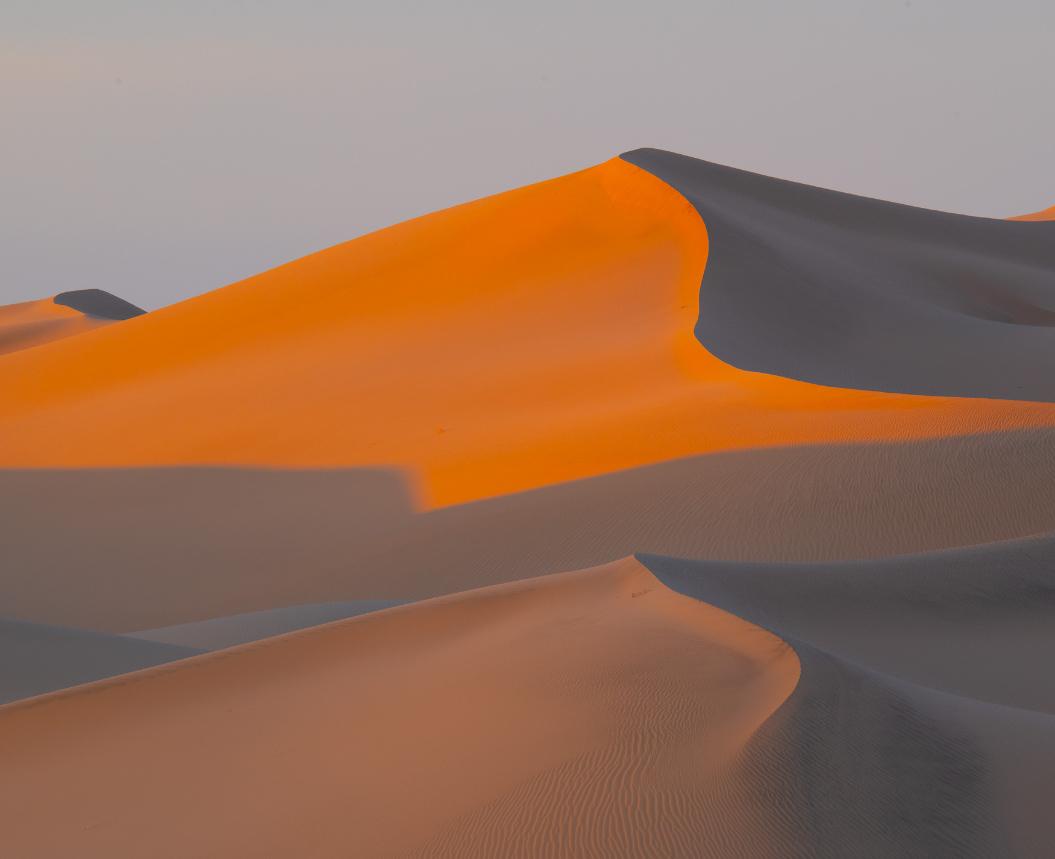
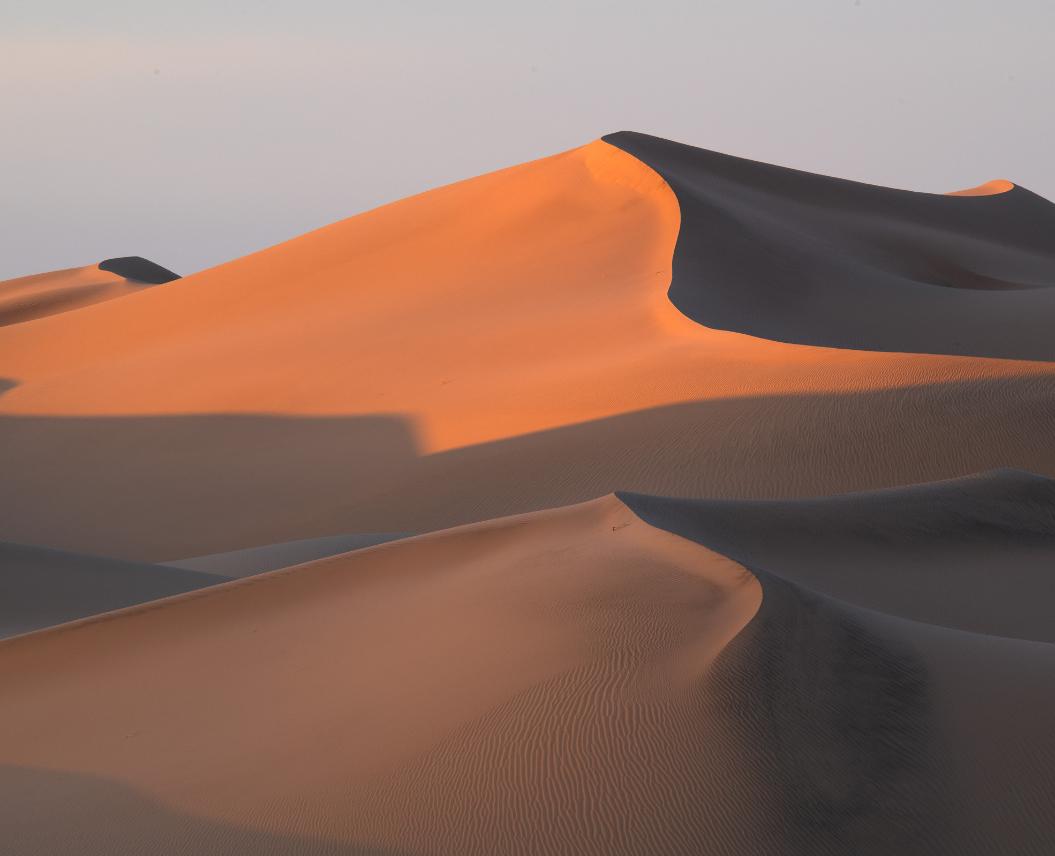
White balance (Lightroom’s temperature slider) is tricky. In the film era there were two numbers: daylight is about 5200 degrees Kelvin, and tungsten is about 3200 degrees Kelvin. If the light source was 5200K and you shot with daylight film, then you could expect the whites and grays in your image would be a neutral color. Similarly, theater lights were about 3200K, so you shot with film created for that situation if your goal was to faithfully translate your subject onto the film. It was rare to actually shoot in 5200K or 3200K light, so allowances were made.


In the digital age, white balance is both precise and malleable. We recently photographed a club ice hockey game at an indoor arena. By pointing our lenses at the ice we could measure precisely the white balance of the space. Not only would the ice appear to be neutral white, but the shadows would reflect that light as well, so there would be no need for color correction in post. With that in mind, we were comfortable shooting jpg and not raw (I learned this from sports photographers).
In a landscape, though, there is rarely a neutral value of any importance. We want the rocks red, the sky blue, and the aspens yellow. The camera doesn’t know that. If the light source is the bright sun at midday, and your camera white balance is set to Daylight, then you will probably get those colors. Shooting in shadow, or at the Blue Hour, or on a smoky day will render something different. So, how do you dial in the white balance?
For starters, most of the time I keep my camera set to the Daylight white balance, shoot raw, and expect to adjust in post. After I download and start working with my images, one of the first things I do is move

the Saturation slider to +100. This gives me wildly exaggerated colors, which is what I want. I then go to the Temp slider and move it left to right, looking for a pleasing balance of blue and yellow in the image.
What is a pleasing balance? In many photographs it is the one in which no single color dominates. This might be useful if, for example, you are shooting a landscape at sunrise or during the Blue Hour after sunset. Or you might want no balance, to create a monochromatic rendering of the scene in blue or yellow. In either event, it’s easier to figure out what the global color temperature of the image should be when saturation is maximized. When I’ve figured that out, I reset the saturation to 0 and continue with processing (which may include later adjustments to saturation). The immediate effect will be subtle, but will become evident once contrast is added to the image.
Complementary colors sit opposite of each other on the color wheel, and create pleasing contrast in an image. Nature does not always produce complementary colors, however, and even when it does, your camera might not

I used the picker in color mixer to create three swatches: the sky, the red rock, and the yellow grass. I then adjusted the hue, saturation, and luminance of each until I obtained a combination that was pleasing to me.
capture them the way that you saw them. A scene with brilliant yellow aspen leaves, orange oak leaves, and blue sky might end up with a cyan sky. Cyan is not complementary to the other two, and the overall palette might feel unsettling.
Enter the color mixer, which supplants (but does not replace) the HSL panel. You can use it to select the color of the sky and then adjust its hue towards blue until it is complementary to the yellows and oranges of the foreground. The color mixer also allows you to adjust the saturation and the luminance of that color. This is handy if you want to change the values of just one color (e.g., yellow leaves) while leaving the rest of the image as it was.
The color mixer is also handy when you are outputting your photograph to a device or in
The straight image (below) lacked separation between the foreground and background. The foreground was in shade and the background in sunlight, but the colors were flat. Using the color grading panel I added warmth (yelloworange) to the shadows and midtones, and blue to the highlights. The result gives the image a more intimate feeling (right).
another colorspace. If you edit on an AdobeRGB monitor and send an image out to be printed on a Noritsu printer (i.e., traditional glossy prints), you’ll notice that some colors aren’t as vibrant. The same is true when you export images to be posted on social media. This is because the colorspace is different. It’s possible to soft proof the output to sRGB in Lightroom and Photoshop, and use color mixer to adjust the colors until they look how you want them to.
Color grading is a recent feature of Lightroom. It is based on the color wheel, and it helps to know some color theory (e.g., complementary colors) to use it. Color grading allows you to separately adjust the tint and luminosity of the shadows, the midtones, and the highlights of your


Opposite page: If I had added a global color temperature adjustment to the gourd hanging from a vine, it would have affected the shadows and highlights equally. Instead I added a lot of blue to the shadows, orange to the midtones, and yellow to the highlights, which gave me contrast across the entire image..
photograph. The adjustments can be subtle or profound, depending on your tastes and needs.
My experience with color grading isn’t extensive. I use it experimentally, and find it the most interesting and useful when the light is flat and I need some contrast between objects. I’ve recently found it very useful while processing fall color photographs from Maine. The yellow-orange-red leaves of the season reflect warm light into the shadows of every scene, resulting in images that are flat if not monochromatic. With color grading I can cool off the shadows and increase the warmth of the leaves without extensive masking.
I have used color grading to “rescue” otherwise forgettable photographs. In the Chicago Botanic Garden I found a scene in which a yellow gourd was hanging from a tree

by its vine. The conditions were overcast, and the gourd was tucked back into the tree, with most of the light filtered through the overhead leaves. It did have luminance contrast, though, with the gourd being brighter than most of the rest of the scene. Using color grading I added blue to the shadows and yellow to the midtones, creating a color contrast that was equivalent to the luminance contrast.
There was a time when I did not have a good response to the question, “Did you Photoshop that?” Of course I did, you can’t see a raw file. But I now say, “Yes, and I used to buy Kodachrome instead of Ektachrome, shoot through a warming filter, and make Type R prints.” In both eras, film and digital, we made choices to fine-tune the color of our photographs. Today we have more flexibility.

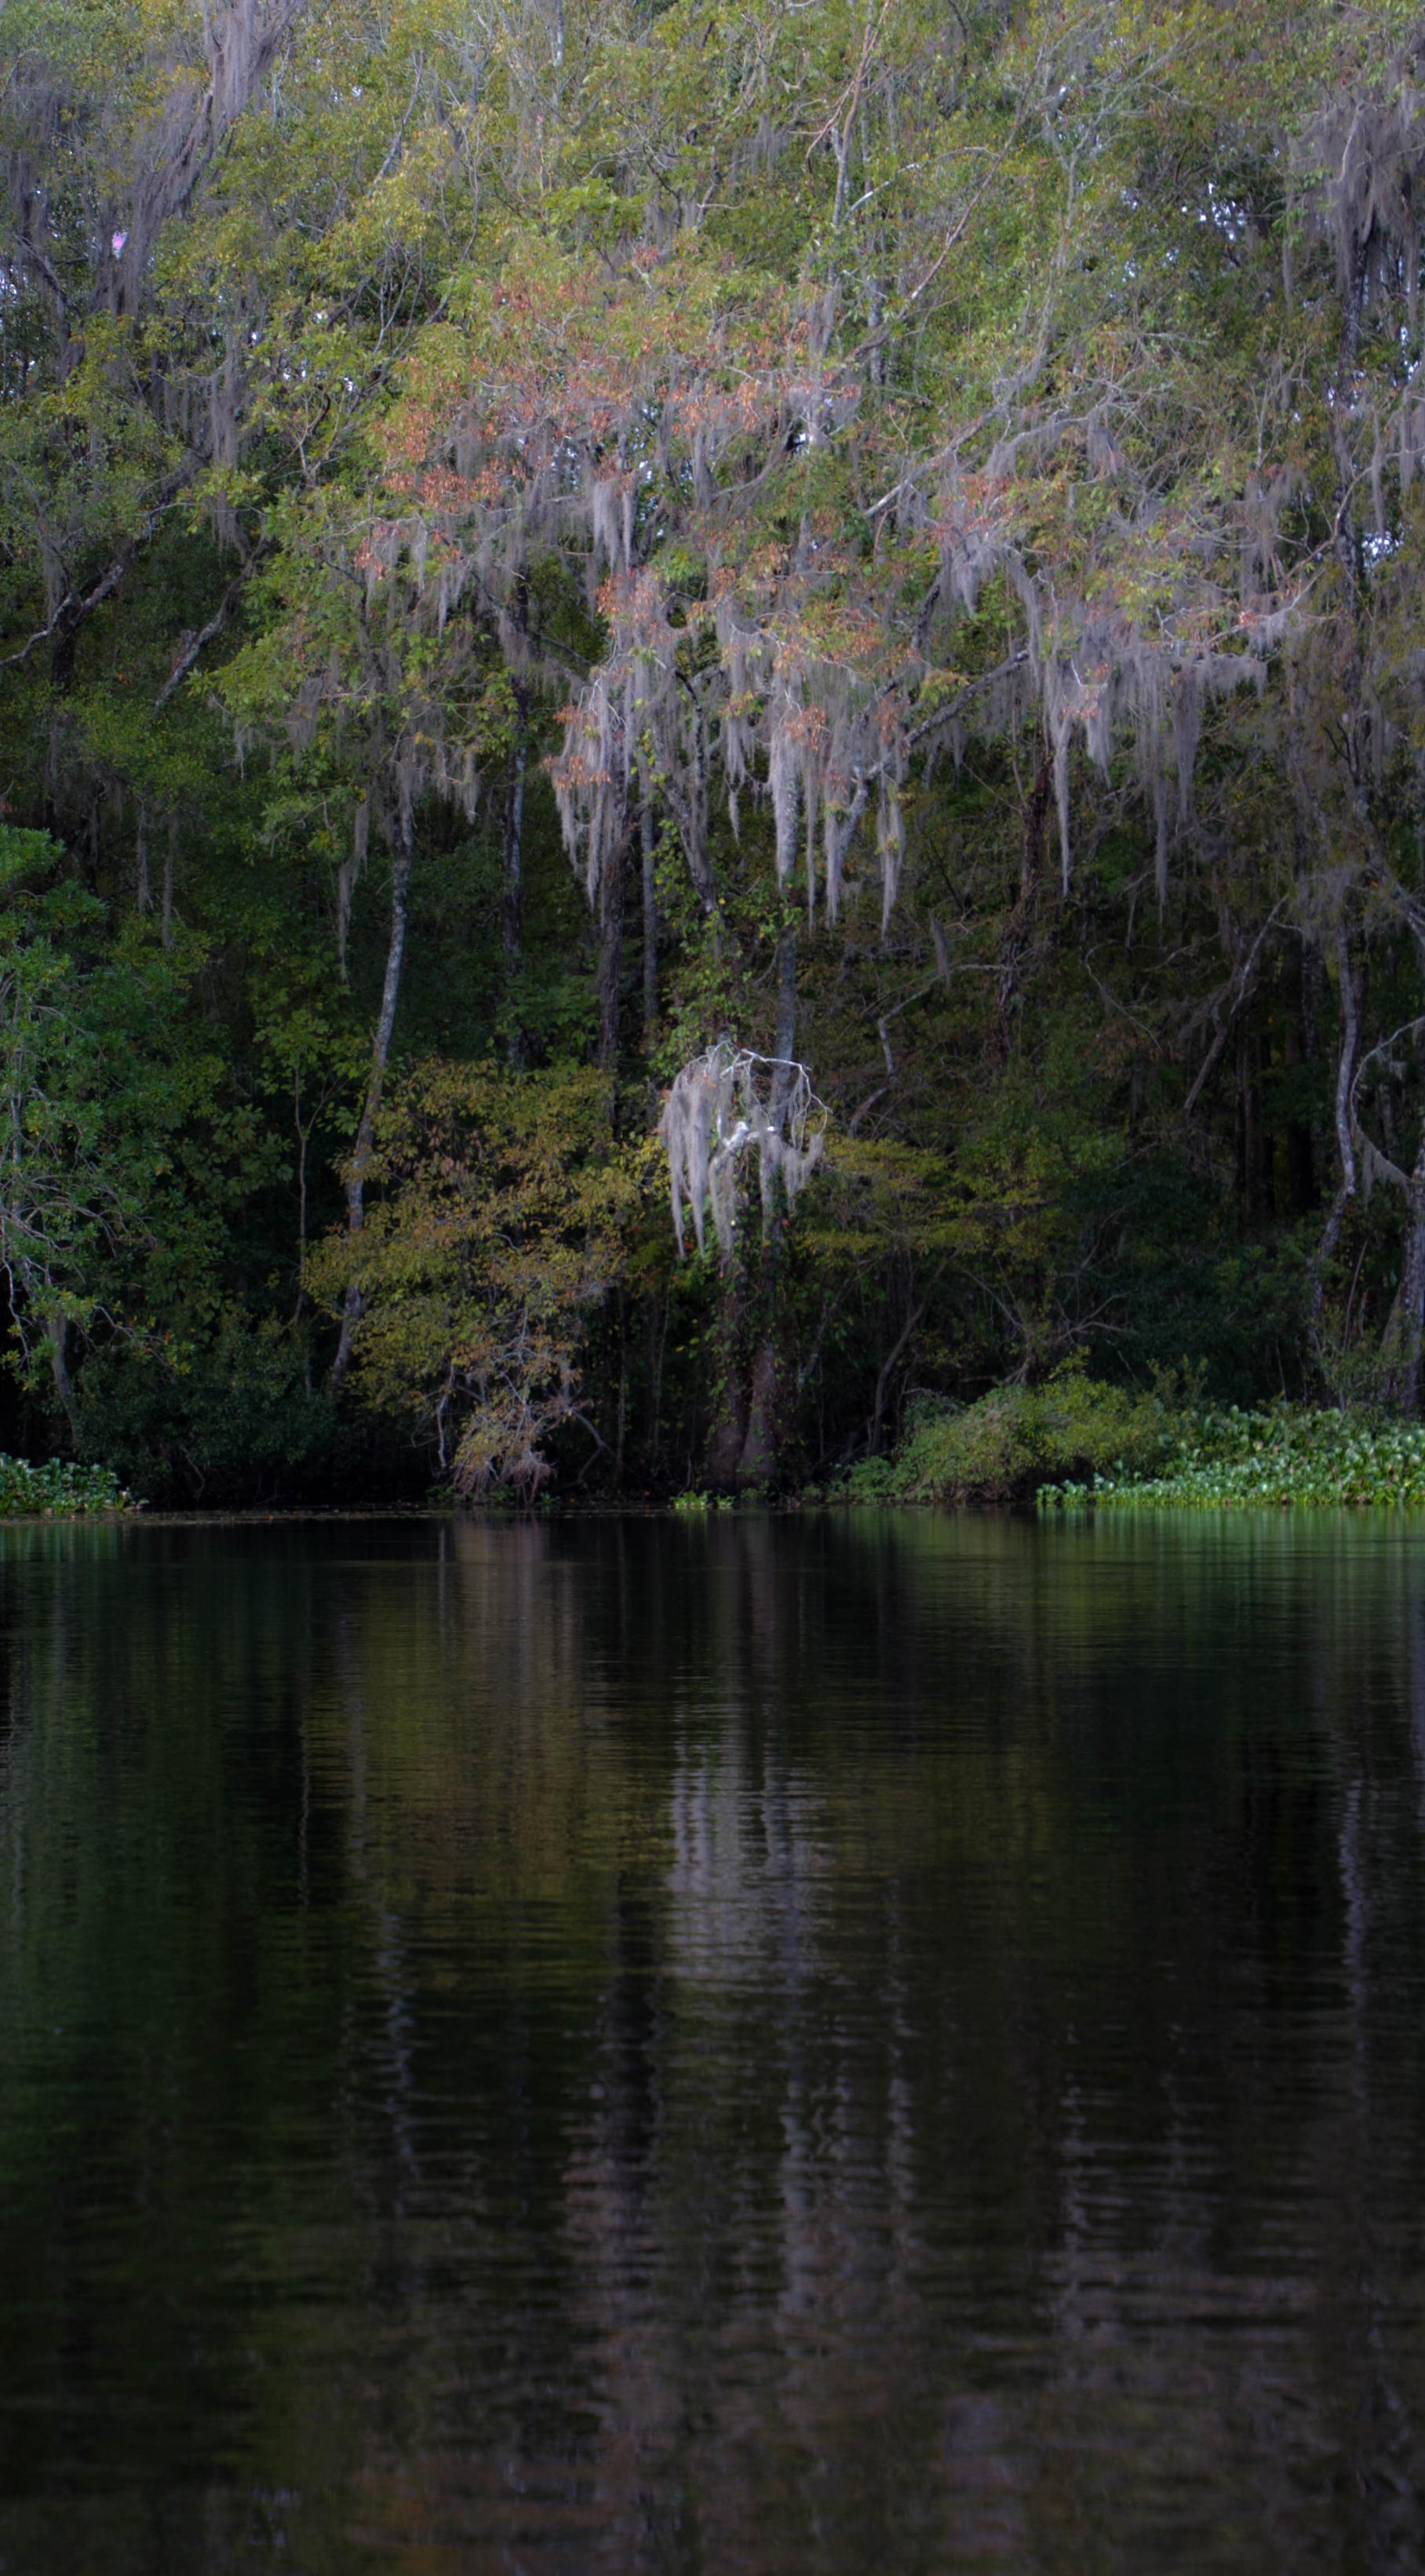
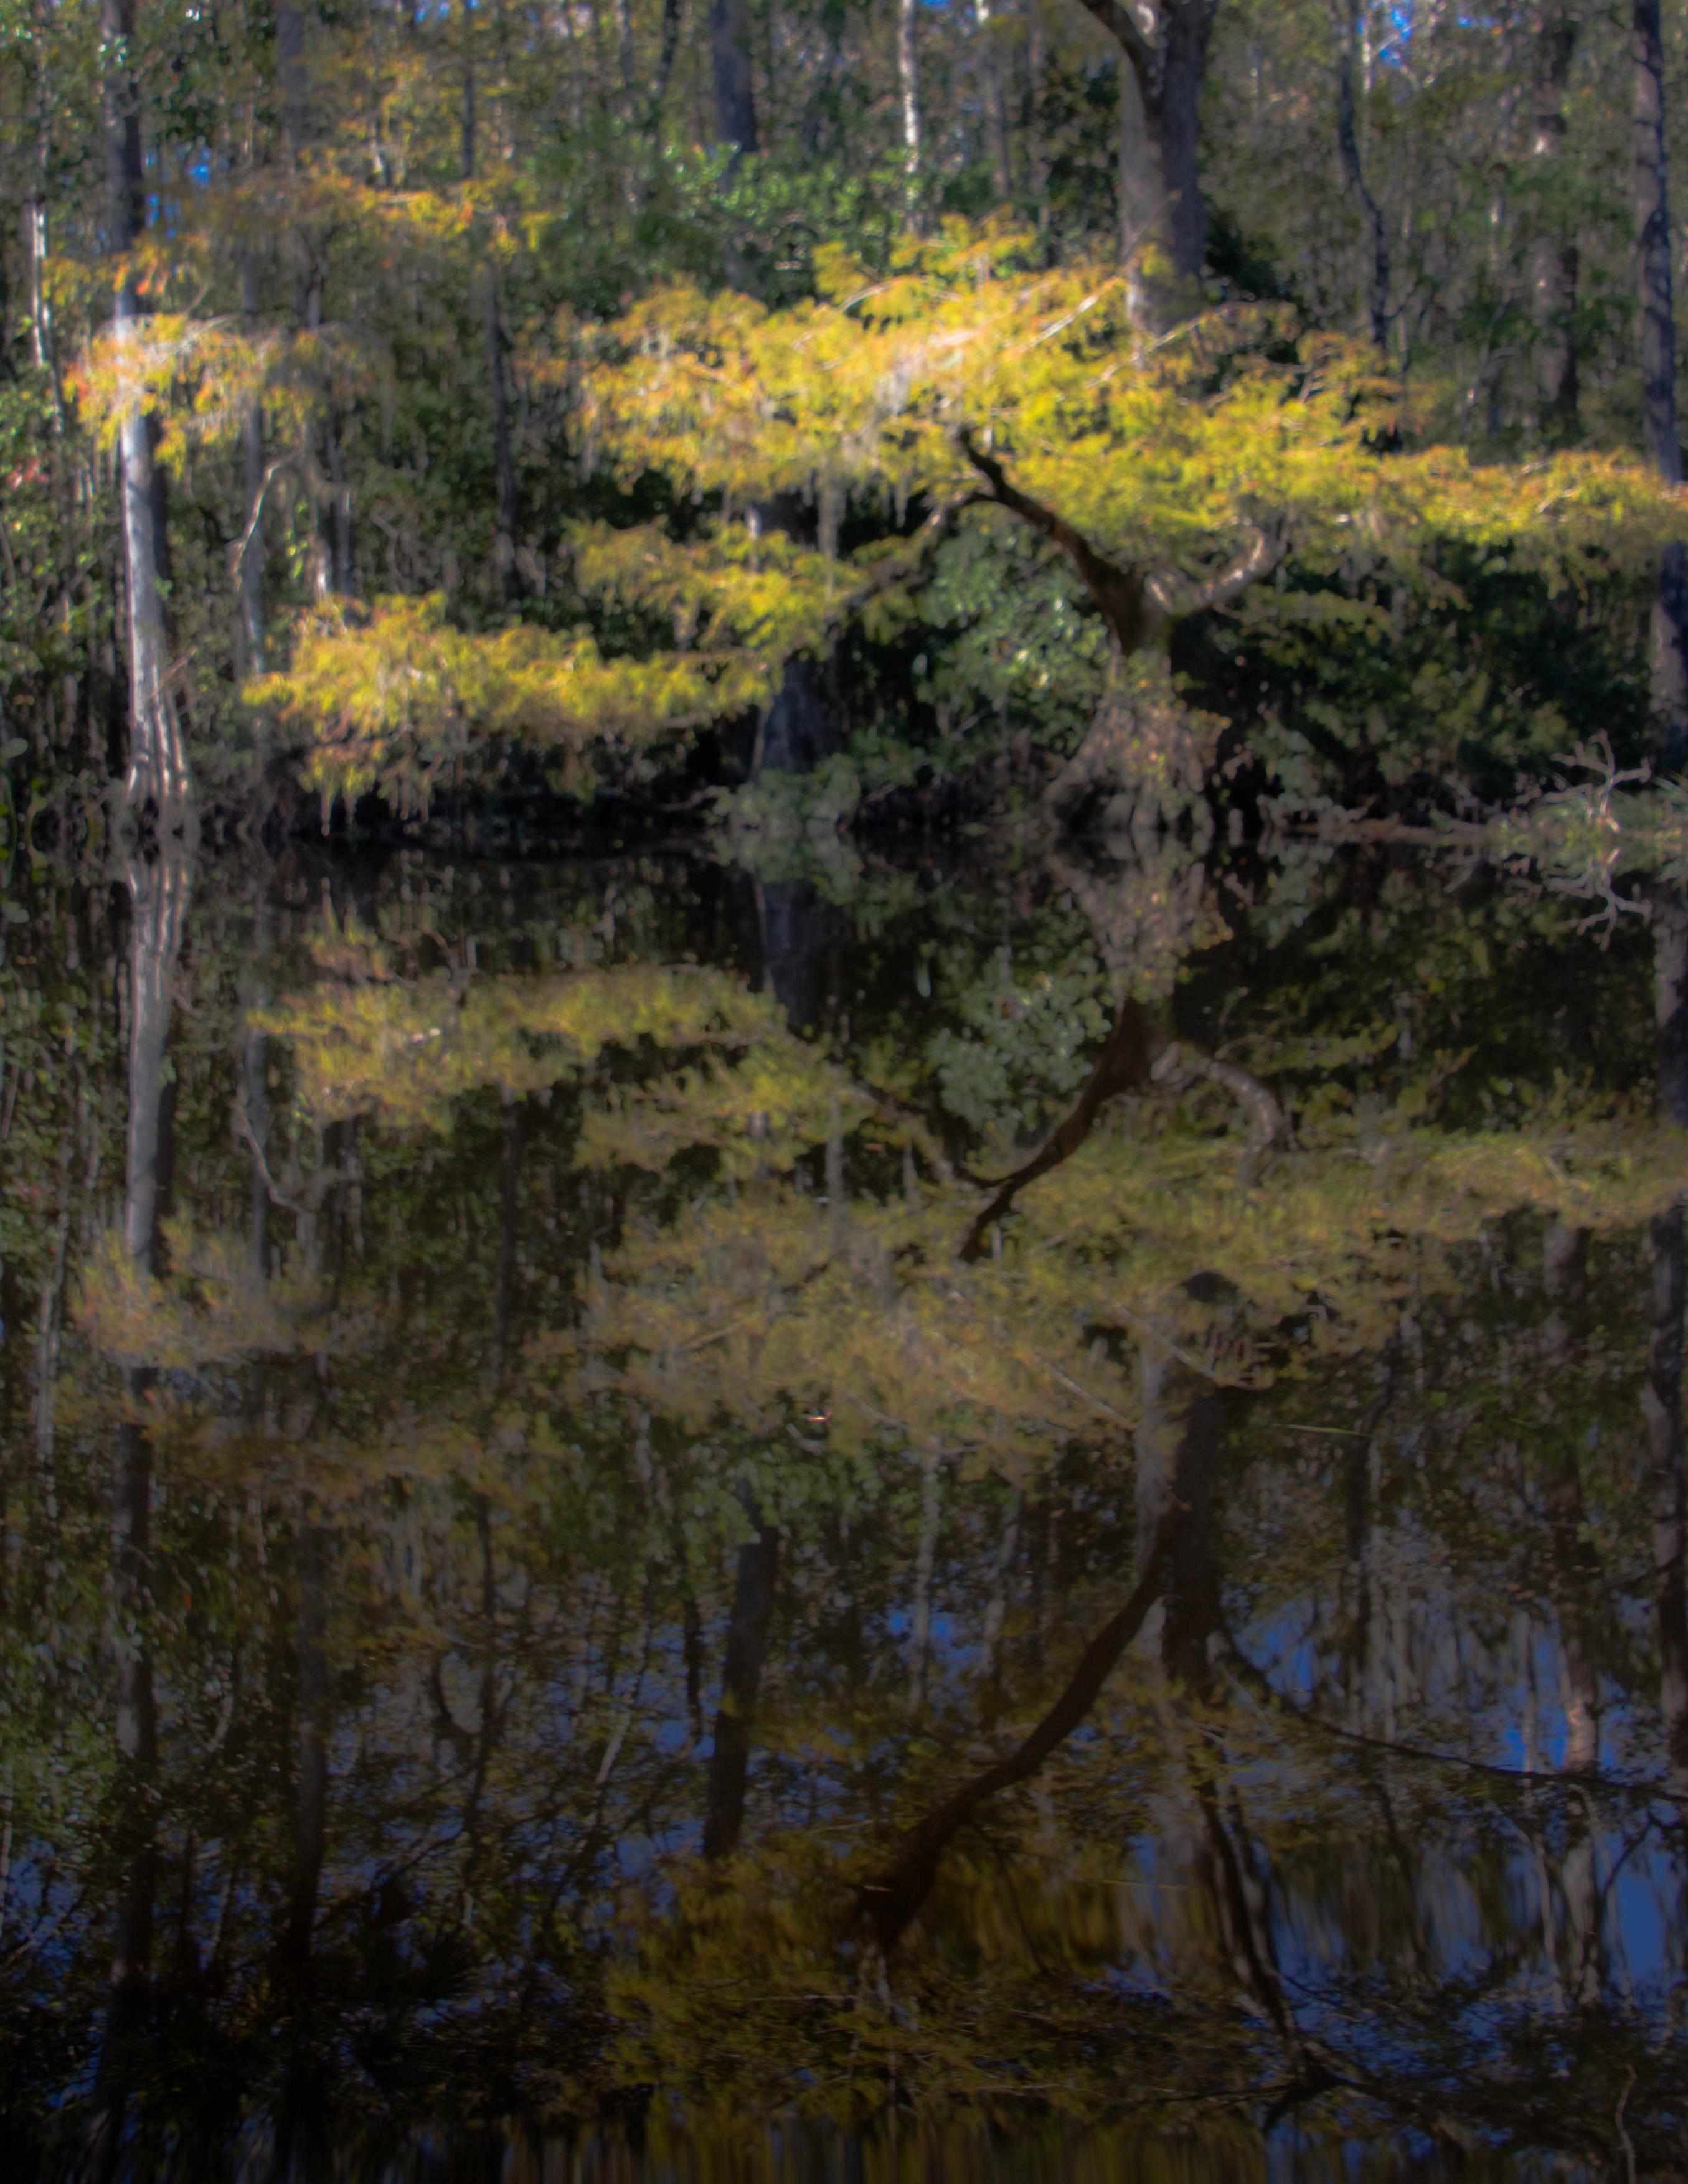


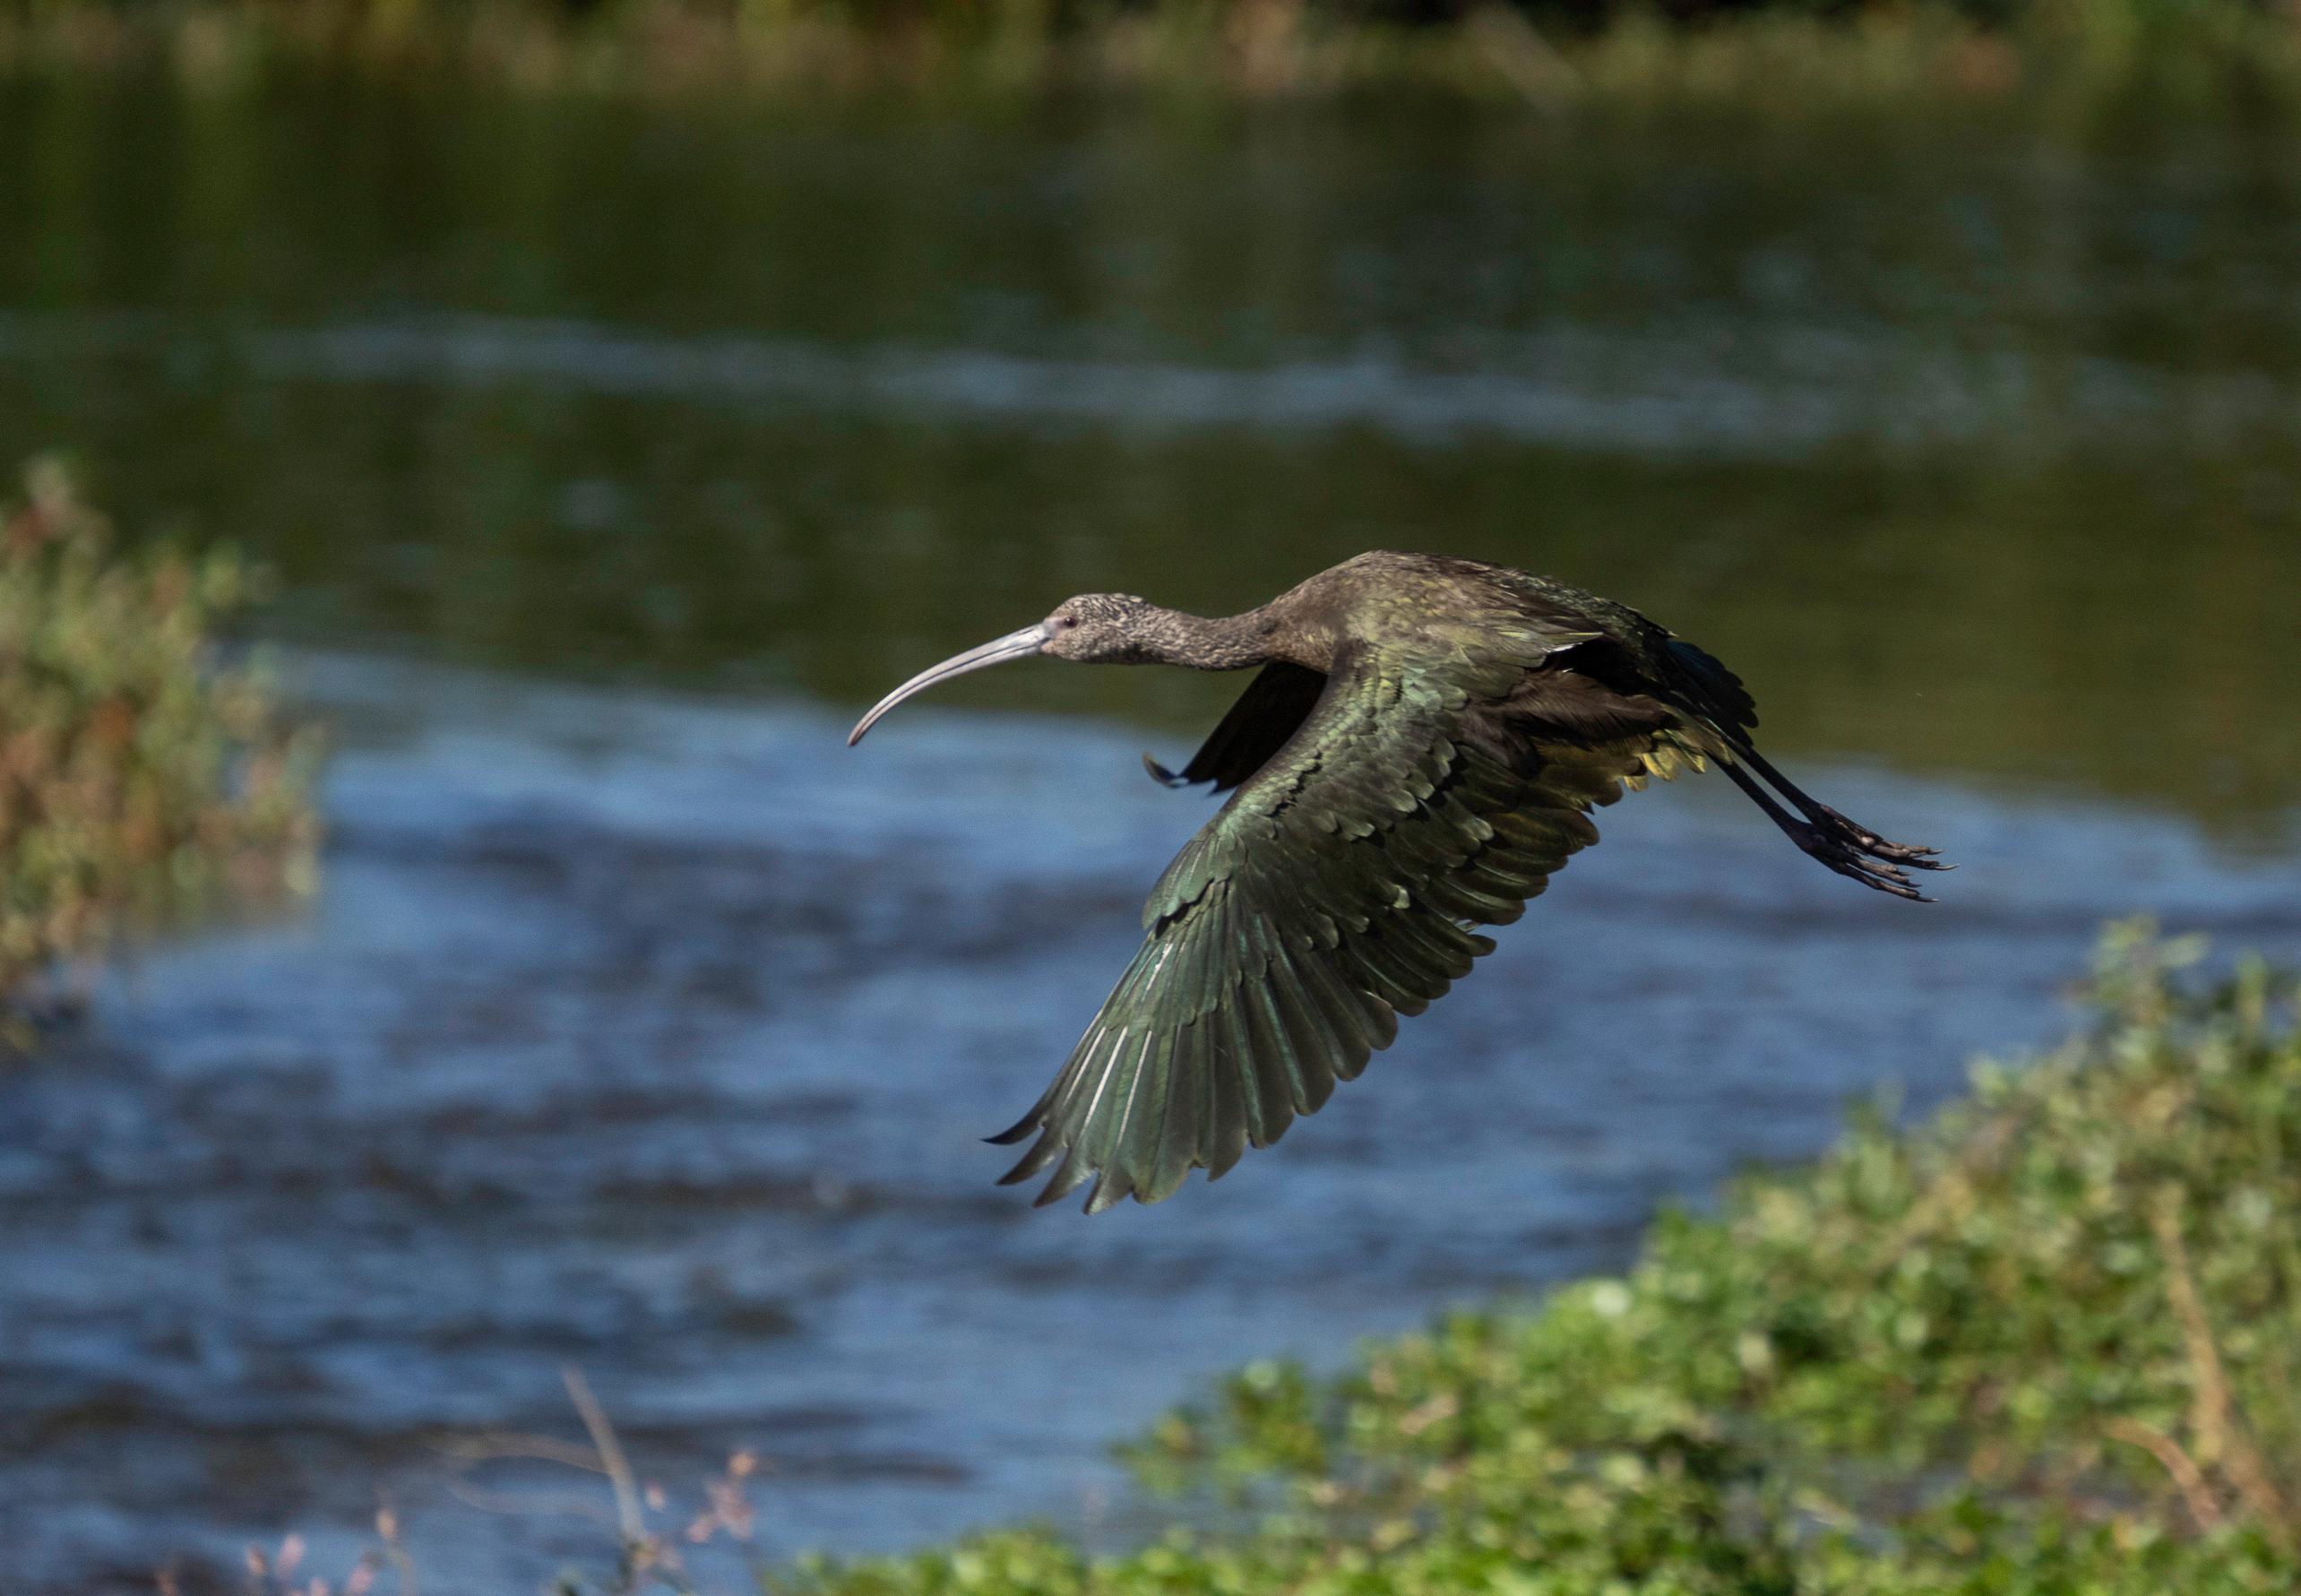
I recently had the opportunity to visit the LA River at the Sepulveda Basin with a small group of LA River enthusiasts. While they looked at the river, I looked for birds. I found quite a group of characters lurking in the basin that day! Even though the sun was high and the sky totally void of clouds, the light seemed to be perfect to witness this great little community.
I know why the Basin is Joe Doherty’s favorite in-city photographic subject!








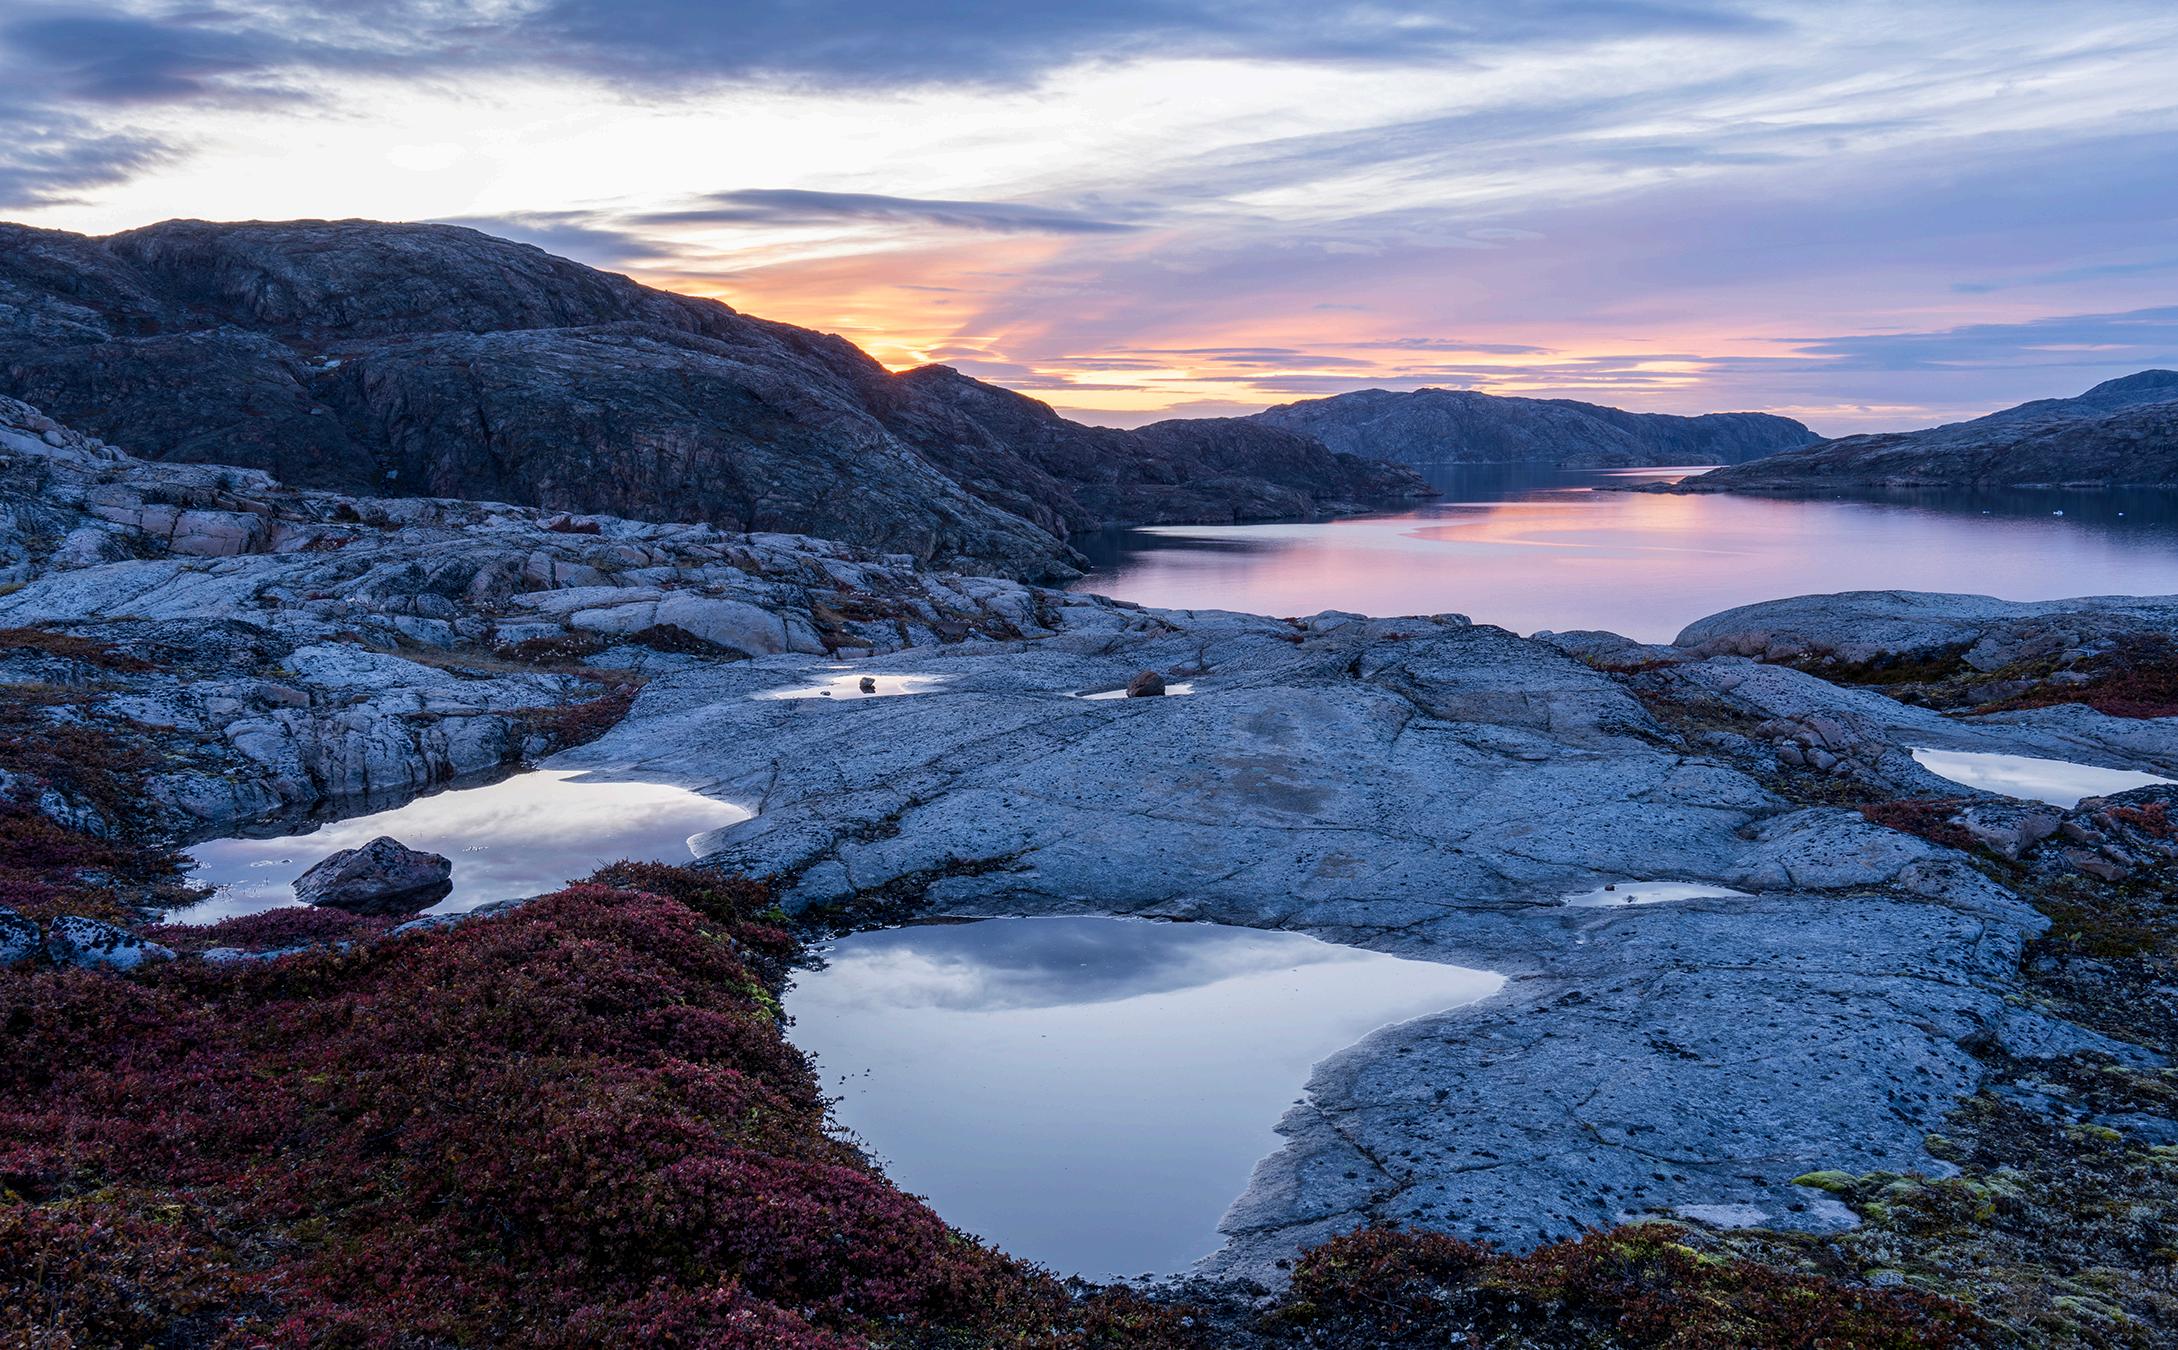
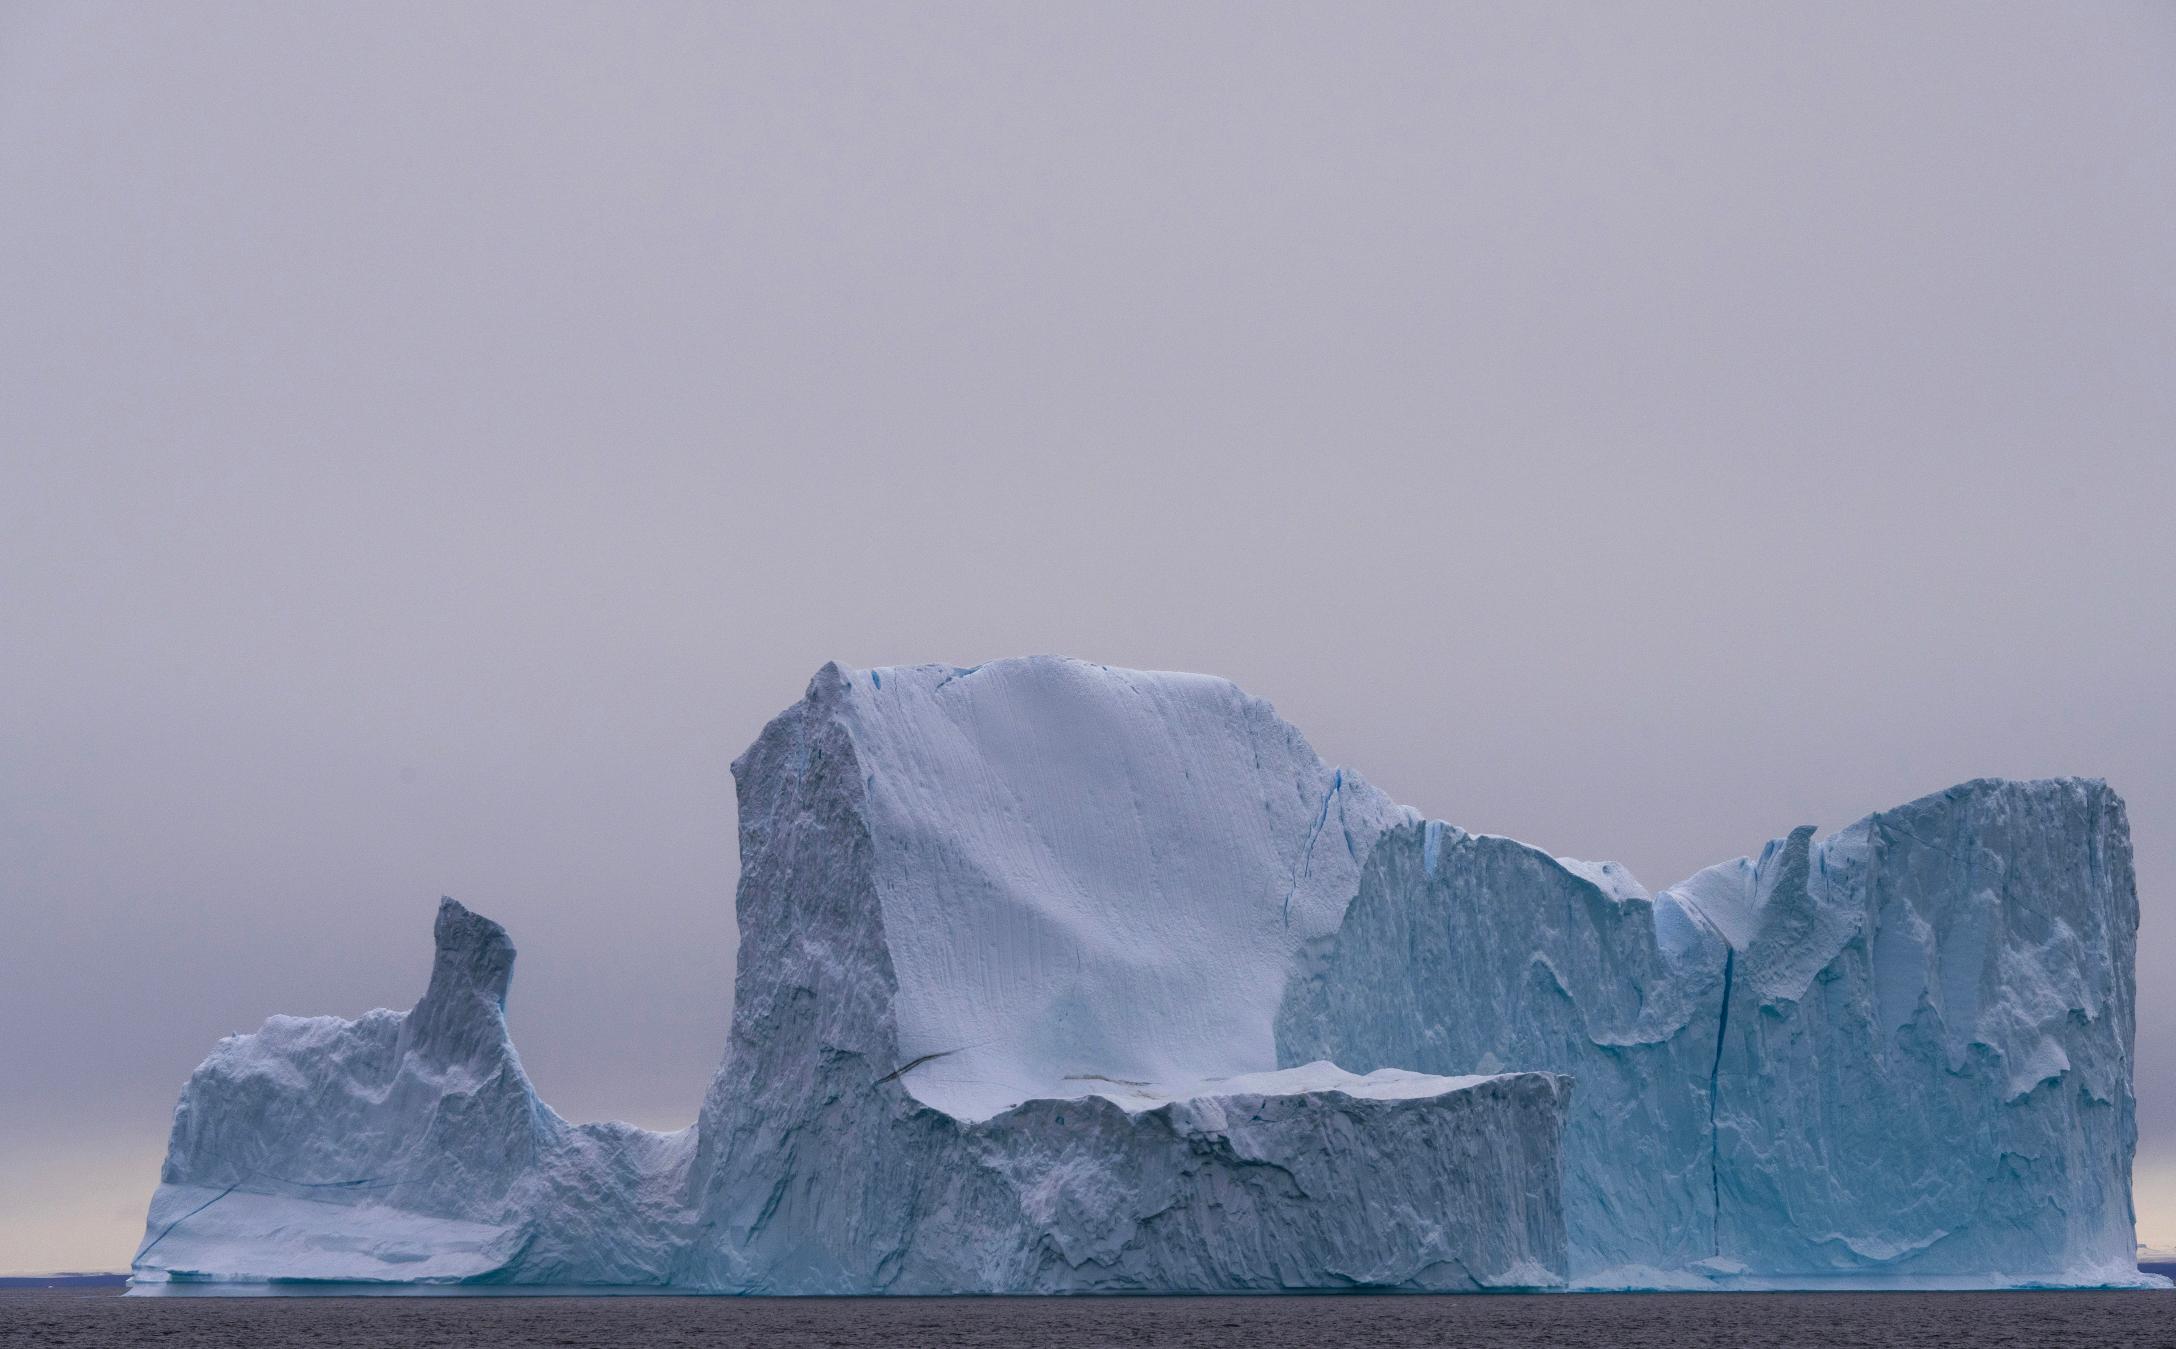
In September 2024, I joined a 2-week photo expedition to Greenland’s remote ice fjords in Scoresbysund—the largest fjord system in the world. We sailed aboard a three-masted expedition vessel, the Rembrandt van Rijn and took daily zodiac excursions to nearby landing sites. Glaciers, granite towers and floating ancient blue ice formations provided endless compositions. Autumn in the Arctic offered the best kind of weather—no rain and no temps below 30’s. And, the northern lights put on a show almost every night.
The trip was organized by Visionary Wild (www.visionarywild.com) and led by Oceanwide Expeditions.


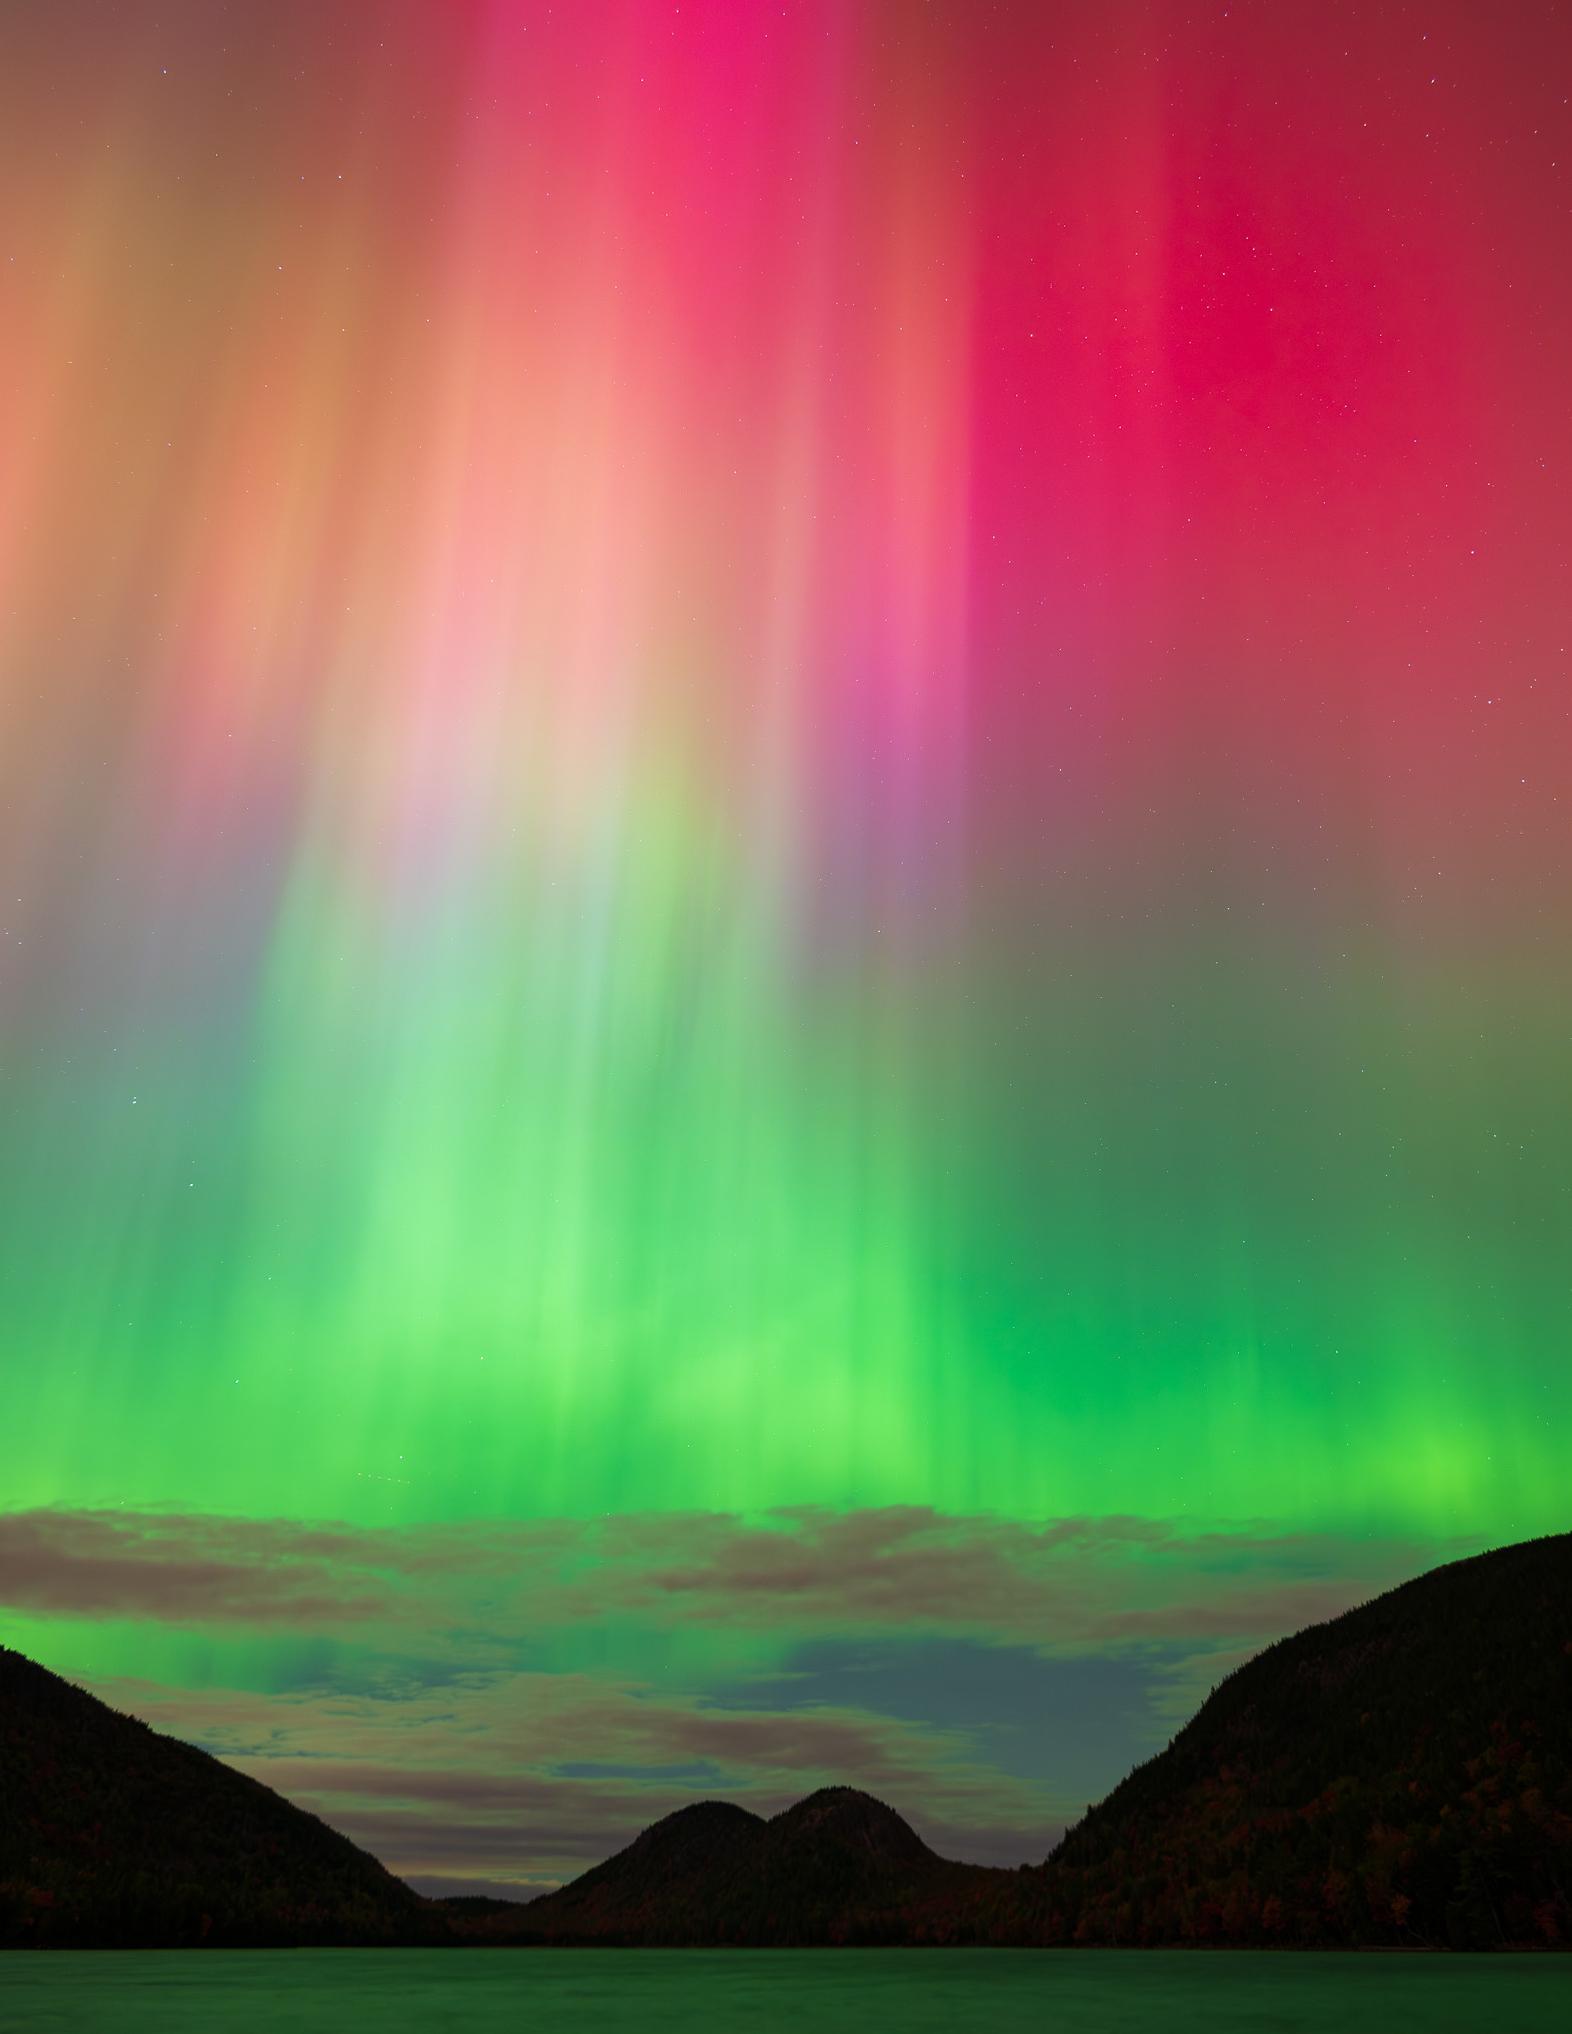

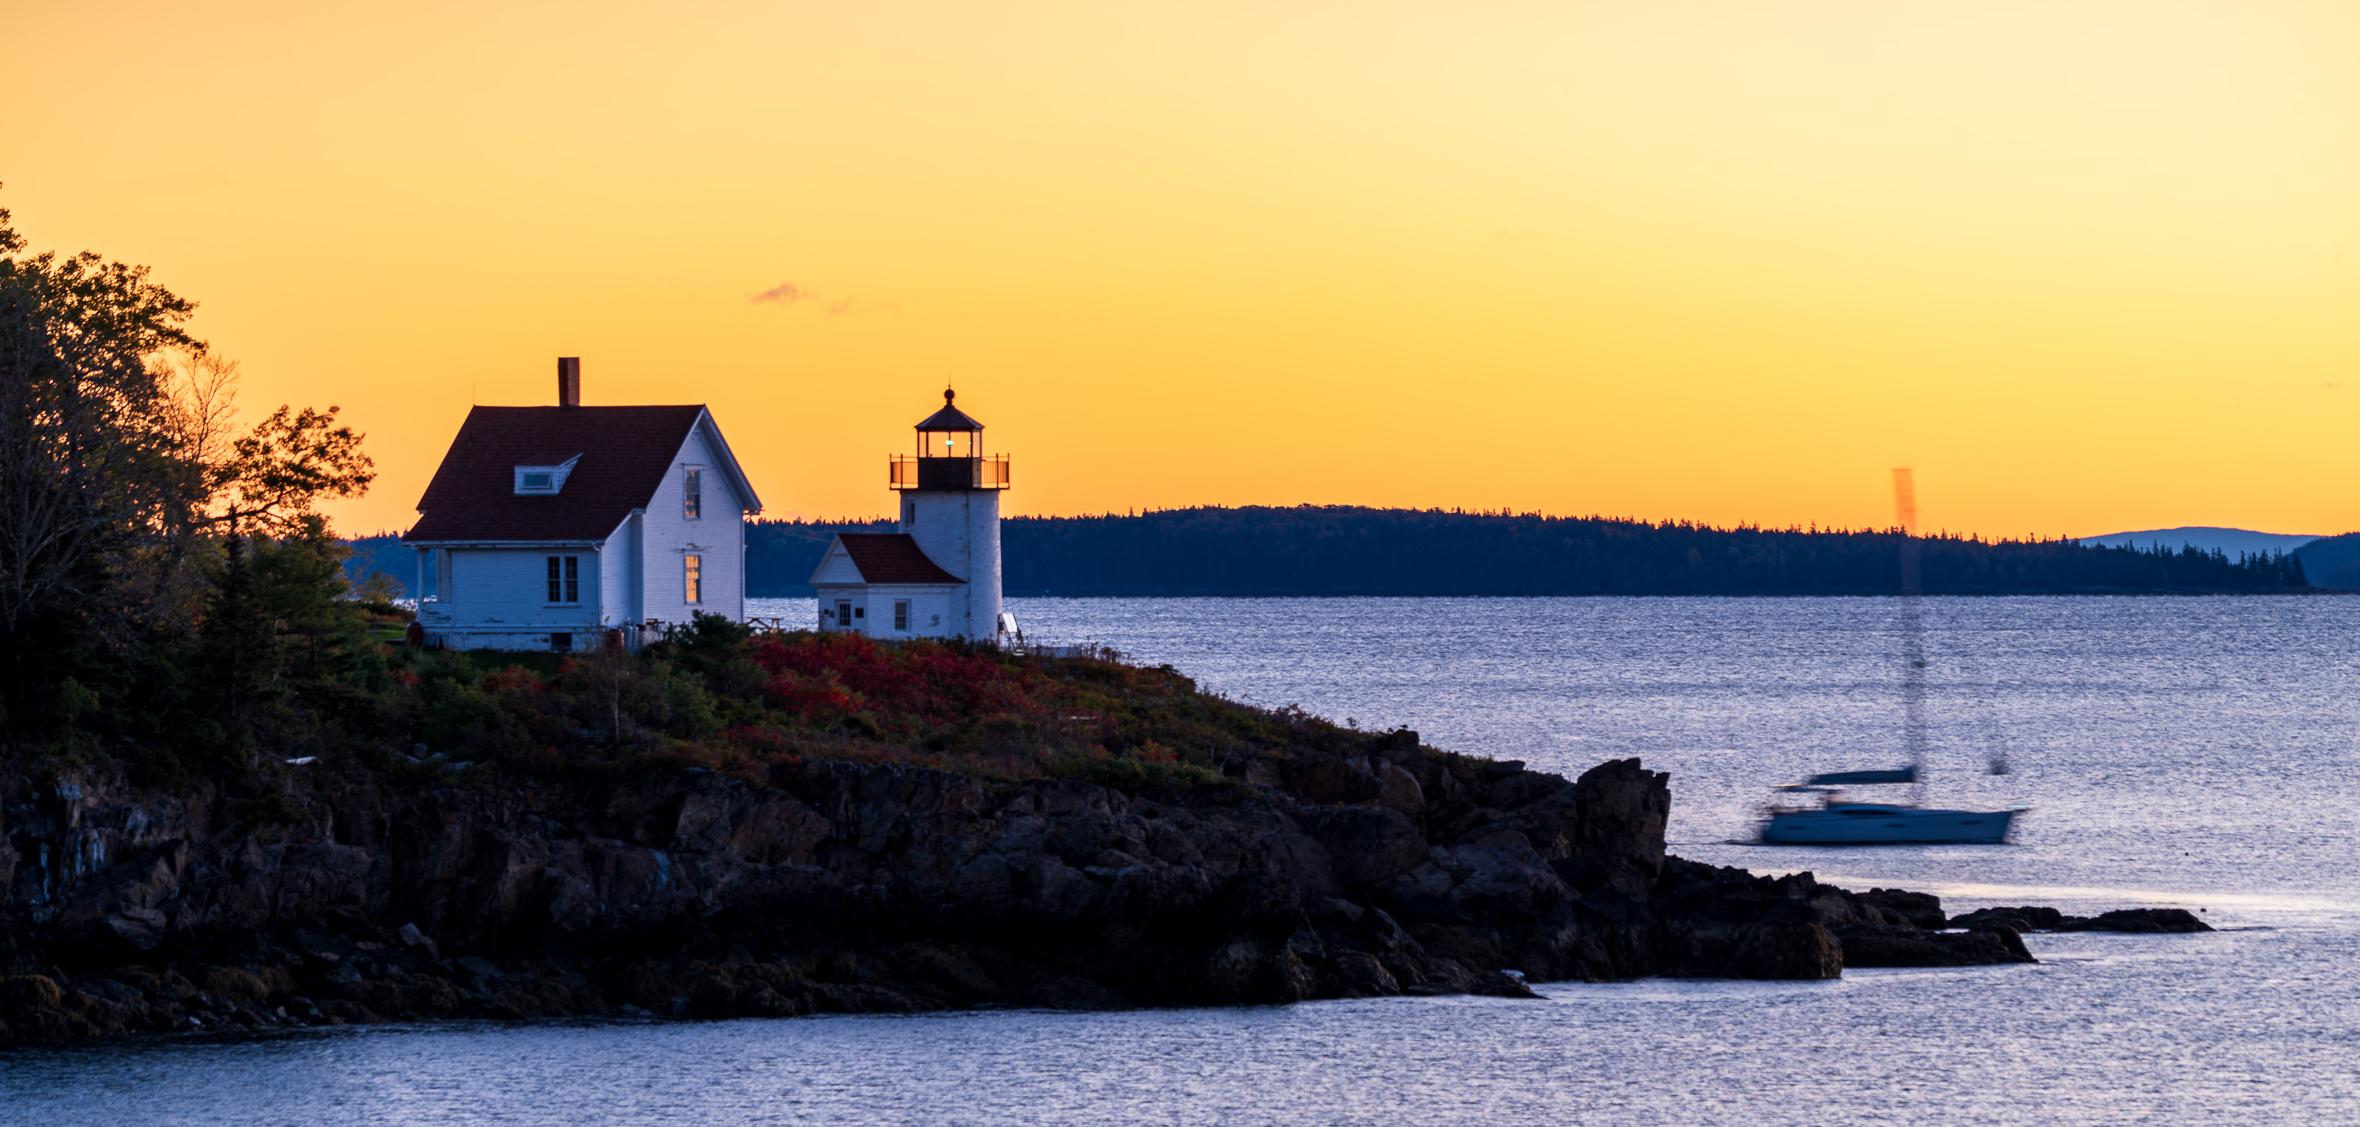

Acadia National Park has been a bucket list location for me and our participation with Colleen Miniuk’s Autumn in Acadia made our trip to Maine incredibly satisfying. We visited lakes, ponds, oceans, tarns, fields, meadows and woods, and as a bonus we were witness to the magnificent Northern Lights.


Steve Anderson
Steve has explored the natural landscape of the San Gabriel range as well as the High Sierra using conventional film and digital photography for decades. He has self-published four photo books available through Blurb.com.
His interest in making personally significant contributions to theenvironmentalmovement started in college then expanded into becoming a life-time member of the Sierra Club and an Outings Leader. He has been a member of the Mono Lake committee for more than 40 years and was Chair of the Camera Committee for 5 years.
Steve's images haveappeared in Sierra magazine, Images of the West, A Portrait of Bodie, the Angeles Chapter Schedule of Activities covers, and the Camera Committee's Focal Points. He has shown work in local galleries, art shows, and was the San Gabriel Mountains National Monument Artist-inResidence in 2015. Some of his monochrome images in Mono Lake Committee's literature weresignificantin helping to save Mono Lake. sandersonimagery@outlook.com www.pbase.com/spanderson
Alison Boyle
Photography has brought so many meaningful things to my life. It is fun, challenging, and most importantly, it fulfills my need to create. It is the reason I joined the Sierra Club Camera Committee (SCCC). The SCCC led me to cherished friends and my soulmate.
Creating an image where the light, the beauty of the subject and the right perspective are in perfect harmony is one of life’s greatest joys for me. Tide pools give me infinite marine life subjects and coastal locations to explore. This body of work is on a very small scale and very intimate. The beauty of the Sierra Nevada mountains leaves me filled with awe. This work is on the grandest of scale and challenges me physically when hiking to these other-worldly locations.
I am a UCLA Health retiree as of 2023. I had a fulfilling career as a licensed Clinical Laboratory Scientist spending time working in hematology, HIV research, molecular pathology, serology and virology. I’ll never stop being a scientist. Science informs my photographic subjects and continually motivates me to delve deeper.
I started out life as a Jersey girl but I was adopted just after college and consider myself a California girl now.
Instagram: @californiacominghome
Email: alisoniboyle@icloud.com
Thomas Cloutier
Thomas Cloutier has been with SCCC since 2001, and he has been contributing to Focal Points Magazine since that time.
Cloutier’s interest in photography coincides with his interest in travel and giving representation to nature landscapes. His formal education in photography comes from CSU Long Beach.
At present Cloutier is a volunteer at CSU, Long Beach where he taught Water Colors and Drawing at the Osher Lifelong Learning Institute (OLLI), designed for Seniors over 45. He also is a docent at Kleefield Contemporary Museum CSU Long Beach. He is Liaison for the Art And Design Departments for a scholarship program for students at CSU Long Beach, Fine Arts Affiliates, FineArtsAffiliates.org.
Cloutier at cde45@verizon.net
Joe grew up in Los Angeles and developed his first roll of film in 1972. He has been a visual communicator ever since.
He spent his teens and twenties working in photography, most of it behind a camera as a freelance editorial shooter.
Joe switched careers when his son was born, earning a PhD in Political Science from UCLA. This led to an opportunity to run a research center at UCLA Law.
After retiring from UCLA in 2016, Joe did some consulting, but now he and his wife, Velda Ruddock, spend much of their time in the field, across the West, capturing the landscape. www.joedohertyphotography.com
John was a photography major in his first three years of college. He has used 35mm, 2-1/4 medium format and 4x5 view cameras. He worked briefly in a commercial photo laboratory.
In 1980, John pivoted from photography and began his 32-year career in public service. He worked for Redevelopment Agencies at four different Southern California cities.
After retiring from public service in 2012, John
continued his photographic interests. He concentrates on outdoors, landscape, travel and astronomical images. Since 2018, he expanded his repertoire to include architectural and real estate photography.
John lives in La Crescenta and can be contacted at either: jfisanotti@sbcglobal.net or fisanottifotos@gmail.com http://www.johnfisanottiphotography.com http://www.architecturalphotosbyfisanotti.com
A nature photographer and birder from the age of eight, Lisa is the founder of Langell Photography, LLC. She began her own business in 2010 after long vibrant careers as a floral designer, educational psychologist, consultant and in helping launch and manage two startups that grew into leading companies in the EdTech space. Since then, she has earned numerous awards, is an Image Master for Tamron Americas and has been published in Outdoor Photographer, Arizona Highways, Ranger Rick and more.
http://www.langellphotography.com/
Larry used his first SLR camera in 1985 to document hikes in the local mountains. In fact, his first Sierra Club Camera Committee outing was a wildflower photo shoot in the Santa Monica Mountains led by Steve Cohen in 1991. Since then the SCCC has introduced him to many other scenic destinations, including the Antelope Valley California Poppy Reserve, the Gorman Hills, and Saddleback Butte State Park.
Larry’s own photography trips gradually expanded in scope over the years to include most of the western National Parks and National Monuments, with the Colorado Plateau becoming a personal favorite.
Photography took a backseat to Miller’s career during the 32+ years that he worked as a radar systems engineer at Hughes Aircraft/Raytheon Company. Since retiring in 2013, he has been able to devote more time to developing his photographic skills. Experiencing and sharing the beauty of nature continues to be Larry’s primary motivation.
lemiller49@gmail.com
John Nilsson
John has a fond memory of his father dragging him to the Denver Museum of Natural History on a winter Sunday afternoon. His father had just purchased a Bosely 35mm camera and he had decided he desperately wanted to photograph one of the dioramas of several Seal Lions in a beautiful blue half-light of the Arctic winter. The photo required a tricky long exposure and the transparency his father showed him several weeks later was spectacular and mysterious to John’s young eyes. Although the demands of Medical School made this photo one of the first and last John’s Dad shot, at five years old the son was hooked.
The arrival of the digital age brought photography back to John as a conscious endeavor - first as a pastime enjoyed with friends who were also afflicted, and then as a practitioner of real estate and architectural photography during his 40 years as a real estate broker.
Since retiring and moving to Los Angeles, John continued his hobby as a nature and landscape photographer through active membership in the Sierra Club Angeles Chapter Camera Committee, as well as his vocation as a real estate photographer through his company Oz Images LA. The camera is now a tool for adventure!
www.OzImagesLA.com
Born between two worlds that pulled him between two continents only to find himself at home in the abysmal dark of the oceans, James Novaes is a creative in all aspects of the journey of life. He is inspired by the discomfort and challenge in achieving his vision. He finds himself at home with solitude, the stillness of the universe, in essence, the claustrophobia that most would feel in their own minds, is where his sparks of creativity begin.
His art strives to break down the visual lines and shapes in search of the meaning of the consequential existence of nature. Its imperfections are so perfectly placed within the reaches of our visual sense of being yet distant to the casual eye. He attempts to bring it full
circle by harvesting the knowledge and adapting it to his art in its simplest form for your own meaning and discovery of the simple yet complex beauty of nature.
Velda Ruddock
Creativity has always been important to Velda. She received her first Brownie camera for her twelfth birthday and can’t remember a time she’s been without a camera close at hand.
Velda studied social sciences and art, and later earned a Masters degree in Information and Library Science degree from San Jose State University. All of her jobs allowed her to be creative, entrepreneurial, and innovative. For the last 22 years of her research career she was Director of Intelligence for a global advertising and marketing agency. TBWA\Chiat\Day helped clients such as Apple, Nissan, Pepsi, Gatorade, Energizer, and many more, and she was considered a leader in her field.
During their time off, she and her husband, Joe Doherty, would travel, photographing family, events and locations. However, in 2011 they traveled to the Eastern Sierra for the fall colors, and although they didn’t realize it at the time, when the sun came up over Lake Sabrina, it was the start of them changing their careers.
By 2016 Velda and Joe had both left their “day jobs,” and started traveling and shooting nature – big and small – extensively. Their four-wheeldrive popup camper allows them to go to areas a regular car can’t go and they were – and are –always looking for their next adventure. www.veldaruddock.com
VeldaRuddockPhotography@gmail.com
Carole Scurlock
Carole grew up in Los Angeles and attended Otis Art Institute in the 60s. Since photography was not considered a worthy pursuit for an artiist at Otis, it was lacking a photography department. But in the 1970s—inspired by b/w fine art photographers— Carole learned darkroom skills and explored photo montage and other techniques for creative expression.
While working at the Metropolitan Water District from the mid 80s to 2008, Carole created photo comps and graphic art for many publications and presentations. Vacation time was always spent in a photo workshop with a master photographer of the
photo essay, street, travel or landscape photography. Since retiring in 2008, Carole has continued to document her extensive travels and to take workshops to develop skills in fine art landscape photography. The Covid emergency provided a time to return to nature for visual inspiration and Carole’s new favorite locations to photograph are the deserts of the southwest in National Parks and Monuments.
Carole is a hiker with the Sierra Club and is never without a camera on the trail.
She has been a Camera Club member since 2013. scurlockcarole@gmail.com
Rebecca Wilks
Photography has always been some kind of magic for Rebecca, from the alchemy of the darkroom in her teens… to the revelation of her first digital camera (a Sony Mavica, whose maximum file size was about 70KB)… to the new possibilities that come from her “tall tripod” (drone.)
Many years later, the camera still leads Rebecca to unique viewpoints and a meditative way to interact with nature, people, color, and emotion. The magic remains.
The natural world is Rebecca’s favorite subject, but she loves to experiment and to do cultural and portrait photography when she travels. Rebecca volunteers with Through Each Other’s Eyes, a nonprofit which creates cultural exchanges through photography, and enjoys working with other favorite nonprofits, including her local Meals on Wheels program and Cooperative for Education, supporting literacy in Guatemala.
Rebecca’s work has been published in Arizona Highways Magazine, calendars, and books, as well as Budget Travel, Cowboys and Indians, Rotarian Magazines, and even Popular Woodworking.
She’s an MD, retired from the practice of Obstetrics and Gynecology and Medical Acupuncture. She lives in the mountains of central Arizona with my husband and Gypsy, the Wonder Dog.

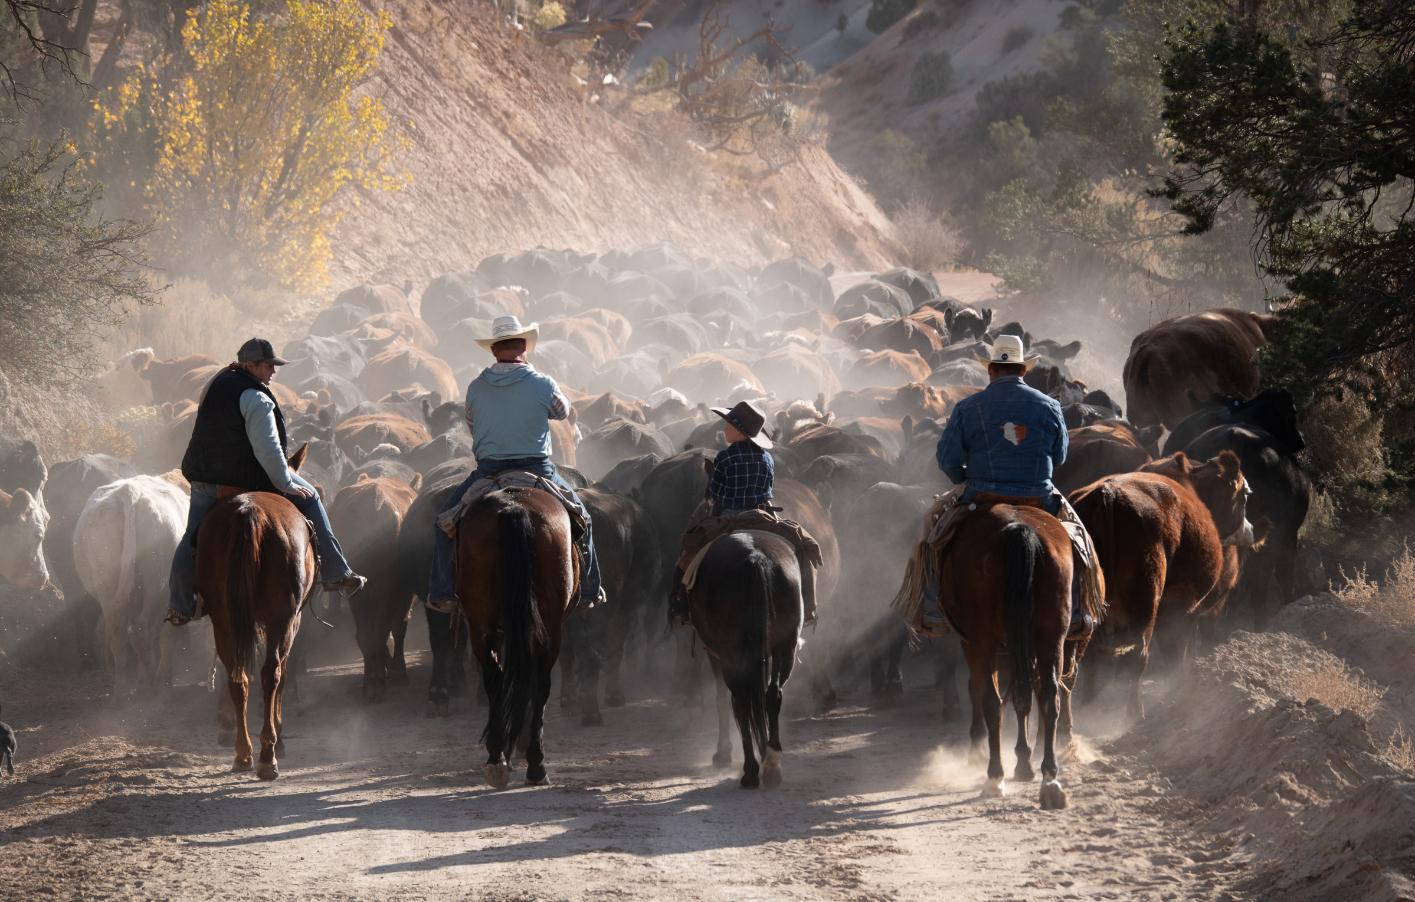
By Lisa Langell