8 minute read
Arts and Crafts Planner
SUPPLIES USED
Elizabeth Craft Designs
• Reminiscence the Book 5
• CS283 - English Countryside 1
• CS291 - Let’s Stick Together
• 2001- English Countryside 1
• 2008 - Planner Essentials 56 Tickets and Tabs
• 2011 - Planner Essentials 59 Art Party
• WC01 Watercolour Palette, 24 colours
• 502 Clear Double-Sided Adhesive 8.5/11 pack
• P002 - Planner 2 - Espresso
RANGER
• Tim Holtz Distress Ink - Frayed Burlap
• Tim Holtz Distress Watercolor Pencil Set 1
• Tim Holtz Distress Spray Stain – Picket Fence
• Archival Ink – Jet Black
COPIC MARKERS
• E84 Khaki
• 100 Black
Instructions
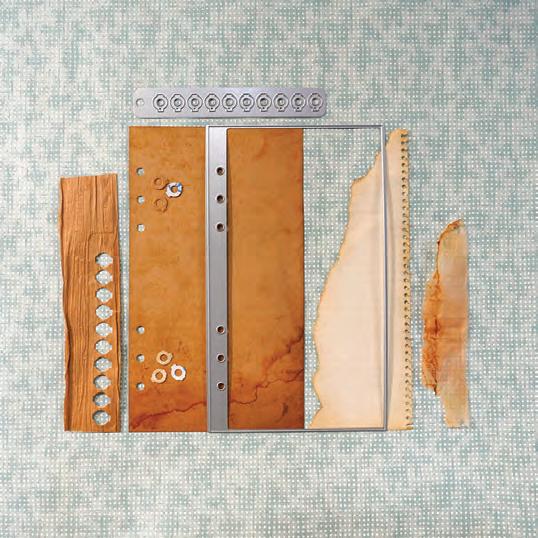
1. Using the base page die from Planner Essentials 56, cut out your page from Reminiscence the Book 5 paper. Using any recycled paper of your choice (shown pieces are cut from the handle of a paper bag and scrap paper), back with double-sided adhesive and cut out your reinforcers. Rip more pages and scraps for layering with a fun edge as shown. (Pieces used are distressed notebook paper and a dried tea bag.). Edge all pieces with the frayed burlap Distress Ink.
2. Using the Book 5 paper, cut out the note card, and attach your photo to the assembled page as shown in the main image. Make a slit above the notes line, and slide the picture in a bit.

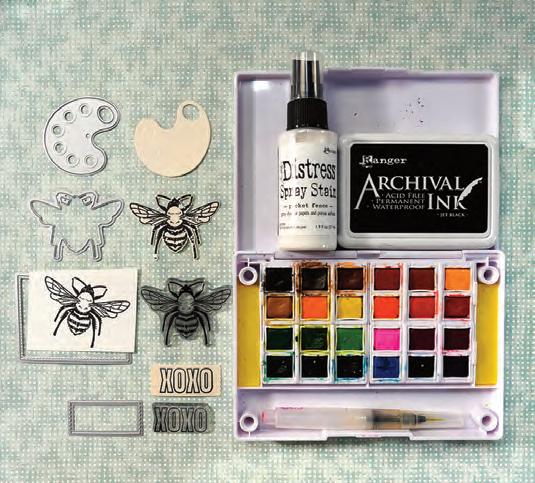
3. Die cut a piece of scrap paper with the tab die, and stamp with the “xoxo” from the Let’s Stick Together Stamp Set. Then watercolour as shown. Die cut a piece of watercolour paper with the canvas die from Planner Essentials 59, and stamp with a bee from English Countryside 1. Watercolour your bee, and let dry. With the matching bee die, create a cutout, and cover your bee stamp. Then splatter the canvas with the Distress Spray Stain to give a paint splatter effect. Finally, die cut your artist's palette and watercolour as shown.
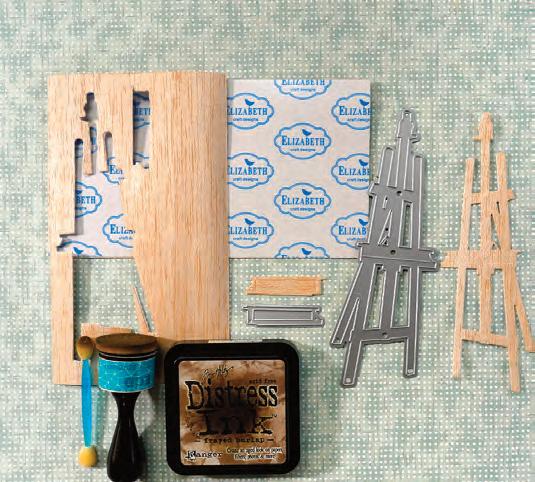
4. Die cut the artist's easel out of real wood paper or basal wood backed with double-sided adhesive, and edge with the Distress Ink.
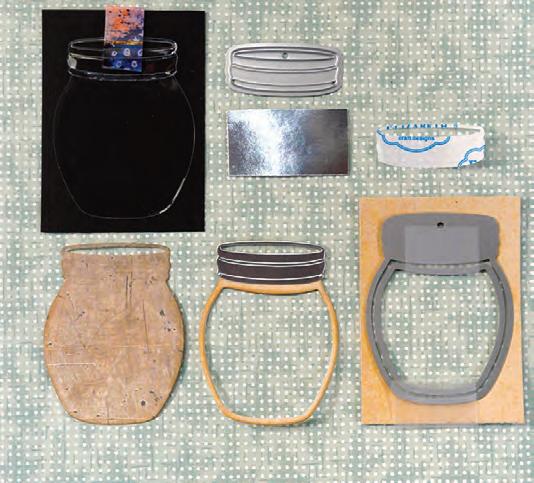
5. To create your jar, cut out your jar base, jar overlay, lid, and acetate piece. The overlay and the lid are backed with doublesided adhesive before die cutting. You can use a piece of washi tape to keep track of your acetate. Attach the lid to the overlay, and stick the overlay to the acetate. Very carefully put glue around the outline of the jar and on the side of the lid, but not on the top. The jar should remain open at the top to slide your brushes in later. Glue down your pieces to the base jar.
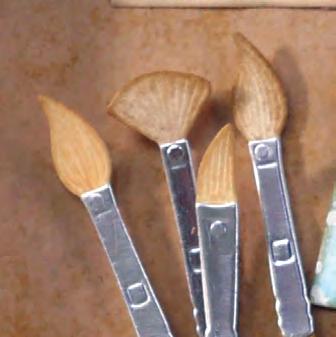
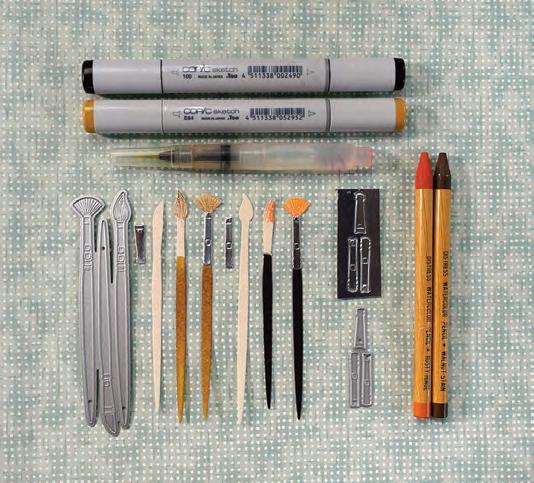
6. Die cut your brushes out of watercolour paper. Colour the handle of the brushes with any permanent markers as shown. Use the Distress Watercolor Pencils to colour the brush tips. Apply double-sided adhesive to your metallic paper, and then die cut the handles and apply to your brushes. Tuck your brushes into the jar. Assemble your page as shown, and enjoy your finished planner page!
Welcome to Technique Tasters. In each issue of Creative Scrapbooker Magazine we will share with you a number of different techniques to inspire your next crafty project. Want MORE Technique Tasters? Visit our video library for technique-rich videos that are fun and easy!
CreativeScrapbooker.ca/Videos
Scan to visit our Video Library

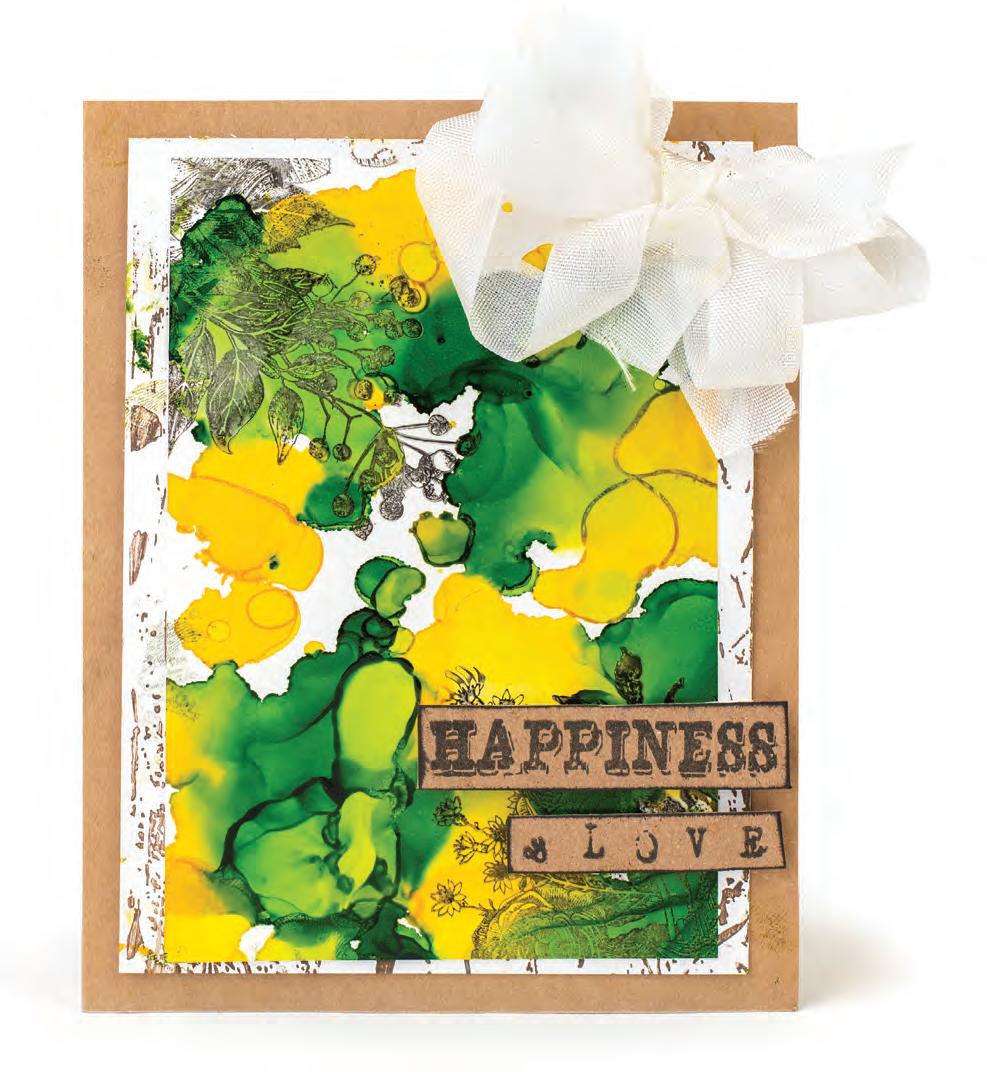
Happiness and Love
Nicole Wright, Calgary, Alberta

SUPPLIES: Creative Scrapbooker Super Stock, Ranger Yupo alcohol ink paper, alcohol ink, blending solution and Archival ink, Stamper Anonymous Tim Holtz, Wild Whisper
Nicole Wright stamp, Scrapbook Adhesives by 3L
E-Z Runner Grand and 3D Foam Squares, unknown heat gun, kraft paper, binding ribbon and chipboard.
Drop several drops of a variety of colours of alcohol ink on a piece of paper. I sprinkle the alcohol ink like I would shake a
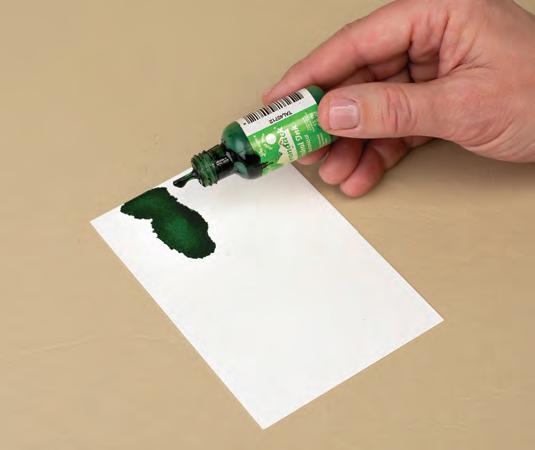
Once the alcohol ink is added, shake a little Ranger Alcohol Blending Solution over top. For this step a little goes a long way. This will blend the alcohol ink colours together, creating a mottled effect. Move the Yupo paper around to create drips and pools of colour.
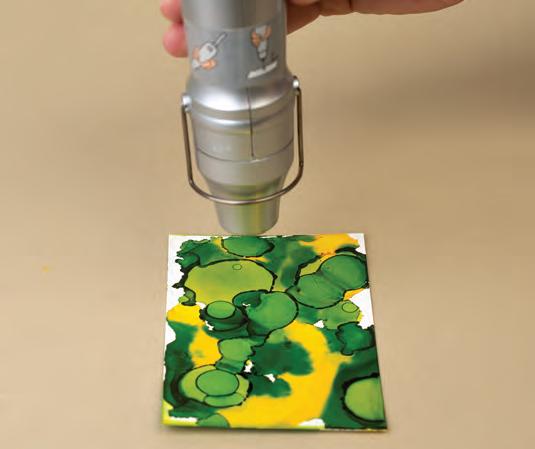
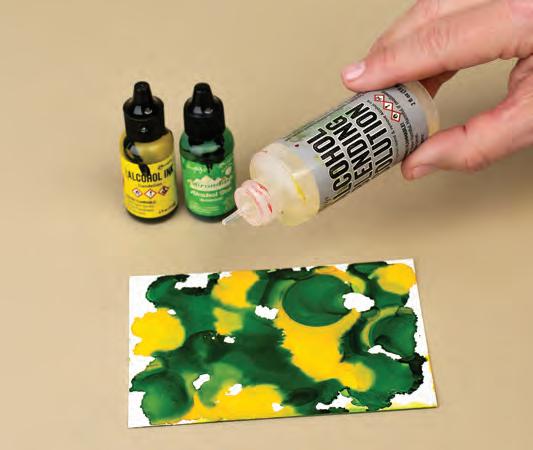
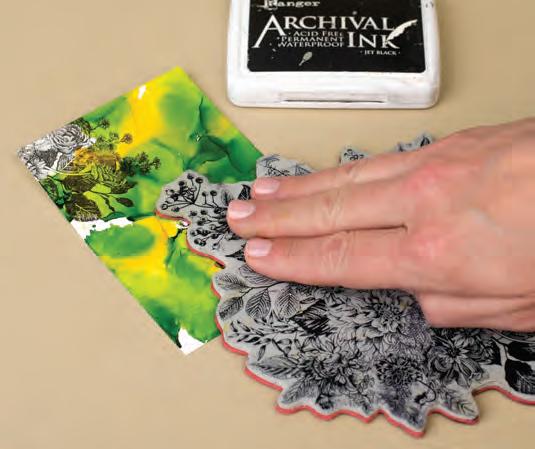
4. There are no limits to what you can make—a background for cards, tags, or scrapbook pages. Stamp over top, diecut, and add embellishments.


Fold a piece of double-side patterned paper in half from corner to corner.
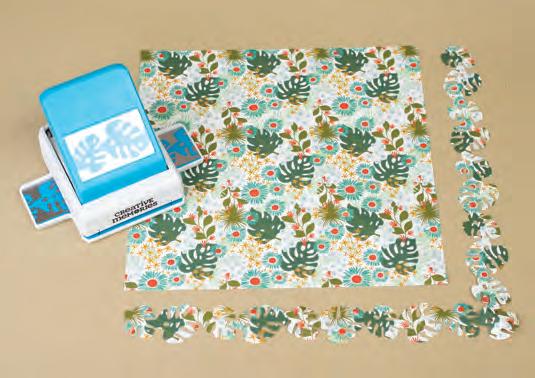
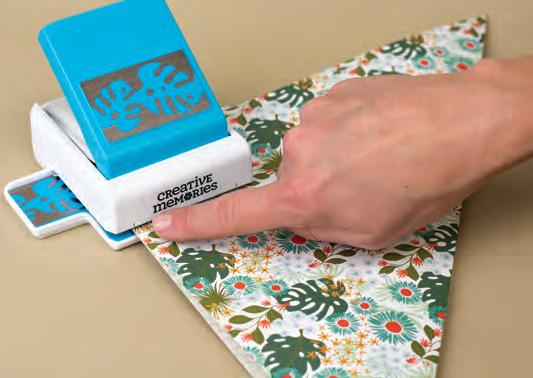
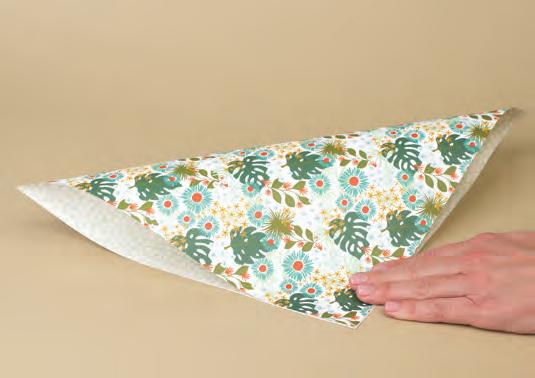
Place the paper in the punch, lining up the edge where the two corners matched with the black line on the front of the punch. Punch, then move the paper along the base plate until the punched shape matches the shape printed on the base plate.
Continue punching all the way to the folded edge. Remove the strip and unfold to reveal an L-shaped border.
Flip over the L-shaped border strip to show the pattern on the opposite side. Adhere to a piece of dark green patterned paper as shown. Trim the large square to 10″ and adhere to base, leaving approximately ¼″ border all around.
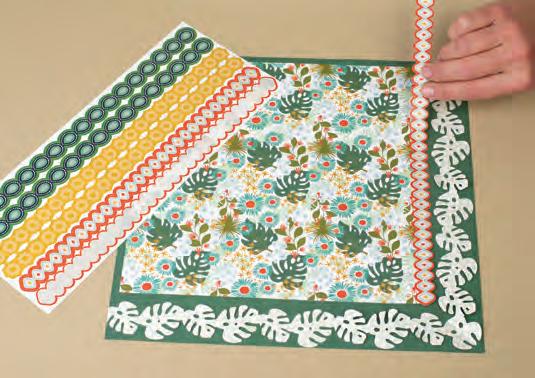

Add the red geometric border stickers along two edges of the square.
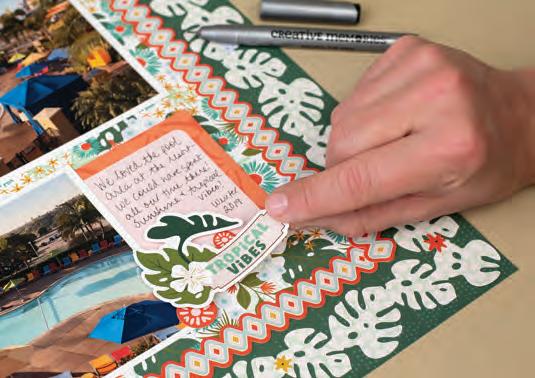
Cut one of the large Variety Mat Cards in half and tuck under the edge of photo for journaling. Finish by adding embellishments as shown or desired.
Sunny Spring Greetings
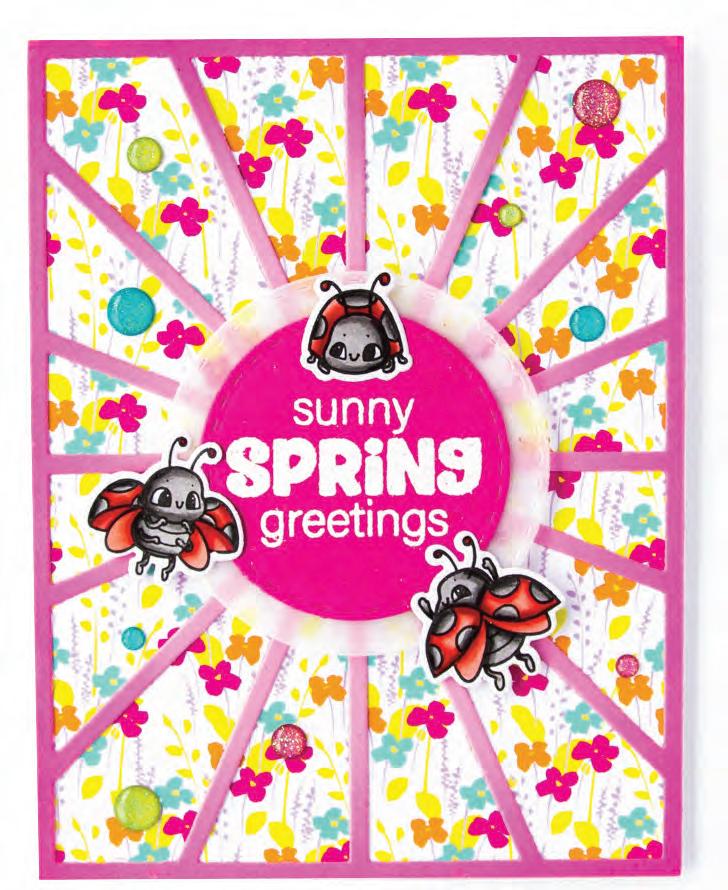
Justin Adkins, Woodridge, Illinois

SUPPLIES: Pink & Main cardstock, stamps, dies, ink, embossing powder, anti-static brush and enamel dots, Copic Markers, Ink on 3 Black Out ink, Therm O Web iCraft UltraBond Permanent Adhesive and 3D Foam Tape
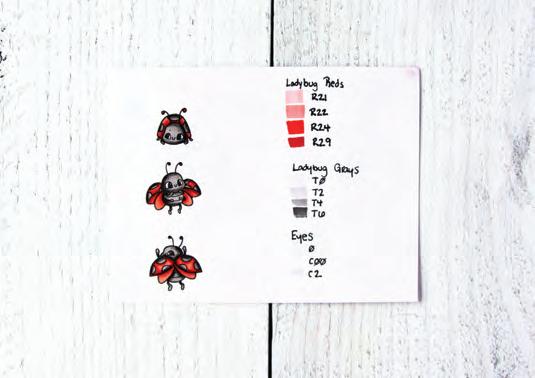
First, colour your stamped images. I used Copic Markers for this.
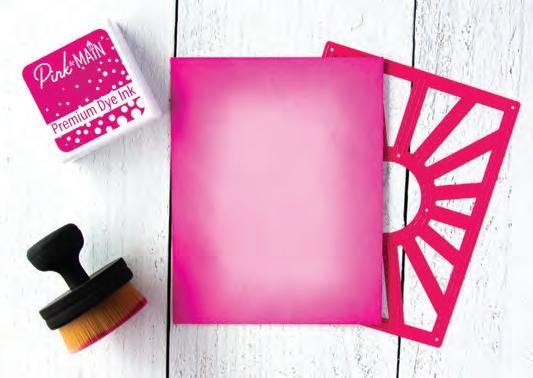
Blend your salon cardstock with Pink &Main Dress Shop ink. Die cut your ink-blended panel, using the Pink &Main Sunburst cover die.
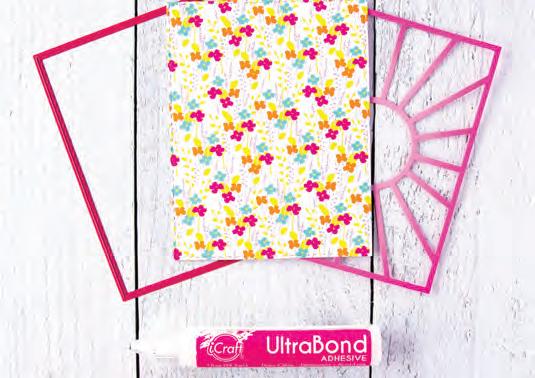
Die Cut a piece of Pink &Main patterned paper with the largest die from the Pink & Main Stitched Rectangles die set #1. Use liquid adhesive to adhere Sunburst cover die cut on top.
Heat emboss your sentiment from the Pink & Main Spring Sayings stamp set in frosting embossing powder, using your heat gun.


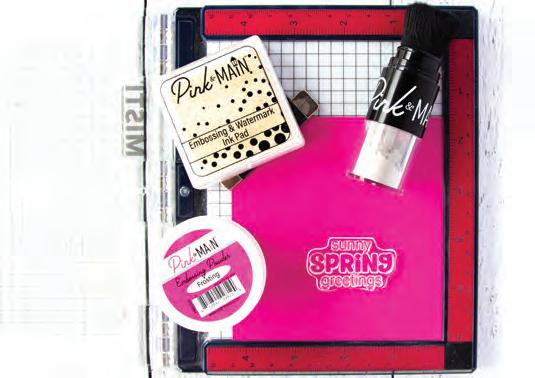
Die cut your sentiment using the Pink &Main Stitched Circle die set, and then use the same die set to cut a larger circle from vellum.
Adhere your sentiment and images using foam tape, and adhere a few Pink &Main Enamel Dots. Adhere entire card front to an A2-sized card base.
As One Does
Kerry Engel, Fort Saskatchewan, Alberta

SUPPLIES: Creative Scrapbooker Super Stock, Bazzill Basics

Paper cardstock, Tim Holtz Idea-ology paper, Stampers
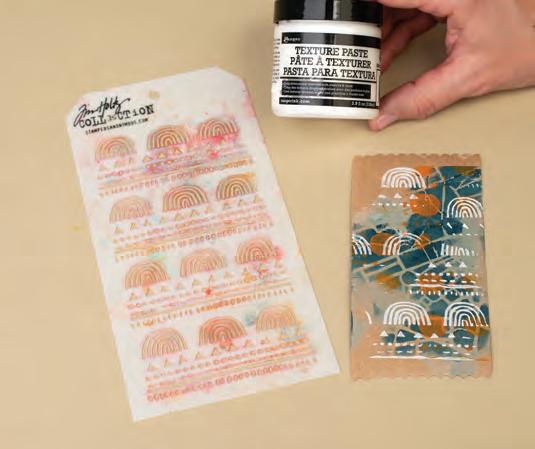
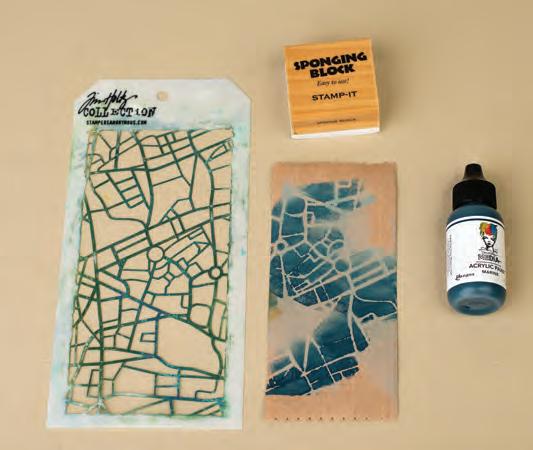
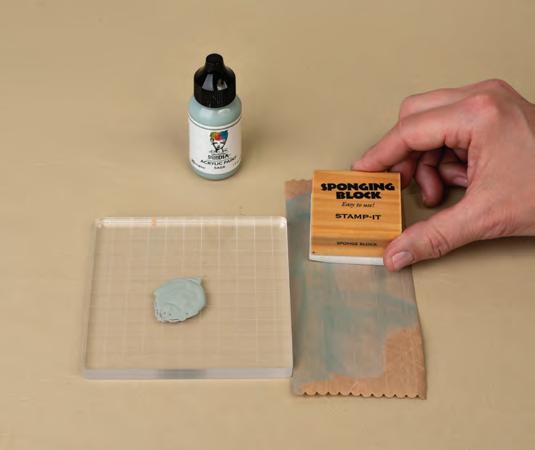
Anonymous Tim Holtz stencils, Ranger Dina Wakley Media acrylic paint and texture paste, Paper Artsy flower, DMC thread, reinforced bummed kraft paper packing tape, Scrapbook Adhesives by 3L, unknown vintage letters.
Scraps of Info
“Packing tape is great for Mixed Media as it sticks really well when wet with water.” ~ Kerry Engel
Designing With Gummed Kraft Paper Packing Tape

String of Hearts
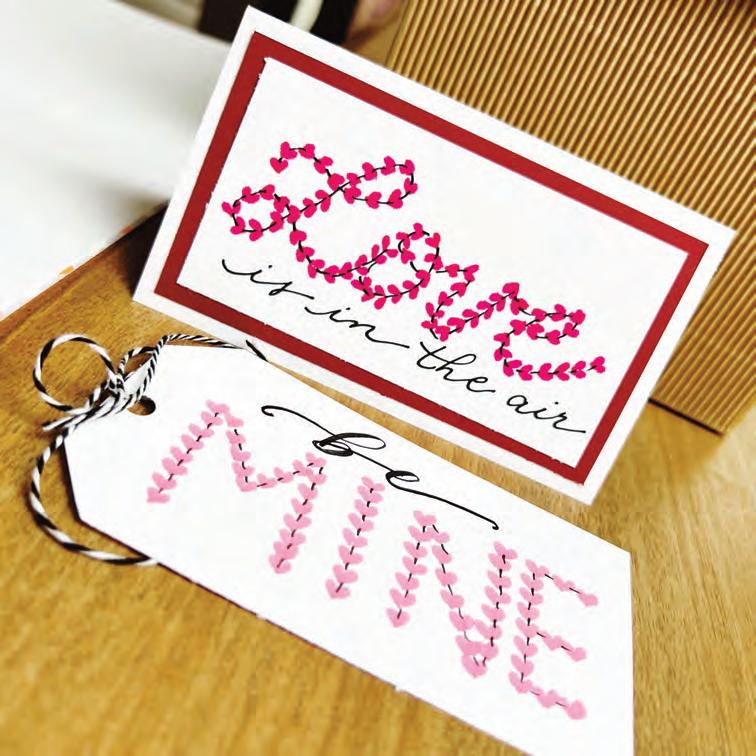
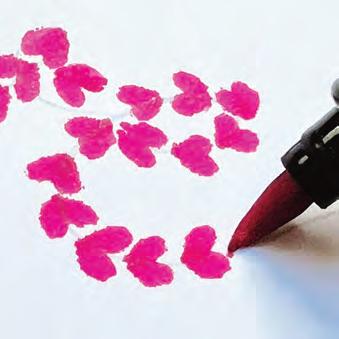
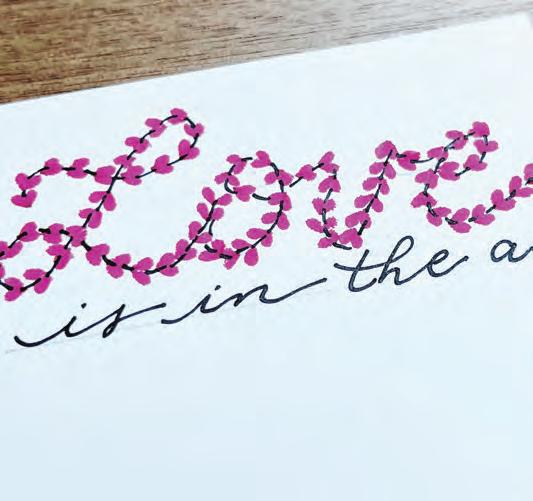
In previous articles, I’ve shown how to use your brush pens “out of the box” for lettering. In this issue, I’ll show you a different technique for making “heart strings” to use on Valentine greetings or wedding/anniversary cards and tags. Making hearts with brush pens is a fun technique to create lettering or design embellishments.
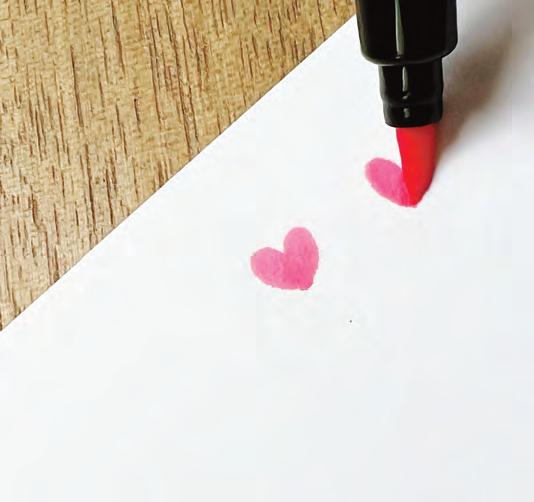
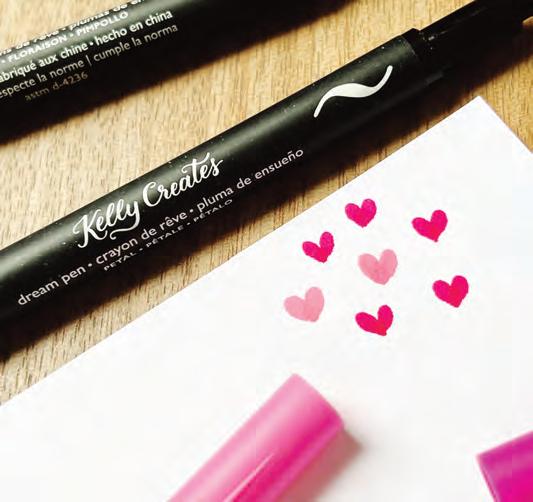
The brush tip is flexible, and when you can push down on it, you can create a teardrop shape. When two teardrops are connected, they form tiny, perfect hearts! Practice making a bunch of these hearts before stringing them together to create letters on your card or tag. NOTE: Push the pen tip down so that the entire side of the brush tip is in contact with the paper; then lift straight up to avoid smudging.
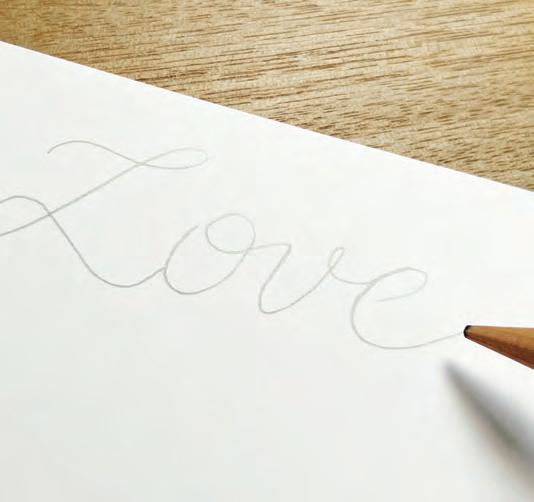
1. First, use a pencil to draw script or block letters on white cardstock.
2. Use your brush pen to make hearts along the pencil lines of the letters.

3. Draw connecting lines between the hearts with a black fine-liner to create the strings of hearts.
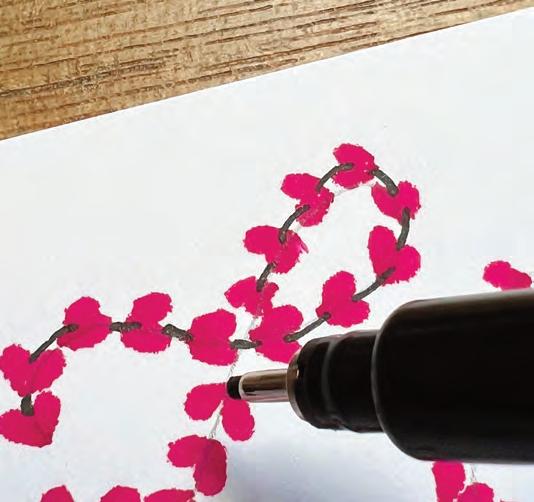
4. Add a written sentiment, or just leave as is.
You don't even have to use this technique for lettering a word or phrase. You can just draw swirls or even vertical lines of hearts on your cards and projects. Filling a white card background with swirling strings of hearts would also be super cute. If you think outside the box, your creativity will surprise and delight you!


Zebra Pen
No more missing caps!
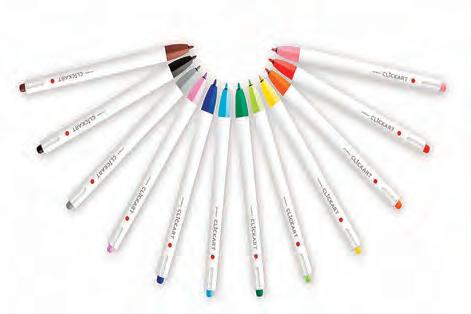
Never worry about ink drying out with the Zebra CLiCKART marker pen. The Zebra CLiCKART features a capless design and new ink technology that absorbs the moisture in the air, which keeps the ink from drying out. The Zebra CLiCKART is perfect for journaling, colourcoding, drawing, and everyday writing. With a satisfying click and the relief of not having to worry about misplacing the cap, the CLiCKART marker pen is a perfect companion for your creative projects.

• Water-based ink
• Simple and minimal design
• Ink never dries out!
• Retractable and capless functionality—never worry about losing your cap again!
• Available in 12 brilliant colours
• 0.6mm Fine Point
ZebraPen.ca
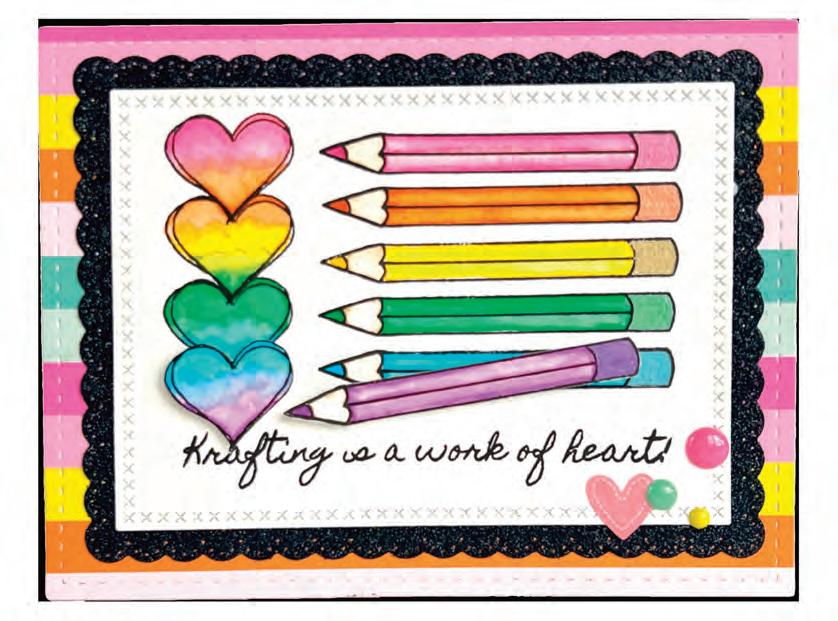
Krafting Is a Work of Heart
Karla Yungwirth, Calgary, Alberta
SUPPLIES: Zebra Pen CLiCKART Retractable Marker Pens, Decoshine Sarasa Clip Gel
Retractable Pens and Neutral Mildliner Dual Ended Highlighter Pens, Kraftin’ Kimmie Stamps, Lawn Fawn and Waffle Flower dies, Simple Stories patterned paper, stickers and enamel dots, Ranger Archival ink, Scrapbook Adhesives by 3L.
Simple Stories
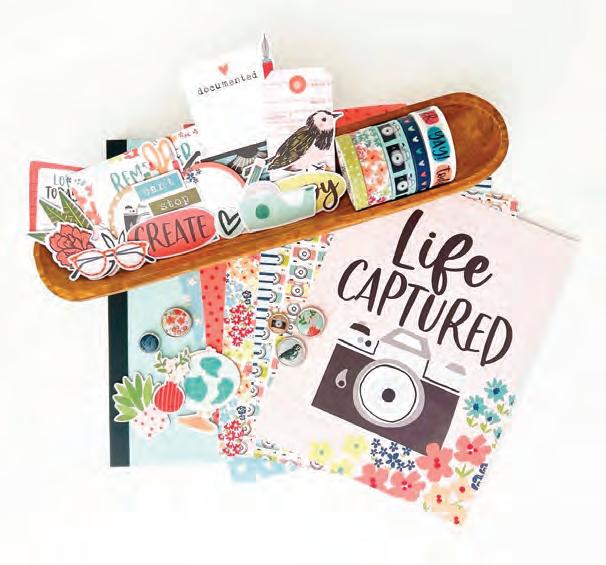
The Life Captured collection by Simple Stories is a whimsical collection of products created to document YOUR life—day-by-day, month-by-month, and year-by-year! It features gentle, muted colour tones and graphic designs perfect for storytelling—from cameras to calendars, to chalkboards, and more. This is a fabulous line to capture YOUR story! SimpleStories.com
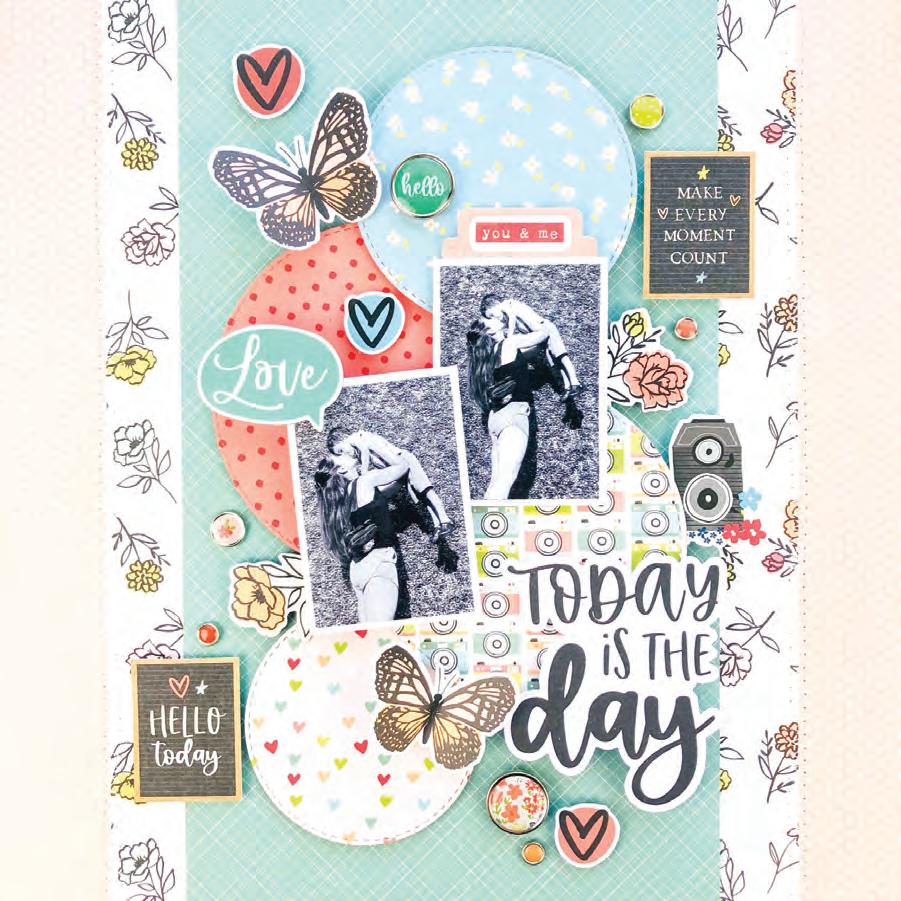
Today Is the Day

Karlla Dauer, Dallas, Texas
SUPPLIES: Simple Stories Life Captured patterned paper, Decorative Brads, Bits & Pieces, Chipboard Stickers, Title Bits & Pieces, Journal Bits & Pieces, Sticker Book.
Elizabeth Craft Designs
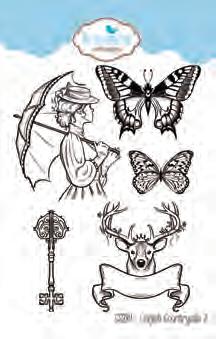
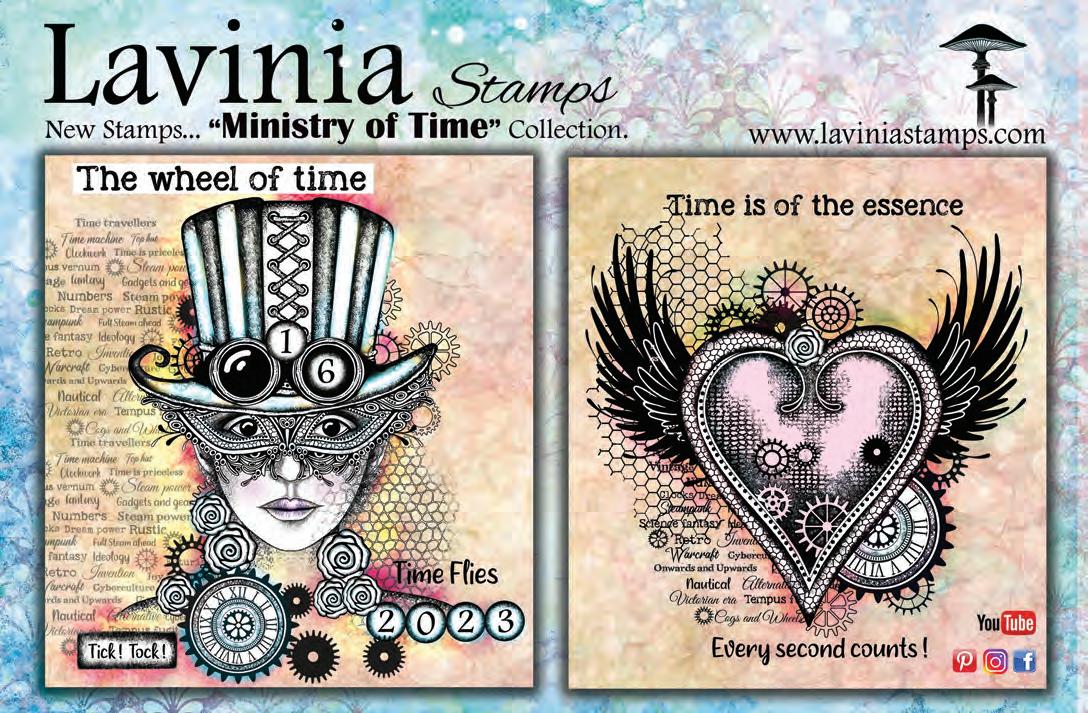
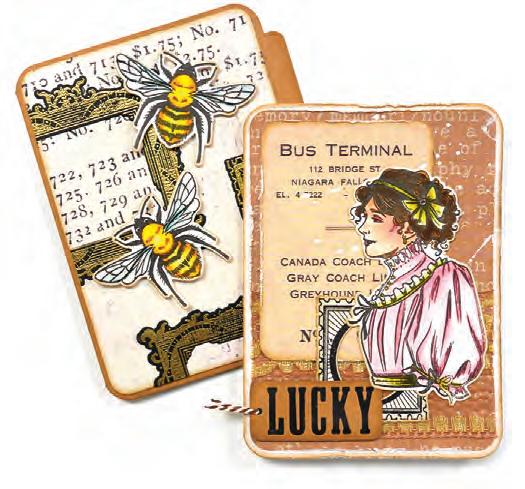
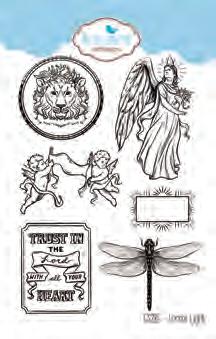
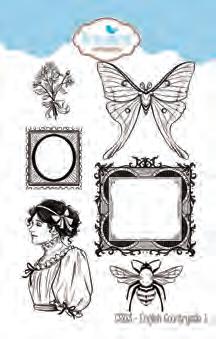
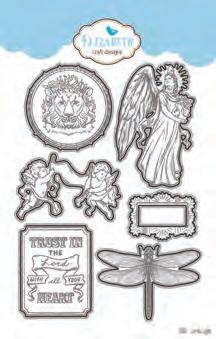
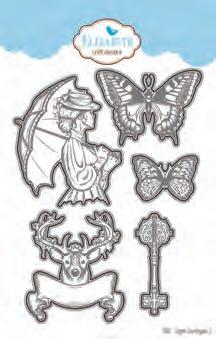
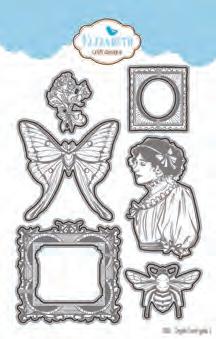
Elizabeth Craft Designs new hand-drawn stamp and coordinating die collection is so fun! The theme is very “English Countryside” in its nature. From tea time to cherubs, and parasols to butterflies, this line has a royal feel to it! ElizabethCraftDesigns.com


Tag and Cards
Els van de Burgt, Evergreen, Colorado
SUPPLIES: Elizabeth Craft Designs dies, stamps, cardstock, glitter and double-sided tape, Ranger embossing powder and Tim Holtz Distress ink, Tonic Studios Tim Holtz paper distresser, unknown ribbon, cardstock and whole punch.
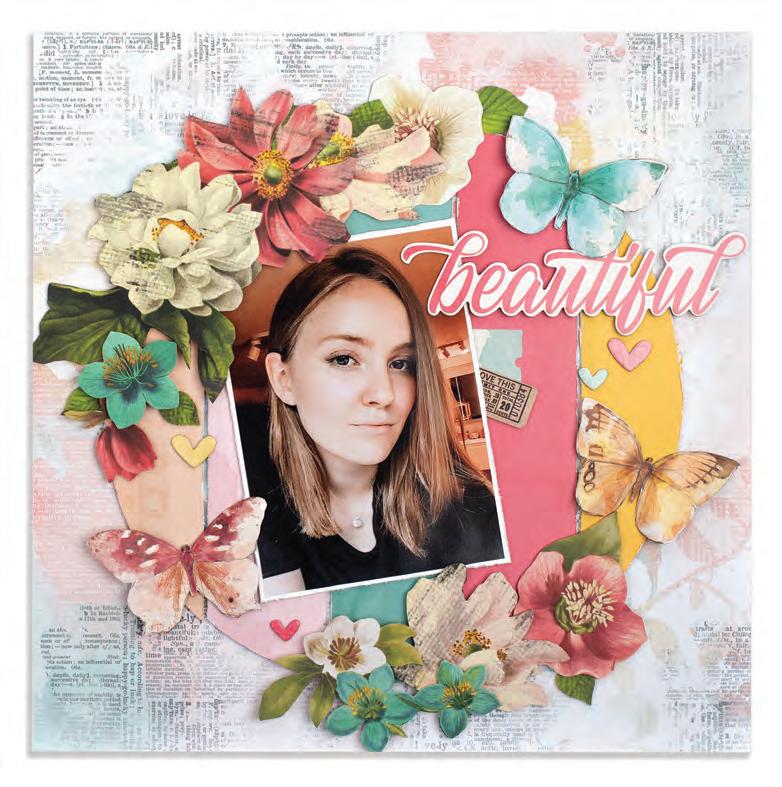
Beautiful
Tracy McLennon, Debert, Nova Scotia SUPPLIES: Simple Stories patterned paper, cardstock stickers, and chipboard stickers, Scrapbook Adhesives by 3L Crafty Foam Tape, Adhesive Dots, E-Z Runner Ultra and 3D Foam Squares, unknown cardstock, distress tool and circle template.
SCRAPBOOK ADHESIVES BY 3L
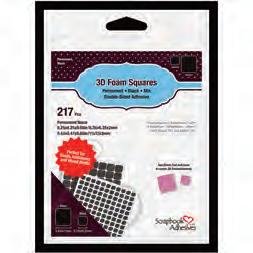
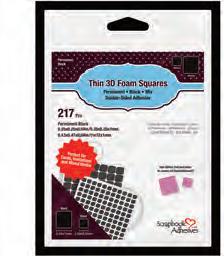
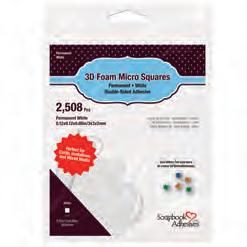
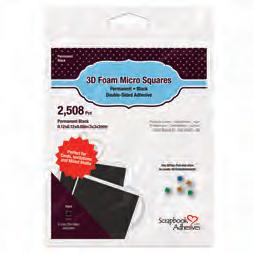
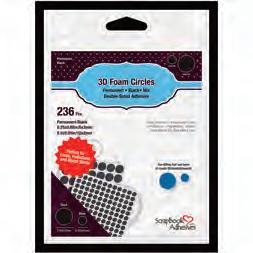
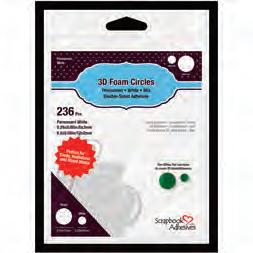
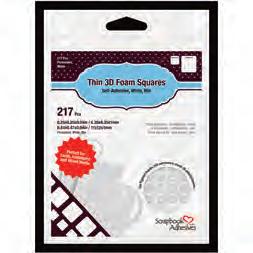
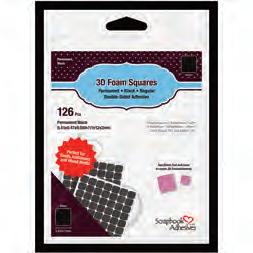
Want your projects to POP? Adhere elements using Scrapbook Adhesives by 3L 3D Foam Squares and 3D Foam Circles! Not only will these powerful little adhesives give your projects added depth, you can also control the height, as they are available in both thick and thin. Want even more options? Both adhesives come in black and white and are available in a MICRO size—perfect for those hard-to-get-to places that you still want to POP!
Scrapbook-Adhesives.com
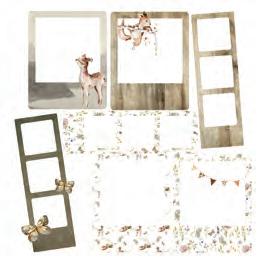
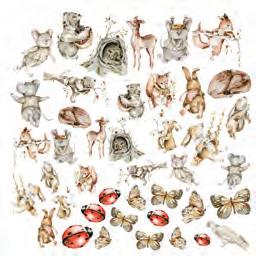
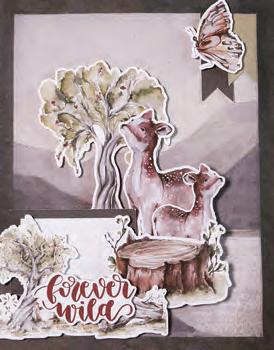
Forest Friends Layout and Card
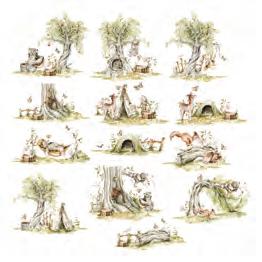
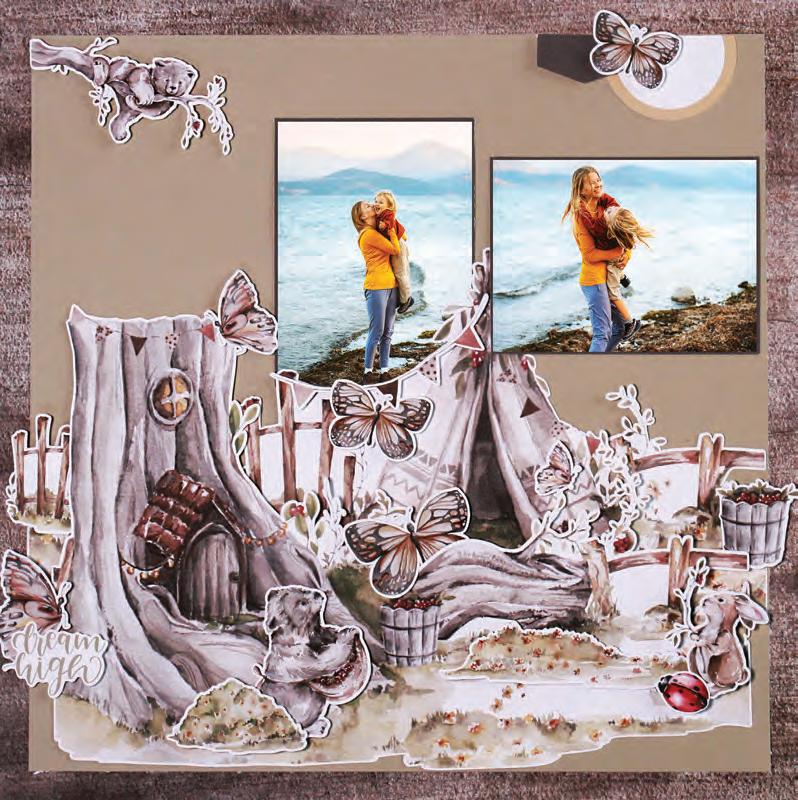
Chantal Mernickle, Edmonton, Alberta
SUPPLIES: Simple Stated Design patterned paper, die cuts and ephemera, foam adhesive.
SIMPLY
Stated Design
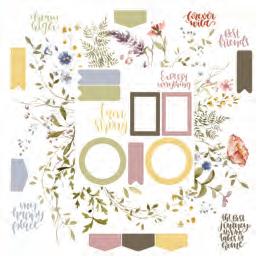
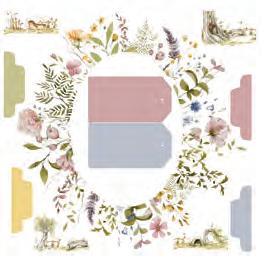
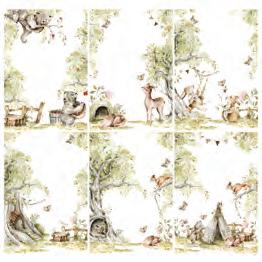
Forest Friends by Simply Stated Design is a beautiful, fairy-tale–like collection of paper crafting products that will melt your heart. Amazingly detailed ephemera with baby forest animals frolicking together or lazily resting on hammocks, along with coordinating patterned paper, polaroids, tags, and so much more. simplystateddesign.ca
WE HAVE MORE CRAFTING INSPIRATION JUST FOR YOU! Scan the QR code beside each project, and a printable PDF will appear that includes either the step-by-step photos and instructions for the project or the printable sketch or the list of our monthly photo prompts. AND there is more! Be sure to visit CreativeScrapbooker.ca and click on FREE CRAFTY PROJECTS. We are here to inspire!
