1 minute read
SPRING BANNER
What better way to herald spring than with a fun, spring banner loaded with fresh inking and colouring techniques.
String it along your mantle or across a decorative mirror or window to enjoy all season long.
Yes, I have chosen pigment ink, again, for its extreme light-fastness, as I want to use this banner from year to year. The pigmented markers have the same capabilities and blendability you will love.
So, if you are ready to announce the spring, grab a selection of your Art Impressions Rubber stamps, spring-like colours from your Tsukineko pigment ink stamp pad collection, some paper raffia, and let’s make a banner that will make you smile for many springs to come.
Spring Banner
Cathie Allan, Stony Plain, Alberta
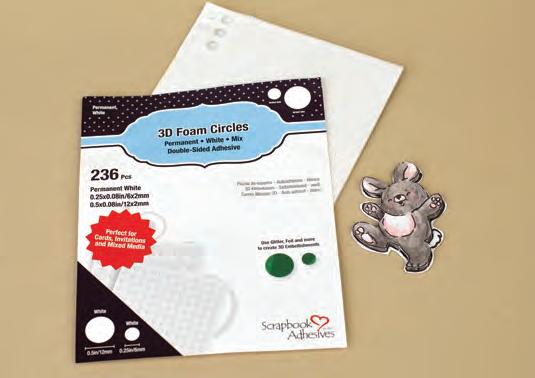
SUPPLIES: Art Impressions rubber stamps and dies, VersaColor pigment ink, VersaFine ink, OLFA cutting mat and craft knife, Faber-Castell PITTpens, Tonic Studios Nuvo watercolour pencil, gamsol, blending stump, Scrapbook Adhesives by 3L 3D Foam Circles, unknown raffia, embossing powder, kraft cardstock, blending brushes.
See Cathie’s instructions on how to create this banner next page >
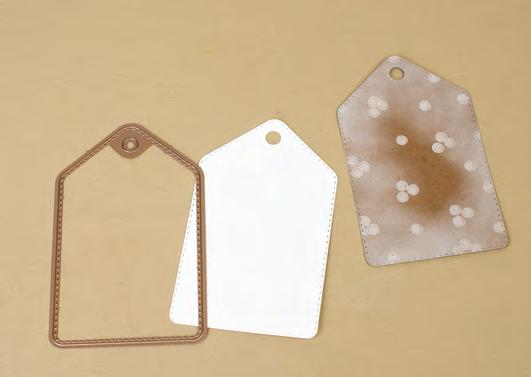
Using an Art Impressions tag die set, cut out the largest tag from kraft coloured cardstock.
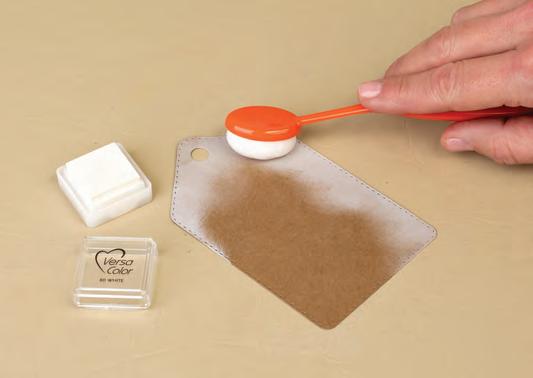

Using a blending brush, apply white pigment ink to the edges, leaving a small portion in the centre untouched.
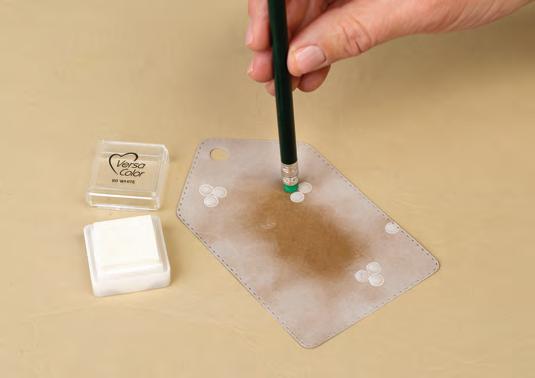
Use the eraser end of a pencil and white pigment ink to stamp white dots on the tag. Repeat Steps 1 to 3 to create five more tags. Set tags aside.
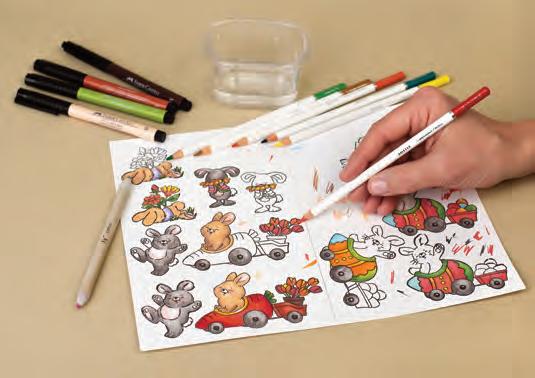
6. Colour the images FIRST with Faber-Castell PITT artist pens. Add shading over top with Tonic Studios Nuvo highly pigmented watercolour pencils. Blend the colours, using gamsol and a blending stump.
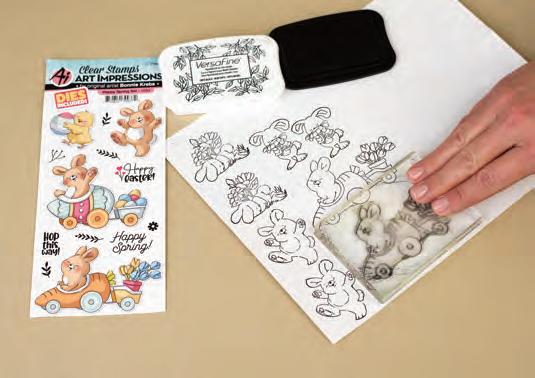
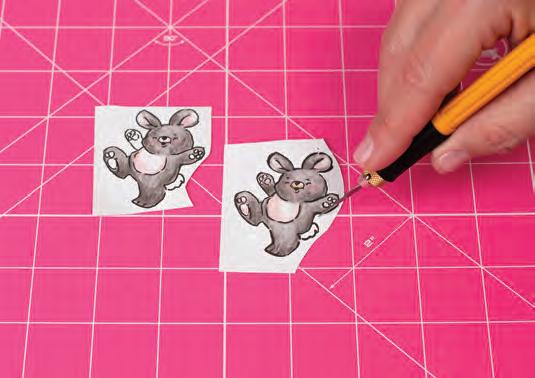
4. Fussy cut TWO of the same bunny images using an OLFA craft knife and cutting mat. Leave a slight white border around ONE of the images and NO border around the second image.
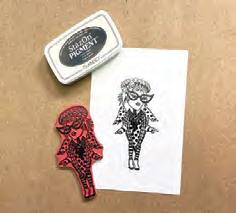
Stamp a variety of the Art Impressions bunny images, using black VersaFine ink on a white piece of cardstock.
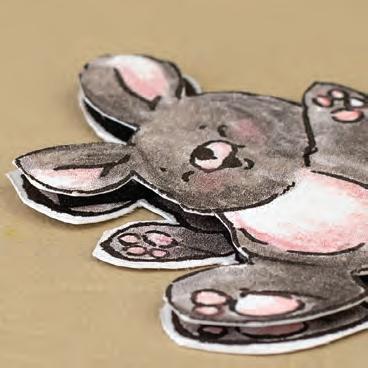
Use 3D foam tape to adhere the bunny with NO border onto the bunny with the white border. Repeat this process for five more images.
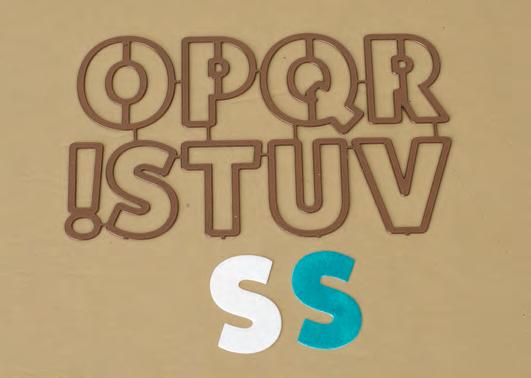
Using Art Impressions alphabet die and white cardstock, cut out the letters to spell SPRING. Ink letter S with turquoise ink, and emboss with clear embossing powder. REPEAT using different colours on the remaining letters.
Scraps Of Info
This detail shows the dimension created from the 3D foam and layering process ~ done in Step 7.
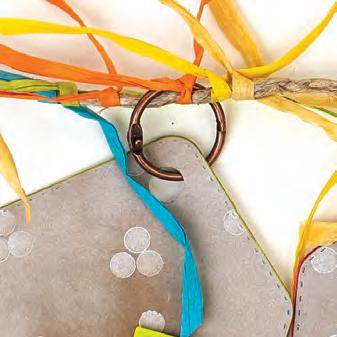
Die cut white tags from heavy Super Stock. Adhere them to the back of the decorative kraft coloured tags. This will make them STURDY. Assemble the tags as shown. Embellish with raffia and string together to form a banner.

By Jammie Clark


