
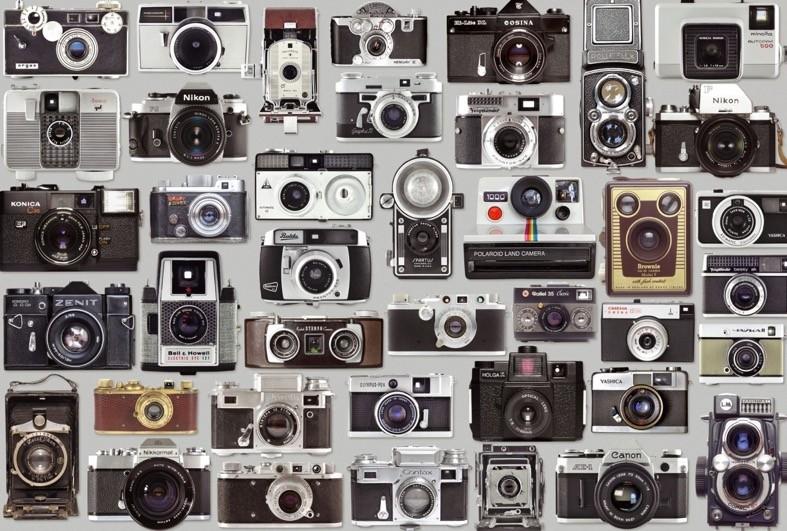
Camera equipment and suggested procedures What do we need to take great photos and how do we organize them?
Presented by Frank Spitale, Jon Gurry and Laura Schaub
Laura.SchaubFspitale@Lifetouch.comJgurry@Lifetouch.com@Shutterfly.com


What is the best camera you can have? Confidential and Proprietary PropertyInformation.ofLifetouch. What’s the answer?

The one you have with you! Confidential and Proprietary PropertyInformation.ofLifetouch.


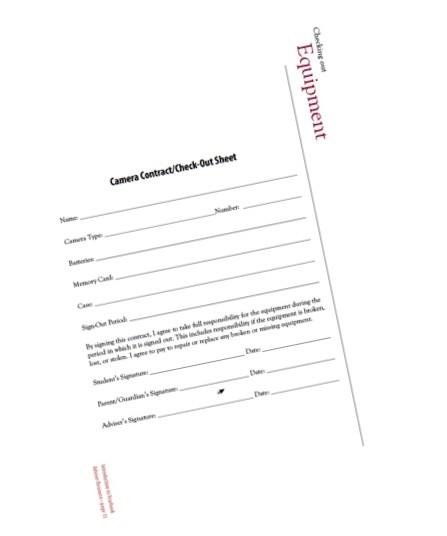
For advisers: Set up an equipment check-out system Set yourself up for success Confidential and Proprietary PropertyInformation.ofLifetouch.

editing and uploading Set yourself up for success Confidential and Proprietary PropertyInformation.ofLifetouch.


Be “picky” and only edit and upload the number of photos you will use on your design Set yourself up for success Confidential and Proprietary PropertyInformation.ofLifetouch.

● For advisers and students: ○ Create an organization system for photos (photo names, photographer’s name, event place/date) ○ Back-up all photos on an external hard drive, Google drive or other cloud storage unit ○ Edit and tag photos when uploading ○ Establish rules for photo correction in photo programs ○ Learn more about Community Upload for those wanting to share photos with the yearbook staff. Set yourself up for success Confidential and Proprietary PropertyInformation.ofLifetouch.
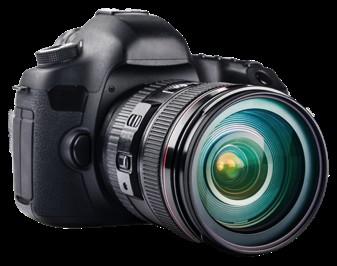
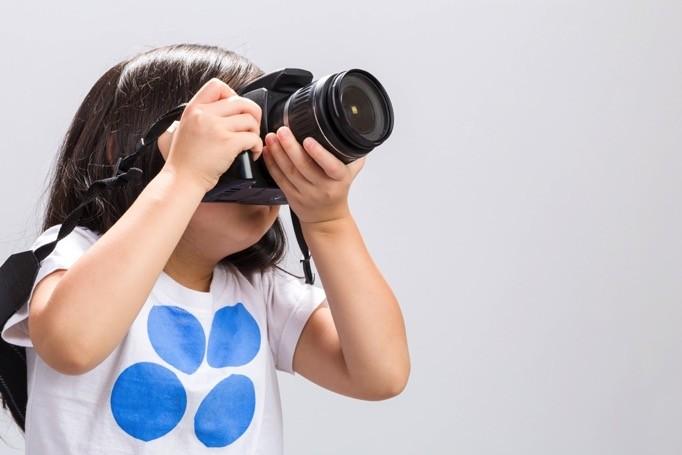
Set yourself up for success Confidential and Proprietary PropertyInformation.ofLifetouch. ● For students: Learn about your camera and equipment. ● Study the manual if using a digital single lens reflex (DSLR) camera? ● Watch online videos about specific camera equipment
An insider’s view of a 35 mm Digital Single Lens Reflex (DSLR) camera Camera basics Confidential and Proprietary PropertyInformation.ofLifetouch.
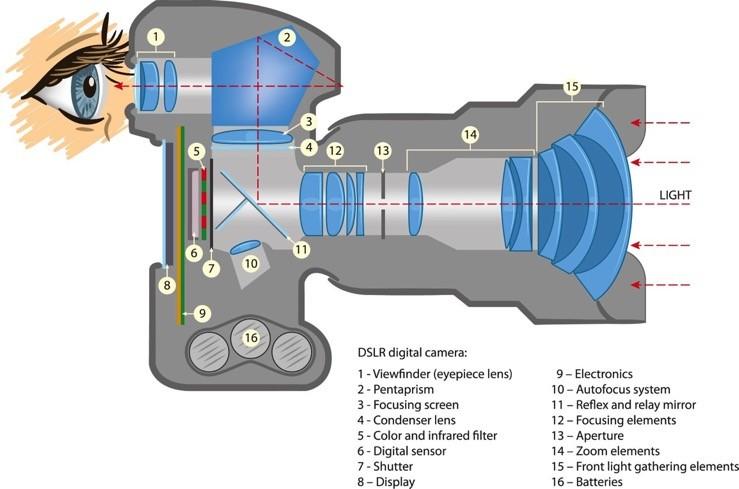
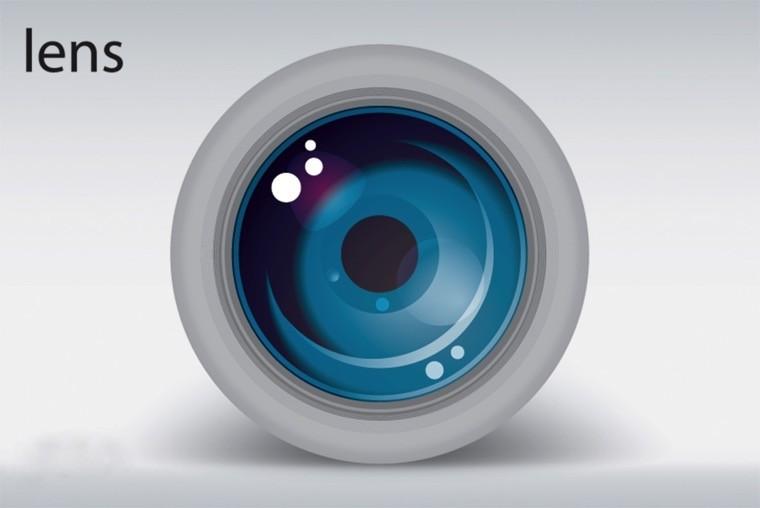
From the outside, your lens looks like an eye. Camera basics Confidential and Proprietary PropertyInformation.ofLifetouch.
Confidential and Proprietary PropertyInformation.ofLifetouch.
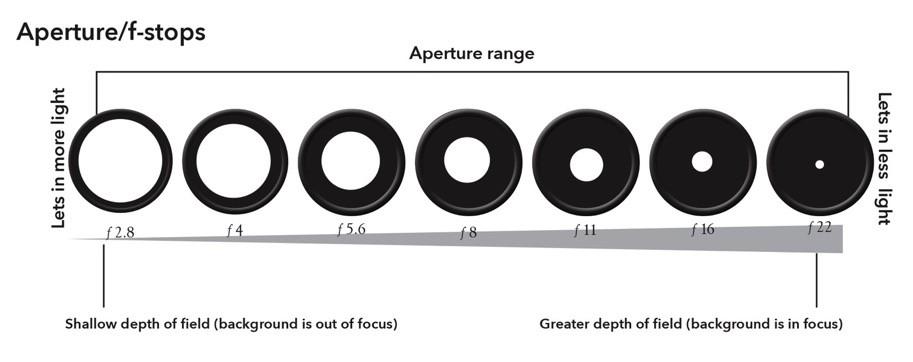
The aperture inside the lens works like the pupil in your eye. The wider the opening, the shallower the depth of field. To purposely blur the background, use f2.8 or f4. To have more “depth” in focus, use f16 or f22.
Aperture and f-stops
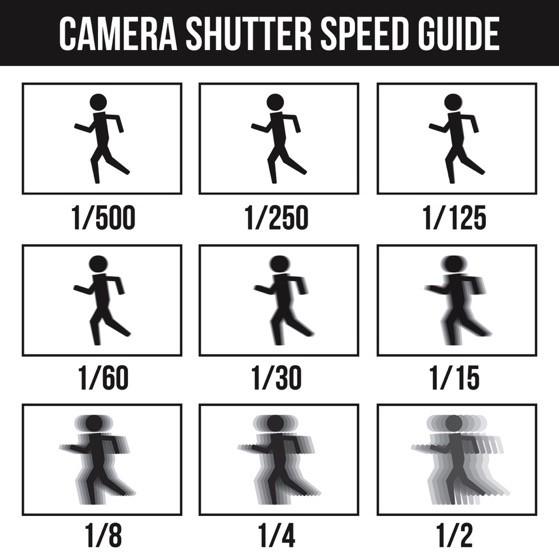
The shutter speed works like your eyelid, opening/closing in a fraction of a second. To stop action, use 1/250,1/500 or faster speed. To purposely blur action, use slower speed…1/60 or slower. Shutter speed Confidential and Proprietary PropertyInformation.ofLifetouch.
The camera’s setting to detect more or less light to create a good exposure. Brightly lit areas need a lower ISO (100-200). Dim or low light requires higher ISO (1600-3200 or higher). The higher the ISO number, the more “noise” (grain) in the photo.
ISO Confidential and Proprietary PropertyInformation.ofLifetouch.

• The camera’s setting to detect more or less light to create a good exposure. • Brightly lit areas need a lower ISO (100-200). • Dim or low light requires higher ISO (1600-3200 or higher). • The higher the ISO number, the more “noise” (grain) in the photo. • Your phone camera has editing capabilities, so study those. ISO Confidential and Proprietary PropertyInformation.ofLifetouch.

Same photo “denoised” in photo editing program. ISO Confidential and Proprietary PropertyInformation.ofLifetouch.
Shutter speed, aperture and ISO work together to create great exposures.
Exposure triangle Confidential and Proprietary PropertyInformation.ofLifetouch.

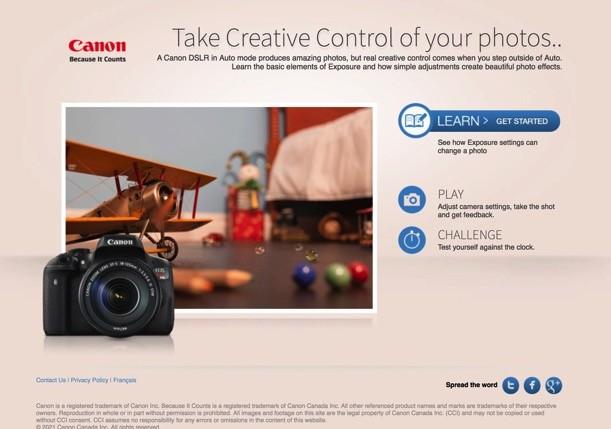
Shutter speed, aperture and ISO work together to create great exposures. Exposure triangle Confidential and Proprietary PropertyInformation.ofLifetouch. http://canonoutsideofauto.ca Let’s go to this website to learn and play:
Automatic settings Confidential and Proprietary PropertyInformation.ofLifetouch. ShuttermodeManualApertureprioritypriority Read your manual to determine how to set your camera manually. Program mode Landscape mode Sports mode Portrait(close-up)MacromodemodeAutomaticmode

Aperture priority Confidential and Proprietary PropertyInformation.ofLifetouch. Wide aperture vs. narrow aperture It allows you to use shallow…or greater depth of field dlifhllhSaowDeptoFe peaeGrtrDethofField

Aperture priority Confidential and Proprietary PropertyInformation.ofLifetouch. Wide aperture (f 2.8) The smallest number = the widest opening and creates shallow depth of field

Aperture priority Confidential and Proprietary PropertyInformation.ofLifetouch. Small aperture (f 22) The largest number = the smallest opening and creates the longest depth of field

Aperture priority (another way to remember… Confidential and Proprietary PropertyInformation.ofLifetouch. Manual mode: Aperture ● Lens opening (F-stop) ● Determines depth of field ● AV mode – Aperture priorityf/2.8f/22 f f f f f f f f f f f f f f f f f f f f f f f f f

Aperture priority Confidential and Proprietary PropertyInformation.ofLifetouch. Wide aperture in classroom (f 2.8. f 4 or f 5.6) The smallest number = the widest opening and creates shallow depth of field

Aperture priority Confidential and Proprietary PropertyInformation.ofLifetouch. Wide aperture – outside (f 2.8) The smallest number = the widest opening and creates shallow depth of field
Aperture priority Confidential and Proprietary PropertyInformation.ofLifetouch. Small aperture (f 8, f 11 or f 22) The larger the number, the more “field” will be in focus

Shutter
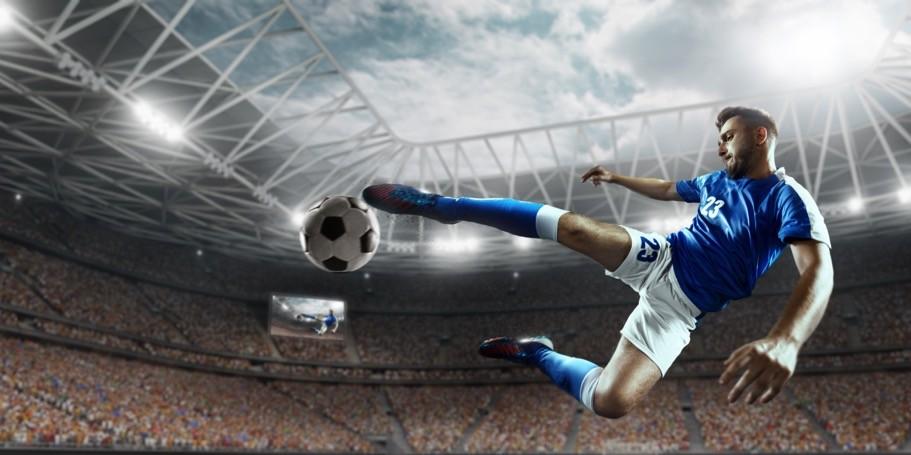
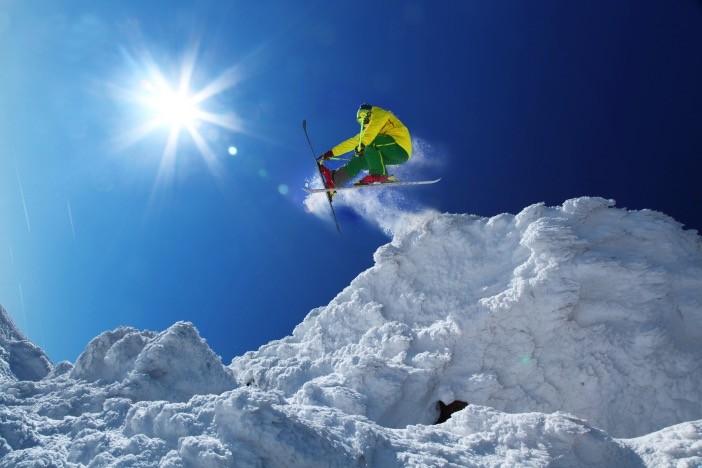
speed Confidential and Proprietary PropertyInformation.ofLifetouch. Fast shutter speed in shutter priority A fast shutter speed (1/250, 1/500, 1/1000) allows us to stop action
Shutter
speed Confidential and Proprietary PropertyInformation.ofLifetouch. Fast shutter speed in shutter priority A fast shutter speed (1/250, 1/500, 1/1000) allows us to stop action
A slow shutter speed
(1/15, 1/30, 1/60) allows us to purposely blur action
Confidential and Proprietary PropertyInformation.ofLifetouch. Slow
shutter
Shutter speed shutter speed in priority

ISO Confidential and Proprietary PropertyInformation.ofLifetouch. Manual mode: ISO setting Camera’s sensitivity to light – ranges from 100 and up More light available Less light available ISO 100 ISO 400 ISO 800 ISO 1600 ISO 6400 Less noise in photo More noise in photo Bright sunshine Cloudy day – diffused light Candlelight


ISO Confidential and Proprietary PropertyInformation.ofLifetouch. Manual mode: ISO setting (1600-3200 ISO) Camera’s sensitivity to light – ranges from 100 and up The higher the ISO number, the more noise that appears in the picture


ISO Confidential and Proprietary PropertyInformation.ofLifetouch. Manual mode: ISO setting – low number – bright light ISO between100-400
ISO Confidential and Proprietary PropertyInformation.ofLifetouch. Manual mode: ISO setting – medium number – diffused light ISO between 400-800

ISO Confidential and Proprietary PropertyInformation.ofLifetouch. Manual mode: ISO setting – high number – low light ISO between 900 and up

Confidential and Proprietary PropertyInformation.ofLifetouch. QUIZ! Shutter Priority or Aperture Priority? 1. If I am photographing a sporting event, what is my “main” priority? 2. If I am photographing a classroom group picture what is my “main” priority? 3. If I am photographing the entire senior class on the football field, what is my “main” priority? 4. If I am photographing a student, but trash cans are behind him - how do I blur the trash cans? What is my priority? 5. If I am in the gym and I want to capture that slam dunk during the basketball game, what is my priority? 6. Beyond the shutter and lens opening (aperture) what overrides everything? a. Getting the shot b. Exposure c. Overcoming your anxiety to be there d. Having a camera and being at the event: before, during and after it happened
Confidential and Proprietary PropertyInformation.ofLifetouch. Manual mode: To gain greater understanding… Go Andhttp://to:canonoutsideofauto.calearn,playandchallenge yourself against the clock
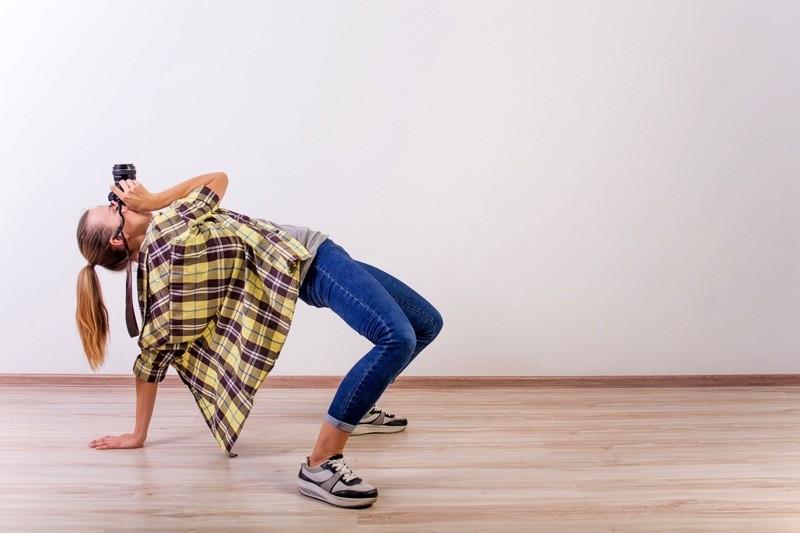
Confidential and Proprietary PropertyInformation.ofLifetouch. You don’t have to be a contortionist to be a great photographer
Confidential and Proprietary PropertyInformation.ofLifetouch. Holding Your Camera ●Vertical vs. Horizontal ●The Camera Strap: wrapped in your right hand or over your ●headElbows in to steadily brace your camera. ●Place your shoulder against a wall for support and proper ●bracing.Vertical: Turn the camera so the Grip is on top ●Ensure that your images will not come out blurry. ○Lens Stabilization is on ○Shutter speed is above 1/60th of a second. Often considered the lowest hand-held SS.
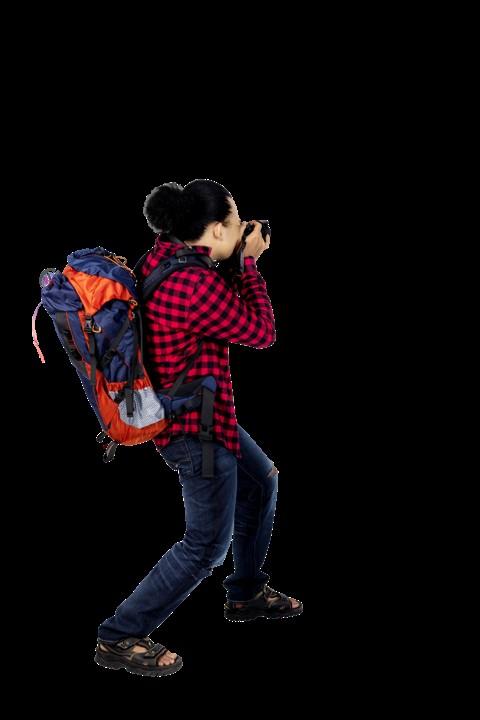
Confidential and Proprietary PropertyInformation.ofLifetouch. Let’s look at the DSLR first – Stabilize yourself • How you position yourself depends on the subject you photographingare • Stabilize yourself so the camera doesn’t move • Lean against a wall • Move your feet apart • Bend your knees • Become a human tripod • Use a tripod or monopod
Confidential and Proprietary PropertyInformation.ofLifetouch. Let’s look at the DSLR first – Stabilize your shot ● Pull your arms close to your torso ● Cradle the lens in your left hand ● Hold your breath ● Move only your right index finger to press the button
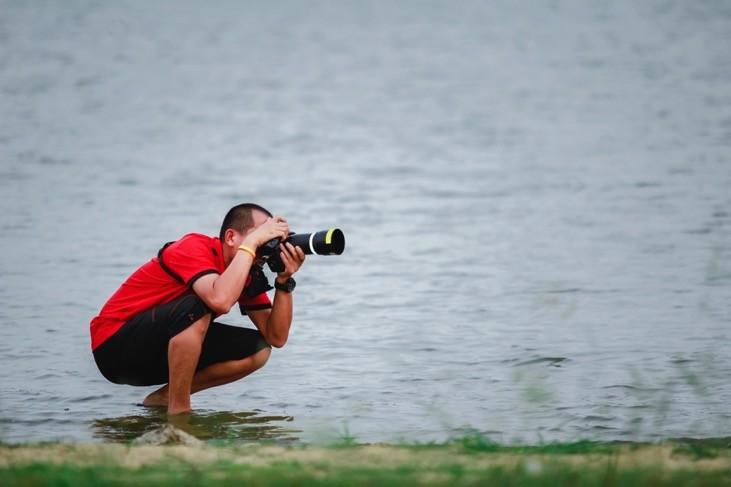
Let’s look at the DSLR first – Stabilize your shot ● Note the photographer’s stance to stabilize his photo ● Where are his feet? ● How is he holding the camera? ● Where are his arms?

Confidential and Proprietary PropertyInformation.ofLifetouch. Let’s look at the DSLR first – Stabilize your shot Use a tripod

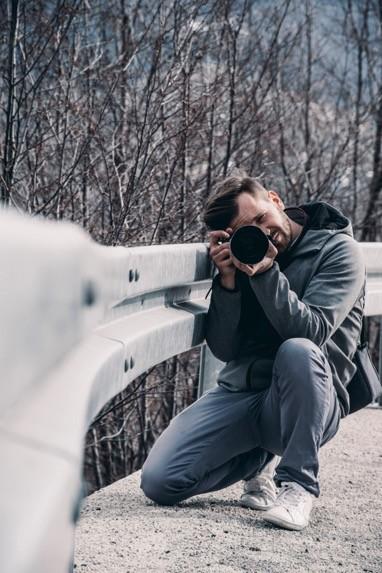
Confidential and Proprietary PropertyInformation.ofLifetouch. Let’s look at the DSLR first – Stabilize your shot Crouch down and rest your elbows on your knees
Confidential and Proprietary PropertyInformation.ofLifetouch. Let’s look at the DSLR first – Stabilize your shot Spread feet apart

Confidential and Proprietary PropertyInformation.ofLifetouch. Let’s look at the DSLR first – Stabilize your shot Kneel down and rest elbow on one knee
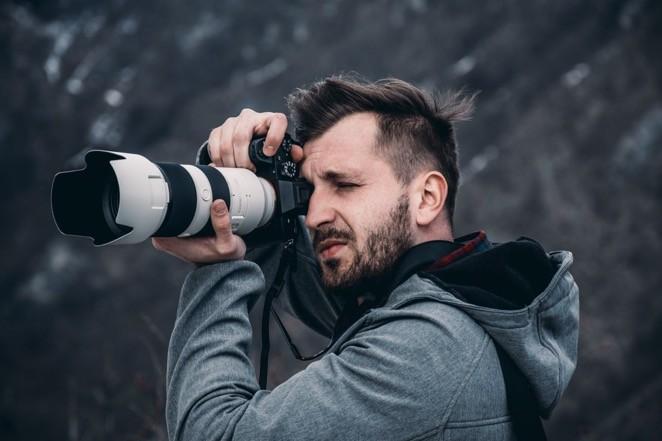
Confidential and Proprietary PropertyInformation.ofLifetouch. Let’s look at the DSLR first – Stabilize your shot Cradle the lens with your left hand
Confidential and Proprietary PropertyInformation.ofLifetouch. Let’s look at the DSLR first – Stabilize your shot Sit down, cradle the lens and pull arms tight toward your body

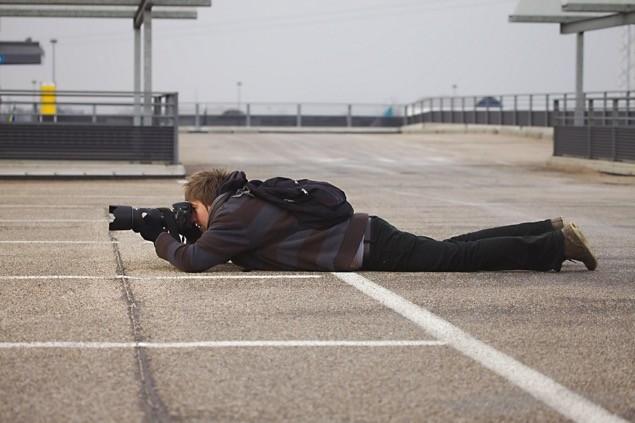
Confidential and Proprietary PropertyInformation.ofLifetouch. Let’s look at the DSLR first – Stabilize your shot Rest arms on the ground
Confidential and Proprietary PropertyInformation.ofLifetouch. Let’s look at the DSLR first – Stabilize your shot Rest elbows on the ground
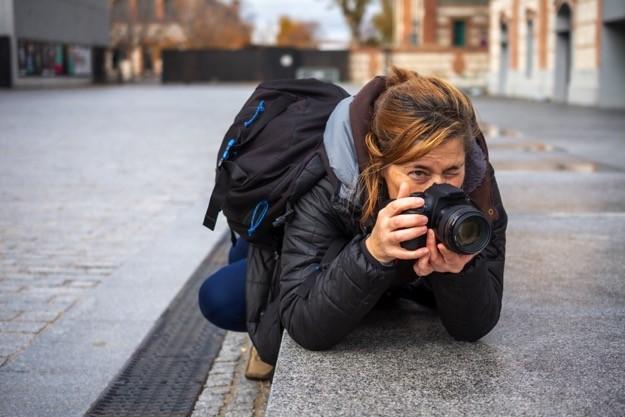
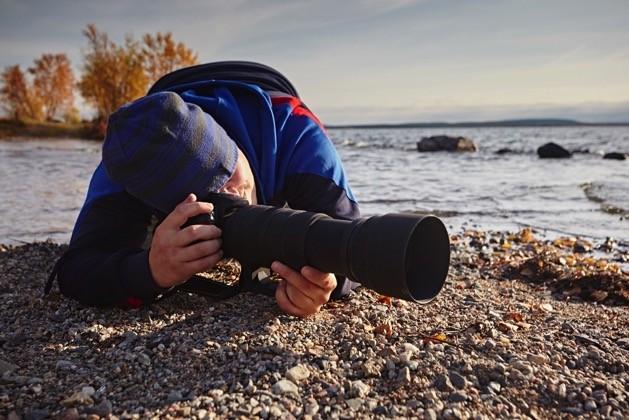
Confidential and Proprietary PropertyInformation.ofLifetouch. Let’s look at the DSLR first – Stabilize your shot For low-angled shots, position yourself on your stomach, stabilize the camera with your elbows on the ground and cradle the lens in your left hand
Confidential and Proprietary PropertyInformation.ofLifetouch. Let’s look at the DSLR first – Stabilize your shot Arms tight and lens cradled
Confidential and Proprietary PropertyInformation.ofLifetouch. Let’s look at the DSLR first – Stabilize your shot Lens cradled in left hand; left arm tight against body
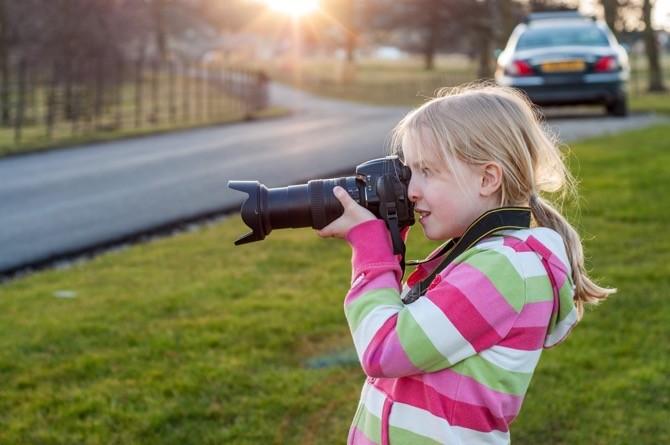
Confidential and Proprietary PropertyInformation.ofLifetouch. Let’s look at the DSLR first – Stabilize your shot Even this youngster holds the camera correctly!
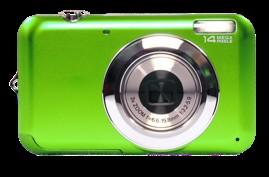
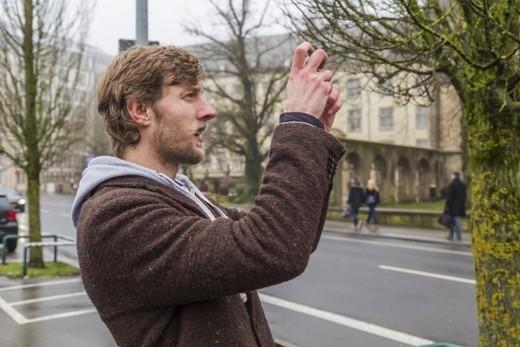
Property of Lifetouch. Smartphone Photography Most yearbooks are filled with images • Each year, more yearbooks feature photos taken with •smartphonesIt’simportant to understand how to hold the smartphone when taking photos •It’s also important to know the dos and don’ts when taking pictures with smartphones and sending them to the yearbook staff.

Confidential and Proprietary PropertyInformation.ofLifetouch. Smartphone Photography Know the dos and don’ts • Study the settings on your phone • You can now upload HEIC images, but if you want to correct images in Photoshop, switch your export settings to .jpg •Don’t zoom in on your phone. It will create a pixelated image • Pay attention to your light source • Stabilize your smartphone when taking pictures with it • Email you photo rather than texting it to maintain the photo’s resolution • You can edit your photos in the camera app

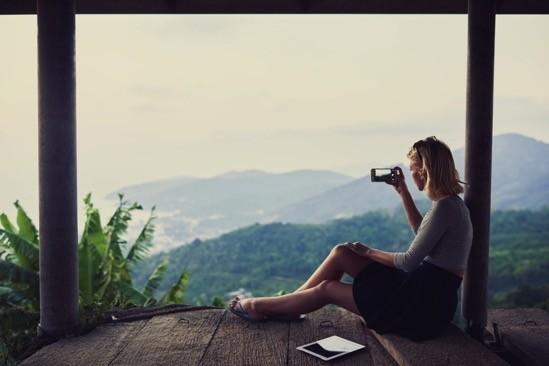
Confidential and Proprietary PropertyInformation.ofLifetouch. Smartphone Photography Let’s look at how to hold smart phones for taking pics ● Stabilizing camera with two hands is best ● Keep your fingers away from the camera ● Keep your arms close to your body ● Use a selfie stick or cell phone tripod to stabilize your pictures
Confidential and Proprietary PropertyInformation.ofLifetouch. Smartphone Photography Let’s look at how to hold smart phones for taking pics Most people hold smartphones like this when taking pictures, but the photos are not always sharp due to camera movement
Confidential and Proprietary PropertyInformation.ofLifetouch. Smartphone Photography Let’s look at how to hold smart phones for taking pics Sit and rest at least one elbow against your knee

Confidential and Proprietary PropertyInformation.ofLifetouch. Smartphone Photography Let’s look at how to hold smart phones for taking pics Sit with elbows on knees

Confidential and Proprietary PropertyInformation.ofLifetouch. Smartphone Photography Let’s look at how to hold smart phones for taking pics Position yourself on your stomach and rest elbows on the ground
Confidential and Proprietary PropertyInformation.ofLifetouch. Smartphone Photography Let’s look at how to hold smart phones for taking pics How could this person stabilize her camera even more?
Confidential and Proprietary PropertyInformation.ofLifetouch. Burst mode… …will help you stabilize your image If you want more information about burst mode, email Frank Spitale at fspitale@lifetouch.com

Confidential and Proprietary PropertyInformation.ofLifetouch. So what have we learned about handling all cameras? • Photographers must stabilize their cameras to avoid blur • Ways to stabilize your camera include leaning against a wall, putting elbows on a ledge, moving feet apart and bending knees, using a tripod or becoming a “human tripod” • Take photos from high and low angles to gain unique perspectives on subjects • Don’t be a contortionist, but also don’t worry about looking funny in front of your friends when taking photos

Other important reminders ● Check your camera’s battery several hours before going to the event. ● Charge batteries, if needed. ● Watch your light source. Move if it’s not where you want it to be. ● Control the background and change your position, if necessary. ● Bring a notebook to take names of those photographed and notes about the event. ● Remember to check your camera settings to make sure they are correct for each situation. ● After photographing the event, download the photos to your computer and select the top 1020 photos that tell the story. ● Before uploading your images, make sure the exposure and cropping look good. Also check the resolution and change it to 300 dpi following the instructions in previous videos.

For smartphone cameras To better understand DPI or PPI: Check out this website for tips on using areHereGeographicPhototoCameraiting-apps-for-instagram/http://lovehardtraveloften.com/photography/best-edareHereiPhone_Photography_Tips_Organizationphotography-tips/#http://lovehardtraveloften.com/photography/iphone-smartphones.aresomesmartphoneappstofixphotos.Theyfreeorinexpensive:Plus2–asmartphoneappthatallowsusersusemanualsettingscourse:AustralianPhotographerChrisBrayaresomesmartphoneappstofixphotos.Theyfreeorinexpensive:
More resources… Check out this website for better understanding of DPI and Oneunderstandingdpi.pdfhttps://www.iprintfromhome.com/mso/PPI.morewebsitetohelpyourstudents understand https://www.j2b.com/filesize-dpiresolution:
Thank you For today’sattendingclass For more information, email us at: Laura.Schaub@Shutterfly.comFspitale@Lifetouch.comJgurry@Lifetouch.com