Create a Portrait Groups
Overview
Creating your own Portrait Group due to classes or groups being photographed after picture day or staff group was not indicated in the original information.
1. From the Home page, hover over Manage Assets and select Portrait Images. The Manage Portrait Images screen displays.


2. Select Click New Group
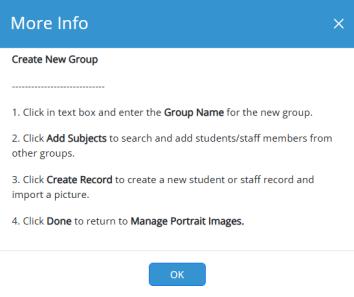
a. The More Info dialog box displays with the steps for adding a new Group.

3. Click Add. The Create New Group screen displays.
4. Enter the Group Name in the field. For example: Band, Art Club.

5. Click Add Subjects. The Add Subject(s) to Group [name] dialog box displays
6. Two ways to search for portraits.
a. Search for name-enter minimum of 2 characters in the field
b. Select Group-select the class or group to add from the drop down.
7. Photos will display in the dialog box once selected.
8. Click on the photo that needs to be added to the group. A green box will outline the photo.
9. Click Add to Group.
10. Create New Group screen displays with the photos added to the specific group created.
11. Click Save to save your photos added to the group.
View Created Group
1. Click on the Manage Assets and select Portrait Images from the drop down.
2. Under View Group Types click on the Created Group to filter to groups that were created.

3. Under Status it will have two options:
a. Ready to Flow: This means that photos for the group are ready to be flown onto a page.
b. Flown: This means that photos have already been flown.