
Basic design Creating a Step-by-step basic design
Book •
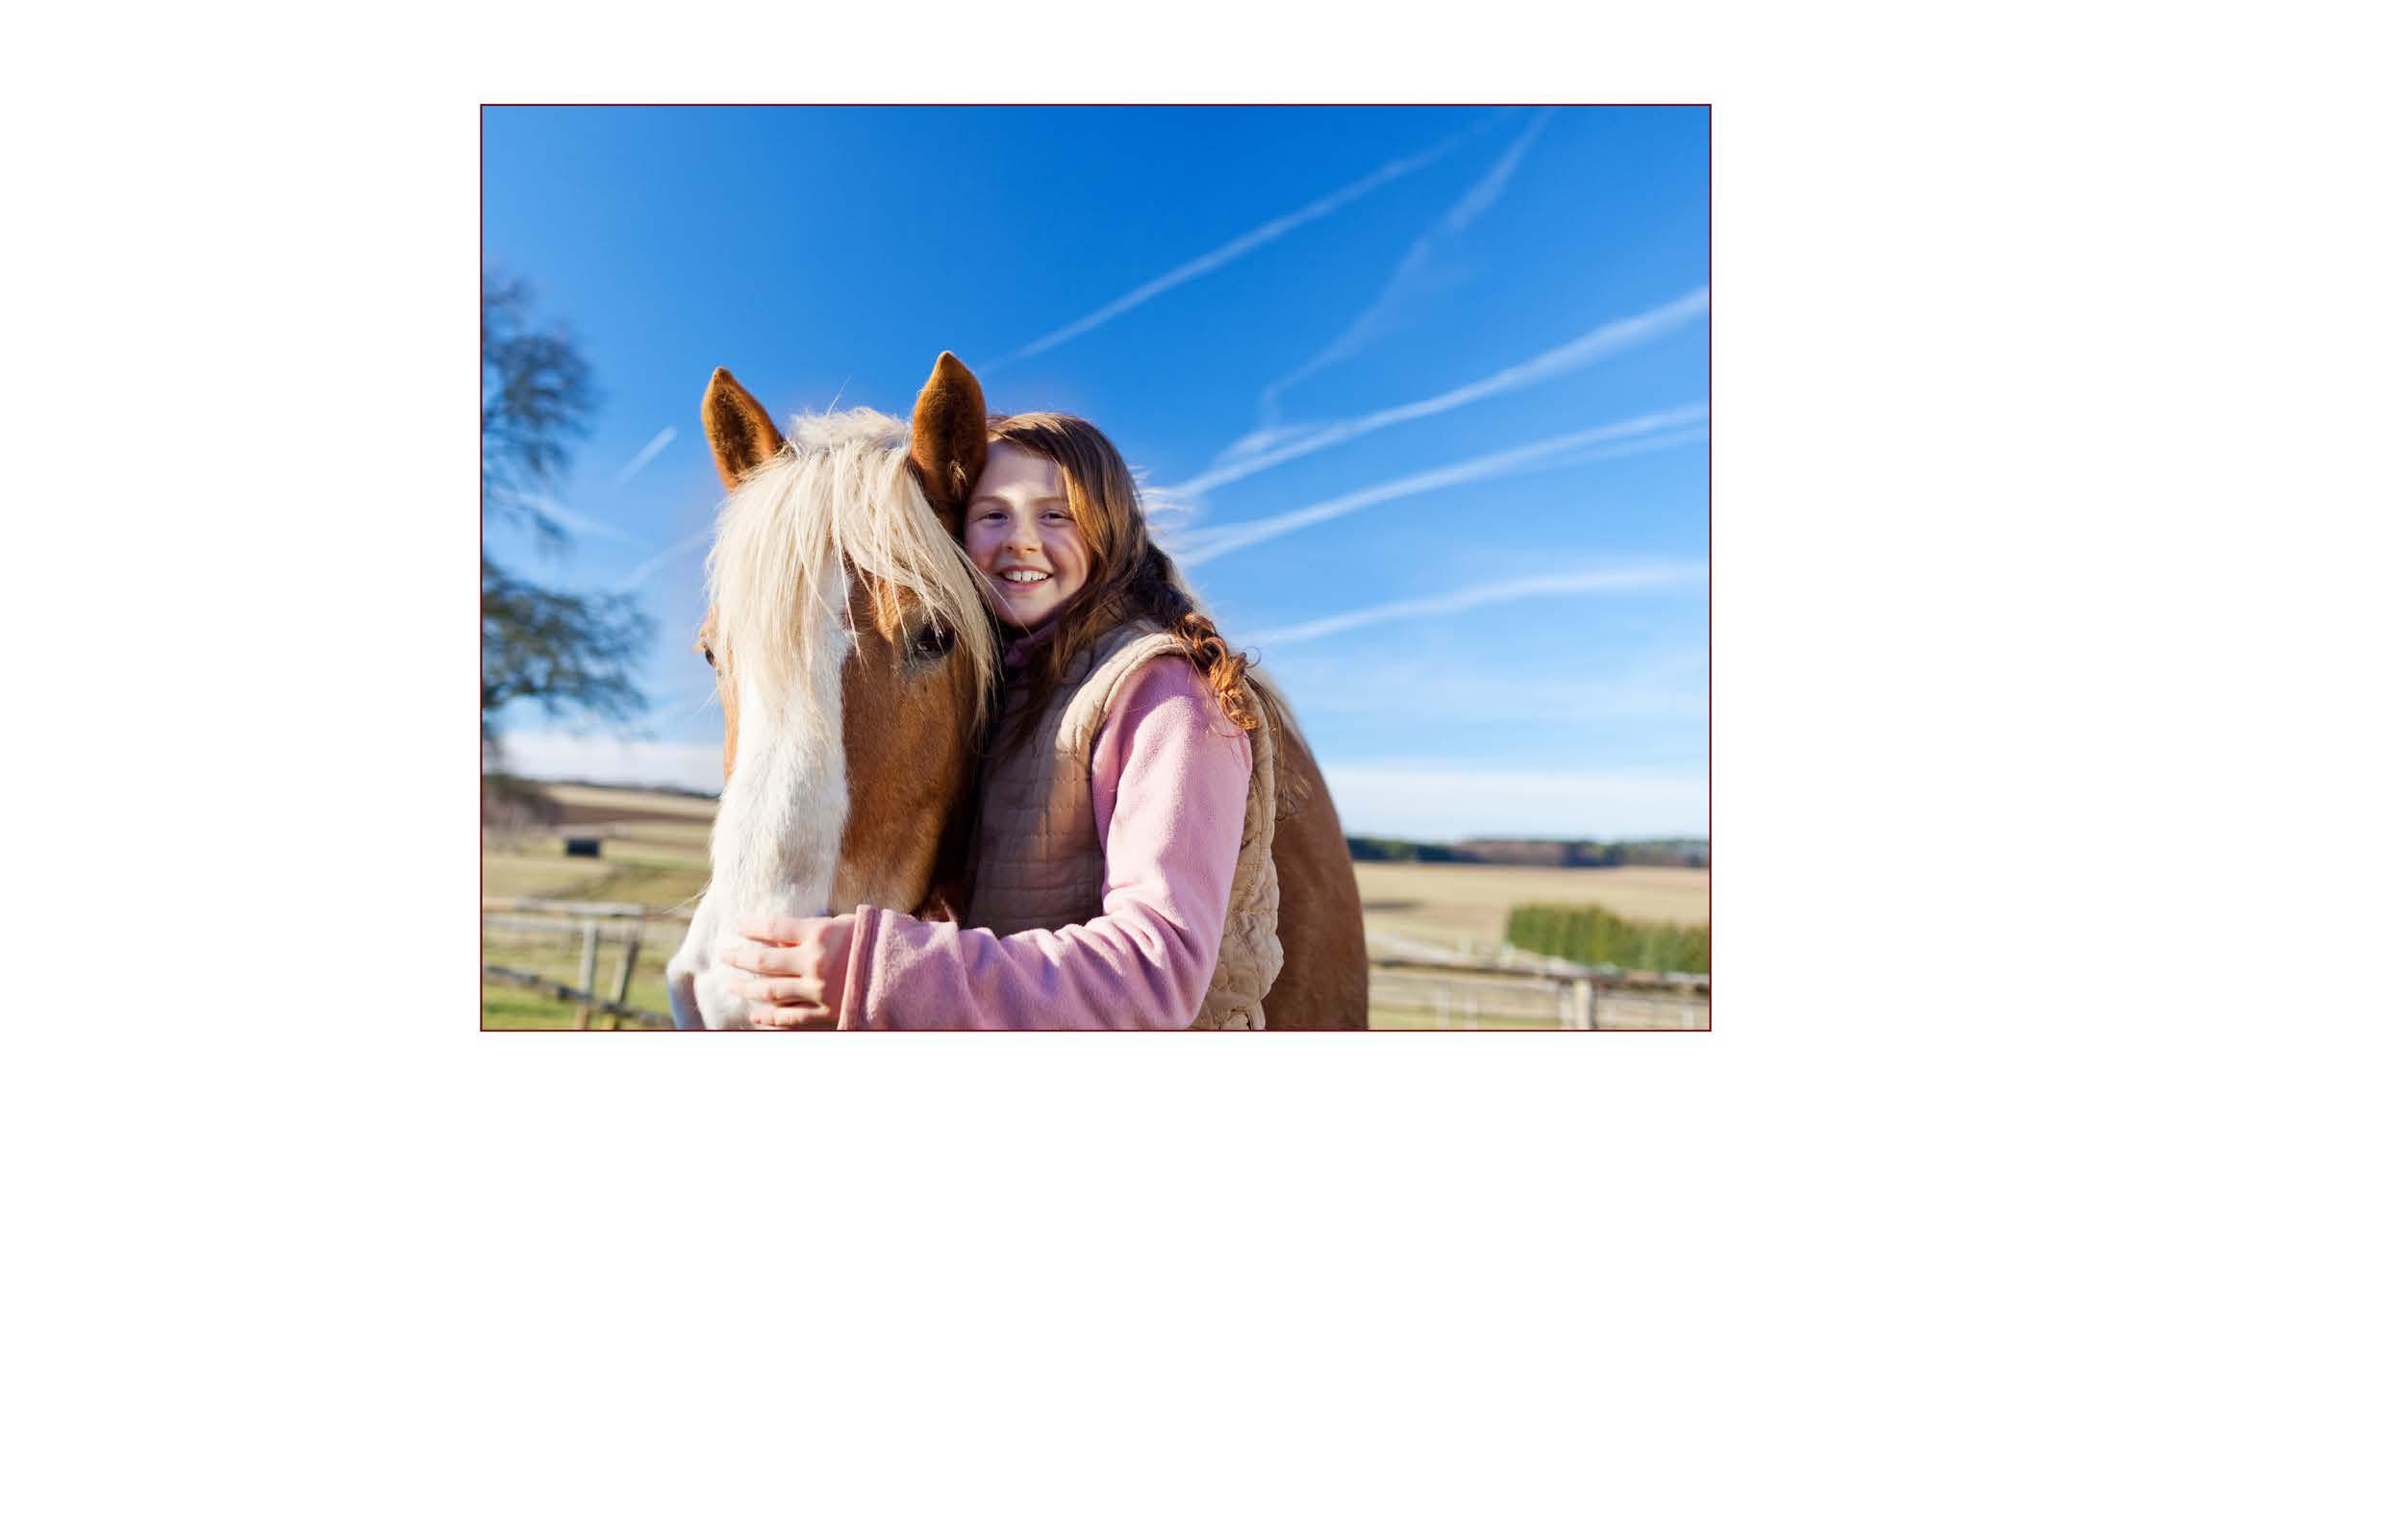
1. Select the best photo that represents the topic you’re covering and use it as your dominant picture. Place that image first.
5. Add the story and accompanying photos that enhance the story.
Eye-catching design begins with universal design elements.Usethe following steps to design a page layout on a practice sketch sheet. (See sketch sheet in the back portion of this section).
4. Design and place a primary and secondary headline to the outside of the spread.
6. Step back and study your design to view your entire story package. 17 Designing the
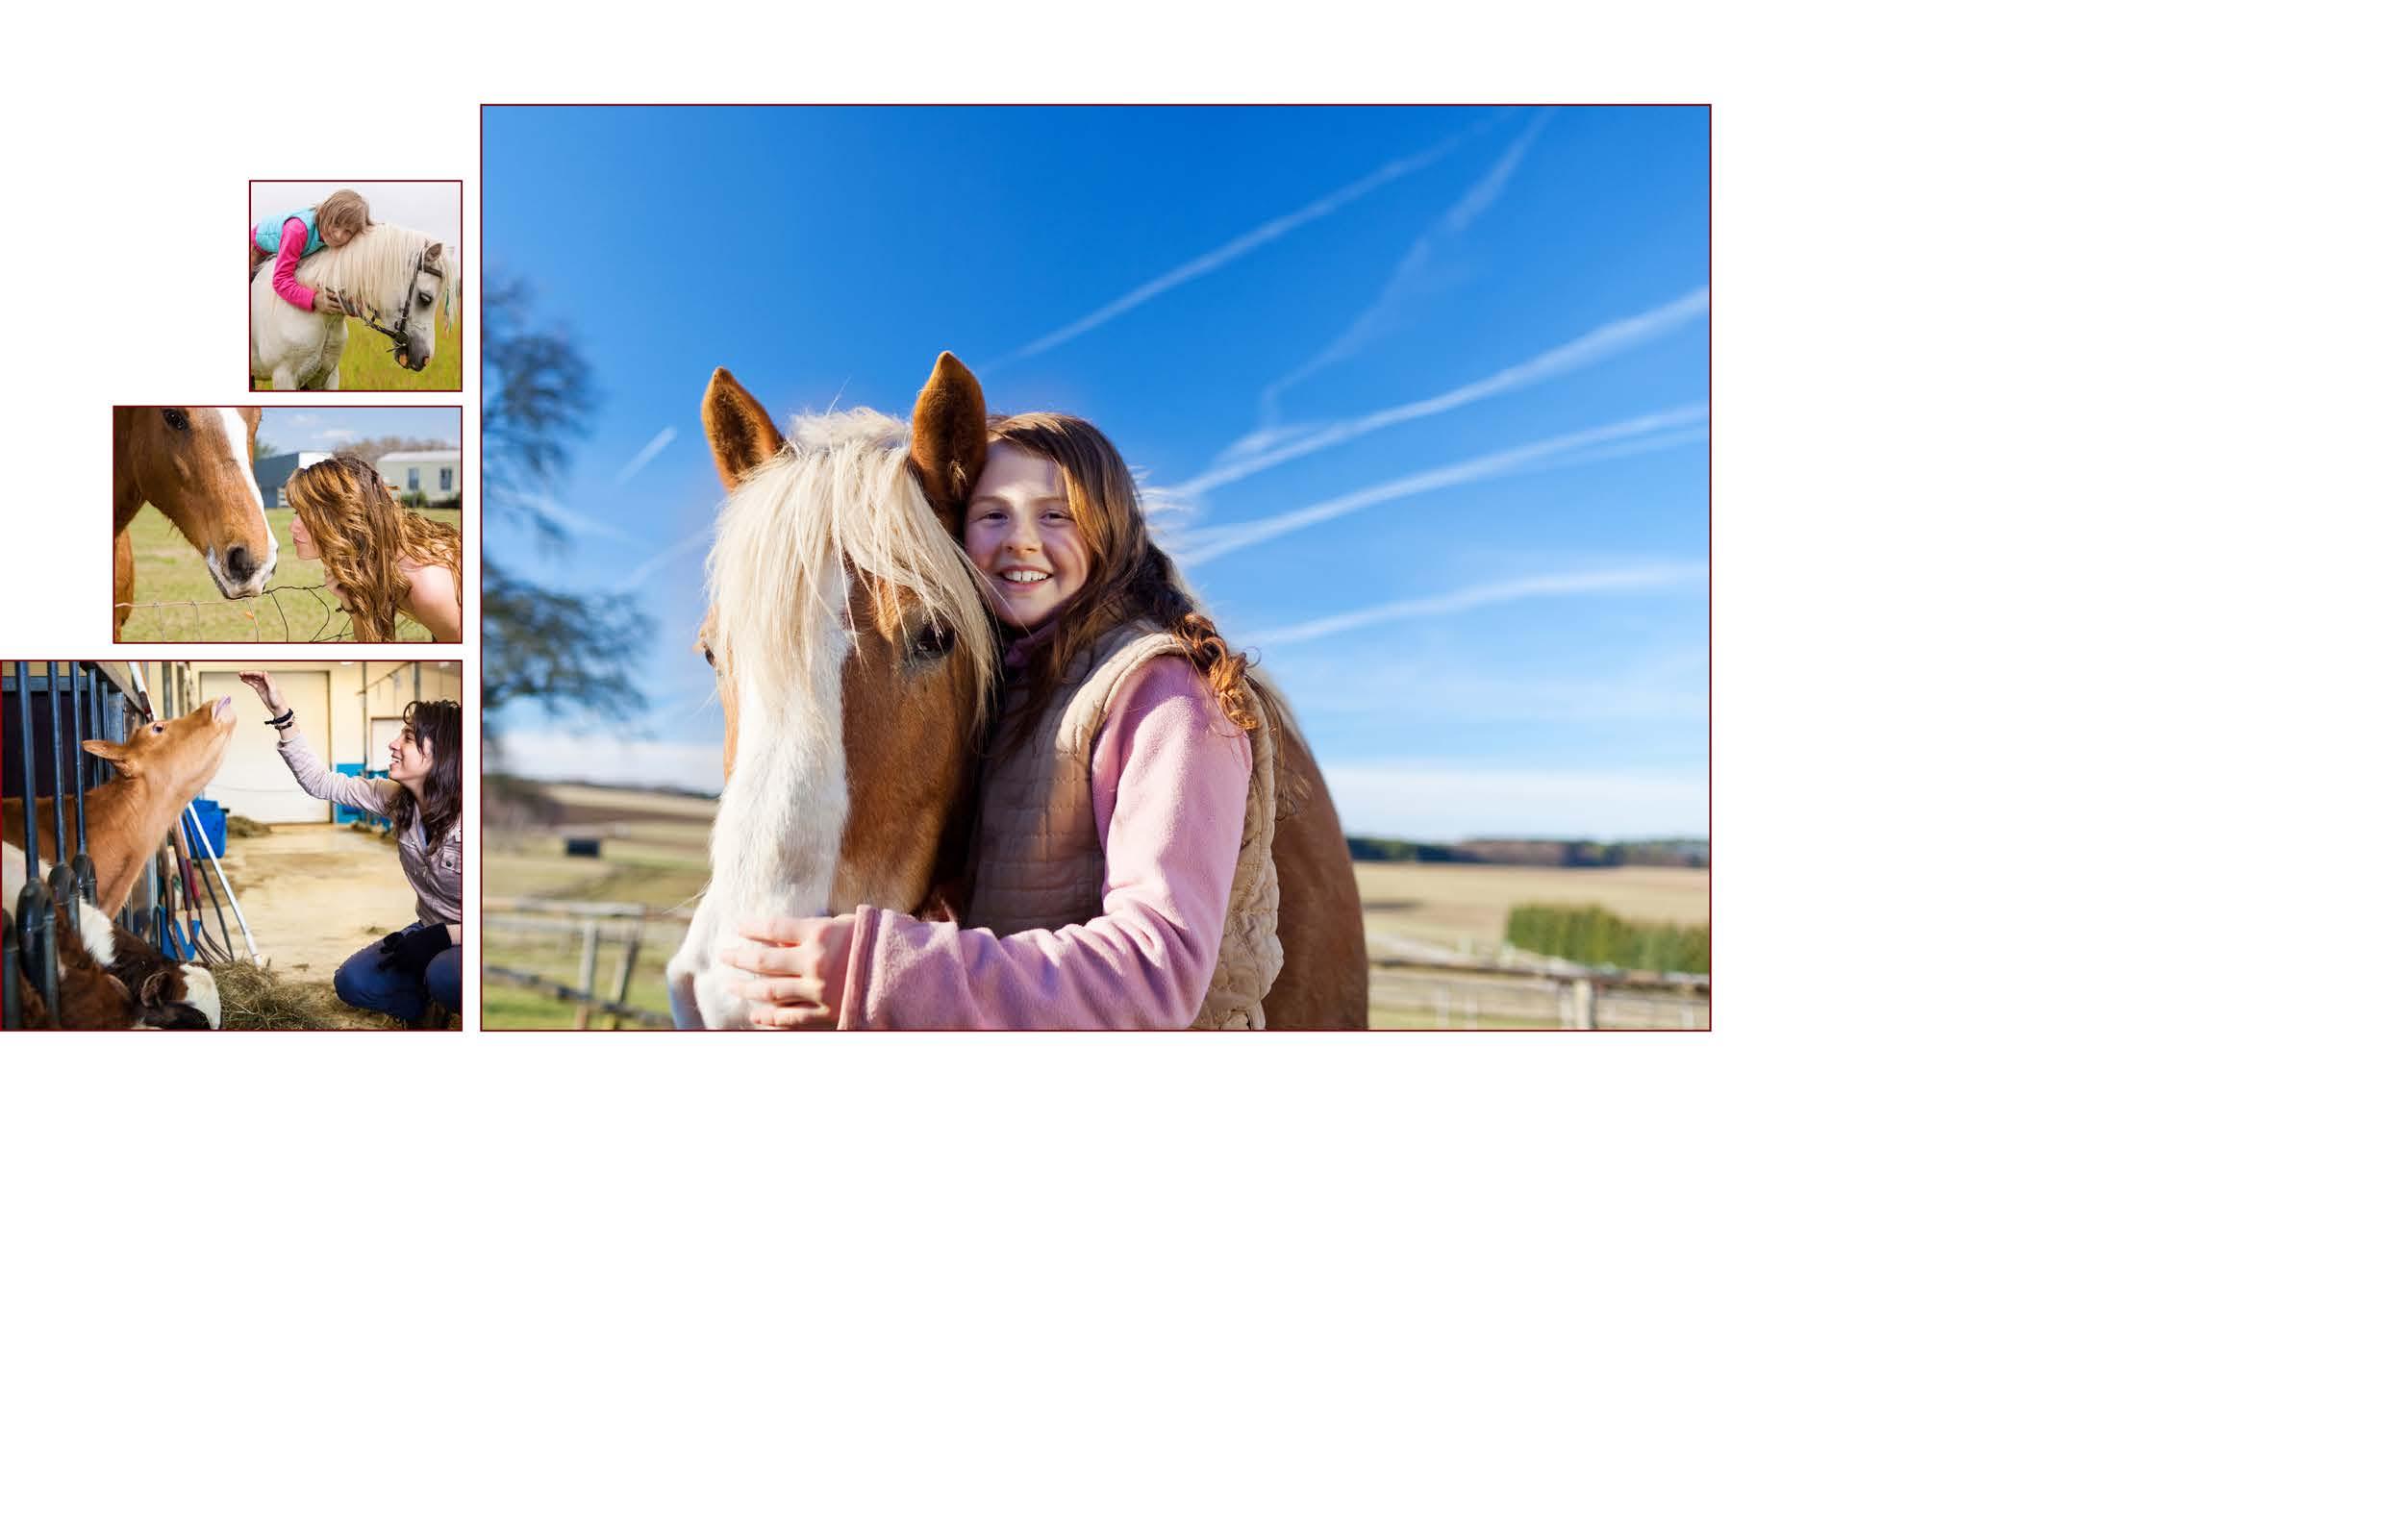
2. Choose additional photos and place them to the outside of the dominant, aligning them vertically and horizontally. (See example on pages 20-21 in this chapter).3.Place the captions to the outside of the design.

Step One: Choose a photo representing the topic and place it as your dominant photo. It should be larger than any other photo on the spread. Avoid placing faces or action in the gutter. the gutter Avoid placing faces or type in the gutter, the space where the book is bound. the
Book • 18 Designing
Remember
Step Two: Place storytelling photos in boxes that contrast with the dominant picture in both size and shape. Use one pica between each photo and align the small photos along their right sides. Use one pica between each photo and align the small photos to the right. Eyeline Align elements across the bottom using the dominant photo as a guide. This approach creates an eyeline, a subtle device used to link facing pages. Designing the
Book • 19
Remember...
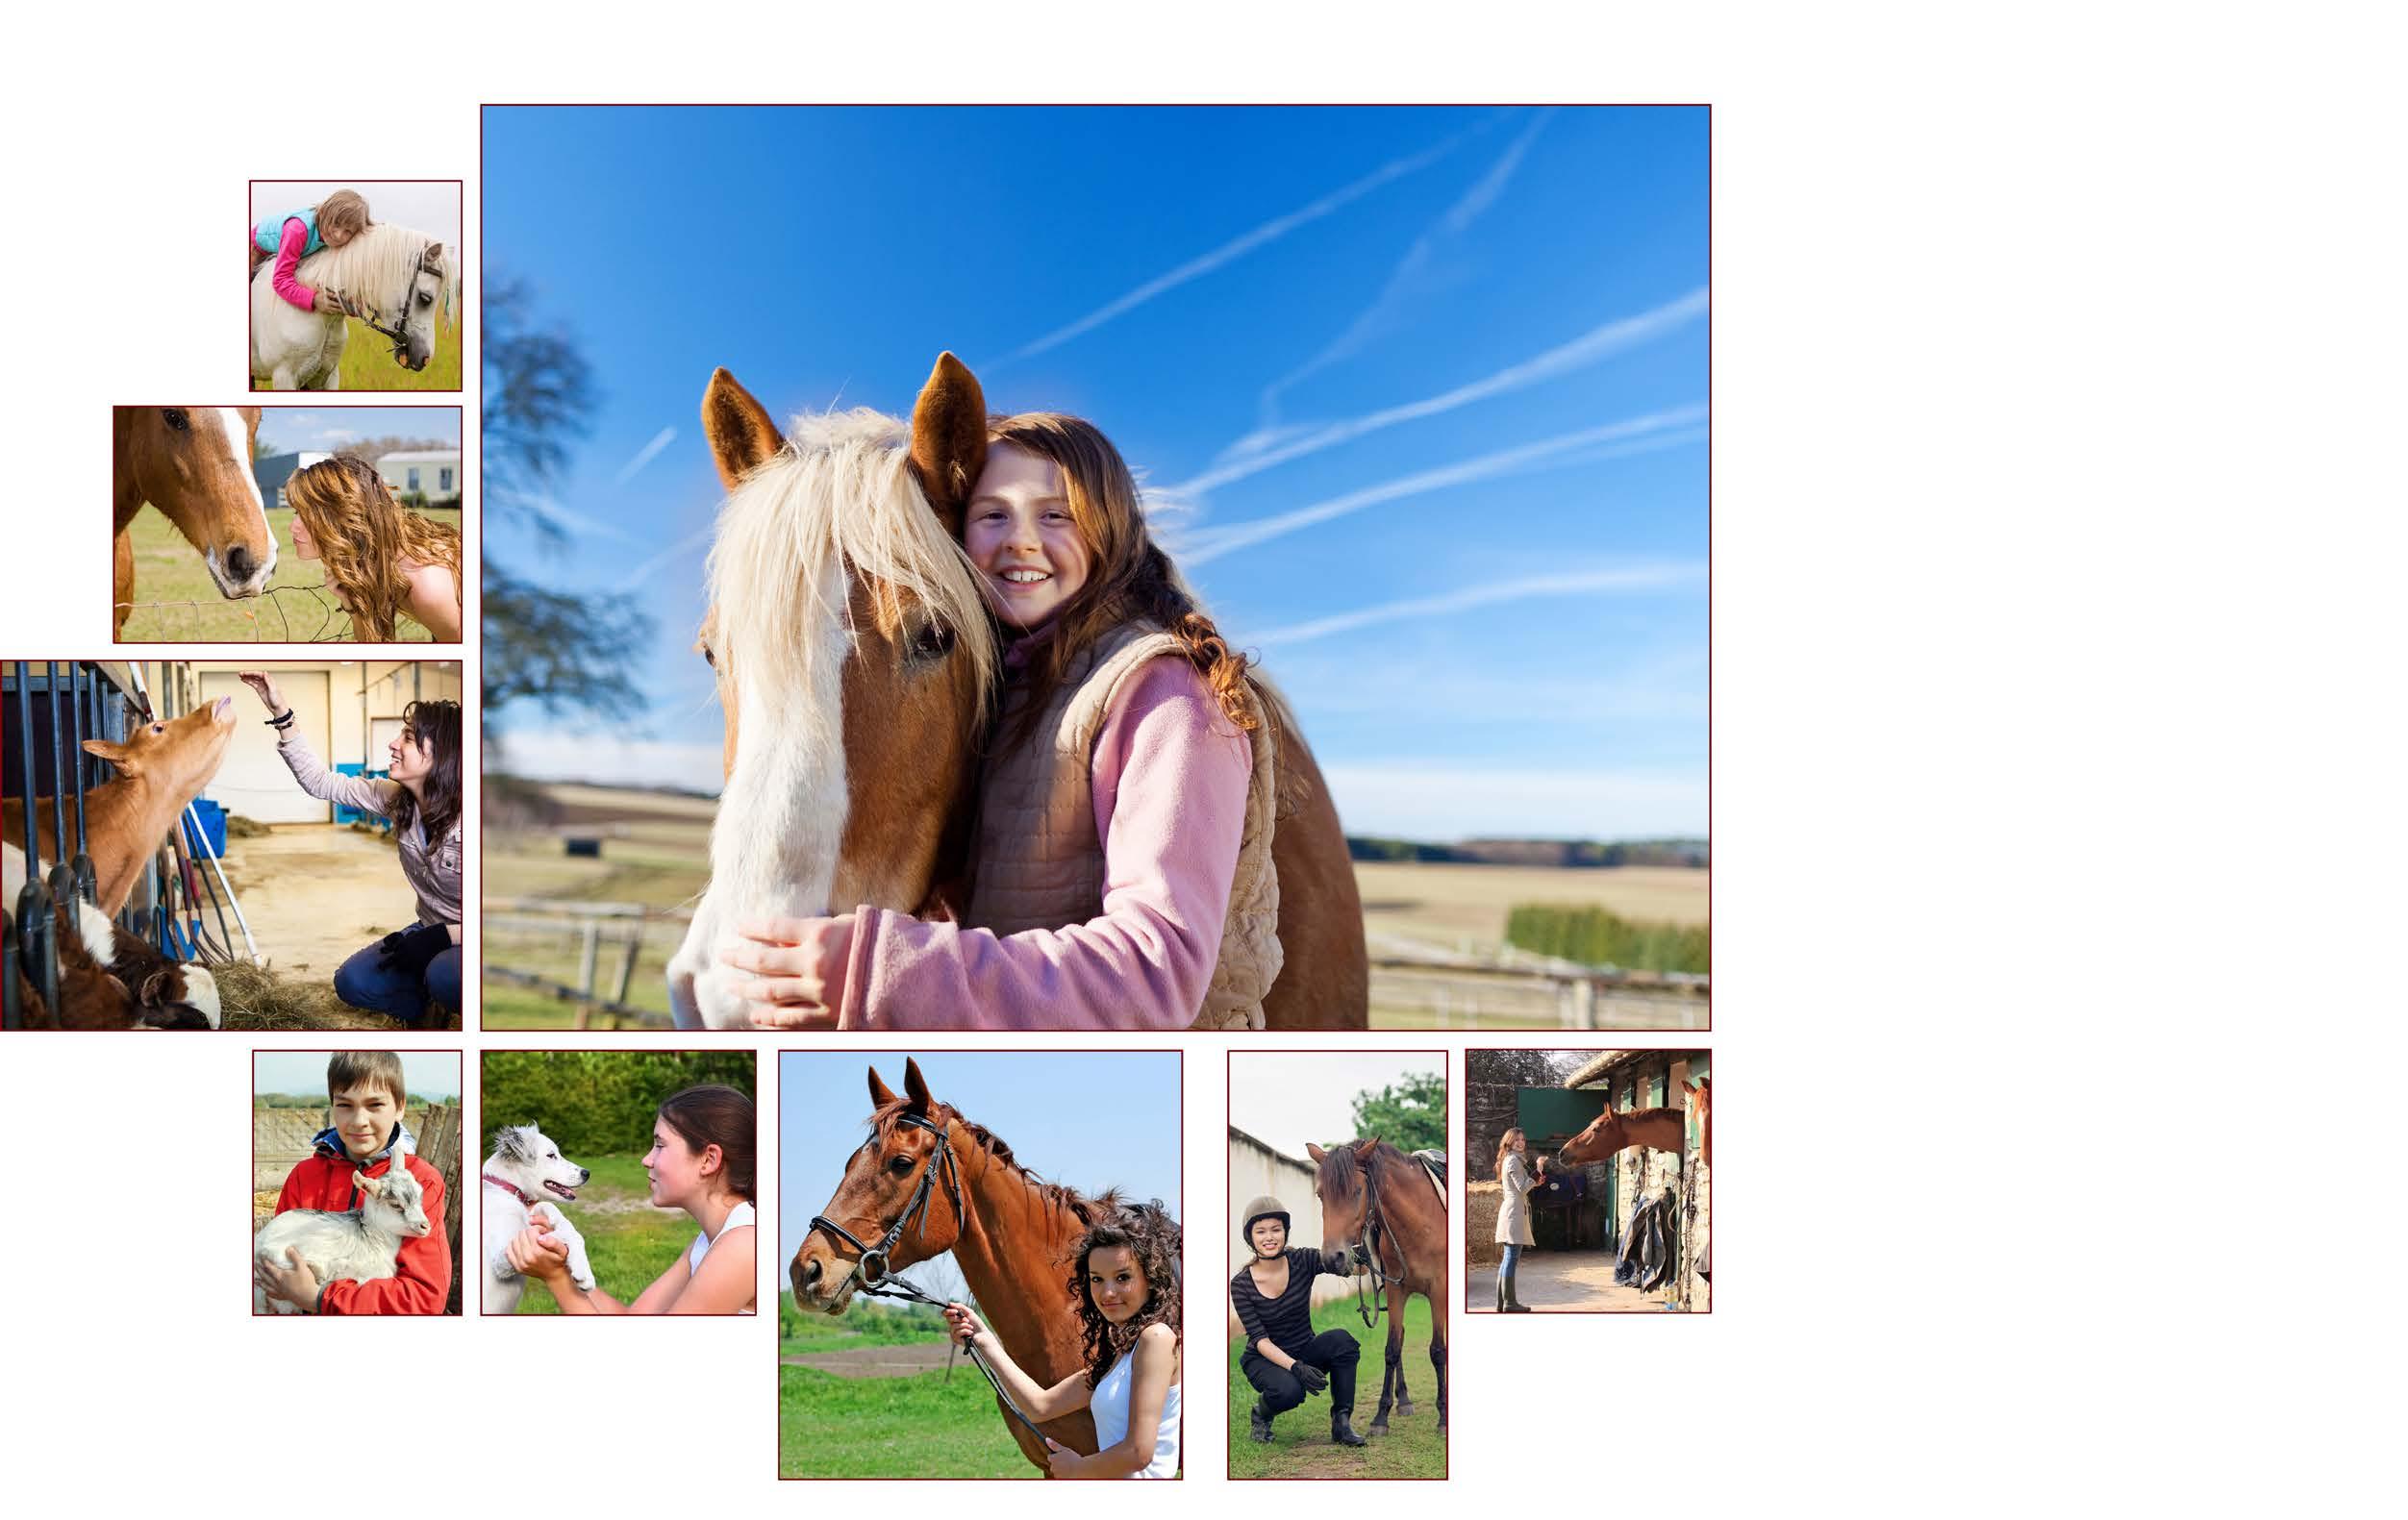
Add more photos: Continue to place photos in rectangular boxes that contrast with the dominant picture in both size and shape. Use one pica between each photo and align the small photos to the top to begin forming an eyeline. Remember... Use two picas between elements placed at the gutter, the place where the book is sewn and bound. Eyeline Aligning elements under the dominant photo using one-pica internal margins creates an eyeline, a subtle device used to link facing pages. Book • 20 Designing the
Step Three: Design and place captions near the photos they represent. Use a 14-point bold headline and 8-point caption text. Remember... Place captions to the outside of the design and maintain equal widths within the stacks. Remember... Place captions to the outside of the design and maintain equal widths within the stacks. Book • 21 Designing the
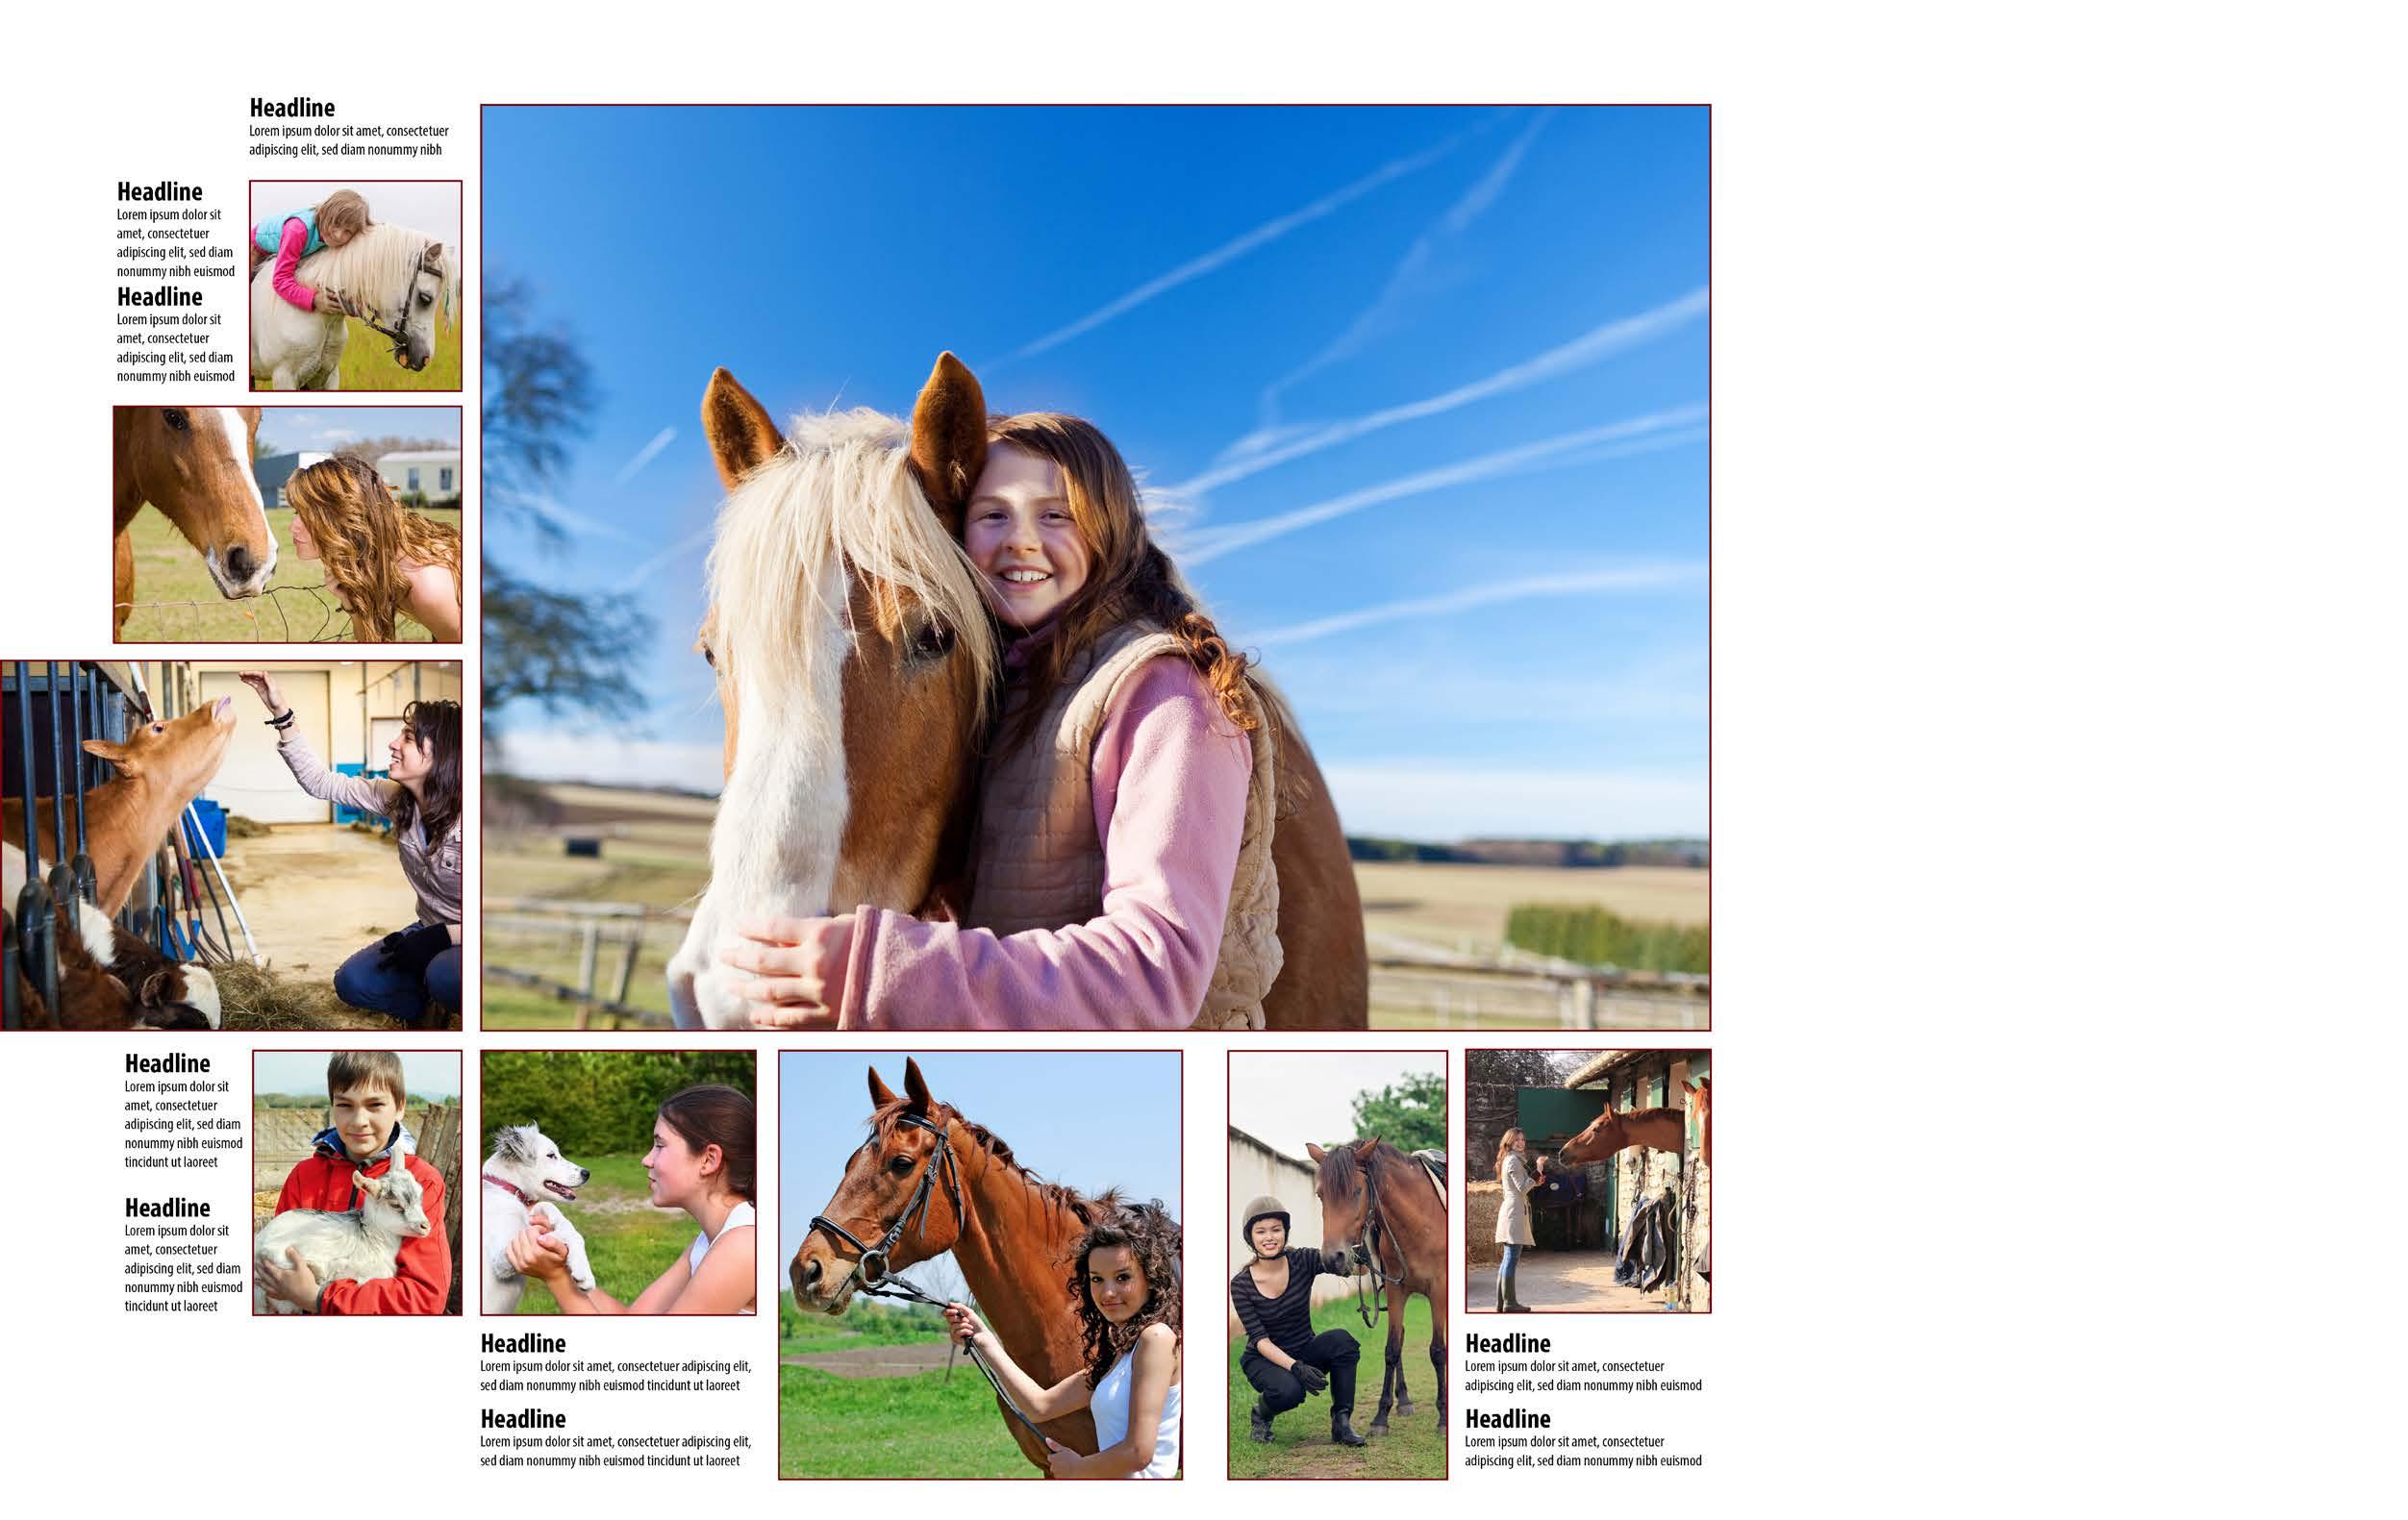
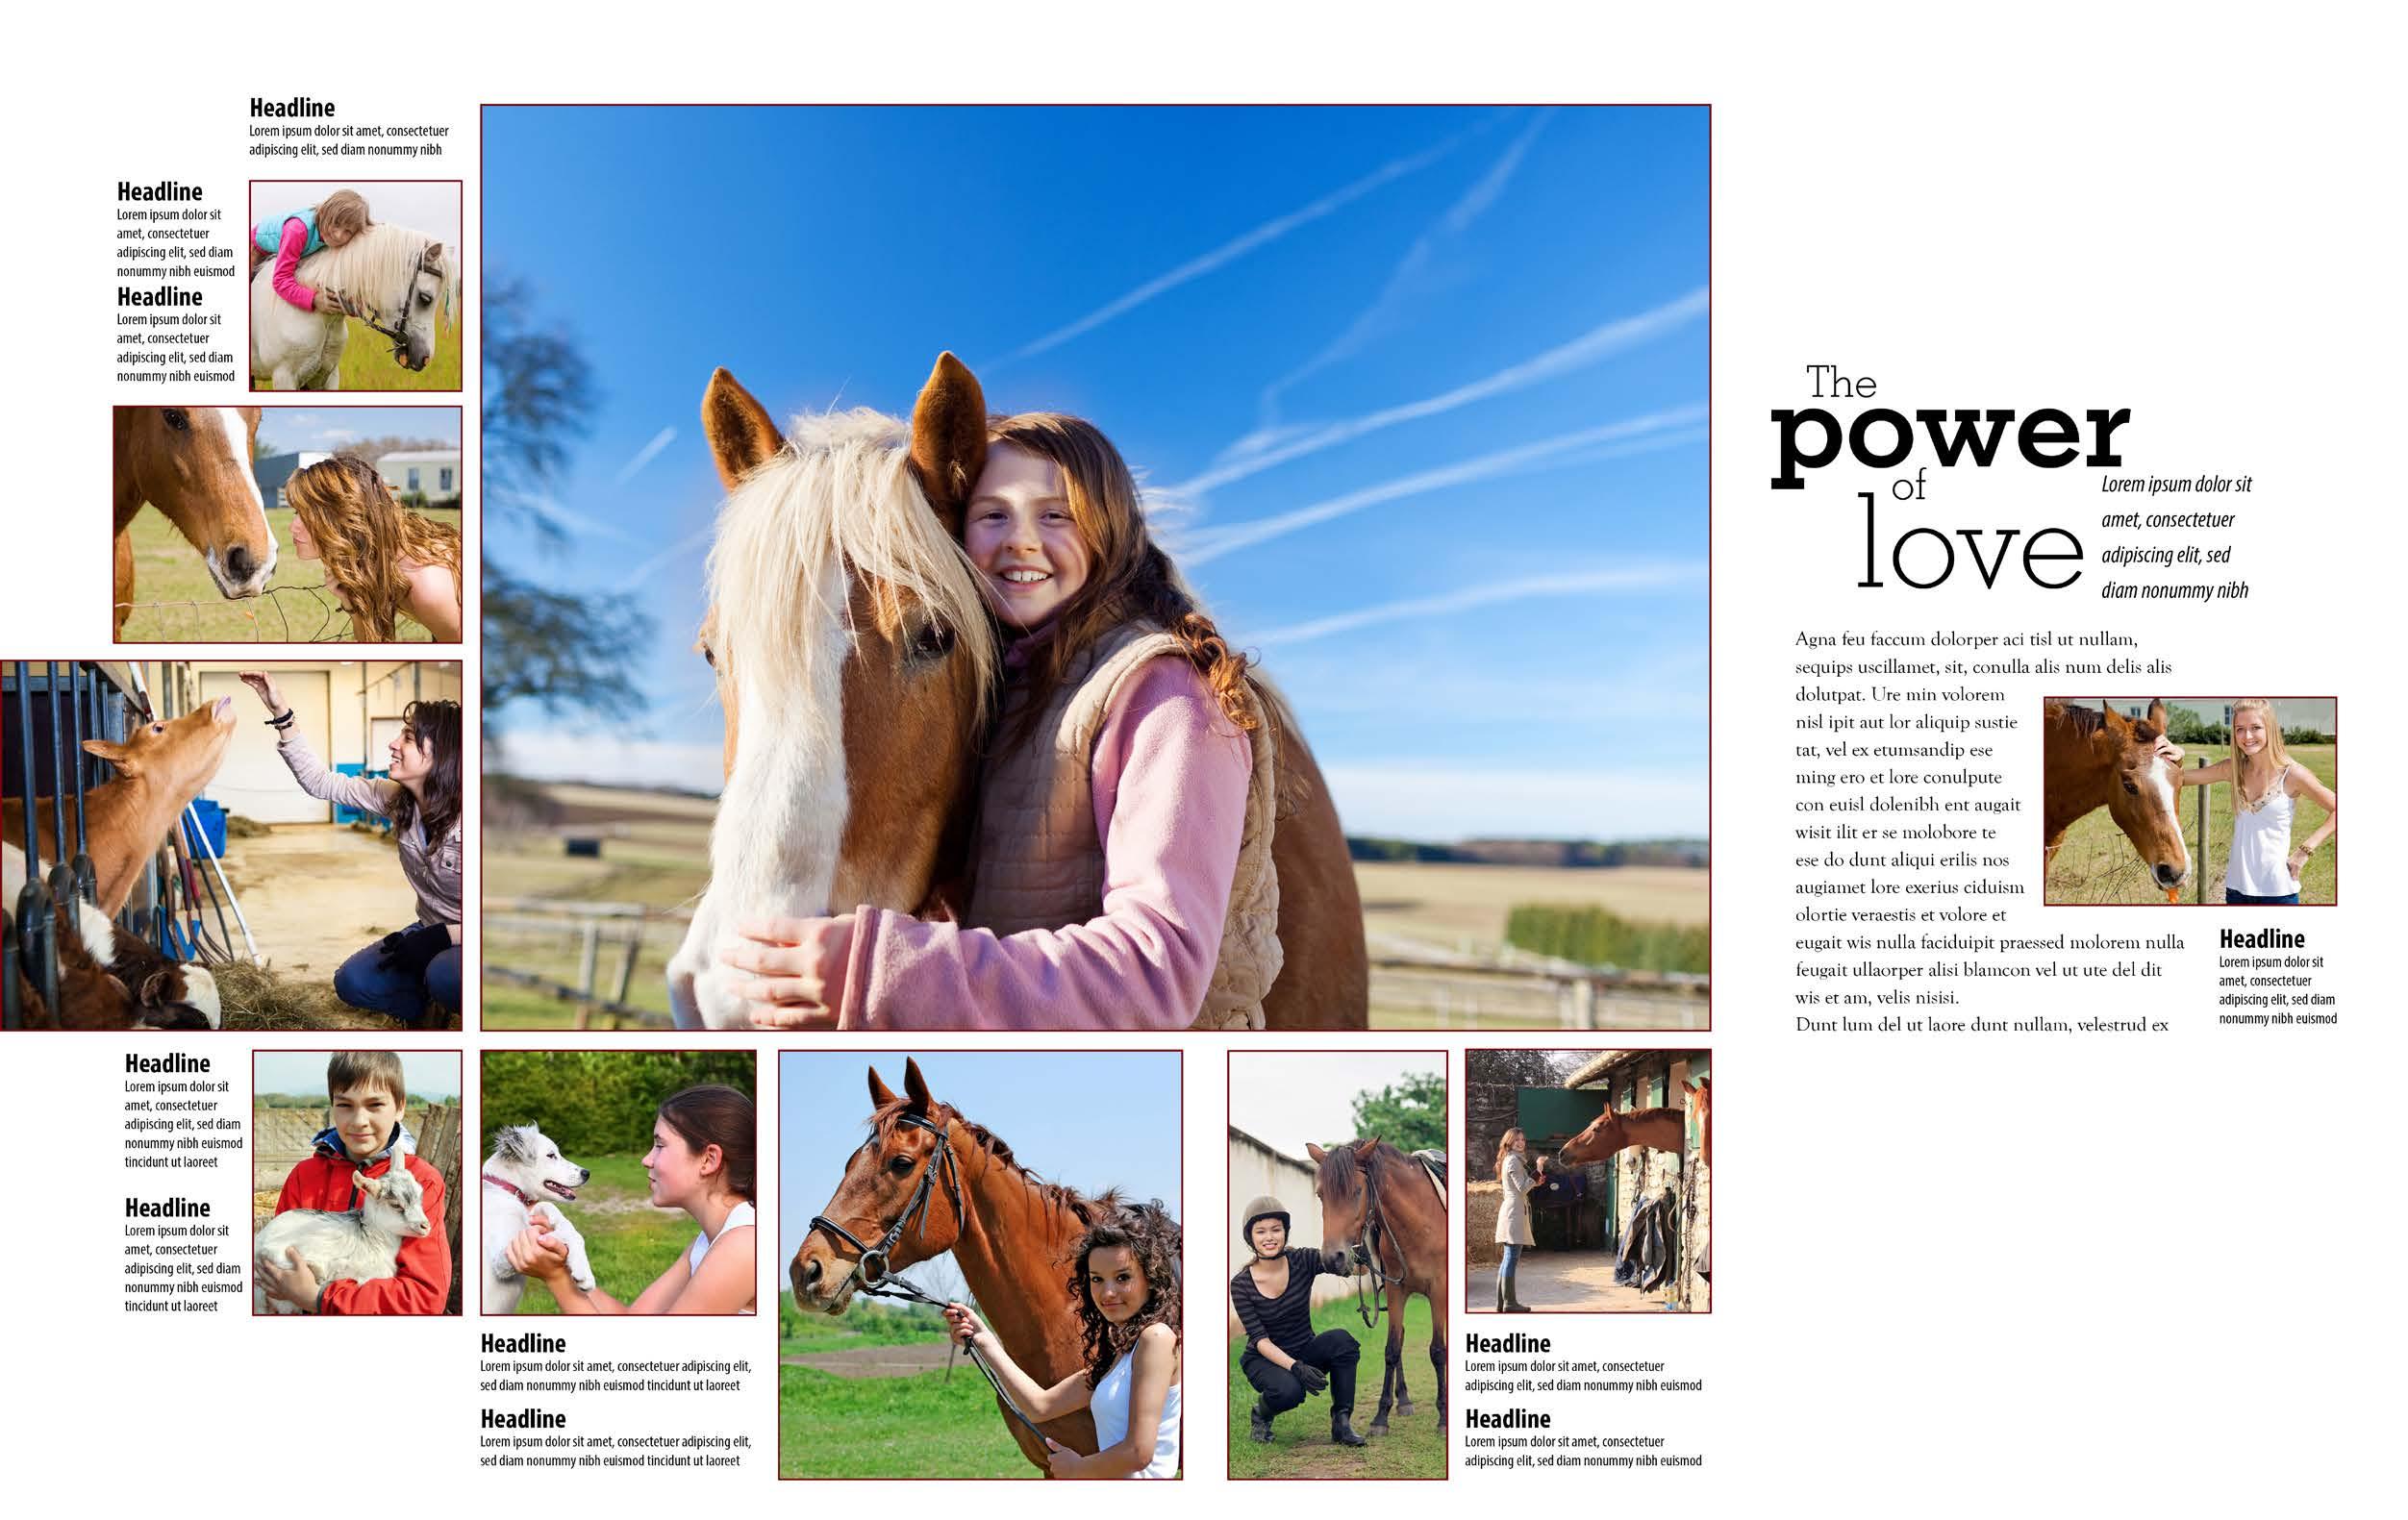
Step Four: Design a title with words in the primary headline that connect to the dominant photo. Write the secondary headline to support the primary headline. Remember... Place the secondary headline so that it leads readers into the primary or out of the primary and into the copy. Remember... Maintain the eyeline to link facing pages. From horses to goats, students theirrelationshipsbuildwithbest‘furfriends’ Book • 22 Designing the
students theirrelationshipsbuildwithbest‘furfriends’ Book • 23 Designing the
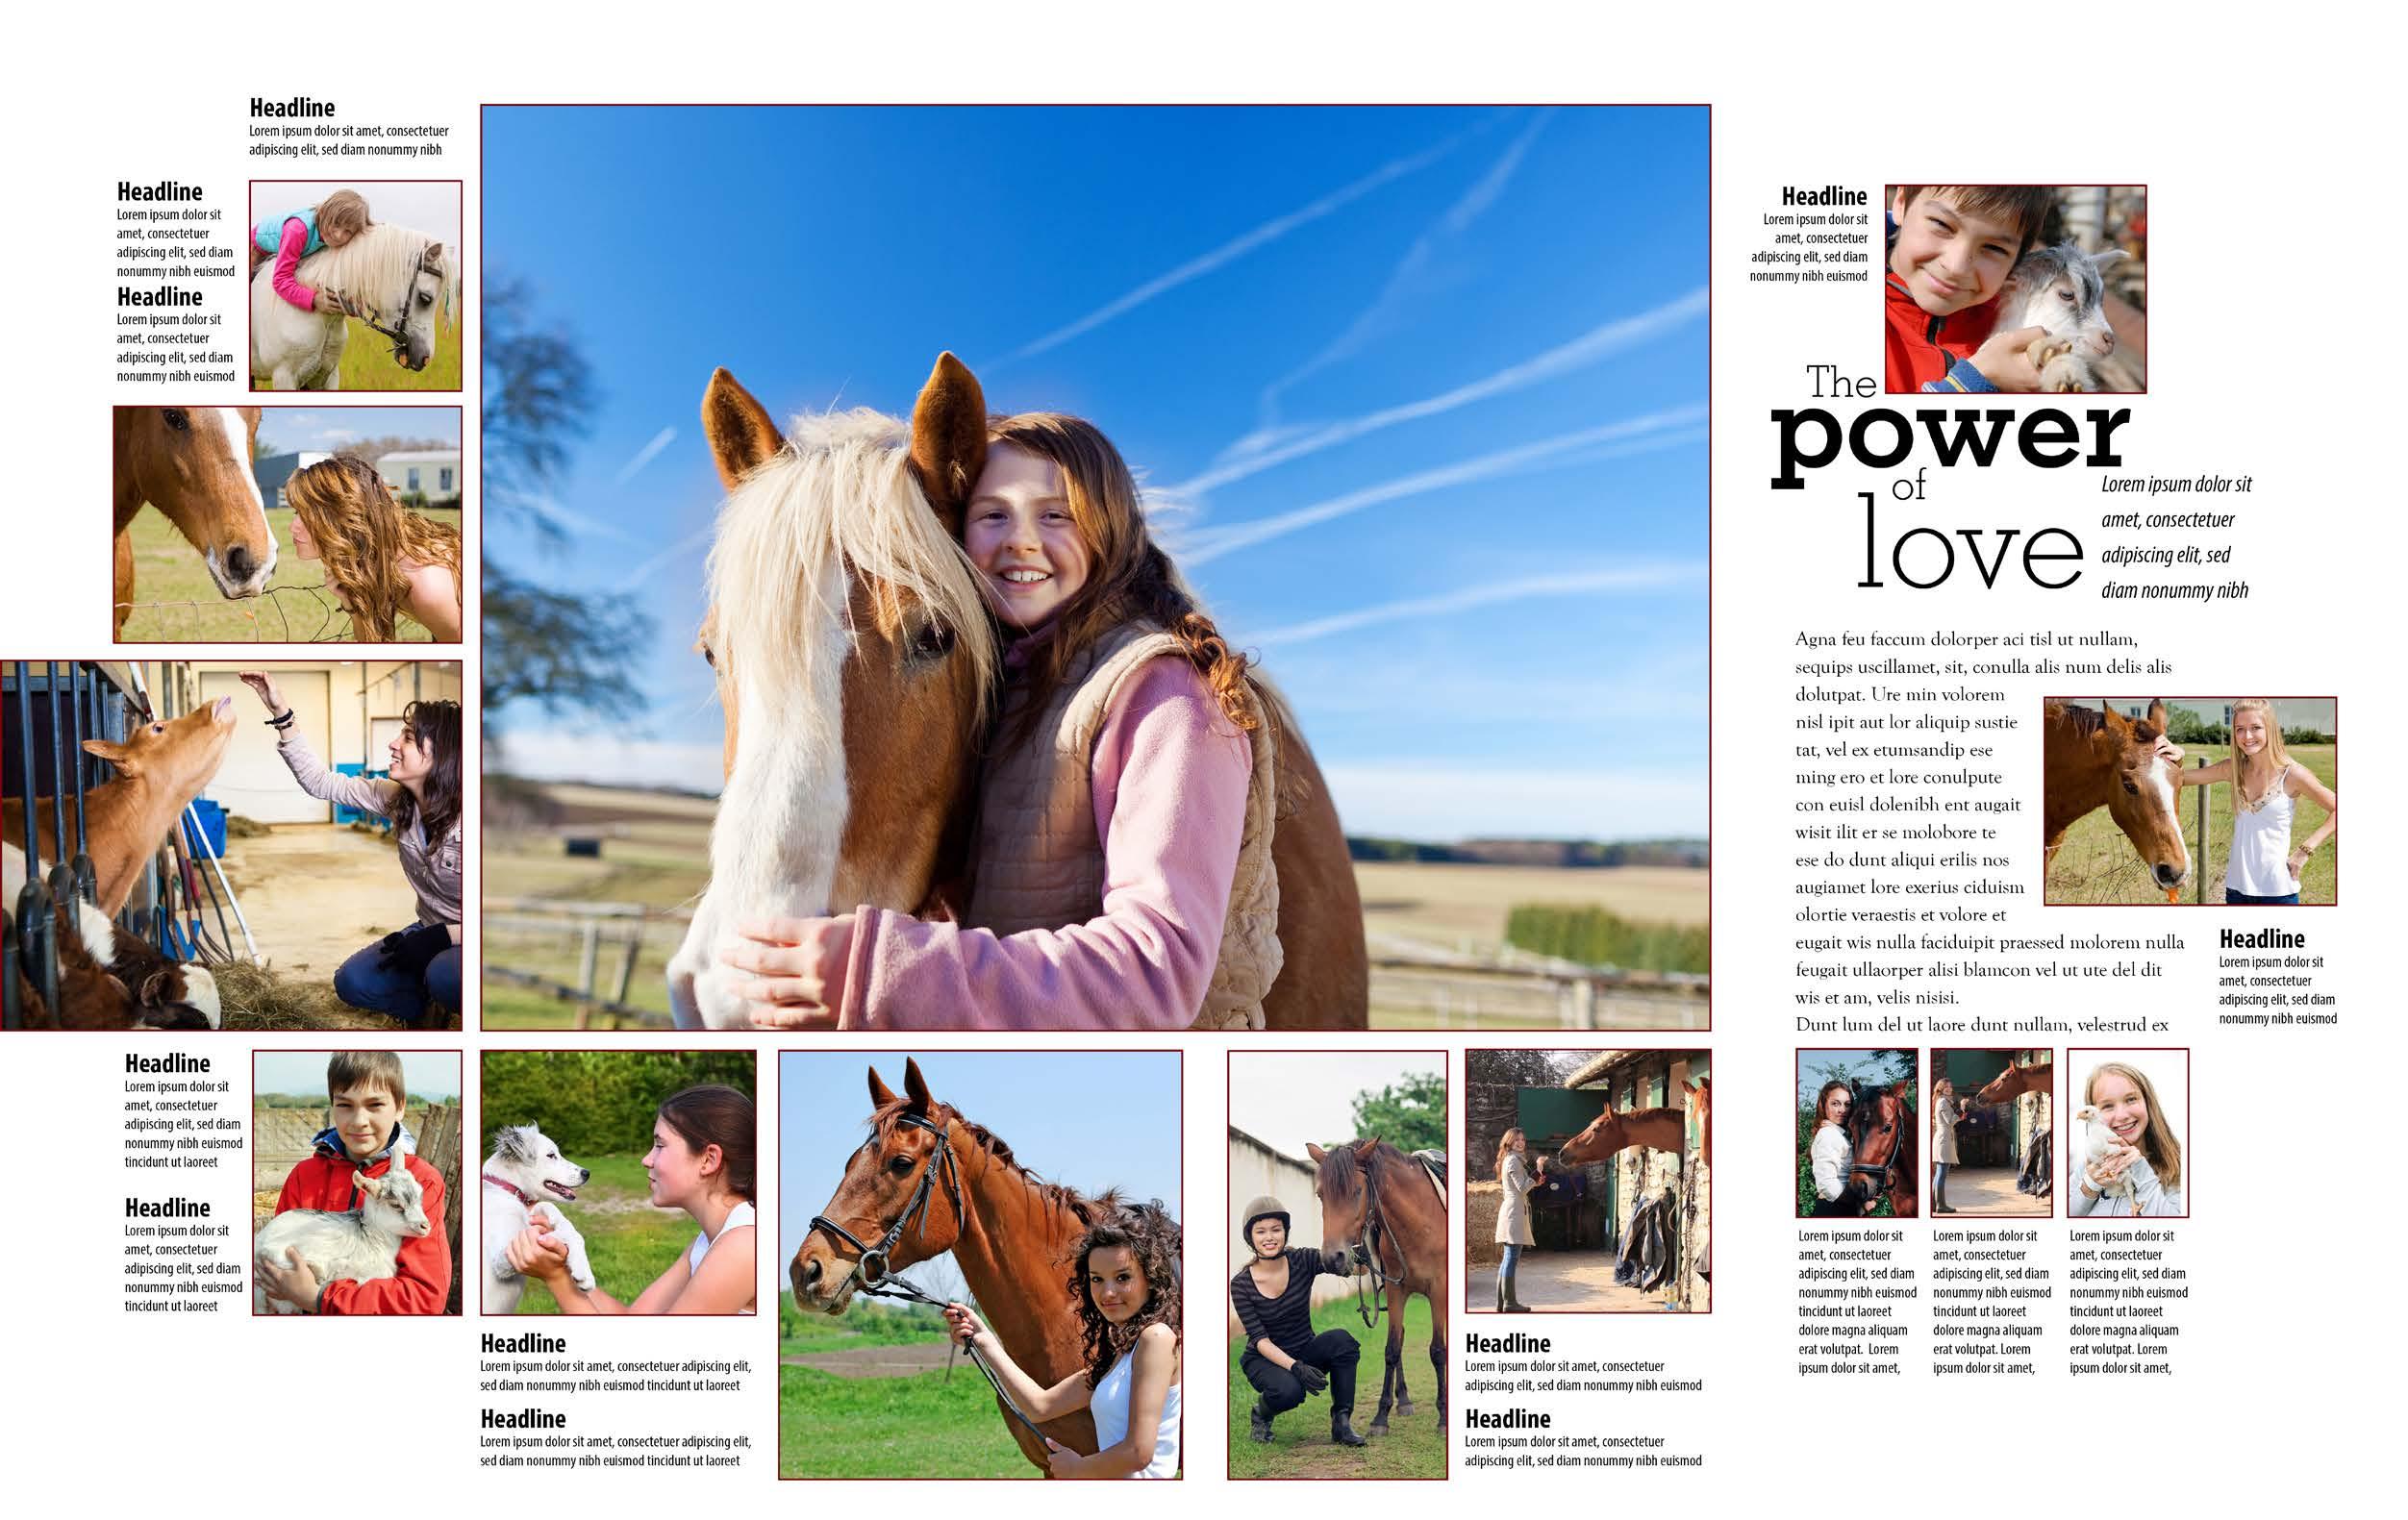
Step Five: Add a photo and a caption near the headline design to increase photo coverage.
Step Five: Include(Continued)arelated photo and caption near the copy. Wrap the text around the photo.
Step Five: Place(Continued)threefeature photos with expanded quotes under the copy to add depth to your coverage. Align the small photos to the top to maintain the eyeline. horses to goats,
From
Step Six: Step back and look at your design.
• Have you used expanded internal spacing to highlight or showcase parts of the design?
Book • 24 Designing
• Have you designed an interesting headline that connects to your dominant photo?
• Are your pictures cropped to the center of visual interest?
• Have you used tight inner spacing to show relationships between elements?
• Have you maintained an eye-pleasing external framing margin?
• Is the design inviting to the reader?
• Does the design make sense to the reader? If your answer to each question is “Yes,” you have a good basic design. the
• Have you maintained the traditional one-pica margins for the primary photo story?
• Are elements aligned?
From horses to goats, students theirrelationshipsbuildwithbest‘furfriends’