
Set Up Contract and Book Settings
The Contract and Book Settings screen shows an overview of your Yearbook contract details as well as a few global Yearbook settings.
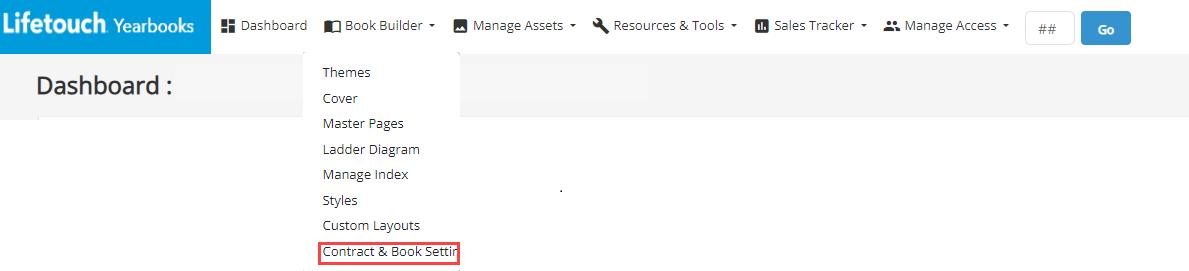

From the Menu, hover over Book Builder and select Contract & Book Settings.
The Contract & Book settings page displays. At the top, the contract information shows an overview of the yearbook contract details.

Click the arrow next to Contract Information to expand the section. You can do this for each section
Contract Information


1. School Name: Identifies the school in the contract and displays on the Dashboard.
2. Job Number: Is the account contract number for this Yearbook.
a. When calling your Lifetouch Representative or Lifetouch Yearbook Support, make sure to have the job number available to locate your school information.
3. Cover Type, Page Total, Binding Type, and Contracted Quantity: Reflects the agreed to specifications from the Yearbook contract with your Lifetouch Yearbook Representative.
4. Contracted Quantity: Reflects the agreed specifications from the Yearbook contract of how many copies of books to receive.
5. APO ID: Is for the Lifetouch Yearbook Support only.
6. Save Changes

WARNING: Click Save Changes to save any updates made to the settings.
Yearbook Name
This nickname is for your reference only. It is most helpful to those working on multiple yearbook projects. It will not display anywhere on the printed yearbook.
1. Click the Rename link under Yearbook Name.
2. Enter the new yearbook nickname into the Enter New Name: textbox
3. Click Save
a. The new yearbook name displays for the Yearbook Name.

View Options
A. Trim Marks on PDF
1. Select if you want to Show or Hide trim marks on the PDF proofs from Trimmarks on PDF proof radio button.
a. Definition: Trim marks (also called crop marks) show where the printer will trim the paper. Unless you want text or images to bleed off the page, it is best practice to show trim marks and keep all page elements within these marks.
B. Page Numbering
1. Select if you want pagination in the lower, outside corner of the yearbook pages.
C. Units of Measure


1. Two options to choose from either Inches or Picas. Used for measurements throughout the Yearbook.
D. Enable Auto-Zoom (text objects only)
1. Automatically zooming in on text objects.
Snap to Settings
Default settings for aligning the content that you add onto your pages in Page Builder. Three options to choose from Snap to Page Margins, Snap to Grids and Snap to Guides.
1. Click on the radio button next to one of the three choices available. Pick what best suits building your book and visibility.
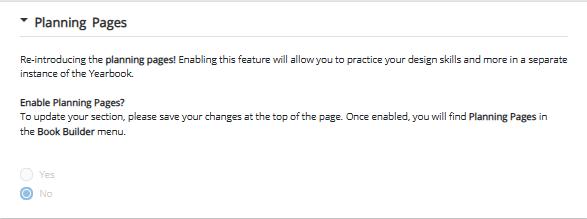
Planning Pages
A space to design and practice the layout for the Yearbook. This feature can only be enabled by the Yearbook Adviser.

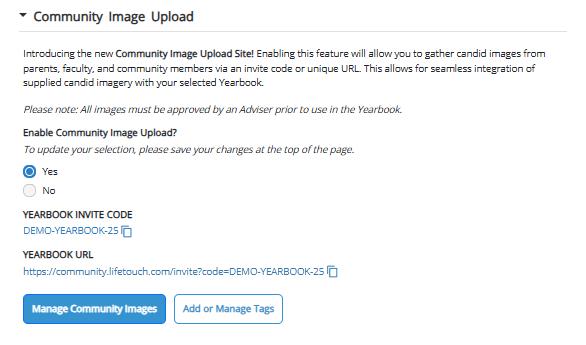
Community Image Upload
This feature enables to gather candid images from parents, faculty, and community members via an invite or unique URL.

Only Yearbook Adviser can approve images that uploaded using the Community Image process.
For additional resources on how to utilize Community Image as an adviser and sharing information with your community members
• Community Image Upload Adviser Use
• Community Image Upload-Community Member

Theme
Clicking on Change allows you to select a theme throughout your book.


Fonts
A list of fonts available on the Yearbook website to be used throughout the building process.
To see a full list of available fonts click Yearbook Fonts


Portrait Flow, Not Pictured and Custom Dictionary
Portrait Flow Options
1. Sort Order for Portrait Flow
a. Select a sort order from the Portrait Flow drop-down. Options include Teacher/Classroom, Homeroom and Grade.
This sorts the viewing order shown by default in Portrait Images.
2. Name Display Order
a. Select a name display order from the Name Display Orde drop-down. Options include First Last and Last, First.

This sorts classroom portrait images by the students’ first name on the yearbook page.
The First Last name display order is most common.
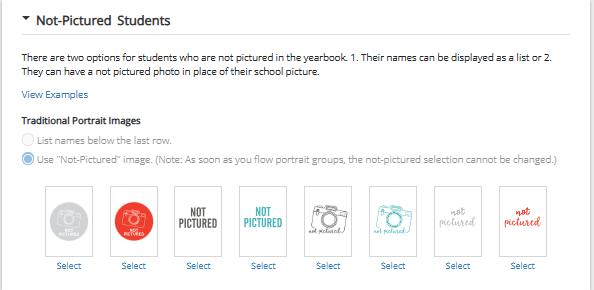
3. Not-Pictured Students
a. Select what to do if a student does not have a picture. Option include List names of missing students below the last row of portraits or include a “Not-Pictured” image in a place of where their image would be.

4. Custom Dictionary
All student and staff names are automatically added to the dictionary when school portraits are uploaded.
a. Click on the Add Word link and type in the new word to be added.
b. Click Add Word. The new word will now display.
c. To remove a custom word, click the Trash icon.

