
Community Image Upload
For Yearbook Advisers
Intro to Community Image Upload
Lifetouch offers a tool called Community Image Upload, which enables school communities to contribute candid photos directly into the yearbook website. As the Yearbook Adviser, if you need additional photography help or want to increase the diversity of photos in your yearbook, Community Image Upload can help. Plus, it’s a great way to include more students, build excitement, and ultimately drive more yearbook sales.
As the Yearbook Adviser, only you have access to review the photos, ensure they meet your school’s standards, and approve them to be used in the yearbook.
Ready to get started?
Read on to learn how to Set up Community Image Upload, Share the Link with Your School Community, and Manage Community Images in Your Yearbook.
Set up Community Image Upload
DIDYOUKNOW?
Community Image Upload supports uploading photos directly from your computer or phone, as well as Google Drive, Google Photos, and Microsoft OneDrive.

As the Yearbook Adviser, you control whether to use the Community Image Upload by turning on the feature in your yearbook’s Contract & Book Settings page, customizing your school’s unique upload link, and setting up image tags that can be applied to Community Images.

Image tags are used to organize photos into folders on the yearbook site. It’s important to determine the image tags before setting up the Community Image Upload as it will save you time later. Lifetouch suggests some general image tags, but you’re encouraged to add more or remove any that you won’t use. Examples: Prom, Homecoming, Grandparents Day
To set up the Community Image Upload:
1. From the Yearbook Dashboard, on the Book Builder menu, click Contract & Book Settings.
2. Near the bottom left of the page, under Community Image Uploads, click Yes to turn on the feature, then click Save Changes at the top of the page.
3. Scroll back down to the Community Image Uploads section and click Create Your Invite Code.
4. Each Community Image Upload requires a unique link. Enter text to customize your link, such as your school name or mascot, then click Check Code to make the link is available
A message displays to let you know if the link is available or not. The link can’t be edited after you save it, so please check for spelling errors before proceeding. The system appends the publishing year to the code.
5. Check the confirmation checkbox, then click Confirm & Save to finish creating your link. Return to the Book Builder > Contract & Book Settings page to get the Yearbook Invite Code and Yearbook Link.

Share the Link with Your School Community
Encouraging the school community to contribute photos for consideration to use in the yearbook is a great way to increase involvement and diversity in your yearbook. However, it’s important to set expectations, guidelines, and deadlines when you invite the school community to participate. Here are some tips to consider:
• Ask participants to carefully review their images and submit only the very best ones. Quality is preferred over quantity.
• Photos should follow school guidelines, not infringe on any copyrights, and so on.
• Encourage users to apply the image tags when they upload folders to save you tagging time later.
• Remind users that uploading photos doesn’t guarantee they will be used in the yearbook. It’s up to the Yearbook Adviser to approve images for use.
To share the Community Image Upload Link:
1. From the Yearbook Dashboard, on the Book Builder menu, click Contract & Book Settings.
2. Near the bottom left of the page, under Community Image Uploads, click the Copy button ( ) to copy the link that will go directly to your Community Image Upload site
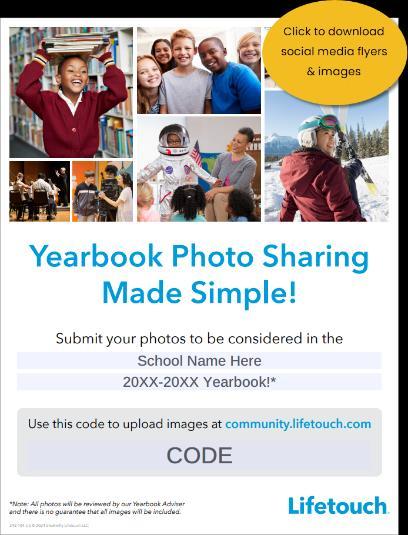
3. Customize the sample flyers and images that are available on schools.lifetouch.com to help you get the word out via email, social media, and so on! Remember to set expectations and deadlines so that you receive images you can use.
Refer users to Community Image Upload for Community Members for more information. You can share this link when you invite them to upload their photos.
Approving and Using Community Images in Your Yearbook
As the Yearbook Adviser, you control which Community Images are approved for use in the yearbook. After you approve them, all yearbook users can see and use the Community Images.
To approve Community Images:
1. From the Yearbook Dashboard, on the Manage Assets menu, click Community Images
2. Look for new images in the Unapproved portion of the Community Images list.
3. Review the images in groups or one at a time, add or edit image tags, then click Approve to make them available for use in the yearbook.
To use Community Images:
• On a page you’re building, on the blue navigation bar on the left, click My Images. The images are organized by the image tags that were applied. Click the arrow to expand the image tag.
• Click an image once to see its details, like the photo name, source, and maximum print size
• You can also click and drag an image to use it on the page.