
11 minute read
Review Nikon Z 5
Review - Nikon Z 5 Mirrorless
By Paul Whitham LPSNZ
IT IS HARD to believe that two years have gone by since Nikon introduced their first full frame mirrorless cameras. In August this year they announced a new addition to the range, the Z 5, which many commentators refer to as their entry level full frame mirrorless camera.
Through the support of Lacklands and Nikon New Zealand, I was loaned a Z 5, along with a 24-50mm lens and the FTZ mount adapter. The mount adapter retails for $538.20 and enables you to use all of your existing Nikon lenses. As I found with the December 2018 review of the Z 6, the mount adapter works extremely well, and I did not notice any loss of performance when using it.
I was fortunate enough to have the camera for a fortnight. That gave time to use it in a number of situations, as well as giving me time to become familiar with the various settings that I could tweak. Having said that, it is entirely possible that some of the issues I found (particularly the autofocus) may be the result of me not choosing the most appropriate setting for the circumstances.
This review is about how the camera performed in real life situations, and I am not going to go too much into the technical details 1 x SD UHSii 1 x SD UHSii or pixel peeping, as there are plenty of reviews about that.
The table below shows how the Z 5 fits in with its stablemates in terms of megapixels, storage, frames per second and price. Slightly confusing is that both the Z 6 and Z 7 have now received upgrades, but you can still purchase the original model.
First impressions
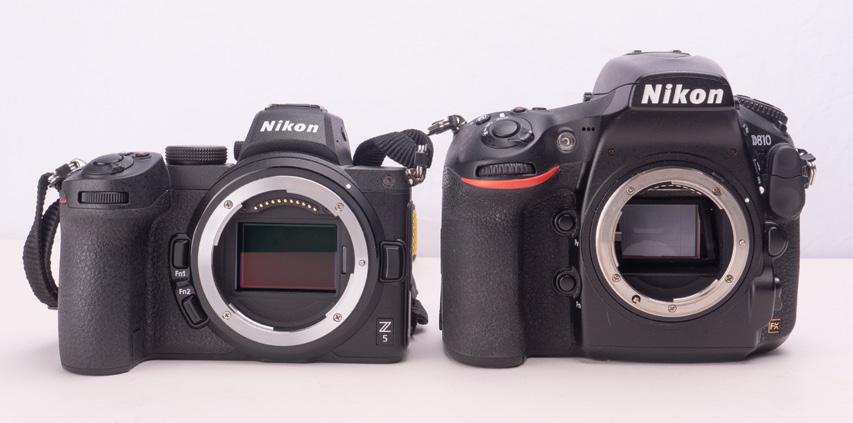
If you have not seen the Nikon Z range before, the first thing you will notice is that the camera is much smaller than the equivalent entry level DSLR. Initially I thought that it was smaller than the Z 7 but when I got one to compare, discovered that it is exactly the same size.
At first appearance the Z 5, Z 6 and Z 7 are identical, apart from the top. The Z 5 does not have a digital display on the top of the camera, and the select wheel is on the other side. The lack of this quick display is a major change to all of the Nikons I have shot with in
Model
Z 5 Z 6
Z 6ii
Z 7 Z 7ii
MP
24.3 24.5
24.5
45.7 45.7
Cards
2 x SD UHSii 1 x XQD/CFExpress
1 x XQD/CFExpress 1 x XQD/CFExpress 1 x XQD/CFExpress the past and took a little getting used to.
FPS
4.5 12
14
9 10
Price (body only)1
$2,877 $3,190
$3,798
$4,980 $5,795
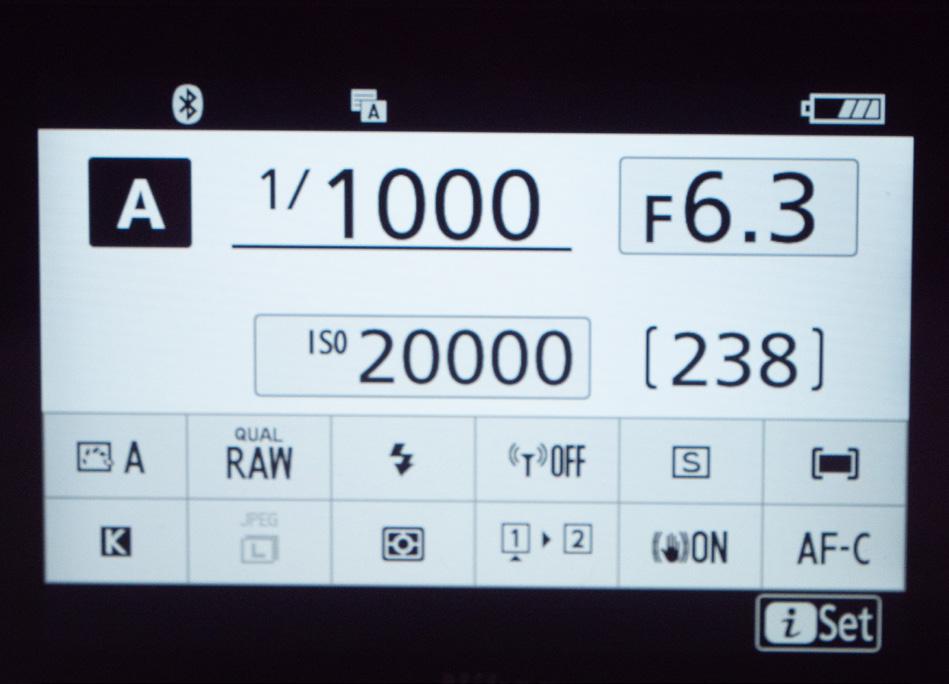
Having said that, all of the information is available on the screen at the back of the camera, and most of the settings can be modified by clicking on the screen. What I found unusual is that the exception to this was the file format.
The other major difference between the Z 5 and the other two original mirrorless cameras is that it has two card slots. Like many other photographers I felt that Nikon had made a significant mistake in introducing a camera with only one slot. This omission has now been fixed with the second generation of the cameras.
The main Nikon menu structure is essentially unchanged from that used in the DSLRs, making it relatively easy to navigate for anyone moving from another model.
Front view of the Z 5 (left) and Z 7 (right) The Z 5 (left) compared with the D810 (right)

Top view of the Z 5 (left) and Z 7 (right)
The quick display of settings The structure of the detailed menu will be familiar to Nikon shooters

In order to test the camera, I went out on a number of shoots over several days to see how the camera would handle various lighting situations and the shooting scenarios that I felt would be most appropriate for CameraTalk readers. I used the 24-50mm Z lens that is sold as an option with the camera, as well as my 105mm f2.6 macro and 70-200mm f2.8. The latter two used the mount adapter.
Here are my findings: Dynamic range and colour quality
Nikon cameras have long had a reputation for handling colour well and the Z 5 continues that tradition. When I first received the camera, I was not sure whether Lightroom would be able to read the RAW files, so on the first day I shot in RAW plus JPG. While I am firmly in the RAW camp, I was really amazed at the quality of the JPGs that came out of the camera. This is made easy by the fact that you can’t see what you are going to get on the back of the camera; therefore, you know if you are heading for problems. The first set of images were shot late in the morning on a cloudless day to see how the camera handled a wide dynamic range. It passed with flying colours.
The clear skies continued into the evening, so I took the camera to the base of the Remutaka Ranges to see how it would perform when shooting Astro images. The tilt screen came in handy here as I had the camera mounted reasonably close to the ground. Personally, I have found electronic viewfinders harder to use than optical ones when trying to focus in the dark. I did manage to get some images that I was happy with. I concluded that the camera was suitable for anyone who wanted to try Astro photography.


All of these images are JPGs straight out of camera.
Shutter speed
The camera has a maximum shutter speed of 1/8000s as well as image stabilisation that lets you hand hold at much slower shutter speeds than was traditionally possible. 1/8000s is fast enough to effectively freeze water, providing that the light is sufficient to do so. With a clear day this was easy to do at f5 and ISO500. At the other end of the scale, I was able to obtain a sharp image at 0.5 second, handheld.



Low light (ISO Performance)
This is one area where the camera absolutely blew me away. In recent years a lot of the development in camera manufacture has been in handling higher ISOs which enables them to operate in much lower light. However, we all know that too often we can’t reach the maximum range of the camera and still produce usable images.
The Z 5 has a native ISO range from 100 to 51,200 and I have found that you can use the whole range. The first shot I took used a setting that you probably wouldn’t use, f2.8 1/8000s and ISO 51200, and while there was noise in the image it cleaned up fairly quickly in Lightroom. In fact there was less noise in the image than in the same image taken on my D600 at ISO6400. Noise is mainly an issue in the shadows, so to really test it I went into Old Saint Paul’s in Wellington. This is a lovely old church with lots of timber and very subdued lighting. While I was able to shoot a good image at 51,200, I decided to settle on 20,000 to see what results I would get at that setting. I had the camera in Aperture Priority (at f6.3) and was particularly interested in what the shutter speeds would be. Depending on how much light was coming in from the windows I ended using between 1/80s and 1/320s. This gave me total confidence that I would be able to use the camera when shooting a wedding without needing flash. Furthermore, the camera handled the extreme lighting conditions well with minimal blow out.
Shot at f2.8 1/8000s and ISO 51200, this is what the image looked like straight out of camera. This is the file after exposure and noise reduction in Lightroom.


A close up of the vase. Shot with the D600 at ISO6400.

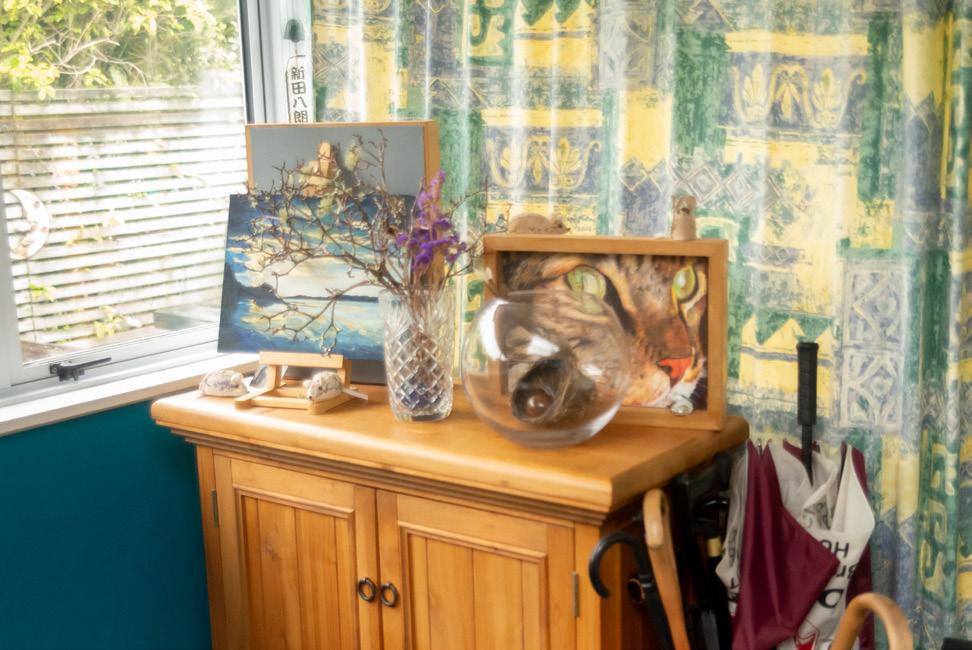

Shot at ISO20000 in Old Saint Paul’s. The image right is zoomed in to see how clean the image is after minimal noise reduction.

Creative
Modern cameras have a number of functions built in to help you create interesting images without the use of a computer. The ability to make double exposures has been in Nikon cameras for a while, but as it has developed, it has become much better. My D600 only allowed you to take two images, one after another, and only exported a single file. Since that camera was produced many more options have been added.

The Z 5 allows you to select the first image in a sequence and then to take another nine images to create the final result. You can even determine how the images will overlay on the others, in a similar way to the way layer modes work in Photoshop. You also have the option to create a single JPG image, or to create that image plus all of the individual shots that were taken to make it up. Furthermore, with the Overlay Shooting option switched on, you see a transparent version of the starting image in the viewfinder to help line things up.
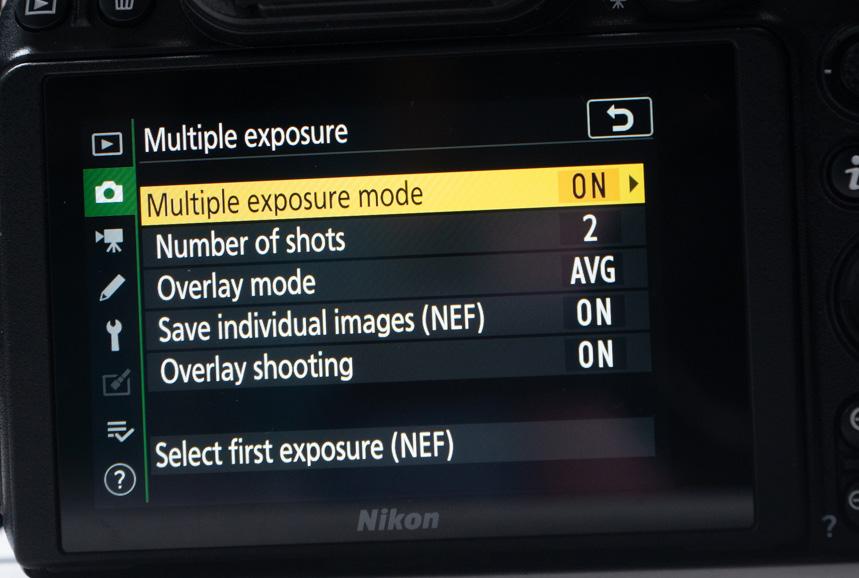
I am able to line up the image and save the separate files; this is extremely useful to people shooting composites, and not solely reserved for double exposures.
Autofocus
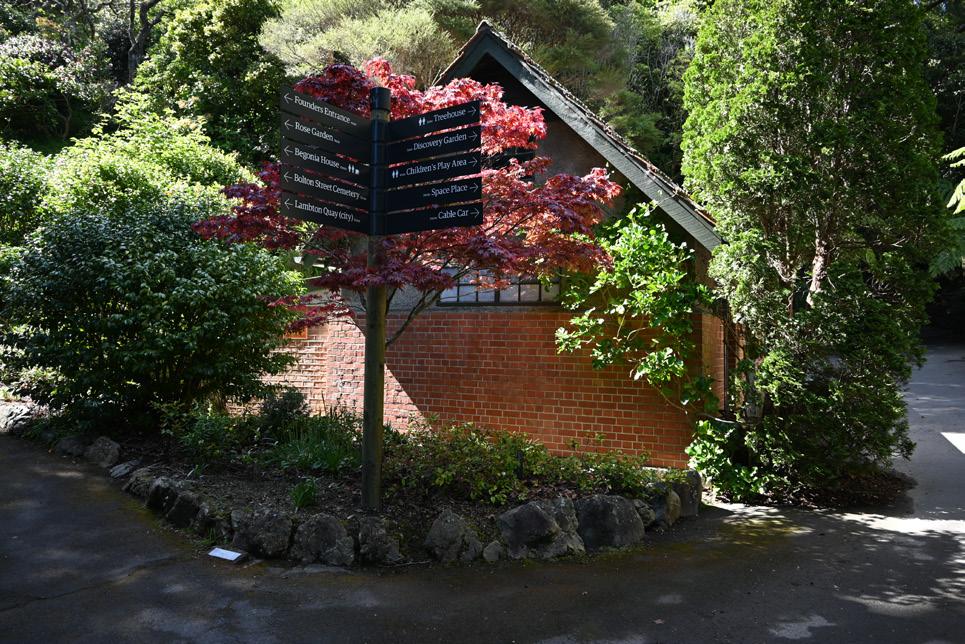
While this review has been mainly favourable to the camera, we now reach the area where I was really disappointed in how the camera performed. I really struggled to obtain consistent autofocus when using anything other than the single area option and moving the point to the part of the frame that I wanted it to concentrate on.
In the initial shoot in the gardens the camera failed to focus on what I thought would be the dominant element in the scene. While the focus points cover a significant part of the sensor, I would not recommend allowing the camera to set the areas it wants to focus on.
With portraits, the eye detection function seemed to work well once the camera achieved focus and once the camera recognised that it was looking at a person. Once it did that it tracked the eye when I moved the camera around. However, the function did not work too well when the subject was moving around. I had my model Sian skip around a park to mimic shooting kids at play. Of the 55 images taken, only seven had Sian sharply in focus. I will admit that if I had thought more about the scenario, I should have increased the ISO to bring up the shutter speed, as what I was getting may have been movement blur rather than focus issues. Given that the camera only shoots 4.5 fps I would not recommend it for anyone wanting to shoot sports.
I will admit that you do need time to become used to autofocus systems and choose the best one for each scenario. The results I achieved may have improved given more time. I guess I was expecting more in this area. I should also say that none of the online reviews I have seen on the camera seem to have encountered the same degree of focus issue.

Despite the fact that there was a strong colour difference between the tulip and background the camera struggled to find focus until I clicked on the display to focus it.



While the eye detect worked well at tracking a subject when you were recomposing the shot (below), it really struggled to produce sharp images from a moving subject.

Final thoughts
To be honest, I have mixed feelings about the way the camera performed, mainly influenced by the autofocus issues. I think it is a great entry level full frame for somebody who is already in the Nikon family, primarily shoots landscapes or portraits, and wants to move across to the smaller format mirrorless from the equivalent DSLRs. If you are a nature or sports photographer, I would skip this model and pay the extra to buy either a Z 6 or Z 6ii as these models shoot at much higher frame rates. I have been informed that the autofocus on the Z 6ii and Z 7ii is better than on the Z 5. Nikon New Zealand is running a special offer until 24 December where you receive a free FTZ adapter if you purchase a Z 6ii or a Z 7ii.
I thank David Galbraith of Lacklands, and Nikon New Zealand, for the opportunity to play with the camera.


