
4 minute read
Speeding Up Your Code ������������������������������������������������������������������������������������������������


Chapter 13 ■ Version Control
Typical Workflows Involve Lots of Branches
Advertisement
Git is optimized for working with lots of branches (unlike some version control systems, where creating and merging branches can be rather slow operations). This is reflected in how many people use branches when working with git: you create many branches and work on a graph of different versions of your code and merge them together whenever you need to.
Having a development branch and a master branch is a typical core of the repository structure, but it is also very common to make a branch for each new feature you implement. Typically, you branch these off the develop branch when you start working on the feature and merge them back into develop when you are done. It is also common to have a separate branch for each bug fix—typically branched off master when you start implementing the fix and then branched back into the master as well as into develop when you are done. See Atlassian’s Git Tutorial at https://www.atlassian.com/git/tutorials/comparing-workflows for different workflows that exploit various branches.
If you create a lot of branches for each feature or bug fix, you don’t want to keep them around after you are done with them—unlike with the develop and master branches, which you probably will want to keep around forever. To delete a branch, use this command:
git branch -d branchname
Pushing Branches to the Global Repository
You can work on as many branches as you like in your local repository but they are not automatically found in the global repository. The develop branch you made earlier exists only in the local repository and you cannot push changes made to it to the global repository—you can see this in RStudio since the push (and pull) buttons are greyed out.
If you want a branch to exist on the global repository as well—so you can push to it, and so collaborators can check it out—you need to create a branch in that repository and set up a link between your local repository and the global repository.
You can do that for the develop branch by checking it out and running this command:
git push --set-upstream origin develop
This pushes the changes and also remembers that the branch is linked to the develop branch in origin. The name origin refers to the repository you cloned when you created this repository.5
Whether you want a branch you are working on, also to be found in the global repository is a matter of taste. If you are working on a feature that you want to share when it is completed but not before, you probably don’t want to push that branch to the global repository. For the develop and master branches, though, you definitely want those to be in the global repository.
GitHub
GitHub (https://github.com) is a server for hosting git repositories. Open projects are hosted for free, closed projects for a fee. You can think of it as a place to have your bare/global repository with some extra benefits. There are ways for automatically installing packages that are hosted on GitHub; there is web support for tracking bugs and feature requests, and there is support for sharing fixes and features in hosted projects through a web interface.
5It is slightly more complex than this; you can have links to other repositories and pull from them or push to them (if they are bare repositories), and origin is just a default link to the one you cloned for. It is beyond the scope of these notes, however, to go into more details. If you always work with a single global repository that you push to and pull from, then you don’t need to know any more about links to remote repositories.
297
Chapter 13 ■ Version Control
To use it, you first need to go to the home page and sign up. This is free, and you just need to pick a username and a password.
Once you have created an account on GitHub, you can create new repositories by clicking the big + in the upper-right corner of the home page, as shown in Figure 13-7.
Figure 13-7. The button to create a new repository at the GitHub home page is found on the upper right of the home page
Clicking it, you get to a page where you can choose the name of the repository, create a short description, pick a license, and decide whether you want to add a README.md file to the repository. I recommend that you always have a README.md file—it works as the documentation for your package since it is displayed on the home page for the repository at GitHub. You probably want to set up a README.rmd file to generate it, though, as you saw in Chapter 11. For now, though, you might as well just say yes to have one generated.
Once you have generated the repository, you go to a page with an overview of the code in the repository, as shown in Figure 13-8.
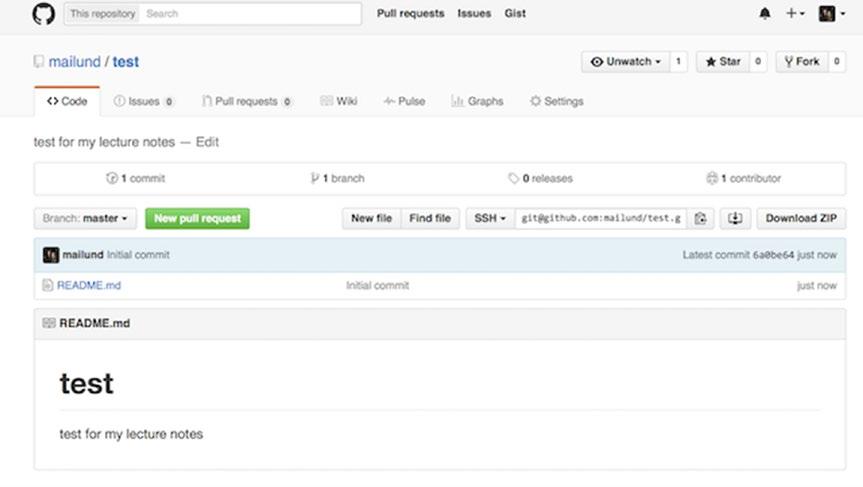
Figure 13-8. New GitHub repository containing only a README.md file
298


