2 minute read
Noise


Sensors in the small pocket-sized digicams and fixed lens digital cameras are very small, whilst in DSLRs the sensor size is comparatively much larger (more than double the dimensions and quadruple the surface area in the case of 35mm DSLRs and 16 times the surface area in the case of medium-format digital sensors). The use of small sensors in prosumer digicams usually leads to increased levels of noise when compared to the images captured with a DSLR camera at the same ISO - especially when comparisons are made at higher ISO settings. Larger sensor sites typically lead to less problems with noise. Noise can be almost non-existent in images captured with medium-format digital cameras or professional 35mm DSLRs shooting at a very low ISO. In the consumer range of of DSLRs, cameras with a CMOS sensor rather than a CCD sensor tend to perform better at ISO settings over 400.
If we examine the detail (zooming in to 200 or 300% on screen) from an image captured at ISO 400 on the Fuji fixed lens digicam (perhaps one of the better small sensors at high ISO speeeds) we will discover posterization and lumpy tones and smudged or blurry detail. These are evident as a result of in-camera processing in an attempt to suppress the noise that is inherent in files captured with the small sensors found in prosumer digicams. These degradation of image quality is also replicated when excessive noise reduction is used in post-production imageediting software. This image processing makes the image look as if we are viewing the file through distorted glass. Quality is starting to be compromised. If we view a Raw file from a file that has been captured at 400 ISO without noise suppression then the smudged detail is replaced with luminance and color noise that is reminiscent of images captured with high-speed color film.
Advertisement
Note > Although the image artifacts that are starting to appear at 400 ISO, they are barely
noticeable in a 4 x 6 inch print or small screen preview of the entire image.
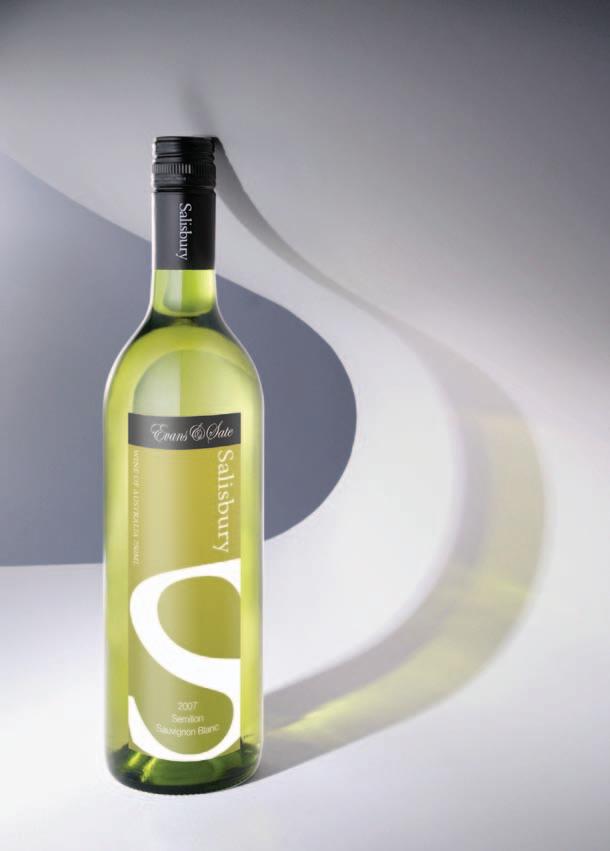
A small sensor pushes its luck at 400 ISO - image magnified to 300% (see inset)
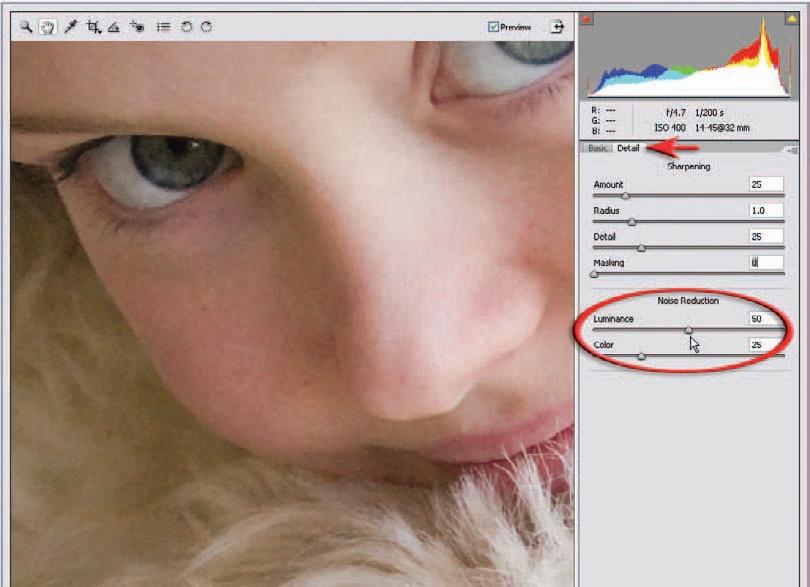
Noise reduction and sharpening in Adobe software
Set the image to 100% and click on the Detail tab in your Adobe software to access the sharpness and noise reduction controls. The Luminance Smoothing and Color Noise Reduction sliders (designed to tackle the camera noise that occurs when the image sensors’ ISO is high) should only be raised from 0 if you notice image artifacts such as noise appearing in the image window.
In the image above the sensor was set to 400 ISO on a budget DSLR. Both luminance noise (left) and color noise (right) are evident when the image is set to 100%. With more expensive DSLR cameras set to 100 ISO it is common to leave the Luminance slider set to 0.