RED EARTH
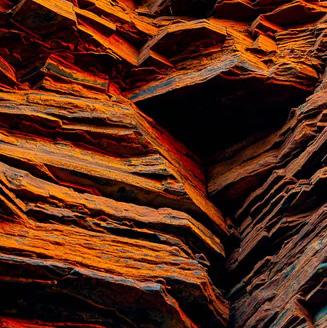
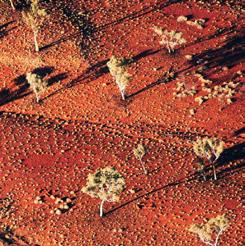
The striking landscape of Western Australia’s Pilbara region, defined by its vivid red earth and dramatic rock formations, serve as source of inspiration for the design of this high-end whiskey cabinet. The iron-oxide in the soil stains the landscape in warm, red tones whilst the dramatic rock formations produce elegant sculptural lines. These elements of colour and geometry are the core of the design, whilst subtle accents of metal and textured surfaces pay tribute to the region’s iron ore mining heritage. These elements work together harmoniously to not only capture the soul of the Pilbara’s raw and rugged environment, but also create a bold yet elegant backdrop for the display of fine whiskey.
The whiskey cabinet is catered towards wealthy FIFO (Fly-In, FlyOut) mining professionals who have a refined taste for premium whiskey and a deep appreciation for the natural, rugged beauty of Australia’s outback. These individuals, who spend up to weeks or months at a time in the demanding environment of the Pilbara, look to kick back and relax in their downtime by enjoying a glass or two of fine whiskey. As this industry pays well, they are not afraid to spend their hard-earned money on luxurious and exclusive products. The design of the cabinet captures the essence of the Pilbara’s distinctive landscapes and textures. It serves as a stylish, contemporary display for their premium whiskey collection, which also reflects their unique lifestyle.
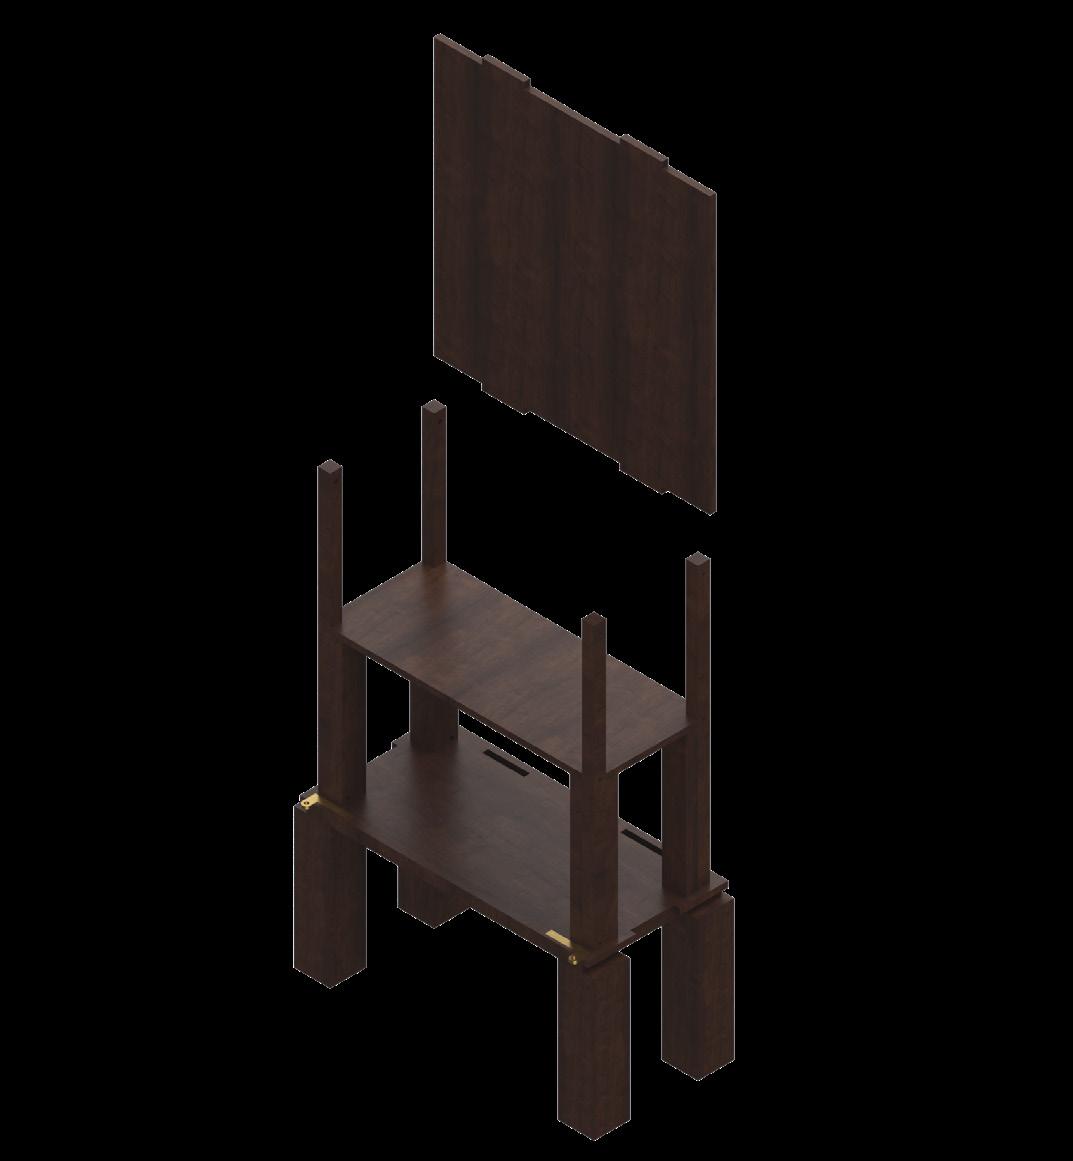
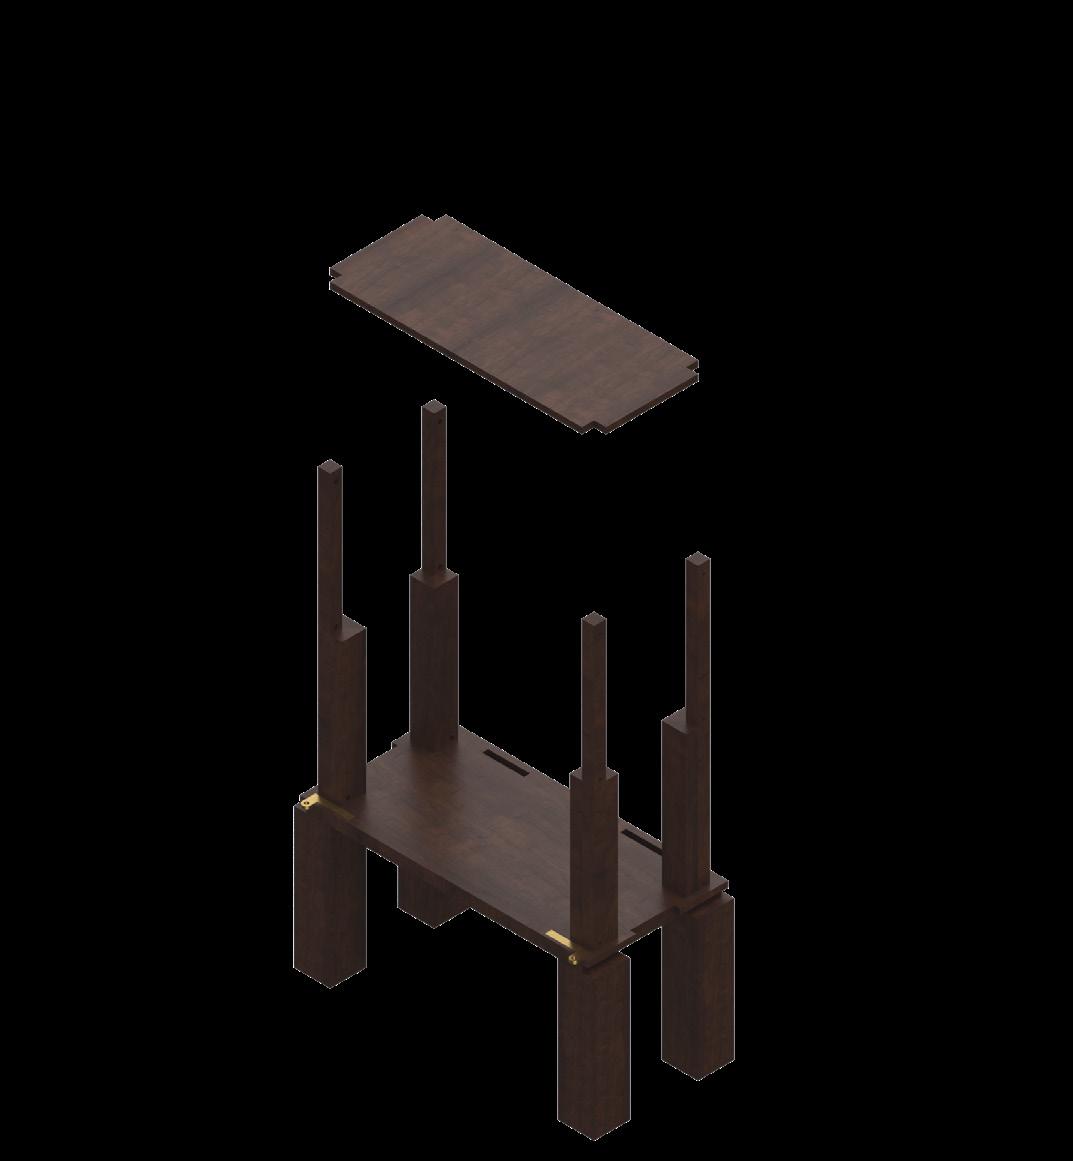
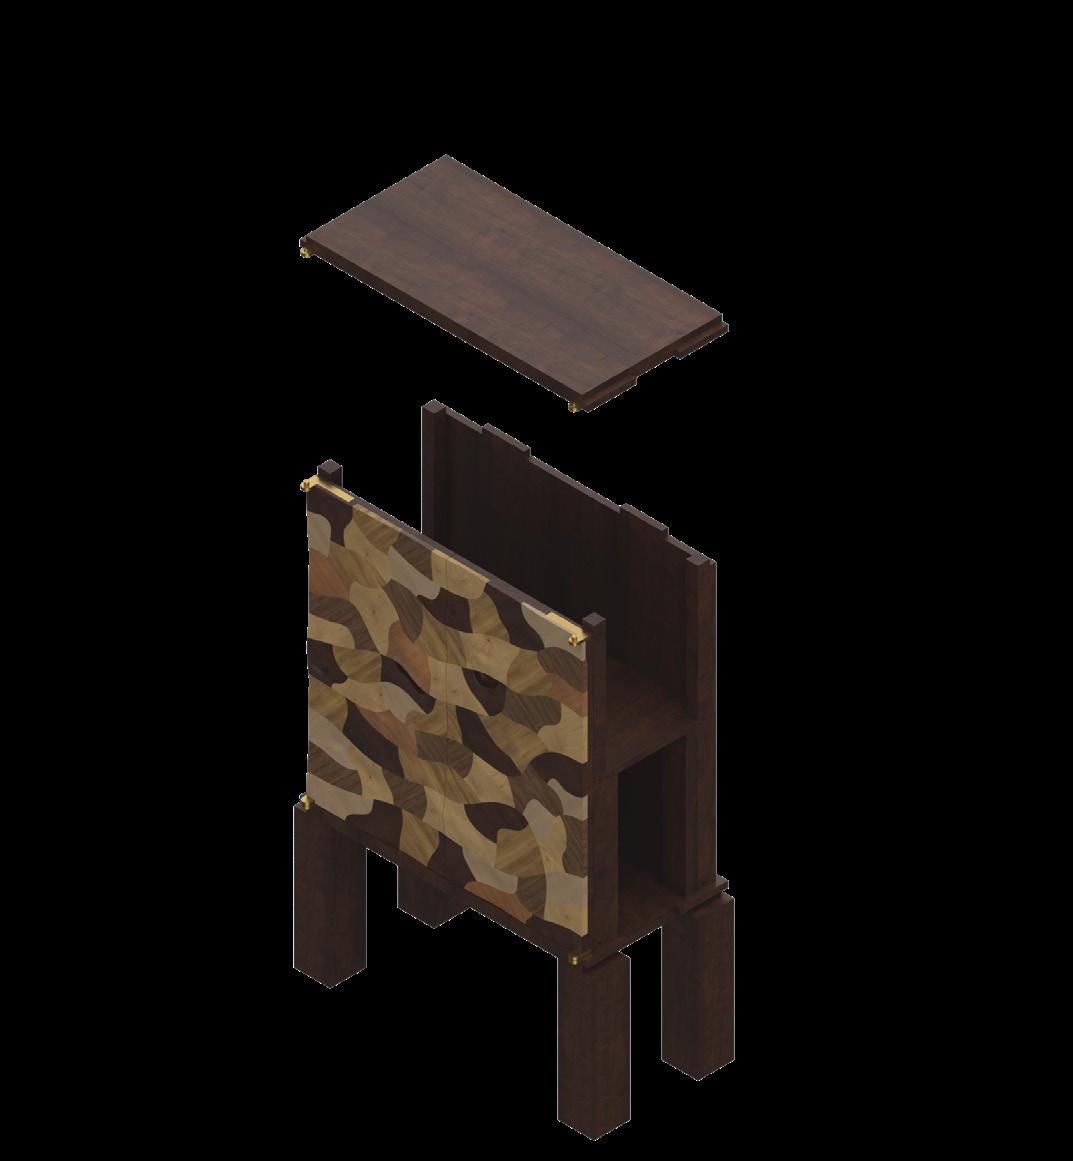
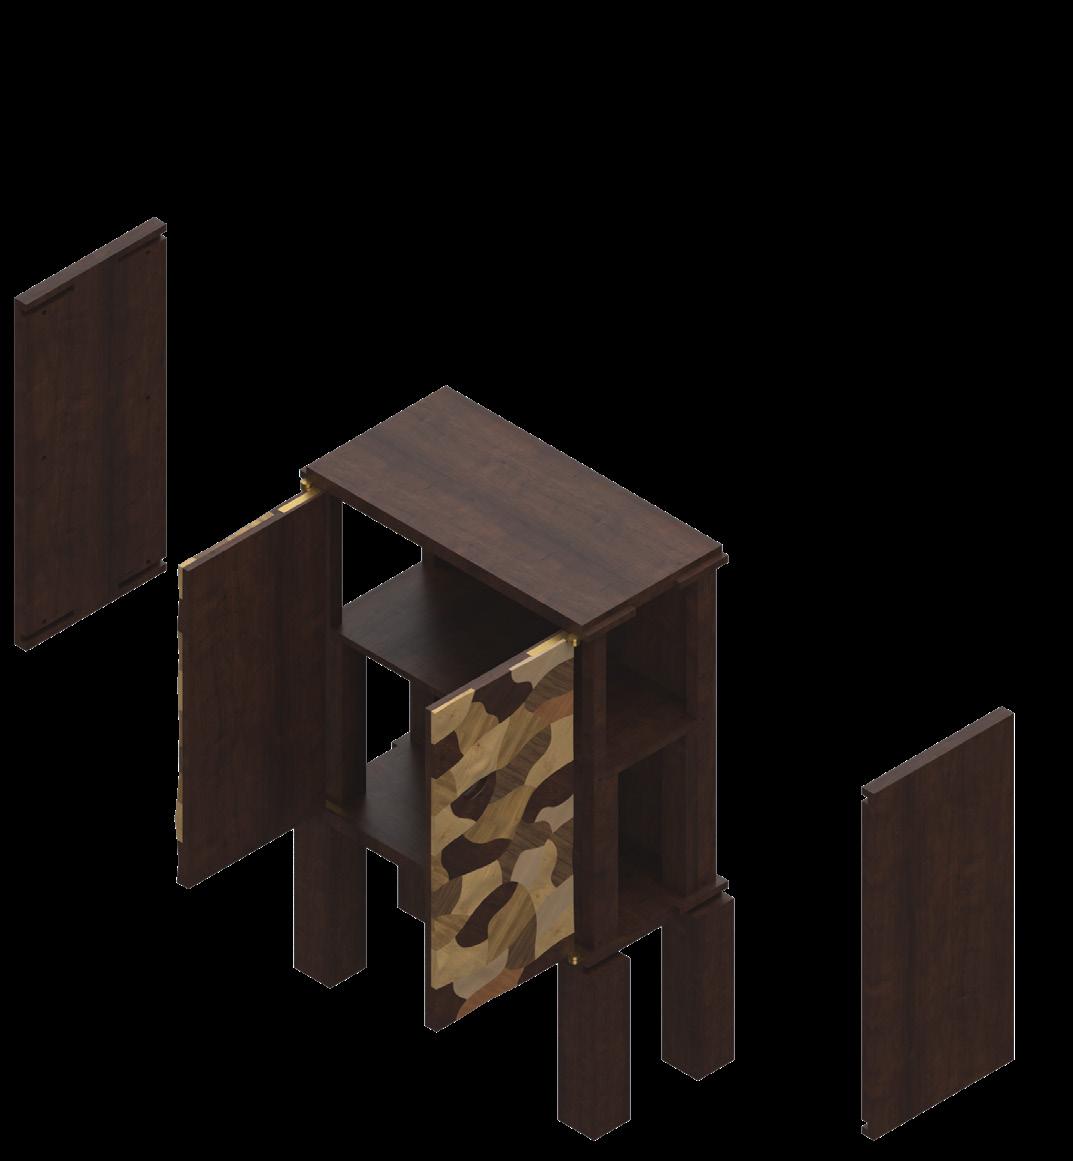
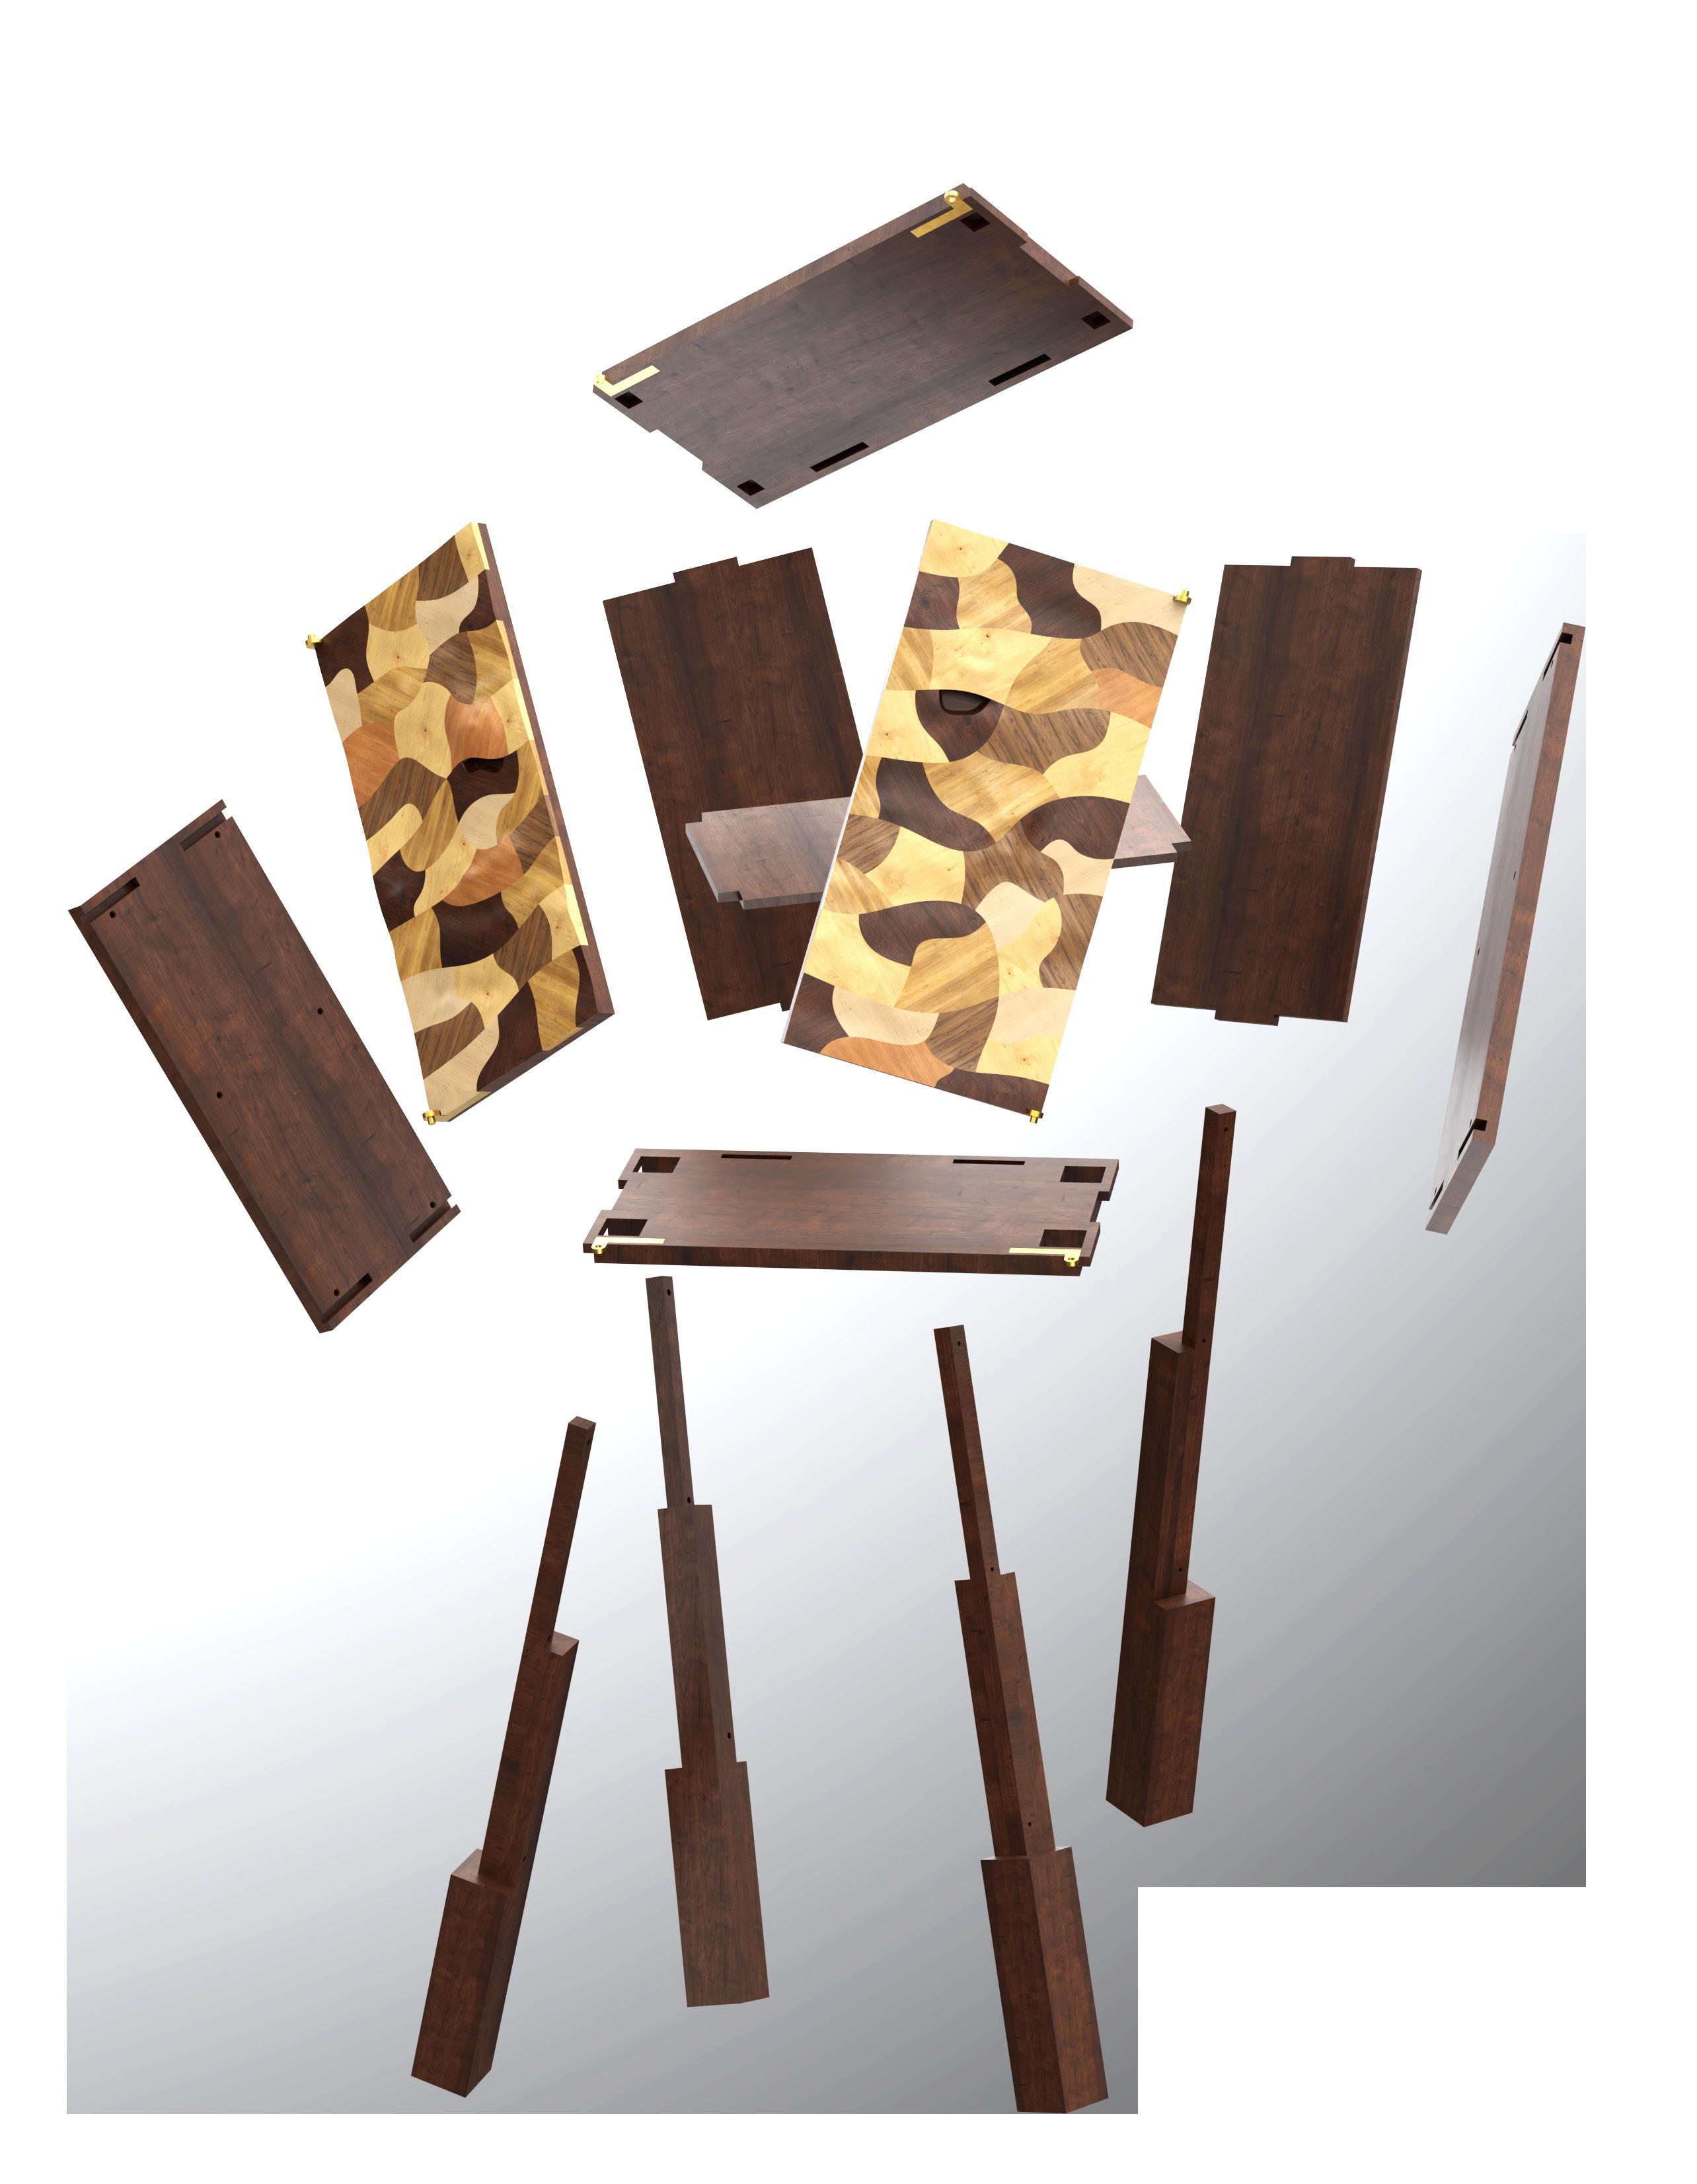
The cabinet is flat-packable to allow for ease of transportation and can be easily assembled with minimal hardware for the convenience of the buyer. A wide range of bottle sizes, ranging from small to oversized, can be accommodated. Premium materials will be used which will echo the rugged beauty of the Pilbara, it will be durable whilst still maintaining a luxurious aesthetic.

Iron Ore Stockpiling
Dampier
Western Australia
Wolfgang Sievers (1971)

Cliff Abstract
Karijini
Western Australia
Tom Putt
INFLUENCE - THE PILBARA
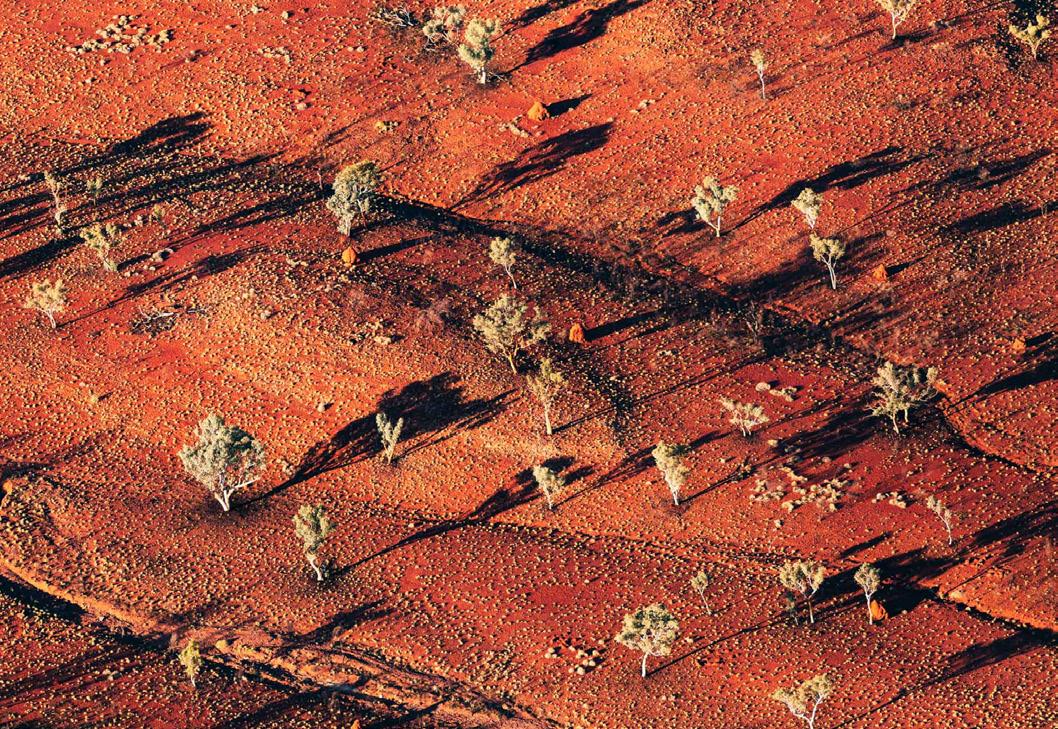
Fortescue River
Western Australia
Goetze & Jampal Williamson
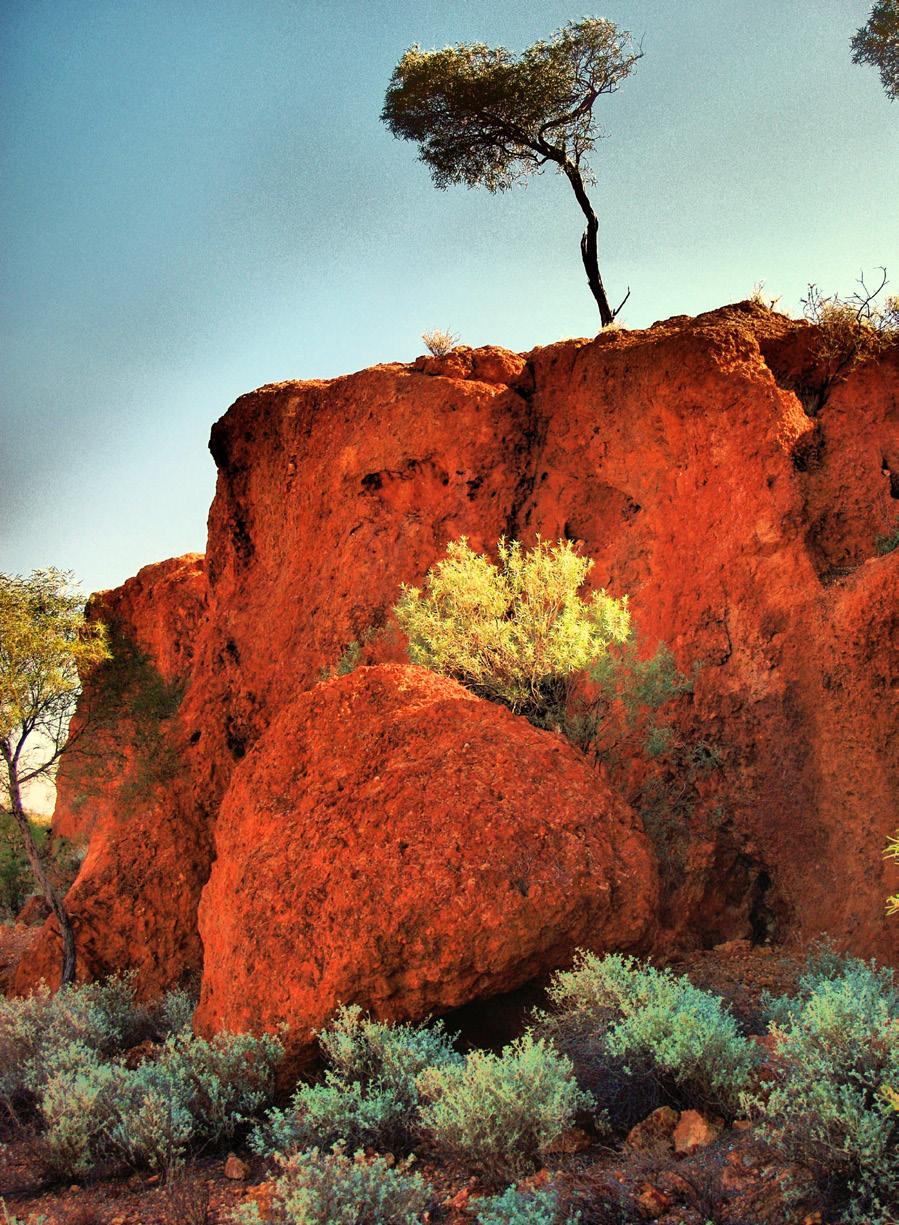
Tree on a Hill
Sandstone
Western Australia
Unknown

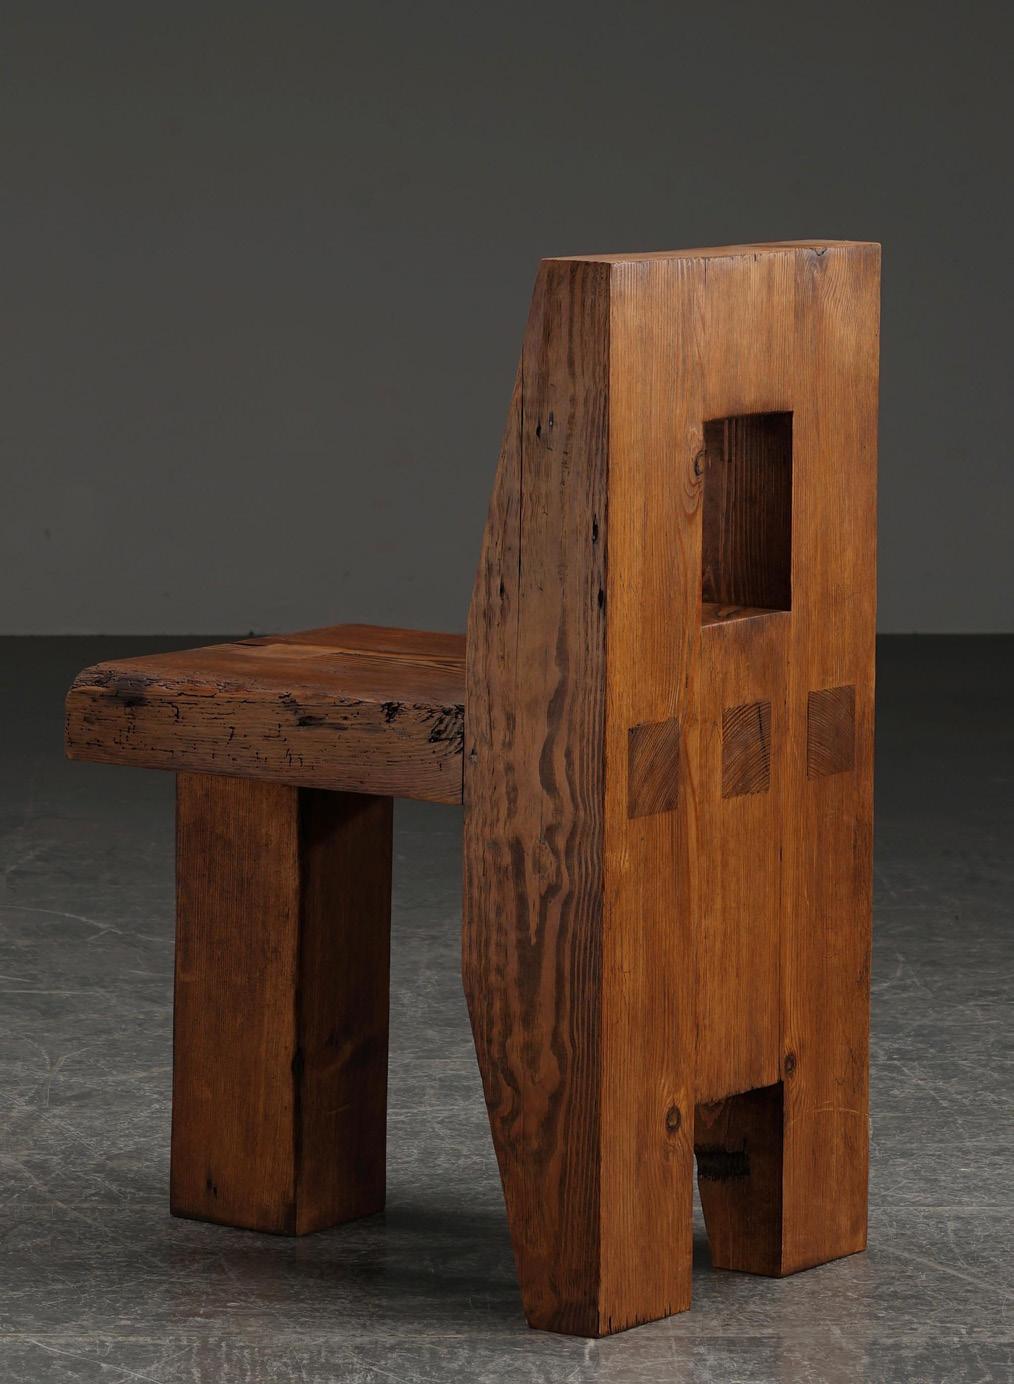

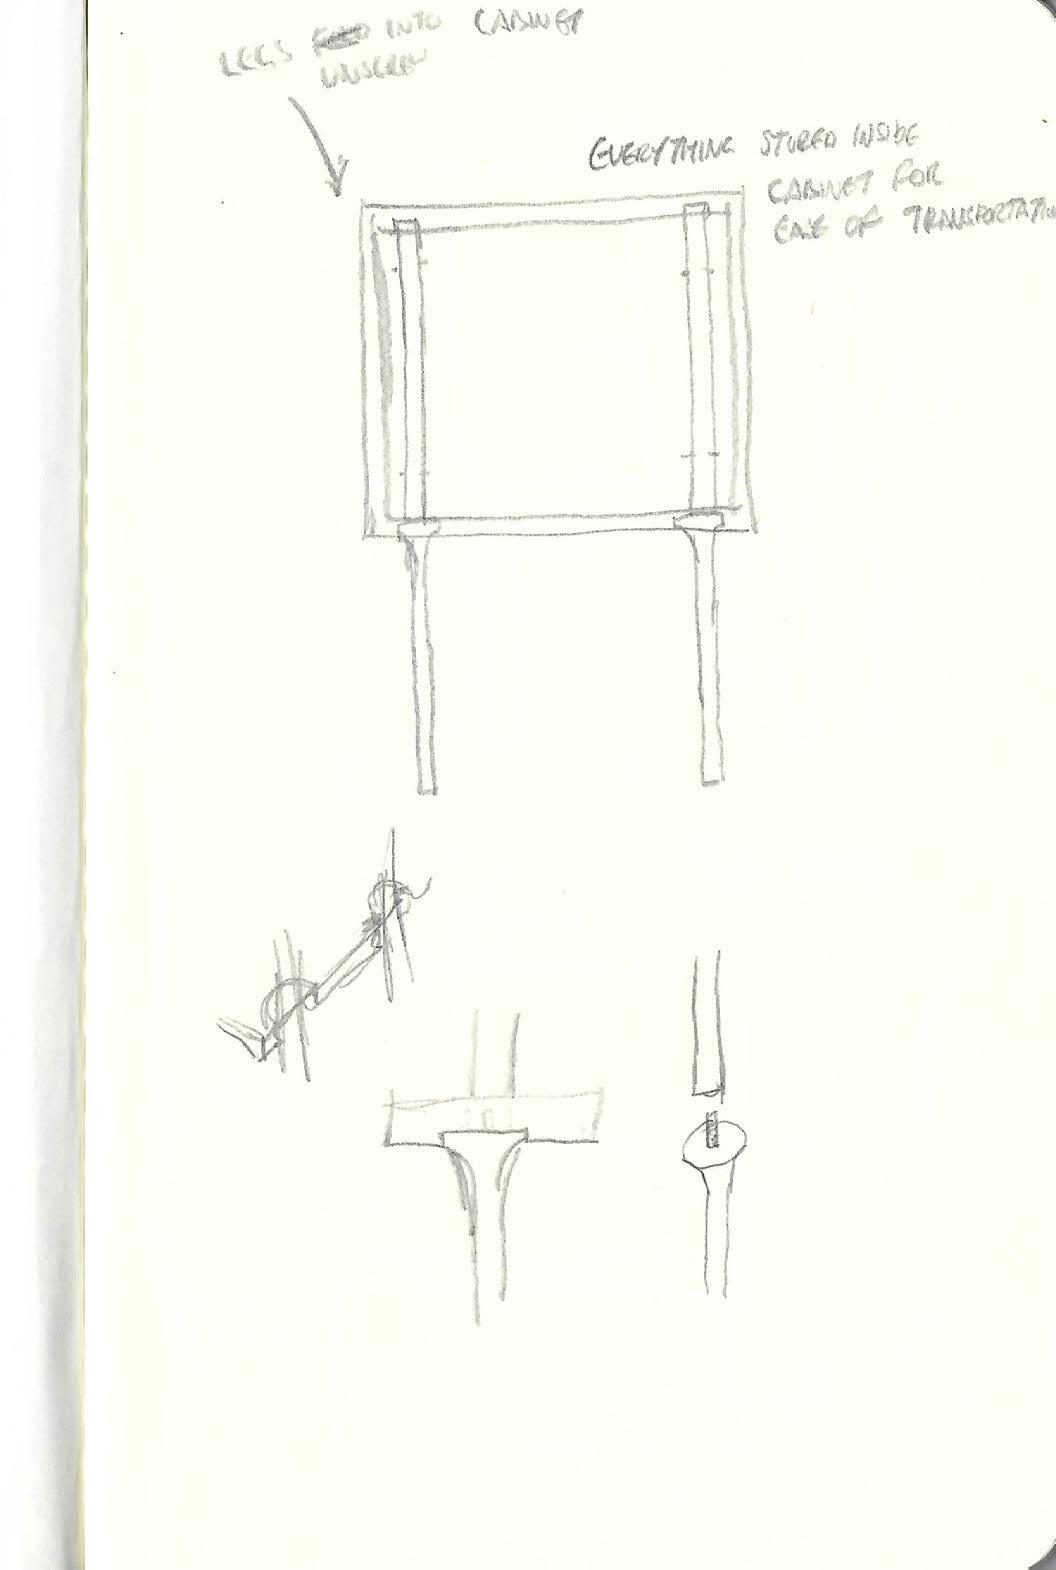
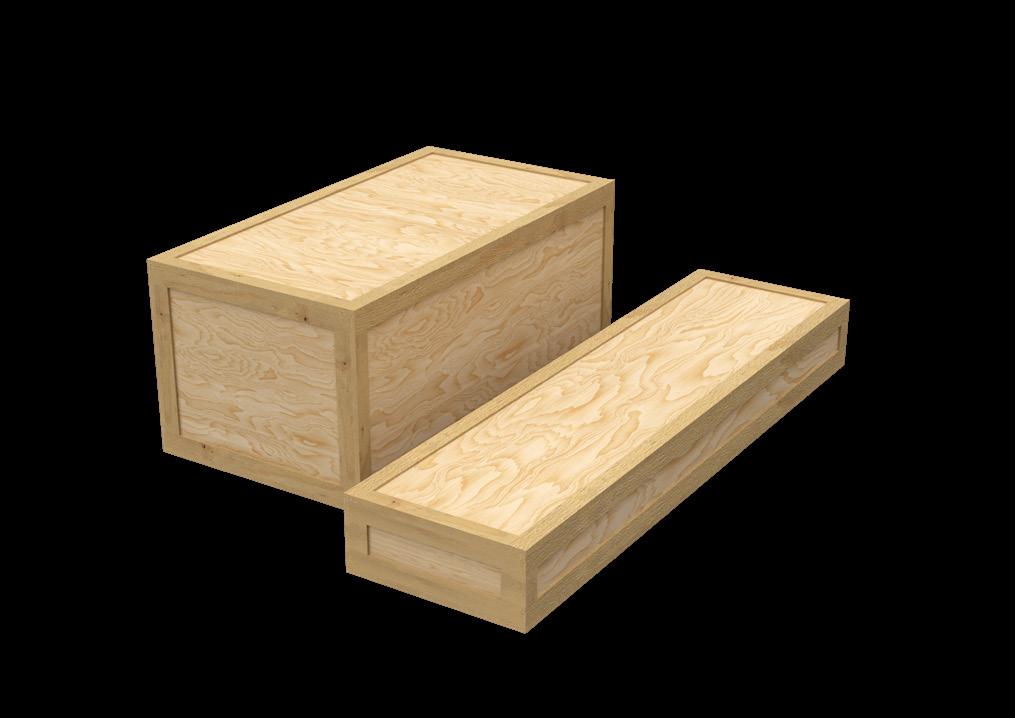
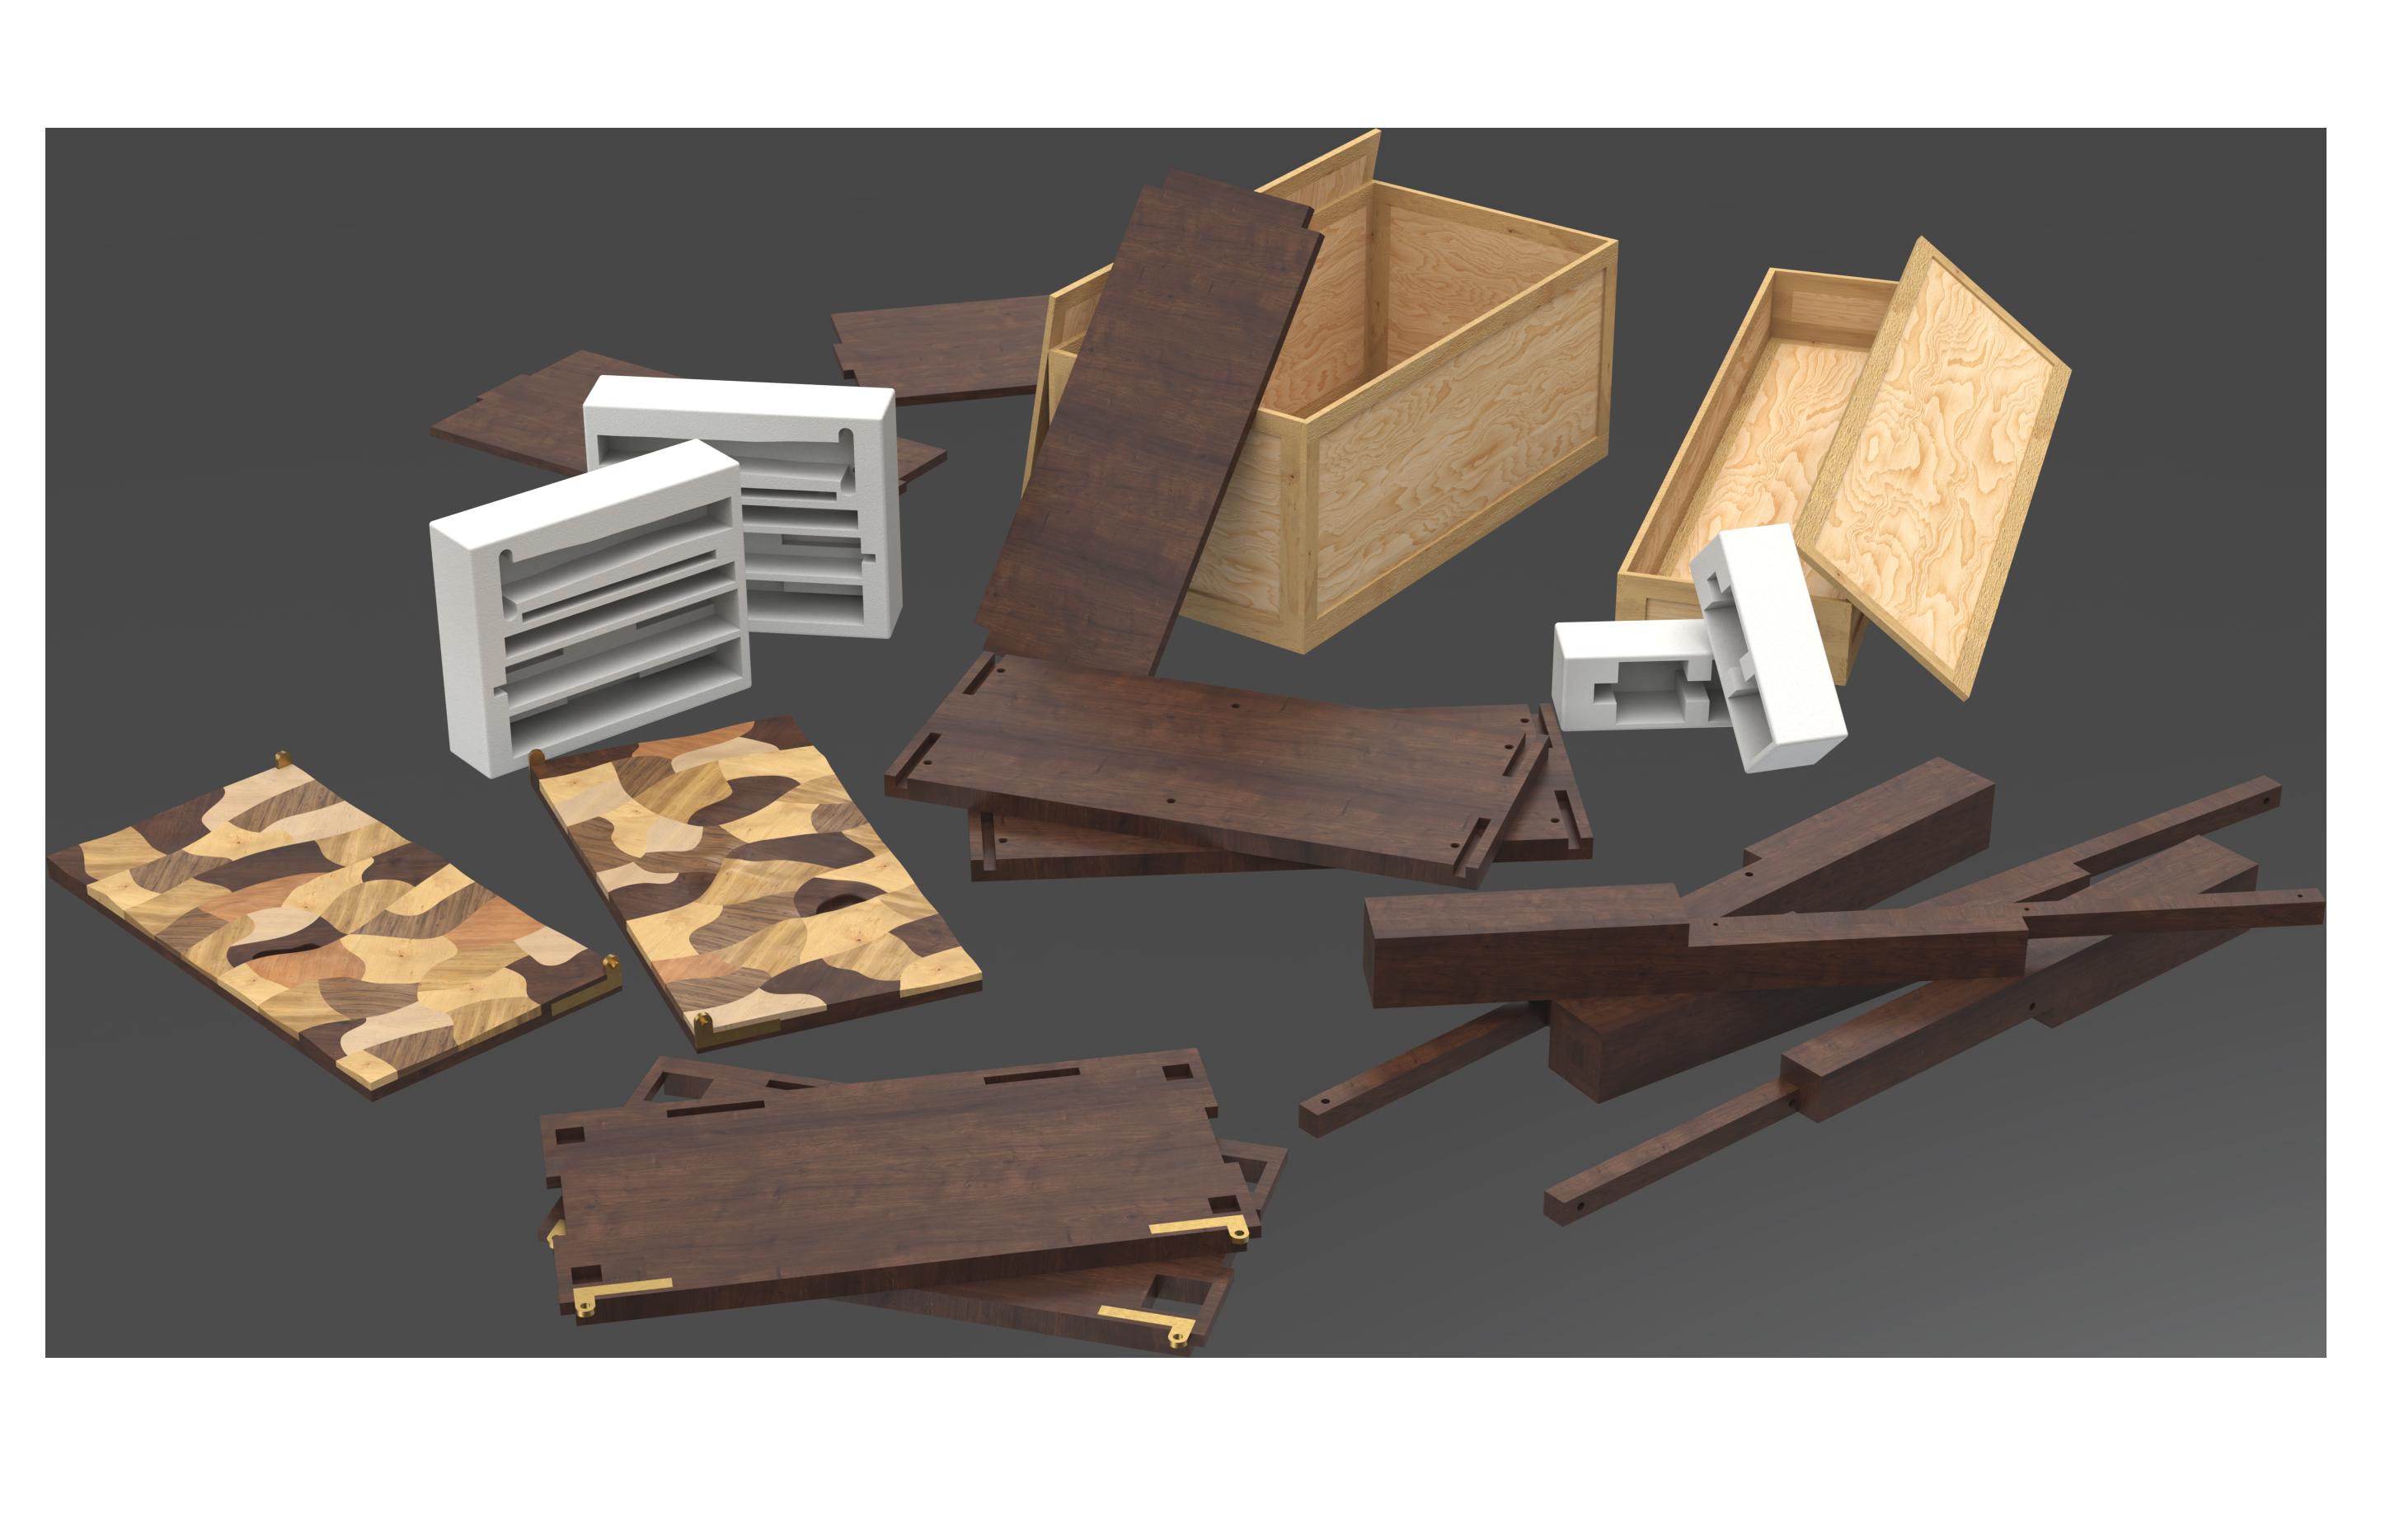
legs stored inside cabinet for transportation
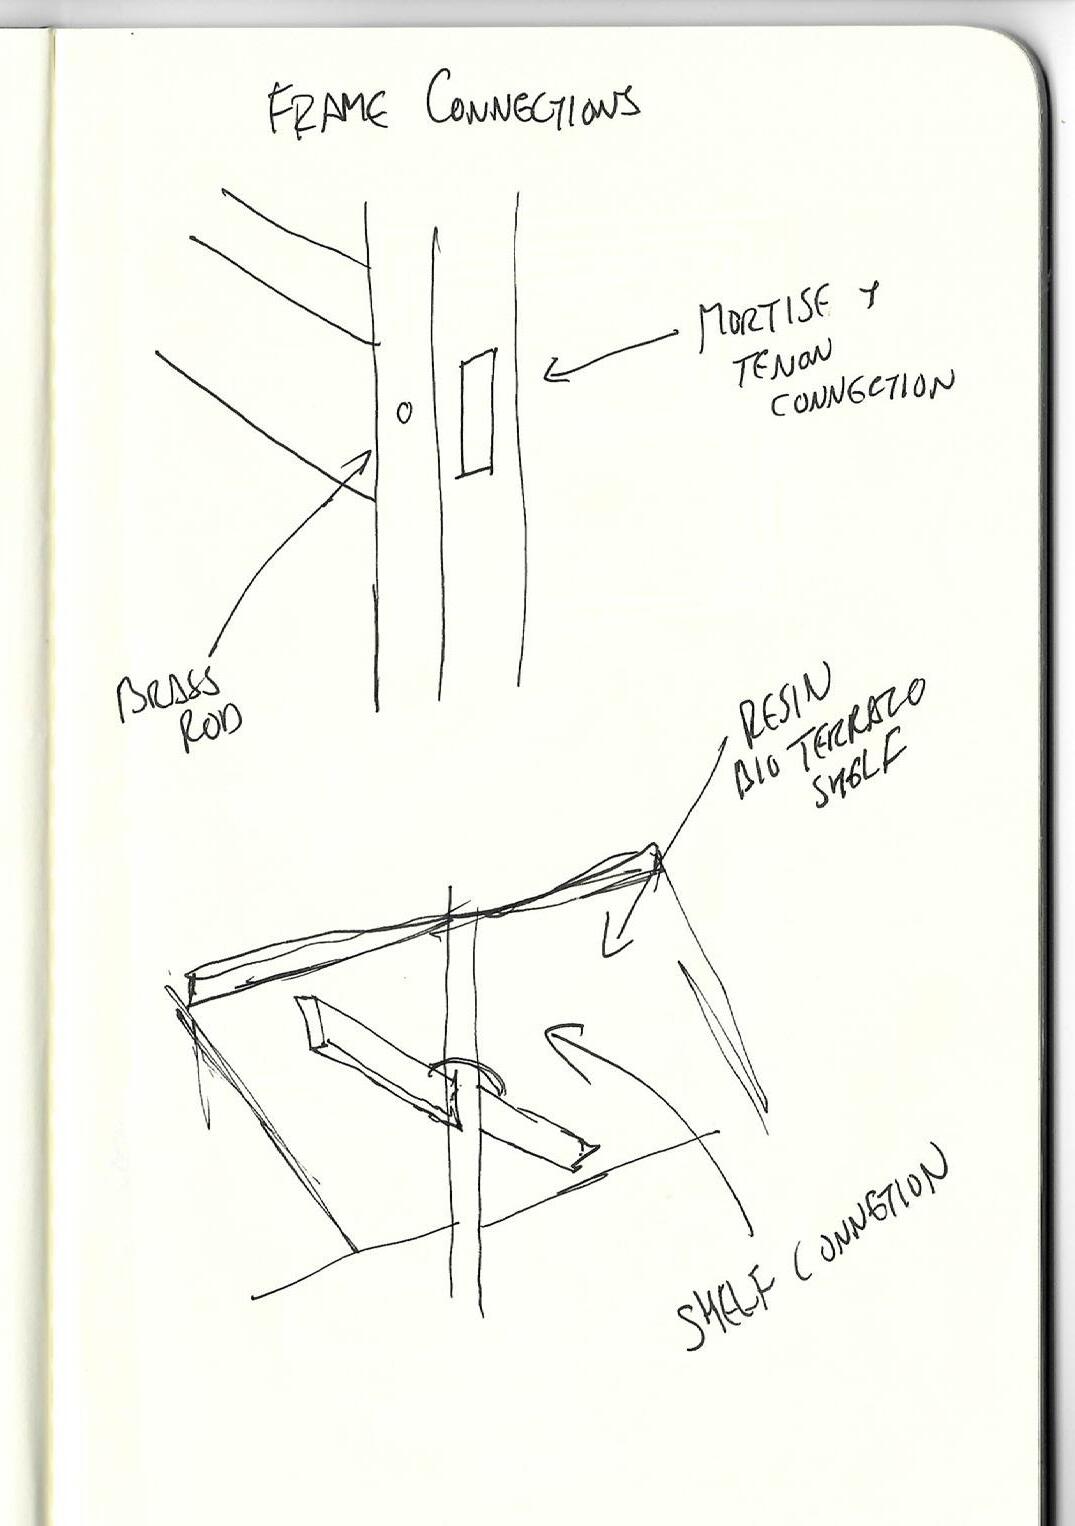
exploration of joints and connections
shelf connection
legs screw into cabinet
carefully considered dimensions
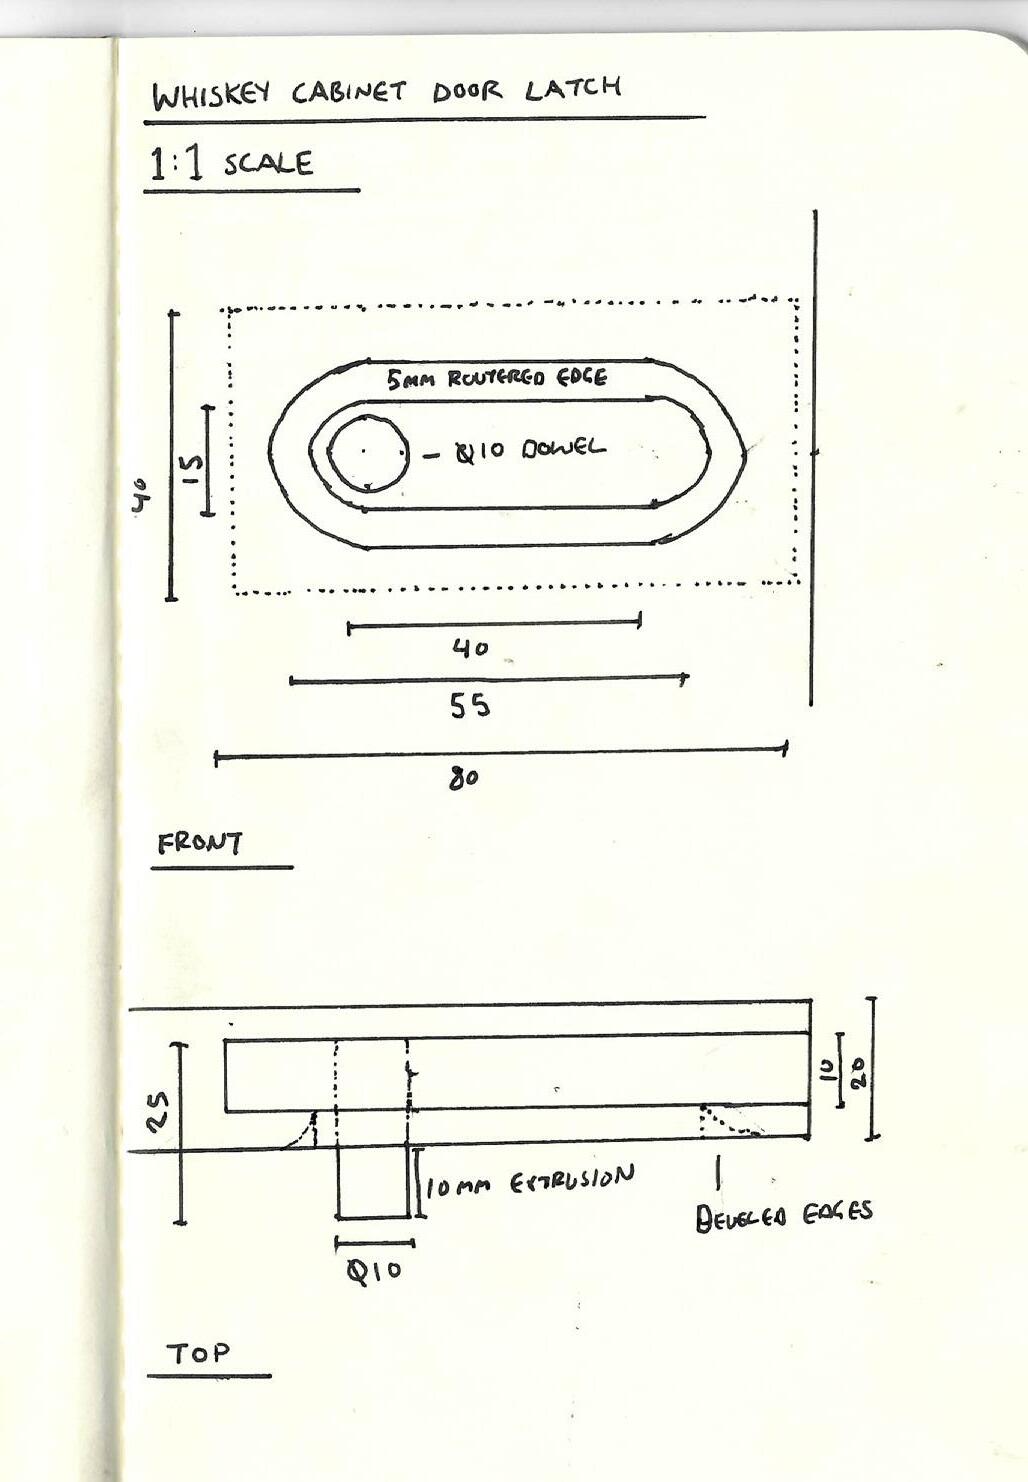
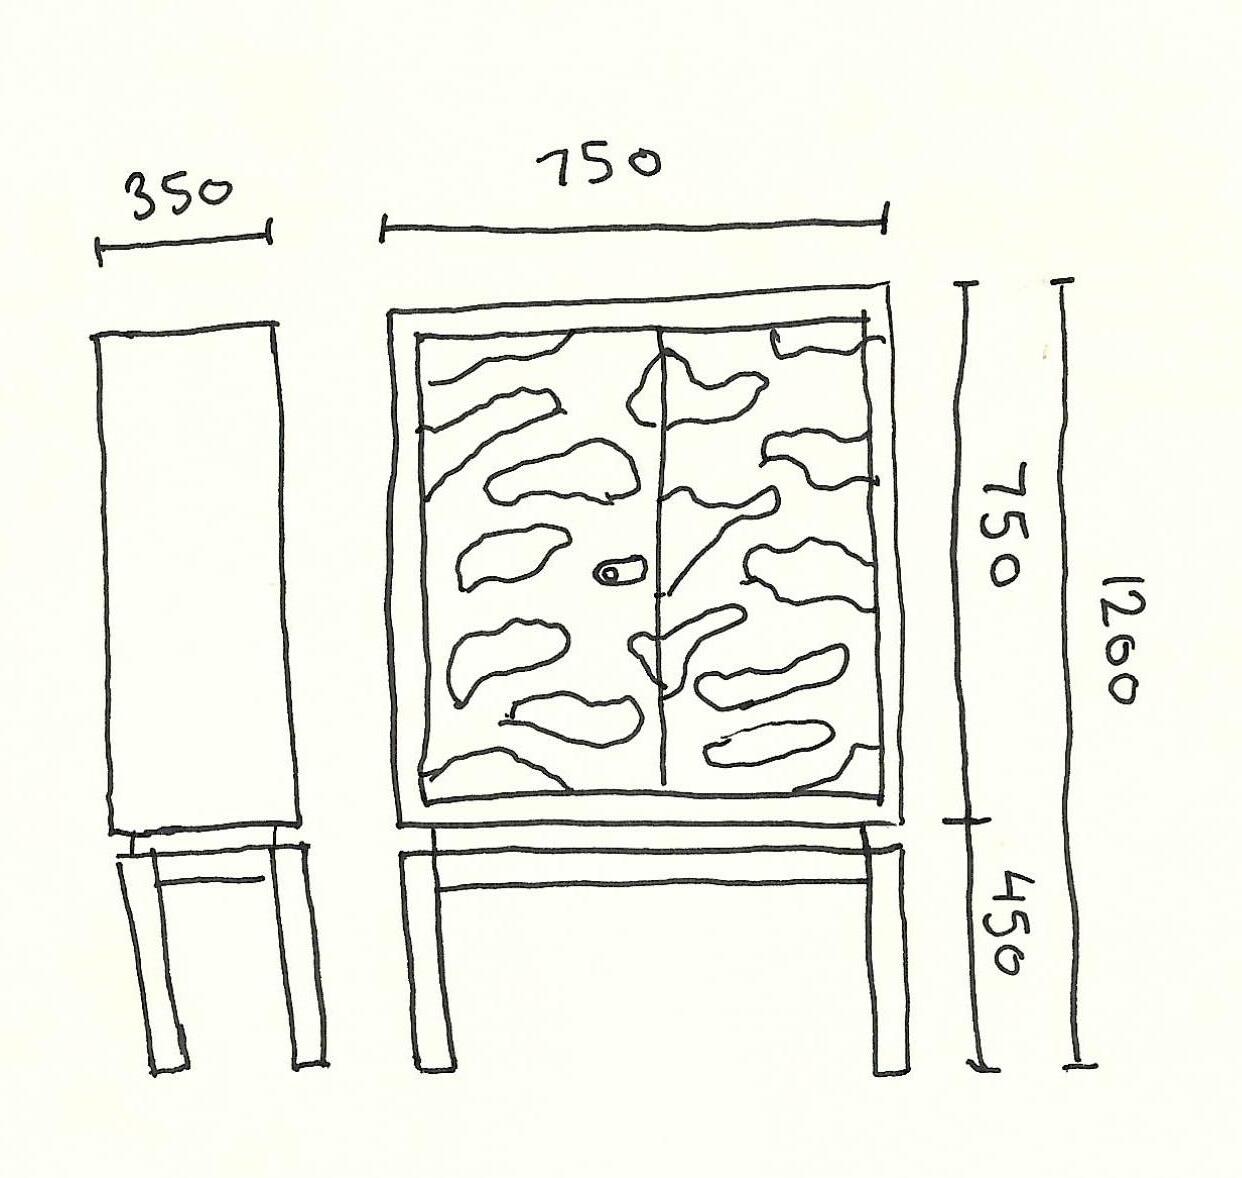
integrated lock design
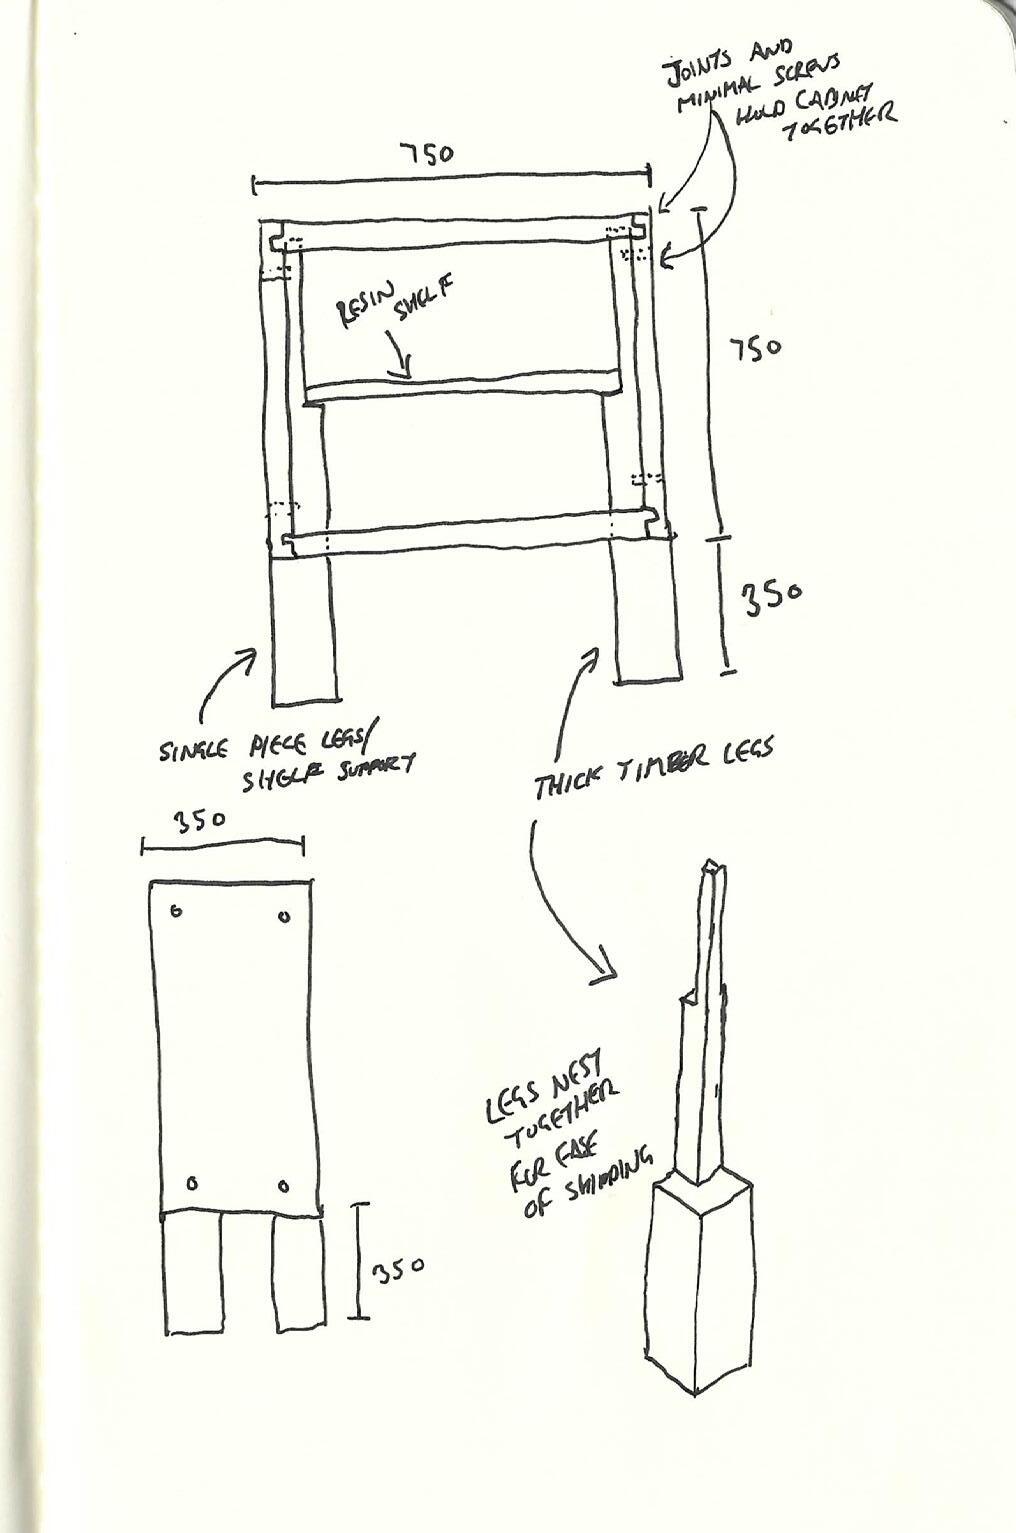
simple yet elegant design
thick timber legs that nest together slots together and secured with screws
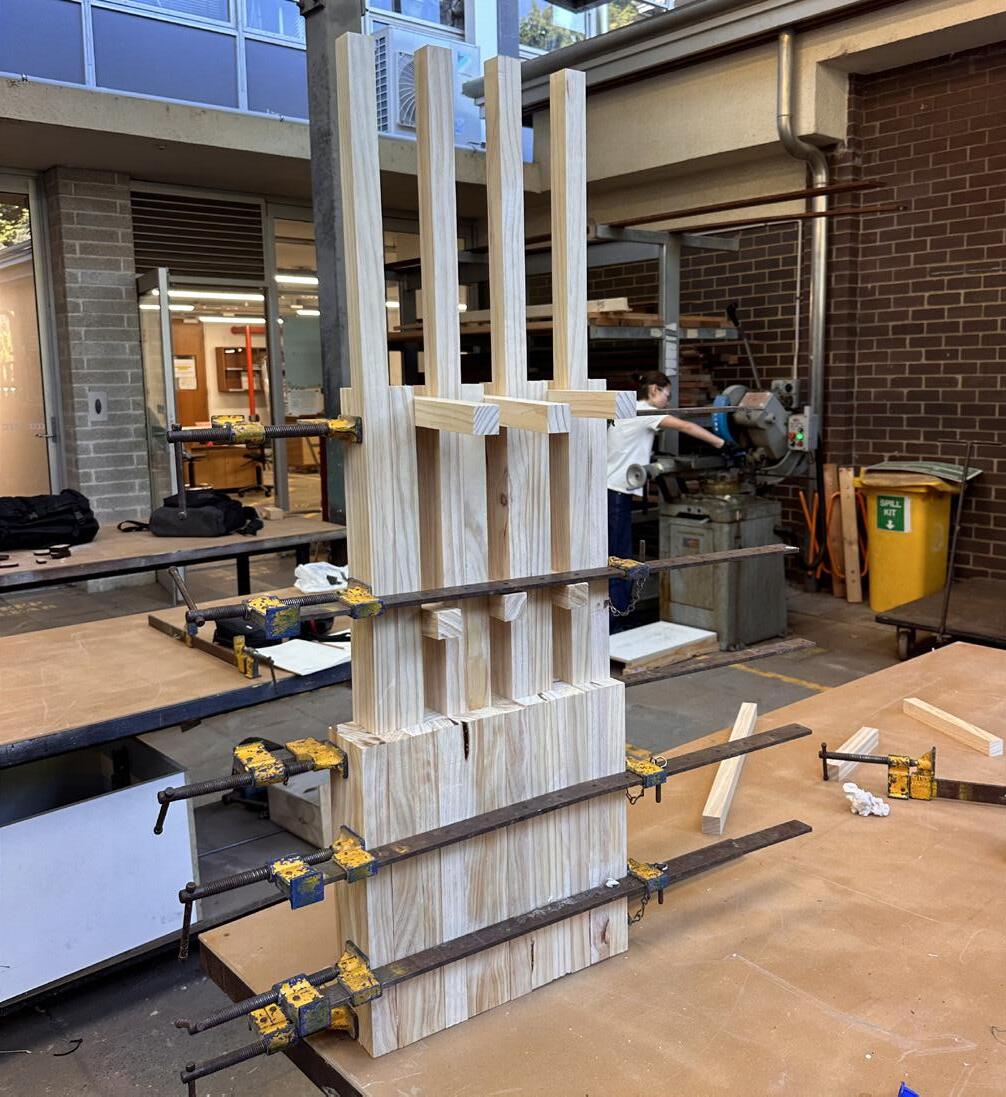
Cabinet Legs
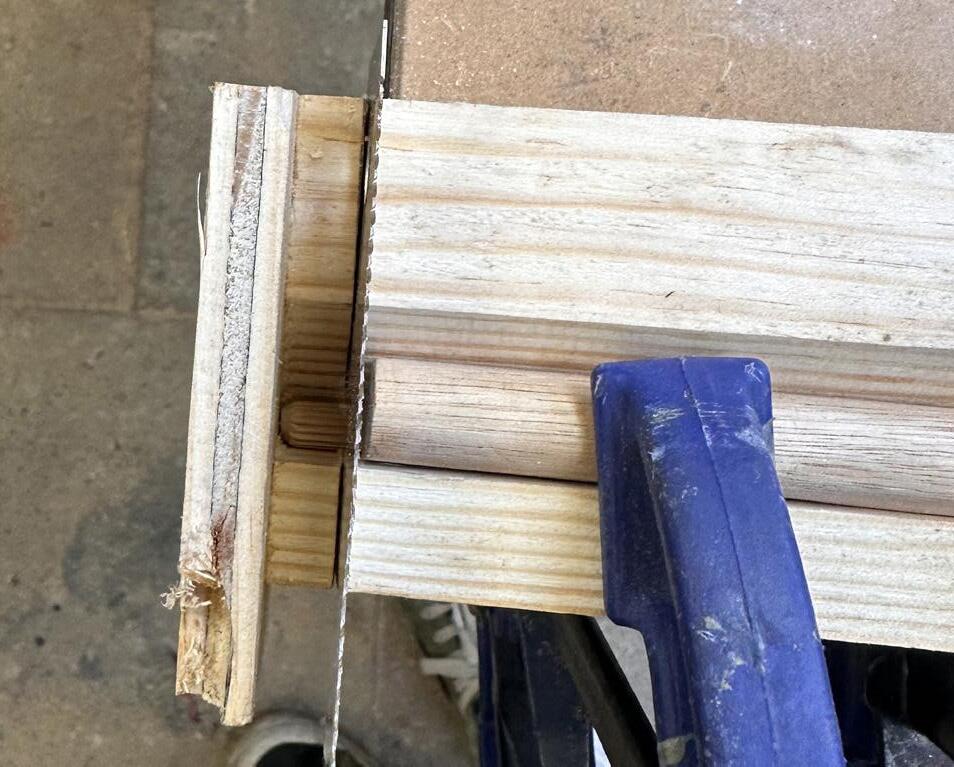
Legs were made from lengths of 30x30mm pine. Despite not being same method that will be used for the final design, it allowed us to quickly produce the legs to see if the cabinet construction system will work.
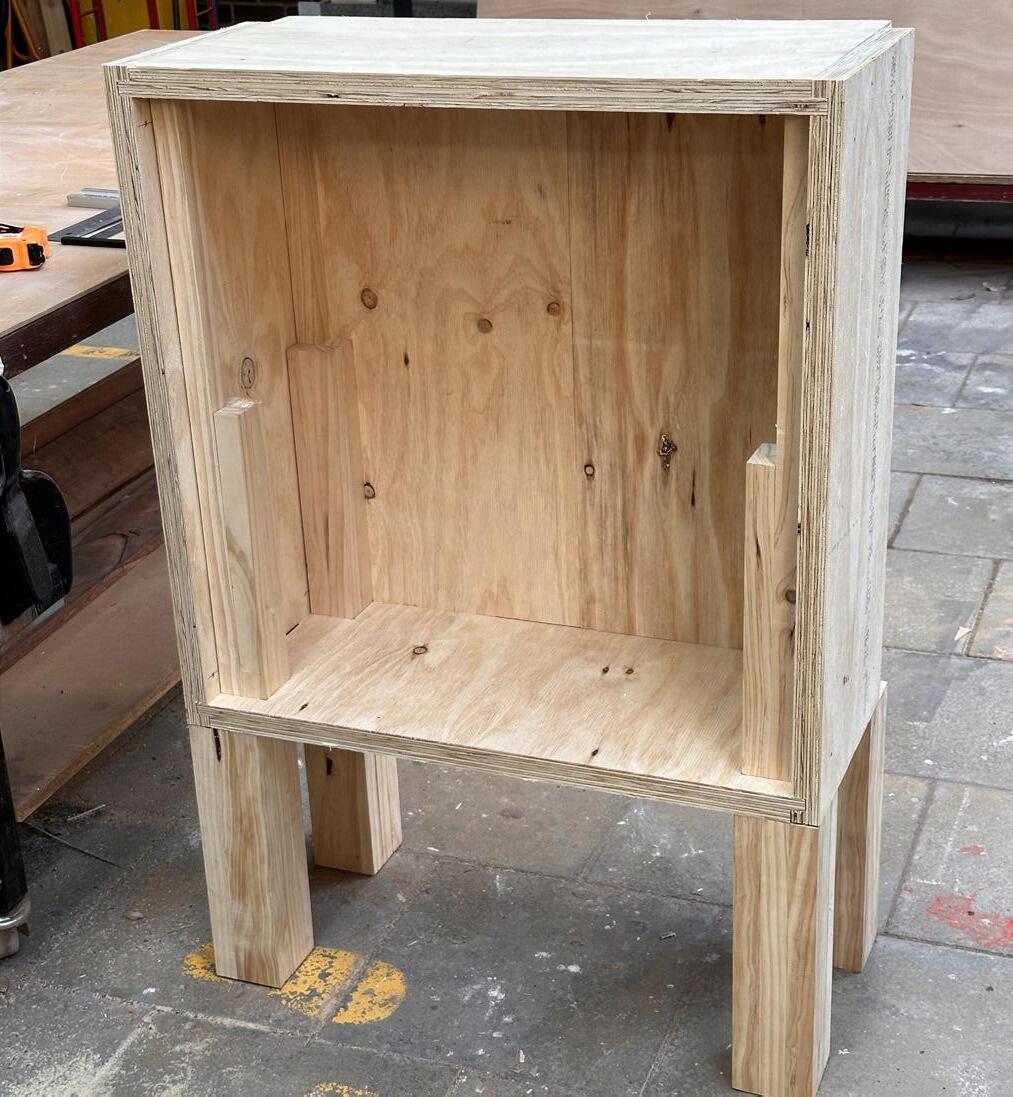
The prototype assembled with ease, proving that this construction system works. The legs slotted into the base, and the side panels locked the cabinet togther
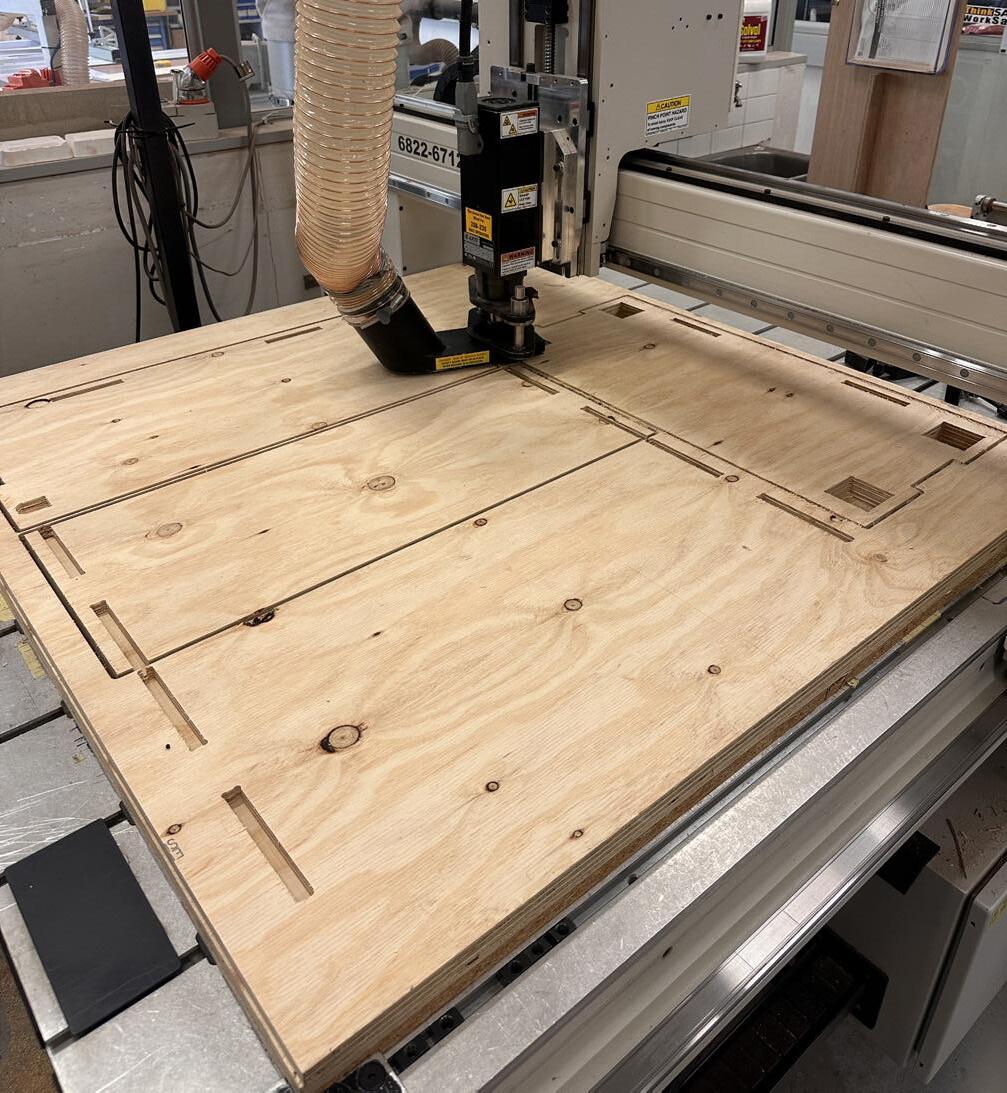
CNC Cutting
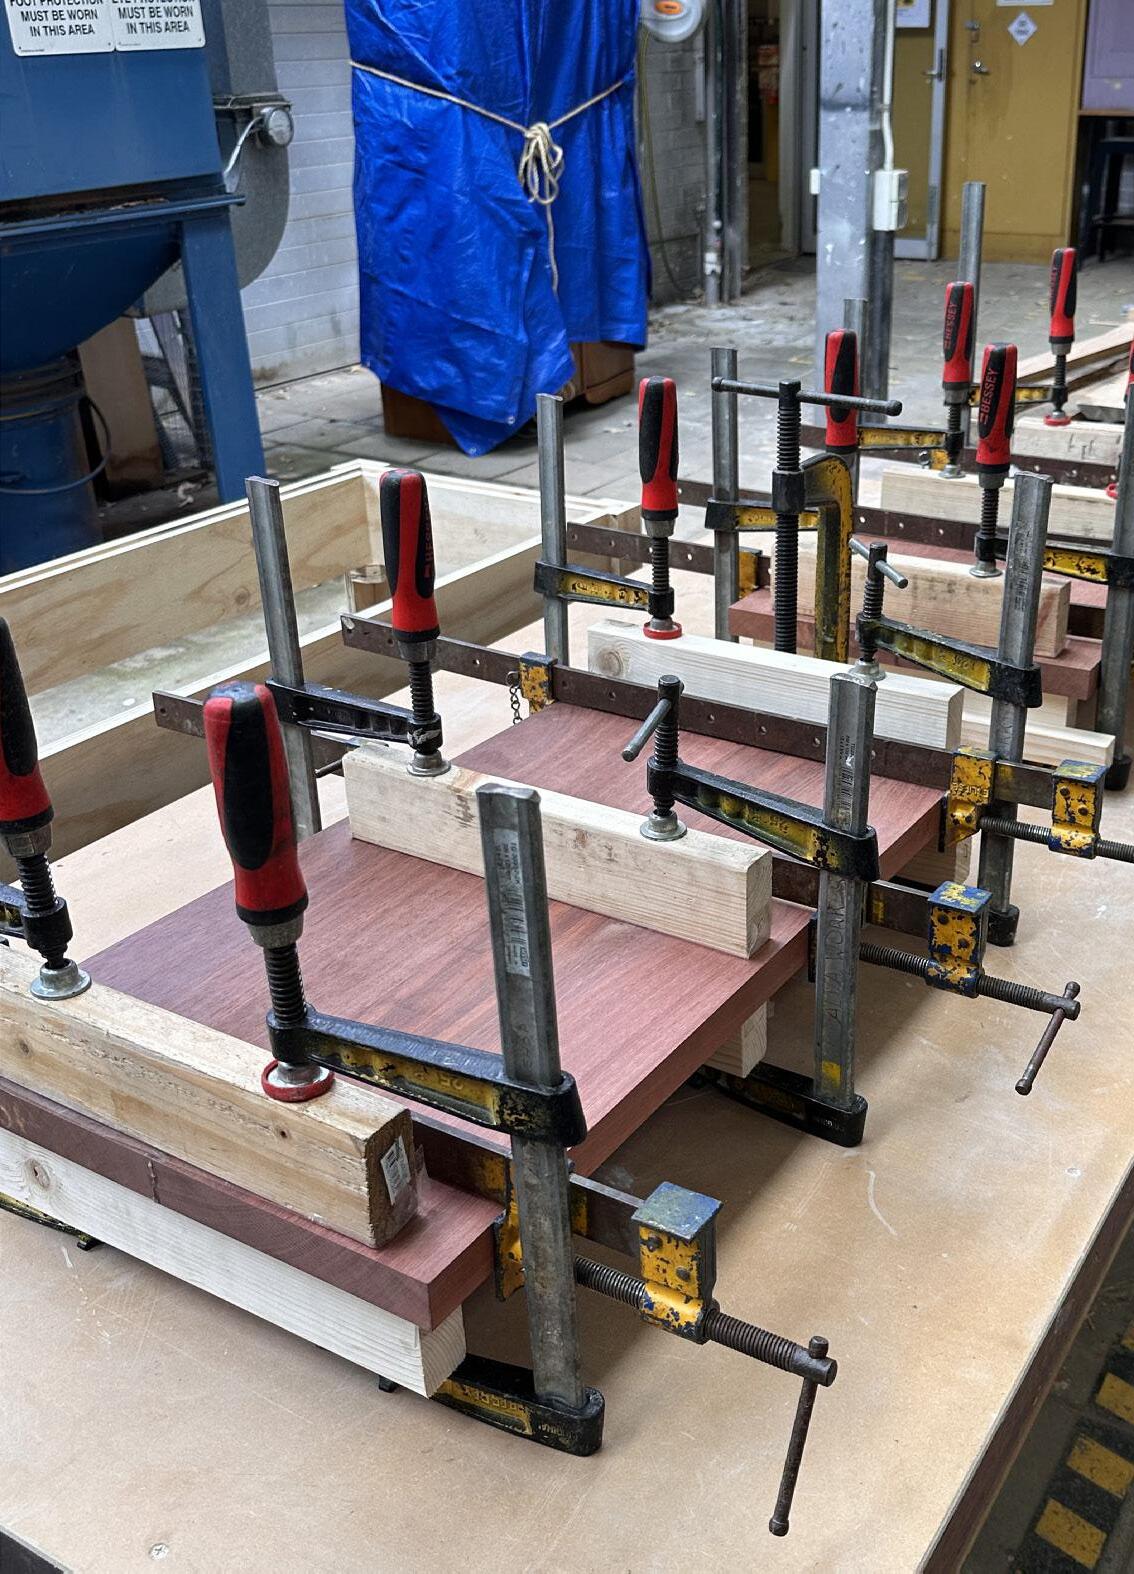
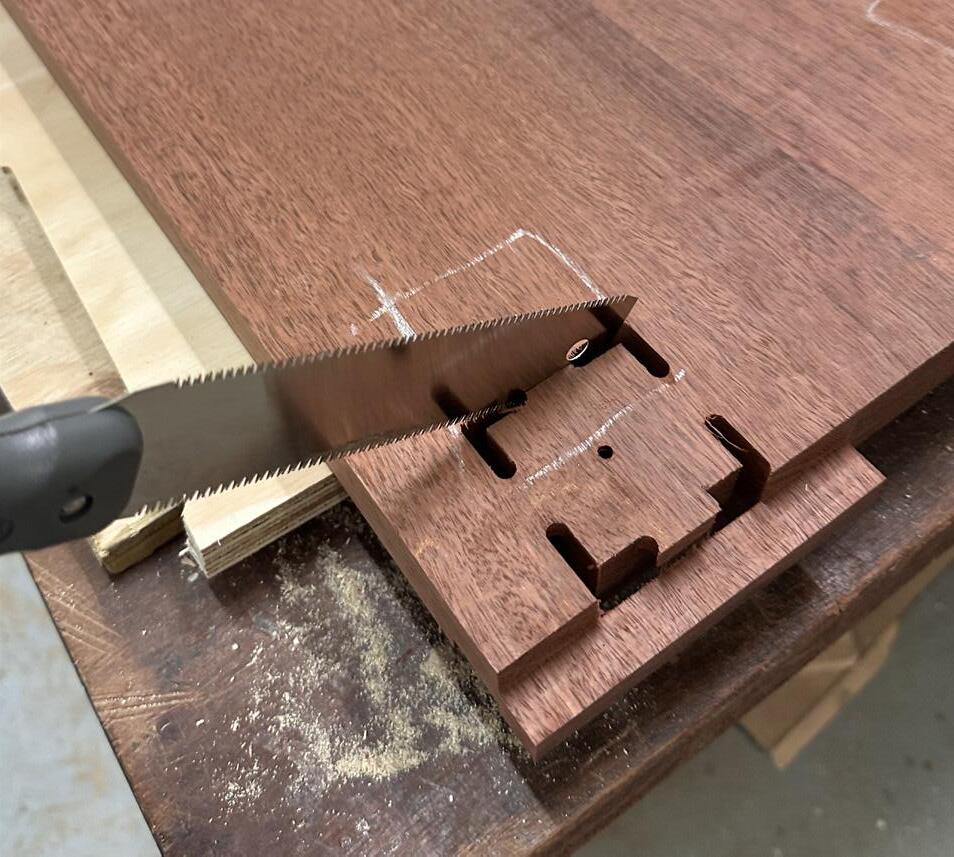
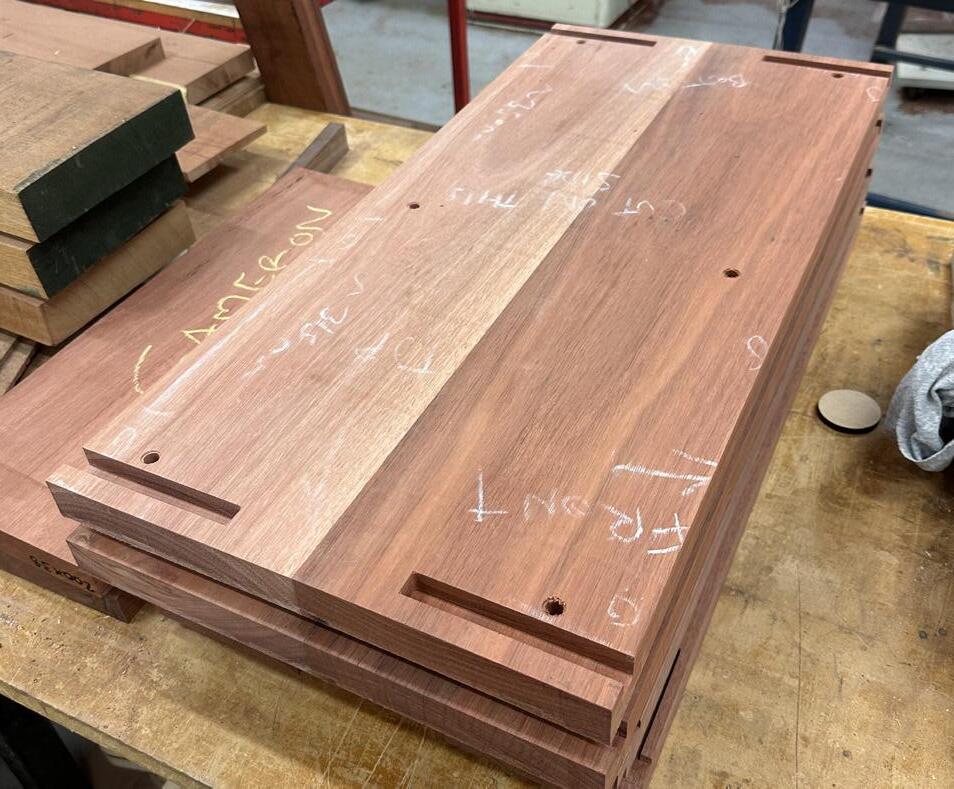
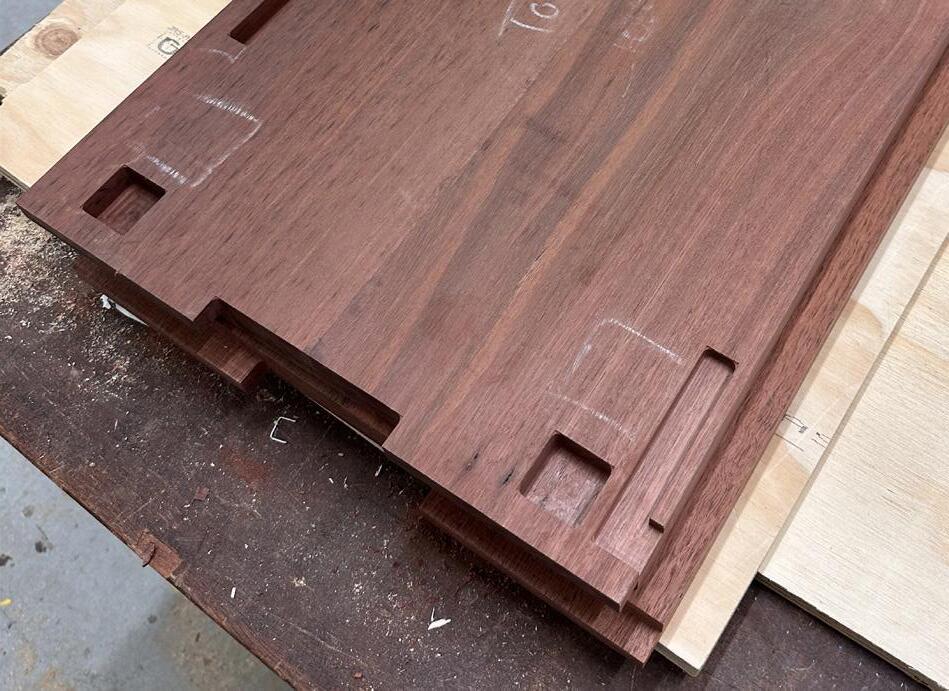
Top, bottom and side panels of the cabinet were cut on the CNC machine out of two pieces of 15mm construction plywood glued together. This allowed for a 30mm overall thickness.

Assembled Prototype - Rear View
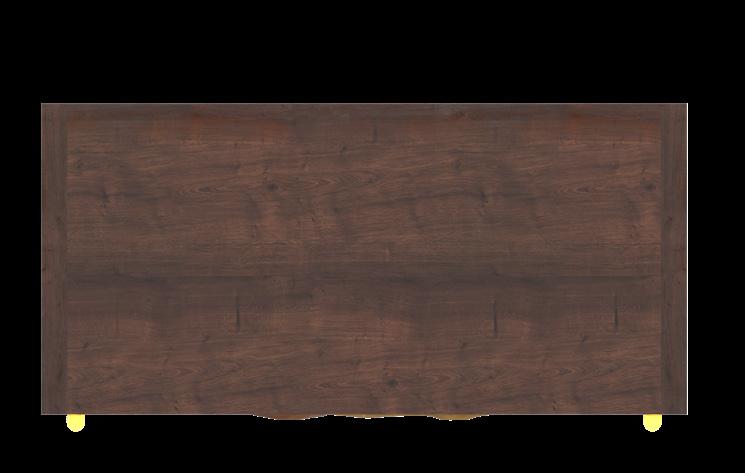
The rear panels are only 15mm thick to allow for a recessed appearance. The benefit of this is reduced weight and a simplified construction process.


Double Offset Knife Hinge
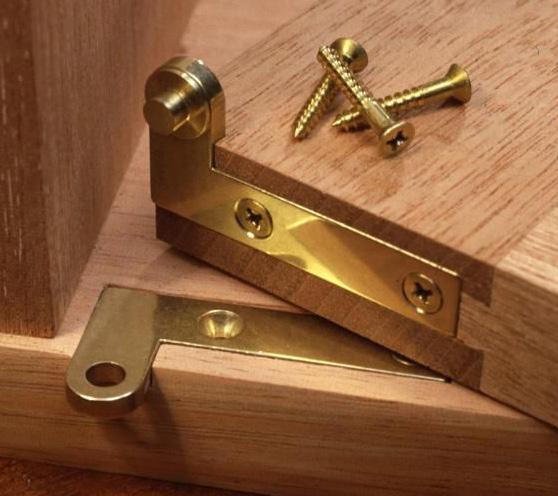
For this cabinet, the choice of hinge is crucial to the success of the design. The hinge must do two things:
It must fit into the construction method of the cabinet, allowing the doors to slot into place without screws, or the use of any tools.
It must be of high-quality materials, as this cabinet is targeted at high income earning individuals who are after uncompromised levels of quality.
There was only one hinge that was able to meet both criteria, which was a solid brass double offset knife hinge. They allow for the doors to be easily placed on the hinges during assembly, and still maintain a subtle yet very premium look, with only a small section of the hinge being visible from the outside once the cabinet is assembled.
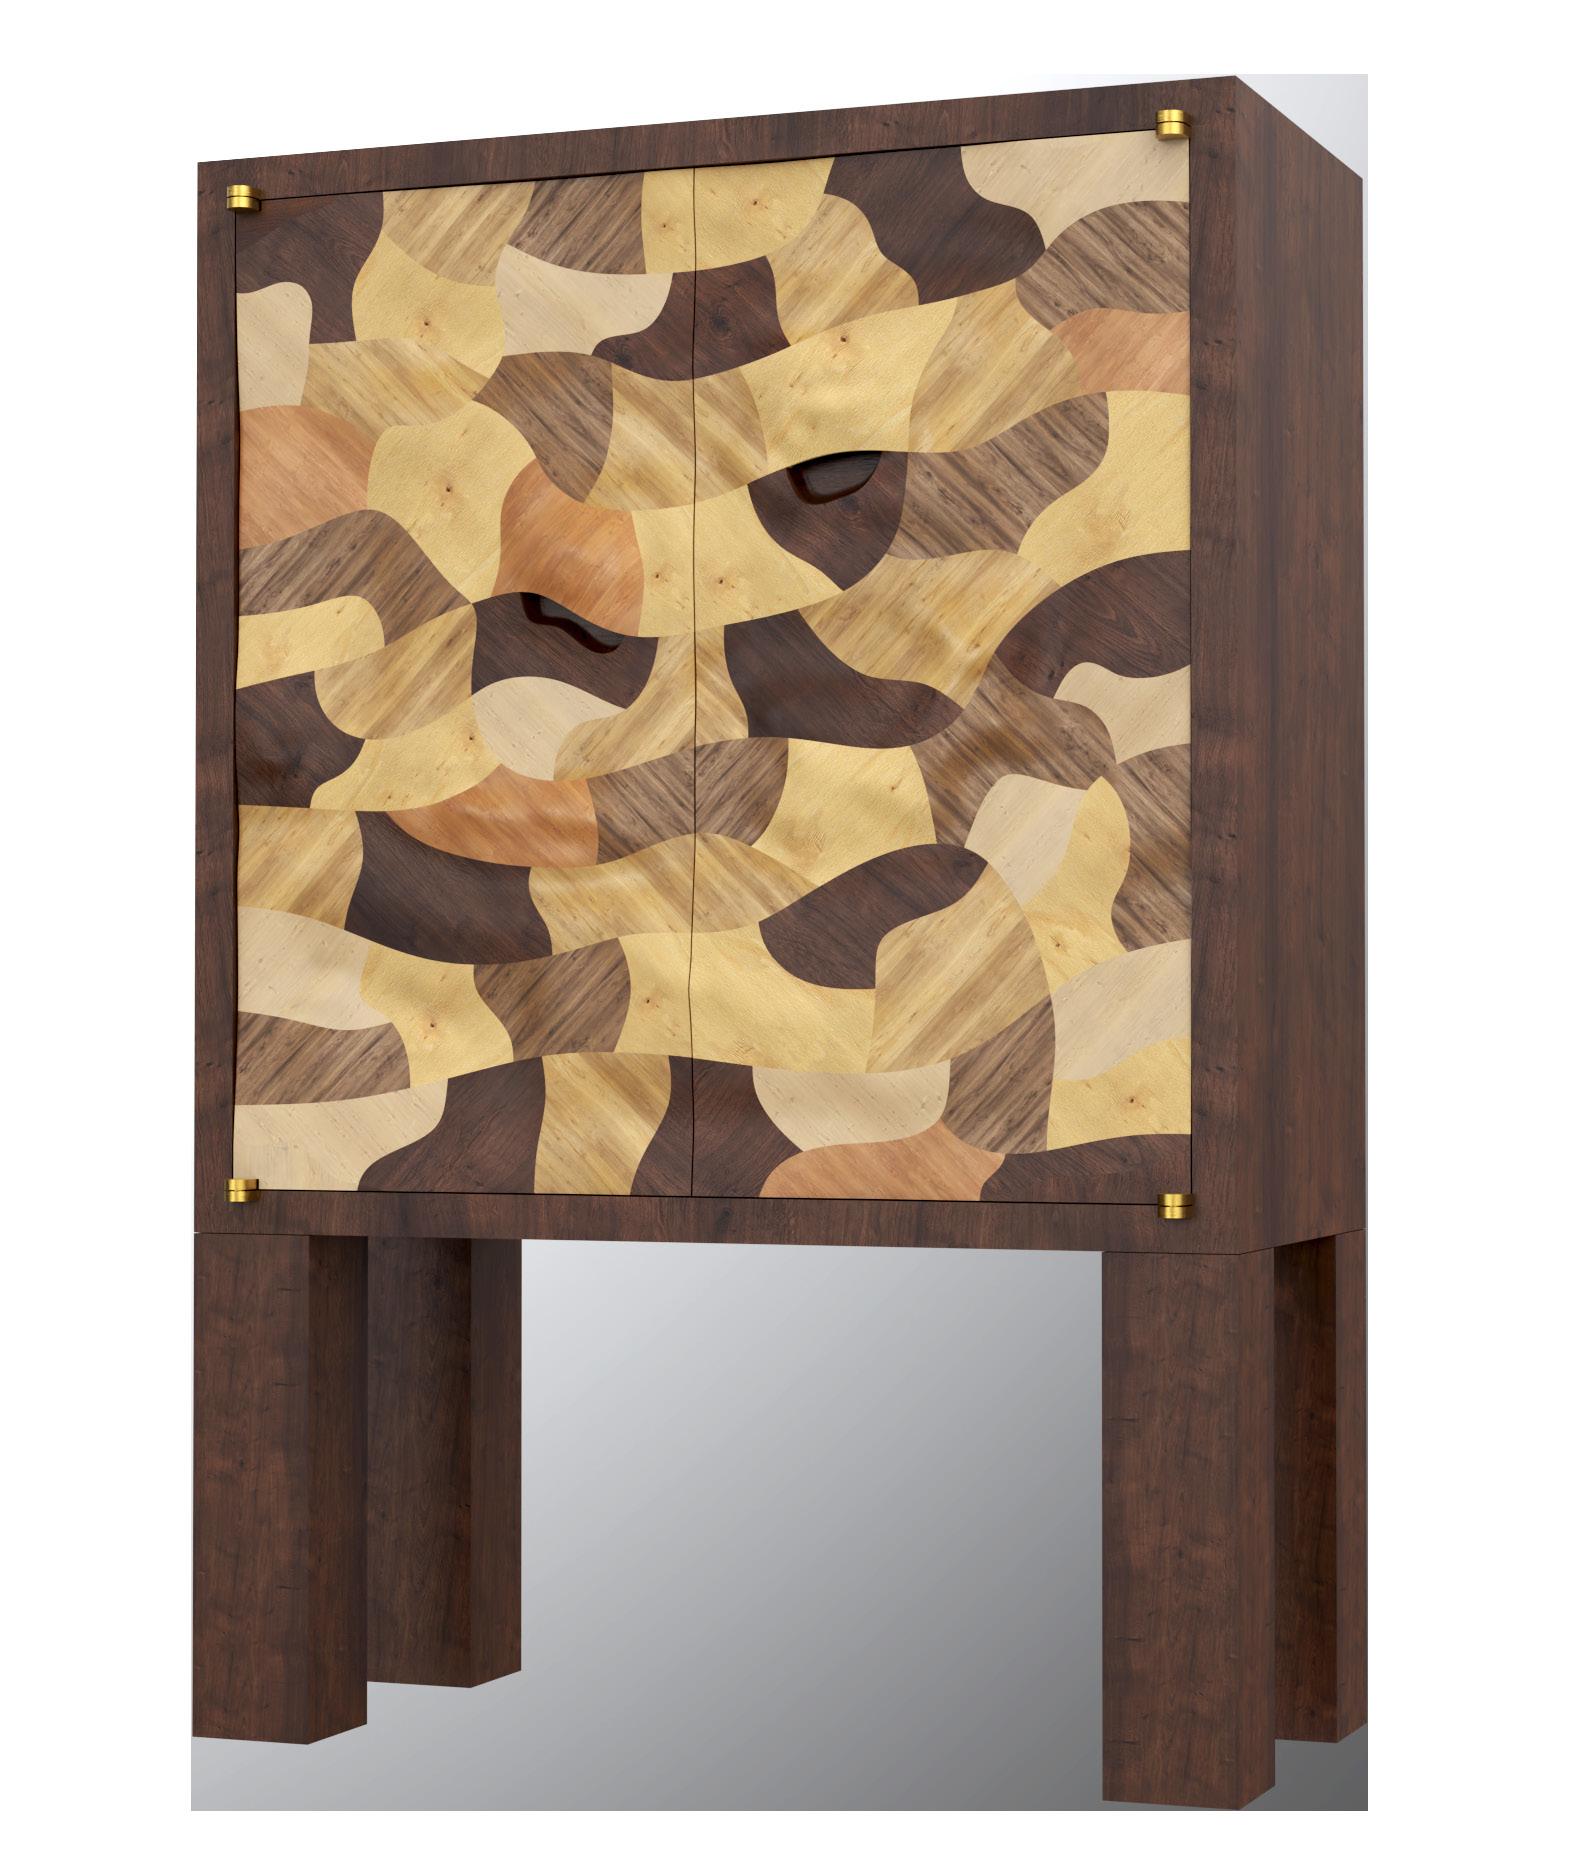
double offset knife hinge integrated door handles patchwork wood doors
whiskey storage
jarrah shelf
CNC cut panels
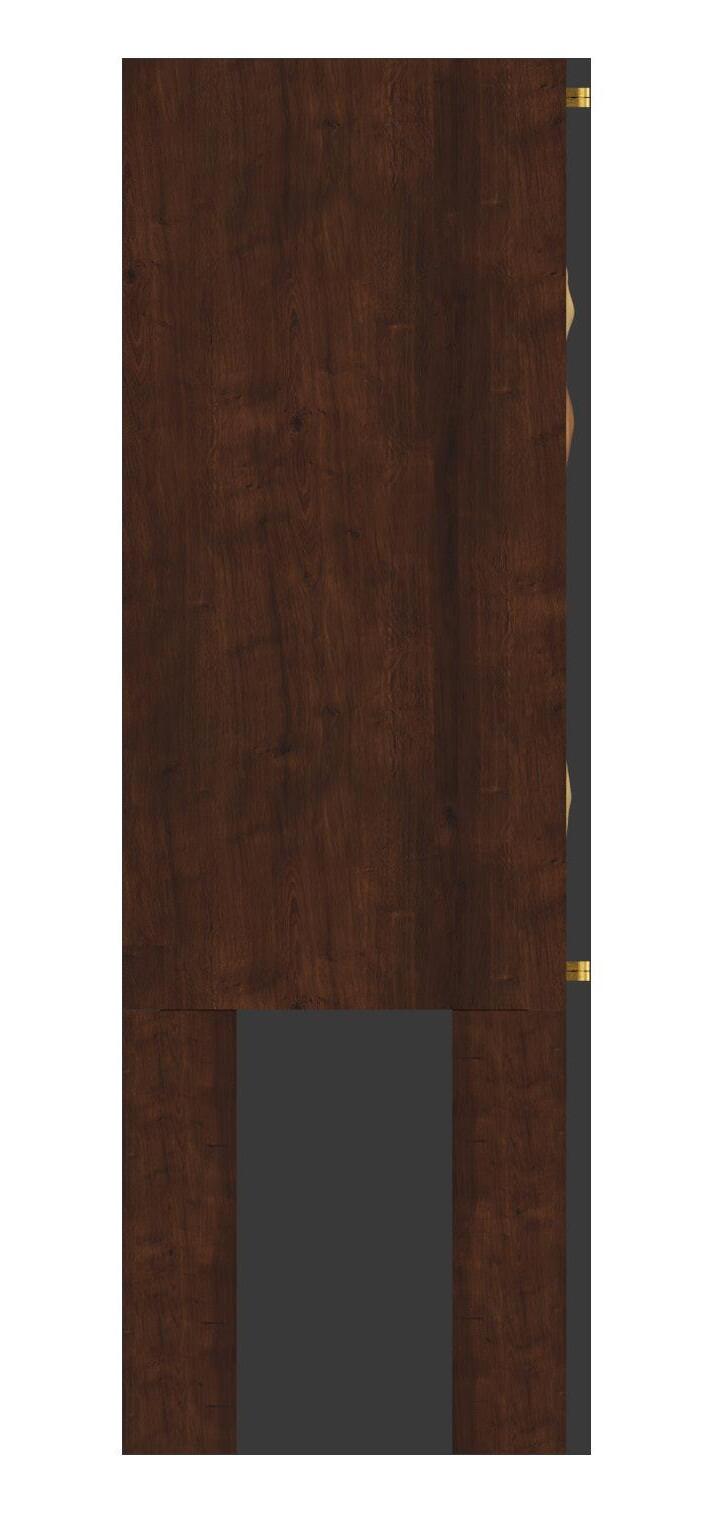
structural legs
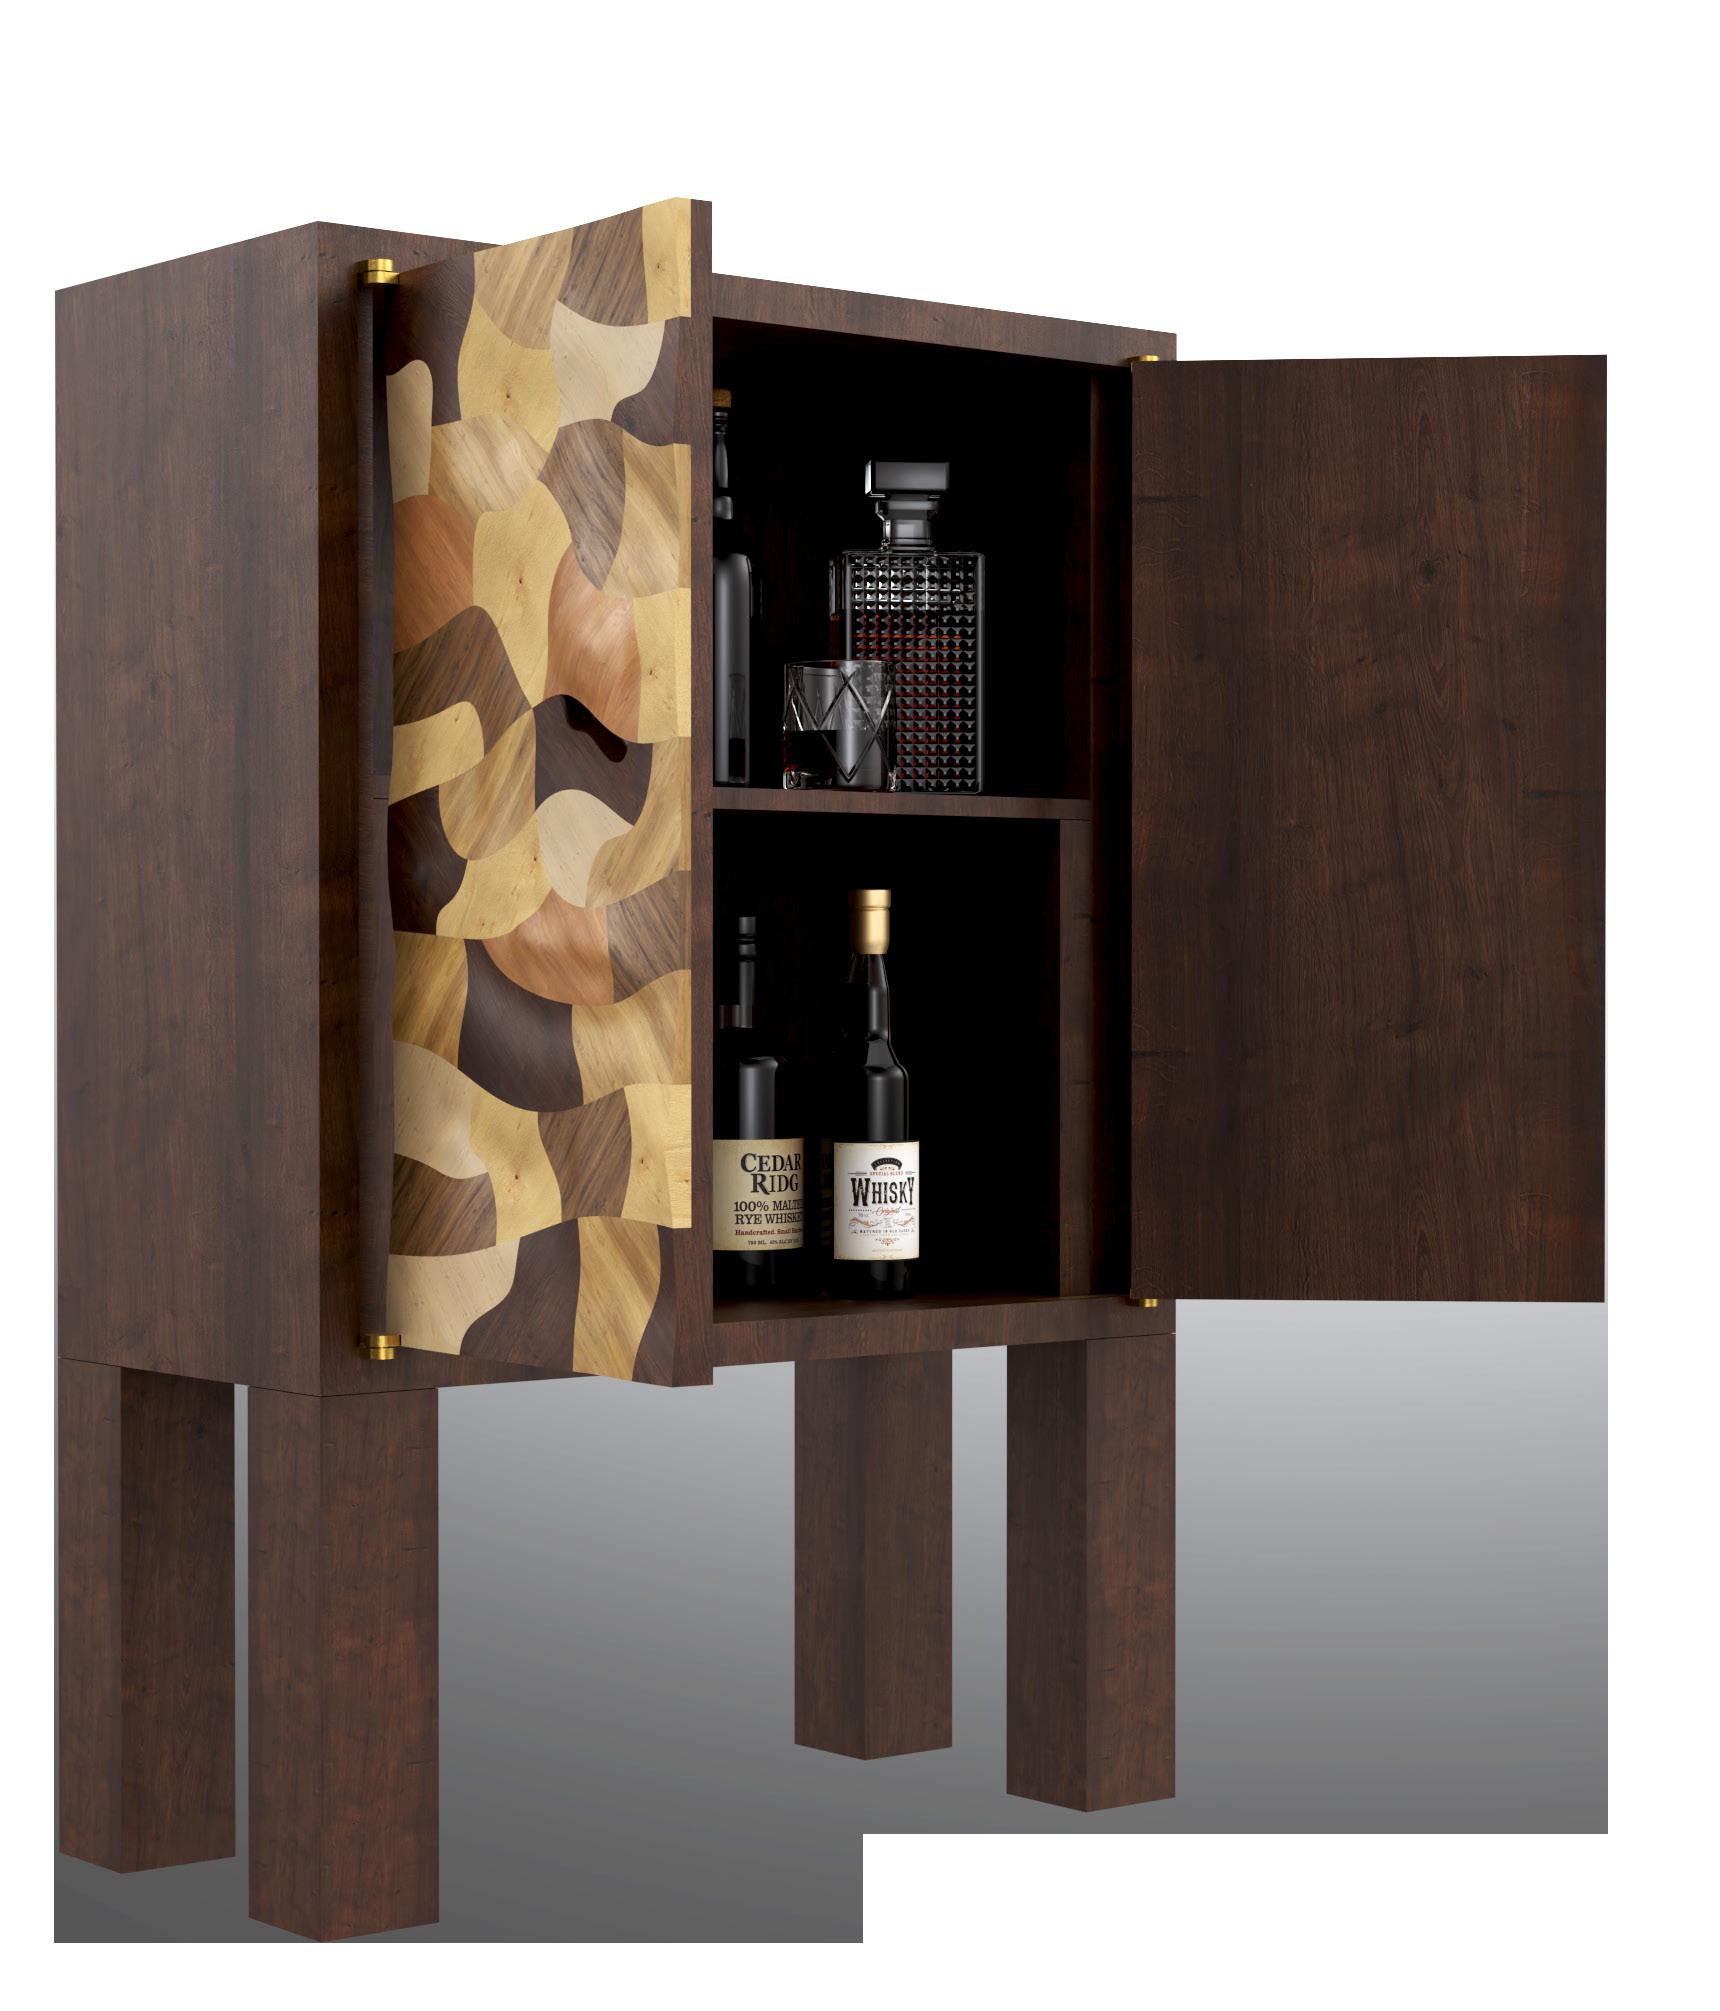
RESOLVED DESIGN - PERSPECTIVE
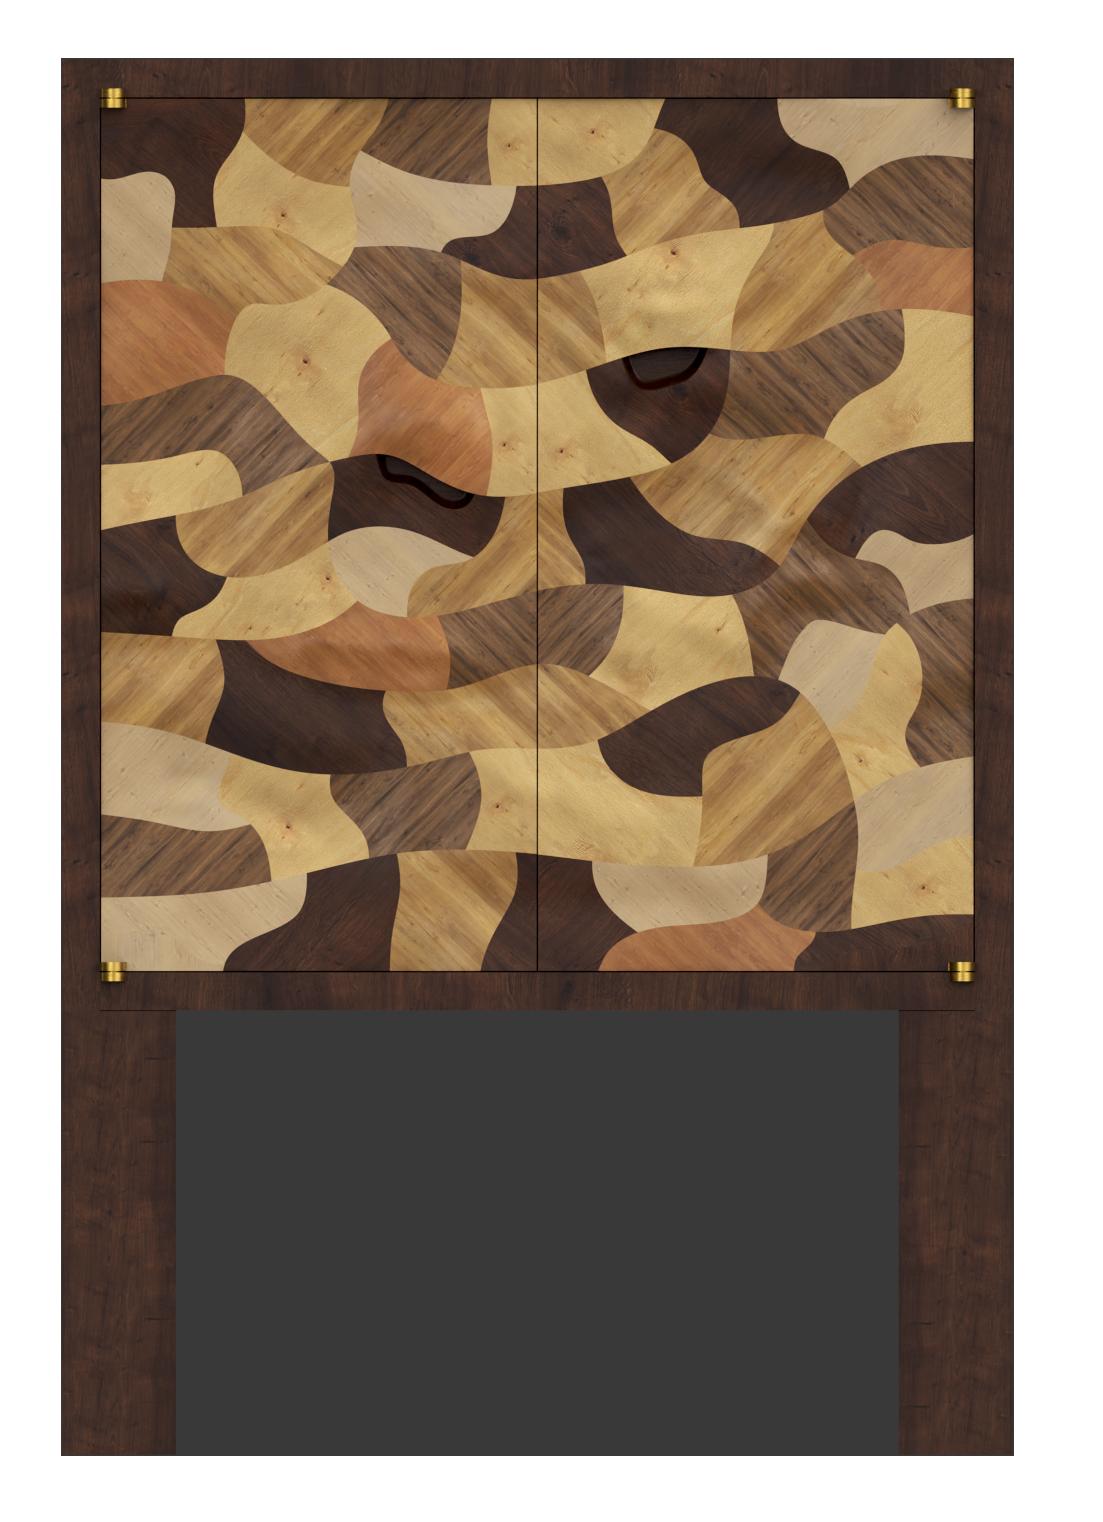
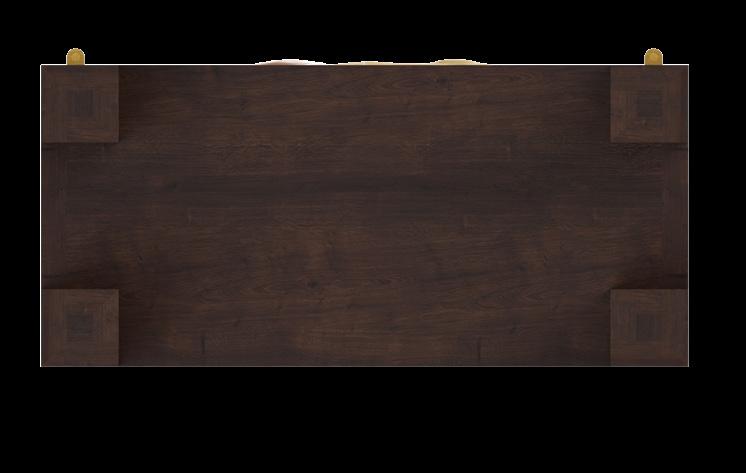
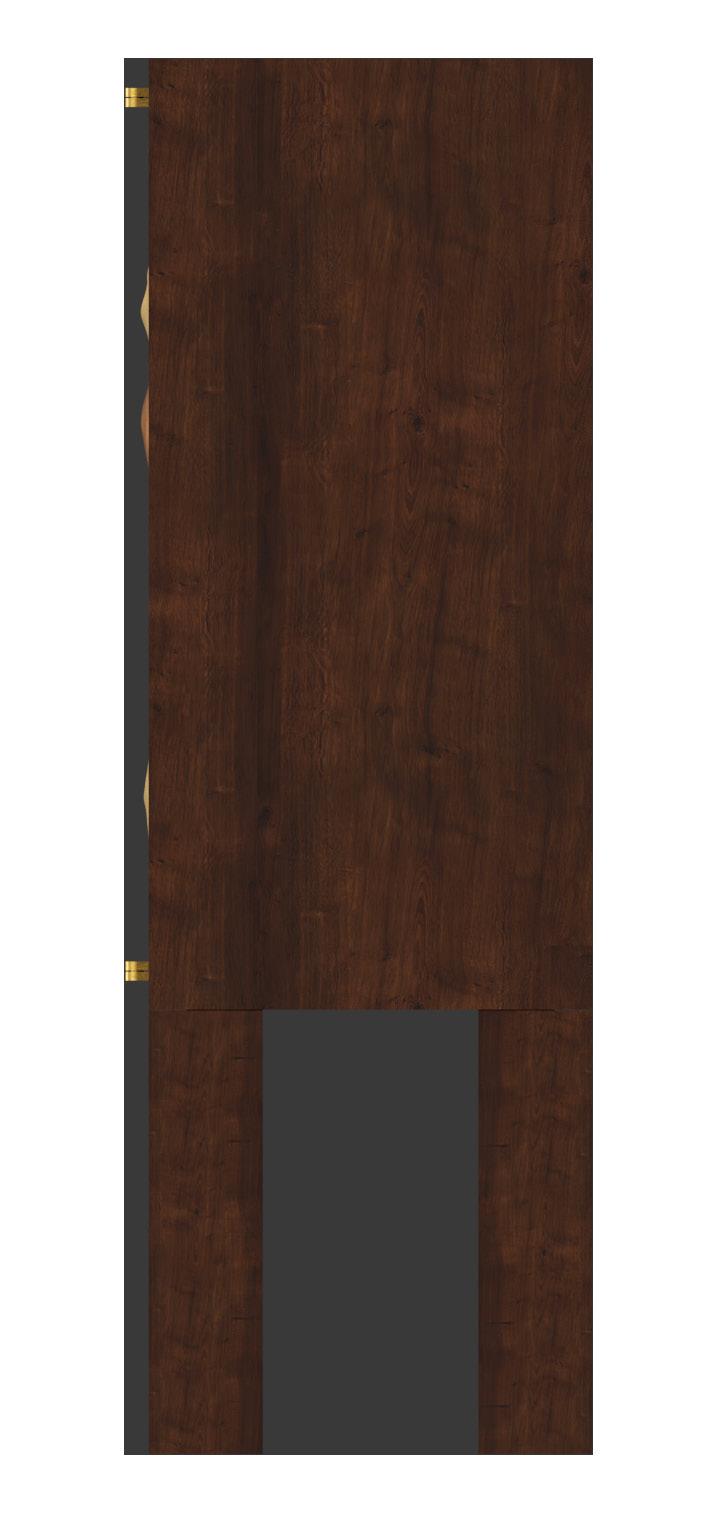
Stage 1: Acquire Timber

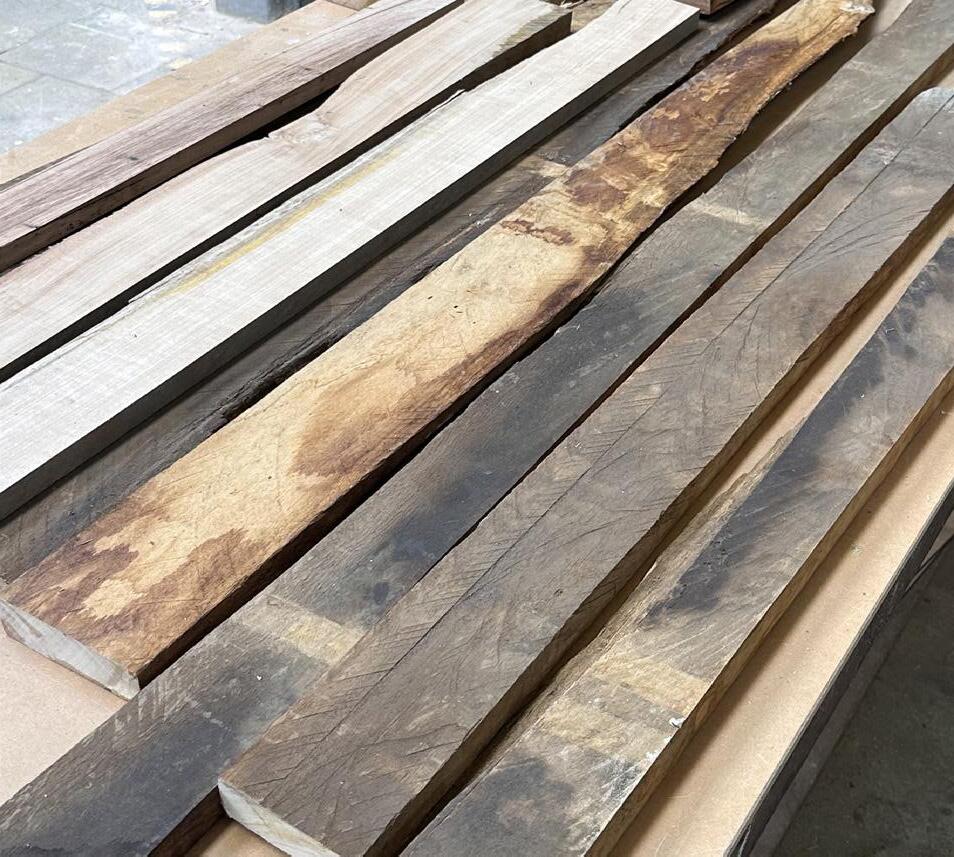
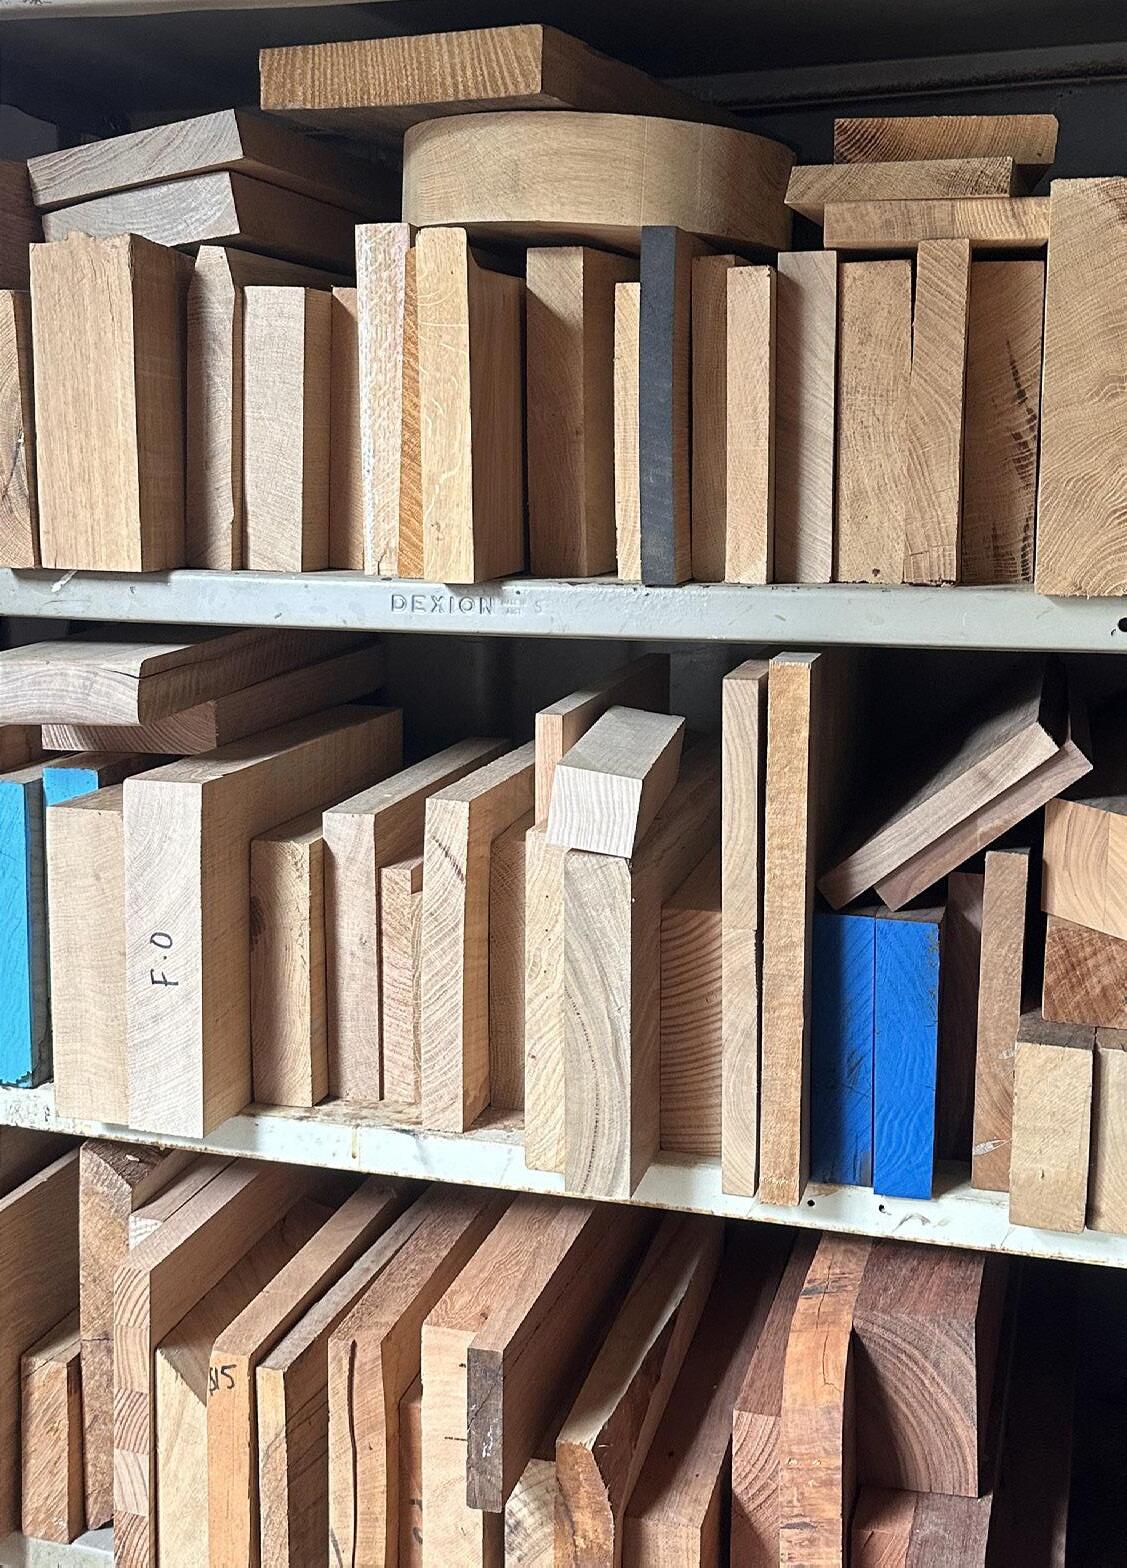
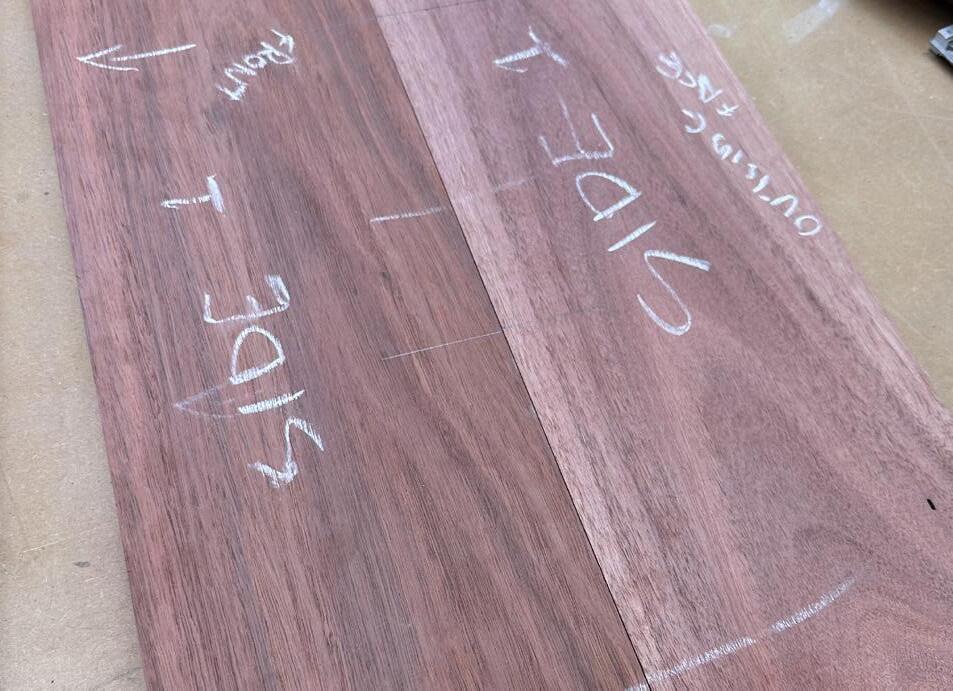
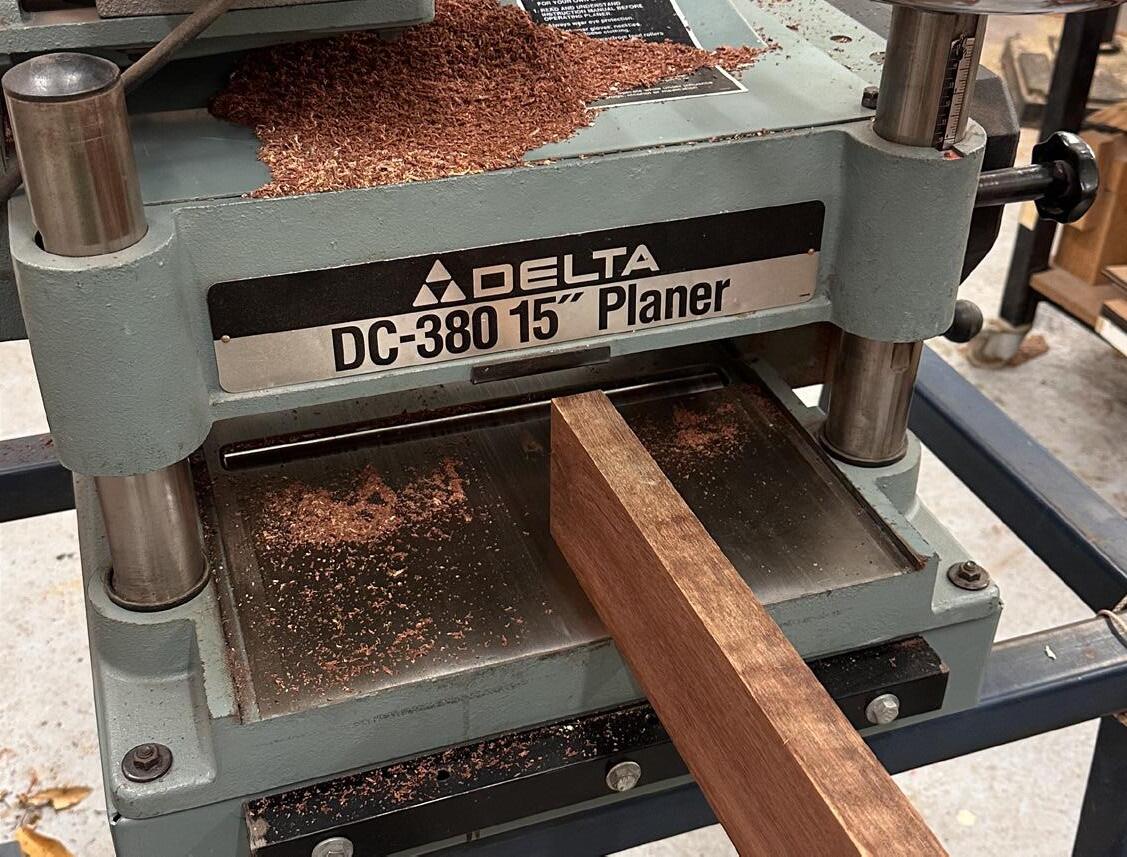
Timber for the jarrah body of the cabinet was sourced from Aus Tim. Various lengths of 200x38 jarrah were purchased to be used for the construction of the top, bottom, sides and doors. 9.9 metres were purchased, amounting to a total cost of $566.28
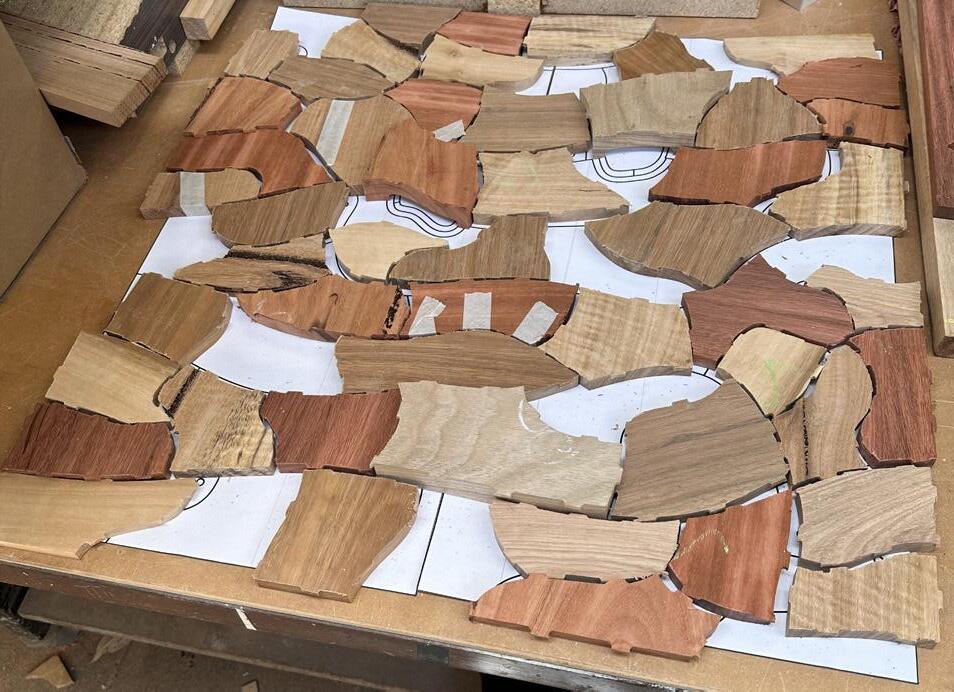
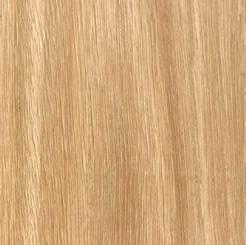
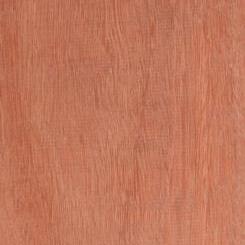
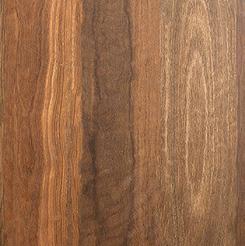
Timber for the patchwork doors was sourced from two different cabinet making businesses. Various lengths of unprocessed blackbutt and marri were purchased from Classy Joints for a six pack of beer. I then visited Raw Edge Furniture where I purchased other various offcuts of spotted gum, flooded gum, marri and karri for a total of $80.


