


1.5-2 years & 3-4 Years
MATERIALS
• Birch x Gütermann Portofino Fabric
• Beutron Classic buttons (160169-C.4)
• Light interfacing for collar stand (012247)
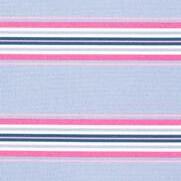
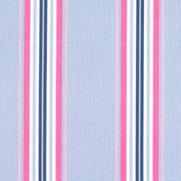
Main fabric: 640957-STRIPE BLUE

Collar & pocket fabric strip: 640958-BLUE 640958-PINK


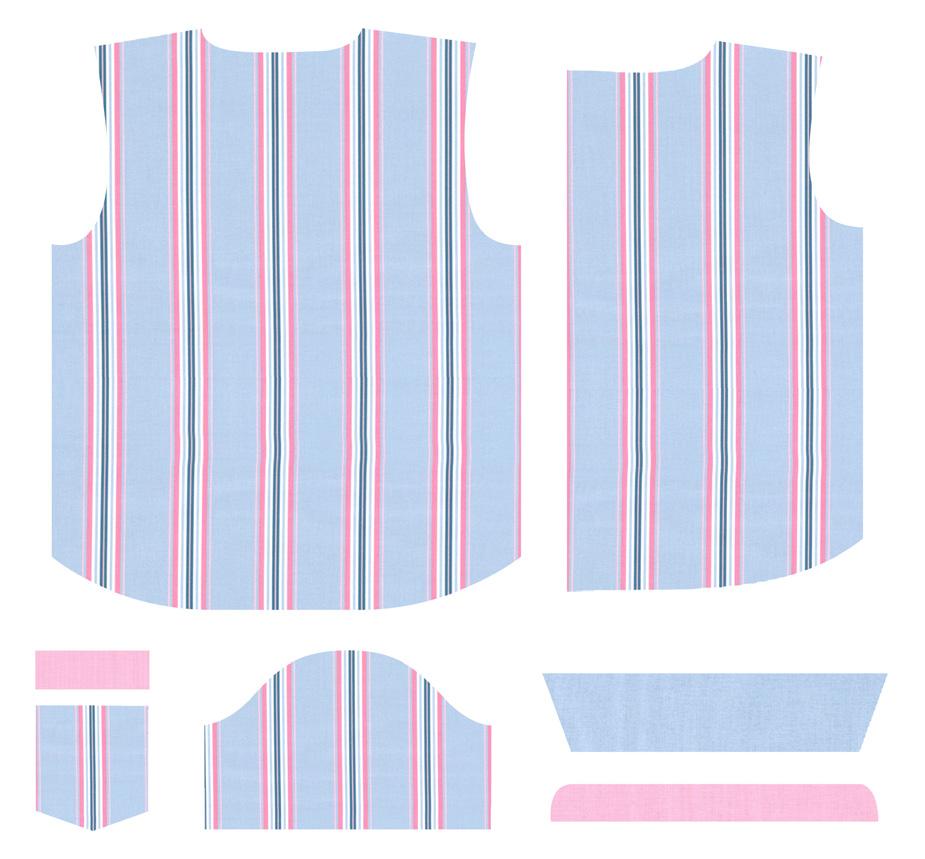
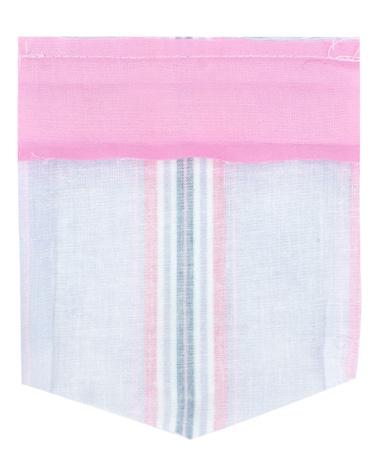
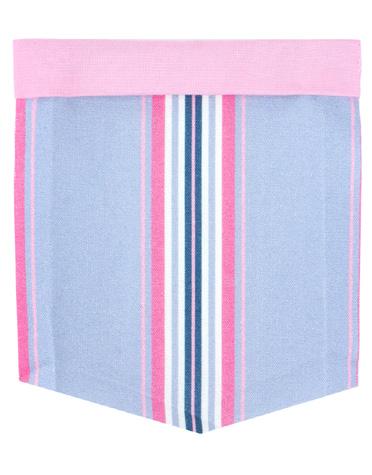
The fabric requirements for making this project are as shown in the photograph. Before cutting review the placement of colours in case you want to make your own choices.
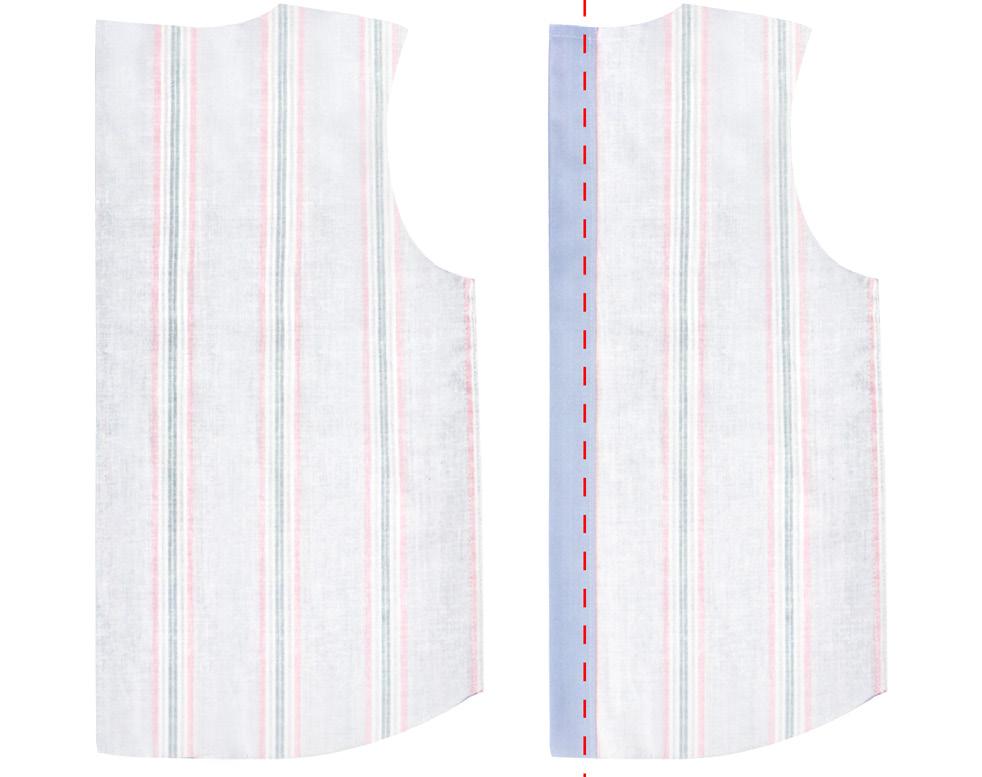
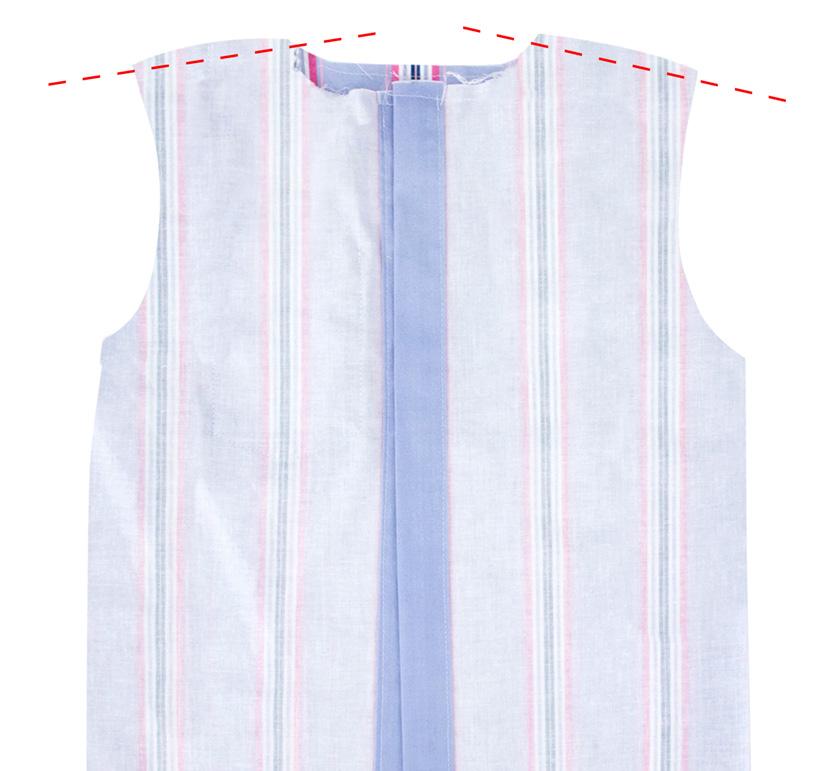
Fold the centre front of the bodice towards the wrong side 5mm and press. Fold again 3cm and press. Stitch down both folds of the placket. Repeat for the other side.

Print pattern from pages 5-11, join pages together and cut required pattern pieces from the fabric.
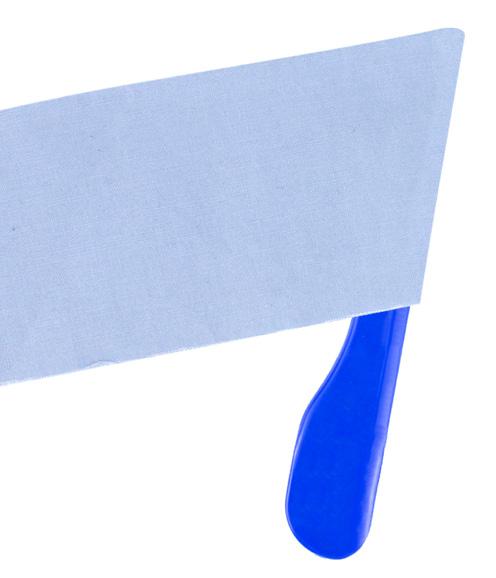
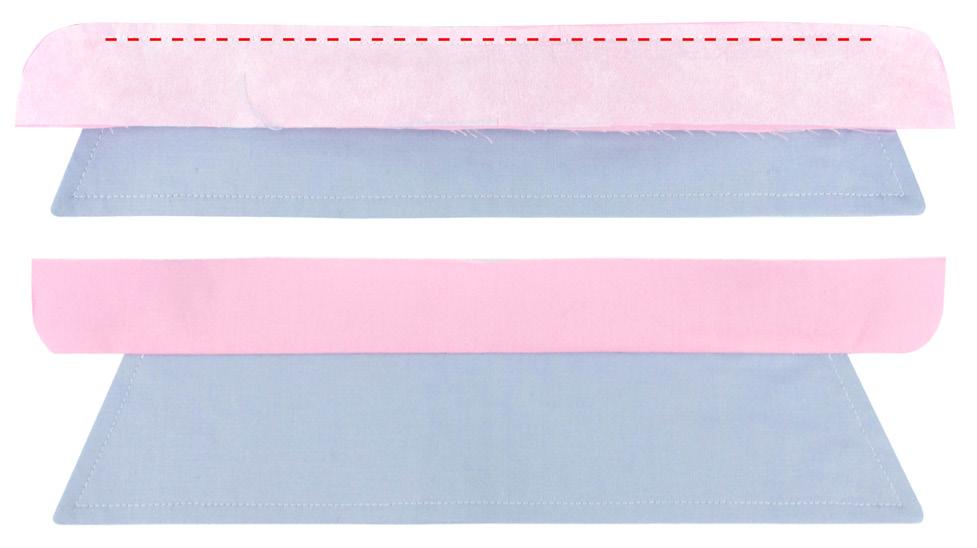
Sew 640958-PINK strip to the top of the pocket. Fold under seam allowance. Press and topstitch along the edge.
Note: Seam allowance is 1cm unless stated otherwise.
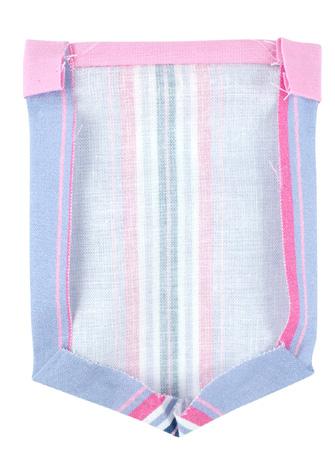
Press all the raw edges around the pocket 1cm towards the back. Centre pocket on the left bodice front. Topstitch pocket in place.
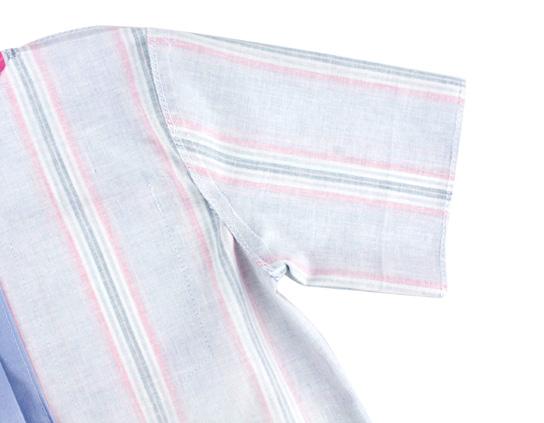
Match the front shoulder seams to the back shoulder seams. Stitch across shoulder seams. Press shoulder seams.
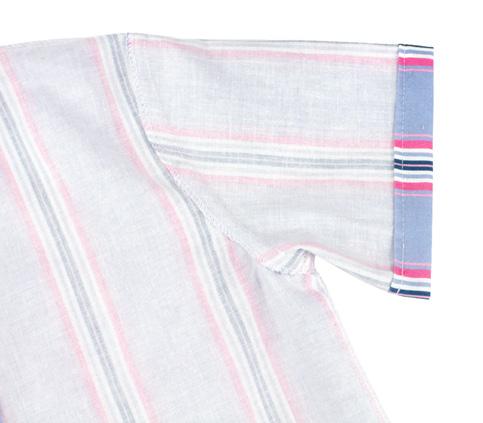
Fold the end of the sleeve up to 5mm and another 1.5cm. Press down.
With right sides facing, match the centre of the sleeve to the shoulder seam. Pin the sleeve around the armhole. Stitch the sleeve to the bodice. Repeat with the opposite sleeve.
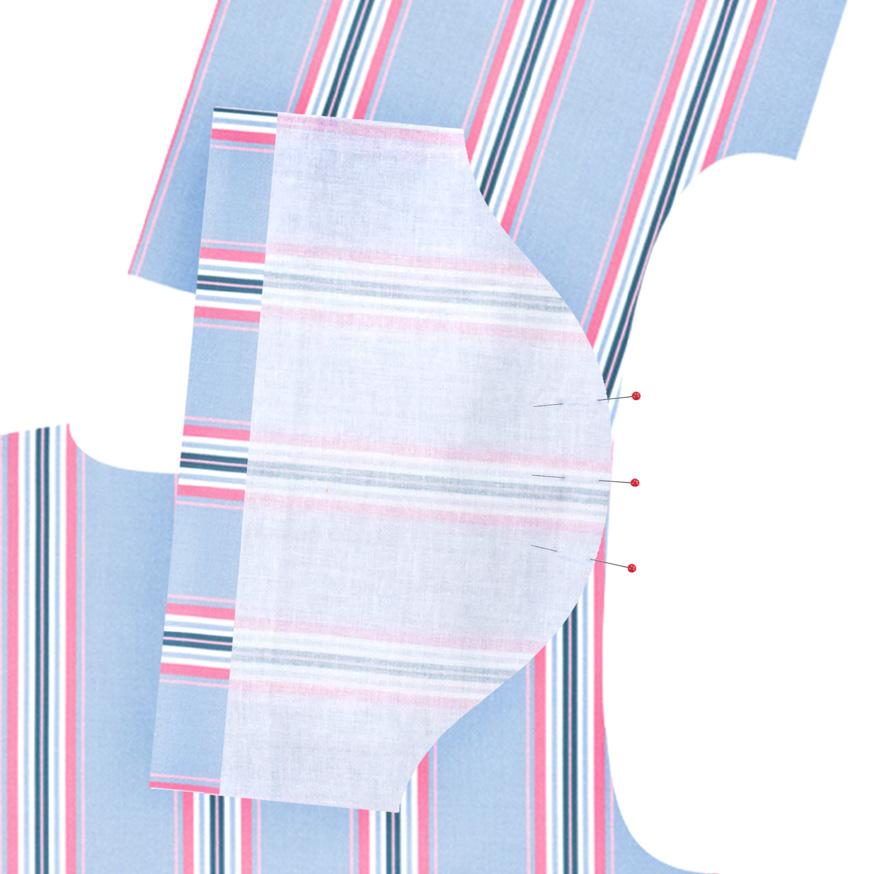
With the right sides facing, match the bodice front and bodice back at the side seams. Stitch down the side seam from the sleeve to the bodice hem.

Fold in seam allowance on the sleeve and stitch across the top of the fold. Repeat with the other side.
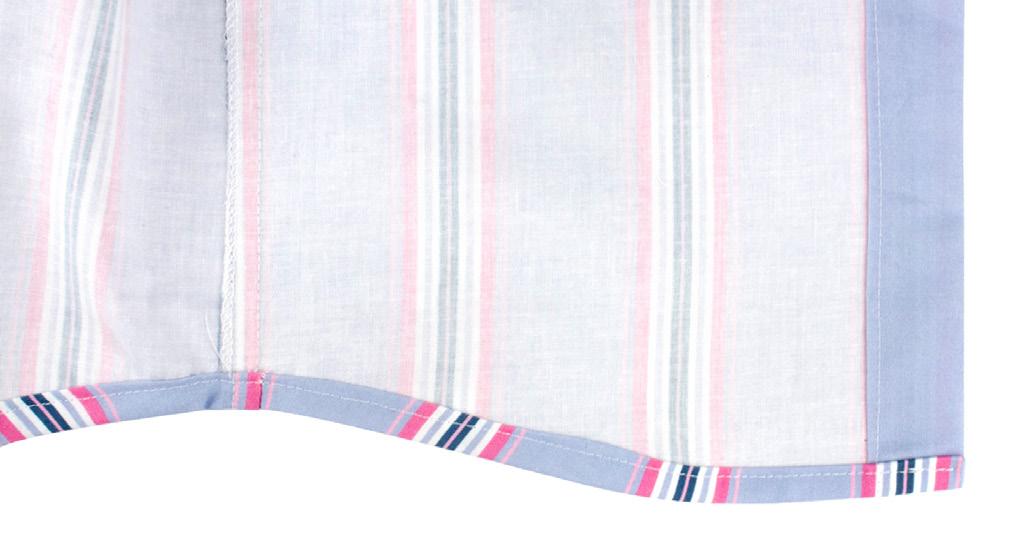
Hem the bottom of the shirt.
With the right sides facing, stitch along the sides and top edge of the collar. Trim the corners, turn inside out and push the corners out. Topstitch along the edge.
Iron light interfacing onto one collar stand. Sandwich the collar in between the two collar stand pieces matching the center of the collar stand pieces.
Stitch from one end of the collar to the other (don’t stitch curved edges at this stage).
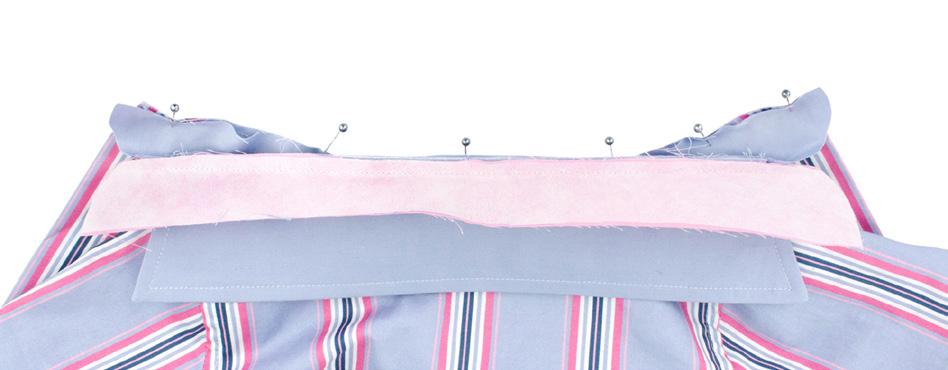
Open up the two collar stands. Pin one stand to the neckline of the top matching the centers. The stand should hang over the edge on either side. Stitch the collar stand to the neckline.

Fold the collar so the two collar stands are now together with the right sides facing. Stitch the remaining curves on the collar stand matching the stitch line the edges of the bodices. Clip the corner. Turn inside out.
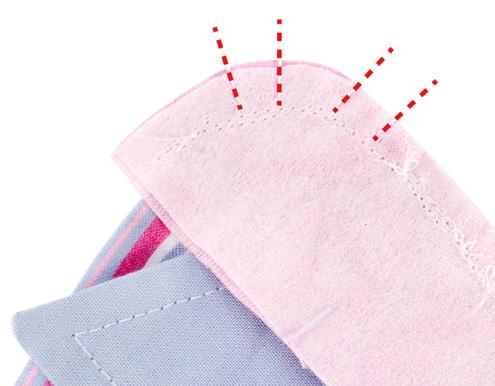
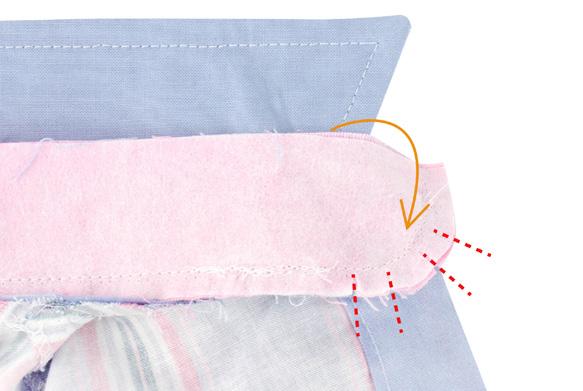

Fold under seam allowances on the other collar stand and topstitch around all edges of the collar stand. Evenly mark the position of the buttons and make buttonholes.

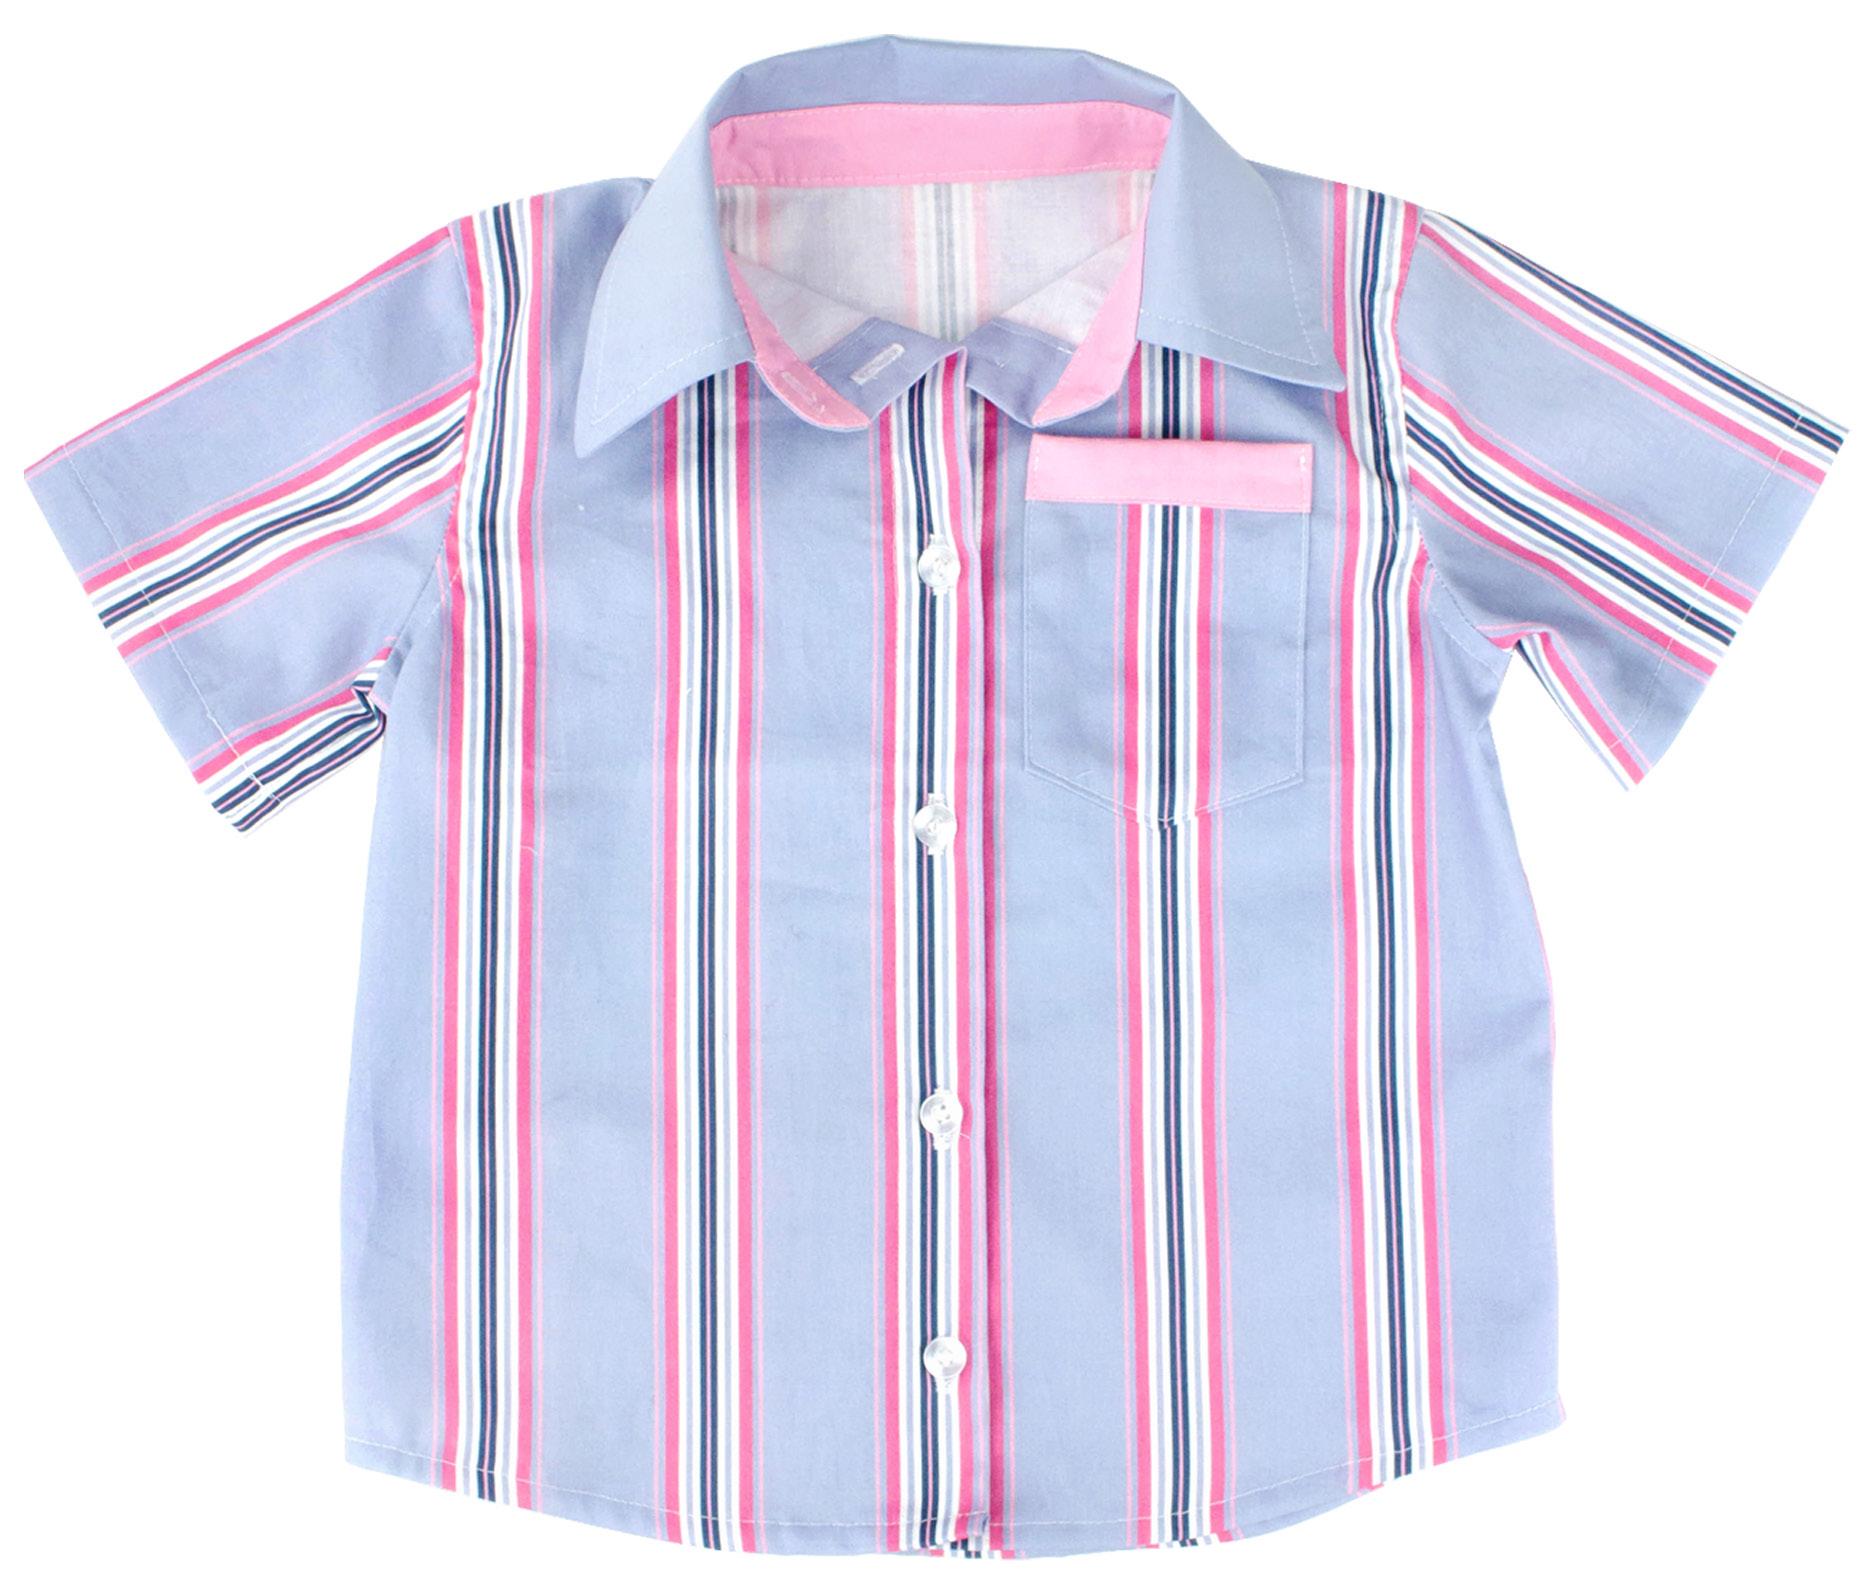
FINAL RESULT:
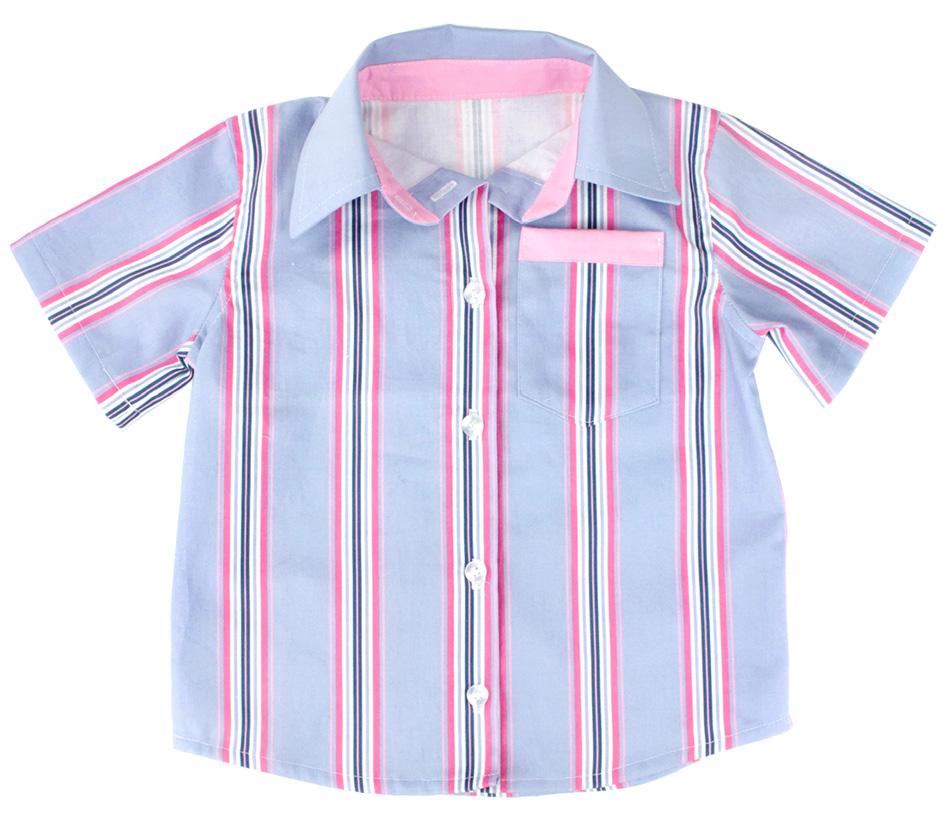
3-4 Years 1.5-2 Years