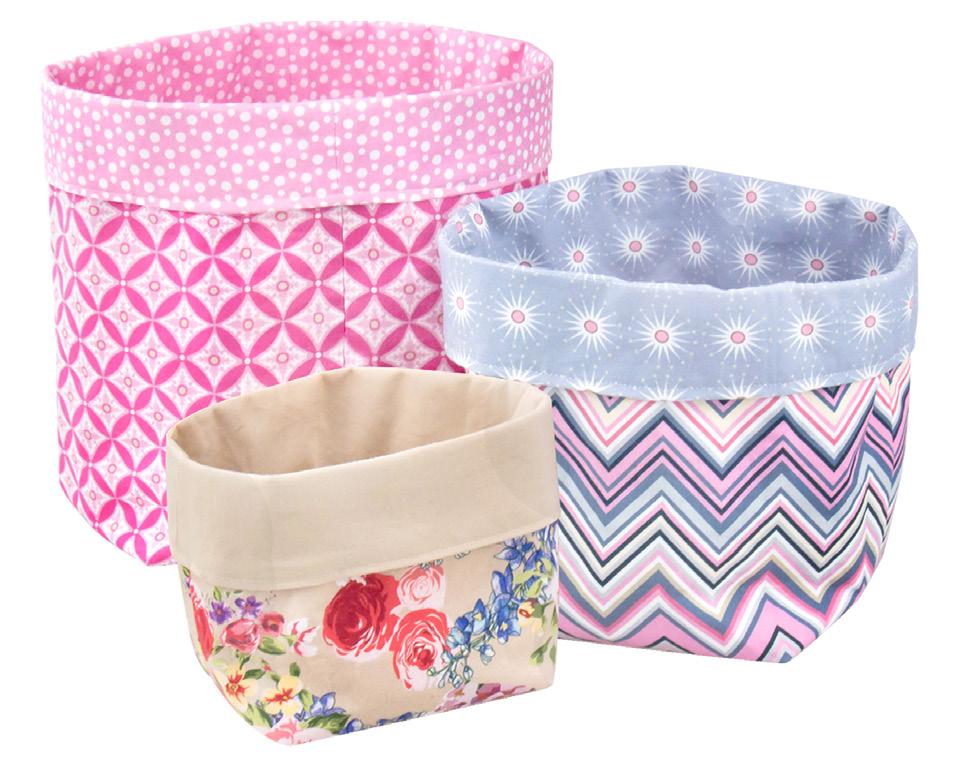


FINISHED BASKET SIZE:
Small 13(W) x 11(D) x 14(H)
Medium 16(W) x 15(D) x 19(H)
Large 18(W) x 15(D) x 24(H)
MATERIALS:
• Birch x Gütermann Portofino Fabric.
• Interfacing Iron-On Medium (012248-WHITE).
• Interfacing Iron-On Heavy (012249-WHITE).
• Decorative buttons (Optional).
Tip: Use heavier interfacing for the large size basket. If you are not using fusible interfacing stitch a few lines to keep it secure to the outer basket.
Small basket (Two 25cm fabric pieces each):
Inside - 640958- Taupe
Outside - 640957 Floral Clay


Medium basket (Two 33cm fabric pieces each):
Inside - 640957 Starburst Blue
Outside - 640957 Zig Zag


Large basket (Two 35(L) x 40(H)cm fabric pieces each):
Inside - 640957 – White Dots Pink
Outside - 640657 – Tile Pink


METHOD:
STEP 1:
Select your desired basket size and cut fabric and fusible interfacing. Fuse the interfacing pieces to the wrong side of the outer basket pieces, following the manufacturer’s instructions.

STEP 2:
Cut 2 corners from the bottom of each of the 4 fabric pieces. See the chart below to find your dimensions.
Corner cutting chart:
Basket size Cut square from bottom corners:
Small 5 x 5cm
Medium 7.5 x 7.5 cm
Large 9 x 9cm


STEP 3:
Put the 2 outer pieces with right sides together and stitch the sides and bottom. (1cm seam allowance.)
Press sides open.
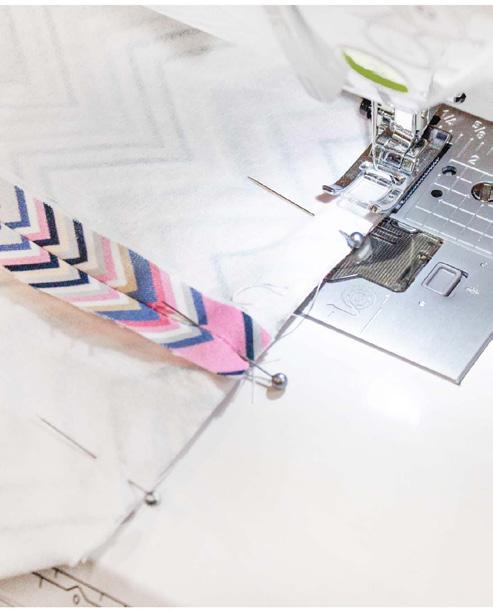
To make the bottom corners, flatten one side of the basket against the bottom with seams lined up. Pin and sew across the corner seam. Repeat it for lining pieces.


STEP 4:
Turn over the basket right side out and insert it into the lining. Align side seams and top raw edges together and pin. Sew the pinned edges together, leaving an opening of about 7-8cm to turn the right side out.


Pull the basket outer through the opening. Push the outer into the lining. Press the top edge turning seam allowance on the opening side.
Topstitch along the top edge and stitch approximately 5cm away from the edge if desired. It will help to keep all layers together.
Stitch decorative buttons in place if desired.
FINAL RESULT:
