


• Glass Mosaic Tiles – Small 1kg Pack – 16442
• Wooden Square Shapes Pack of 20 – 11321
• Superfine Powdered Grout White – 500g Pack – 16740
• Mosaic Squeegee & Sponge Kit 16451
• CleverPatch™ Tacky Glue 250ml – 16494
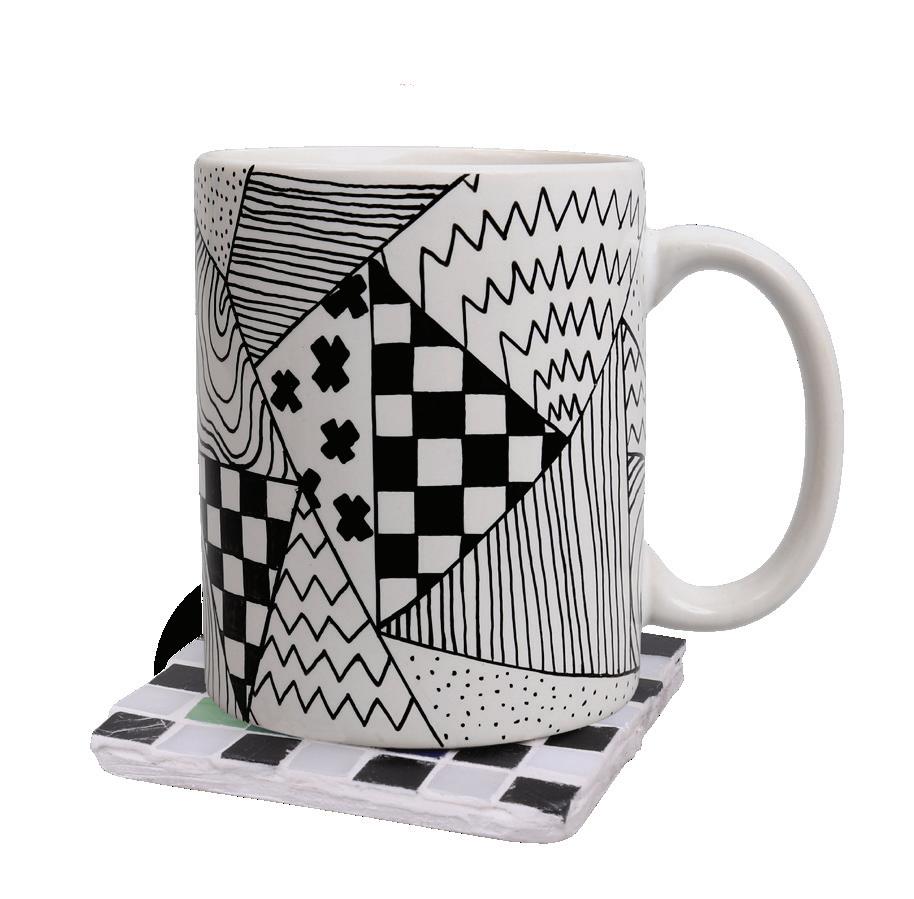
• Optional: CleverPatch™ Glass & Porcelain Marker – Fine Tip – Black – 18545 Porcelain Mug – 12300
• Other materials required: Craft bowls, water, a mixing spoon, scrap paper, gloves and a pencil.
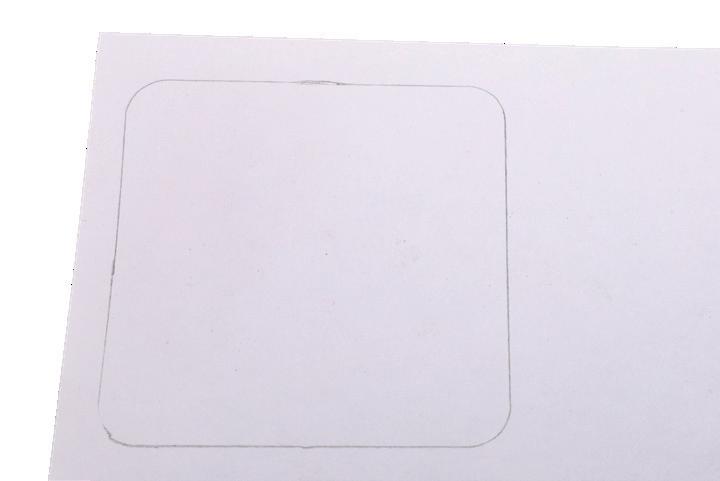
1. Trace around a wooden square onto a sheet of scrap paper. Choose a range of coloured tiles you would like to use in your coaster design.

3. Glue the tiles onto a wooden square according to your plan. Ensure there is a small gap between each tile. Allow to dry.
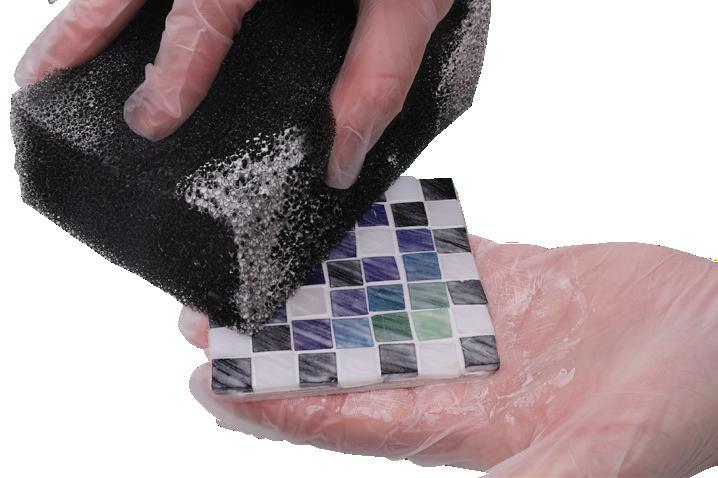
6. With a damp sponge, wipe over the surface of the tiles to remove any grout residue. Smooth out the edges to create a nice finish. Allow the grout to set for at least 24 hours.
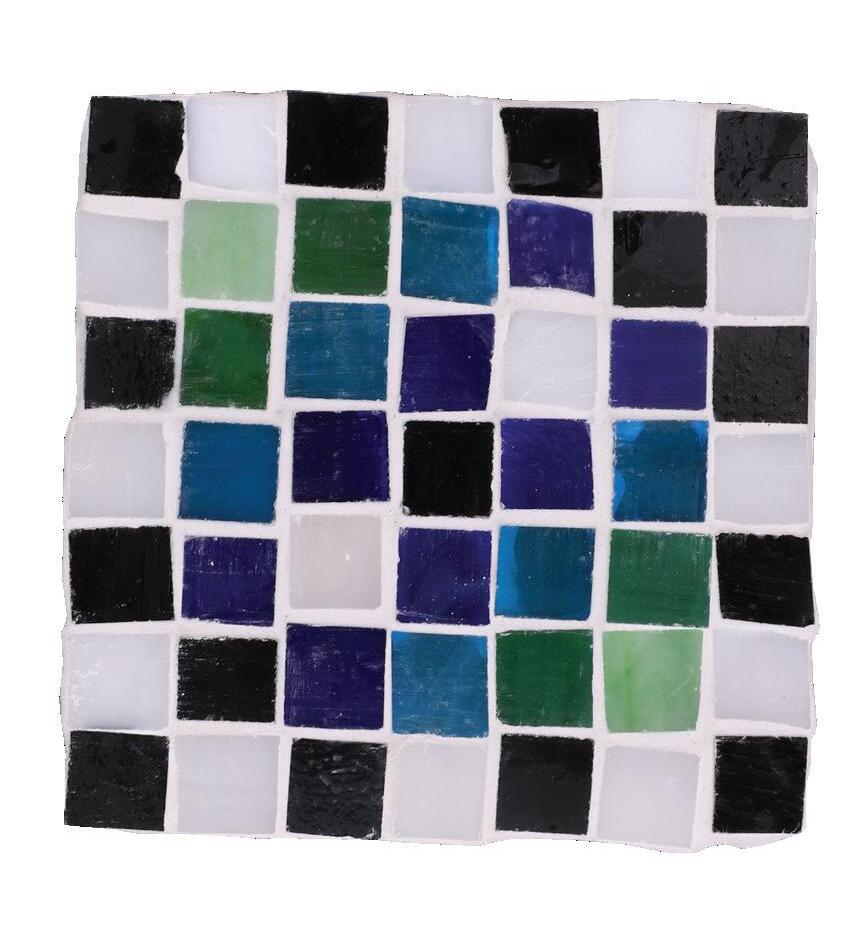
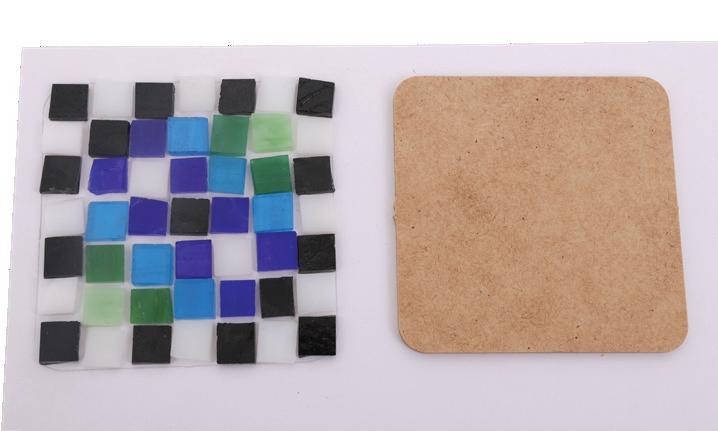
2. Use your sketch to plan where you will place the mosaic tiles. Think about the colours you have chosen and how they look next to each other. You could create a pattern or you could place your tiles randomly for an abstract effect!

4. Add a small amount of water and grout to a bowl. Mix together to create a toothpaste-like consistency. You may need to add more grout or water as you mix until you get the right consistency.
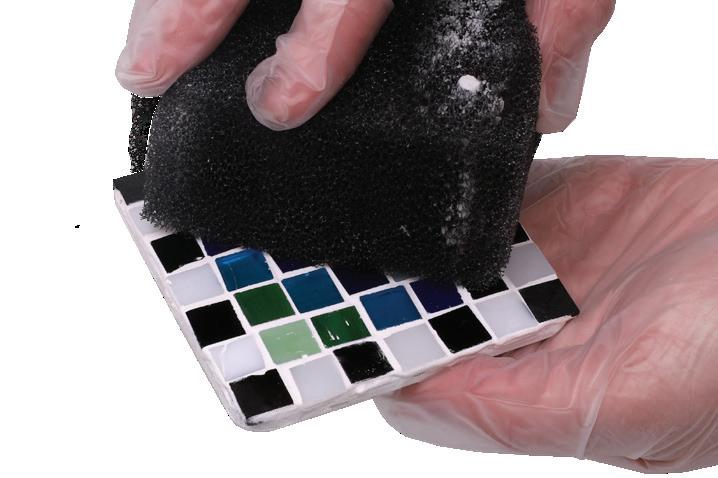
7. Once the grout has set, use a damp sponge to clean up any leftover grout residue. Allow to dry.
Decorate a mug with a marker to gift along with your Mosaic Coaster!

5. Use a squeegee to apply the grout over the tiles. Ensure you push the grout into all of the gaps between each tile and around the edges of the square. Ensure you wear gloves when working with grout.
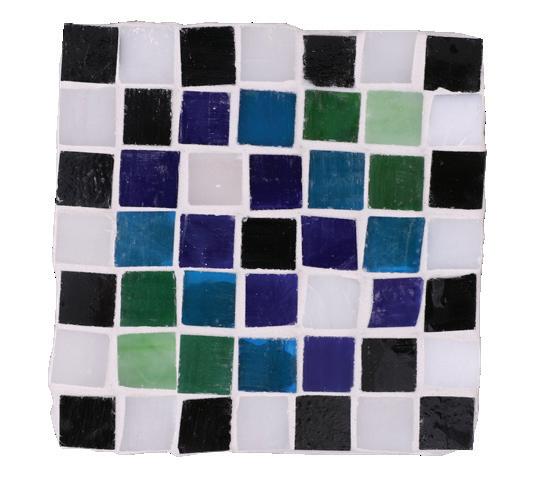
8. Your Mosaic Coaster is now ready to use or gift for Father’s Day!
• Cardboard Match Boxes – White – Pack of 20 – 20239
• Craft Buttons – 454g Pack – 10833
• CleverPatch™ Cover Paper Assorted – A4 – Pack of 275 – 13652
• CleverPatch™ Triangular Maxi Coloured Markers – Pack of 10 – 16523
• Father’s Day Stickers – Pack of 240 – 18035
• CleverPatch™ Junior PVA Glue – 250ml – 10364
• Other materials required: Scissors, a ruler and a pencil.

1. Valley fold along all the creases on the tray piece of your cardboard match box.

4. Place the sleeve piece of your match box onto a sheet of black paper. Trace around the rectangle and cut out.
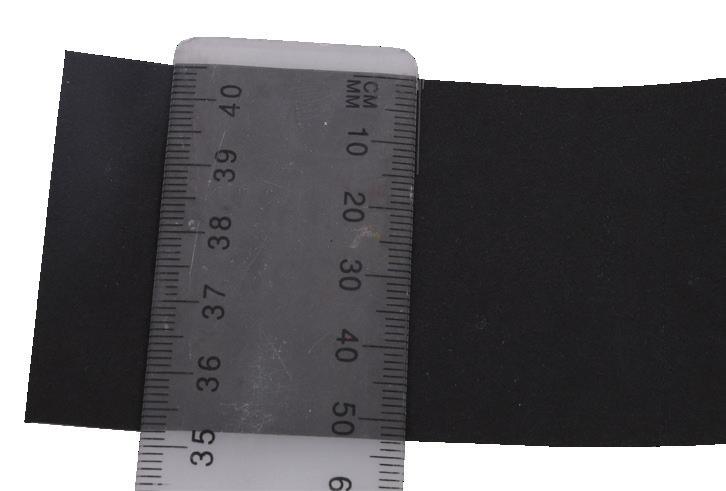
7. Draw a 1.5cm line down from the mark you just made. Cut along the line.

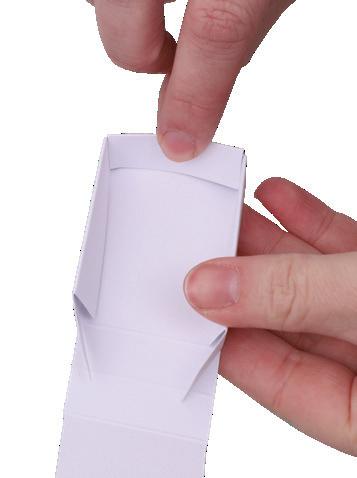
2. Bring the long sides of the tray up and push the flaps towards the middle of the tray. Fold the short end over the two smaller flaps to hold them in place.
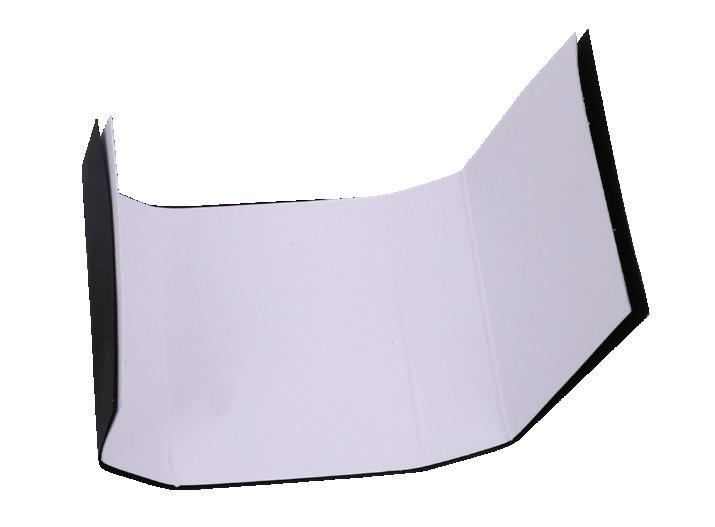
5. Align the edges of both the cardboard sleeve and the black rectangle. Valley fold along all the creases on the sleeve so the black paper is creased at the same time.

8. Fold each side of the cut downwards to create a triangle on each side. This will create your tuxedo collar.

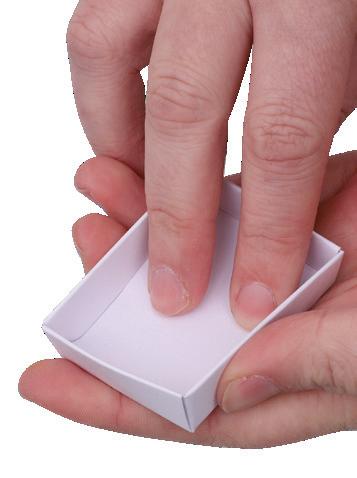
3. Bring the large flap up and over the two smaller flaps. Push the large flap into the centre of the tray.
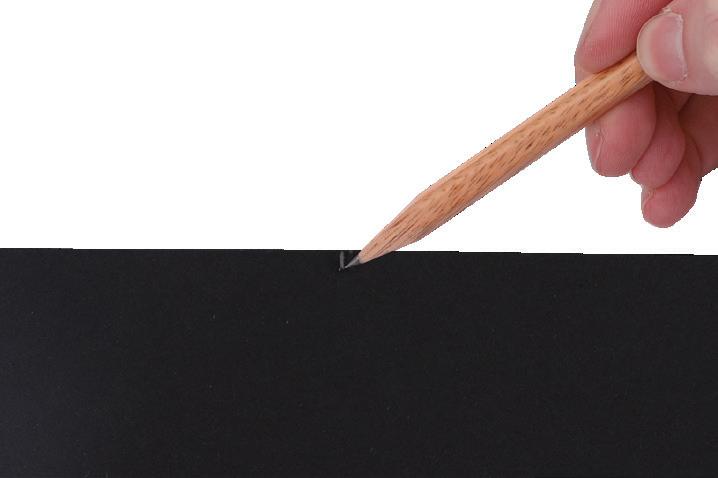
6. Take the black paper and find the large, middle rectangle made by the creases. Make a mark in the centre of this rectangle, along the top edge.
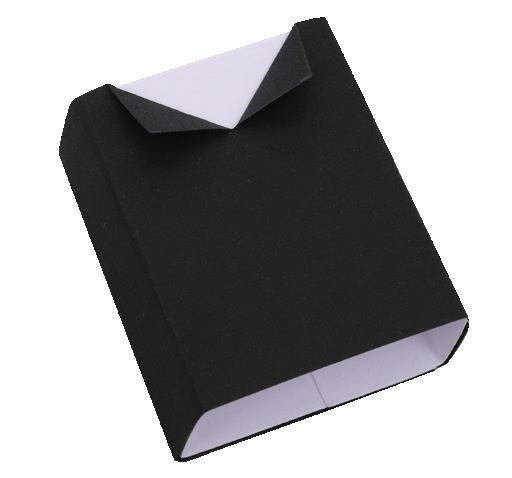
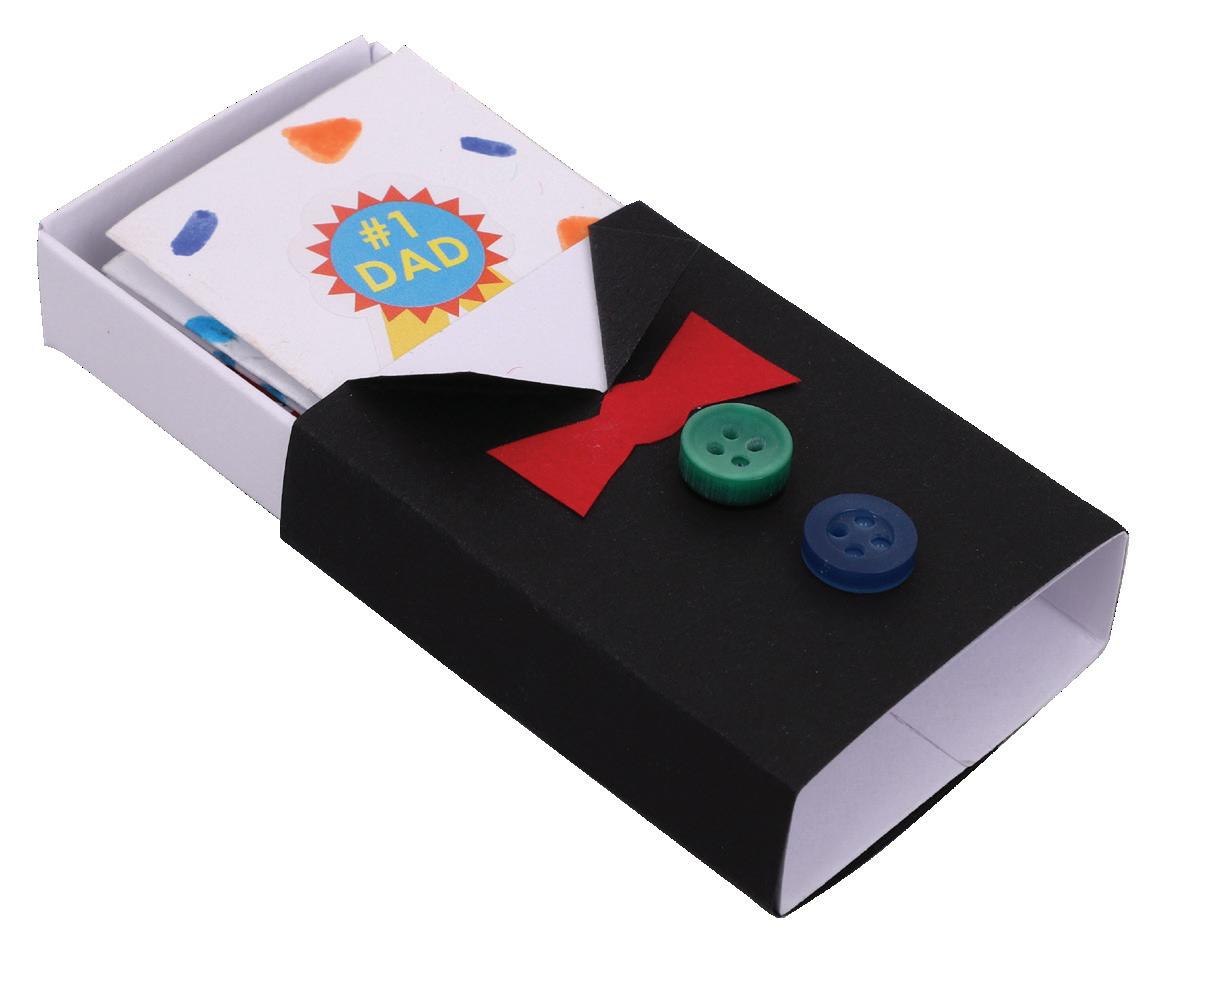
9. Assemble the sleeve by gluing the ends together. Allow to dry. Wrap the black tuxedo over the cardboard as shown, aligning the creases. Glue in place and allow to dry.

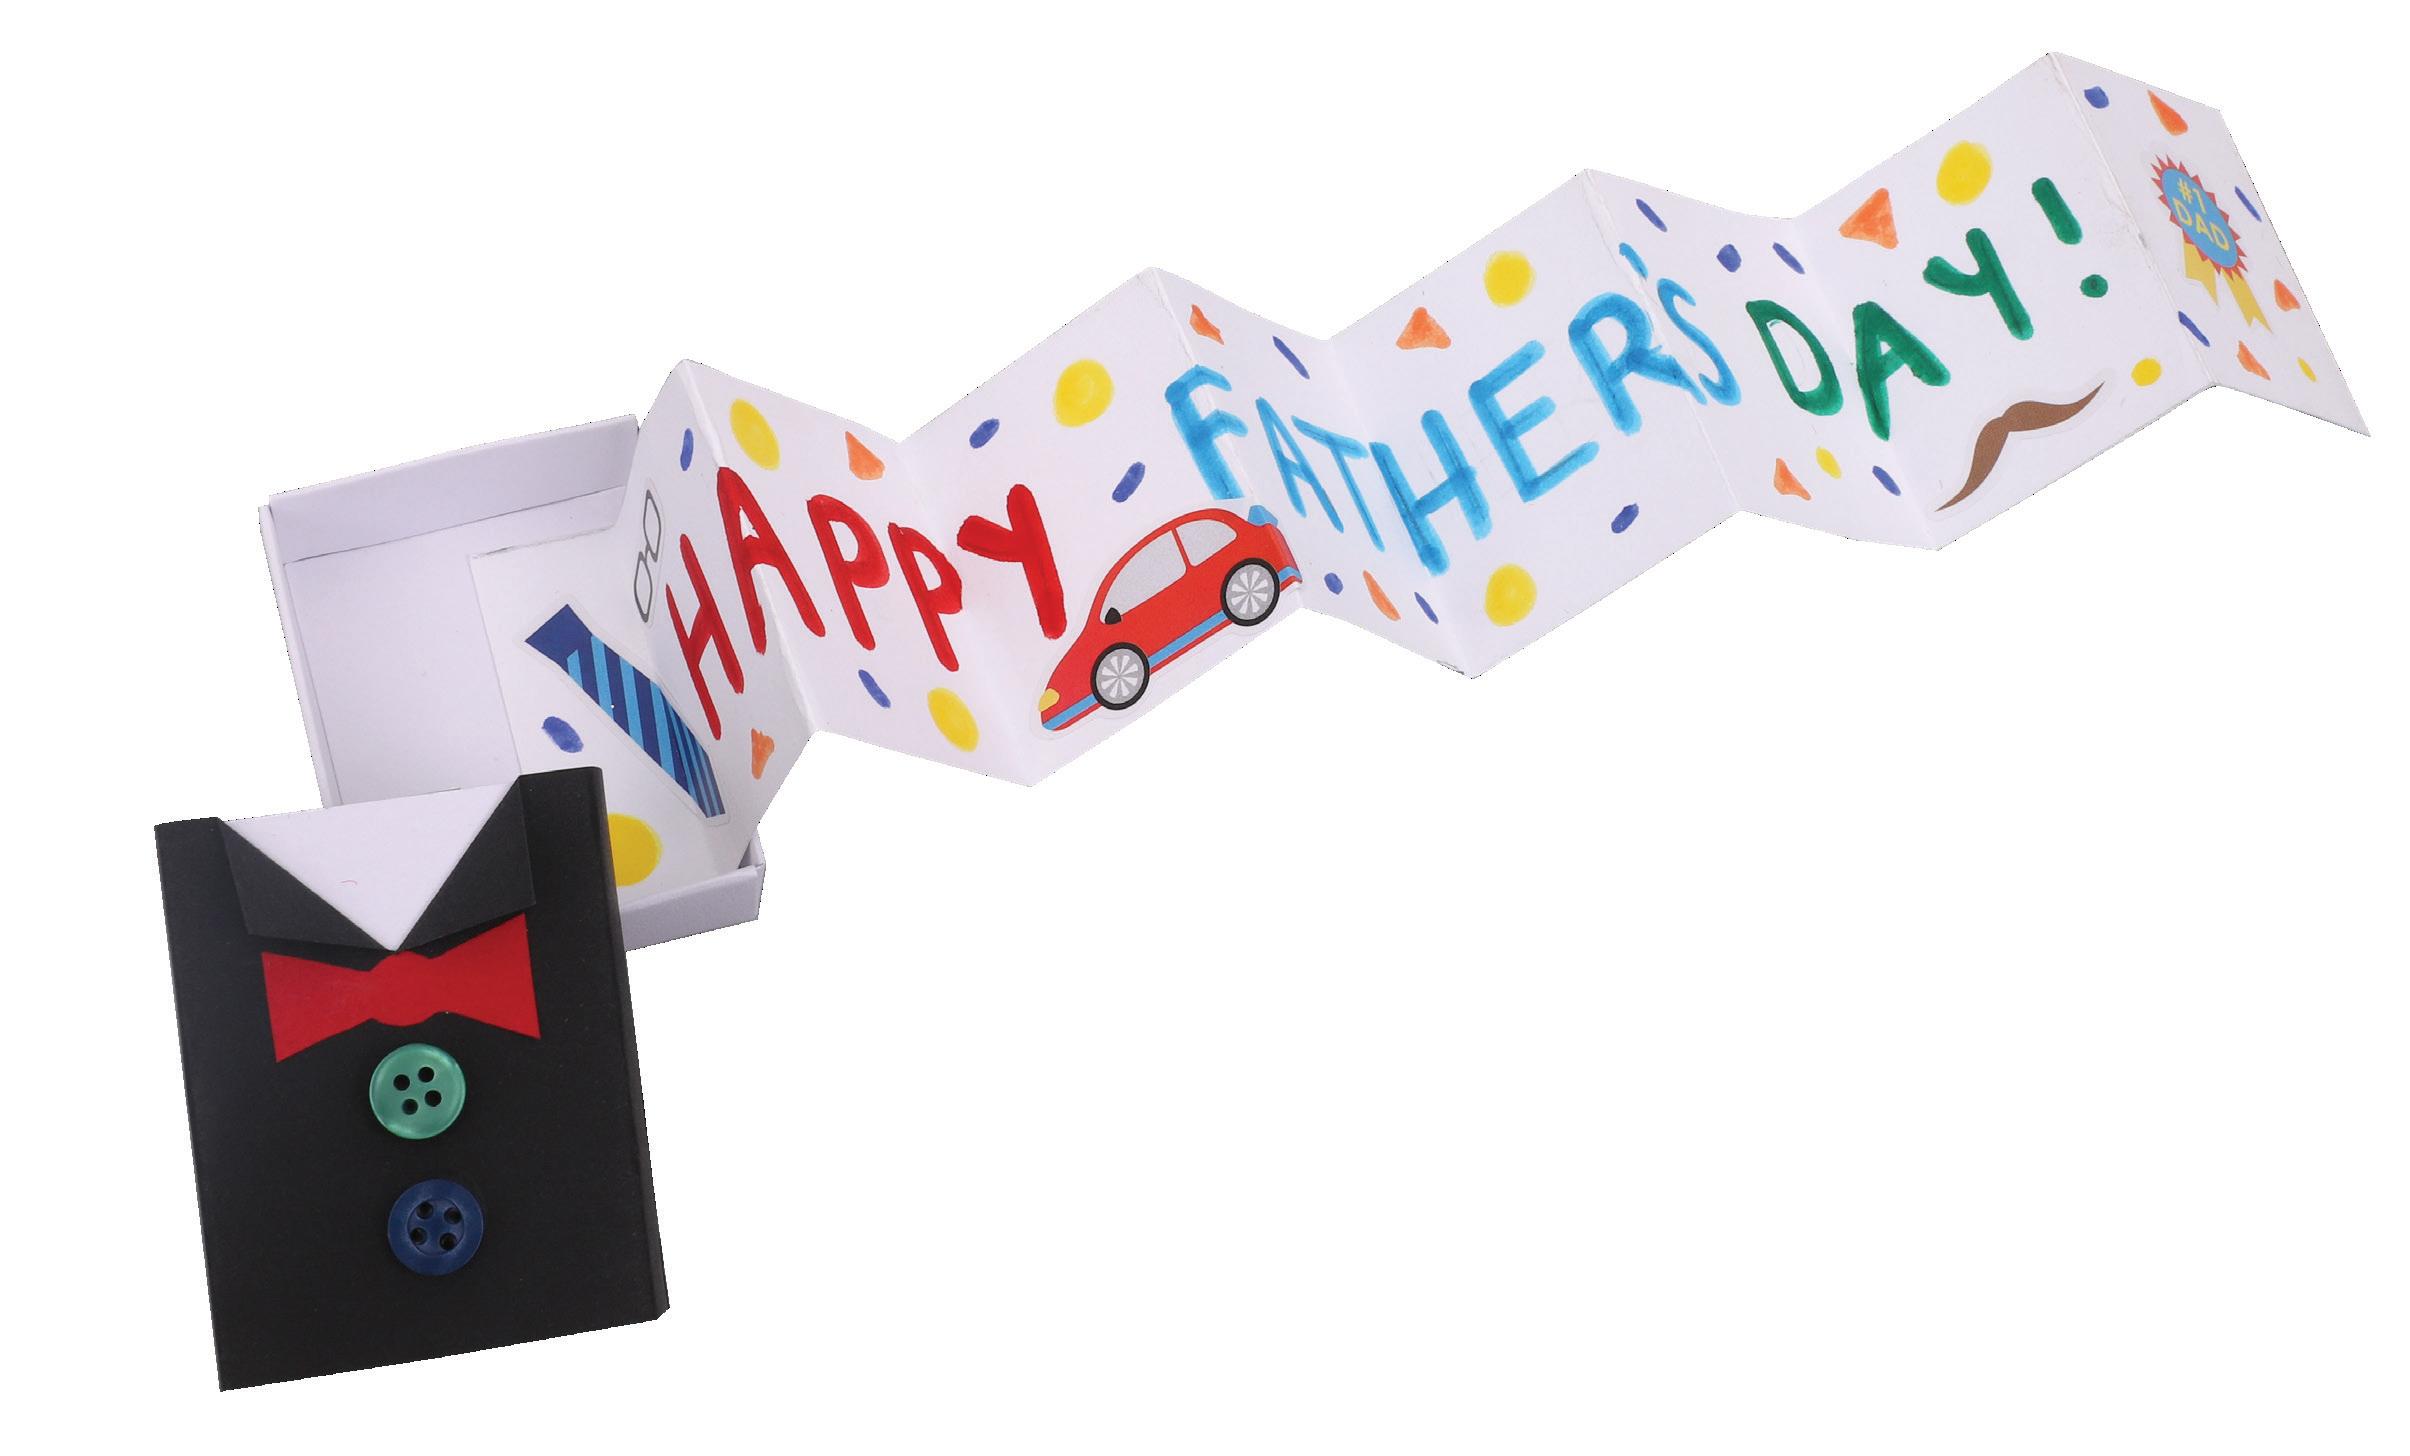

10. Draw a small bow shape onto your choice of coloured paper and cut out. Glue the bow and two coloured buttons onto the black paper as shown. Allow to dry.

13. Ensure the small tab is on the left and the crease for the tab is in a valley fold position. Write a nice message and decorate the folded paper strip using markers and stickers.
Create this fun card alternative to give to your loved one on Father’s Day!

11. Measure and draw a line 4.5cm from the long edge of a sheet of cover paper. Cut out the long strip then measure 3.5cm from one end.
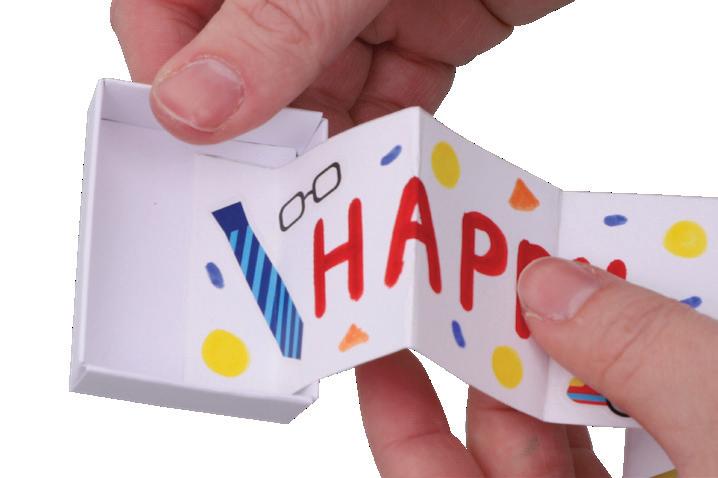
14. Glue the back of the small tab and secure it to the inside of your match box tray. Ensure the crease of the tab is next to the right wall of the tray so your message can be folded into the tray. Allow to dry.


12. Fold along the 3.5cm mark to start an accordion fold along the paper strip. Fold the end over to create a small tab. Stretch out the folded paper strip.

15. Fold your message into the tray and insert the tray into your tuxedo sleeve. Your Tuxedo Match Box is now ready to gift!
• Wooden Rectangle Picture Frame – 17391
• CleverPatch™ Acrylic Paint Tubes – 75ml Set of 14 Colours – 20811
• Mini Wooden Tool Shapes – Pack of 50 – 20910
• CleverPatch™ Tacky Glue – 250ml – 16494
• Other materials required: Paint brushes, pencil and your favourite photo.
A TOOL-tally awesome gift for a handy person on Father’s Day!
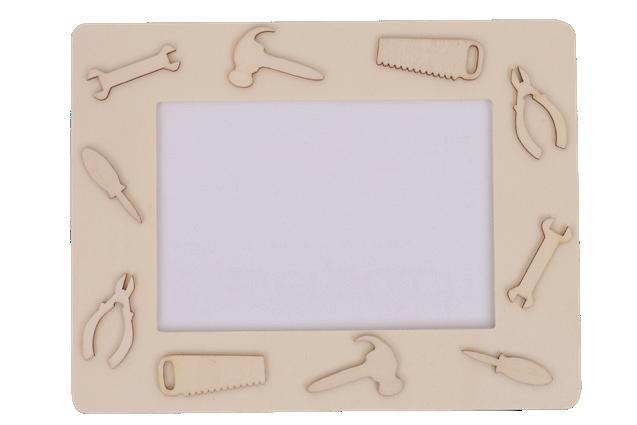
1. Plan how many mini tool shapes you would like to include on your frame. We have chosen to include two of each tool shape. Position your mini tools on the frame to plan your design.


2. Remove the tools then sketch lines on your frame to create a geometric pattern. You might like to add other shapes for more detail. Remove the glass insert from your frame and set aside.
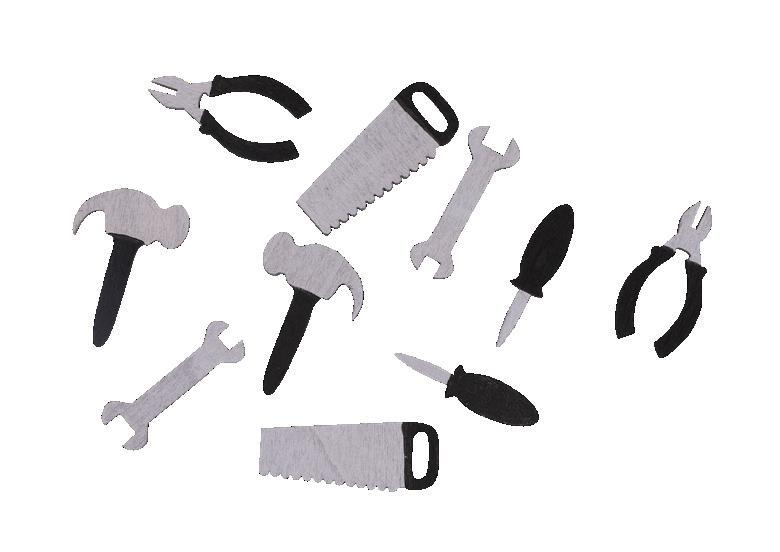
4. Paint your mini tool shapes silver with black handles and allow to dry. Alternatively, you could paint the tool shapes completely silver.
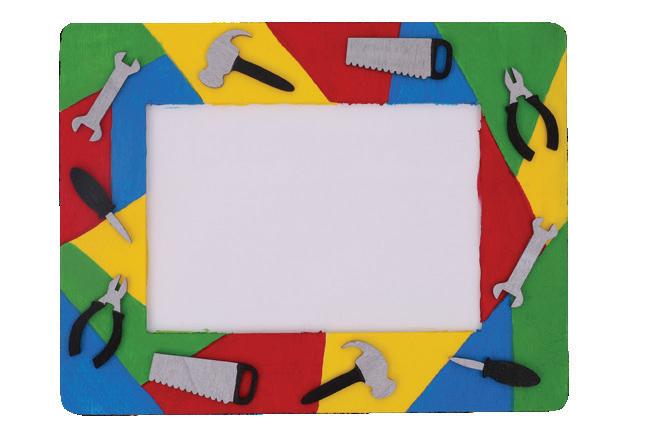
5. Glue the tool shapes onto the frame based on your chosen positions from step 1. Allow to dry.
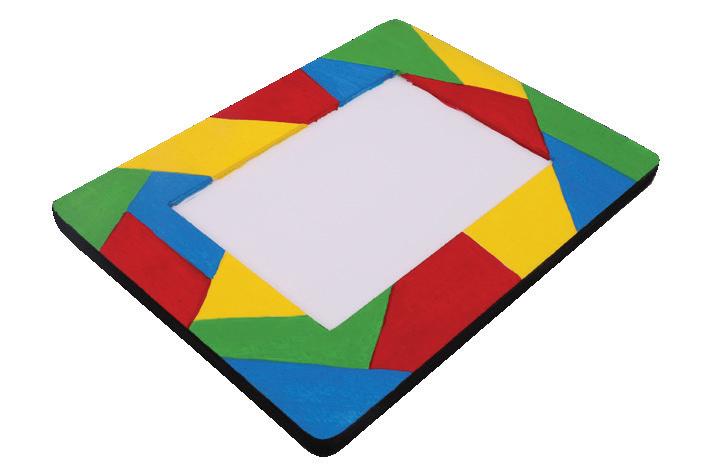
3. Choose four colours to paint the shapes on your frame. Try to space out each colour so the same colours do not touch. Don’t forget to paint the edges in the middle of the frame. Allow to dry. Paint the outside edges black and allow to dry.

6. Place the glass and your chosen photo into the frame and secure. Insert the dowel stand into the hole at the back. Your Mini Tools Photo Frame is now ready to display or gift!
• Cardboard Ties – White Pack of 20 – 10652
• Clear Sticky Tape – 18mm x 66m 17769
• CleverPatch™ Cover Paper Assorted – A4 – Pack of 275 13652

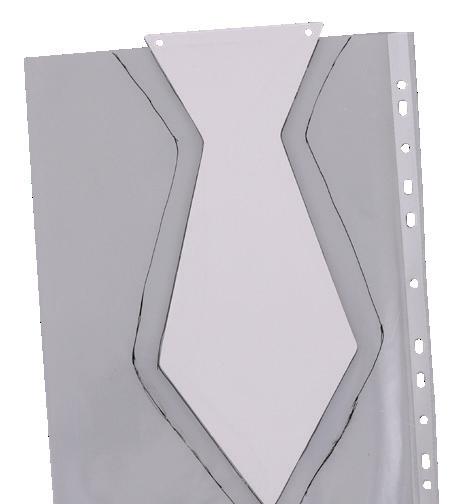
1. Insert a cardboard tie into a sheet protector so that the top edge is positioned just under the tie’s two holes. Use a small amount of tape to hold it in place. Trace around the tie with a marker.
• CleverPatch™ Permanent Markers Coloured – Pack of 10 – 20276
• Jute Twine – Thick 140 Metres – 14275
• Other materials required: Scissors, A4 sheet protector, stapler, pencil, ruler and your choice of treats.
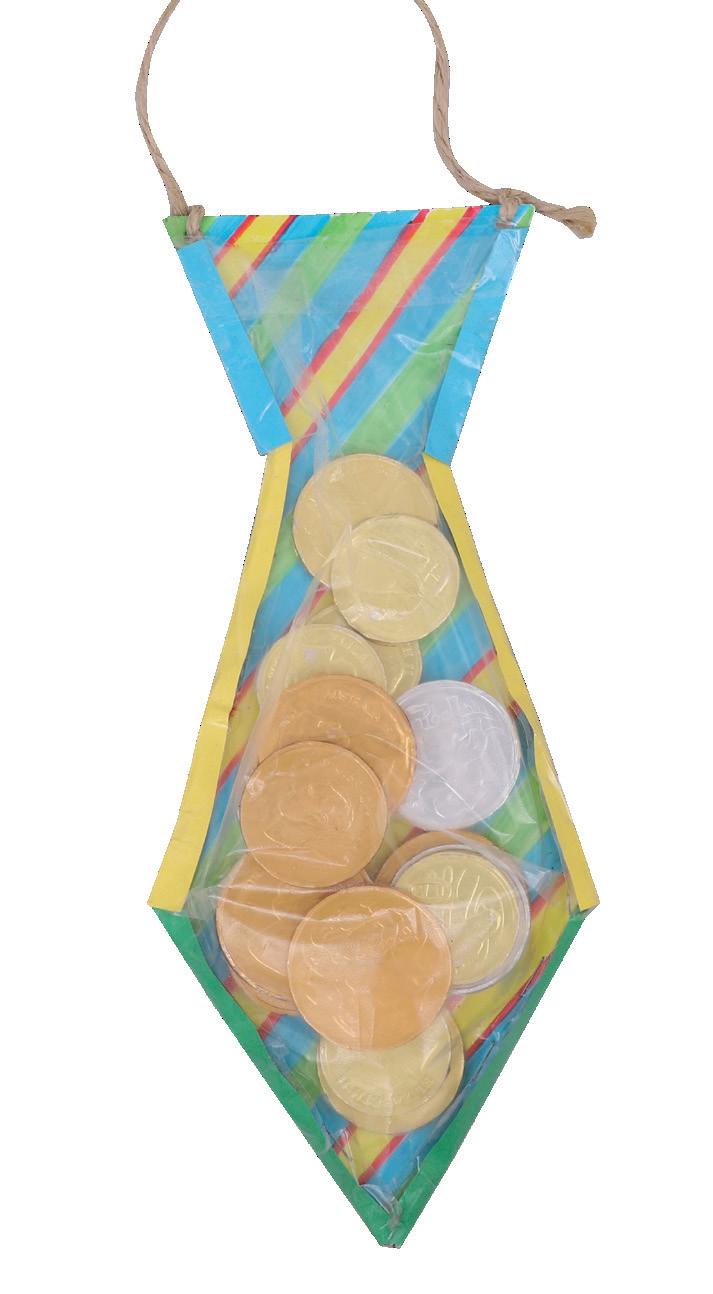
This is a TIE-rifically sweet gift for Father’s Day!
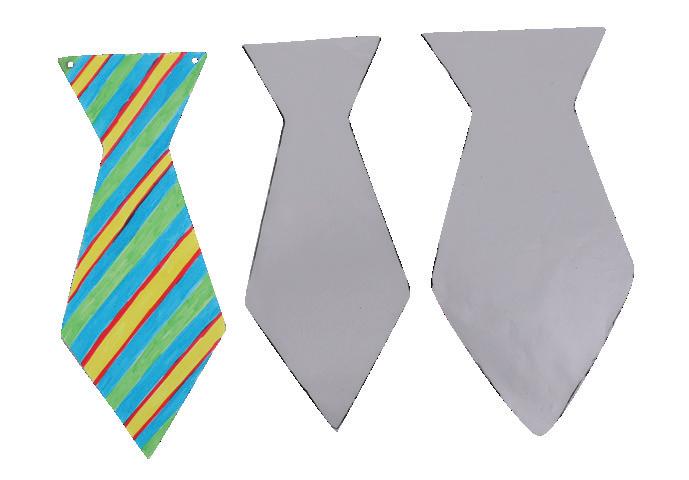

4. Place both plastic pieces onto the tie so that the larger piece is on top. Align the bottom point of both plastic pieces with the bottom point of the cardboard. Staple the three layers together.
2. Flip the sheet protector over and draw around the outline you just made so it is about 2cm wider around each edge.

5. Align the right point of the tie and both plastic pieces and staple in place. Repeat for the other side.

7. Fold the excess plastic in the top layer under itself to create a pleat at the widest points of the tie. Staple in place at the points. Continue to staple along the edges until the plastic is secured and there are no large gaps.
3. Cut out each tie shape ensuring you only cut through one layer of the plastic for each shape. Decorate your cardboard tie using markers.
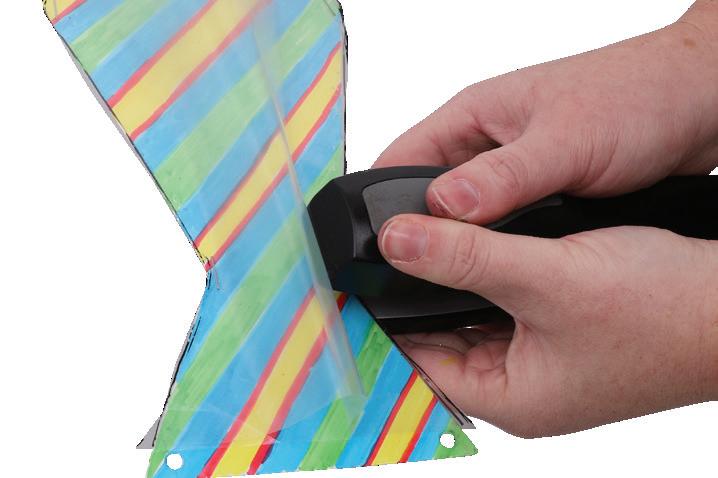
6. Staple the top narrow section of the tie so that all three layers are secure on both sides.

8. Cut strips of coloured paper 2cm wide. You need two of each of the following lengths: 11cm, 14cm and 6.5cm. Starting from the bottom (and in the order above), fold each paper strip over the edges of the tie and tape in place. This will hide the staples and create a colourful border!

9. Tie a 40cm length of jute twine to the holes at the top of your tie to create a hanger. Fill between the plastic layers with treats and secure the top with tape. Your Tie Treat Bag is now ready to gift for Father’s Day!
• Cardboard Rolls – Pack of 110 – 10307
• CleverPatch™ Cover Paper – White – A4 Pack of 250 – 16142
• Wooden Wheels & Axles – Pack of 30 – 18643
• Recyclable Paper Straws – Pack of 250 – 17671
• CleverPatch™ Tacky Glue – 250ml – 16494
• CleverPatch™ Triangular Maxi Coloured Markers Pack of 10 – 16523
• Other materials required: Scissors, ruler, a pencil and templates (page 9).
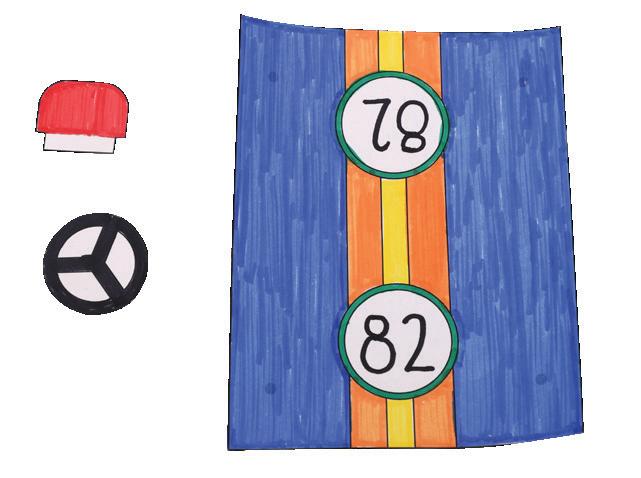
1. Print out the templates on page 9 onto white cover paper. Decorate your chosen design/s using markers. Cut out each of the decorated template pieces.

3. Use a sharp pencil to make a hole through the grey circles on the template. Ensure to push through the cardboard roll on each of the side circles and the top circle.

6. Glue the back of the steering wheel template piece onto the end of the straw on your car. Allow to dry.
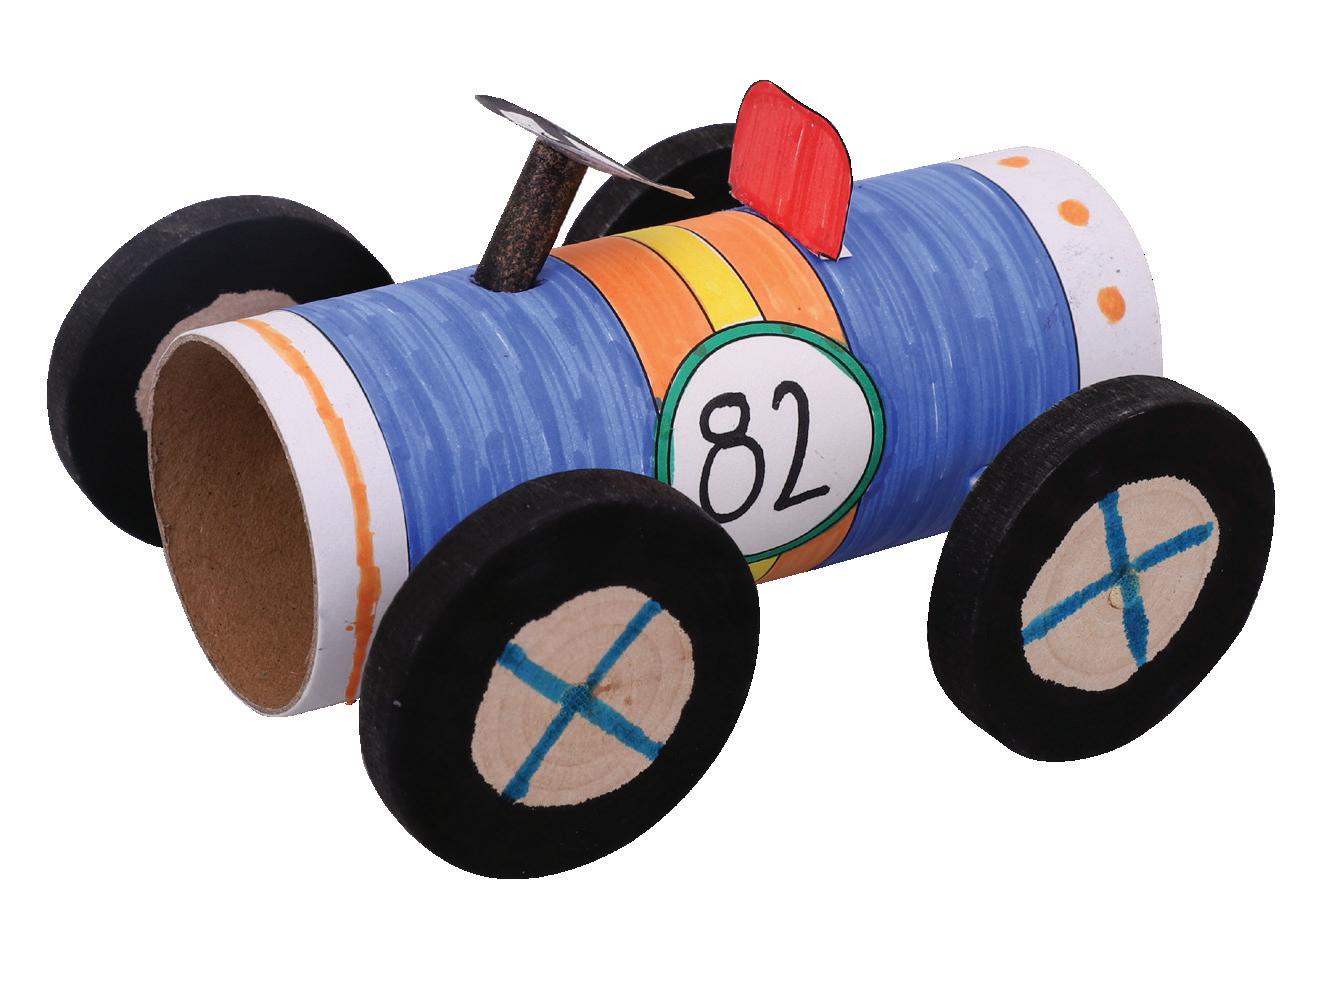
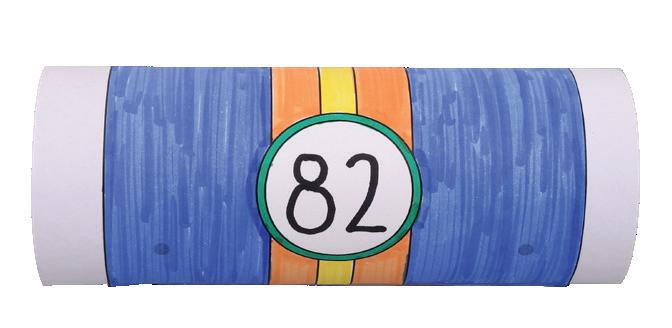
2. Wrap your decorated car design template piece around a cardboard roll, ensuring it is centred. Glue in place and allow to dry.

4. Insert an axle into the holes on the side at one end. Push a wooden wheel onto each end of the axle to create one set of wheels. Repeat for the other end of your car.
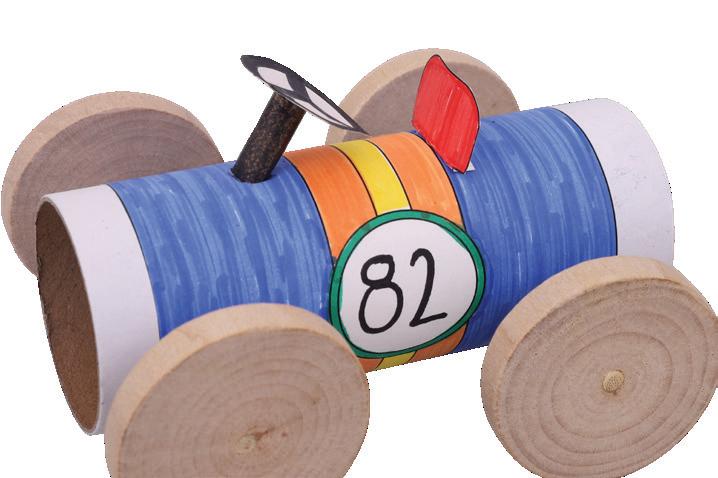
7. Mountain fold along the dotted line on the car seat template piece. Glue the tab to the top of the car as shown. Allow to dry.
Make multiple cars with different designs and colours then race them to see who wins!

5. Cut a length of paper straw about 2cm long and colour with a marker. Insert the straw piece into the top hole at a slight angle. Secure with a small amount of glue. Allow to dry.
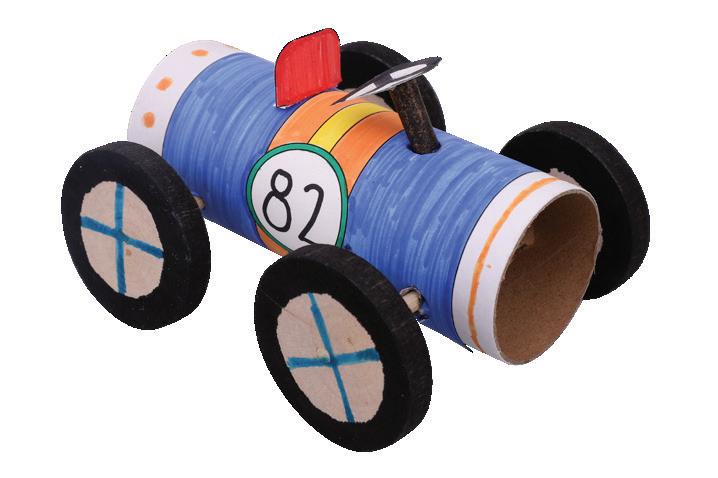
8. Decorate the wheels and add any further details to your car if you wish. Your Cardboard Roll Race Car is now ready to race!
Use these templates to help you complete the activity on page 8.
Car Design 1
Steering Wheel Cardboard Roll Race Car
Design 2
Design 3
Seat
Seat Car Seat
Steering Wheel