Force Sensor 2: Centripetal force (using a pendulum) This investigation has angular motion so the Force sensor should not be clamped. Allow the Sensor to swing freely with the pendulum.
Remove the thumbscrew from the clamp stand hole. If the hole is rough (where the thread for the clamping screw has been drilled) smooth with some emery paper.
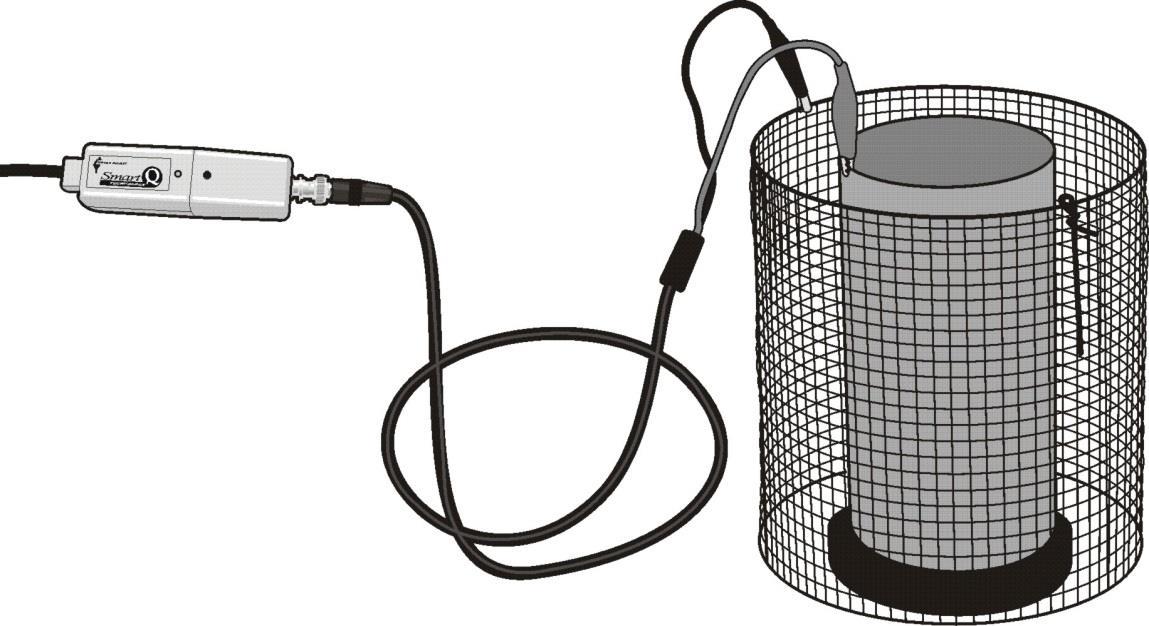
Screw the hook attachment into the centre hole at the base of the Force sensor.
Use rigid supports to reduce the effect of flexing.
Slide the Force sensor onto the support rod and fix an end stop (to prevent the Sensor falling off the end of the rod).
Check the pendulum can swing without fouling the bench or G clamp.
Attach one end of the pendulum to the hook. Add a mass e.g. 1 kg or more.
Open the EasySense program and select Graph from the Home screen. Set to log for a suitable recording time e.g. FAST record with an intersample time of 10 ms or less.
Select Test Mode from the Tools menu. With the pendulum in equilibrium rotate the offset knob on the Smart Q housing to set zero.
Displace pendulum sideways and release to set pendulum oscillating, click on the Start icon to begin logging. Note: The thumbscrew is absent End stop
Force sensor
G Clamp
Side view Front view: Sensor swinging with the pendulum
3: Investigating Impulse Very fast data capture is required to achieve satisfactory results for impulse investigations so they are only suitable for EasySense units capable of fast recording.
Screw either the cushioned or solid stop into the centre hole at the base of the Force sensor. Position the Force sensor securely e.g. at the base of a ramp so the dynamics cart will impact on the stop (centre point).
4