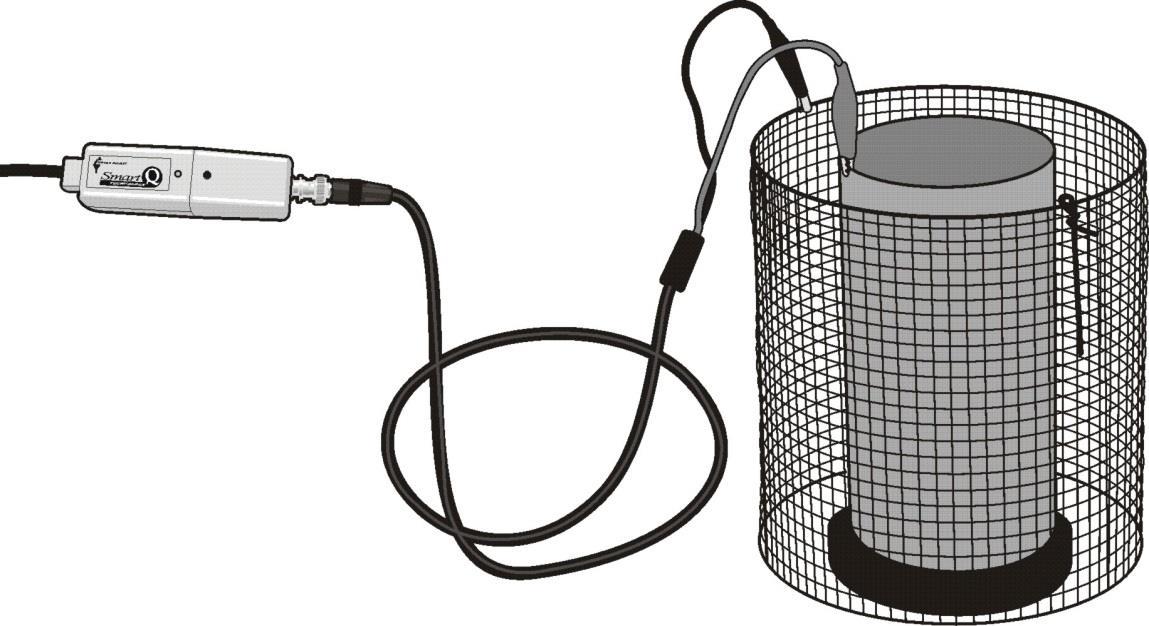
Force Sensor 4: Buoyant Force Plastic bag
When measuring forces acting on a floating object use the solid safety stop provided.
Push down manually
Do not allow the Force sensor to get wet.
Beaker Force sensor
Bowl Blu Tack
Practical information
The Force sensor measures extension forces as positive.
You may find it easier to make fine adjustments to the offset knob on the sensor housing using a small screwdriver. If it proves difficult to set exactly to zero, see below for ‘subtracting an offset’ from a set of data.
Use the offset knob to set zero once the Force sensor is orientated in the correct position for the investigation.
Do not allow the Force sensor to get wet.
The clamp stand hole will accept a support rod of up to 12 mm in diameter. An Allen key or a mild steel rod bent into a right angle could be used to hold the Force sensor in position at the end of an air track.
Do not attempt to adjust the fixed end stop or clamping bolt (Allen nuts). The calibration for the Force sensor is set when the sensor is fully assembled. If any adjustments are made to the fixed end stops, measurements will no longer be valid.
Using 3.5 to 6.5 mm wide elastic works well. This type of elastic is used for driving model aircraft and as replacement rubber for fishing catapults. The elastic can be attached to the hook on the Force sensor by tying a loop in the end of the elastic.
The spring supplied is suitable for use with a mass of 1.5 – 2 kg. Pull the spring down gently (by only a few centimetres) before release so it oscillates freely and vertically. If the spring is pulled down too far you will get jerky movements and may exceed its elastic limit.
It is best to use a ‘crash box’ below a suspended mass in case the mass becomes detached during the investigation.
The SI unit of force is a Newton (N). One newton is the force needed to accelerate a mass of 1 kg by 1 m s-2.
Subtracting an offset A Pre or Post-log function can be used to subtract an offset from a sensor’s readings. Note: Use the Pre-log function for the tare to be applied to the data as logging progresses or the Postlog function to apply the tare to data that has already been recorded.
Rotate the offset knob on the Smart Q housing to set zero.
Find the tare value e.g. by using Test Mode from the Tools.
From the Tools menu select Pre or Post-log function.
Select Preset function, then General from the first drop-down list and Tare from the second, Next.
6