SEWING CLOTHES
A COMPLETE COURSE ON MAKING CLOTHING FOR FIT AND FASHION


Joi Mahon
—C. Bauer, Mettler
“THE must-have handbook”


A COMPLETE COURSE ON MAKING CLOTHING FOR FIT AND FASHION


Joi Mahon
—C. Bauer, Mettler
“THE must-have handbook”


Success in any craft begins with a solid foundation of basic skills. Mastery comes with time and practice. Each time you practice a basic skill, you grow your abilities and improve. By practicing and experimenting with the techniques in this book, you will continue to develop your foundational sewing skills as well as learn new techniques. When that happens, you have truly made those skills your own. Before you know it, you will be a confident and masterful sewist!
If you are new to sewing, start by learning about both machine and hand sewing. In addition, you should understand the different tools that are available while also learning basic skills such as ironing and how to sew a basic seam. If you are returning to sewing after a long absence, you might feel your skills are a little rusty or need updating with modern sewing techniques and technology. A refresher course may be exactly what you need to feel inspired again.
Regardless of your level of sewing abilities, you are bound to learn a new tip or technique that is different or more useful than your standard method. Once you have a solid foundation in the sewing basics, you will be ready to choose a pattern and get underway with more creative projects and sewing success.
In this book, step-by-step instructions are broken down into small, bite-sized chunks for each phase of a project. Photos are given for some essential steps, but not all steps. Photos are almost always right next to the step text or mini section with which they correspond. If they’re not, they have an extra caption clarifying what they’re showing. So don’t be confused if you see more than one step 1 on a page!
Machines have lots of options and features, notions are available in all kinds of styles, and threads and fabrics come in thousands of colors and patterns. Fashion sewing has never been more engaging for the modern sewist.

Regardless of the brand or functions, certain fundamentals concerning needles, thread, and stitching apply to all sewing machines.
• The standard size 12–14 needle is suitable for all medium-weight fabrics except knits.
• Knits are best sewn with a size 14 ballpoint needle.
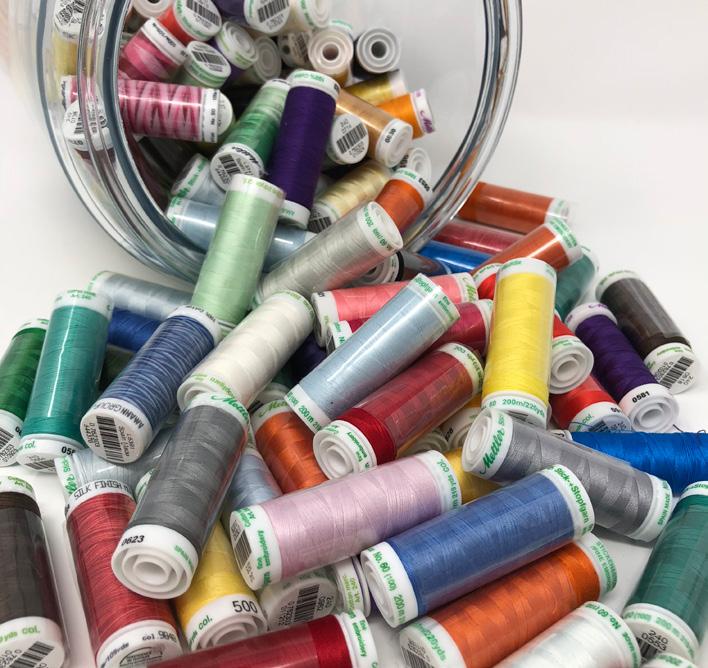
• The standard thread is a 50 weight all-purpose polyester thread or mercerized cotton.
• Set the machine to sew regular seams at 12 stitches per inch (2.5cm).

• Unless your machine makes stitches designed for knits, knit fabrics require special procedures (page 17).
For specific instructions on setting up, threading, and operating your sewing machine, see the manual that came with the machine. Note that the most common sewing machine abuses are simply failing to maintain the machine after purchase. Keep up on general maintenance with your sewing machine. See your user guide for instructions.
Tip Your machine is designed for you to only turn the handwheel toward you. Never force the machine wheel to turn in reverse. This may damage the sewing mechanisms.

No matter how sophisticated your sewing machine, there will always be a time and place for hand stitches—not only temporary basting and marking stitching, but the permanent finishing stitches that can make the difference between an amateur and a professional look.
Skilled hand work has many benefits and is necessary in those difficult places machines cannot readily reach. It provides more precision and control and can create stitches that are more elegant and less likely to harm delicate fabrics than machine stitches. The quality of hand stitching will always be apparent wherever you choose to apply these techniques, even though the stitches are often invisible and the seams are hidden.

The padding stitch is part of the tailor’s repertoire of permanent hand stitches and is concealed within the layers of collars and lapels, helping to give them body and shape.
1. Place the garment section to be padded in your lap. Thread the needle with knotted cotton thread and begin by bringing out the needle. Pull the needle through the interfacing and the upper layer of fabric at the top right of the area to be padded.
2. Bring the needle down at least 1/4" (0.5cm). The distance should be equal to the length desired for the diagonal padding stitch. Keeping the thread to the right of the needle, take a horizontal stitch from right to left so that the needle emerges directly below the point where the thread first emerged. The stitch should be equal to half the length of the diagonal stitch.

3. Push the needle through with the front of the thimble.
4. Bring the needle down the same distance as in step 2 and, keeping the thread to the right of the needle, take another horizontal stitch from right to left directly under the previous stitch.

5. After taking the last stitch at the end of the row, insert the needle back where it last emerged. To begin the next parallel row, which will be to the left of the original row, take another stitch from right to left. You will now be ready to work from bottom to top.
6. Bring the needle up so that it is just short of the top of the corresponding diagonal stitch on the previous row and take a stitch from right to left directly above the previous stitch. Continue the process.
7. At the top of the row, repeat step 5. This will start the next row. Bring the needle down and take a horizontal stitch from right to left, directly below the previous stitch as in step 2. Secure the end of the thread with a fastening stitch (page 26). Start again with a new thread length by embedding its knot between the layers as in step 1.



Use the iron as soon as you begin a project in order to smooth the material and pattern. The secret of perfect ironing is to use a long, gliding motion. Do not push when you move the iron forward. Try not to move backward so that you do not put wrinkles back in the material.

Pressing is a quite different technique from ironing. Pressing is used to flatten details such as pleats or seams as soon as they are permanently sewn. The trick here is to set the iron straight down vertically, directly on the spot to be pressed, add heat and pressure, and then lift straight up.
It is easier to press a seam during the sewing process than it is to wait until later when the iron must be wiggled into the corners of the completed garment. With your free hand, open the angles and folds in
the fabric. Use only the point of the iron to press the confined spaces. Pressing tools such as a mini-iron or point presser are perfect to press these hard-toreach areas.
Final ironing and pressing are done on the right side of the fabric, the side that is visible in the completed garment. Place a cloth over the material to protect it from scorching or developing a shine. Use a silicone cloth for heavy fabrics and silk organza or cotton for lightweight materials. To get the right ironing temperature, experiment with a swatch of extra material.
Of course, the most essential pressing tools are a first-rate steam iron and an ironing board with a scorch-resistant cover. Some people use an adjustable board and others may like a flat surface or table mat. In addition, specialized pressing boards and forms allow the sewist to do the extra-fine shaping and molding that help give a tailored garment its distinctive look.
One of the greatest joys of sewing your own clothes is selecting the fabrics and creatively pairing them with different pattern styles. Not only is it enjoyable, but it is also beneficial in the long run to spend a little time choosing the best piece of material for your project and properly preparing it for the sewing process. It is important to consider all the design elements of your project, and most pattern envelopes include fabric suggestions. You will find that your finished garments are more flattering when the weight and type of fabric coordinate with the pattern. A medium-weight twill or gabardine makes up into a nice skirt or pants, while a softer and silky cotton is better for a blouse and a jersey knit drapes nicely for a dress. Chose fabrics that work well for your body type by selecting colors and designs that will complement your figure and complexion.
Once you have made your fabric purchase, the next step is to prepare your fabric prior to cutting it. You may need to wash and pre-shrink the fabric unless the label indicates it is already pre-shrunk. Take it to a dry cleaner if the material is non-washable, such as wool.
Straightening the fabric is another important preparatory step. Sometimes fabric is stretched out of shape prior to being placed on the bolt or if it was not cut on the true grain—that is, with the lengthwise and crosswise threads at right angles to each other. In general, natural fibers are more easily cut on the true grain than synthetics and are also easier to adjust, even if they are slightly off. Synthetic fabrics, and those that are a mixture, may need more straightening; however, both can be adjusted by following the instructions within this chapter for aligning the crosswise, lengthwise, or selvage, edges. These straightening techniques can help correct issues that may keep the finished garment from fitting properly or hanging evenly.
There are four types of fibers: natural, manufactured, synthetic, and other minor miscellaneous types.
Naturally occurring fibers include cotton, linen, flax, wool (including any form of animal hair, even human hair, not just from sheep), and various other minor novelty fibers like hemp and spun corn. You can pick up natural fibers and spin them right into a yarn.

Manufactured fibers, such as rayon and acetate, are derived from cellulose and protein. Many people consider rayon a natural fiber, but it is not. Rayon was the first manufactured fiber in the United States; it was developed in 1911 to mimic the costly silk fabrics of the time. It is spun from naturally occurring polymers to replicate a natural fiber.

Synthetic, or man-made, fibers could take up a whole book alone and include many types and varieties. New fibers are being developed all the time. Some well-known and often-used synthetics are polyester, acrylic, and nylon. This category includes microfibers, which are “everything fibers” that are blends of other synthetics.
Special use fibers are less common, but people may be surprised to learn that they may encounter them daily. Fibers like rubber are used where Spandex can be used. Metal, such as stainless steel, is used in carpets. Other metals, such as silver and gold, are woven into fabrics. New and innovative uses for fibers are being developed every day.

Your custom body shape + flattering fabric combined with the right pattern fitted to scale and proportion = fitting success.
The key to making clothing that fits well begins with choosing pattern lines, fabric color, weight, and texture all properly proportioned to one another to complement the scale of your figure. The fabric should correspond to the style of pattern you are sewing. Instead of using the standard pattern size, you might need to make few custom modifications so that the pattern will match your custom body contours.
Visualizing how a silhouette will look on your own figure can be difficult. We all have our favorite garments that make us feel and look great, which is an ideal place to start to look for ideas when sewing your own clothes. Choose a pattern that emphasizes your good features while drawing attention away from any problem areas. For example, an empire waistline nicely accentuates a small bust and trim shoulders, but it also can help conceal a prominent bottom. Pleated and gathered skirts can pad out hips that are slim, but they make heavy hips even more noticeable; instead, choose a sleek A-line silhouette.
Once you choose a style, buy the pattern that most closely matches your measurements. The ideal is to measure the fullest part of the bust for upper body designs and the full hip for the lower body. Your ordinary dress size is not a reliable guide to the correct pattern size, because women’s sewing patterns are not reflective of ready-to-wear clothing sizes. By following some basic instructions illustrating how to custom fit the pattern to your body (page 74) and create a fit sample (page 91), you will ensure that your finished garment is as comfortable and flattering as possible.
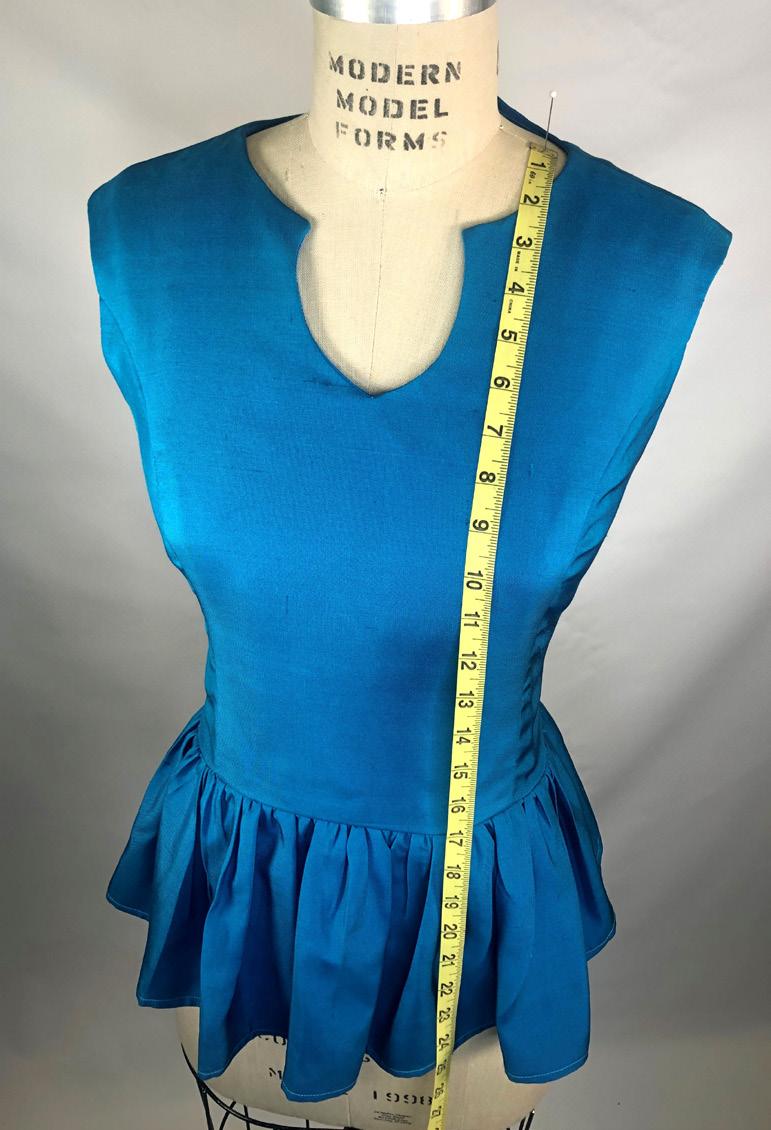
1. To help visualize the area you are adjusting, draw a white vertical pencil line from the top to the bottom of the area of measure. In this example, the area to adjust is the shoulder to apex.
2. To lengthen, draw a blue horizontal adjustment line in the center of the area being adjusted.
3. Draw a vertical line down the center of a separate sheet of pattern paper slightly longer than the area you are adjusting. Normal printer paper or kraft paper works well and is inexpensive.
4. Cut the pattern along the adjustment line. Tape the cut-apart pattern so that the vertical lines are aligned and the pattern pieces are separated by the exact amount the section is to be lengthened. Connect the edges of the pattern and trim away excess paper. Your pattern should now match your body measurement of that area.
The following examples are vertical adjustments to the areas of measure as illustrated on the measurement chart featured on page 73.
This is one of the simplest areas to measure, wearing a correct fitting bra with good support, lift, and natural shape. Compare your body measurement to the pattern. Lengthen if necessary. When adjusting this area of a pattern, the armscye (armhole) may temporarily be affected. Once you finish your adjustment, simply raise the underarm by the amount you lengthened and blend into the arm opening. This will be further refined in the muslin fit sample.

This area will give you the lower length of a torso pattern. Areas of fit affected by this measurement include the bust darts, the waist darts, and the transition from the full bust into the contour of the natural waist. If you are very busty, lengthen closer to the apex so the bust dart area is affected more. If you are smaller busted, adjust toward the center of the area of measure. Another area of fit that further refines the accuracy of bodice fitting is the bust curve.


Symptoms (A):
• The shoulder seam of the dress muslin stands up above natural shoulder line.
• Crossways creases appear on the bodice along the armhole.
Refitting the shoulder seam (B):


1. Remove the stitching around the armhole and take out the sleeve.
2. Starting at the armhole and working toward the neck, pull the shoulder seam straight up and pin the front and back shoulder, taking more fabric from one than the other if necessary, until they lie smooth and meet along the center of your shoulder.
3. Pin the new shoulder seam, tapering it evenly from the armhole to the neck. Take off the muslin.
4. Measure along the new shoulder edge and make the changes on the paper pattern.
Adjusting the pattern (C):
1. Trace the original armhole and shoulder seam lines and other markings of the front bodice pattern on a sheet of tracing paper.
2. Draw the new seam line on the pattern making the reduction. Draw a new cutting line 5/8" (1.5cm) outside the new seam line and parallel to it.
3. Slide the tracing of the armhole under the pattern and align the shoulder seam line of the tracing with the new shoulder seam line on the pattern, matching the side seam edge of the tracing to the side seam of the pattern.
4. Following the line on the tracing paper, draw a new armhole seam line, complete with pattern markings, lower than the original one, on the bodice front pattern. Then draw a new cutting line 5/8" (1.5cm) outside the new seam line and parallel to it.
5. Repeat steps 1–4 on the bodice back pattern.
6. Using the revised armhole seam and cutting lines, re-cut the armhole of the dress muslin and baste the sleeve into the revised armhole.

Before attempting to learn how to assemble the smaller details of a garment as shown in Chapter 6—the darts, zippers, pleats, pockets, etc.—you should first understand the correct order in which to sew these different details, whether it is for a dress, shirt, blouse, skirt, or pants (pants are featured in detail in Chapter 5). You can generalize the assembly sequence for these classic garments to most any pattern you will choose to sew.
Think of sewing garments together by first breaking them down into specific components. A component is an area of the garment such as a sleeve, bodice front, bodice back, or collar area. You should sew and apply any detail to these smaller areas before attaching them to another area. The assembly sequence is always a logical one. For example, the body section of a blouse is fitted and sewn before the sleeve is attached, otherwise the armhole in which the sleeve is inserted might not have the proper dimensions. Similarly, buttonholes and buttons are positioned after the garment is completed to ensure the closures will be smooth and neat.
If you have chosen the right size pattern (pages 72-74) and adjusted it properly for your figure, including polishing the fit with a muslin (pages 91-94), you should experience few fitting problems during the final assembly, and the result should be a finished garment that hangs properly and fits perfectly.
In this book, step-by-step instructions are broken down into small, bite-sized chunks for each phase of a project. Photos are given for some essential steps, but not all steps. Photos are almost always right next to the step text or mini section with which they correspond. If they’re not, they have an extra caption clarifying what they’re showing. So don’t be confused if you see more than one step 1 on a page!
1. Baste any darts on the dress front, back, and lower areas. Press down or toward the middle.
2. Baste the main seams of the dress body: the side, shoulder, and princess seams. Side pockets are attached to the side seam now.
3. Turn the dress right side out and try it on. Apply any refinements, such as contouring the side seam to your body.
4. If the fit is correct, stitch the seam with a regular seam allowance and stitch length. Pull out the basting thread, as necessary. Edge finish and press.
1. For dresses with back openings, insert the zipper, if any; press.
2. Attach the neckline facing to the dress with right sides together; clip, turn, and press. For dresses with full linings, repeat the steps for dress assembly and then attach to the neckline as you would the facing.


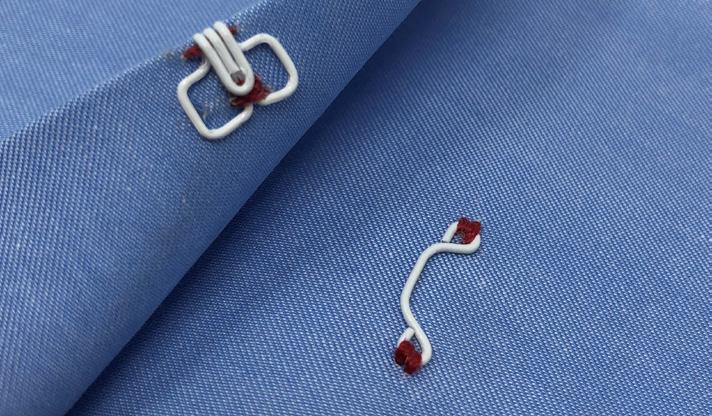
3. On the inside of the garment, hand tack the facing in place. Add a closure such as a hook and eye at the top of the zipper.
The bust points should point to the apex. Fabric will pool around the bust dart if too short and will pull if too long.
Shoulder seams should fall on the desired shoulder placement, angle to the shoulder point, and extend from the base of the neck outward.
Side seams should divide the front and back of the body with a visual vertical line. Contour to the desired amount of ease and fit.
Check the arm opening for correct placement on your body.
The neckline front and back should lay flat and hug the body naturally with no pulling or pooling of fabric.
1. On a sleeveless garment, attach the armhole facings to the garment; press.

2. On a garment with sleeves, stitch the sleeve seams; press. Then attach the sleeves to the armhole of the dress. For garments with a lining, baste it to the arm opening before attaching the sleeve. Once the sleeve is attached, hand sew the sleeve lining to the inside cap of the sleeve and then the hem.


1. Baste any finished patch pockets to the garment; try on and pin fit to determine the best position. Pockets should not crowd the center front or be so low that you cannot reach them. Reposition as needed.
2. Stitch the pocket to the garment; press.
3. If desired, add a decorative line of machine topstitching along the edges and seam lines.
4. Try on the dress and mark the sleeve and skirt lengths; hem and press.
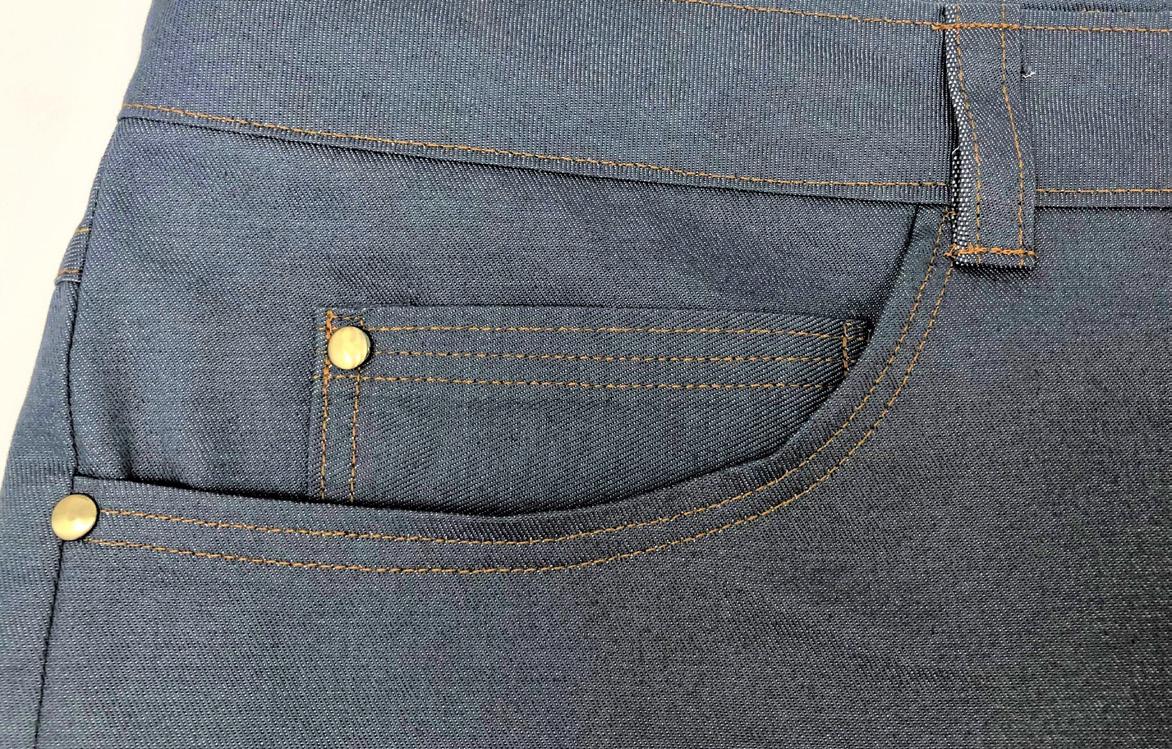
With simple lines and proportions, an accurately fitted pants pattern will help you make most trousers and casual pants, which can then be stylized into jeans, shorts, leggings, and other creative designs. If you can master the front fly and side pockets, then you can confidently sew a variety of pants and fabrics to suit any occasion.
Many sewists experience unique challenges with pants fitting that can be easily resolved with the right strategy and approach. However, there is a functional aspect to sewing and fitting pants that is not learned from traditional instruction, because the typical solutions are limited in scope. The key to success in fitting pants is to make the pattern match the unique dynamics of the leg. The diversity in figure types, shapes, and sizes can create challenges when trying to achieve a perfect fit, yet rewarding when you understand how to address and resolve the cause of the problem. Common fitting issues you may encounter include leg twist, binding in the seam, or excess fabric below the derriere.
By following this chapter step-by-step, you will be guaranteed great success in your next pants fitting.
How to use this chapter: This chapter features a complete step-by-step systematic approach to pant fitting. Instead of seeking multiple fit methods, focus your approach on learning how to adjust a classic trouser pant pattern to your unique body shape. Once you have a pattern that matches your body proportions, you’ll learn the common core pant adjustments used to refine the fit and then how to modify the pattern to create any style of pant.
Pants come in a variety of styles to fit any shape, contour, or body type. The pant leg may be slim fitting, straight and tailored, or baggy and full.
The first step in fitting a pair of pants is evaluating the leg so that you better understand how the pattern will interact with the body and leg movements. The front is distinctively different than the back, so the corresponding pattern pieces need to be measured separately. A single full hip measurement, for example, does not tell you how much space is needed in the front and how much in the back. If the pattern does not match your body correctly, then a fit issue will occur. The following are leg dynamics that impact how you fit, style, and sew a pant. They also illustrate why most pant patterns require customization to attain that priceless, perfect-fitting pair of pants.

Vertical
waist to hip
waist to abdomen
waist to thigh
waist to knee
waist to hem
Horizontal Half Body
crotch depth
center front
waist to front dart
Vertical Horizontal
waist to hip
waist to thigh
waist to knee
waist to hem
rise
center back to dart
front waist
waist
hip
full hip
full thigh
thigh
outseam
outseam
inseam
inseam


Sometimes the waistline is not perfectly straight across the front or back, and it may contour up toward the center. Simply extend the height of the waistband at the center to match the difference. Transition across into the side seam. Important: The very center of the pattern must form a right angle and not come to a point.


The sway back is a common fit issue in the small of the back. It is actually an issue with the length of the pattern being too long in the upper part of the pant. Simple adjusting of the pattern will prevent this; however, if you have pooling of fabric above the seam and right below the waistline, pinning a horizontal tuck across the back will remove the excess.


If the waistline dips down in the center front or center back, place a string or elastic around the waist until it falls naturally around the body. Mark the new waistline. The center should form a right angle. Option: Make a hinge by cutting from the center front to the side seam and take the reduction near the waist but in the body of the pattern.
Now that you know the construction sequence for your project, it is time to review the instructions for assembling specific elements of your garment that give you a truly custom experience—the seams, pockets, zippers, sleeves, etc. As you follow the workflow in Chapter 4 or 5 for your selected garment, return to these step-by-step instructions to complete each phase of assembly. These instructions might be more detailed and demanding than those you are used to seeing or those you found in your pattern envelope. However, the result will be a perfectly fitted, soundly constructed, custom-tailored garment that will last for years and stand as a testimony to your sewing skills.
In this book, step-by-step instructions are broken down into small, bite-sized chunks for each phase of a project. Photos are given for some essential steps, but not all steps. Photos are almost always right next to the step text or mini section with which they correspond. If they’re not, they have an extra caption clarifying what they’re showing. So don’t be confused if you see more than one step 1 on a page!
Seam allowance is the distance from the stitching line to the edge of the fabric. Traditionally, in home sewing the seam allowance is 5/8" (1.5cm), and then it is trimmed down with a serger, a specialized seam, or trimmed down to reduce bulk. In factory sewing, a different width is used for different areas of a garment and the trimming step is eliminated. If you find a particular width that works for you, feel free to modify the seam allowance on your pattern accordingly.
Basting and Stitching the Plain Seam
1. With the wrong sides of the fabric facing outward, pin together the pieces to be seamed, inserting the pins at right angles to the stitching line. Match and pin first where the seam line markings intersect. Some sewists prefer to place the pins parallel to the seam allowance, which is fine for straight seams and fabrics that will not shift as you stitch. Fabrics that are slippery or seams that have a curve are best pinned at a right angle to the seam.
2. Add pins at 1" –2 " (2.5–5cm) intervals on a straight seam and at intervals as short as 1/4" (0.5cm) on a curved seam.

3. Baste just outside the seam line markings and remove pins.
4. After trying on the garment for fit, machine stitch directly along the seam-line markings; remove the bastings. An added step for knit fabrics: To reinforce the seams, machine stitch a second line 1/8" (3mm) outside the first seam.
5. Press open.
To help keep consistent seam width, use the markings on your sewing machine as a guide. Additionally, place a piece of tape on the machine as a guide or use an adhesive seam guide. To gain even more accuracy on your seaming, trace the stitching line with fabric chalk on the wrong side of the fabric and stitch over the line.
Because home sewing patterns traditionally have a wider seam, it is necessary to trim it down to allow for the fabric and seam to contour better to the curve of the body. Examples are the neckline, armscye, and the waistline. Clipping is a technique where you cut a right angle to the seam allowance but do not cut through the seam, which helps the fabric to lay flat on the body.
plain seam after pressing

A must-have resource filled with invaluable insight, Ultimate Illustrated Guide to Sewing Clothes will equip you with every essential skill you need to sew almost anything from top to bottom! Opening with a detailed section on sewing basics that covers machine and hand sewing techniques, equipment, tools, notions, ironing, and pressing, the book then moves onto other essential subjects, such as selecting and preparing fabrics and achieving an exact fit. Complete step-by-step technique tutorials will walk you through several processes, from making a muslin fit sample and laying out a pattern to sewing a classic dress, blouse, tailored jacket, and other garments. From there, a comprehensive pants guide and a section on the details of garment construction are provided for further sewing knowledge and proficiency. With this sewing manual as your guide, expand your skill set as you enjoy the rewarding craft of sewing clothes!
• A complete guide to sewing clothes that details all the essential techniques and processes
• Filled with expert instruction on sewing, tailoring, making alterations, detailing, and more
“Ultimate Illustrated Guide to Sewing Clothes by the talented Joi Mahon is THE must-have handbook when it comes to perfectly fitted garment construction. The descriptive and practical imagery of this book helps creative minds to create new projects and achieve better results; we love it!”
—C. Bauer, Mettler (manufacturer of high-quality sewing threads since 1883)
“With this book Joi covers all bases when it comes to sewing garments. Her clear, concise explanations and valuable reference guides are a jackpot for sewing enthusiasts everywhere!”
—Gini Denninger, Intermediate Level Seamstress, Rochester, NY“This guide is beautiful, easy to read and understand, and allows you to learn from one of the best. Before you know it, you’ll be creating amazing works of wearable art, just like Joi.”
—Cassie Thompson, Client• Contains step-by-step guidance for sewing several classic garments
• Also includes a thorough pants section with a tutorial on sewing a classic trouser, plus how to alter the pattern to create a variety of other styles