
 EDITION 21 | FEBRUARY 2023


 EDITION 21 | FEBRUARY 2023


It’s great to have you with us for Issue 21 of HQ Pony Mag!
We’re so excited that the show season is back in action, and we’re loving seeing you and your ponies out and about again. We really hope that 2023 is your best year yet with your equine companions!
This month, we’ll be attending the Horse of the Year Show at Kyalami Park. We hope to see lots of you there! If you compete and get some pictures of you and your pony in one of the classes, please send them to us at lizzie@hqmagazine.co.za to see them featured in our next issue. We’ll be sharing LOTS of images from the show, so feel free to send a selection of your best ones! We love to see you and your ponies in action.
In this issue, we have lots of great content for you, including an interview with up-and-coming superstar Bella Hardy, who is featuring in the prizes in multiple disciplines. Check out the article to find out all about her!
We also have a collection of polework exercises to help tackle common schooling issues that can creep in after a holiday and a groundwork article for those looking to try something a little different. We’ve also included an article on bitless bridles as we see the trend for using these is REALLY on the increase, particularly in Europe. It’s exciting to see that many disciplines are now accepting the use of bitless bridles, so there really is no excuse not to give it a go!
Our breed of the month is the Hanoverian – the ultimate sporthorse, so dive into that piece to learn about the history of the breed and just what makes them such unbelievable performers.
We could go on, but your time is definitely better spent reading the content, so get reading and ENJOY!
With much love,
Lizzie and the HQ Pony TeamWe’d love to hear from you and receive your photos, drawings or ponyrelated thoughts. To get in touch send an email to lizzie@hqmagazine.co.za and we’ll get back to you!
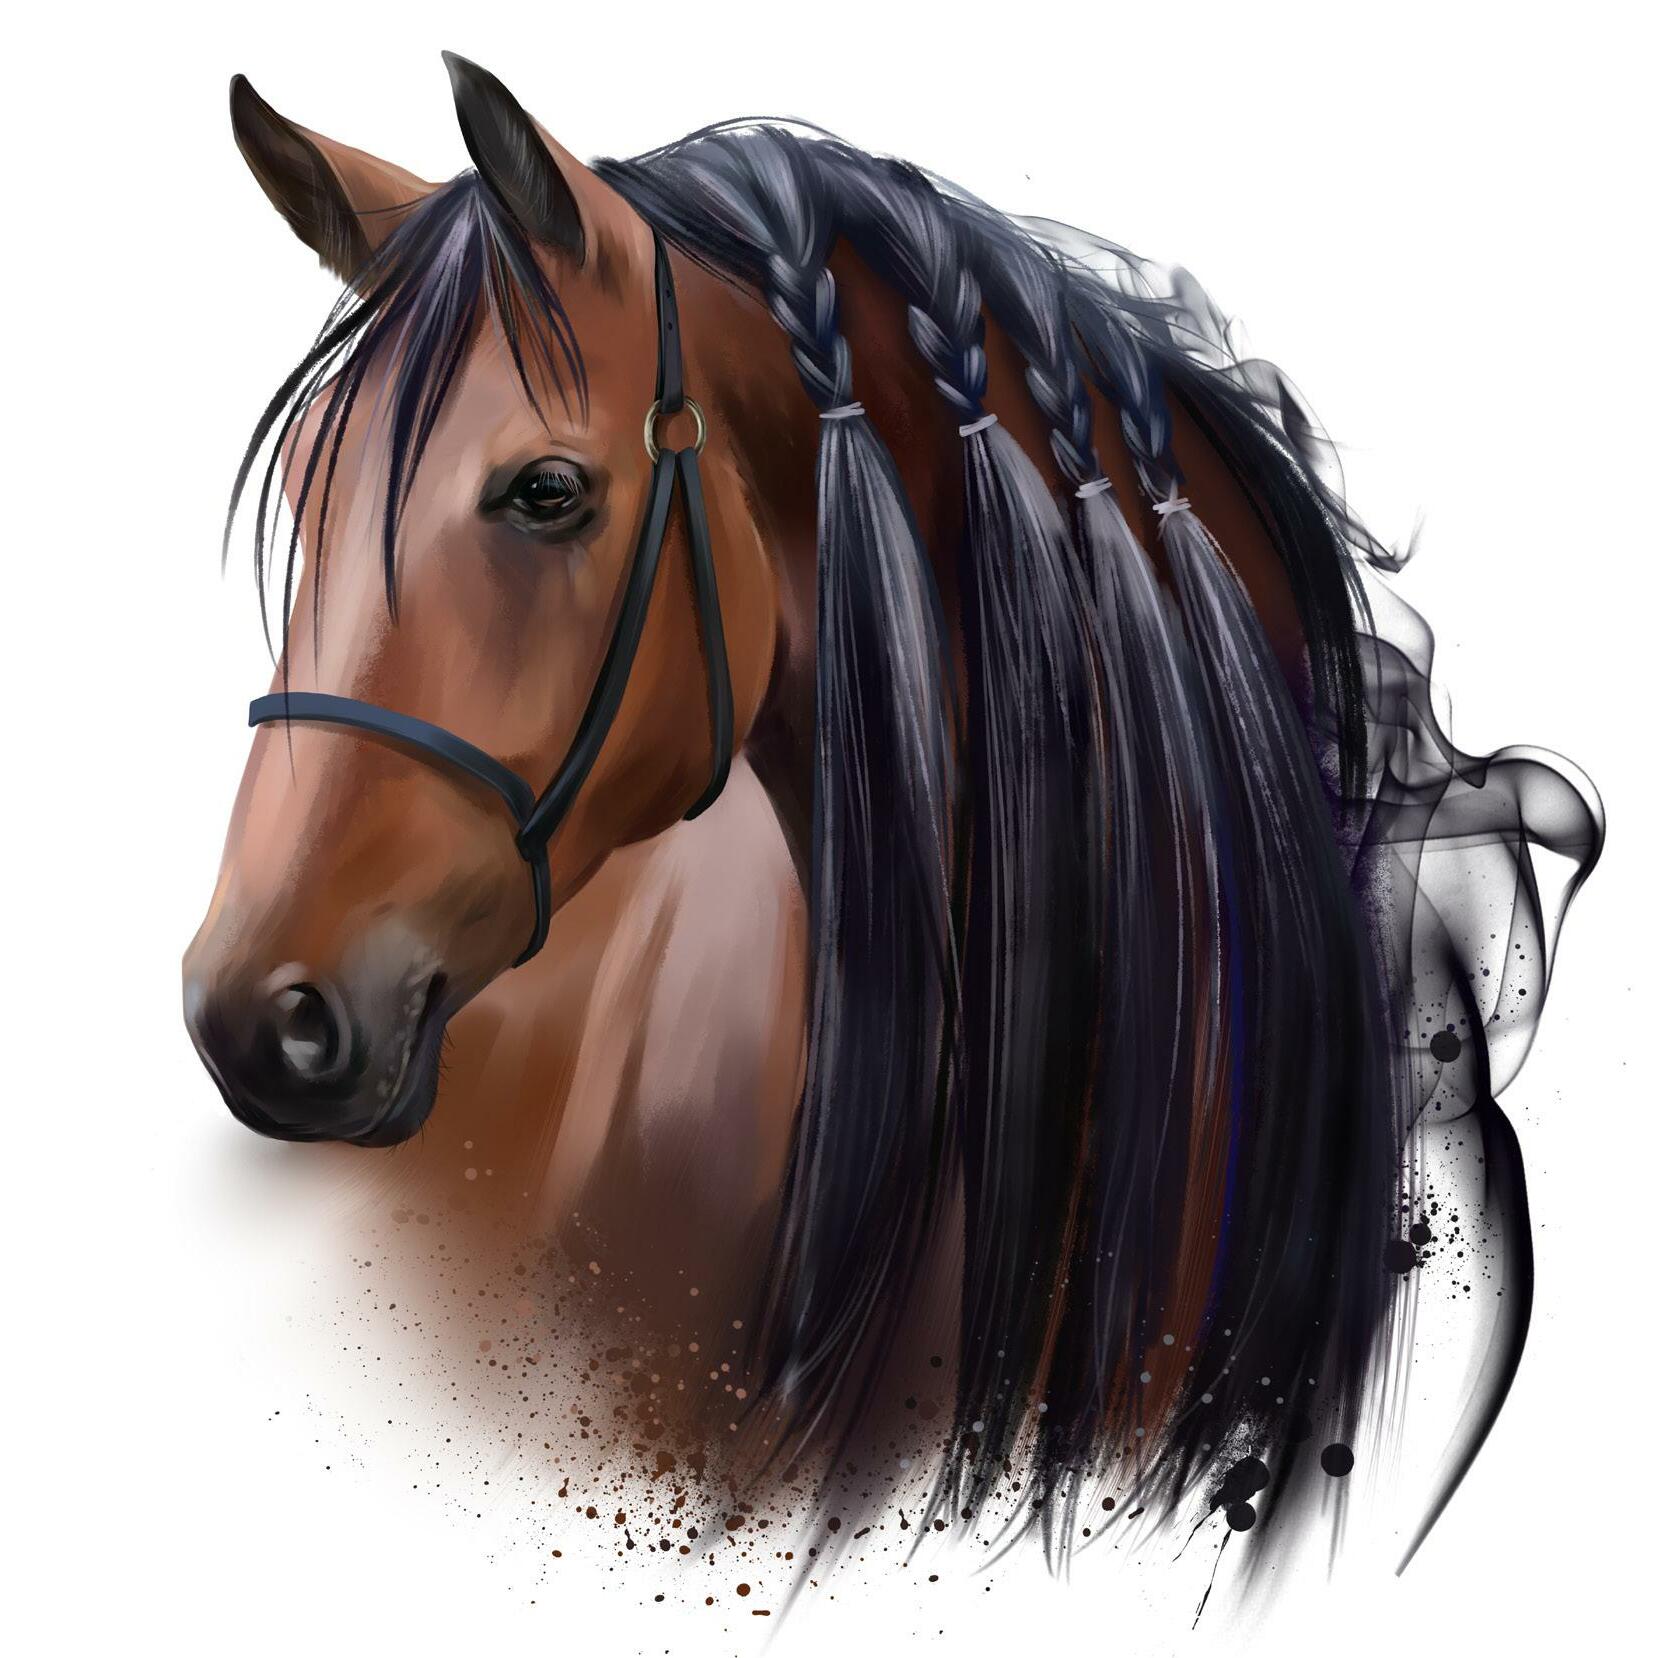


Breed name: Hanoverian
Place of origin: Germany

Breed purpose: Competition
Size: 16-16.2hh
Colour: Mainly brown and chestnut, but the colour is unimportant. There are no registered palomino or buckskin Hanoverians.
Ancestors: German horses, Thoroughbreds, Trakehners
There were Hanoverian horses in the winning dressage team (Germany) and the silver-medal winning team (USA) dressage team in the Tokyo Olympic Games.
did you know?
The Hanoverian Association in Verdan hosts an Auction every year. The most expensive horse to date was two point one million euros!
Farmers in Hanover created the Hanoverian breed in the 16th century for war and agricultural uses. After World War II, these horses were used less for war and agriculture and more for recreational riding. George II., King of Great Britain and Ireland, founded the Hanoverian Stud Farm of Lower Saxony in Celle.
Hanoverians are Warmbloods, with a mixture of cold farm horses and hot Thoroughbreds. People describe the Hanoverian breed as having a good attitude, being eager to learn, willing, and having enormous athletic ability. Hanoverians are considered among the most successful horses in the Olympic Sports (Dressage, Showjumping, and Eventing).
Hanoverians are physically pleasing, with elegant heads, thick manes and tails, large eyes, and muscular necks. They are now purely bred for sport.


Isabella Hardy is one of our local up-and-coming multi-discipline Junior riders who is part of the Equestrian Team at Dainfern College. We had the opportunity to catch up with her this month and learn more about her and what the year ahead holds for her!

HQP: How old are you, and how old were you when you started riding?
I am sixteen now and was six when I first started riding.
HQP: How did you get involved in horse riding?
At my fourth or maybe fifth birthday party, we had pony rides, and I pretty much decided after that, that I wanted to ride! So, at six years old, I started having lessons at Sun Valley Riding School. I do also come from a very horsey family, so maybe it’s in the genes?
Well, I used to get put on all the naughty ones - basically, anything people were not brave enough to ride. In one of my first lessons on the first pony we baited (I won’t mention names…), I was thrown off pretty violently and ended up chipping my front tooth before she took off bucking out the arena, ready to take out anyone in her path - thankfully it was a baby tooth!

HQP: And that didn’t deter you?
Nope, I carried on for a few years at Sun Valley and then moved to Little Farnham, where I started to bait Splash, a gorgeous Piebald pony who was the laziest horse in the whole yard, but he took me around my first SANESA classes bringing home a few ribbons. After that, around my tenth birthday, my Gran found an unbacked, nicely bred farm pony, Morganhurst Allegra, a.k.a. Legge, and with the help of my Aunt (Amelia Campbell-Horne), we backed and produced her. Legge allowed me to try out all the disciplines, from Showing to Dressage and Prix Caprilli, as well as Equitation, Showjumping and even Eventing. Jumping was not her favourite, so in the end, we focused on Showing and Dressage. In our time together, we made it to SANESA Nationals several times, placing in the PR Elementary Dressage and Working Riding and even winning the In Hand Showing Final! We had also trained her up to PR Elementary-Medium in Dressage, but sadly I never got the chance to compete before I moved on to horses.
HQP: What disciplines do you compete in now?
Currently, I compete in Dressage, Showjumping, Equitation and Showing.

HQP: Is there a reason you do so many disciplines?
I strongly feel that they all improve your riding. The Showjumping brings out my competitive side while the other disciplines keep me grounded! Dressage helps train you to be prepared, controlled and disciplined. Showing, especially In-Hand, is a lovely bonding experience and teaches a lot of horsemanship, while ridden Showing classes are a nice change of scenery for the horses and help with manners - also, the judges often give very constructive criticism! Then Equitation tests the rider more than the horse, and it tests your ability to adapt to different horses - it also teaches you how to keep a rhythm!
At the moment, probably, Equitation because it’s a mix of Dressage and Showjumping, and it tests your skills as a rider probably more than the other disciplines.

Correct!
First, there is Lady Jane, who is owned by Mindi Hunt. We compete in lower-level Showjumping, Novice Dressage and Showing. I am very thankful to Mindi for her support and the opportunity she gave me to ride Jane from the first day I moved onto horses. Next is Ricochet du Roeut PZ, a.k.a. Pumpkin; he’s my Aunt’s big warmblood who has a lot of attitude. Last year we made it to SANESA Nationals for Performance Riding and Novice Dressage, and mid-way through the year, we tried out Equitation and found out we were pretty good at that! We ended up making the Intermediate team for SA Junior Champs as well as the Dressage team, but unfortunately, we were unable to go down to Durban for the competition. Then there is Cor de Coeur (Cords), my Aunt’s Dressage-bred Holsteiner mare, who has competed up to 1.50m. I am very thankful to have the ride on her this year. We have started in the 1.10m and will be doing Elementary Dressage and the Junior Open Equitation this year. She has massive movement and can make herself seem bigger than she already is! She can also be quite unpredictable; my Gran said when they tried her that “if they are spooky, they will be careful”, and she is certainly both of those! I’m really excited about this amazing opportunity and the year ahead.
HQP: What are your goals for the new year?
I would like to be competing Cords in the Junior Open Showjumping classes by the end of the year, possibly try Elementary Medium Dressage, and I would like to make the SA Team for Jr Open Equitation and ultimately qualify for next year’s Phillip Smith Memorial Trophy. I am also aiming to make SANESA Nationals on all my horses.

Oh, and probably to win a Dressage Derby - that is always a really fun event!
HQP: Who coaches you, and what do you enjoy most about your lessons and stable yard experience?
My Aunt (Amelia) coaches me in all disciplines, and all the horses are stabled at our family home, which is nice because it is so much more flexible, and it is great to finish riding and walk straight up to the house for snacks! It’s also really nice being able to do night checks when I stay over and give them some late-night love.
HQP: What does your training schedule look like with the horses?
Well, we don’t have set lessons as such, but I ride six days a week and generally 2-3 horses each day. We do a lot of flatwork and pole work exercises and often do an equitation exercise to add some variety for the horses. Then we will have a jump around a course in the week leading up to a show, so it is flexible according to the type of competition coming up. We also try to take each of the horses hacking at least once a week for a change of scenery and pace.
HQP: Who inspires you in equestrian sport?
Charlotte Dujardin internationally and locally, Charley Crockart and also Carl Boonzaaier because he is so successful and dedicated in both Dressage and Showjumping.

HQP: If you could ride any horse in the world at a show, who would it be and why?
Well… I’m already riding her; Cor de Coeur! But if I were to choose another horse, it would be Thomas van Rijckevorsel’s Capital My Lady. She is so similar to my Aunt’s young horse, Girlie, that I ride sometimes, and I would be so interested to compare how they feel!
HQP: What is the one piece of riding equipment you can’t do without?
My OneK Helmet from Equestrian Diva (hair must obviously be in a hairnet!!) and for my horses, ScootBoots!

The cool down period is vital to ensure your pony returns to his stable or paddock in the best mental and physical state possible. Here’s what you need to think about at the end of your ride:


As soon as you stop exercising your pony, his oxygen levels will rise and his carbon dioxide levels will fall.

Like warming up, the amount of time you spend cooling your horse down will depend on several things, such as his age, his fitness level, his breed, how challenging the session was and the weather conditions. However, on average, most of us should aim to spend around 10-15 minutes cooling our pony down after a schooling session.
1
Aim to finish your schooling session on a good note when your pony has tried particularly hard or has understood a new exercise or challenging movement.
2
In rising trot, begin to ride some large circles, serpentines and figures of eight, gradually encouraging your pony to stretch down into a longer and lower frame. Do this steadily to avoid him collapsing on the forehand or hollowing over his back.

3
After about five minutes of stretched trot work, bring your pony forward to walk and repeat the exercise mentioned in point two, allowing your pony to stretch down for around five minutes or until he’s no longer blowing or sweating. Keep the walk active and in a clear four-beat rhythm.
4
A nice way to finish your session is to dismount, loosen the girth by a couple of holes and lead your pony in-hand for a minute or two. You can do this around the arena or, even better, provide a change of scenery by walking him around the property.
5
If your pony is still hot and sweaty, wash him off and remove the excess water with a sweat scraper.
A fit pony will recover quicker from exercise than an unfit or overweight pony. Timing how long it takes for your pony’s breathing to return to normal each time you ride will allow you to get some indication of how his fitness levels are changing over time.
Know your pony’s resting pulse and respiration rates. This way, you will know when these levels have returned to normal, and he has fully recovered from the workout.
Allow your pony to stretch gradually. Let your pony find his own way into a longer and lower frame as this gives his muscles time to adjust to the new position, without any sudden or forced movements.
Skip the cool-down period. If you don’t cool your pony down properly, you run the risk of injury, sore muscles and even tying up. All of these can have serious consequences. If you don’t have much time for your riding session, simply shorten the schooling part to allow for some cool-down; skipping the cool-down part in favour of more schooling is NOT a good idea.
Stand around chatting with your friends. Doing this might cause your pony to get stiff and cramp up. Focus on getting him cooled down and back in his stable or paddock before chatting with your mates.
While winter may feel a long way away, it is worth noting that your cool-down routine over this period may need to alter slightly. You will want to ensure your pony doesn’t get cold, so you might consider placing a cooler rug over his hindquarters while walking him. If you do decide to use a cooler rug, it is then important that you don’t remove it until your pony is fully dry, as taking it off when he is still hot and sweaty will increase the risk of chill.


It goes without saying that after every class at a show, your pony will require a cool down. At competitions, our ponies really work hard, so their bodies need even more support than usual to cool down safely. Whilst it can be challenging to do a full cool-down at a show with prize-giving, busy warm-up arenas etc., you should still spend as much time as possible cooling down your pony in the warm-up arena before hand-walking him or doing some carrot stretches.
Lots of riders say that their ponies ‘cannot stretch’. Yet, while many ponies might struggle to stretch and hold themselves without running on the forehand, all ponies CAN stretch. Any pony who can eat grass, drink water and generally put their nose near the floor can stretch; it just takes training to help them to build the strength to do it well.


There is much we can learn from a friend who happens to be a horse.
– Aleksandra Layland
Going bitless is becoming more and more of a trend as riders pull away from gadgets and focus more on natural horsemanship. The idea can be scary, especially for those of us who haven’t considered it as an option before or have ponies that would need re-schooling to understand bitless cues. In this article, we look at some of the bitless options to help you to feel a bit braver about giving it a go.
A side pull is the simplest type of bitless bridle as it works with pure nose pressure, and is a great starting point to teach your pony to respond to bitless cues without any added leverage.
This bitless bridle works a bit like the pressure your pony is used to from being led in a halter. There is no lever action, and the reins attach to the noseband on the sides of his face. The benefit of using a side pull bridle or noseband rather than simply attaching a set of reins to the sides of your halter is that it will fit more snugly and be more stable on your pony’s face than the halter. Side pulls are generally made from leather, rope, or paracord and fit onto a standard English bridle’s cheekpieces. You can buy them from local tack manufacturers. A relief bridle can also be converted into a side pull by connecting the reins to the D rings on the noseband and removing the bit connector straps.

Bosals are mostly a Western trend. They are made from a stiff braided rawhide noseband, which may have additional wrapping over the pony’s nose, and a rope rein (called the mecate) is tied to the chin of the bosal. The bosal works mainly off of nose pressure, but the turning cues are not as clear as they are with other bitless options, as the rein is attached to one point, not two, so you do not have two separate reins that work independently. For this bridle to be effective, you really have to focus on giving the pony aids with your body, as pulling won’t achieve anything!
A scrawbrig fits and works a lot like a side pull, but the chin strap slides through two rings on the side of the noseband. When you pick up one or both reins, the chin strap tightens, creating pressure on both the nose and chin of your pony. This gives you an added set of brakes without putting unnecessary pressure on your pony’s mouth.
Just remember, every action results in an equal yet opposite reaction, so don’t hang on to the bridle simply because you don’t have a bit. Your pony will just lean on your hands, and you’ll feel even more out of control.

Hackamores are the most popular type of bitless bridle, especially for competitive riders. Hackamores generally work using lever action, and a combination of nose, chin, and poll pressure – the ratio of which is specific to the type of hackamore used. A hackamore is often considered the strongest bitless option due to its mechanical lever action.
Riders that use hackamores can also select different types of nose pieces and curb/chin pieces, which can significantly impact the hackamore’s pressure. A padded leather nose piece or a sheepskin nose piece will be much softer than a narrow chain or rope nose piece, and a leather or sheepskin-covered chin piece will be gentler than a standard curb chain. You can also buy sheepskin covers to position over the existing nose and chin piece to make it more comfortable for your horse. Hackamore shanks come in various types, shapes, and sizes, each with varying actions and strengths. In general, the longer the shank of the hackamore, the more leverage it has.

Cross-under bitless bridles have two straps that cross underneath your pony’s jaw, so when you apply pressure to the reins, that pressure is spread across your horse’s whole head. To be precise, when you apply pressure to the right rein, it exerts pressure on the left side of your pony’s head, guiding them away from the pressure and to the right. Cross-under bridles or nosebands are made out of leather or rope, and you can buy them in tack stores and from small businesses. It is possible to buy the whole cross-under bridle or a cross-under attachment which will attach to the poll piece of your existing snaffle bridle. This type of bridle can be quite confusing to ponies, as the cues are not as clear as with many other bitless bridles, and the release of pressure does not tend to be as quick. However – every pony is an individual, and some may prefer this type of bridle over others.
You must start your bitless schooling from the ground. Start in hand at the walk, giving your pony the cues for turning and stopping and rewarding them for any correct response, even if it is slight.
If your pony is used to working in a bit, this is a totally new concept to them, so you should approach it like you are starting a young pony for the first time. They do not immediately know what the different cues mean and what you are asking, so be patient.
Once you are sure your pony is comfortable with and understands the cues from the ground, you can start introducing bitless work under saddle. It is best to start slowly and at the walk, allowing your pony to figure out what you expect from them. Start in a closed area, like a lunge ring, if that makes you feel more confident.
If you prefer, you can consider riding with a bit and the bitless option at the same time (with two sets of reins), and slowly use the bit reins less and less until you are sure you do not need them as a safety net anymore, and then totally remove the bit.
If your pony seems confused about what you are asking at any stage, take one step back and build up their confidence and understanding again. It will take time to get this right, but the more you ride effectively from your seat and leg aids to help the pony understand the rein cues the quicker the process will be.
It is important to remember that ‘bitless’ does not necessarily mean ‘softer’. Whilst a bitless bridle does not put pressure on the pony’s mouth it does still rely on pressure to give cues. Some bitless bridles use more pressure than others, and with the delicate faces of our ponies we need to be very careful that we don’t use bitless bridles in a heavy handed way, simply because they are ‘not in the mouth’. Ultimately, any piece of tack is only as good/kind as the person using it, so can be soft or hard depending on how you use it. Try to ride with soft hands whether you ride with a bit or without and you should find your pony enjoys his work and performs much better – force is never the answer!

Bitless bridles are slowly becoming more accepted in the competitive equestrian world. You can currently compete in showjumping and equitation bitless and adults riding mares and geldings can compete bitless in certain showing classes (specified in the showing rules). Bitless bridles are also allowed in the showjumping and cross-country phases of eventing. However, in the cross-country phase of eventing, a hackamore cannot be used on its own and must be used in conjunction with a bit.
If going bitless is something you’d like to consider, we suggest you chat to your instructor first. They can help guide you through the schooling process and help you explore all the options until you find the perfect fit. There is a whole new freedom to be found in riding bitless — you no longer have to worry about damaging your pony’s mouth, and with time, you’re likely to find he is just as adjustable and responsive without the need for extra gadgets.
I don’t like people,’ said Velvet. ‘…I only like horses. –Enid Bagnold, National Velvet.


Over the past few months, we've received lots of questions about getting started with groundwork. Whilst we DEFINITELY suggest that an instructor helps you to get started, there are a few basics you can teach at home that will form the foundation of all groundwork activities you do. Over the next few issues, we'll look at these basic building blocks of your groundwork toolbox and help you to build a solid foundation for your in-hand work with your pony.
In this exercise, you will teach your pony how to follow a feel on the halter and come towards you. This is very valuable as it can help him learn not to pull back and also help with loading into a horsebox.
Stand in front of your pony with a space between you of approximately 1.8 metres.
Lay the lead rope over your open hand.
Make sure your pony is focused on you.
Think of drawing your pony towards your belly button.
Draw your open hand with the lead rope towards your body so that it just makes contact with the halter. Ideally, you want your pony to step forwards with this tiny amount of pressure, but this takes time to teach!
If your pony doesn't move forwards (as you would expect if this is the first time you are teaching your pony this exercise), start to run your hands down the rope with both hands open back towards your body. This puts a bit more feel on the halter.
If your pony still doesn't come towards you, close your hands on the rope and continue running your hands down it to add a bit more pressure.
If he still doesn't move towards you, keep your hands still and apply light but constant pressure on the halter until your pony steps forwards.
As soon as your pony steps forward, even with just one foot, release your feel on the halter.


You are NOT trying to pull your pony towards you. Offer a light feel and increase this in the steps above until it is firm enough for him to understand your question and step forward. The instant he steps forwards, open your hands. The release acts as his reward and shows him that he got the answer to your question right. If you try to pull your pony forwards, he is more likely to plant his feet or go backwards. Imagine that you are like a fence post that your pony is attached to; it doesn't pull more when he doesn't step towards it, but he gets instant release when he does step towards it. Reward the slightest try from the pony and gradually build up the number of steps you ask for.
Over time you should be able to get a response with less and less pressure.
If your pony leans on you and digs his toes in, do not pull harder; instead, move from one side to the other to change his balance over his front legs and cause him to step. Release and repeat until he is no longer resisting and will come straight forwards.

If your pony seems anxious about your request, soften your body language; smile and remove the direct eye contact to show him that there is no threat. If this still doesn't help, take another step backwards to give him more space and encourage him to move forwards to follow you.
Teach your pony to become so responsive that he will trot towards you from just a tiny bit of pressure.
Try to attract your pony towards you using just your body language so you don't even have to put a feel on the rope.
In our next edition, we will look at asking your pony to yield forwards from an indirect feel.
IF THE PONY SEEMS ANXIOUS MAKE SURE YOU SOFTEN YOUR BODY LANGUAGE AND PERHAPS GIVE HIM MORE SPACE.
He knows when you’re happy. He knows when you’re comfortable. He knows when you’re confident. And he always knows when you have treats. – Anon

In the off-season most of us give our ponies a well-deserved break, but as we enter February and shows start again it’s definitely time to shake off the cobwebs and get back into the swing of things.
It can be a challenge to decide what to work on first, but these simple polework exercises should cover all the bases. Think about keeping your pony focused, straight and working over his back to get the full benefit of these exercises.
 Text | Rhiannon Cecil
You’ll want to set up on the two long sides of your arena for this one. On one side, set up two sets of poles as far apart as possible on a straight line, leaving room for your pony to stay straight for at least two strides before and after. Ensure you use a minimum of three trotting poles per set.
The first set of trotting poles should be spaced slightly shorter than 1.1m, as you’ll be asking your pony to collect here. The second set should be slightly further apart than 1.1m. Create the same exercise with canter poles on the other long side. The ‘collected side’ should be just shorter than the average 2.8m, and the ‘lengthen side’ just slightly longer. You can adjust these poles to suit your pony’s stride and experience.

1. Once you’ve warmed your pony up, start with the trotting poles, collecting first and then opening up and swinging your hip to make the distance over the longer poles. Focus on staying straight and fiddling with your pony as little as possible. Let him figure out his own feet.
2. When you’re both comfortable, change things around and ride the longer poles first. The goal here is to get your pony calm and collected again before you reach the shorter poles. This should be a smooth transition from a longer trot to a more collected trot, pushing from behind and shifting the energy over the top of his back.
3. With the trotting poles completed, you can move on to the canter poles. Complete the exercises in the same order.
4. Now it’s time to put everything together. Start with a nice collected trot and trot straight over the shorter poles.
5. Lengthen the trot and complete the longer poles.
6. Use the short side to transition to canter and canter the longer poles.
7. Collect the canter and finish the exercise with the shorter set of canter poles.
8. Now you can play around with the exercise. Change rein, and start with the canter poles first. Keep as much variation in your schooling as you can to keep your pony focused on you and waiting for the next aid.
This exercise will help your pony to stay calm, focused, straight and off the aids from your leg and seat. He’ll work hard to get all the transitions and pay attention to where he puts his feet. This is an excellent exercise for dressage and jumping ponies.
This polework exercise is really fun and simple to build. It’s an excellent way to teach a young pony flying changes or practice them yourself without leaning or overcorrecting. You’ll be building a simple square with your poles. Each side of the square should measure roughly 3m. If your poles are a different length, adjust them, so the distance between all the poles in the square remains at around 3m. You’re ready to go.
1. This exercise is ridden in the canter, although young ponies and novice riders can attempt it in the trot first.
2. Choose any pole for your approach and canter in on the right rein. You’ll be changing rein over the first set of poles and encouraging the flying change, so start changing to your new bend as you approach the first pole.
3. Use your eyes, shoulders, legs and seat to ask for the change as you pop over the first bounce.
4. If you flub the change, don’t panic or get frustrated. Calmly come back to trot and ask for the correct canter lead. Loop around and approach the next set of poles. Ask for the change over the first one.
5. Continue to ride the bounce box in a figure of eight, asking for the change each time.
You’ll need at least four poles for this. The poles should be raised to around 40 cm. You can also choose to elevate alternate sides for young ponies and novice riders. Set them up at bounce distance (between 2.5 and 3.1m) on a straight line. The goal when riding this exercise is straightness and a nice bouncy canter from behind. The bounce line is an excellent way to get your pony fit for the upcoming season.
1. Start with getting an energetic, bouncy canter, holding an elastic contact and encouraging your pony to work from behind.
2. Get straight and approach the bounces. Don’t change your rhythm or rush him at the first one. You want to keep that bounciness all the way to the last pole.
3. Pop up into a light seat over the first pole and stay there down your line. Keep your eyes up, hands still, and your weight in your feet. Make corrections with your leg if your pony starts to drift.
4. Repeat on the other rein.
5. You can add more poles to make the bounce line longer or raise the poles for more of a challenge. Just remember, bounce lines are hard work, so build up your pony’s fitness slowly.


This is an excellent exercise to encourage your pony to engage his inside hind and move away from your leg. Set up four poles in a cross shape so that the middle of each would be on a 20m circle. If you or your pony are less experienced, you can make the circle bigger. If you’re an experienced pony and rider combination and your pony is fit enough, you can make the circle smaller.
The goal of this exercise is to improve your pony’s suppleness and flexibility, while engaging his hindquarter and focusing him on your leg.
1. Start in an active trot around the outside of the circle. When your pony is focused and engaged, you can trot the poles on the biggest circle possible.
2. Start to spiral inwards, making the circle smaller and smaller by pushing with your outside leg. Don’t be tempted to pull with your inside hand. Your pony needs to maintain the same bend through his body throughout the exercise.
3. As the circle gets smaller, your pony will have to work harder with his inside hind leg, so keep your leg on.
4. When the circle is small enough, prepare to leg yield back out until you’re back at the starting position.
5. Repeat on the other rein.
Polework exercises are fantastic for getting your pony fit, focused and supple. Build up the difficulty slowly and keep challenging yourself, and you’ll see the results in the ring. You’ll find you have a more athletic and responsive pony in no time, all with the help of some poles on the ground.

Can you find these famous horses in our wordsearch?
Dapple grey | Palomino | Sorrel | Bay | Dun | Buckskin | Strawberry roan | Chestnut Grey | Black | Blue roan | Dark bay | Light bay | Flea-bitten grey | Liver chestnut
NOTE: Spaces and any punctuation marks have been removed

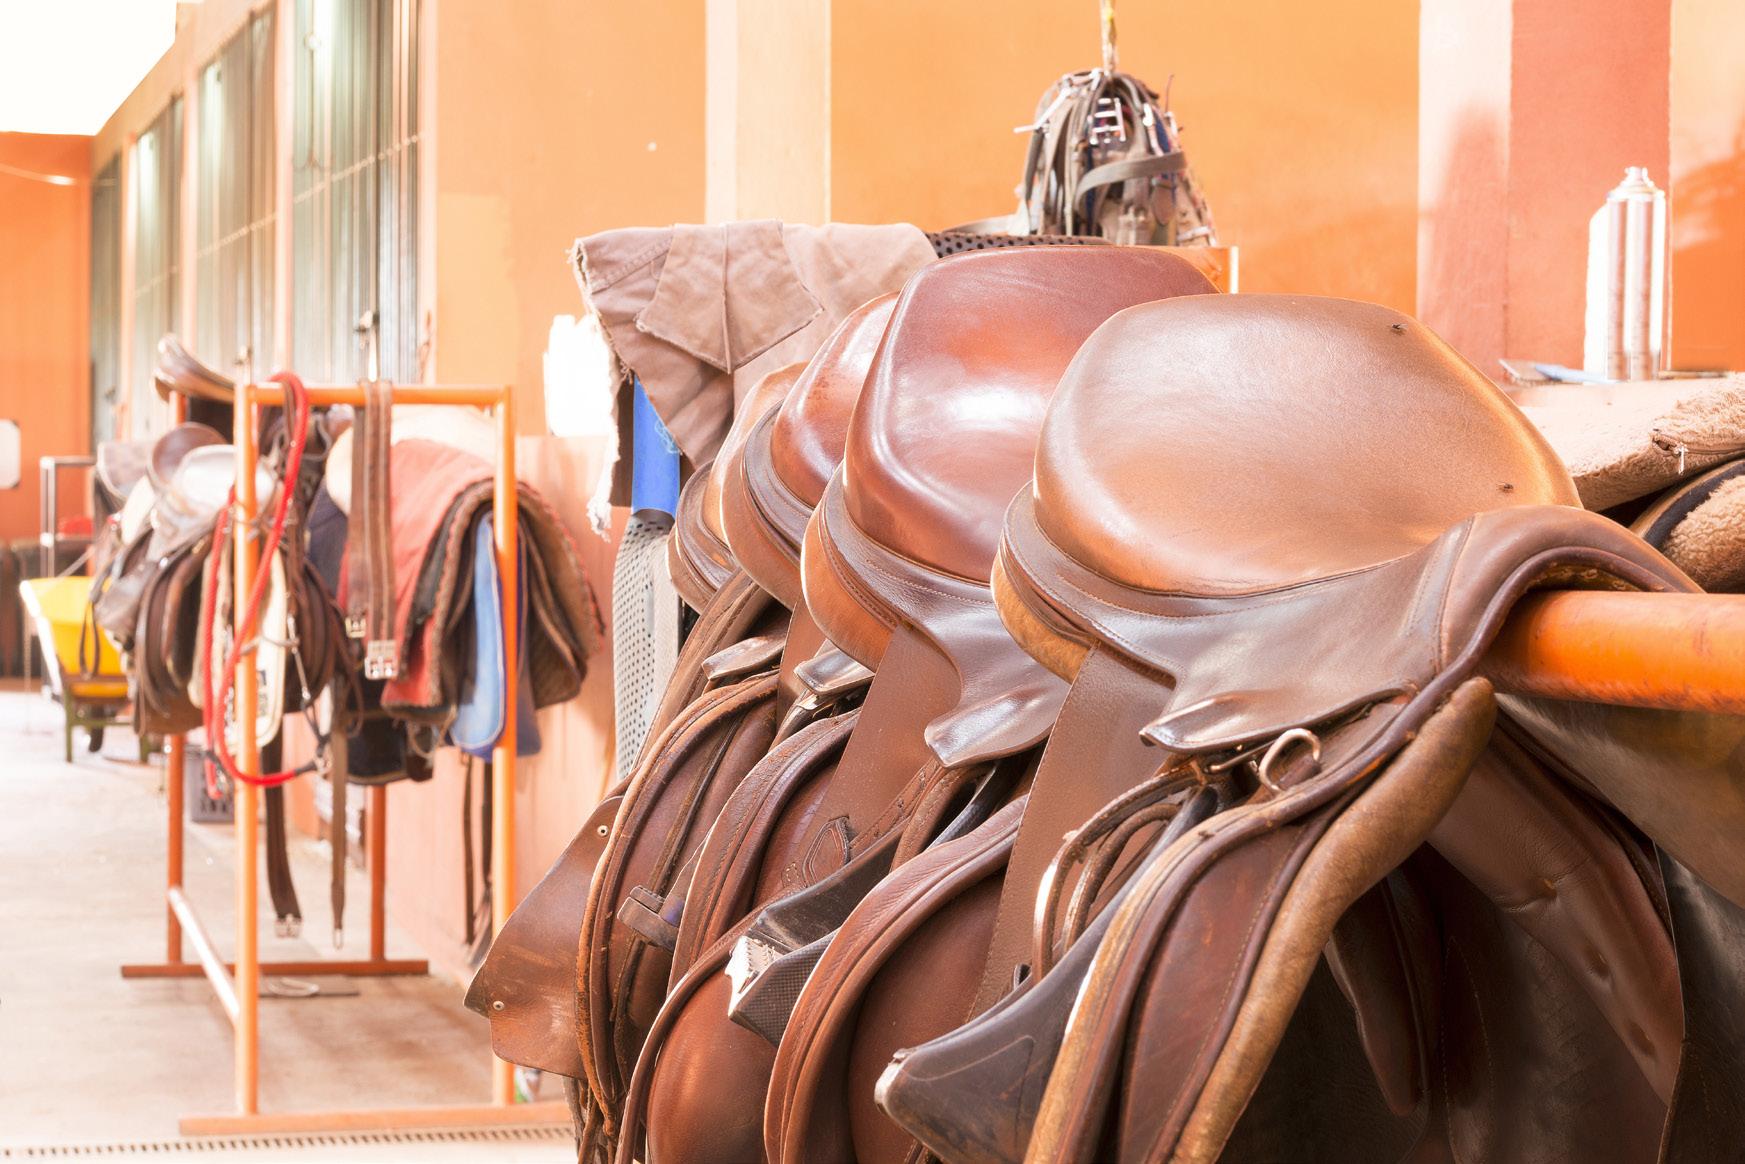
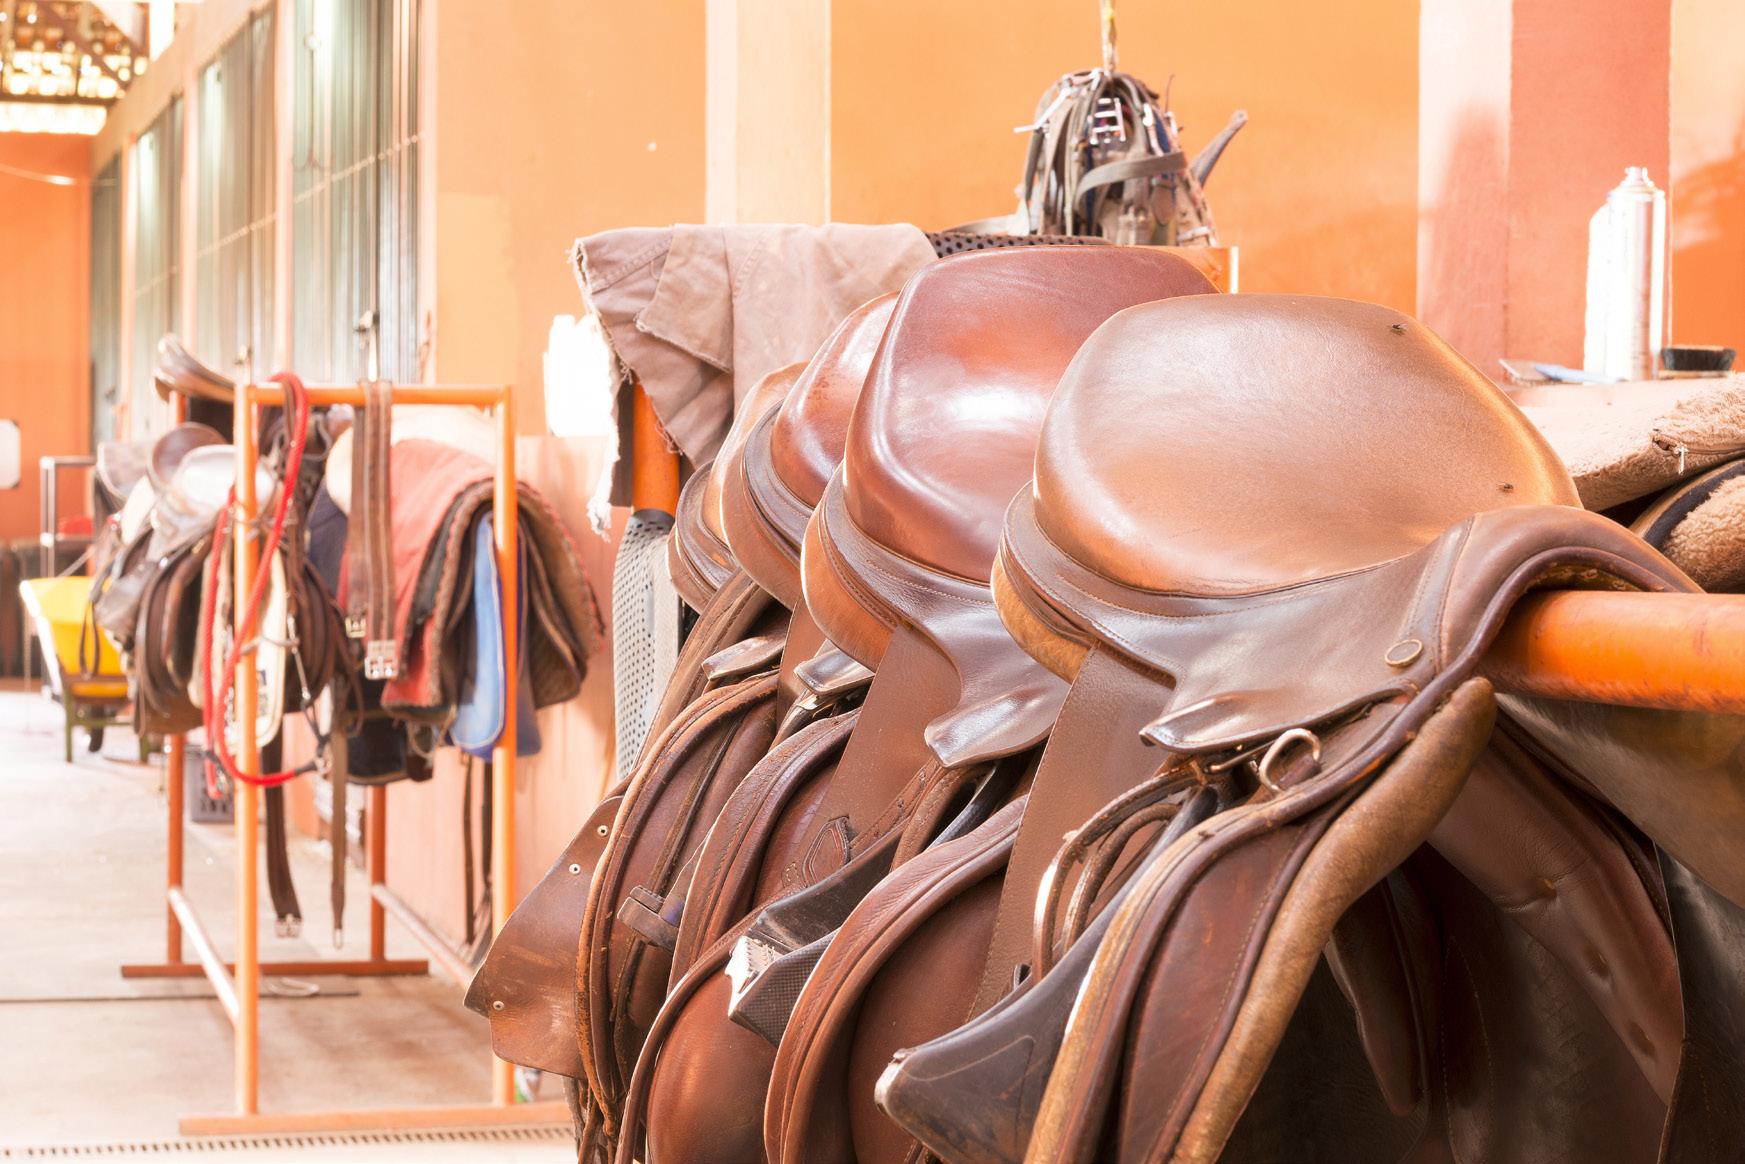
Can you spot all 10 differences?
Some horses have a small callous on underneath their fetlock known as an ergot. These ergots might be on all four legs, two legs or none at all. They vary in size and are often bigger on horses with lots of feathers. It is thought that ergots are left from when the horse had multiple toes, although we don’t know why they don’t occur in all horses or always on all four legs.

The word ergot comes from the French word for a rooster’s spur.

I’ve just moved onto horses, and my new OTTB is incredibly strong and runs at every opportunity. How do I find the brakes?!
Racehorses are trained to run into contact. Therefore, one of the most significant parts of retraining them is teaching them how to soften over their backs, necks, and poll and come into a softer outline, where they work more with their hindquarter and lift their stomachs.
With a new Thoroughbred, you’ll need to use your legs to help teach your horse to bend through his ribcage, and you’ll want to do lots of direction changes and transitions in your training. Lots of direction changes are particularly helpful, as most OTTBs are initially stiff to turn, and direction changes will soften their bodies, remove the brace and make it easier to engage their hindquarters. Transitions are great for engaging the hindquarters. As an added bonus, both direction changes and
transitions will help keep your new horse’s concentration on you.

Putting pressure through the reins when they are becoming tense, distracted or stressed is the worst thing you can do! The only way to keep them calm and listening is to ‘change the subject’ by getting them to focus on something else or something they find easier. Taking hold of the reins will literally create more speed and more tension!
Over time, as you progress in the re-schooling process, you will see improvements, and the contact will no longer be something to pull against. However, in these early days, rely on your weight and leg aids, and avoid the hands wherever possible! If your horse runs, simply ask for some changes in bend and direction, try and do transitions through your seat and focus on remaining calm. If you must use the reins, make sure you give and take, not maintain any kind of constant pressure.
I’m worried that I’m not balanced in the saddle and that this is affecting my pony’s way of going, but how do I know if this is the case?
The best place to start when addressing any concerns about your riding is with a good coach, who can help you from the ground and spot things that you might not be able to feel from the saddle. A good coach will be able to see any problems and give you exercises to do either on or off the horse to improve the situation.

Another option is to ask a friend to video you from the ground so you can see whether you are sitting straight. Ideally, you should watch the video in slow motion so that you can see the differences in weight distribution that are hard to see at full speed. For instance, you may notice that you put more
weight in one stirrup or that you lean slightly more to one side than the other. Finally, you can watch your pony move on the lunge. If he moves more symmetrically on the lunge than under the saddle, it could be that you, or the fit of your saddle or bit, are causing the issues you are experiencing.
Signs that imbalance may be an issue for you:
• Uneven wear in the stirrup leathers
• Differences in the lengths of your stirrups
• Uneven wear patterns on your gloves
• Uneven wear patterns on your jodhpurs
• Hair loss under the saddle or on one side of your horse’s body relative to the other
What’s the difference between a close contact and a normal jumping or dressage saddle? Is one better than the other?
Close contact saddles are usually monoflap saddles, meaning that there’s just one layer of leather underneath your leg, rather than the usual two. These saddles, therefore, tend to have more streamlined panels than regular saddles which remove the bulk between the rider's legs and the horse’s sides. All of this means that the rider is much closer to the horse or pony, hence the name of the saddle.
Monoflap saddles were originally designed for professional riders with the ability to balance themselves and maintain coordination with their horse without the
support of a deeper-seated saddle and larger knee rolls. So, this type of saddle may not suit a rider who relies on the added security a traditional saddle provides.
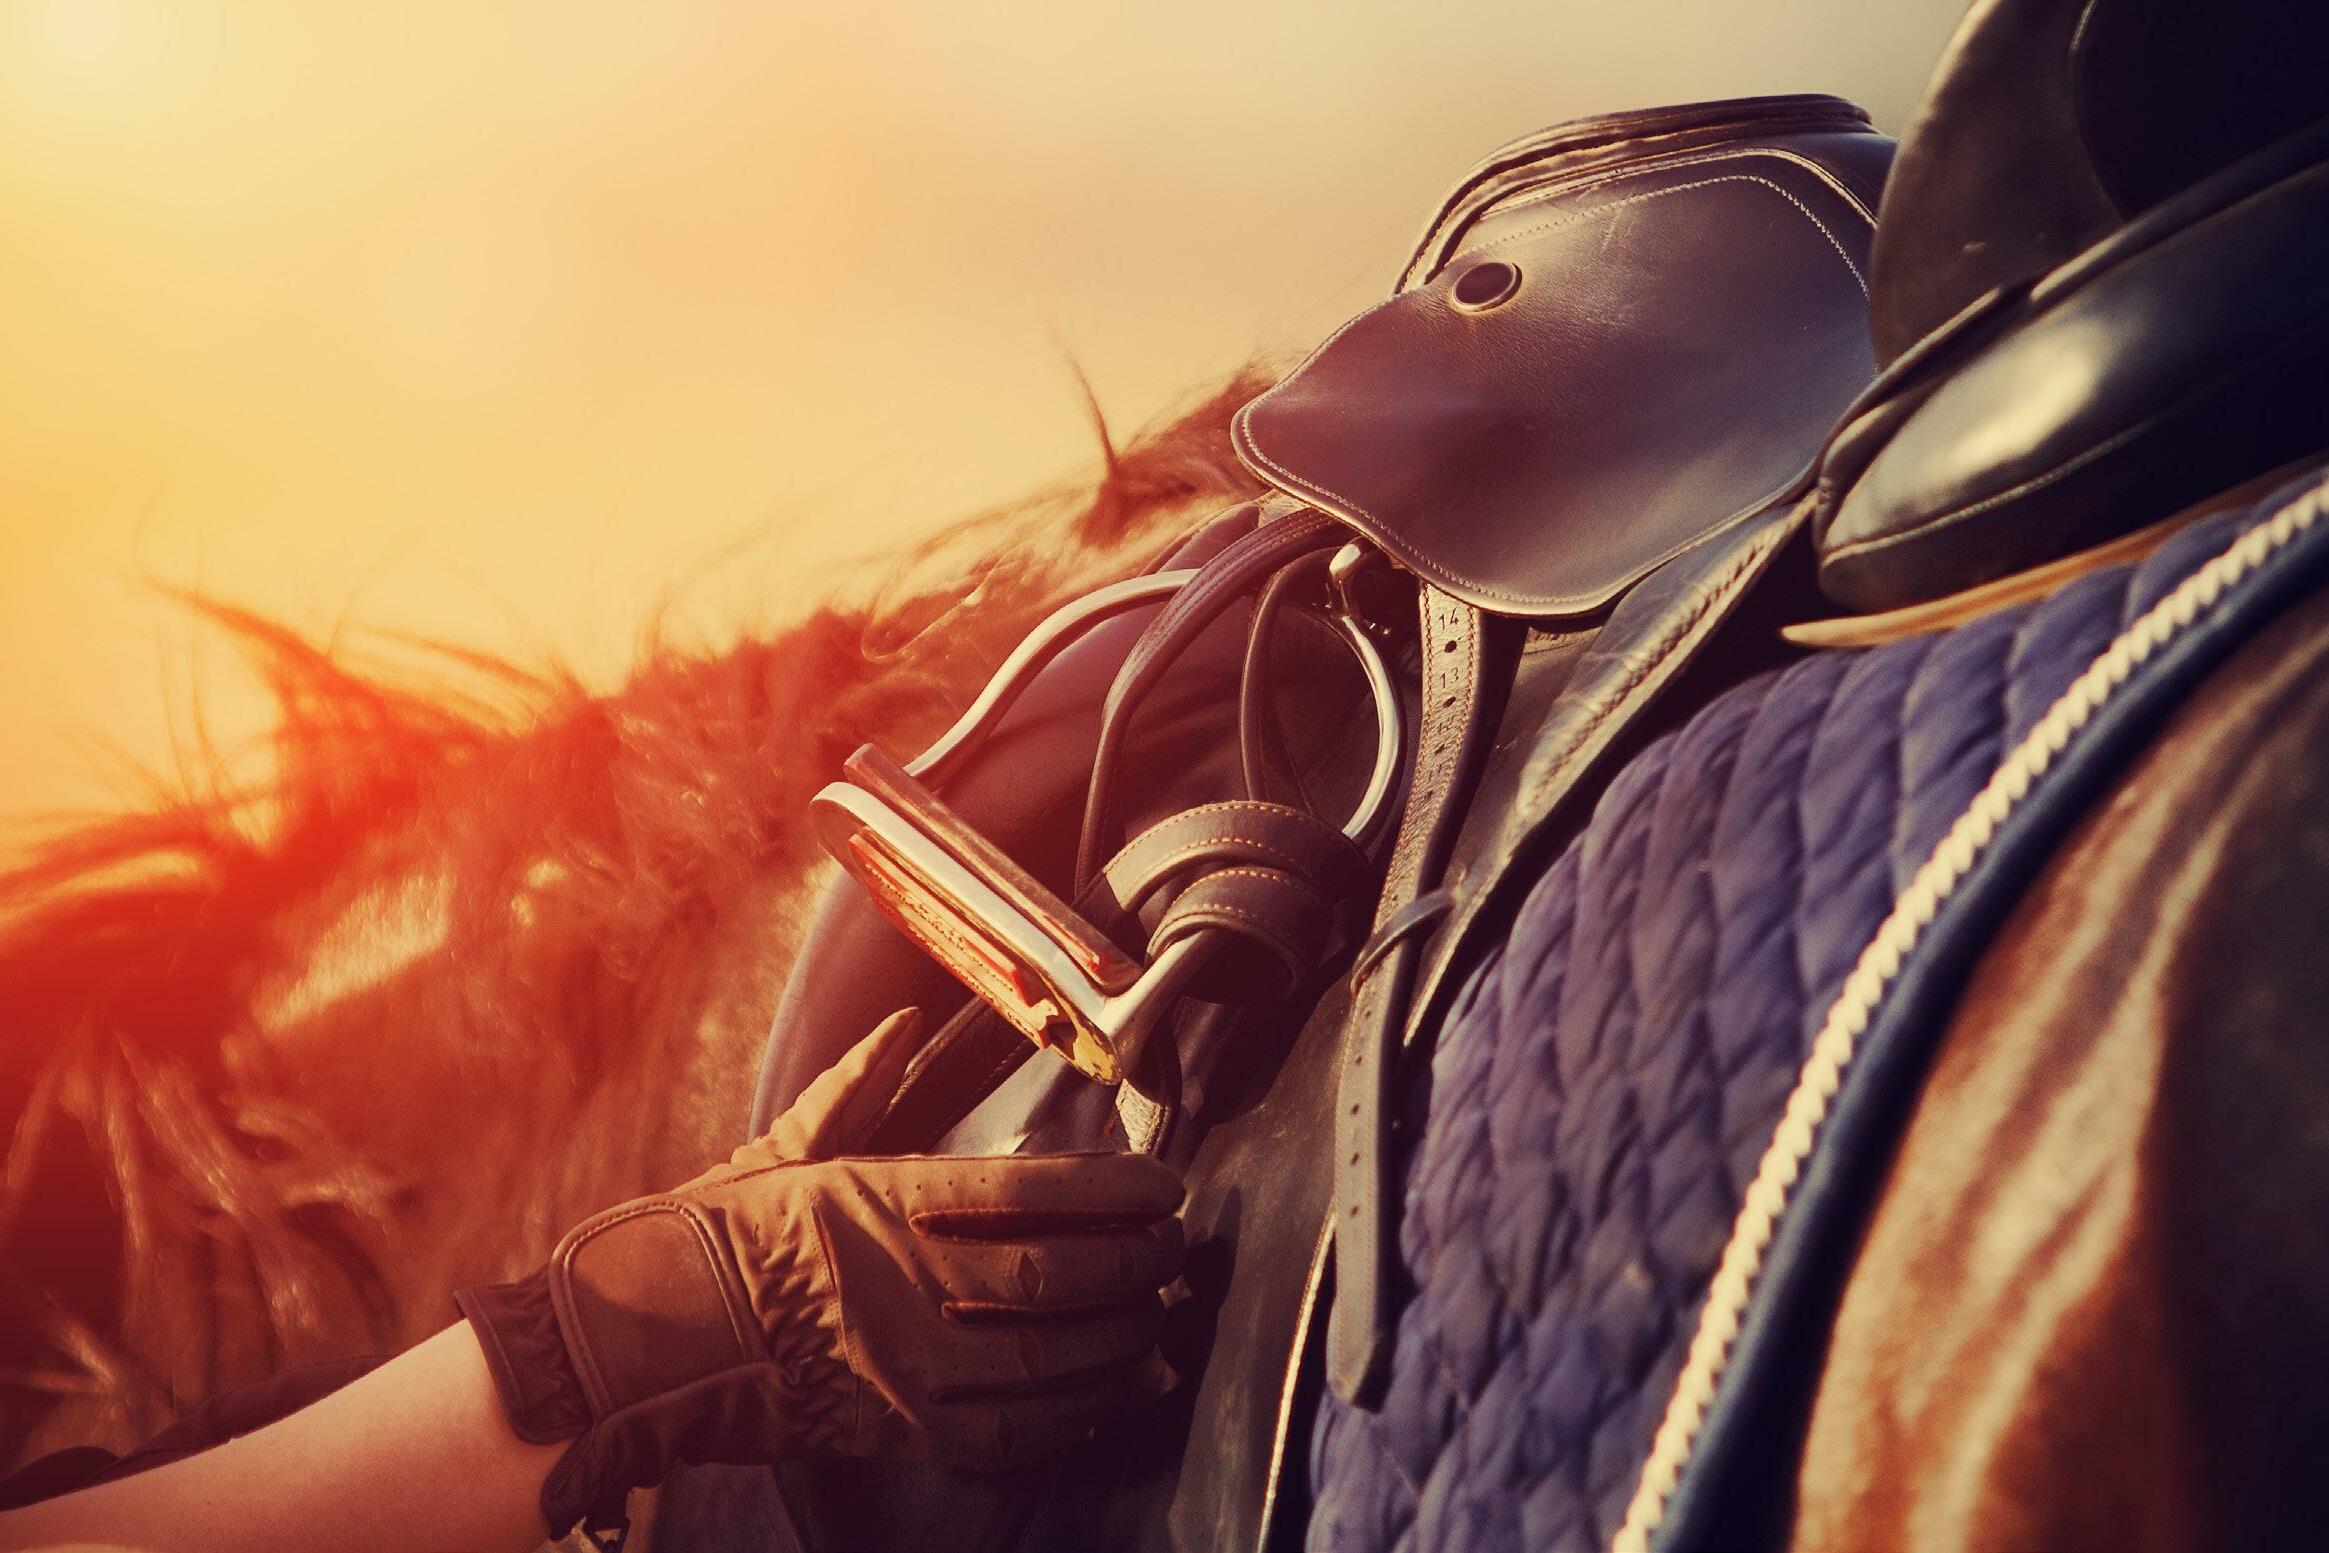
As an added point to note, the streamlined panels mean there’s less area in contact with the horse’s back and subsequently less area for the pressure to be distributed through. This means that while all saddles should be regularly checked for fit, a monoflap saddle is less forgiving and must always fit perfectly to ensure it’s still comfortable. This might require very regular saddle checks.
Choosing the right saddle for you and your pony is down to being aware of how you ride, your pony’s way of going and what you plan to do together. Chat to your saddle fitter to get some advice!
How can I decide whether to put my pony through a big operation, like colic surgery?
This is a big decision that it is best to make in advance of your horse becoming unwell so that you know the decisions you are going to make ahead of the stressful situation. Making the decision in advance will also speed up the process, as any delay can reduce the chances of a successful recovery.
Colic surgery is a big undertaking and may not be the best option in every case. Many ponies go on from surgery to have successful competitive careers, but some never return to their previous level of fitness, and others have complications after surgery that can be life-threatening.

It is also worth bearing in mind that your pony will require a general anaesthetic, which in itself has a number of risks, such as cardiac arrest or tissue damage. Overweight or older horses can be at higher risk of problems following general anaesthetic, so making sure your pony is
in otherwise good health beforehand is key to a positive outcome.
Older ponies without any health concerns do equally well as younger ponies following colic surgery so age is less of an issue. However, very overweight ponies have a higher risk of problems under anaesthetic and their wound is often difficult to heal after the operation. Similarly, ponies with conditions such as arthritis may struggle to get up after the anaesthesia. They will also become stiff during the post-operative box rest, which is usually at least four weeks in the case of colic surgery.
The temperament of your pony is also worth considering. Recovery from surgery is usually slow, and anxious ponies can find the process unbearable. In particular, some ponies will struggle to cope with the box rest, and their anxiety may cause another colic episode. Whilst most ponies will ultimately adapt, getting your pony prepared in advance to equip him to handle stressful situations will be a big advantage if ever he does require surgery.
