P H O T O I N S I G H T S
March 2023
Drone Photography
Black and White plus Color
Exploring the Powerful Visuals of AI Photography quiz
Photo tours
Ask Jim Student Showcase
Back issues
Jim Zuckerman’s
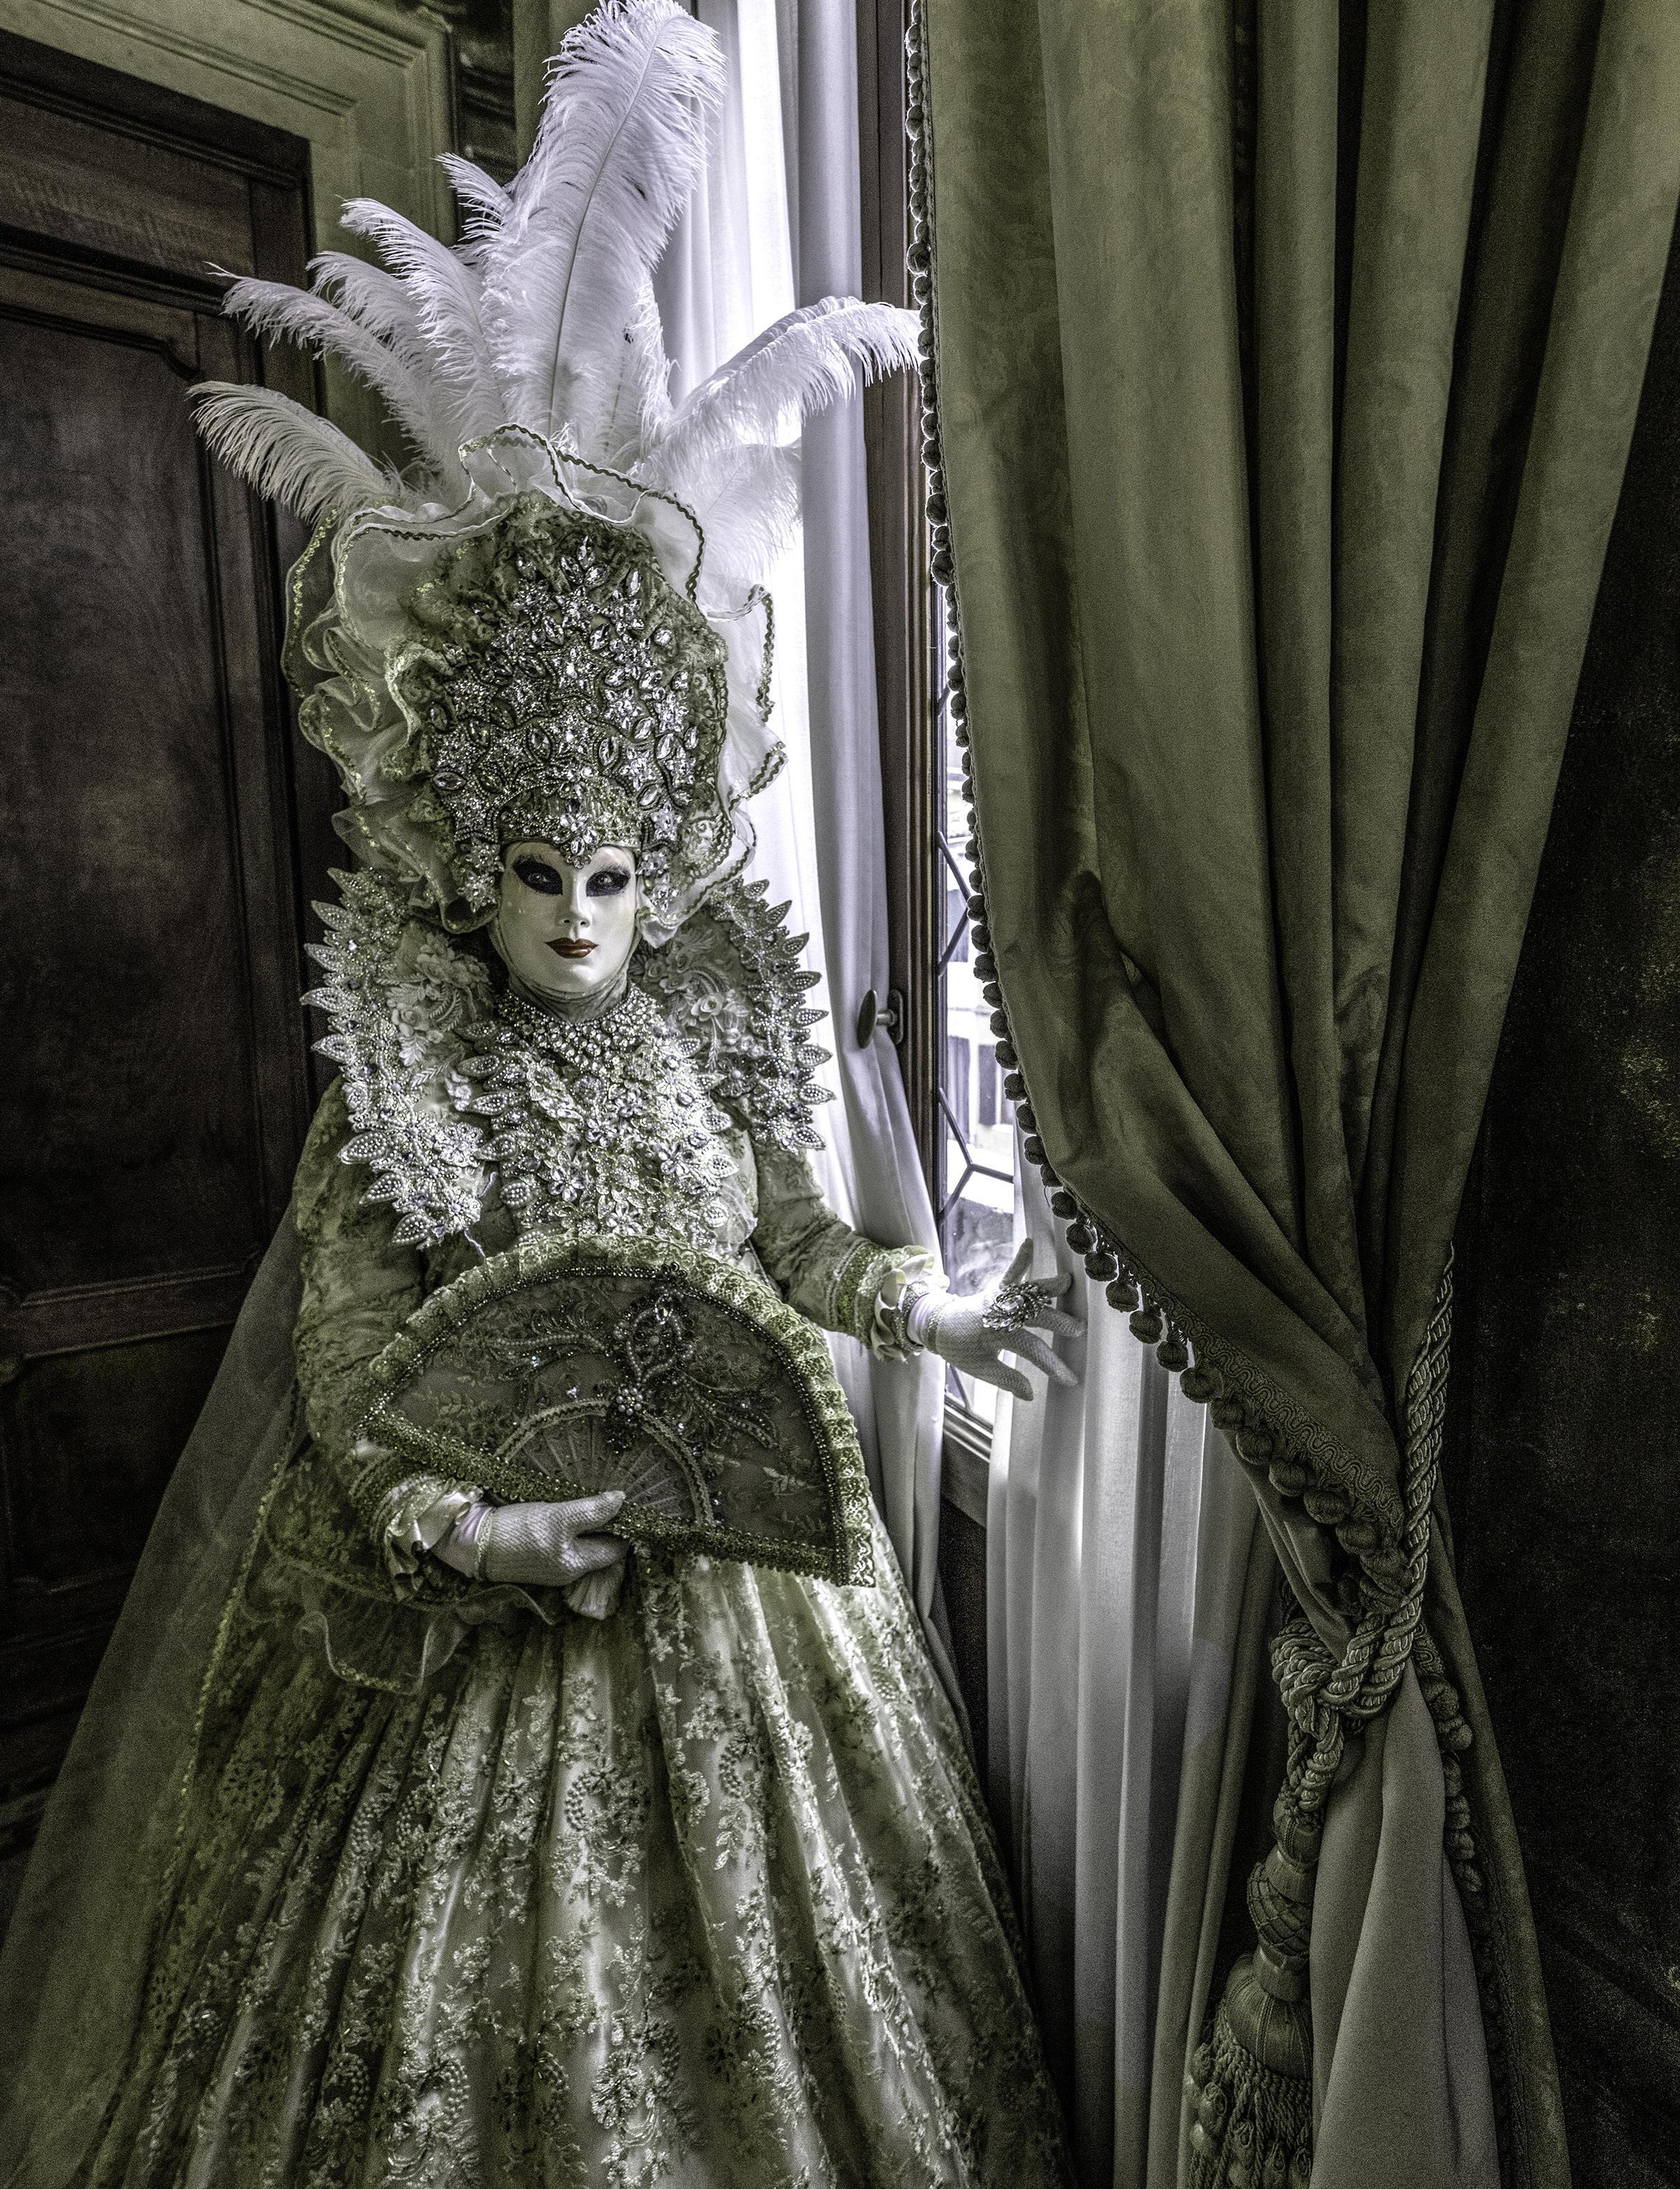
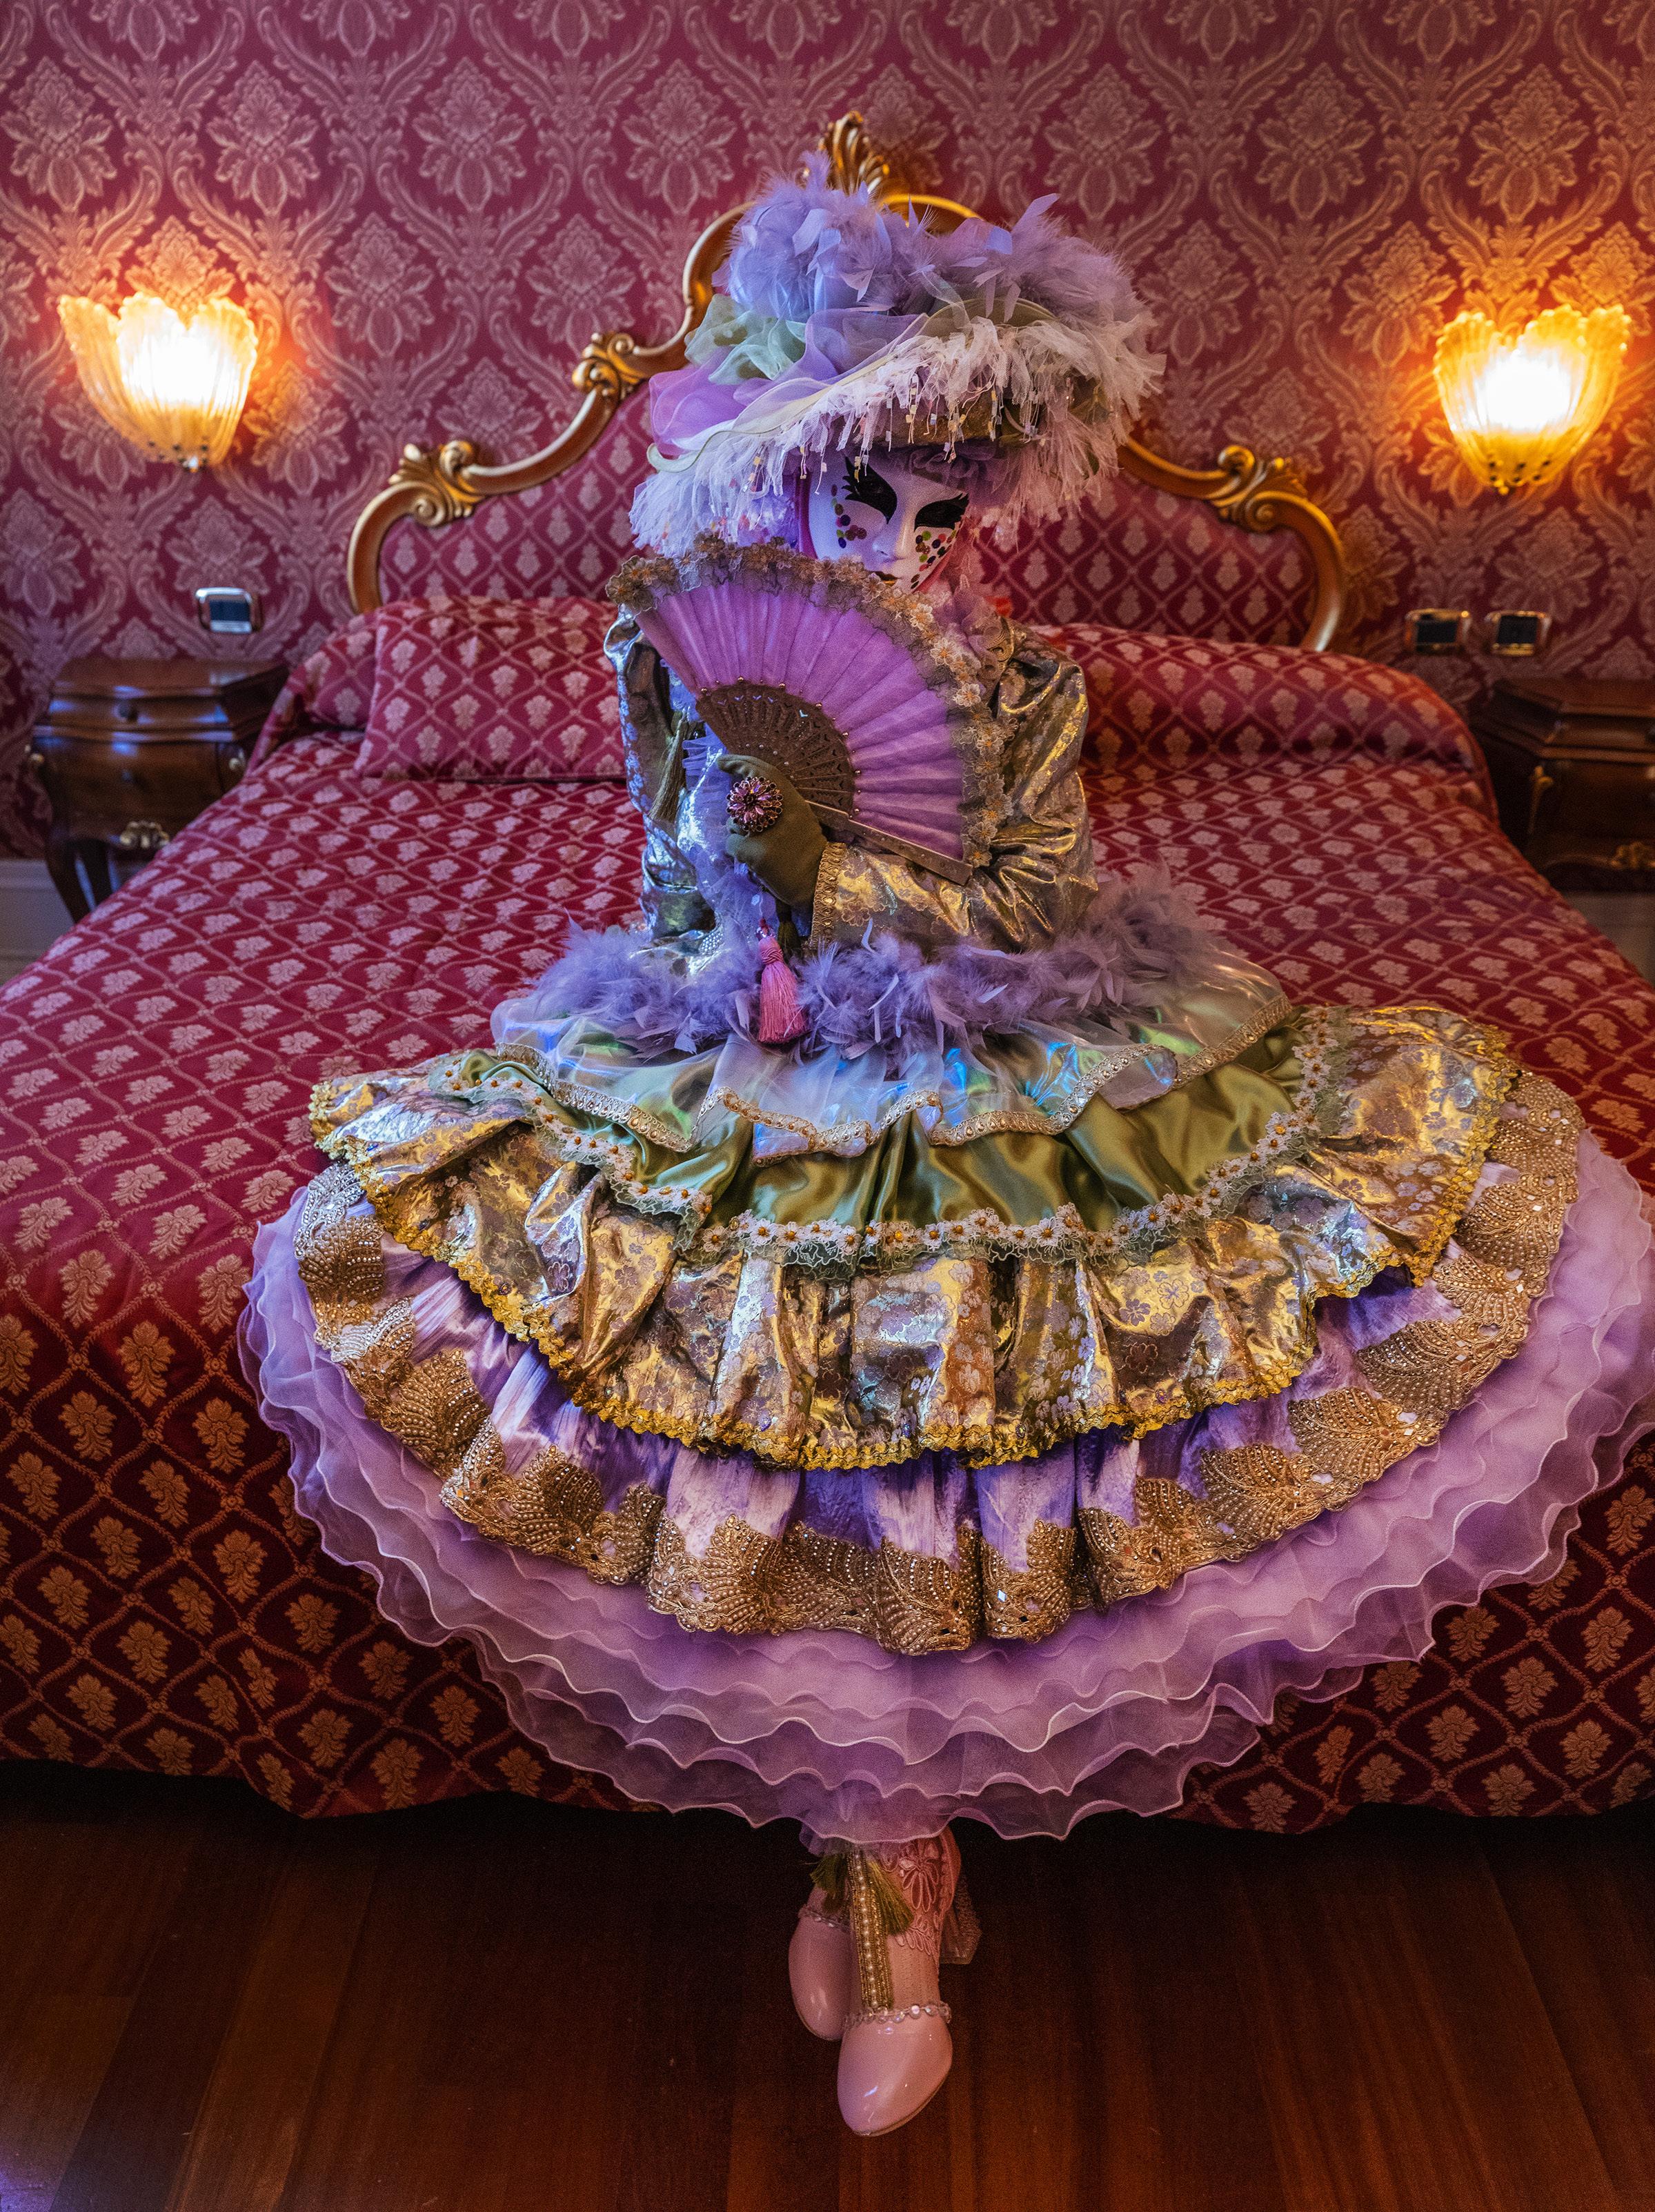
On the cover: A costumed model in a 16th century palace, Venice, Italy. This page: A costumed model in a Venetian bedroom.
2
the
visuals of
Jim’s eBooks
What’s
with this picture? 28. Short and sweet 30.
Jim 31. Photography tours 33. Student Showcase 39. Past issues 46. Subject index
Table of Contents 4. Drone photography 11. Black and white plus color 15. Exploring
powerful
AI 21. Photography quiz 23.
26.
wrong
Ask
When I was young and deciding on a career, my greatest fear was being bored. I dreaded the thought of doing the same thing over and over again on a daily basis. Photography has been the perfect choice for me because I am never bored in my pursuit of creating beautiful and diverse images.
Had I specialized in any one area of photography, though, I’m sure I would have eventually become bored even with that. As much as I love capturing beautiful landscapes, for example, I couldn’t do it all the time. I need diversity of subjects so I’m constantly stimulated with photographic challenges, and I need to be constantly awed with the many forms of beauty I see in the world. That’s why I shoot pretty much everything (with very few exceptions), and that’s why the photography tours I organize and lead encompass a tremendous diversity in subject matter. Wildlife, architecture, festivals, people, macro, culture, landscapes, the night sky, junker cards, and birds are just some of the subjects I love to photograph.
My passion for photographing so many things has been a joy, but there was also a downside to it. In the 80’s and 90’s when I tried to find a rep to promote my work to photo buyers, I didn’t fit into a mould. I wasn’t a car photographer or a fashion photographer or a landscape photographer. I was a bit of everything, and this didn’t work in the commerical arena. Eventually I found my niche with stock photography and then, later, wiith running a photography tour company. Maybe I should have compromised years ago and narrowed my photographic style, but the truth is I was unwilling to decrease my ‘happiness quotient’ in favor of making more money. I’ve never regretted that decision.
Jim Zuckerman photos@jimzuckerman.com www.jimzuckerman.com
3
Drone Photography

Iam by no means an experienced drone photographer because I’ve only been flying for two and a half months. In that time, though, I’ve learned a lot. I want to share my experiences with you as well as the knowledge I’ve learned thus far.
First, let me say I absolutely love drone photography. Photographers have never had the ability to capture images from this perspective before unless, of course, we hired a helicopter. That’s incredibly expensive, especially in other countries, and most people never spend that kind of money to get aerial pictures (in 1993, I was shooting for my stock agency and spent
$900 per hour to shoot from a helicopter in Rio de Janeiro). A drone opens up new visual possibilities that are so different, visually dramatic, exciting, and incredibly artistic.
Second, flying a drone is not at all like pulling a camera out of your backpack and shooting. There are safety issues that are important to know about as well as FAA regulations that need to be followed. The more information you have about drone photography, the better for everyone. If your drone weighs over a certain number of grams, you are required to have a license to fly it. There are quite a few websites online that explain the requirements
4
and how to obtain a license. Click HERE for one of them.
Choosing a drone
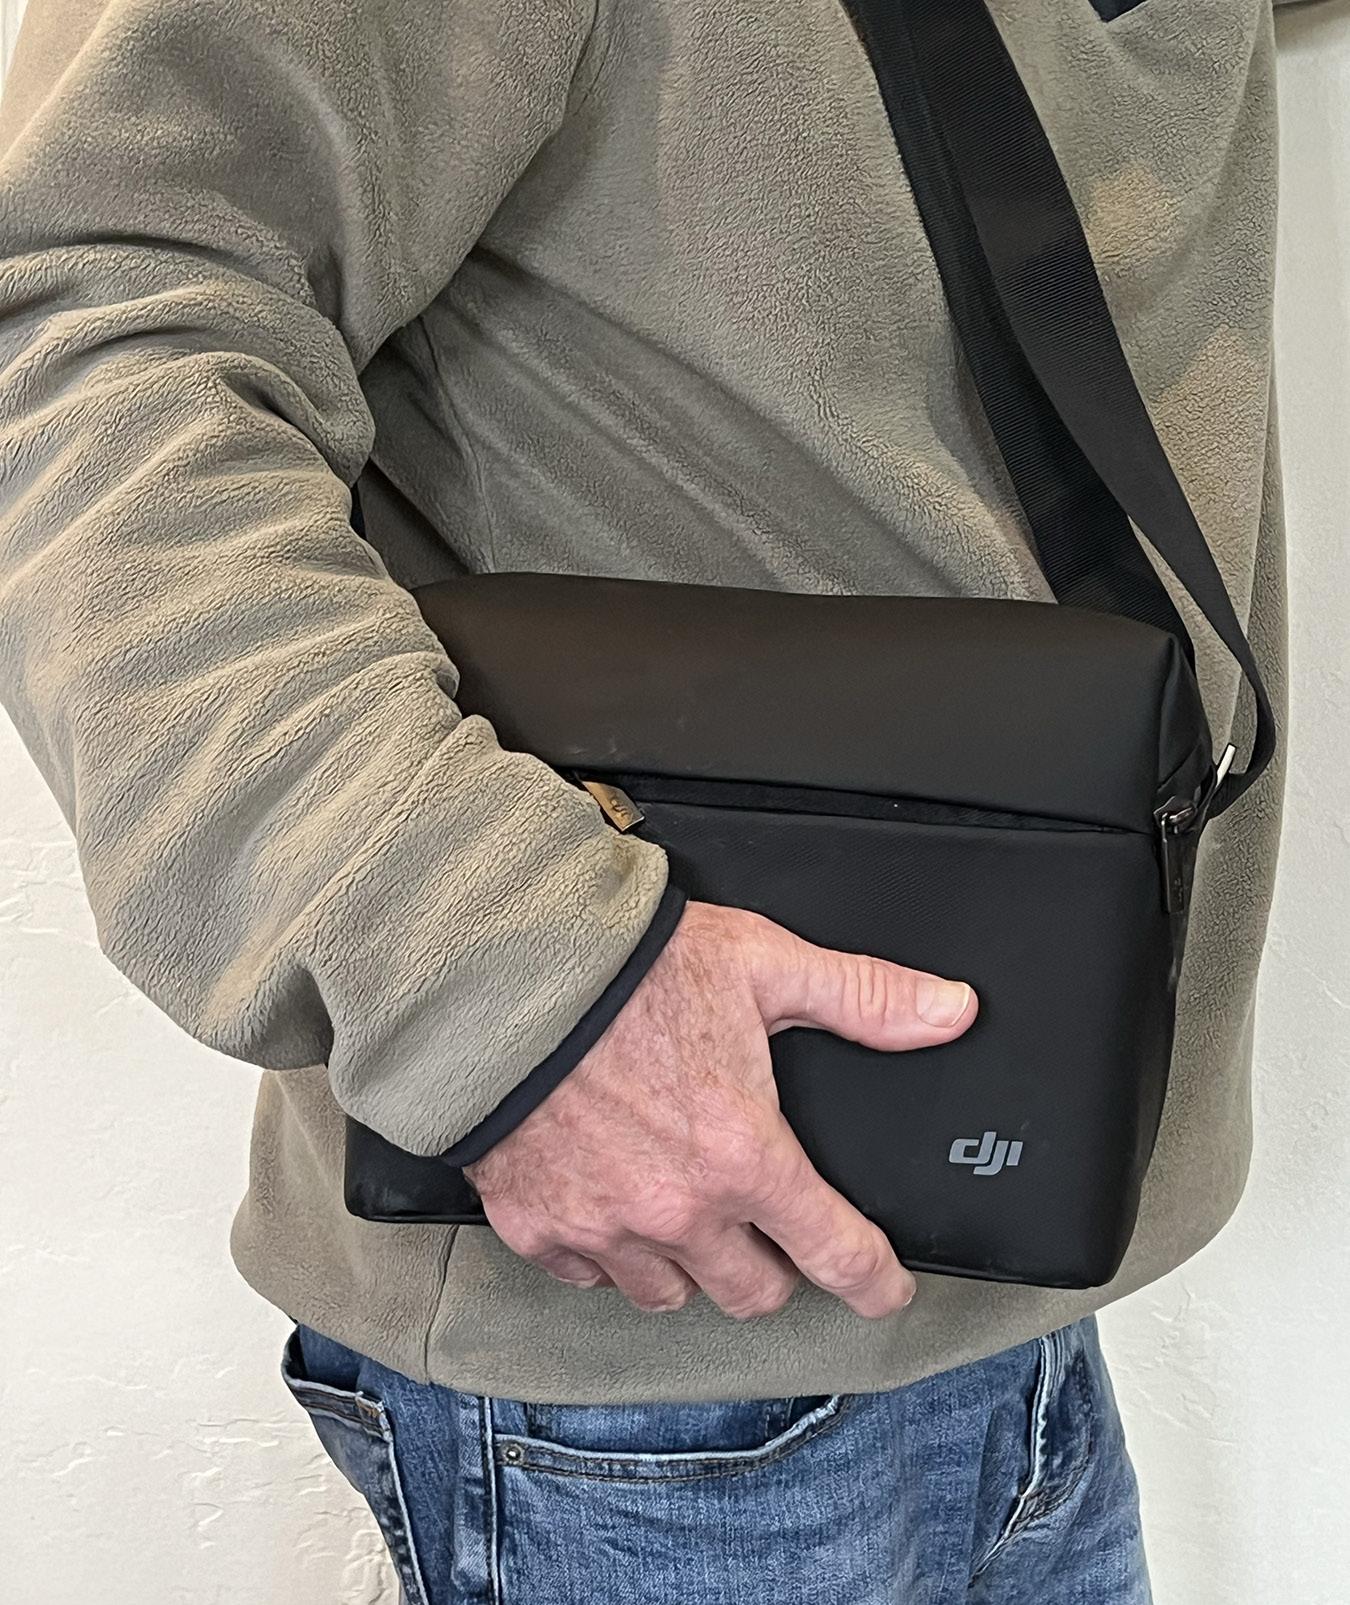
There are many drones from which to choose, and after doing a lot of research and speaking to experienced drone pilots, I purchased the DJI Air 2S. I wanted the best camera possible for the price (mine is 20 megapixels), and because I travel so much, I wanted a drone that wasn’t too large and could fold down into a small package. At right you can see the carrying case for the drone is small but not super small. I could have bought a smaller drone, but I didn’t want a 12 megapixel camera. I felt that wouldn’t give me the quality I wanted.
I paid $1100 for my drone in a pre-Christmas sale; otherwise it would have been $1300. This included the carrying case, two extra batteries
5
(which I consider essential to have), the controller, and an extra set of propellar blades.
Inside the carrying case is the drone, the controller, two extra batteries, and the charging cable for the batteries. DJI offers a larger controller that features a large display, but that means the carrying case would be even larger. There is only so much weight and volume I can place in the ovrerhead bins on an airplane, and I’m not willing to pack the drone in my checked luggage. So, instead of using the larger controller, I have to hook up my iPhone to the controller and use that to navigate the drone. I read online that this isn’t ideal because in bright sunlight, it may be hard to see the phone’s screen. I did not find that to be the case. I always keep the illumination level on my phone high because I like a bright readout, and in mid-day sunlight it was very easy to control and navigate the drone. By
not getting the larger controller, I saved $500 plus extra weight and volume.
I learned how to fly the drone from a few different Youtube instructional videos by private parties. I had to download to my phone the DJI app, and with the Youtube presentations I learned what all the various icons mean and what they do. Ultimately, it comes down to practice. I bought the insurance package in case I lose my drone or it crashes, and so far I haven’t had a calamity. But ... I learned a big lesson in Iceland where I almost lost my Air 2S.
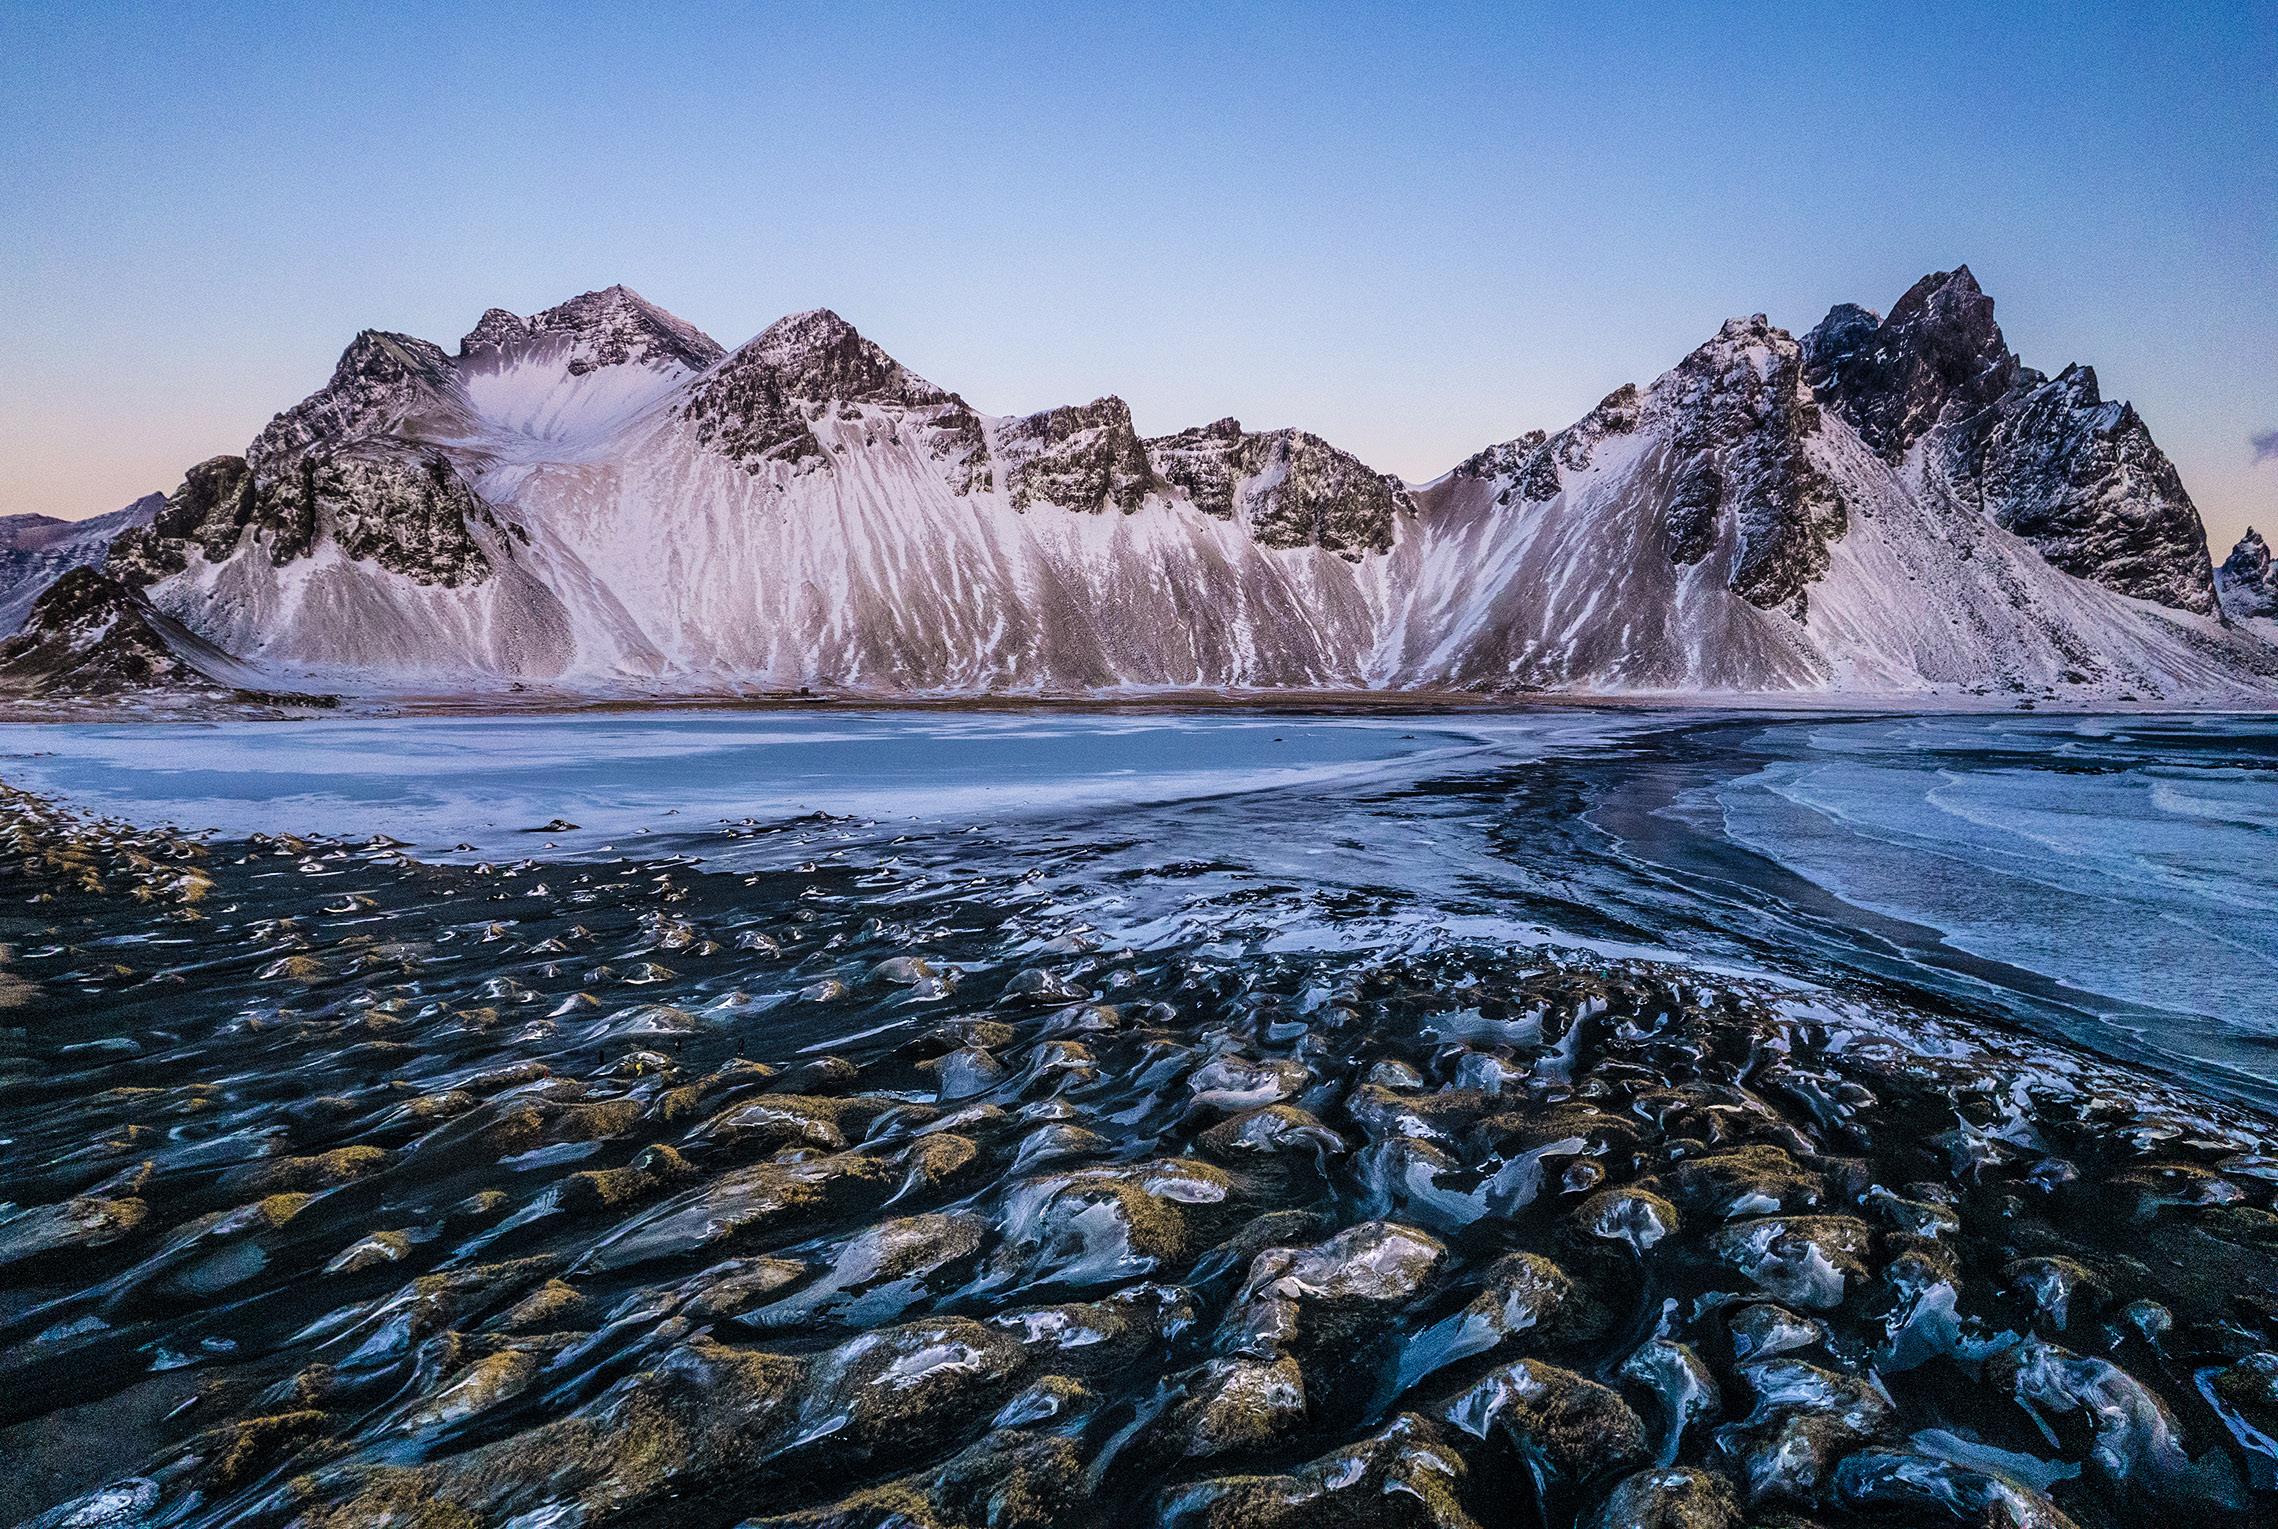
There are two flying conditions that are problematic for drones: cold and wind. Cold temperatures drain battery life significantly, so if you think you’ve got 30 or 40 minutes of flying time, this may not be the case at all. In addition, if there is wind, the drone has to constantly fight the force
6
Morocco Photo Tour
August 29 - September 10, 2023
7
of the wind to remain stable or to go forward. That seriously depletes battery life. A couple of months ago when I was flying the drone for the first time in Iceland, I had to contend with both cold and wind. That’s how I almost lost the drone. It was flying over a rocky shore and stopped responding to the controller because of the depleted battery. My local guide, an experienced drone pilot, was able to get it to hover over the snow-covered shore before it completely lost all power and came down on a snow bank -- instead of the crashing waves.
When flying in the cold temperatures of winter, assume you have half the battery life you were promised by the manufacturer. If there is also wind, expect you have just 25% of the originally expected flight time.
Always fly your drone with a full charge. This
is the best thing you can do to prevent losing it. The next important thing is to learn how to use the RTH button -- Return To Home. This is your best friend. Drones are small, and once they get airborne it’s very easy to lose sight of them. You have no idea where they are except by seeing through their camera. When it’s time to land the drone, it can be very disorienting in terms of steering it correctly back to your position. The RTH button does that for you. I hold the button down for 2 seconds and immediately the drone finds its way back to where it started -- usually within 3 or 4 feet of the exact location.
Please note: If you launch a drone from a boat, then the RTH button won’t work because you’ll be in a different location by the time the flight is finished.
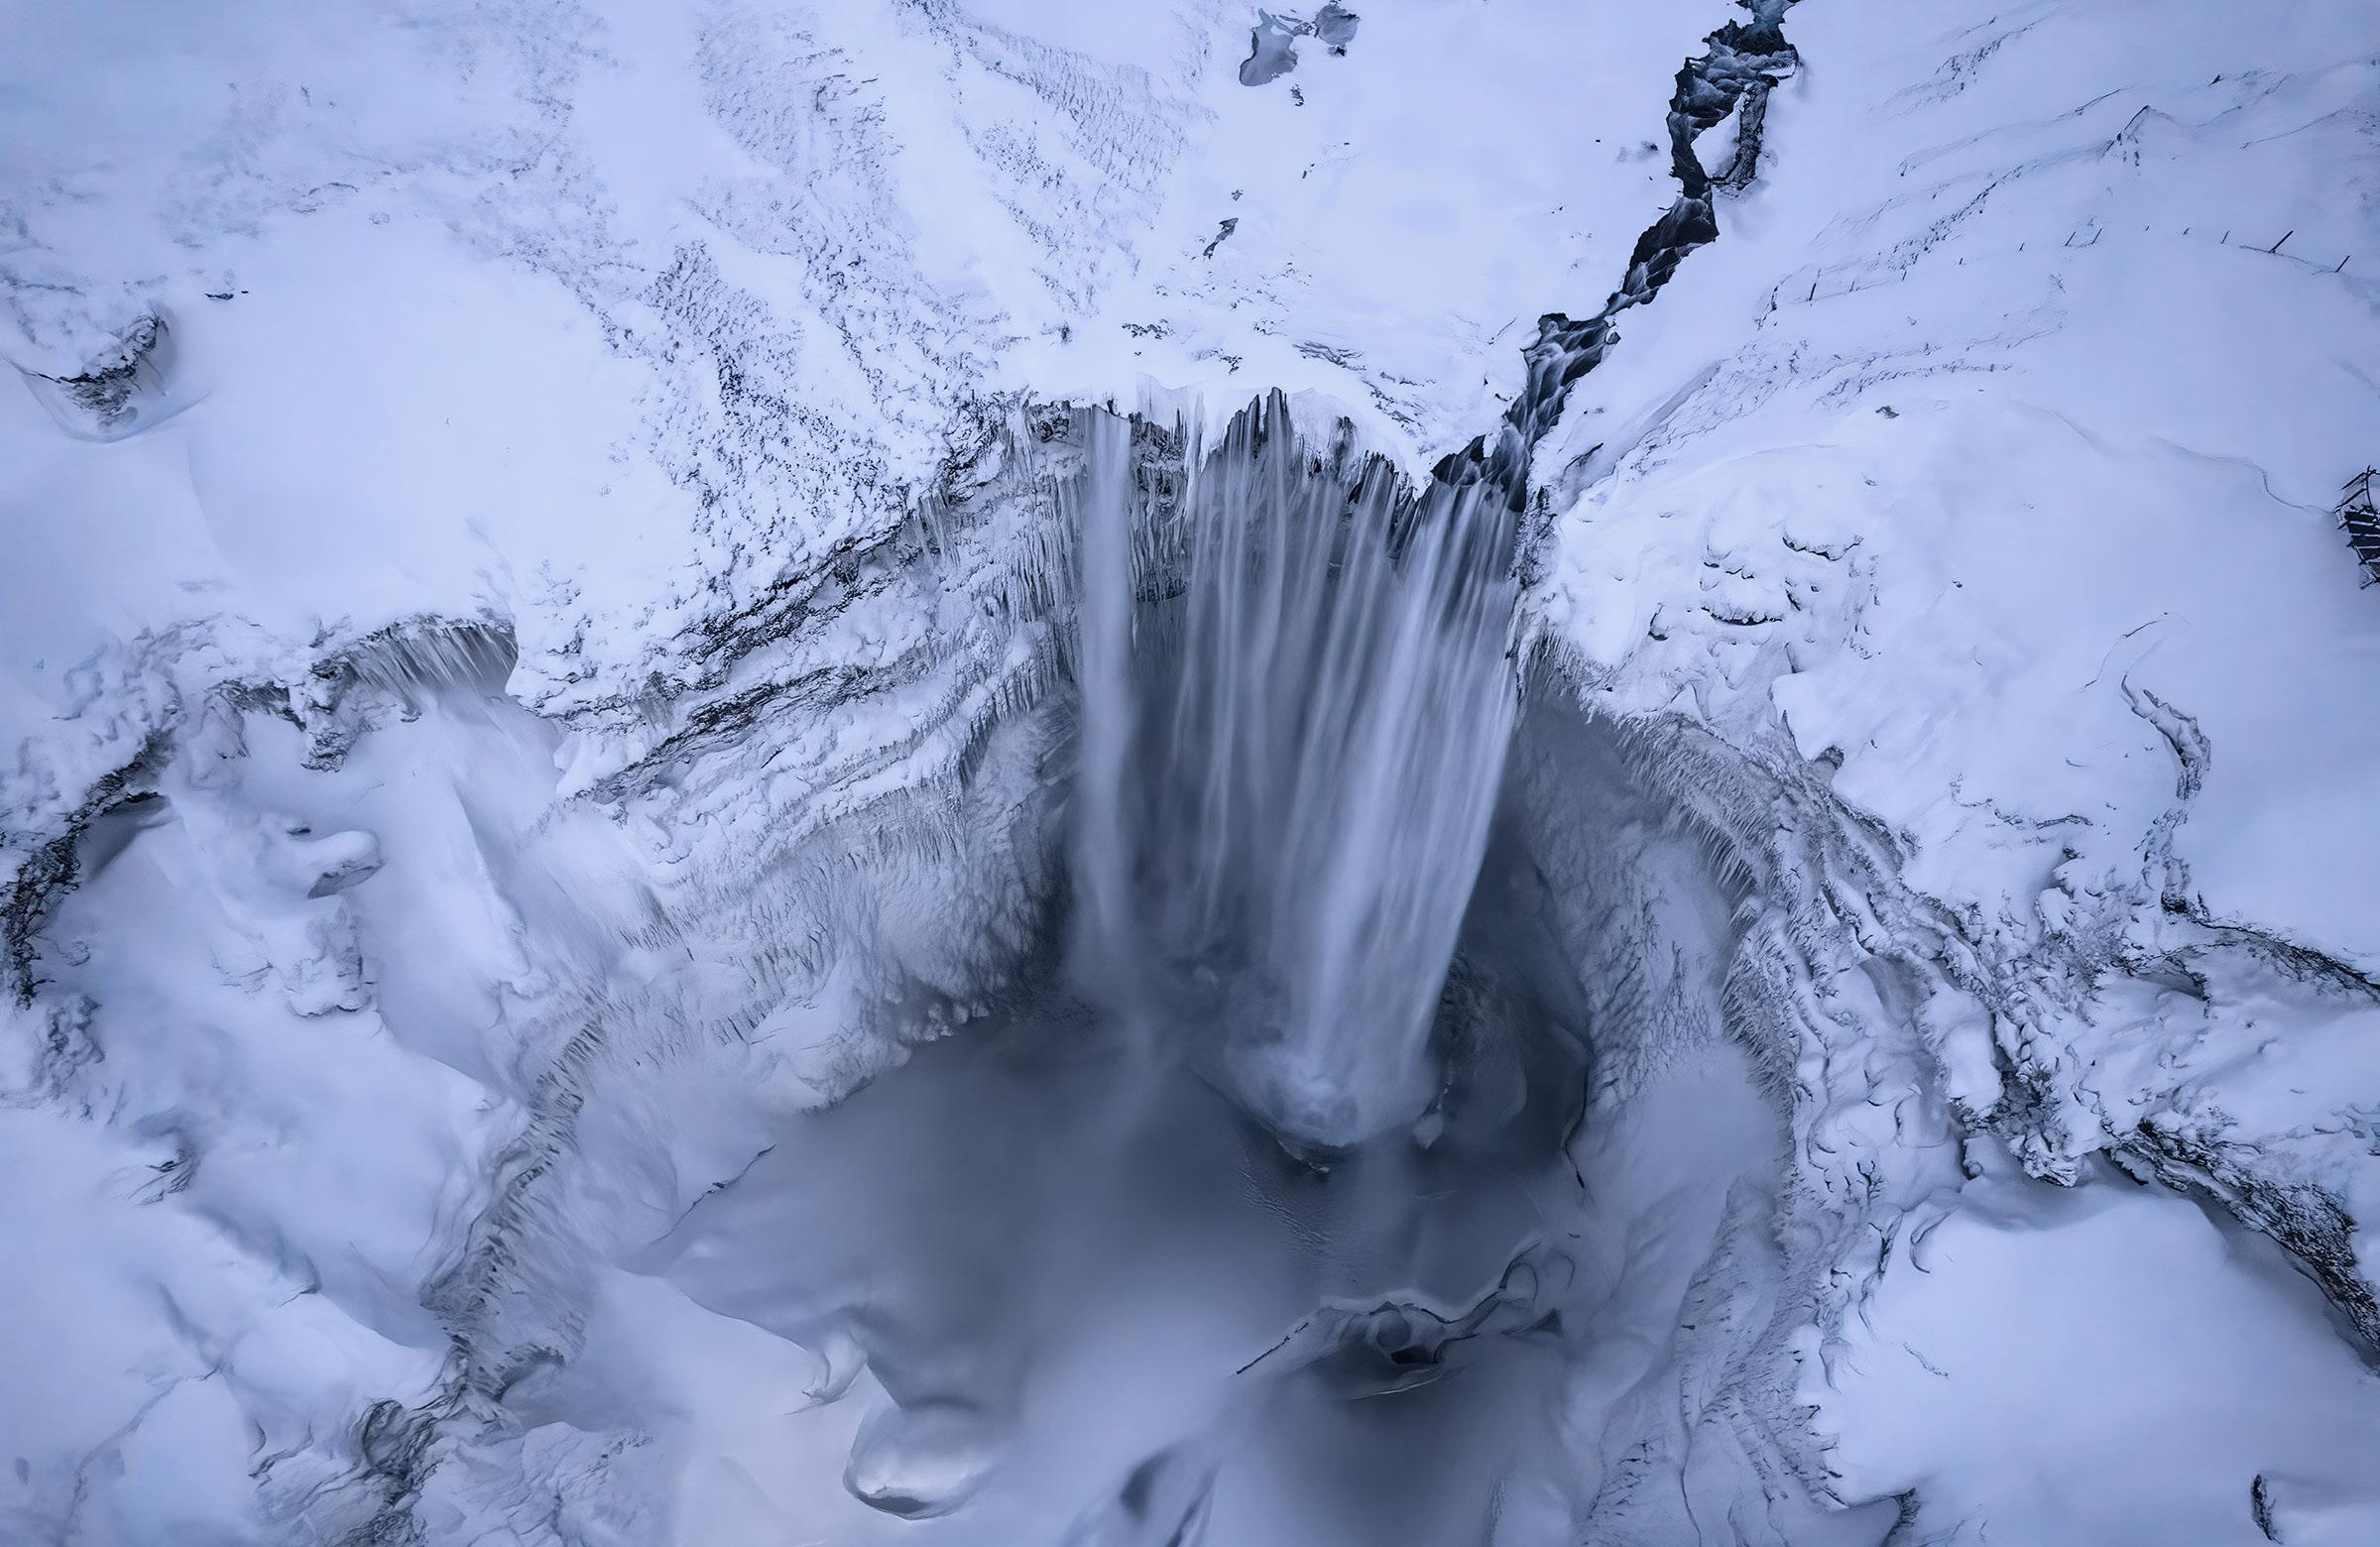
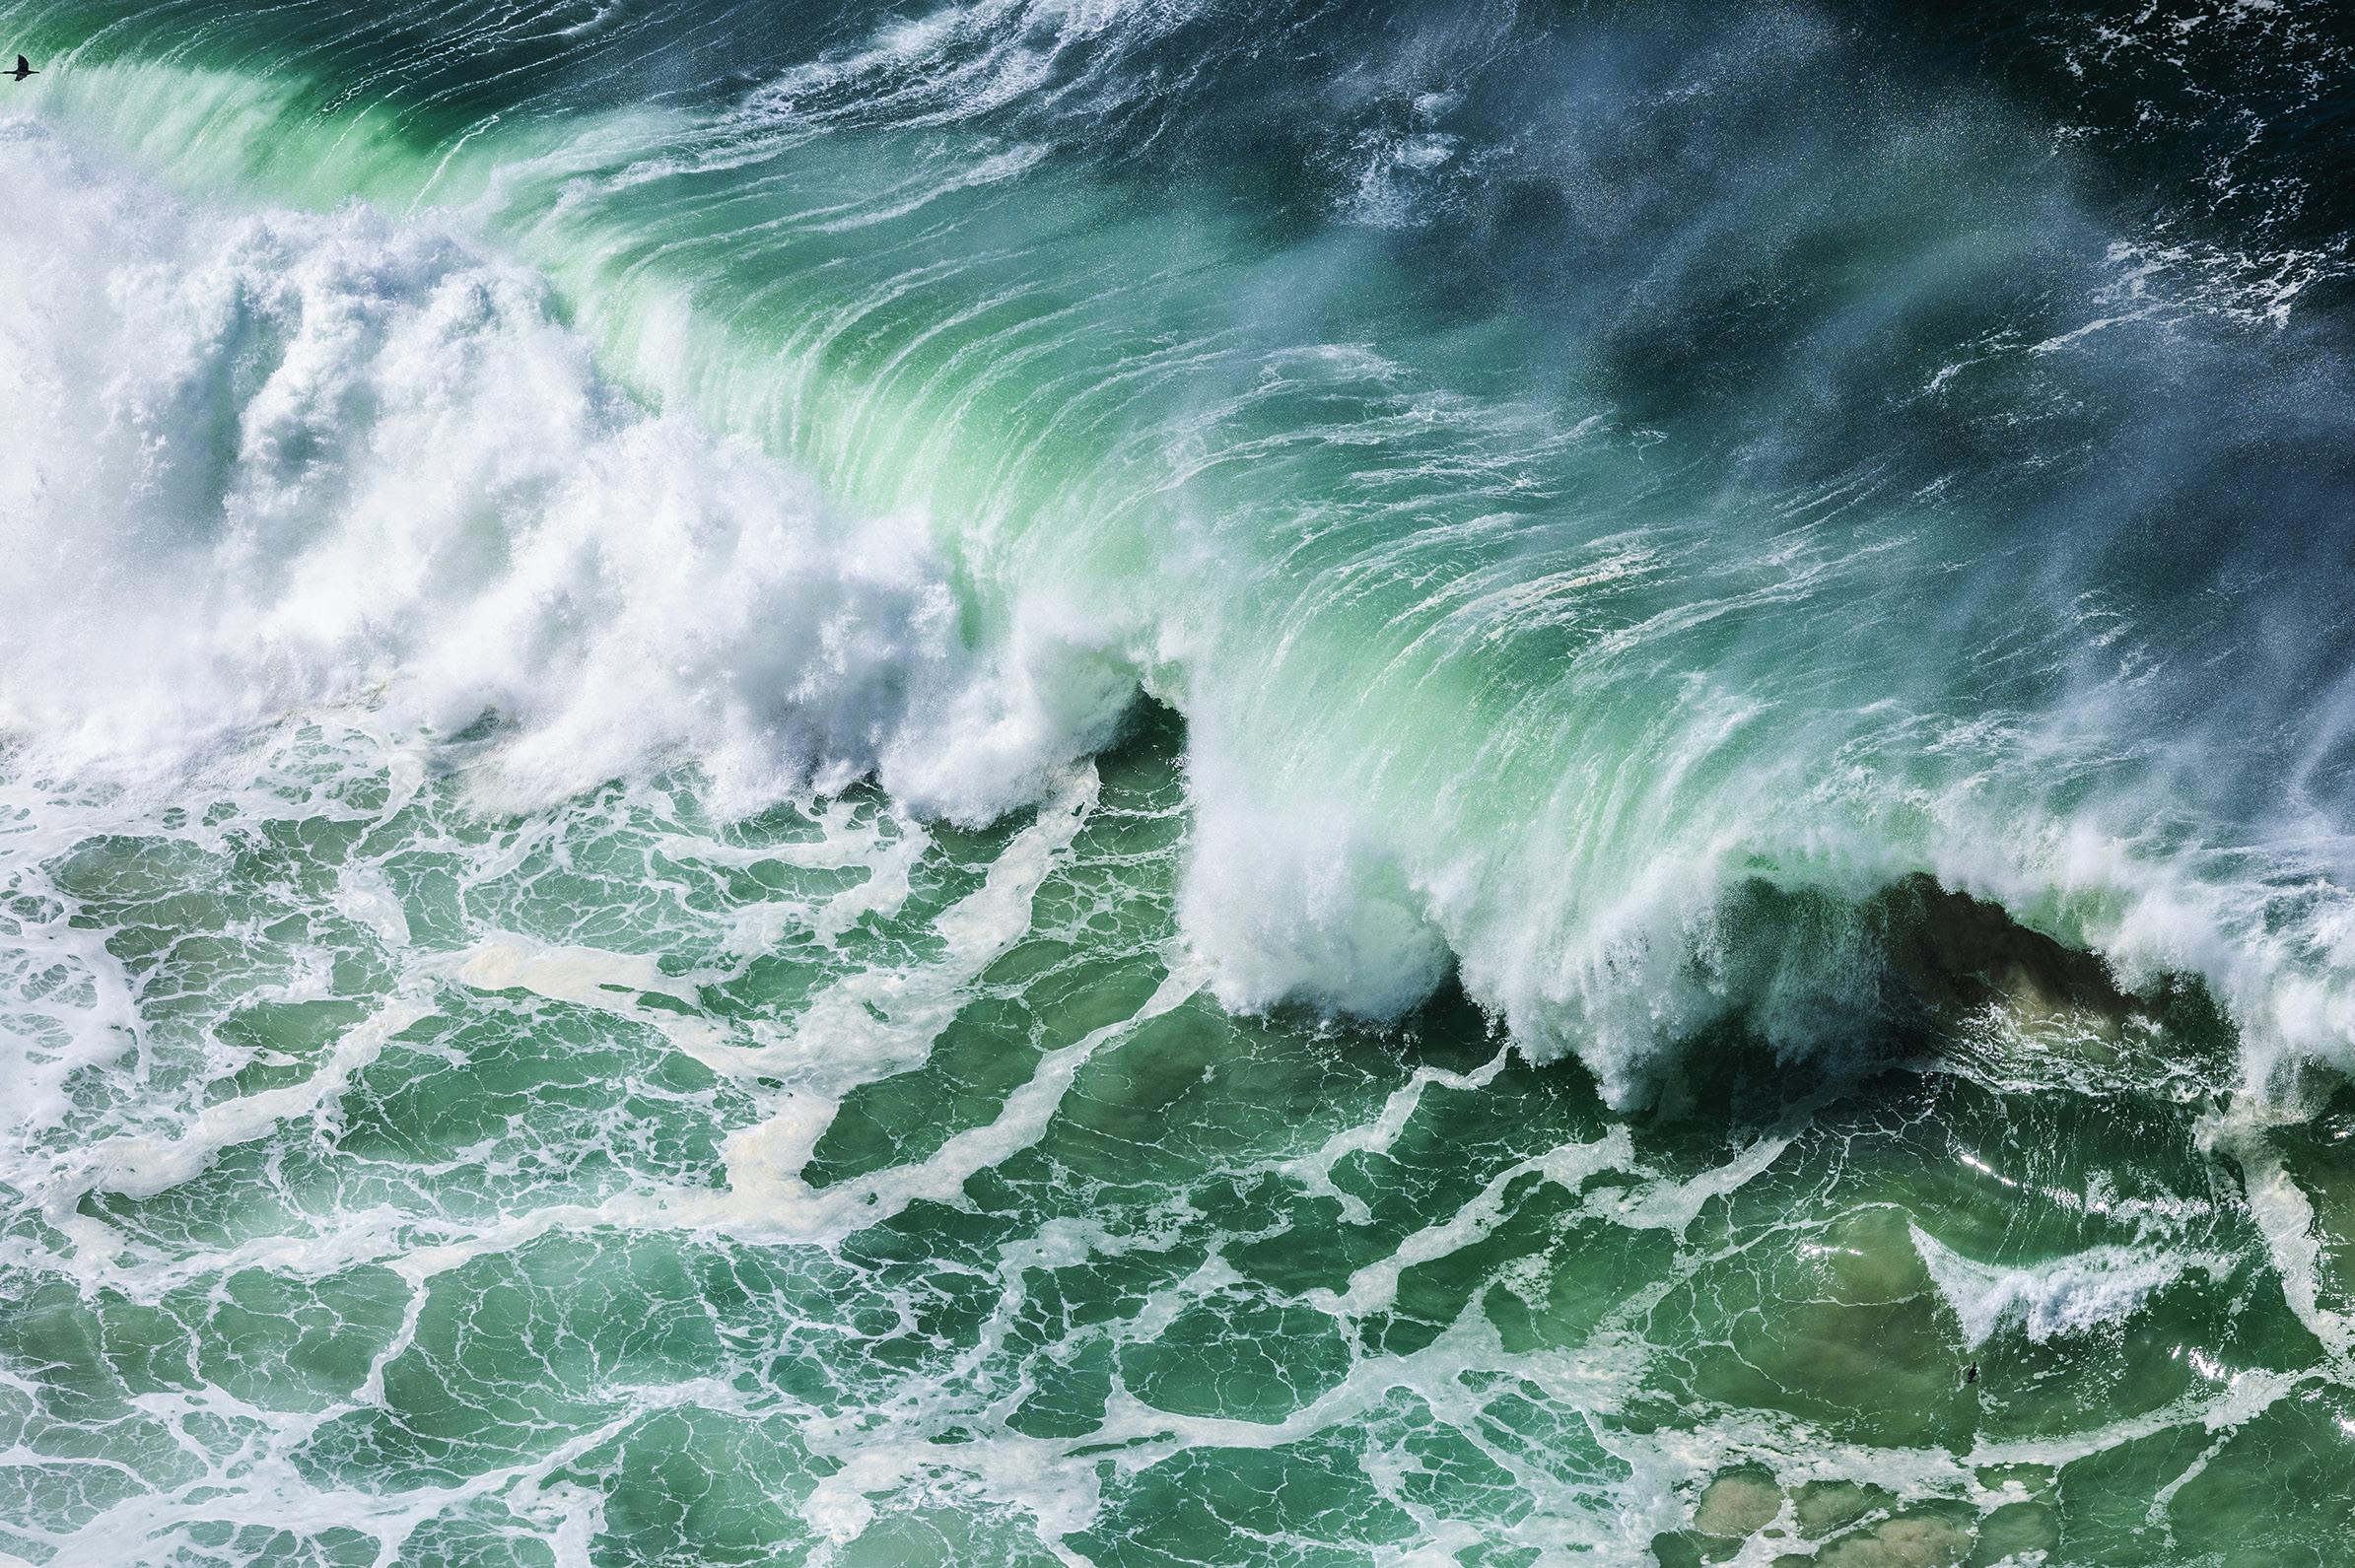
I took the two waterfall shots on pages 4 and 5
8
in Iceland, and what is especially noteworthy is that the image on page 5 was taken in complete darkness. The exposure was 1/6th second, f/2.8, and 4000 ISO. The drone was so stable in hovering over the waterfall that it produced a sharp picture even with such a slow shutter speed. Friends have told me they’ve even taken pictures at night with two second exposures and were amazed the pictures were sharp. I haven’t done this yet, but I’m looking forward to trying it. You can also do HDR sequences and expect sharp composites. Only in moderate to strong winds would I not try this because the drone would have too much inherent movement.
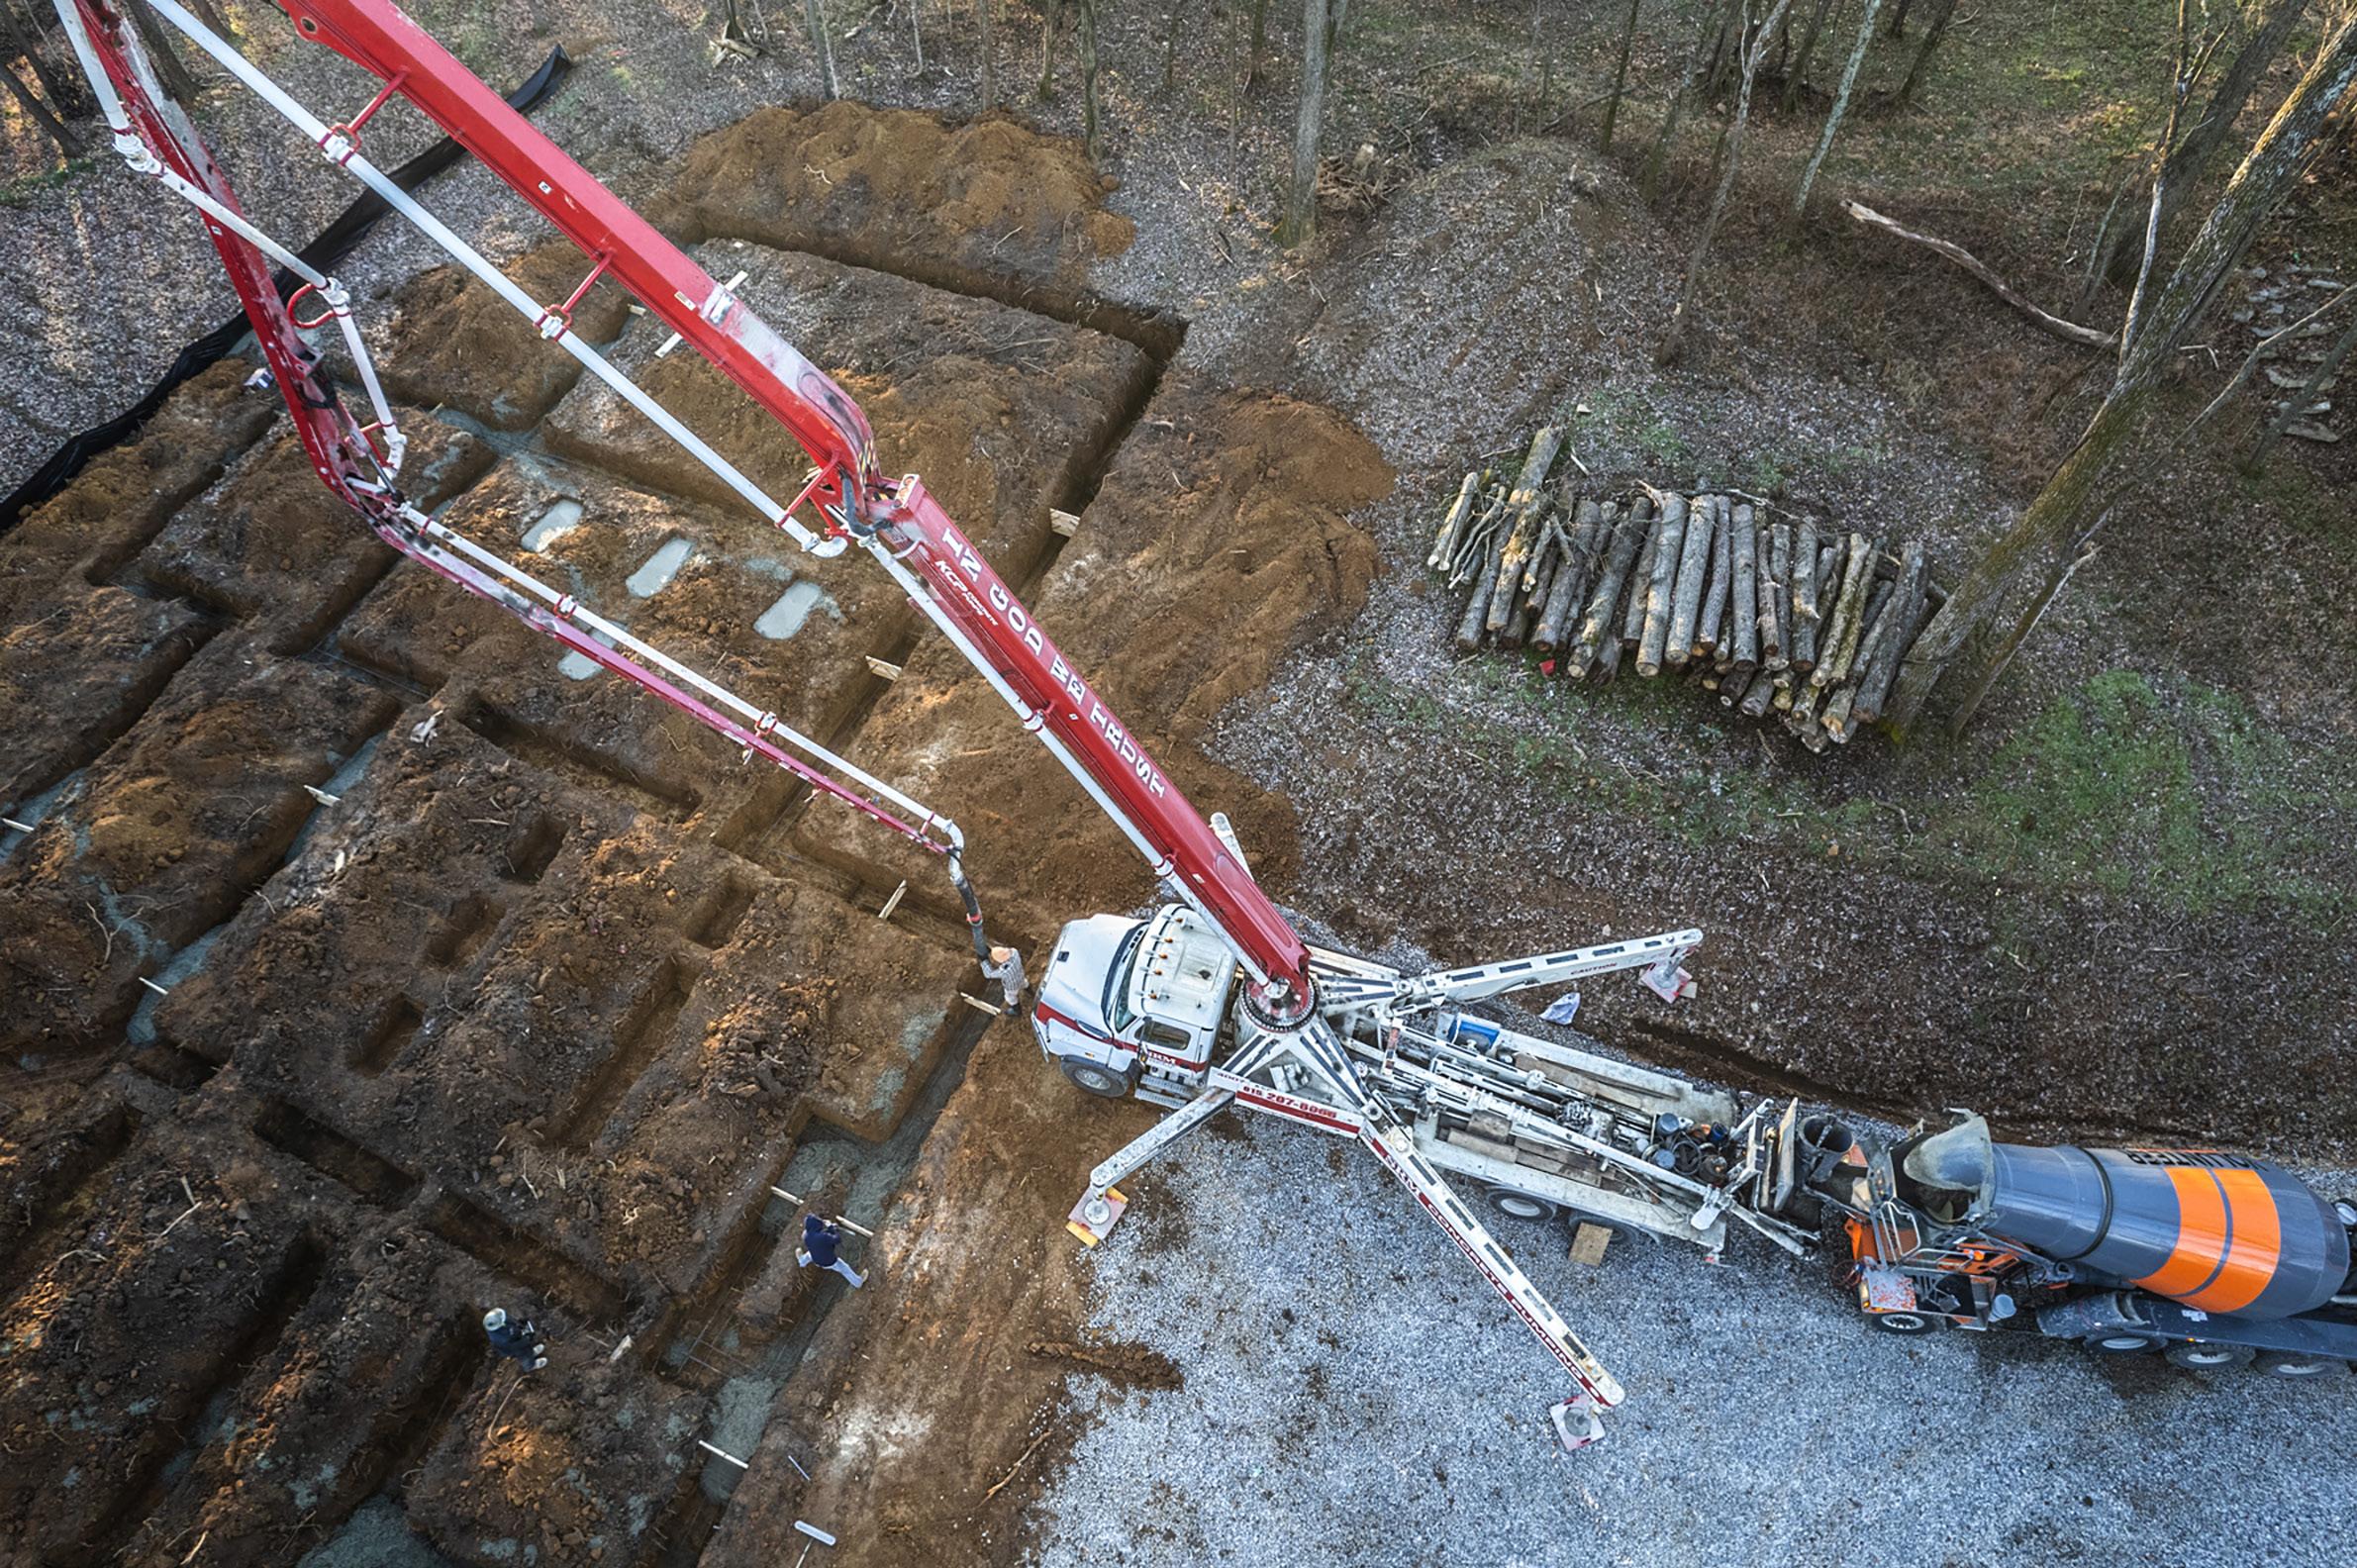
Drones can be used for a lot of picture taking besides travel photography. The shot on page 6 shows a cement truck and a pumper pouring cement into newly dug footers at a construction site. I’m currently building a new
house, and it’s a lot of fun to photograph it from the air as the project progresses. I just have to make sure to avoid nearby trees. Any drone you consider buying should have collision avoidance sensors on the top and on both sides as well as on the front and rear. You’ll hear a beep in the controller if and when your drone gets too close to an object that could result in a crash.
You can adjust the shutter speed, f/stop and ISO in the DJI app. So, when you want to freeze movement like crashing waves or blur movement like I did with the waterfall on page 5 (the extreme low light forced me to use a slow shutter speed), you can make these changes while the drone is hovering over a particular location waiting for you to take the shot.
The Controls
9
There are two joysticks on the controller. The left one makes the drone go up and down, and when you push the joystick to the left or right it rotates on a vertical axis to pan a landscape or cityscape.
The right stick moves the drone forward and backward as well as moving it left and right.
When your smart phone is plugged into the controller and the DJI app is turned on, you’ll see on the phone exactly what the built-in camera sees.

Switching from taking still images to shooting videos is as simple as pushing a different button either in the app or on the controller itself. At this point, I’ve only done a few videos but it’s definitely an exciting medium. The graphic shapes seen from an elevated viewpoint are invisible to us when we are on the ground. What a great time it is to be a photographer!
10
DJI controller showing iPhone plugged into it.
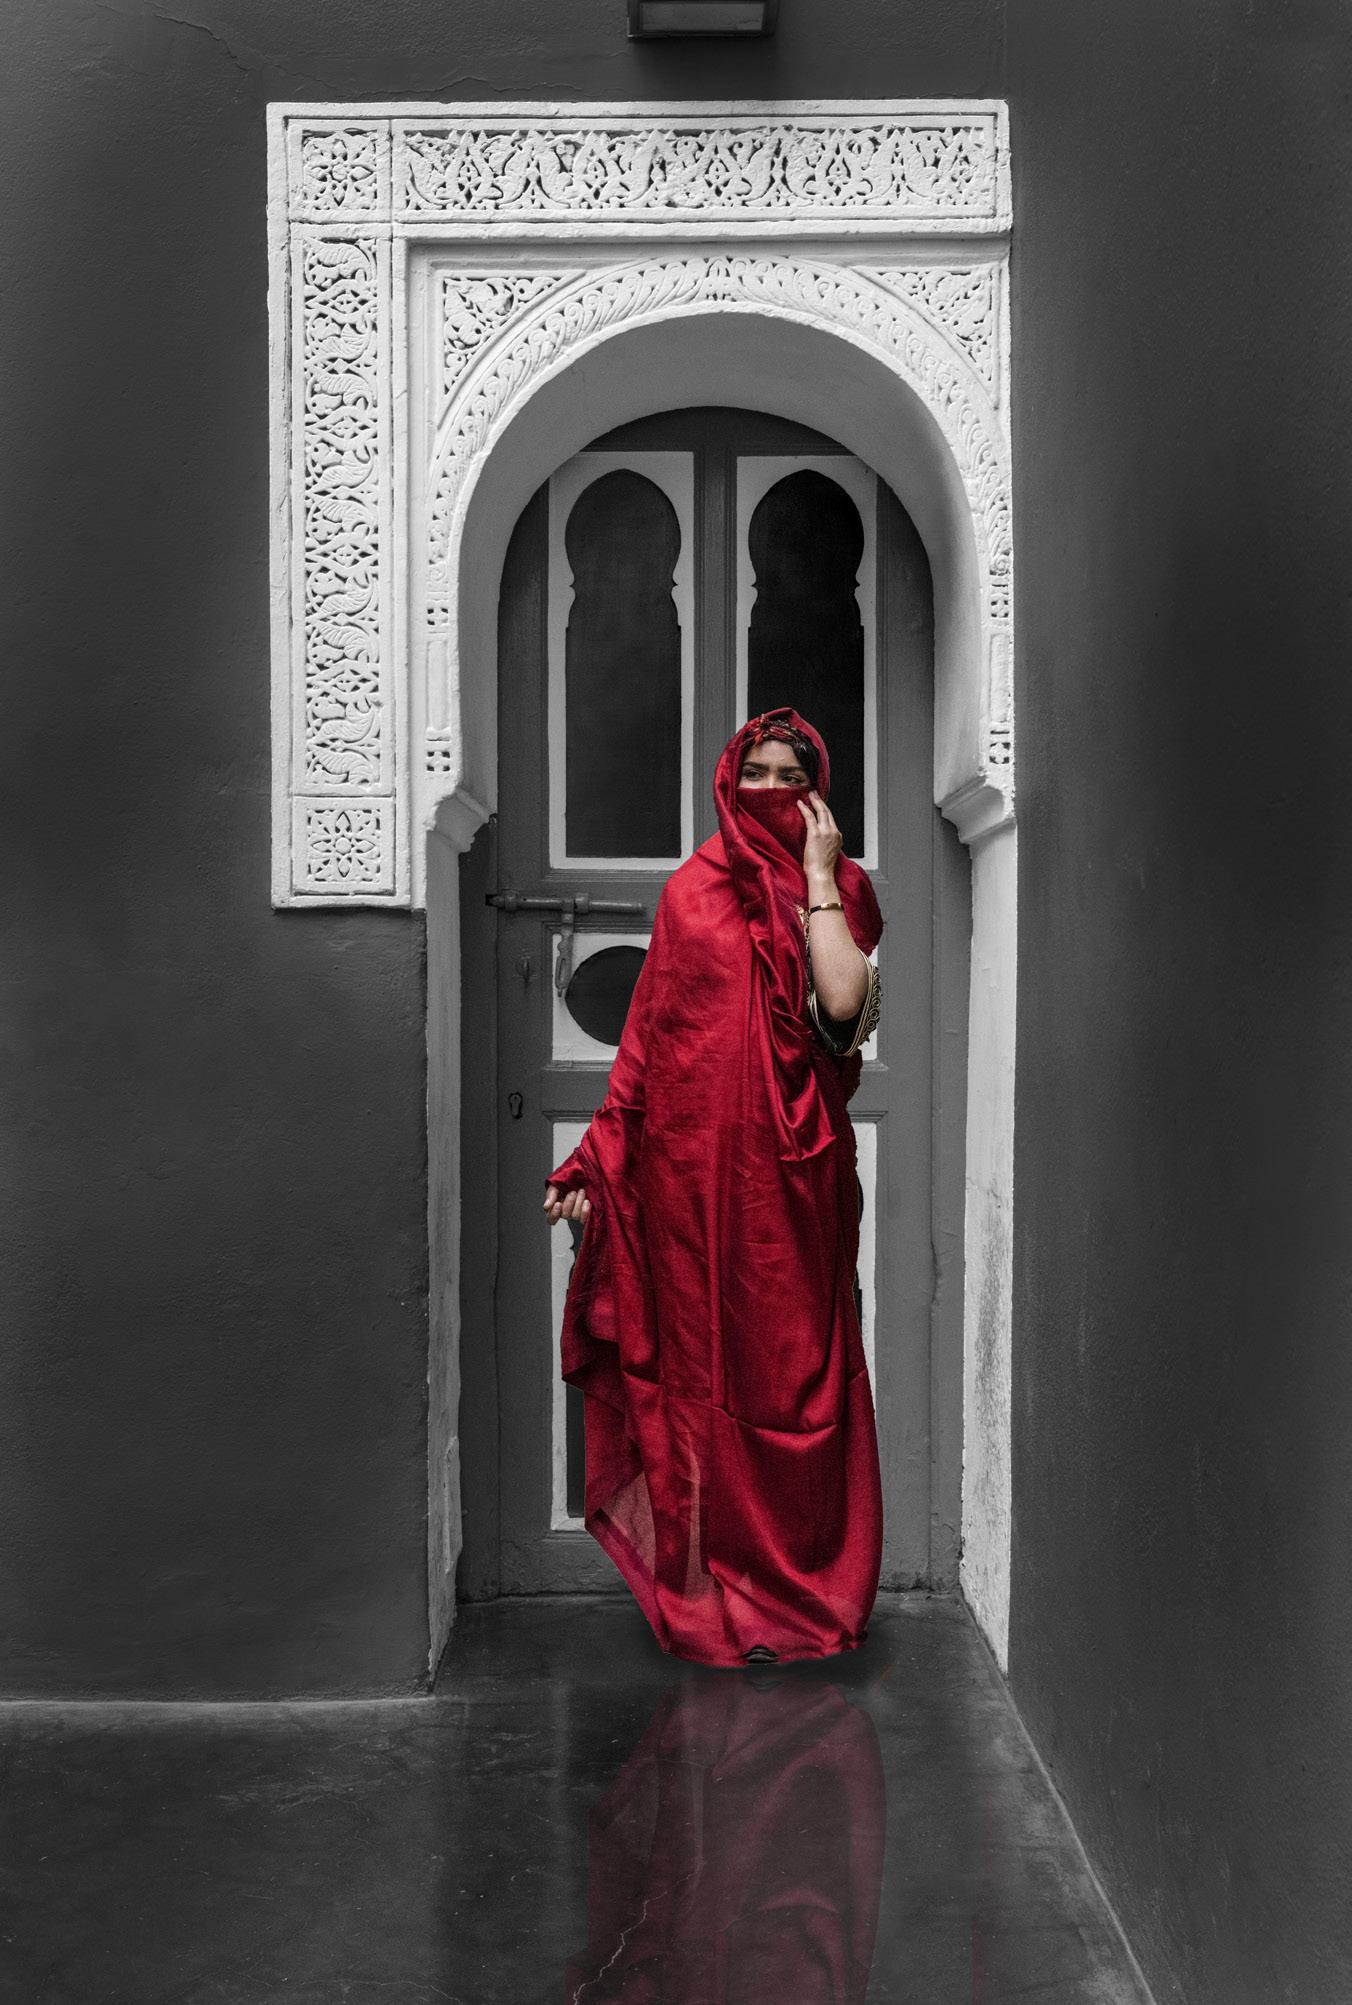
Atechnique I’ve used to produce visually compelling images began from the very first days of my experimentation with photographs in 1969. I combine color with black and white. When I used to do it in the darkroom, it was time consuming, a lot of chemistry was involved, and the control I had over the images was nothing like it is today.
Now, of course, Photoshop allows us to make accurate selections so we can combine components easily, quickly, and with precision. The Moroccan model at right is an example. In this instance, I used the pen tool to select the model and pasted her into a background, retaining her original color while the background was black and white. I then added the subtle reflection in the shiny floor.
Color to B & W in Photoshop
There are three ways to conveniently transform a color image -- or part of an image -- to back and white.
1. When an image is open, go to Image > adjustments > hue/saturation for the easiest and fastest method. Move the saturation slider all the way to the left; now the photo (or the portion of the image you selected) is black and white.
The problem with this method is the loss of contrast. This loss is inherent in converting to b & w from color, and it makes the image look flat and dull. The only way to restore the contrast to what it should be is to use clarity in Adobe Camera Raw or Image > adjustments > levels (or curves) to restore the lost highlights and flat shadows.
11
Color
BEST of SOUTHERN NATURE
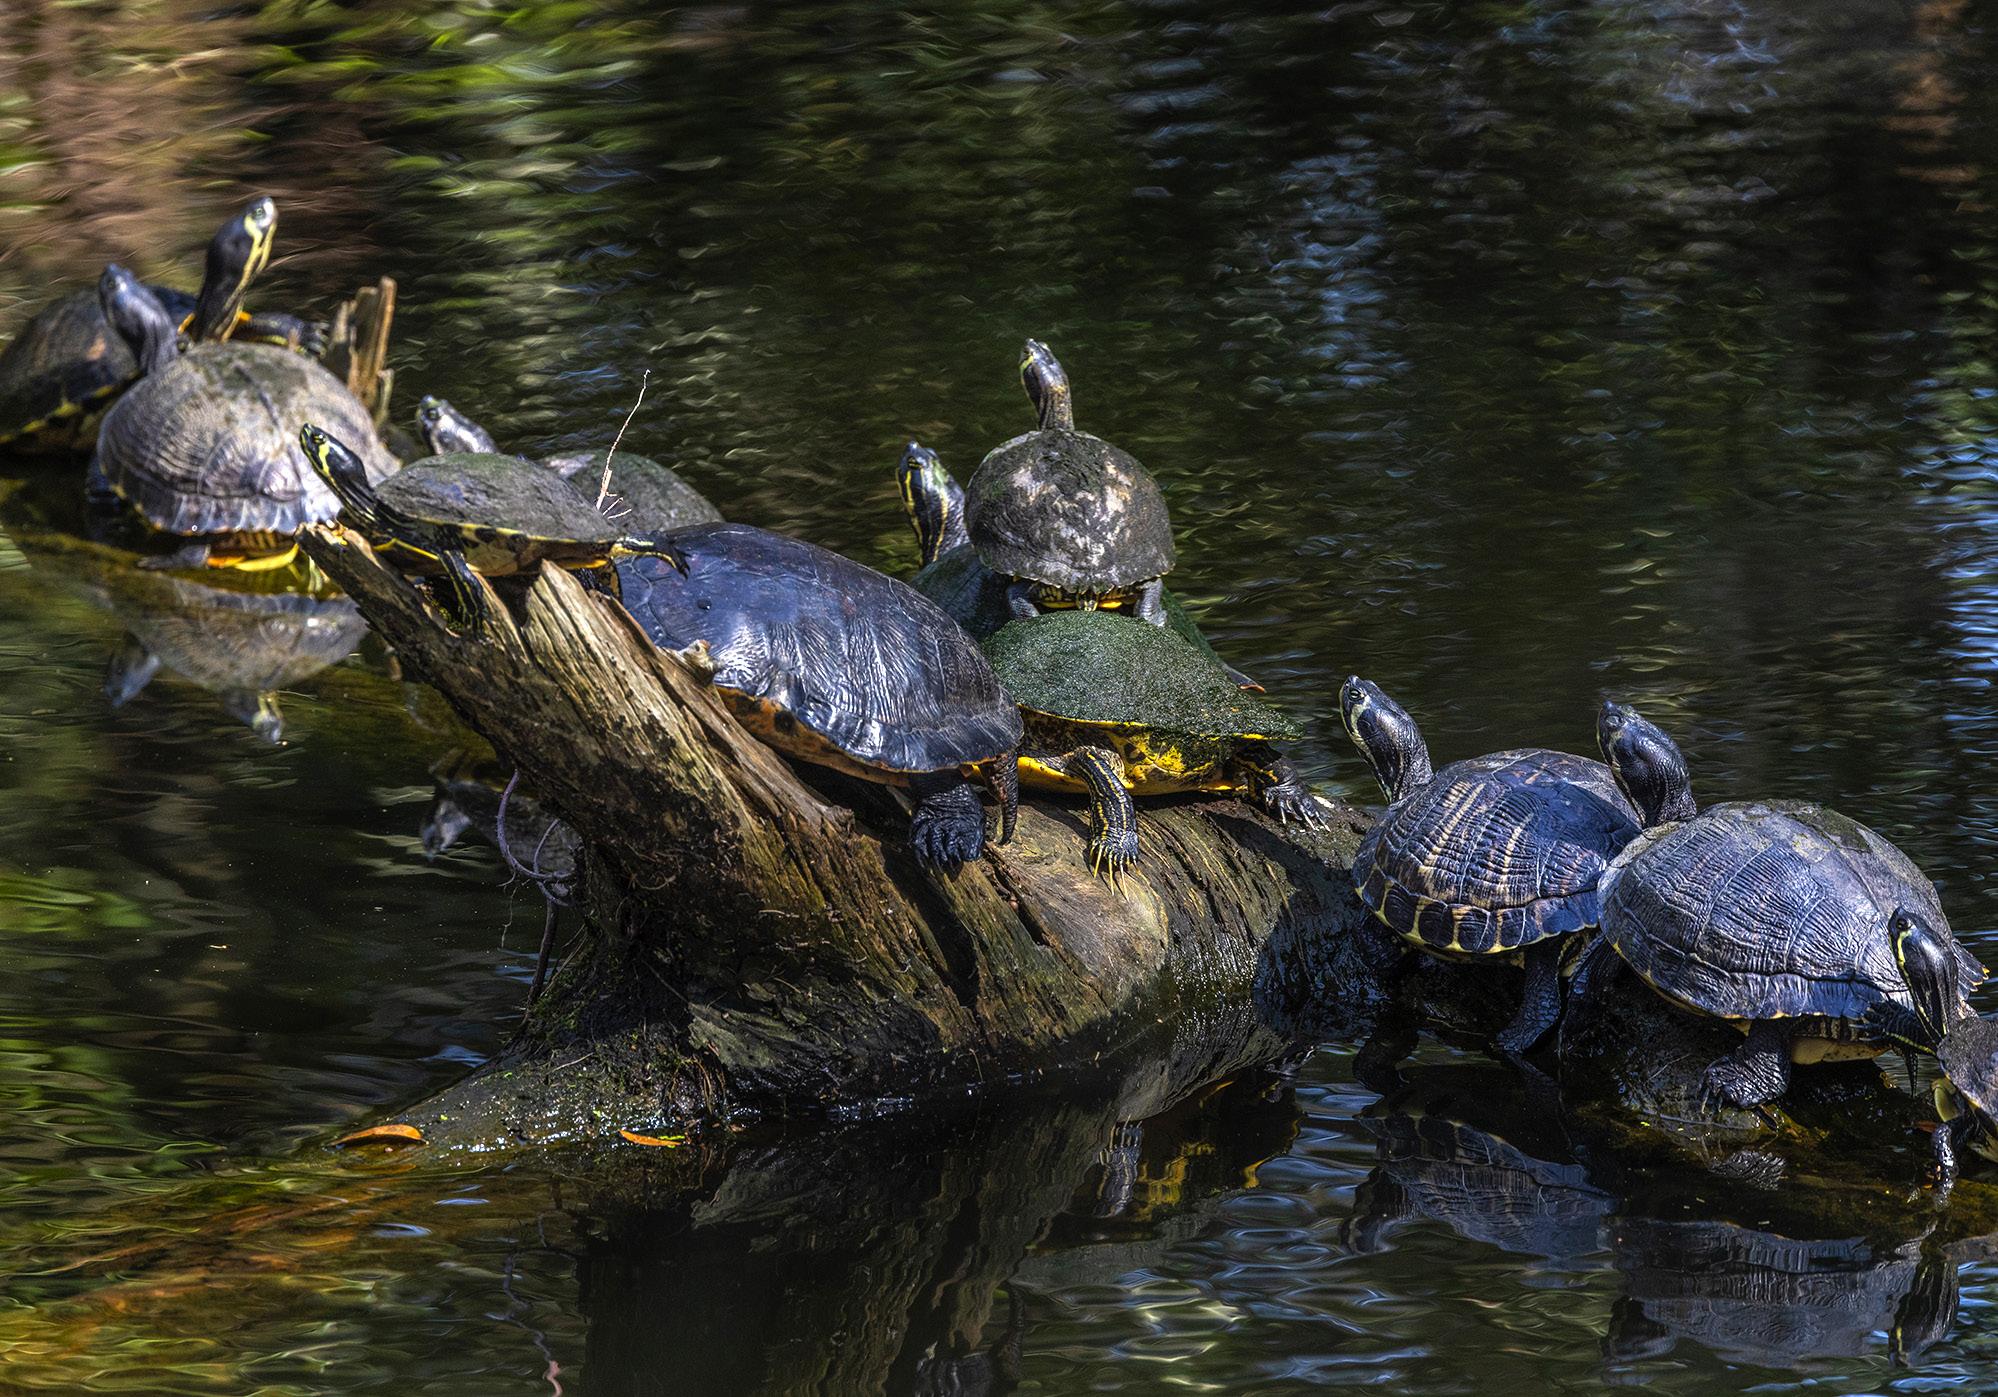
April 1 - 6, 2023

12
It’s important to note that when you use this method of converting color to black and white, the file is still RGB. In other words, it has the three color channels. That means you can add or subtract color in any part of the photograph.
2. Using the Photoshop pulldown menu command, Image > mode > grayscale converts the entire image to black and white with, as expected, a loss of contrast. This is now a grayscale image with no color at all; i.e. the three color channels are discarded. You can’t introduce color into this image when it is a grayscale file. I almost never use this method.
3. The best option in which you have complete control over the tonalities in the black and white areas of the image is to use the Photoshop command, Image > adjustments >
Black & White. A dialog box opens (shown at the top of the next page) and here you can manipulate each color channel as you wish. For example, you can darken the red colors and lighten the blue colors. This is the optimal scenario for adjusting a black and white image to taste because of the control you have over each area.
Combining color with black and white
You can composite two images together, one color and the othe black and white, as I did with the picture on page 11, or you can select a portion of an image and retain color within the selection while you turn the rest of the photograph back and white. That’s what I did with the picture of the leaf, below. Here are the simple steps I used to achieve this look:

13
1. Make a selection of the leaf using the quick selection tool
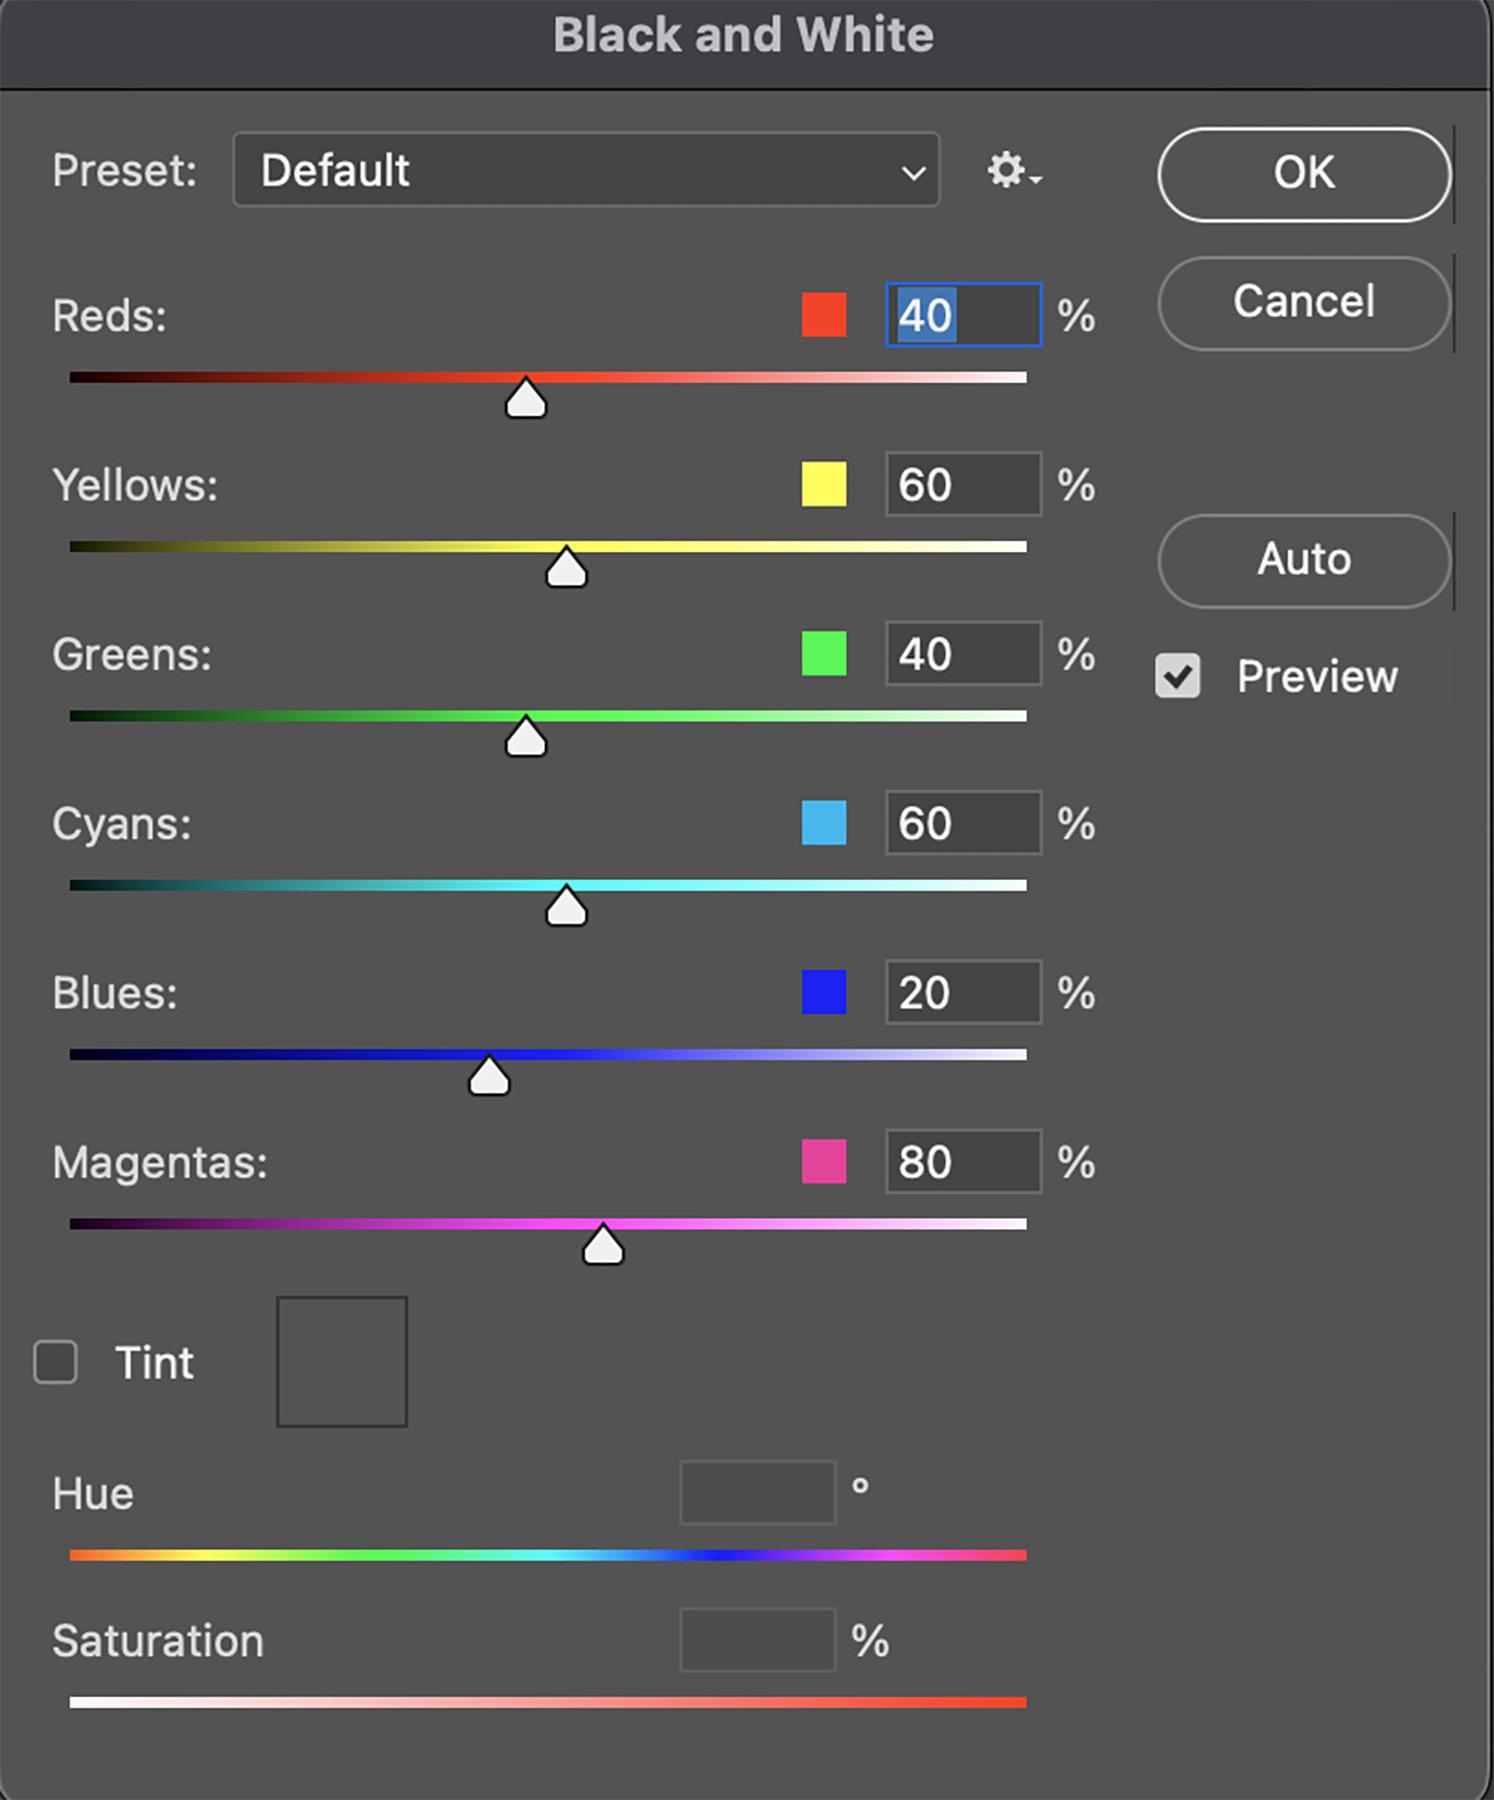
2. Feather the selection using Select > modify > feather. In the dialog box, choose ‘1 pixel’.
3. The original leaf was yellow, so I chose Image > adjustments > hue/saturation and moved the hue slider until the leaf turned red.
4. Select everything except the red leaf by using Select > inverse.
5. Now choose Image > adjustments > Black and White. Using the sliders in the dialog box
With Image > adjustments > Black & White, you can manipulate each color individually to any black and white tone you want.
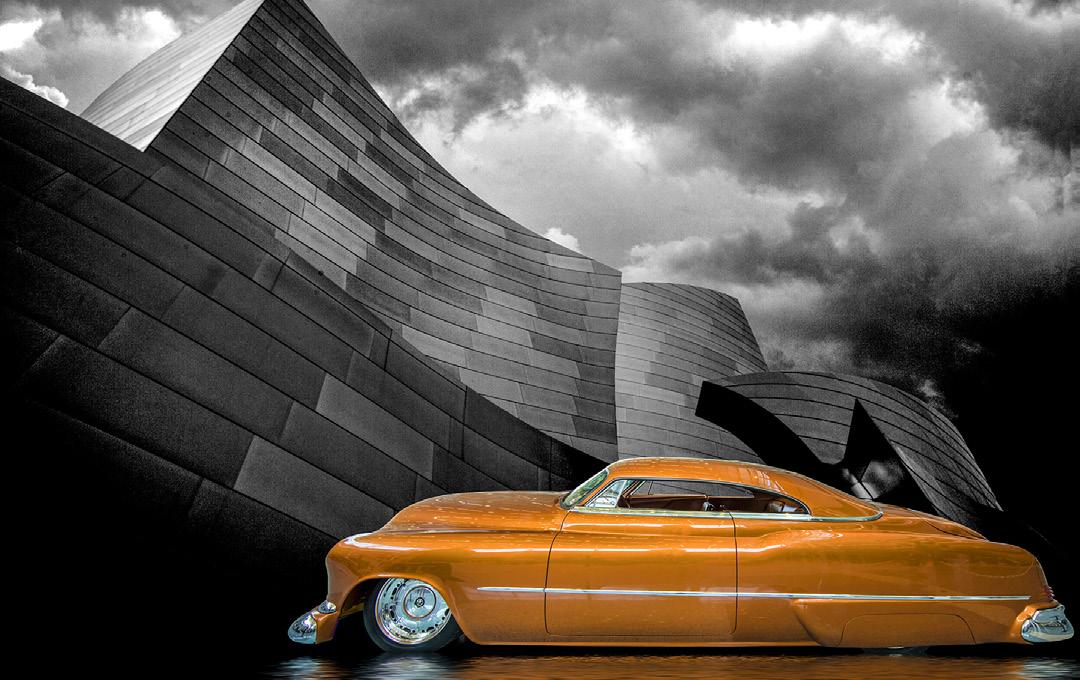
(shown above), tweak the black and white tones until you like what you see.
The image below is a 3-image composite. I converted the architecture and clouds to black and white using the dialog box above. §
14
Exploring the Powerful Visuals of AI
When I think of artificial intelligence, what first comes to my mind is the Terminater movie series with Arnold Schwartenegger where malicious machines took over America’s military capability and started a devasting war. Definitely a scary scenario.
When my wife showed me some incredible fashion pictures on Instagram about a month ago, and then she told me they were completely made by AI software, I was blown away. I knew
I had to explore this amazing technolgy.
Right off the bat I know many of you will eschew the whole artificial intelligence way of making images. It is definitely not photography. No camera is involved, there are no subjects, and lighting is not an issue. The images are entirely generated by software based on the ‘prompts’ you enter into the correct field. If this doesn’t appeal to you, I understand. But I can tell you I’m having a lot of fun crea-
15
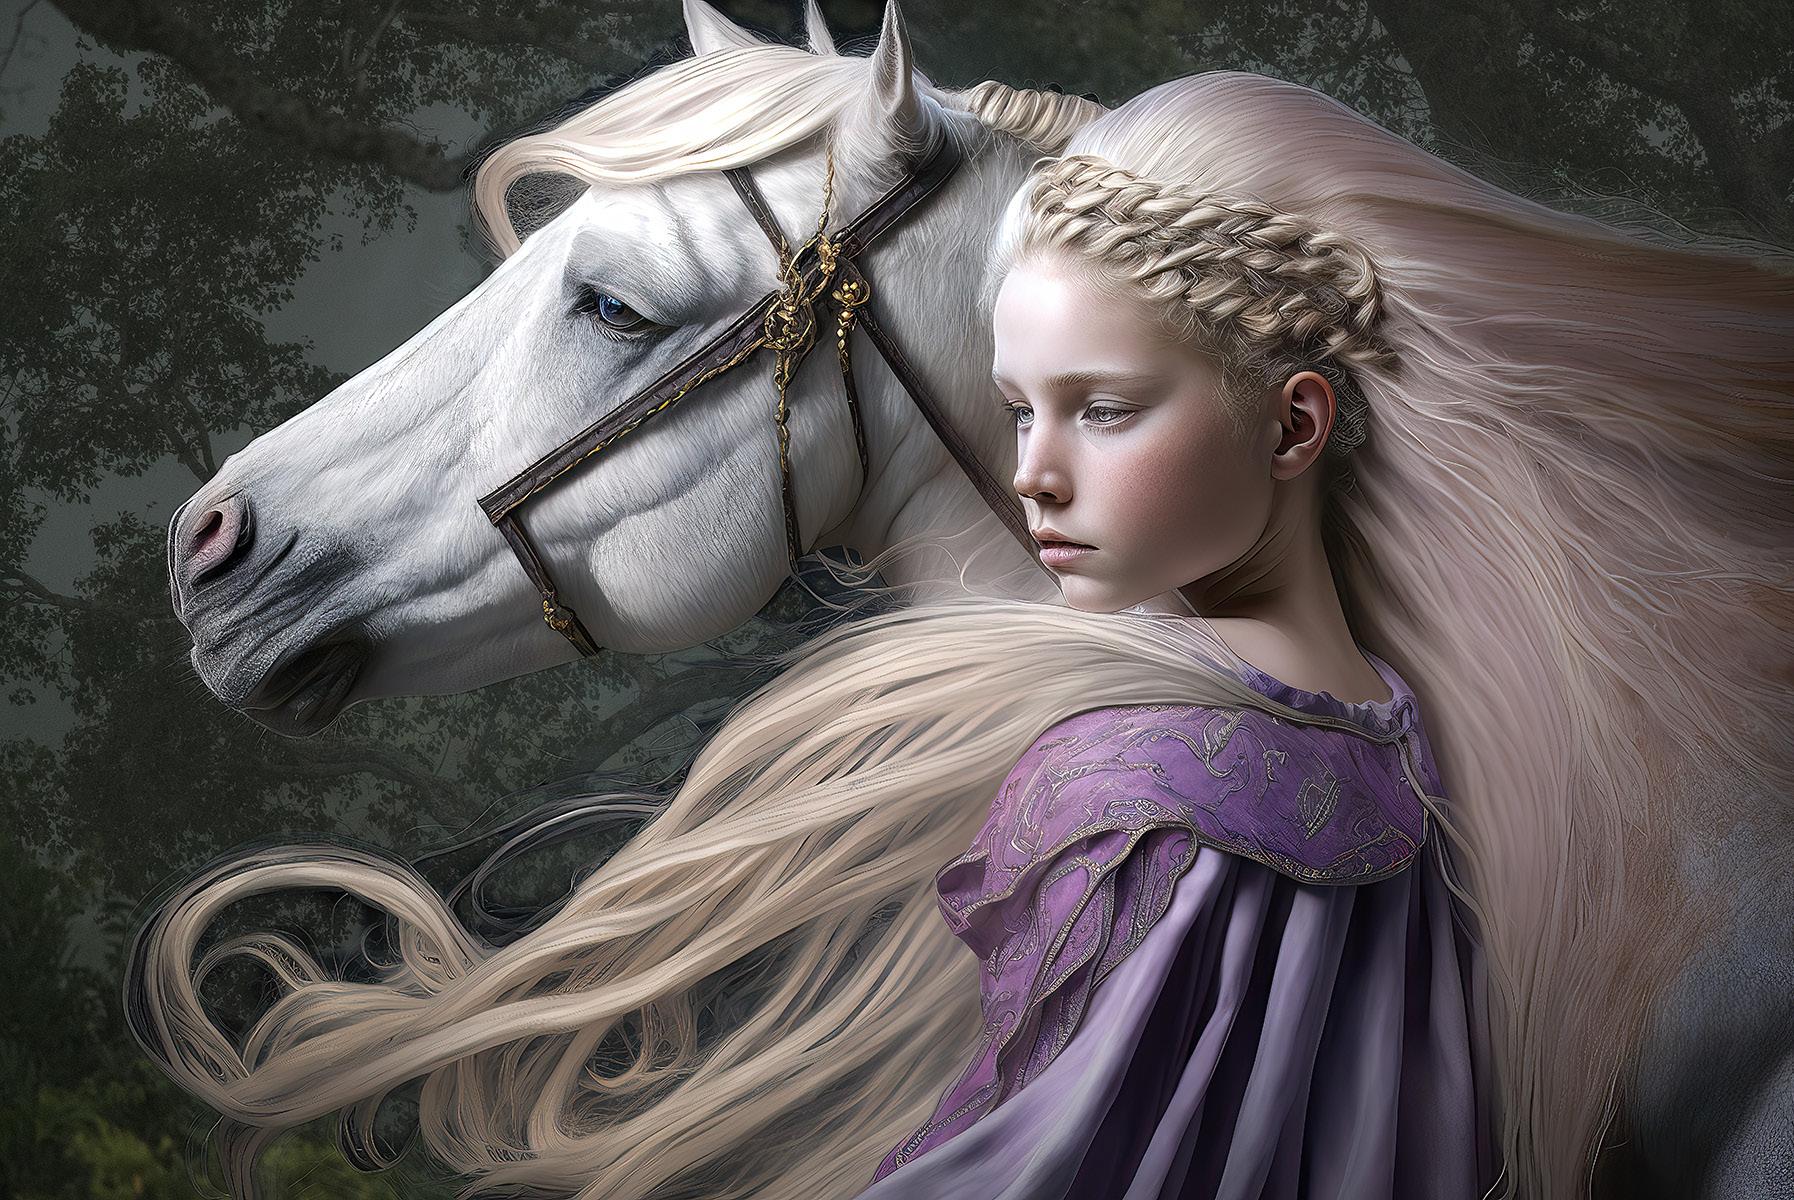
ting any kind of image that pops into my mind. Sometimes I add my own photographs, and sometimes I let the images stand on their own. For example, on the previous page, the background forest is a shot I took in the Pantanal region of Brazil. The picture below, on the other hand, is pure AI, pure fantasy.
There are several AI generators online. Many of them claim they’re free, but what they usually do is give you quite a few free images and then they ask you to pay for a subscription. After trying Dall-e and Fotor, I decided to go with Midjourney because, based on discussions I came across on the Internet, this was the best choice. I’ve now been using Midjourney for a couple of weeks, and I love it. Its not exactly user friendly at first, but after you get over a few hurdles, it works great and the imagery is truly unbelievwable.
Before I subscribed, I produced about 20 AI images to see what this was all about. I then paid $288 for the year (paying annually was cheaper than monthly), and this entitles me to 15 hours per month generating images.

Once you subscribe, it’s not quite clear how you start making images. So, I went on Youtube and learned how to do it. Two things you need to know: 1) You have to subscribe to discord.com (this is free), and 2) once inside Midjourney, you you have to choose one of the Newbie areas that are listed in a column on the left to start. I typically use Newbie-20, Newbie-50, and Newbie-80.
The way this works is at
16
the bottom of the Midjourney dialog box is a field in which you type words. You must first begin with /imagine. When you enter that and hit the space bar, a field opens up in which you tell the AI software what you want. These are called ‘prompts’. The prompts I used for the image of the young girl on the previous page
For the cat image, the prompts I used to create it were: Maine coon cat dressed in 17th century robes, ornate headpiece, studio lighting, dark background, green eyes, photo realistic, hyper detail, extremely sharp -- ar 2:3
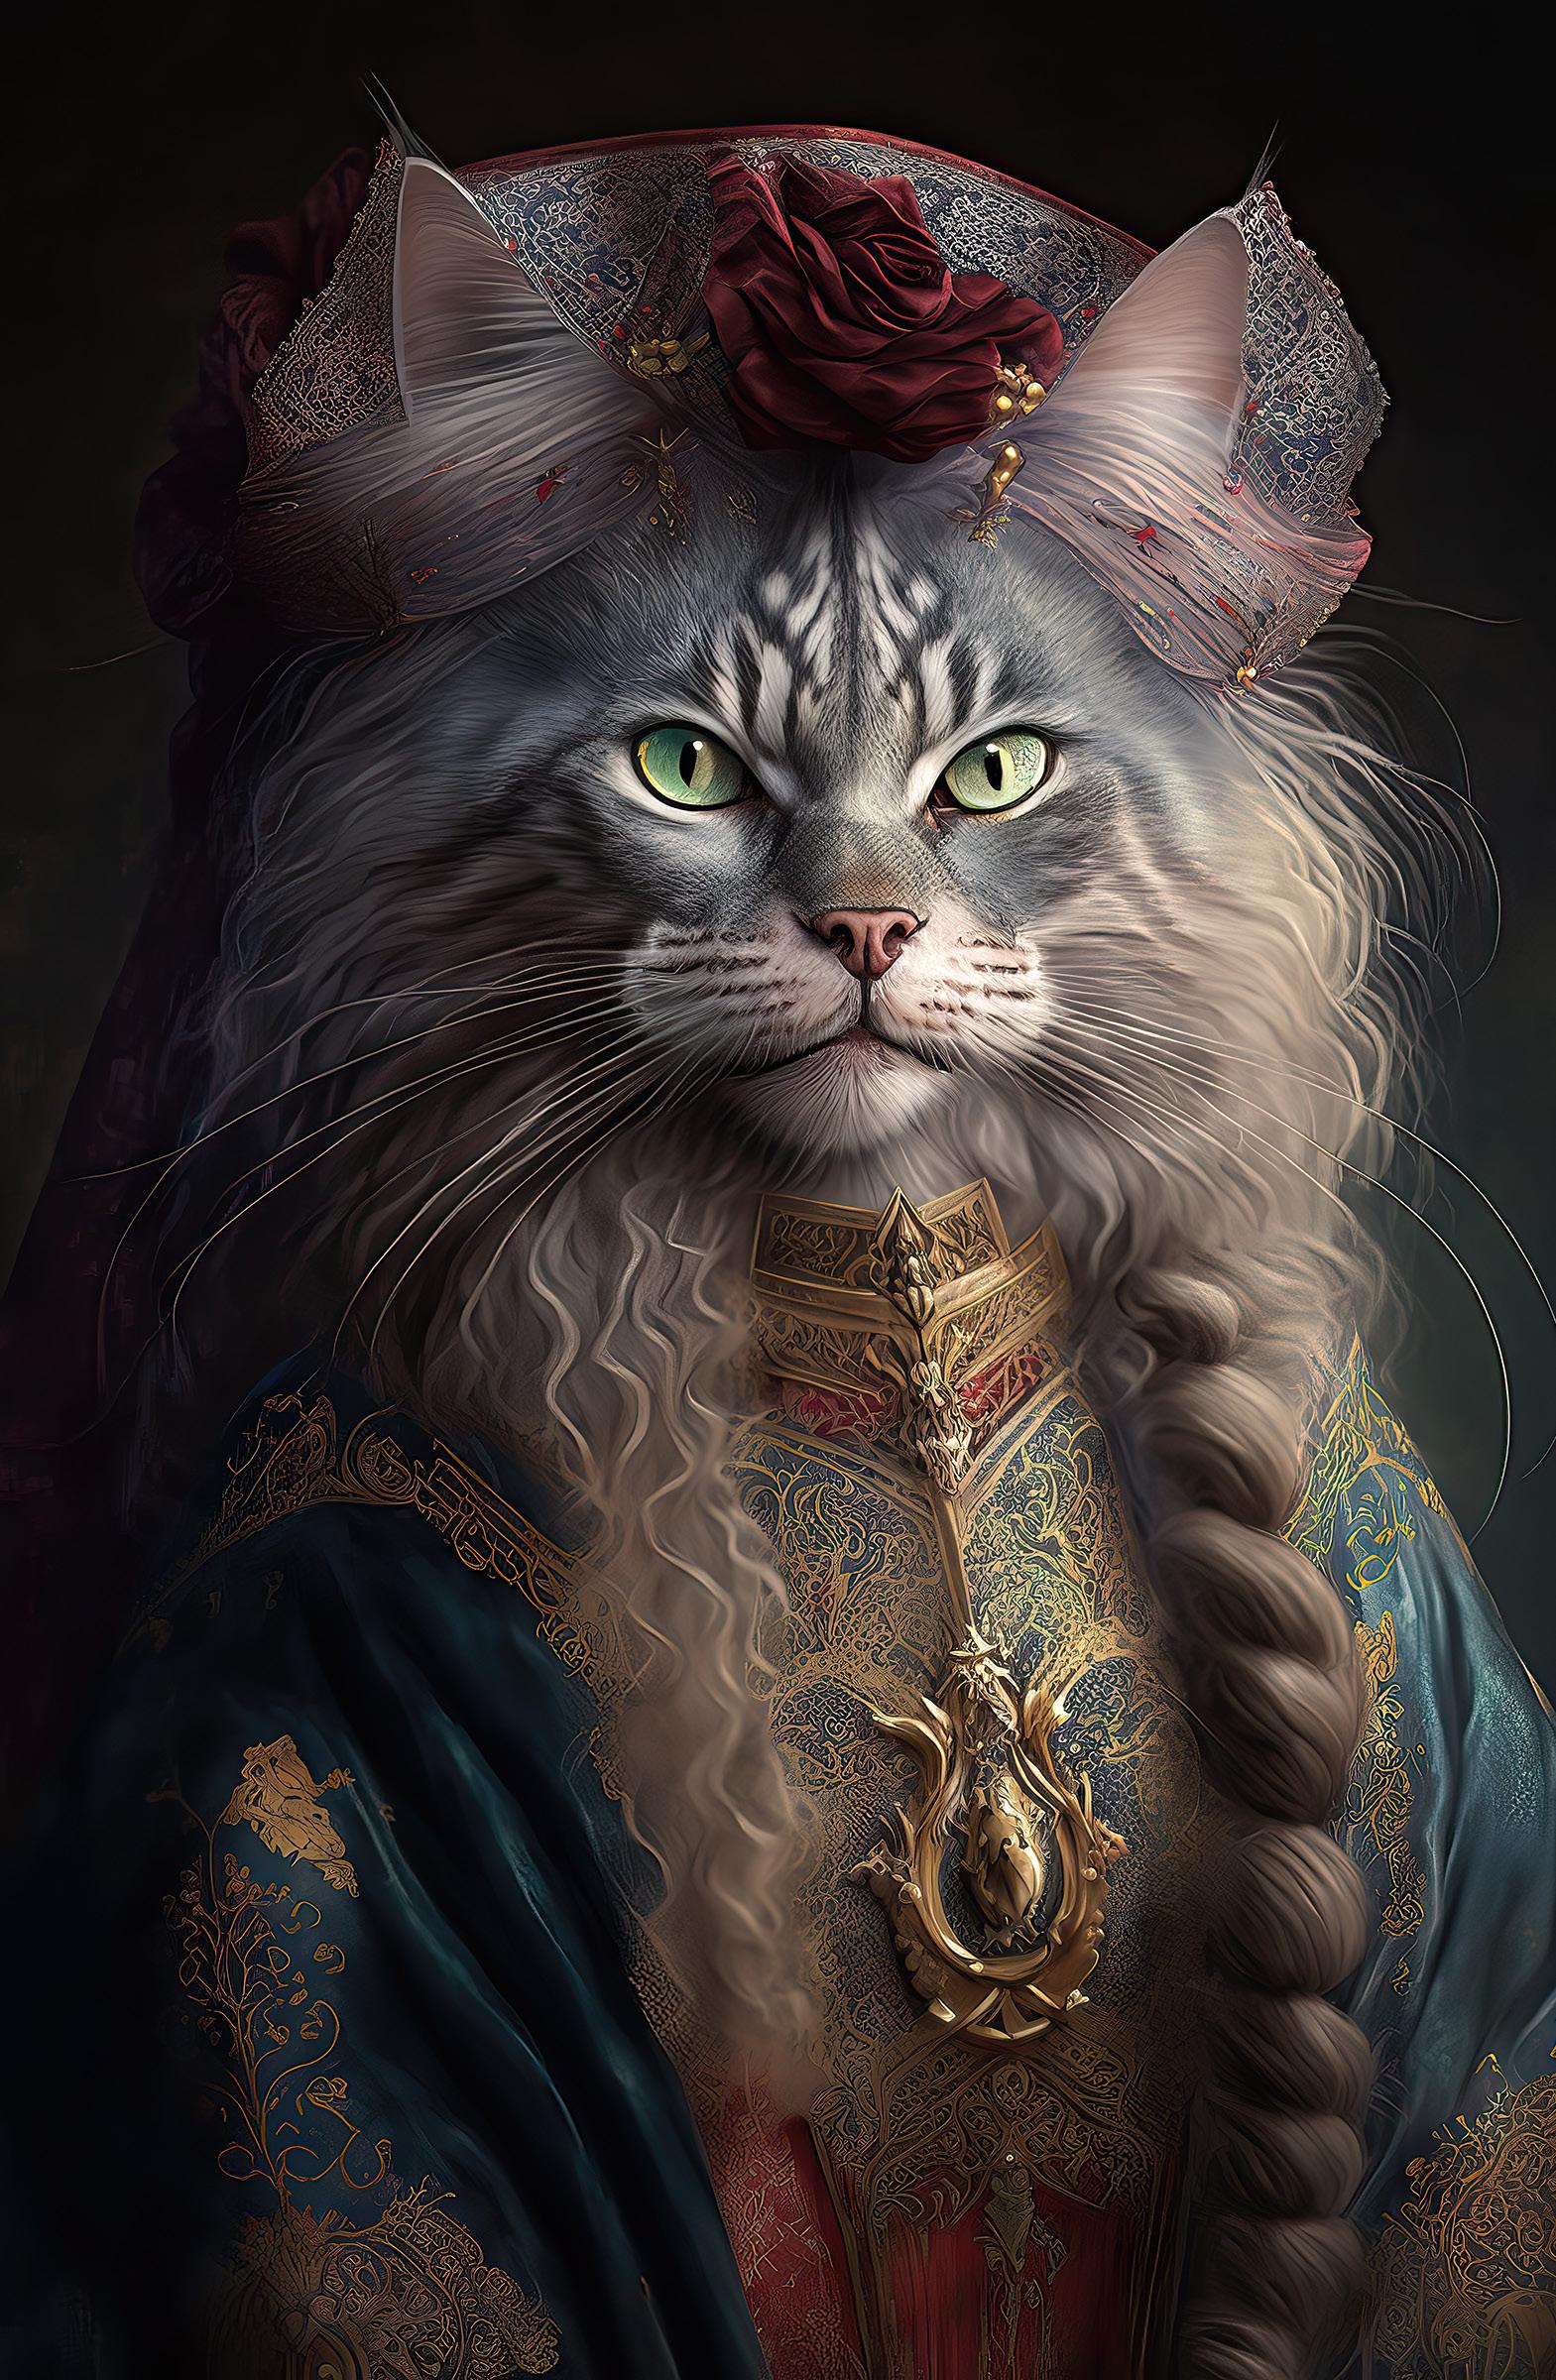
Notice I always ask for photo realism with exwere: young beautiful princess, blonde hair blowing in the wind, with a white horse, girl is wearing a purple robe, photo realistic, hyper detailed, extremely sharp --ar 3:2
That last part: --ar 3:2 tells the software you want a rectangular image. If you don’t include that, the image will be square. ‘ar’ means aspect ratio, and the 3:2 produces a horizontal picture. If you want a vertical shot, like the female figure on the previous page and the cat at right, you’d type in 2:3. Note that this code has to be precisely what I’ve explained. There is one space before the two hypens, one space after ar, and you can’t write 2x3. It has to be 2:3.
The prompts I used for the female form on page 16 were: female cyborg, flowing hair, super mechanical, long legs, high heels, chiseled face, long neck, studio lighting, photo realistic, hyper detail -- ar 2:3
17
treme detail and sharpness. Since I come from the world of photography, that’s what I want. You can also ask for a painterly image and, if you want, in the style of, say, Van Gogh or Chagall.
Midjourney gives you four different variations
of the image you’ve asked for. If you aren’t happy with them, you can ask for four more by clicking a double arrow icon. If you like any or all of the variations and want to download them to your computer, click icons below the variations labeled U1, U2, U3, and U4 (the numbers correspond to the four images). This means ‘upscale’ the images you want. The resolution isn’t high, however. When I download the images (I just drag them from Midjourney to my desktop), they are only 4.5 megabytes. This is disappointing, but fortunately we now have great software to address problems like this.
I open the 4.5 meg image in Photoshop and save it as a Tiff file. I then bring it into Topaz Gigapixel AI and increase the resolution by 6x. This gives me a 162 megabyte file.
I save that, and then I run the image through Topaz Sharpen AI. This does a brilliant job in making the picture look great.
In creating images, let your mind run wild. Whatever you can imagine, make it happen. You can create frightening monsters, historical battle scenes, a little girl playing with a puppy, mystical landscapes, cosmic realities, mythical birds in

18
flight -- or anything else that pops into your consciousness. For the picture on the previous page, my prompts were: Female demon guarding an abandoned castle, red dress, devil eyes, fierce expression, stormy sky, intense --ar 2:3. The 2 by 3 ratio is the same proportion that comes out of our cameras.
The dramatic and exotic portrait at right was created by using the prompts: 13th century Mongolian queen, ornate headpiece, bejeweled, exotic features, studio lighting --ar 2:3
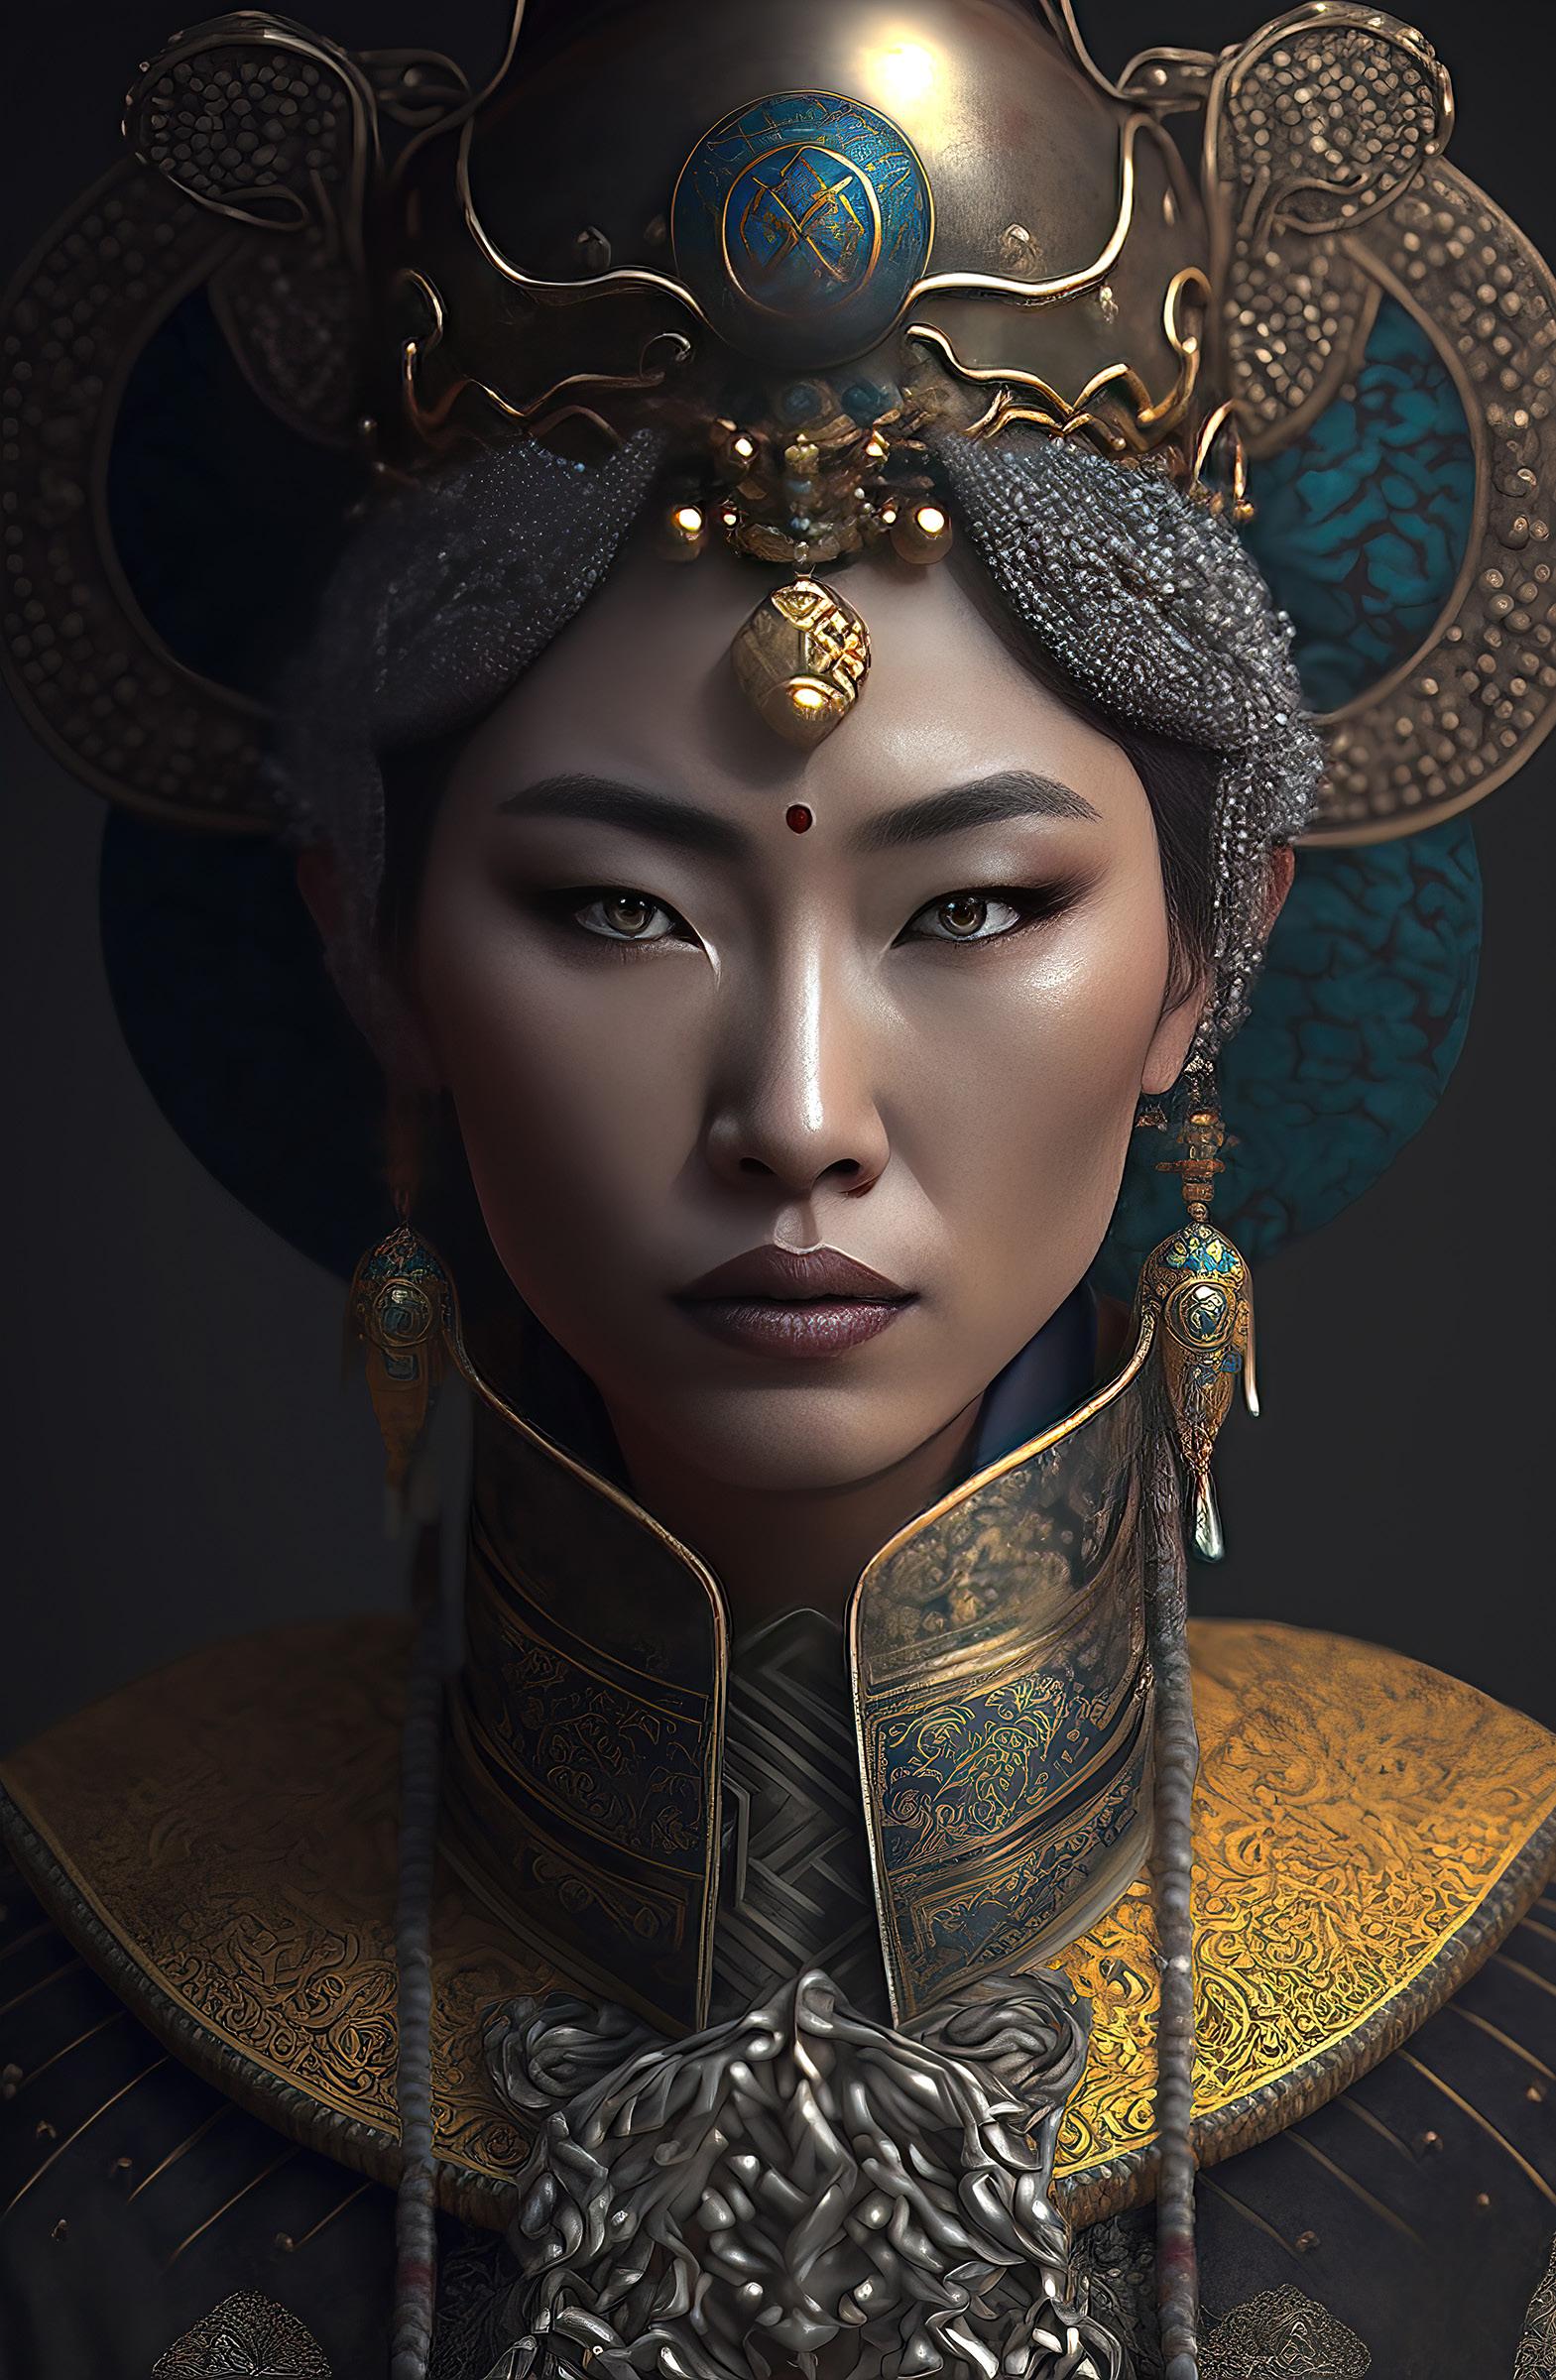
I know there is much debate about where these images come from, that millions of photographs are scanned into some monster data bank and the AI images are composites of bits and pieces of photographs. This suggests, of course, that copyright ownership is in question. I have no idea how all this comes about, but it’s hard to believe all of the components of these images come from other people’s photos. My image on page 16 is an example. At the moment, I am not concerning myself with legal or moral aspects of this. I’m just enjoying the ability to create images that really amaze me.
When you work within Midjourney, everyone
can see what you create and you can see all of the creations of other people who are using the software at the same time you are. And, you can see the prompts that are being used. This will give you all kinds of ideas for your own imagery. I know this isn’t photography, but it’s a new way of making truly remarkable art. §
19
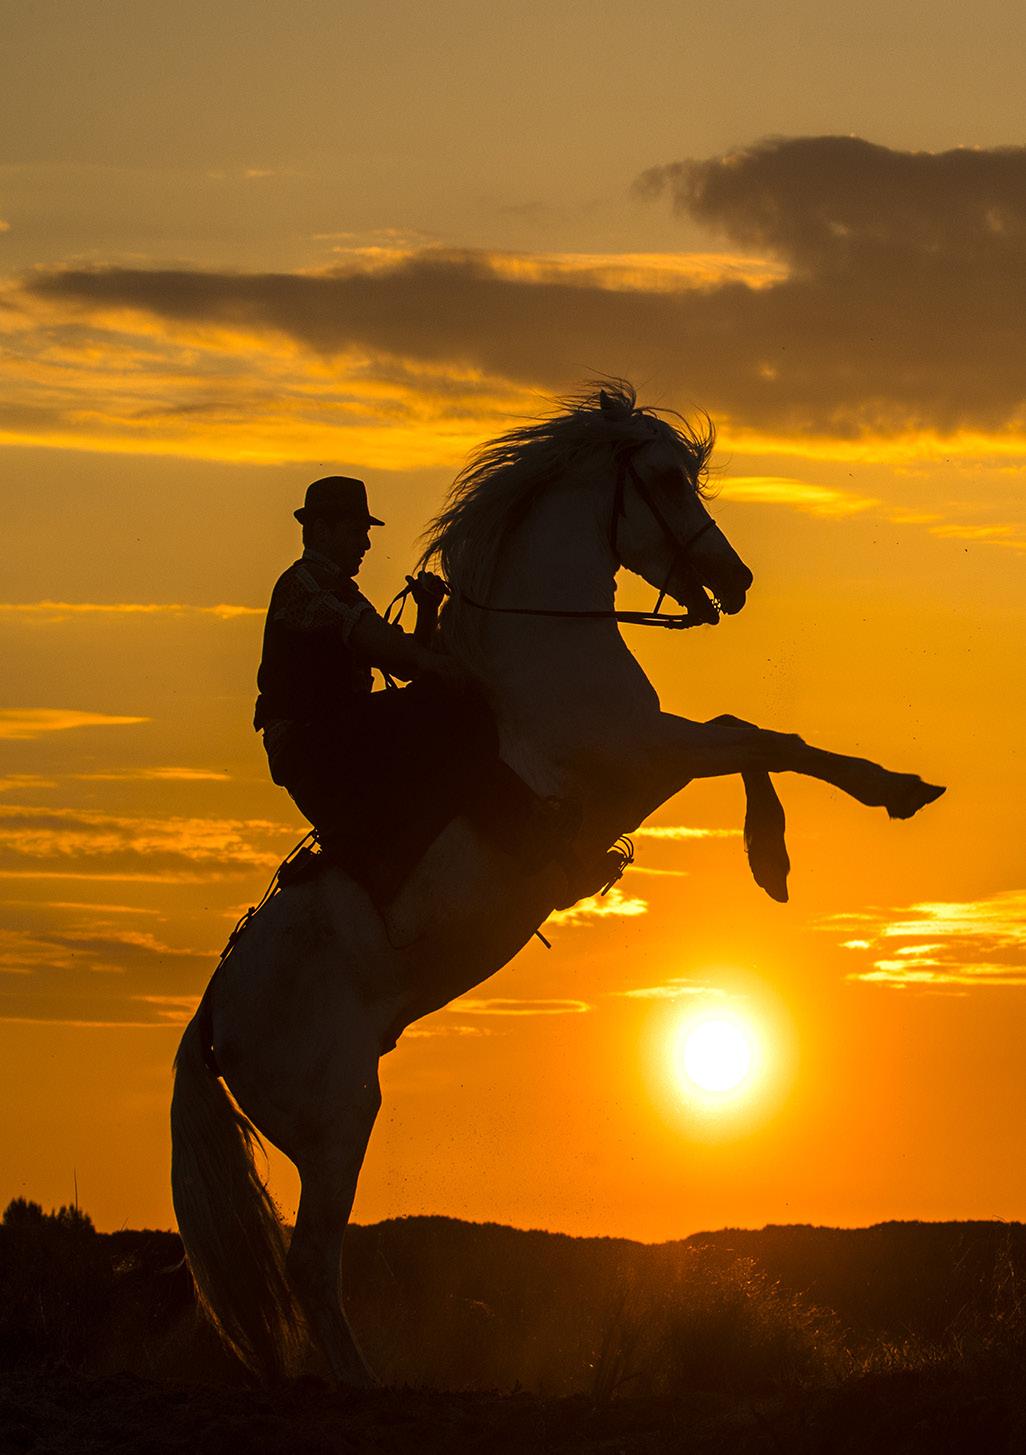
WHITE HORSES of the CAMARGUE
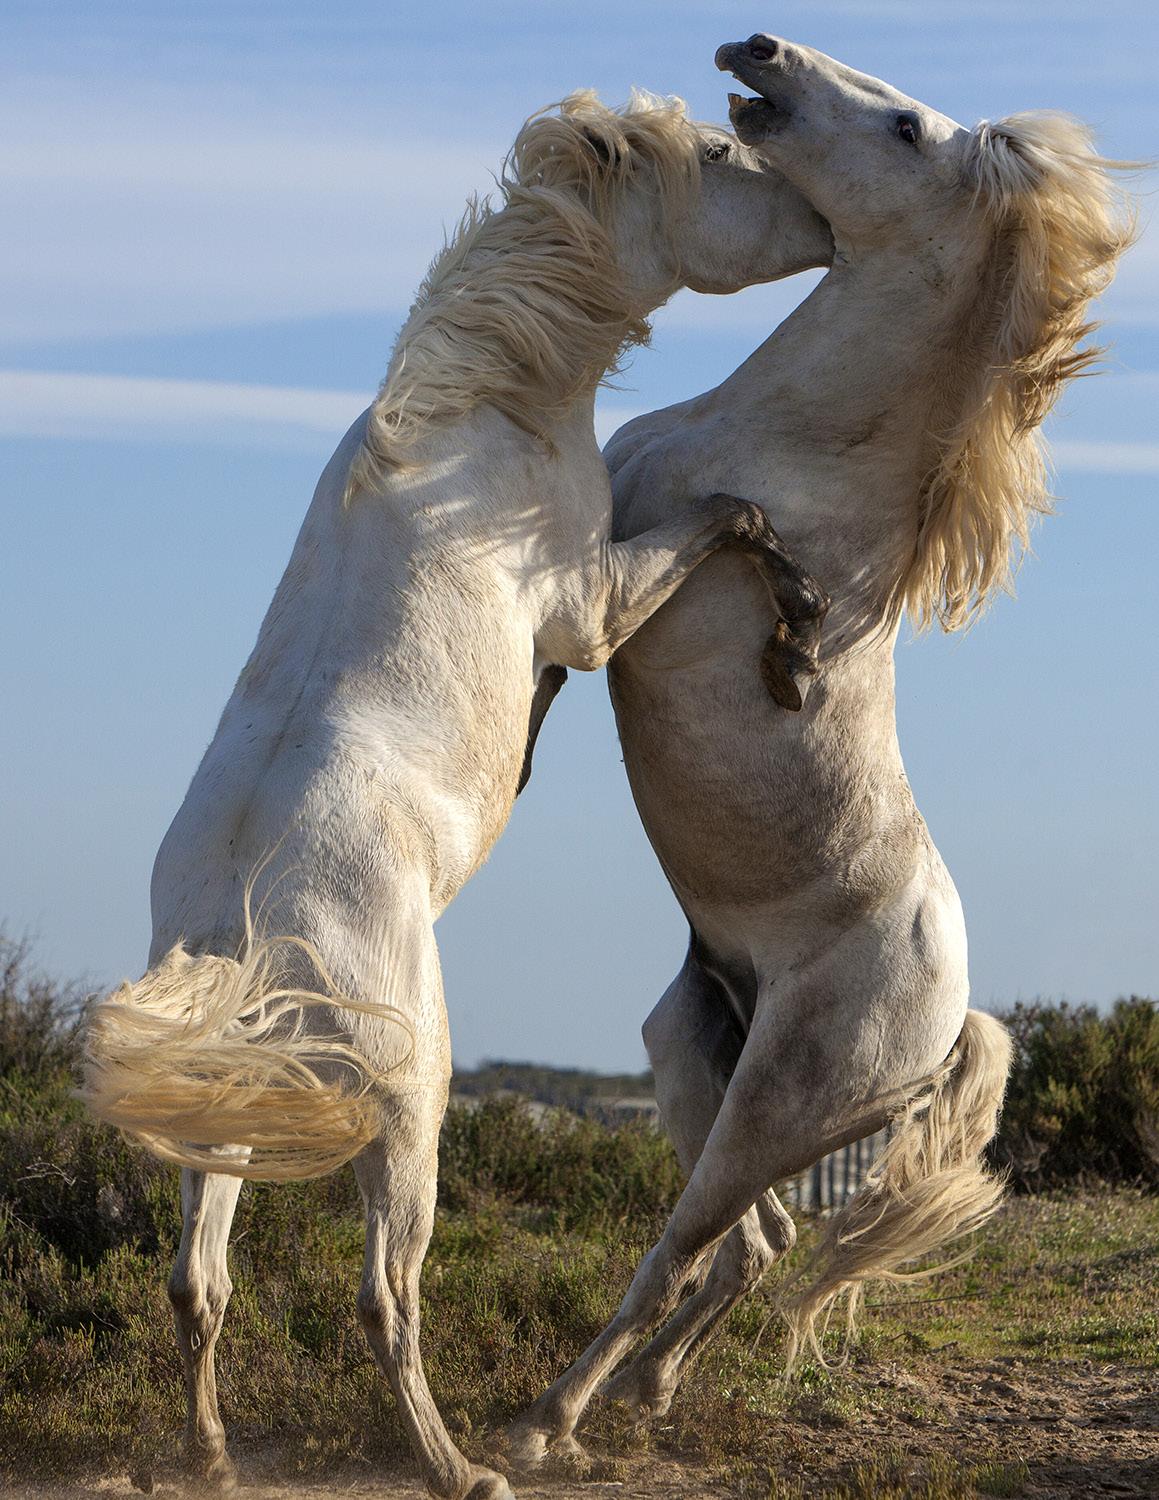
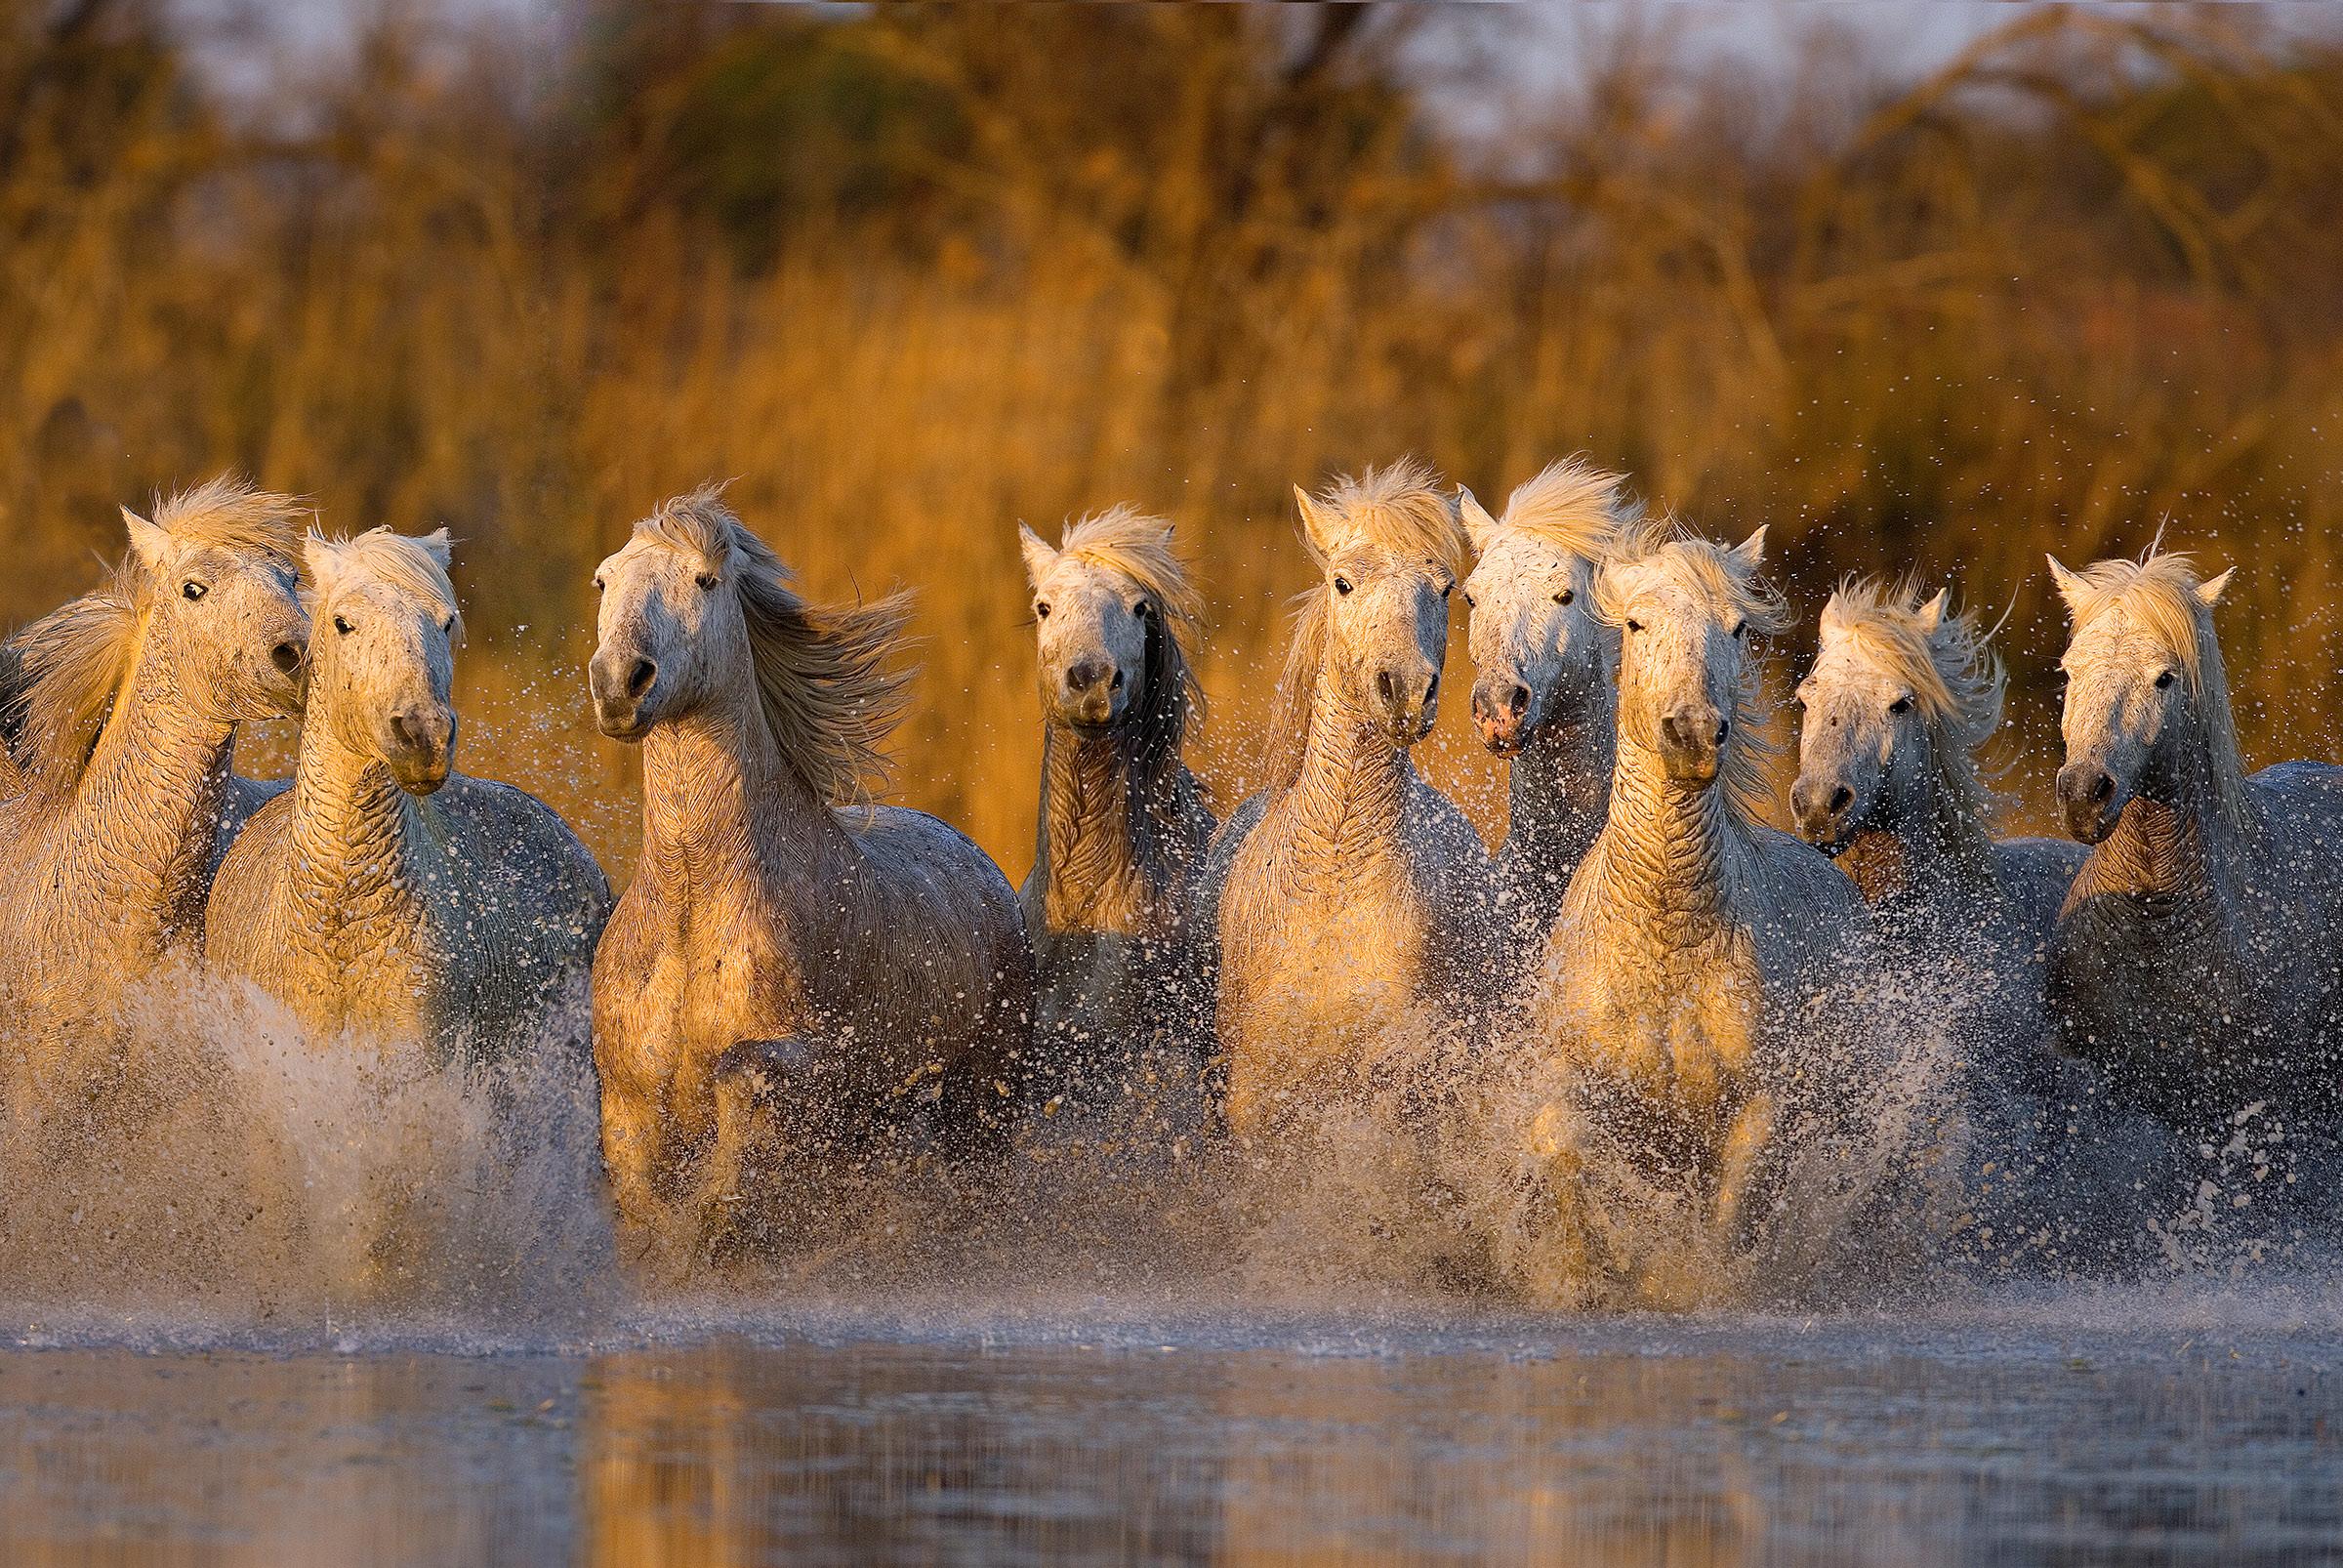
Spectacular photo opportunities of horses in action
May 8- 13, 2023
20
Photography Quiz
1. To ‘texture map’ a photo means:
a. To increase the texture in a photo
b. To wrap the photo onto a 3D surface
c. To lay a grid on a photo
d. None of the above
2. The easiest way to separate hair from a background is with the Photoshop plug-in:
a. Andromeda
b. Eye candy
c. Mask AI
d. Flaming pear
3. Photoshop can be used to simulate studio lighting in a photo:
a. True
b. False
c. When the original photo is backlit
d. When the original photo is front lit
4. If you know Photoshop well and you examine a composite carefully, you can always tell if it’s been manipulated:
a. True
b. False
c. Only when noise is pronounced
d. Only when the image is backlit
5. You can use the liquify tool in Photoshop to change a person’s facial structure so they actually look like a different person:
a. True
b. False
c. Only when the person is facing the lens
d. Only when you’ve taken a profile shot
6. In the hue/saturation dialog box, the color in a photo can be reduced to black and white by moving the saturation slider all the way to the left. Does this discard all color information?
a. Yes
b. No
c. Only when the image is a monochrome
d. Only when the image is RGB
7. When you cut and paste one photo into another, to make the edges between the two images look natural, the pasted-in image should be feathered:
a. One pixel
b. Two pixels
c. Three pixels
d. Four pixels
8. The most precise way of making a selection is with the:
a. Magic wand tool
b. Quick selection tool
c. Lasso tool
d. Pen tool
9. The best blend mode to use for inserting fireworks into a night sky is:
a. Lighten
b. Darken
c. Multiply
d. Overlay
10. The most important reason to shoot in RAW mode is:
a. RAW preserves textures
b. RAW preserves detail in highlights and shadows
c. RAW enables the photographer to capture more saturated colors
d. RAW files convert to black and white with no loss of contrast
21 Answers on page 49
UPCOMING PHOTO WORKSHOPS
Frog and Reptile Workshop
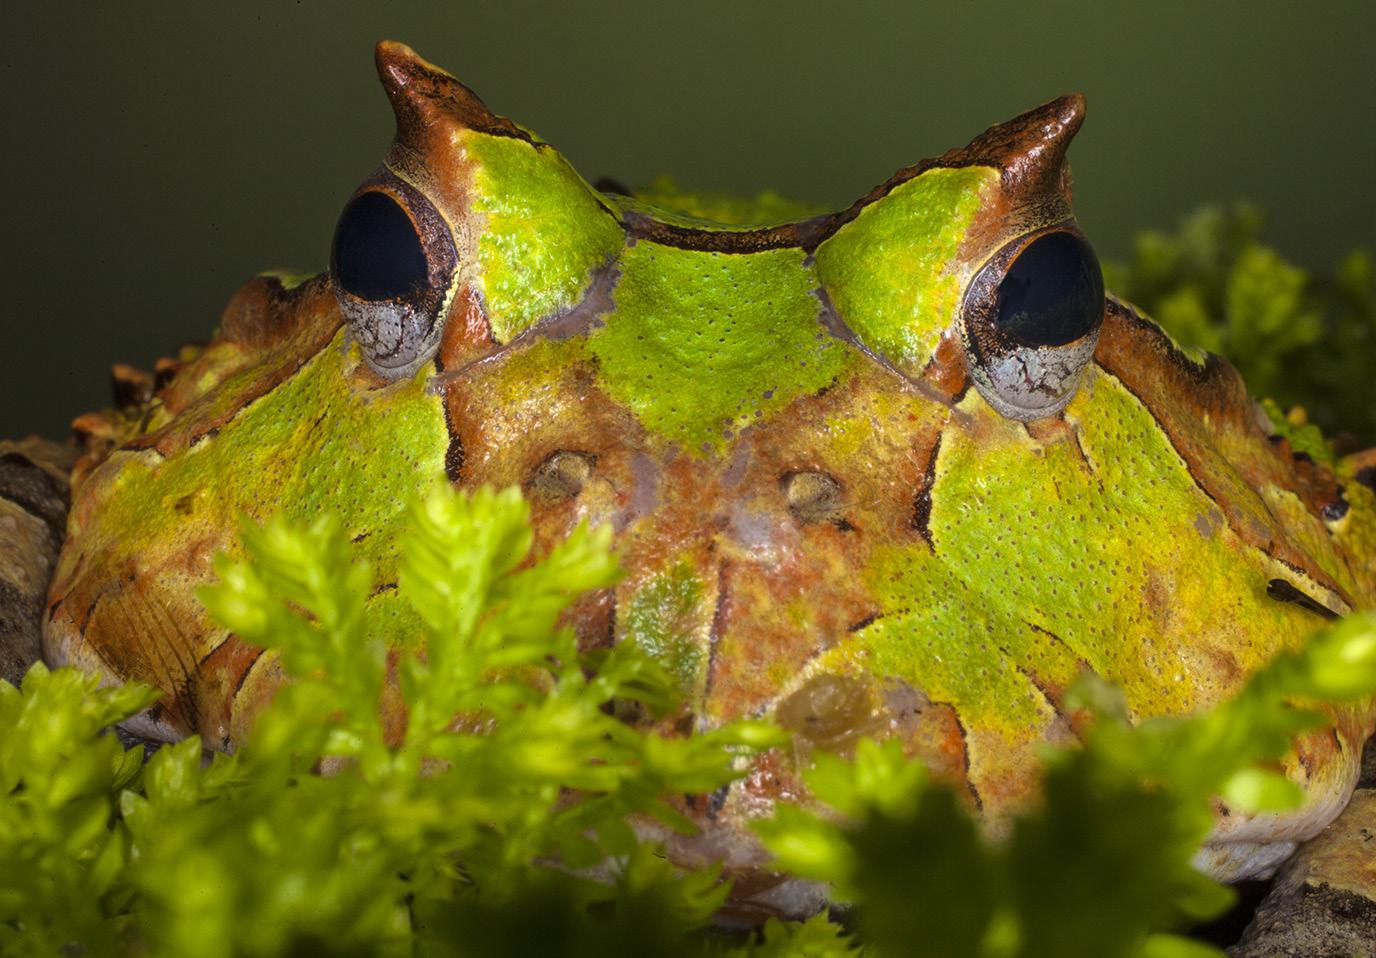
This is a macro workshop where you will have up close and personal encounters with exotic poison dart frogs and primitive looking reptiles. Jim will explain how to use a ring flash to simulate difused daylight, and he will talk a lot about depth of field as it relates to macro work. This workshop takes place in Kansas city.
August 19 - 20, 2023
Mystical Swamps of Louisiana
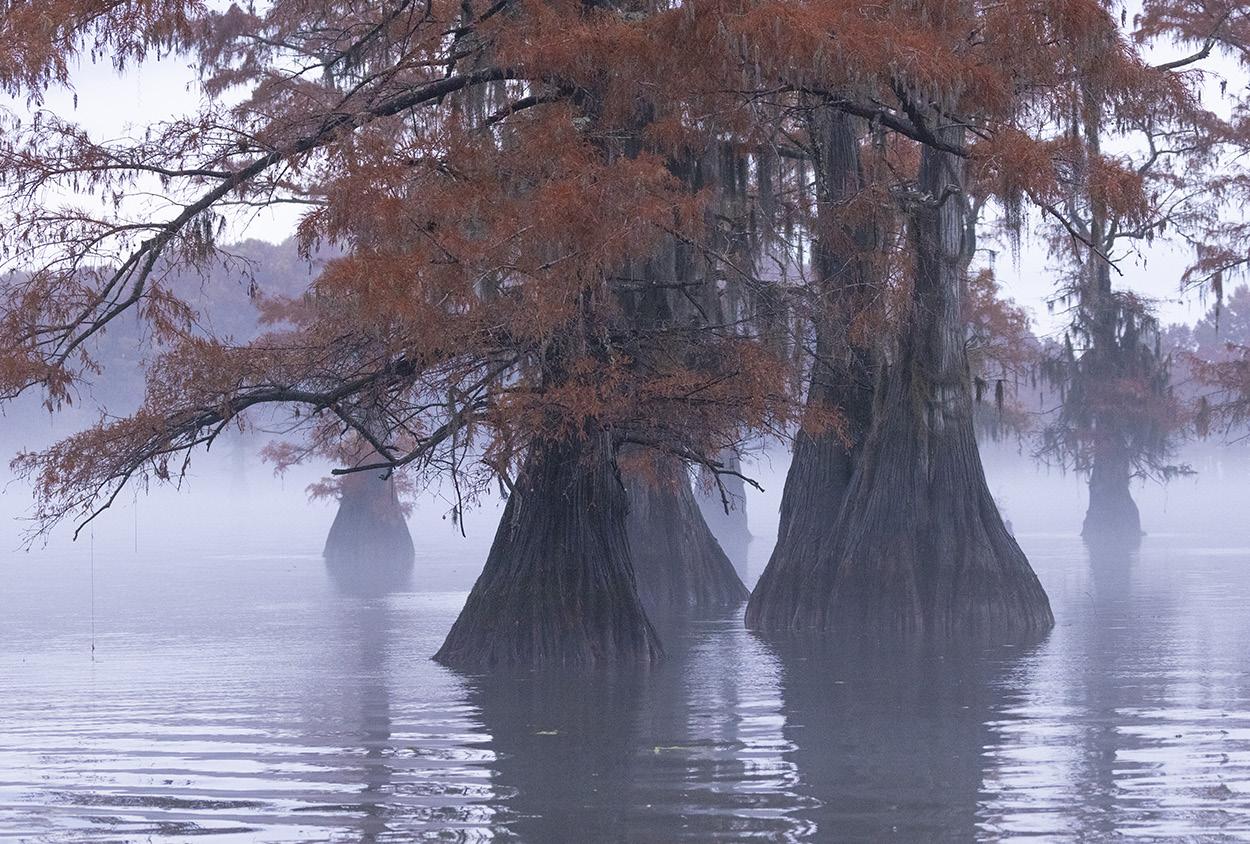
Autumn in the swamps of Louisiana (and Texas) is spectacular. The mix of orange and green leaves is beautiful, and at this time of year we have the best chance of photographing fog. There are egrets, herons, and osprey to photograph as well as alligators in this primeval and mystical environment.
October 21 - 25, 2023
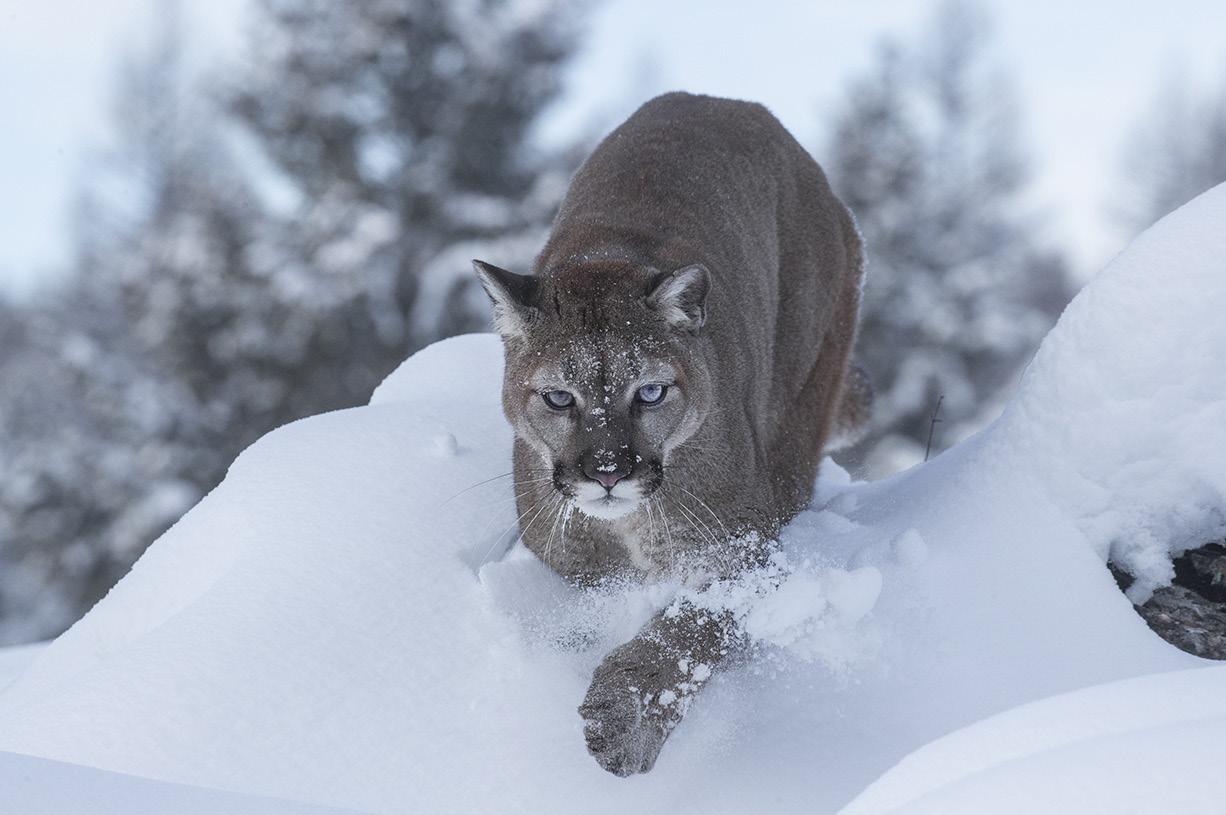
Winter Wildlife Workshop
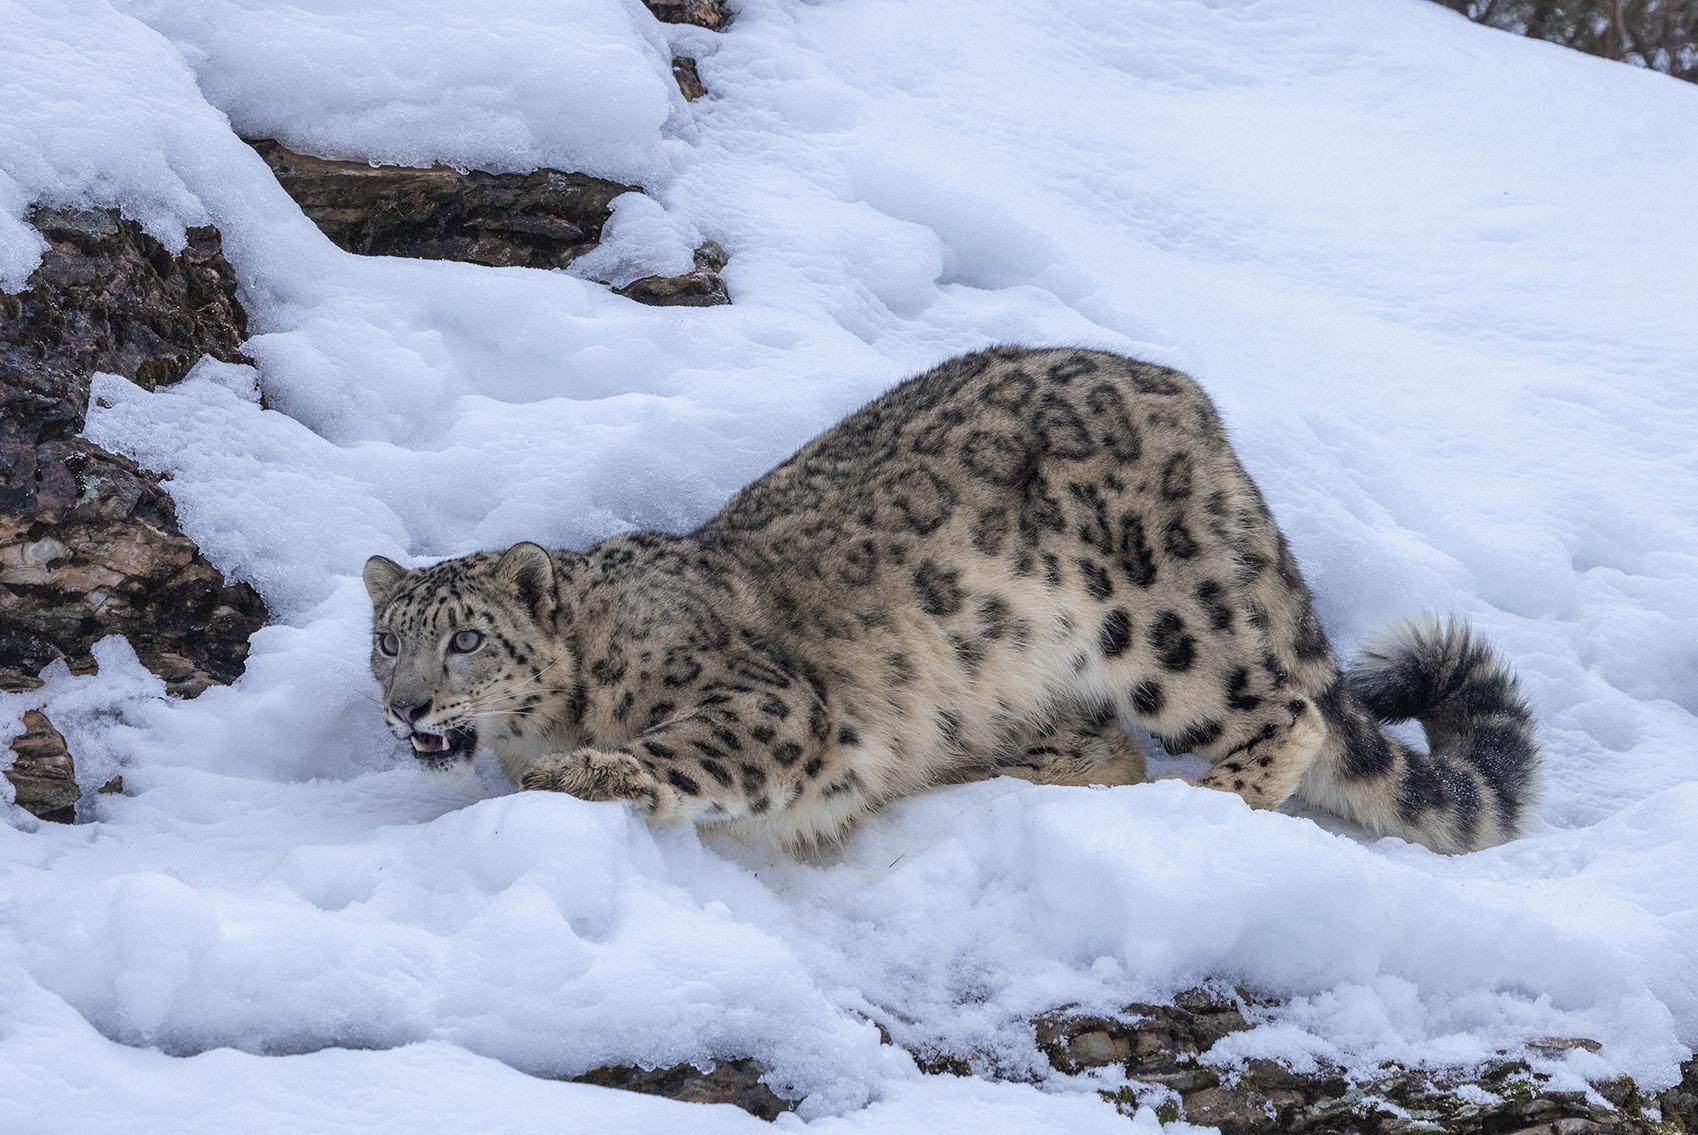
Photograph beautiful North American mammals plus a snow leopard in natural environments. Mountain lions, red foxes, arctic foxes, bobcats, lynx, wolves and more are in their full winter coats. This is a very special workshop.
January 5 - 10, 2024
1919 10 w
22


18 Expand your photographic artistry with eBooks
on any ebook to see inside 23
Click



2321 212123 21 1919
continued Click on any ebook to see inside 24
eBooks
WINTER WILDLIFE WORKSHOP
January 5 -10, 2024

23
25
What’s wrong with this picture?
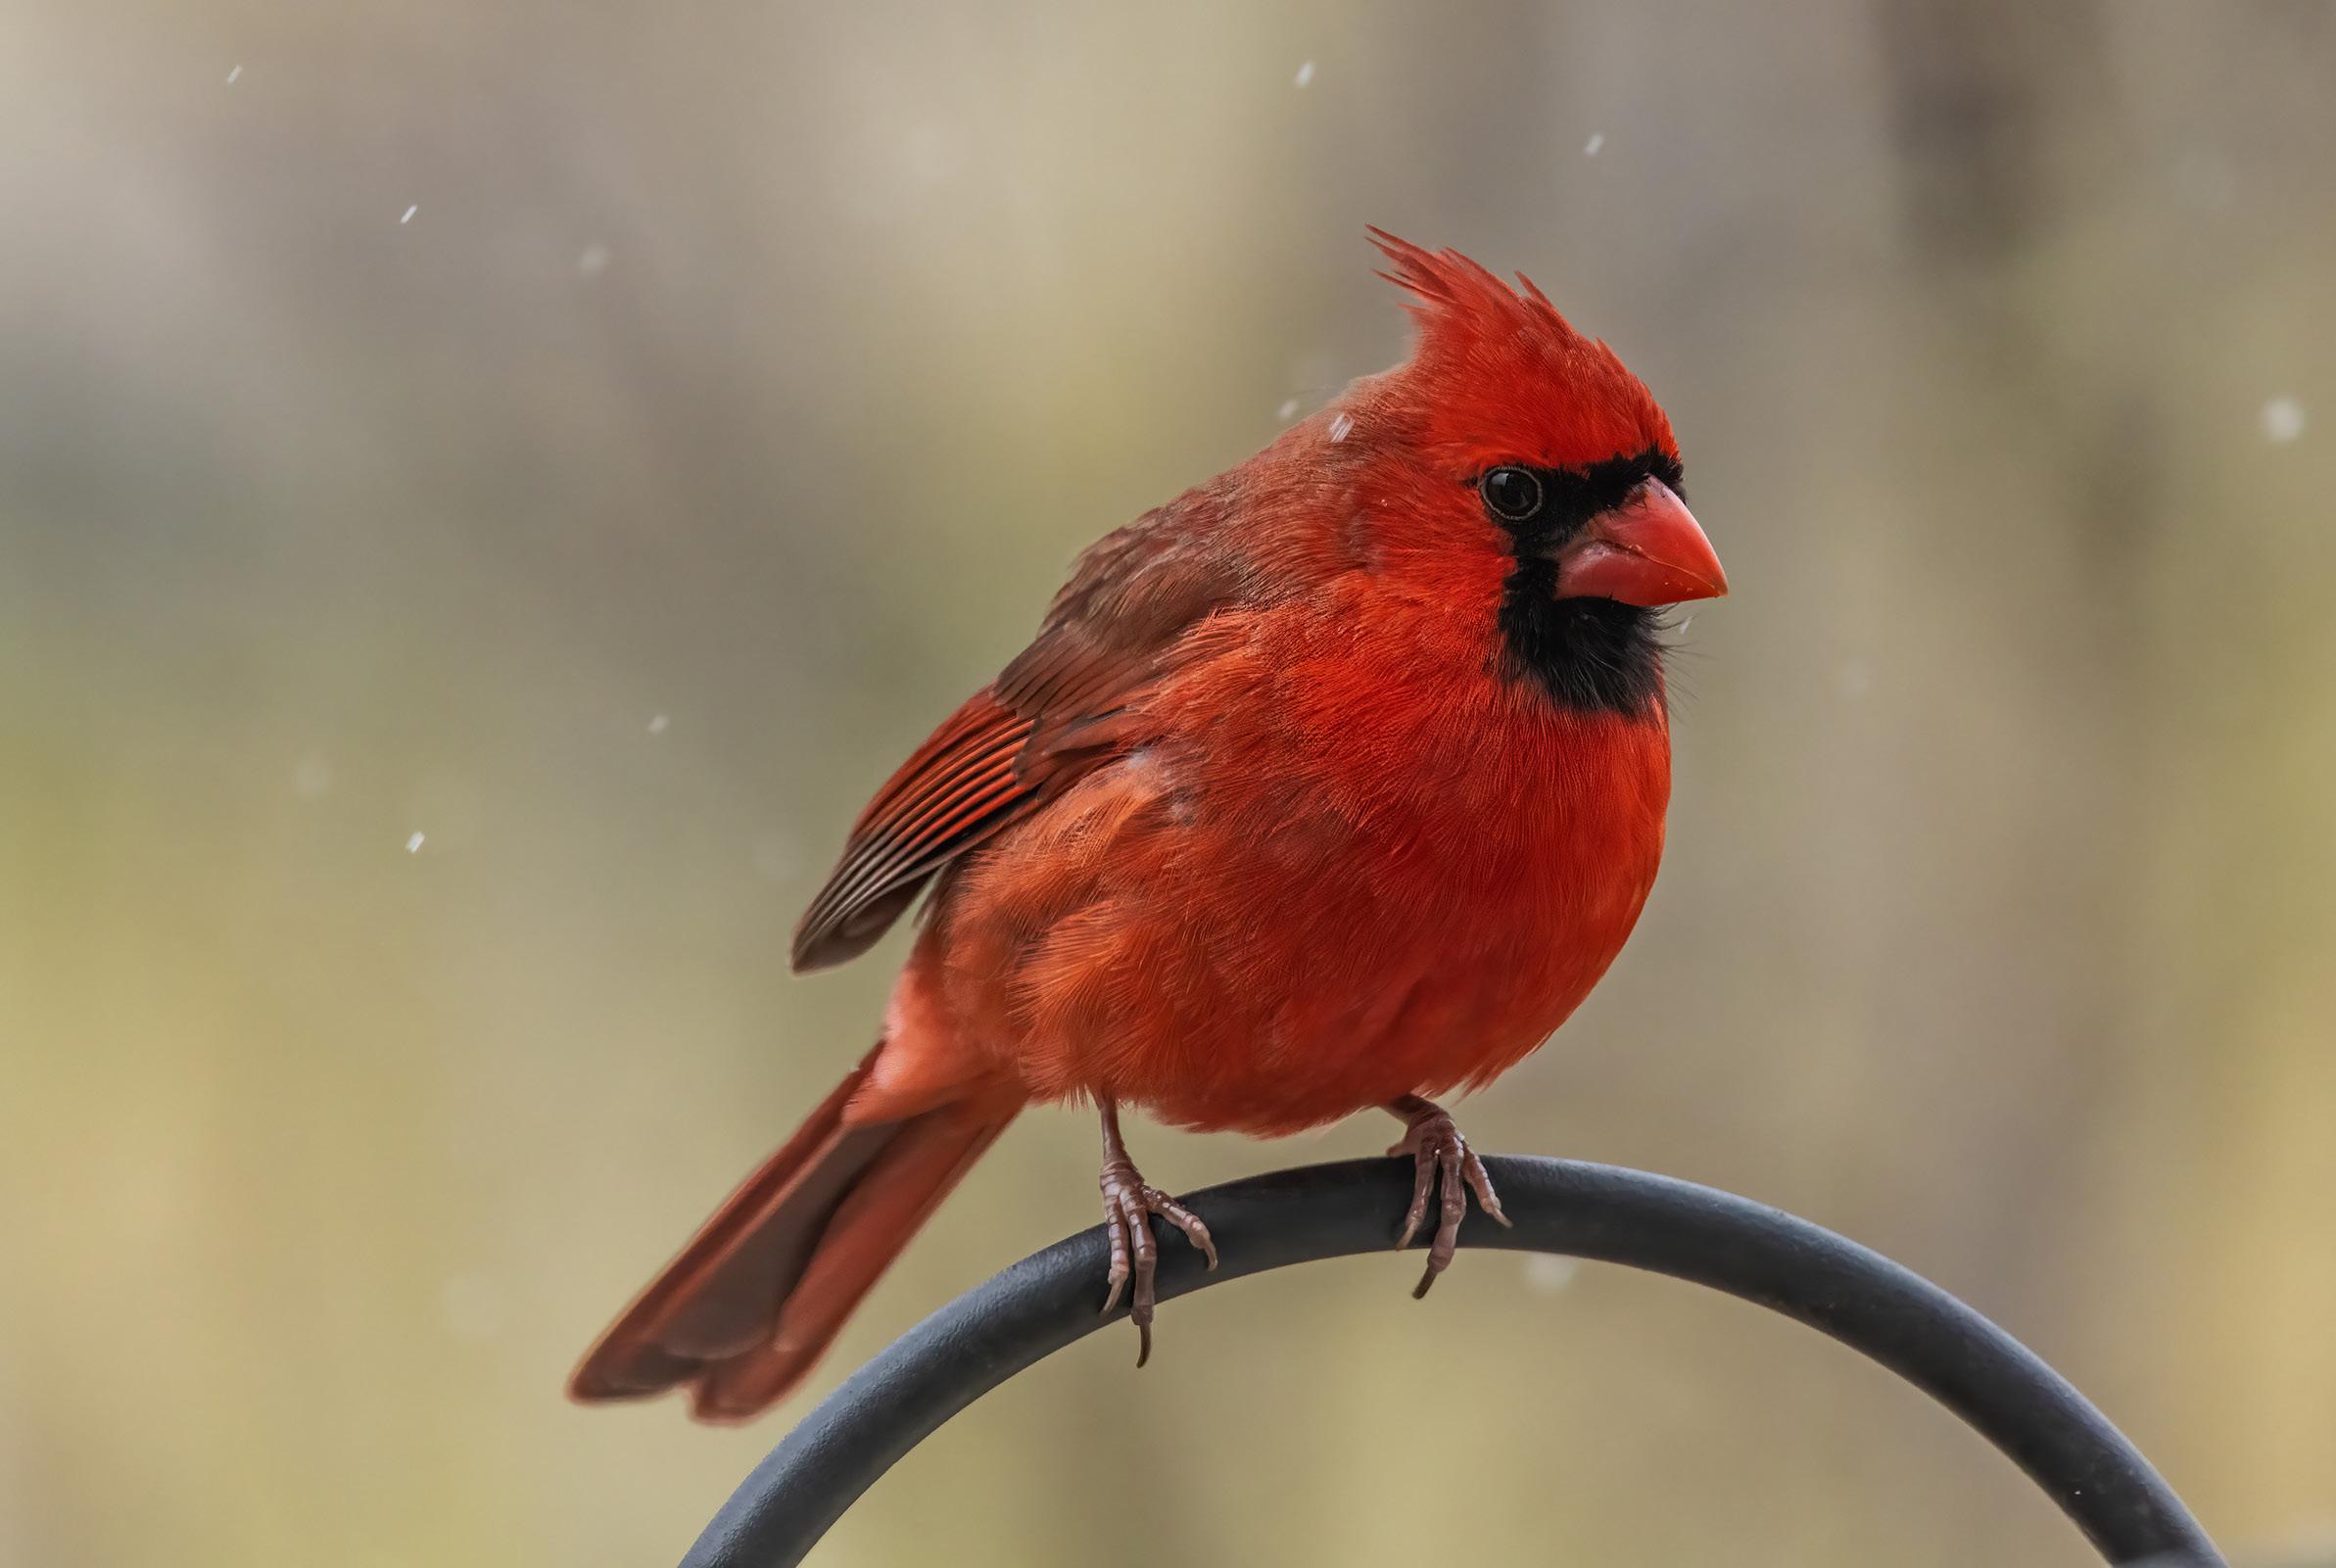
This male cardinal was taking advantage of a feeder I have hanging on my back deck, and on this particular feeder I didn’t take the time to create a natural perch. The cardinal landed on the curved metal piece before feeding. This isn’t terrible, but most nature photographers try to avoid -- in most situations -- anything manmade. The pictures seem less natural, less wild.
The picture on the next page illustrates how a completely natural perch looks a lot better. The challenge, of course, is how to do that so it looks perfect.
The key to most successful composites in Photoshop is making precise selections. In order to place a small branch in such a way that it appears as if the bird is perching on it, I had to use the pen tool at 200% to make a precise selec-
26
tion around the feet. Once that was done, I used Select > inverse which selected everything except the feet. Previously, I’d chosen a picture of a small branch and, again, used the pen tool to select it. With Edit > copy, I copied the image of the branch to the clipboard -- Photoshop’s temporary holding place for a photo or part of a photo. Now I used Edit > paste special > paste into. This placed the branch behind the feet.
Using the move tool, I moved the branch in place, but the angle wasn’t right. Therefore, I chose Edit > transform > rotate, and this allowed me to rotate the branch until it made sense given the position of the cardinal’s feet. Both the picture of the branch and the picture of the cardinal were the same size. §

27
SHORT AND SWEET
1. I carry a neutral density filter with me all the time when I’m shooting. In mid-day there is too much light, even at 100 ISO and f/32, to use a long enough exposure to blur a body of water. The ND filter reduces light by typically 6 to 10 f/stops. This exposure was 20 seconds.

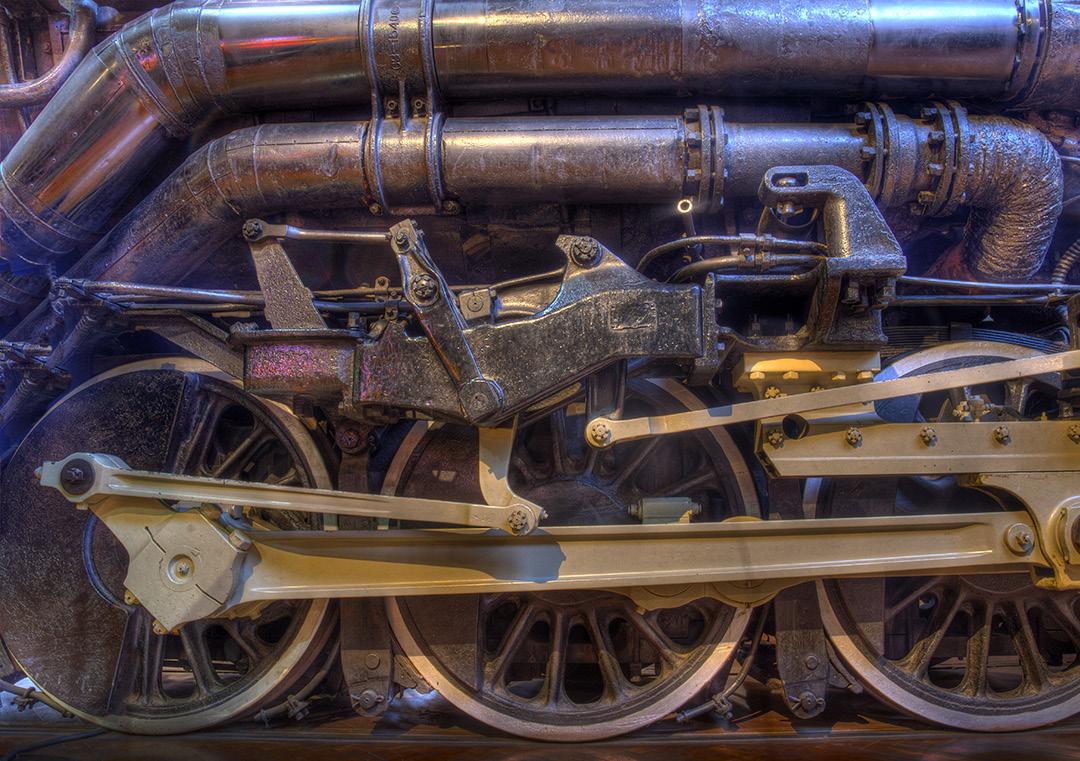
2. Contrast can be such that HDR is the only way to show detail in the highlights and the shaddows. I used a 5-frame HDR sequence to composite this shot of a locomotic in a Detroit museum. It’s interesting to note that even if the ISO is high, noise is random. When the frames are combined, noise disappears.
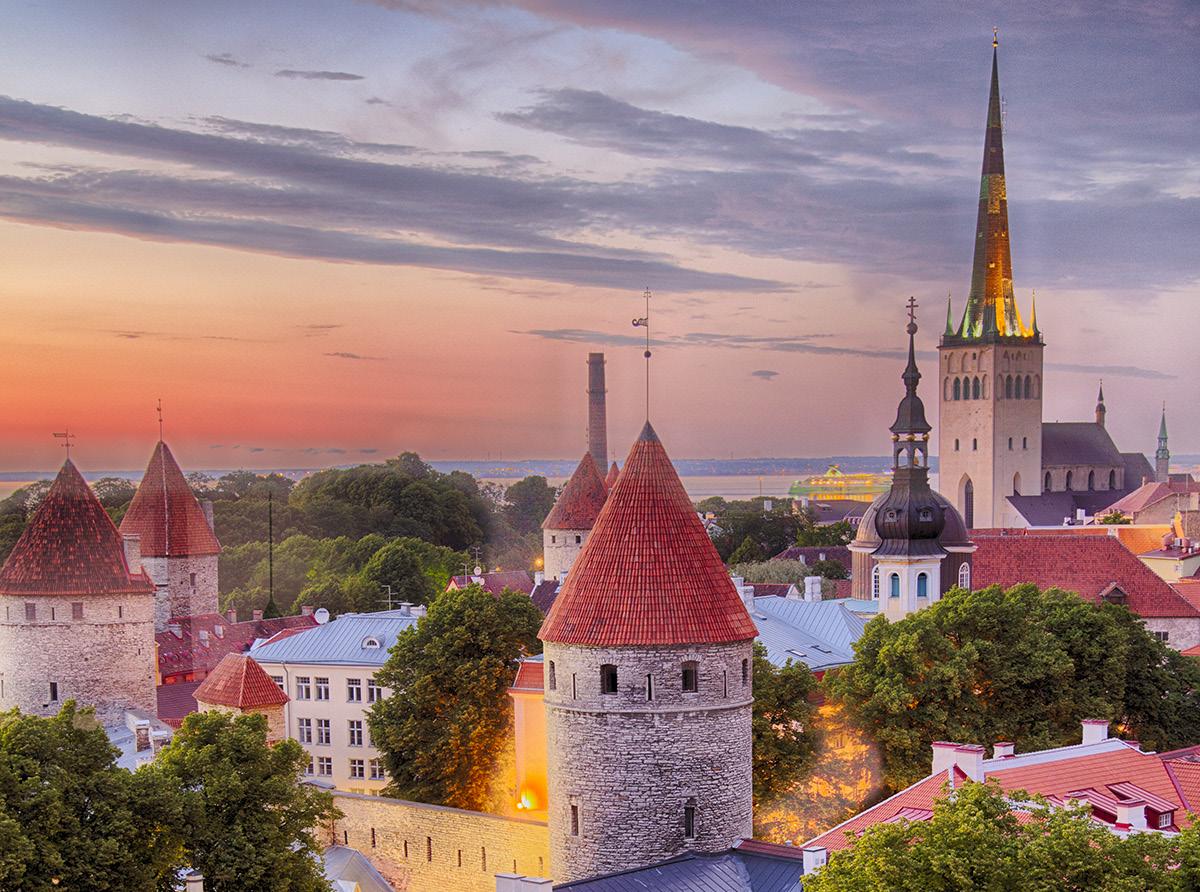
3. This is dusk in Tallon, Estonia. I took this shot at 1:30am because this city is so far north. If you want to shoot dusk and twilight, make sure you plan your trips so you know when the sun sets and the blue hour occurs. Midsummer in high latitudes means the sun sets really late.
4. Birds with large, protruding beaks have to be photographed with the head of the bird turned so the beak is parallel with the back of the camera. This is especially true when using a long lens. Otherwise, you’ll never have enough depth of field to render all of the beautiful detail with the sharpness you want. §

28
Coast of France

April 4 - 13, 2024

29
ASK JIM
Every month, Jim will answer a question from his online students, from people who participate in his tours and workshops, or from subscribers to this magazine. If you have a question you’d like Jim to answer, please drop him a note at photos@jimzuckerman.com.
Q: Jim . . . In most of the settings you note in the February issue, the aperture settings reommended to produce sharp images are f/16, f/22 or even f/32. Don’t aperture settings of this size cause issues because of diffraction?
 Richard Smith, Pensacola, Florida
A: Yes, Richard, they do. Many people have asked me about this. Your choice is between diffraction and shallow depth of field. If you need dof, you can either use a small aperture or focus stack. Those are the two choices. Focus stacking at, say, f/8 doesn’t have any diffraction.
Ansel Adams, who shot 8×10 inch negatives, had a club named the F/64 Club, referring to large format users. They used their smallest aperture also because it was the only way to show as much detail as possible in the images. The slight amount of image degradation due to diffraction was insignificant because of the gain in focus from front to back. Otherwise backgrounds would always be out of focus. For landscape photography, you always need complete depth of field. §
[
30
Partial List of Photography Tours 2022 - 2024
BEST of SOUTHERN NATURE
Apr 2023
TEXAS BIRDS/BLUEBONNETS
Apr 2023
WHITE HORSES, FRANCE

May 2023
ENGLAND and WALES

HUDSON RIVER VALLEY
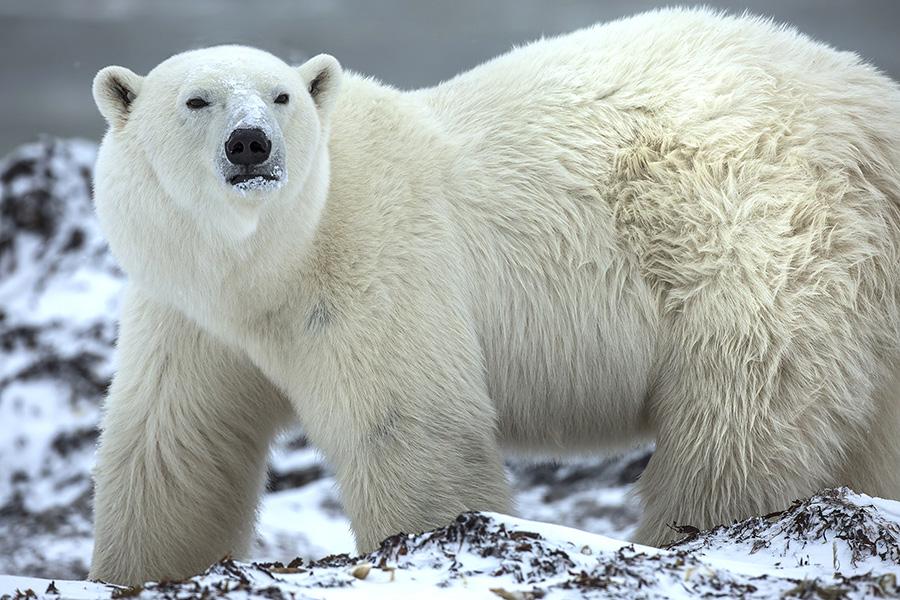
POLAR BEARS/Canada
Sep 2023
Oct 2023
Nov 2023 WINTER WILDLIFE

Jan 2024
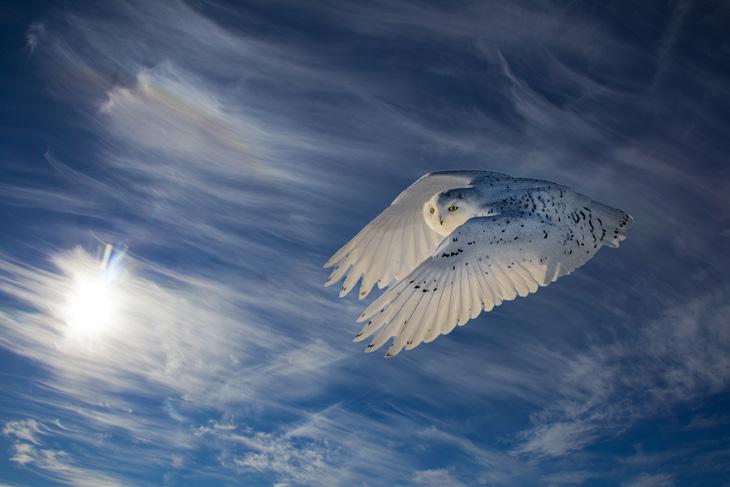
SNOWY OWLS
Jan 2024
CARNIVAL in VENICE

Feb. 2024
HOLLAND & BELGIUM

Apr/May 2024
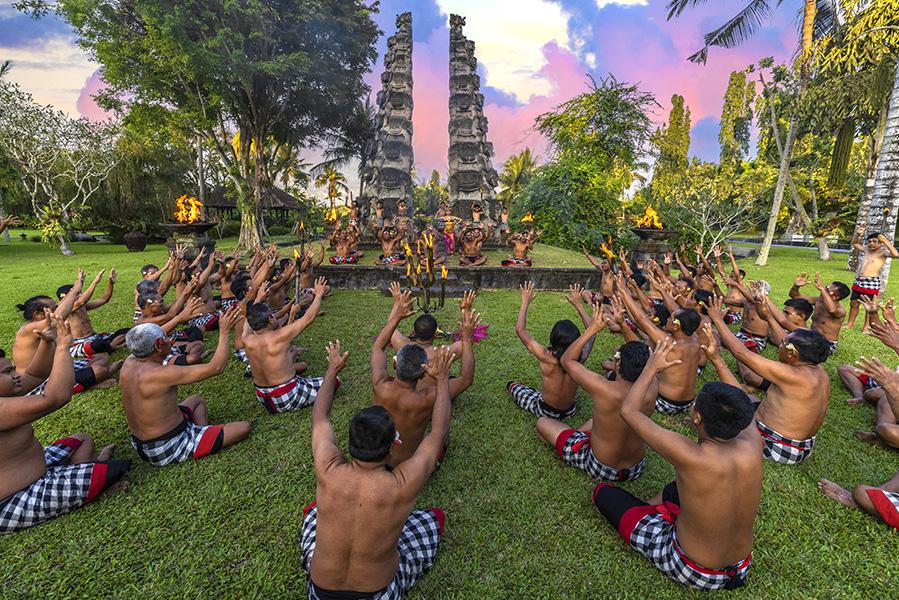
INDONESIA
Jul/Aug 2024
ICELAND DRONE TOUR

Aug 2024
For a complete list of all the photo tours/workshops Jim conducts, go to his website: www.jimzuckerman.com.


31
Polar Bears from

Ground
November 9 - 16, 2023
Based in Churchill, Canada
Level
32
j
Student Showcase
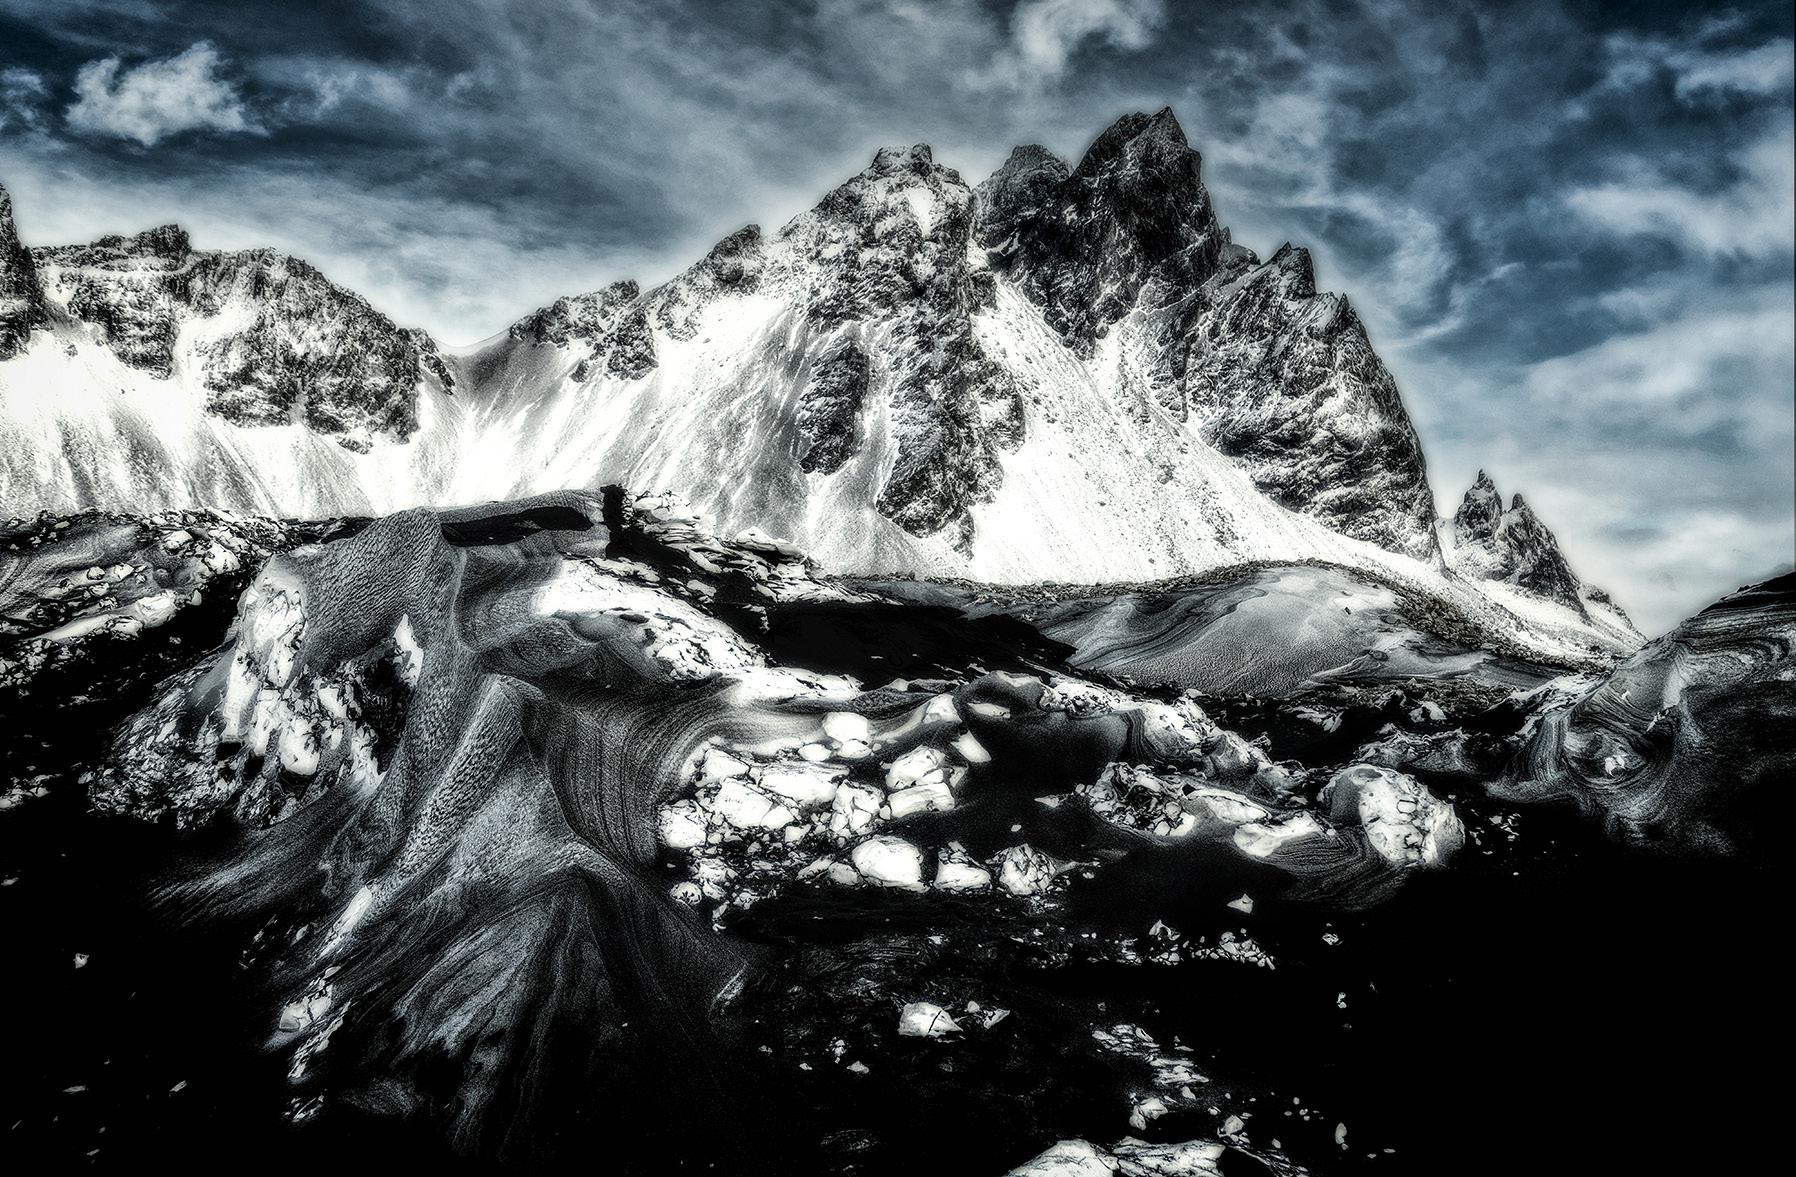
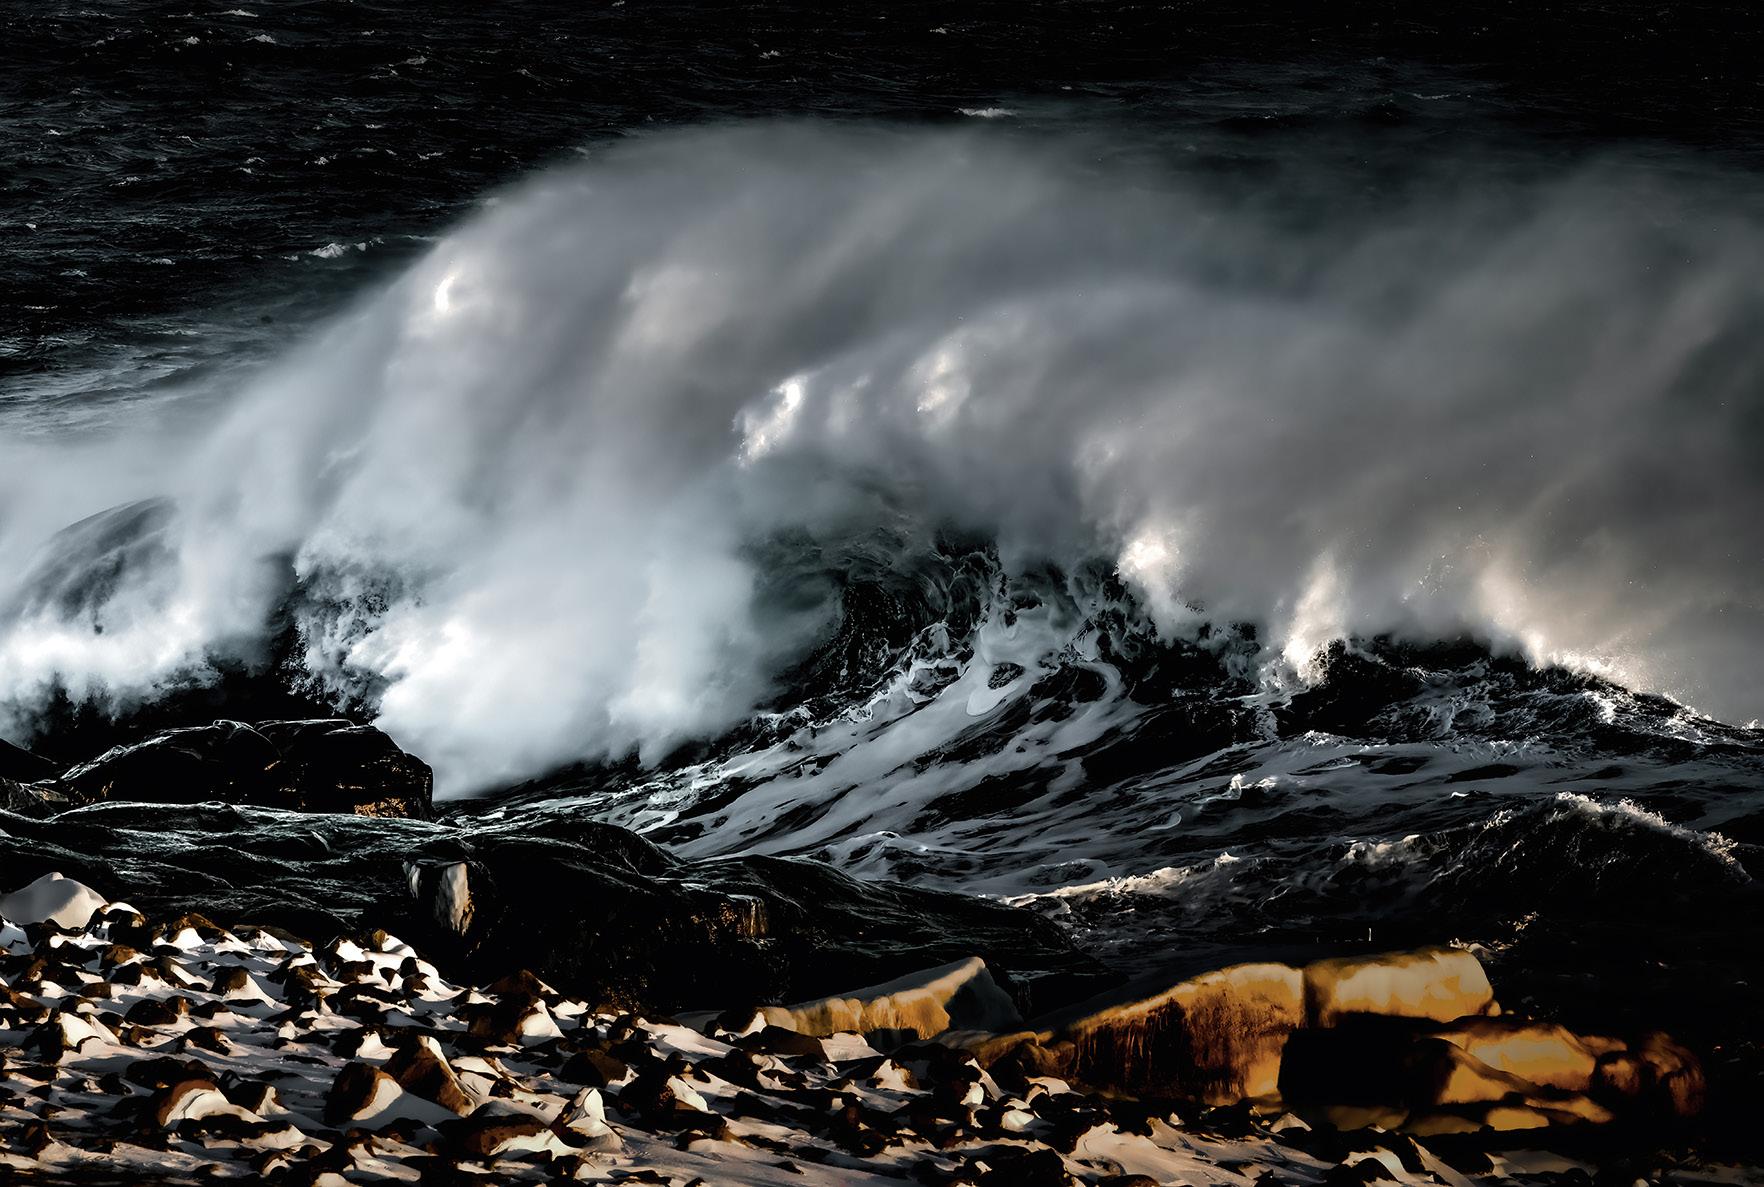
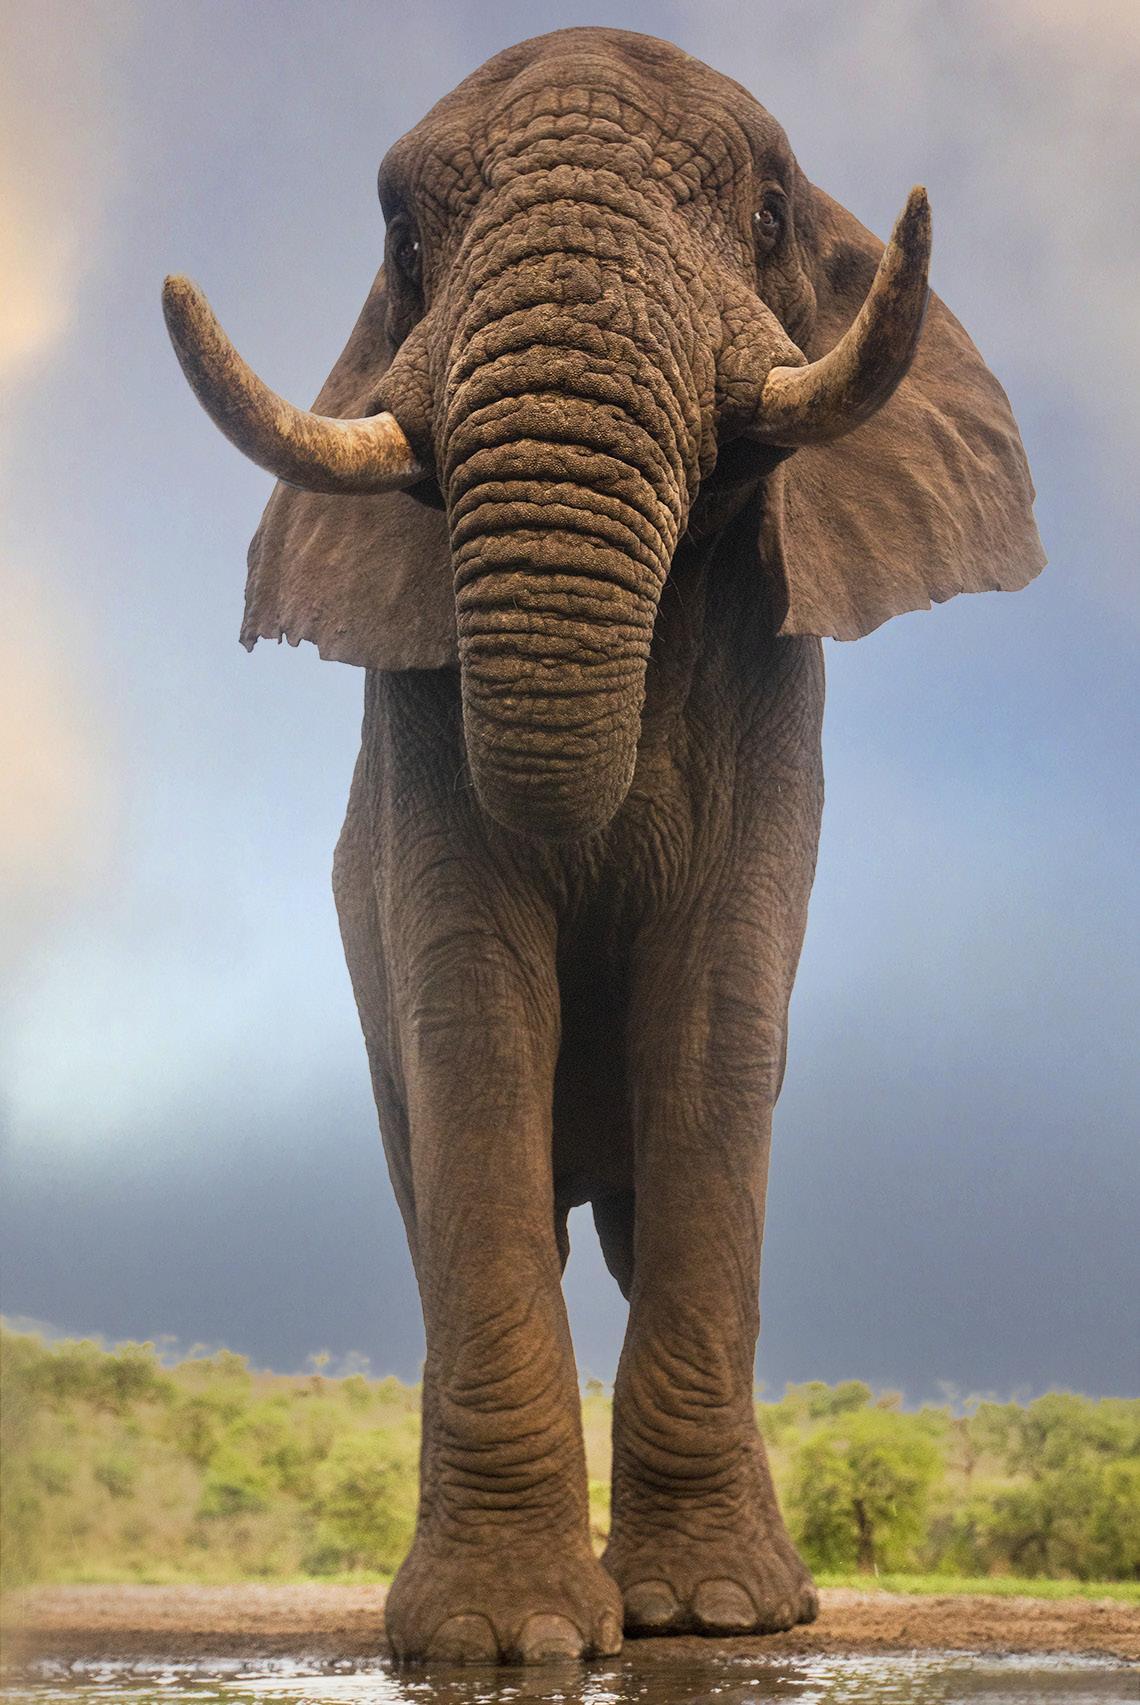
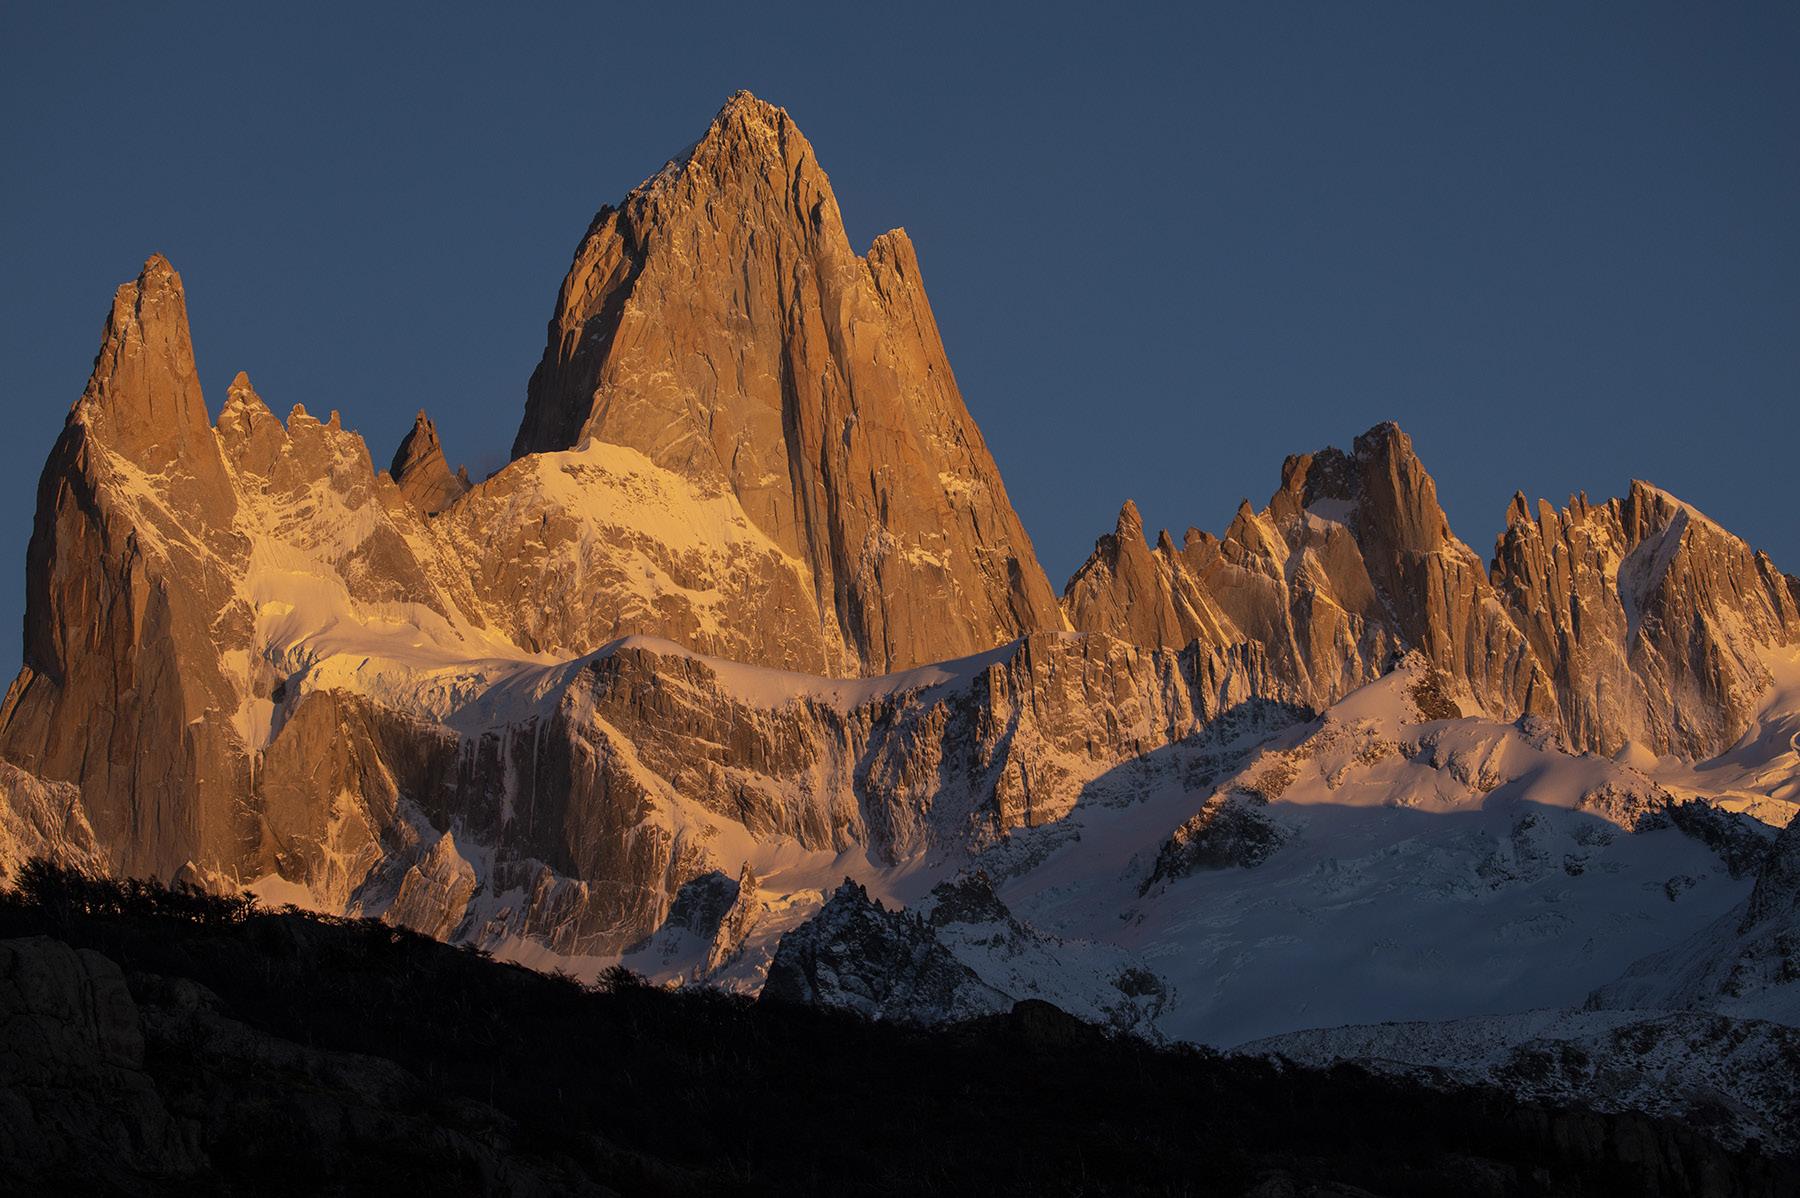
Each month, Jim features one student who took beautiful and inspiring images on one or more of his photography tours or workshops. It’s really fascinating how photographers see and compose such different images even though we may go to the same places. Everyone gets great photographs on Jim’s trips.
33 27 27
33
Cheryl Roth, Yorba Linda, California Snowy Owl Workshop, Winter Wildlife Workshop, Patagonia photo tour, Iceland photo tour


34 33 31 29 29
34
Student Showcase, continued
Student Showcase, continued


3533 29 293129 31 33 35 33 37

33 33 31 31 33 34
36
Student Showcase, continued
ENGLAND & WALES PHOTO TOUR
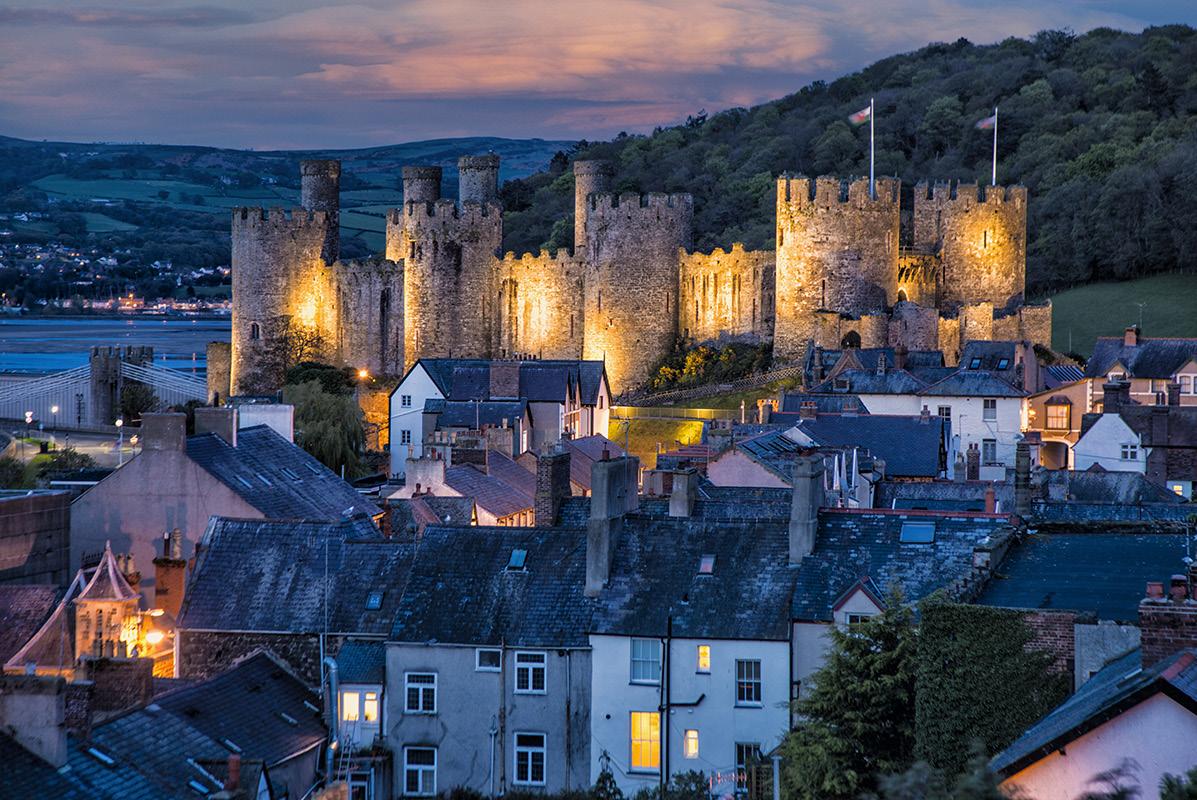
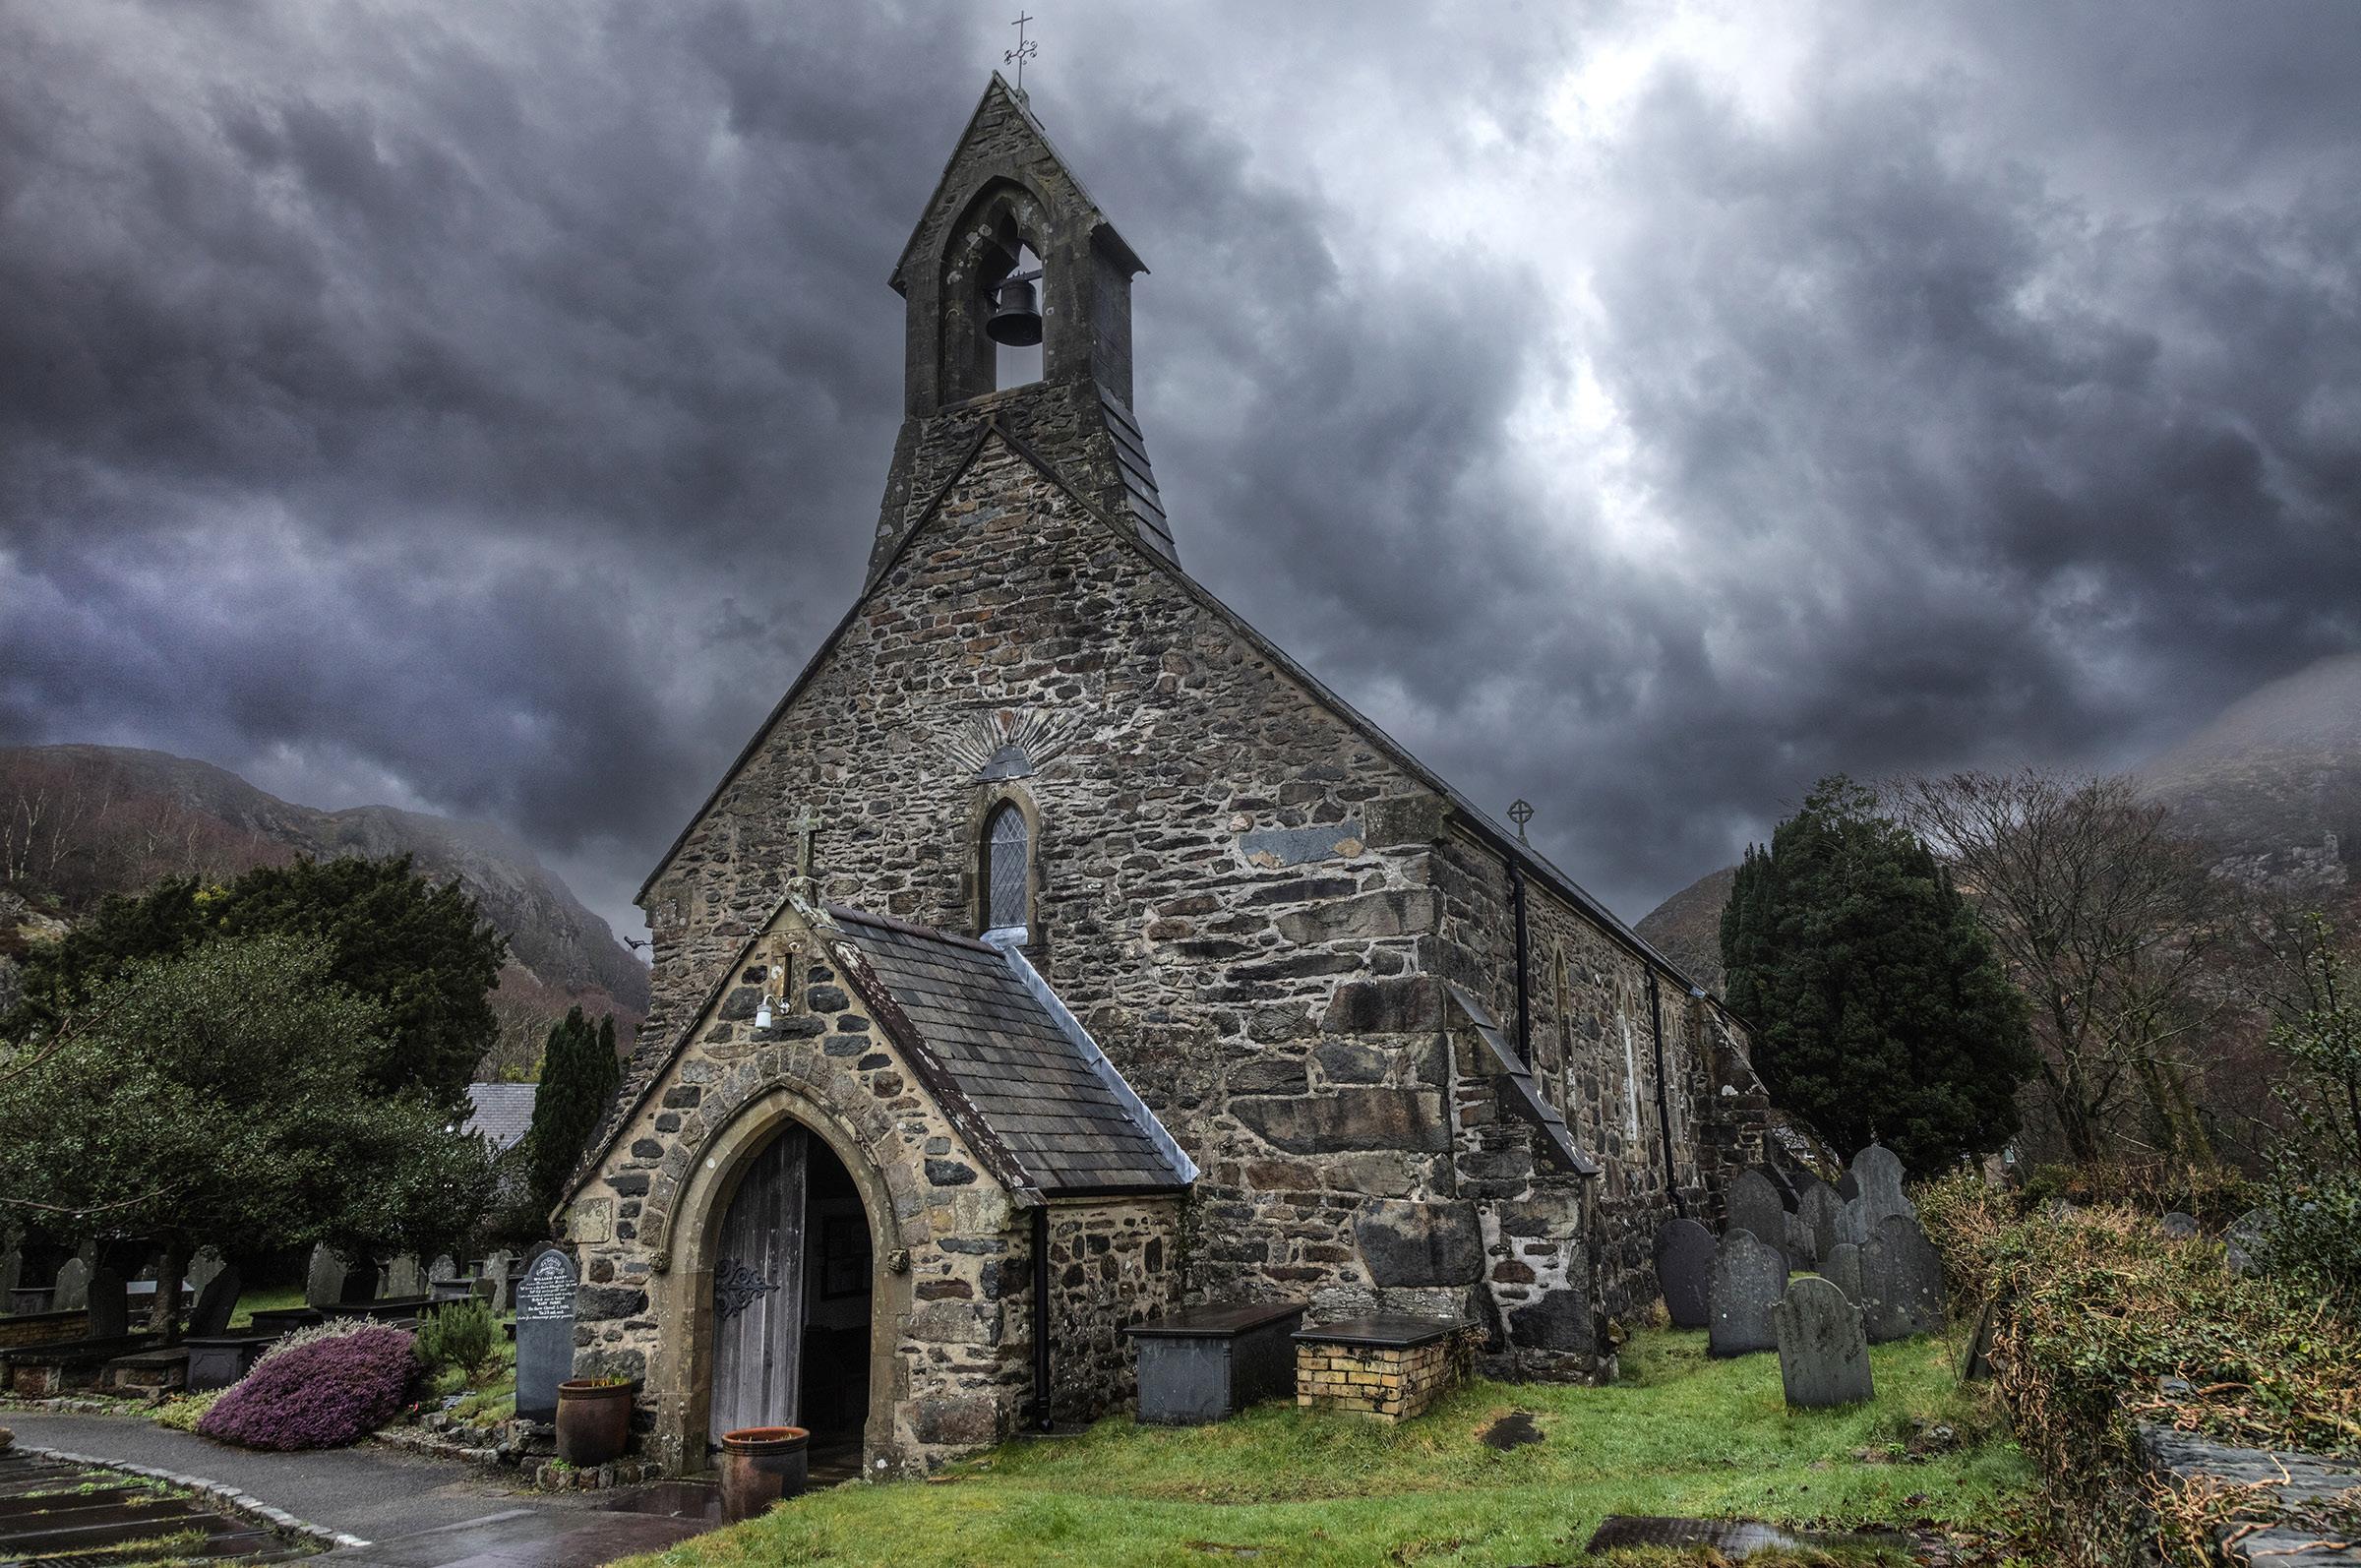
Medieval ruins Quaint villages
Awesome architecture
September 12 - 22, 2023
37
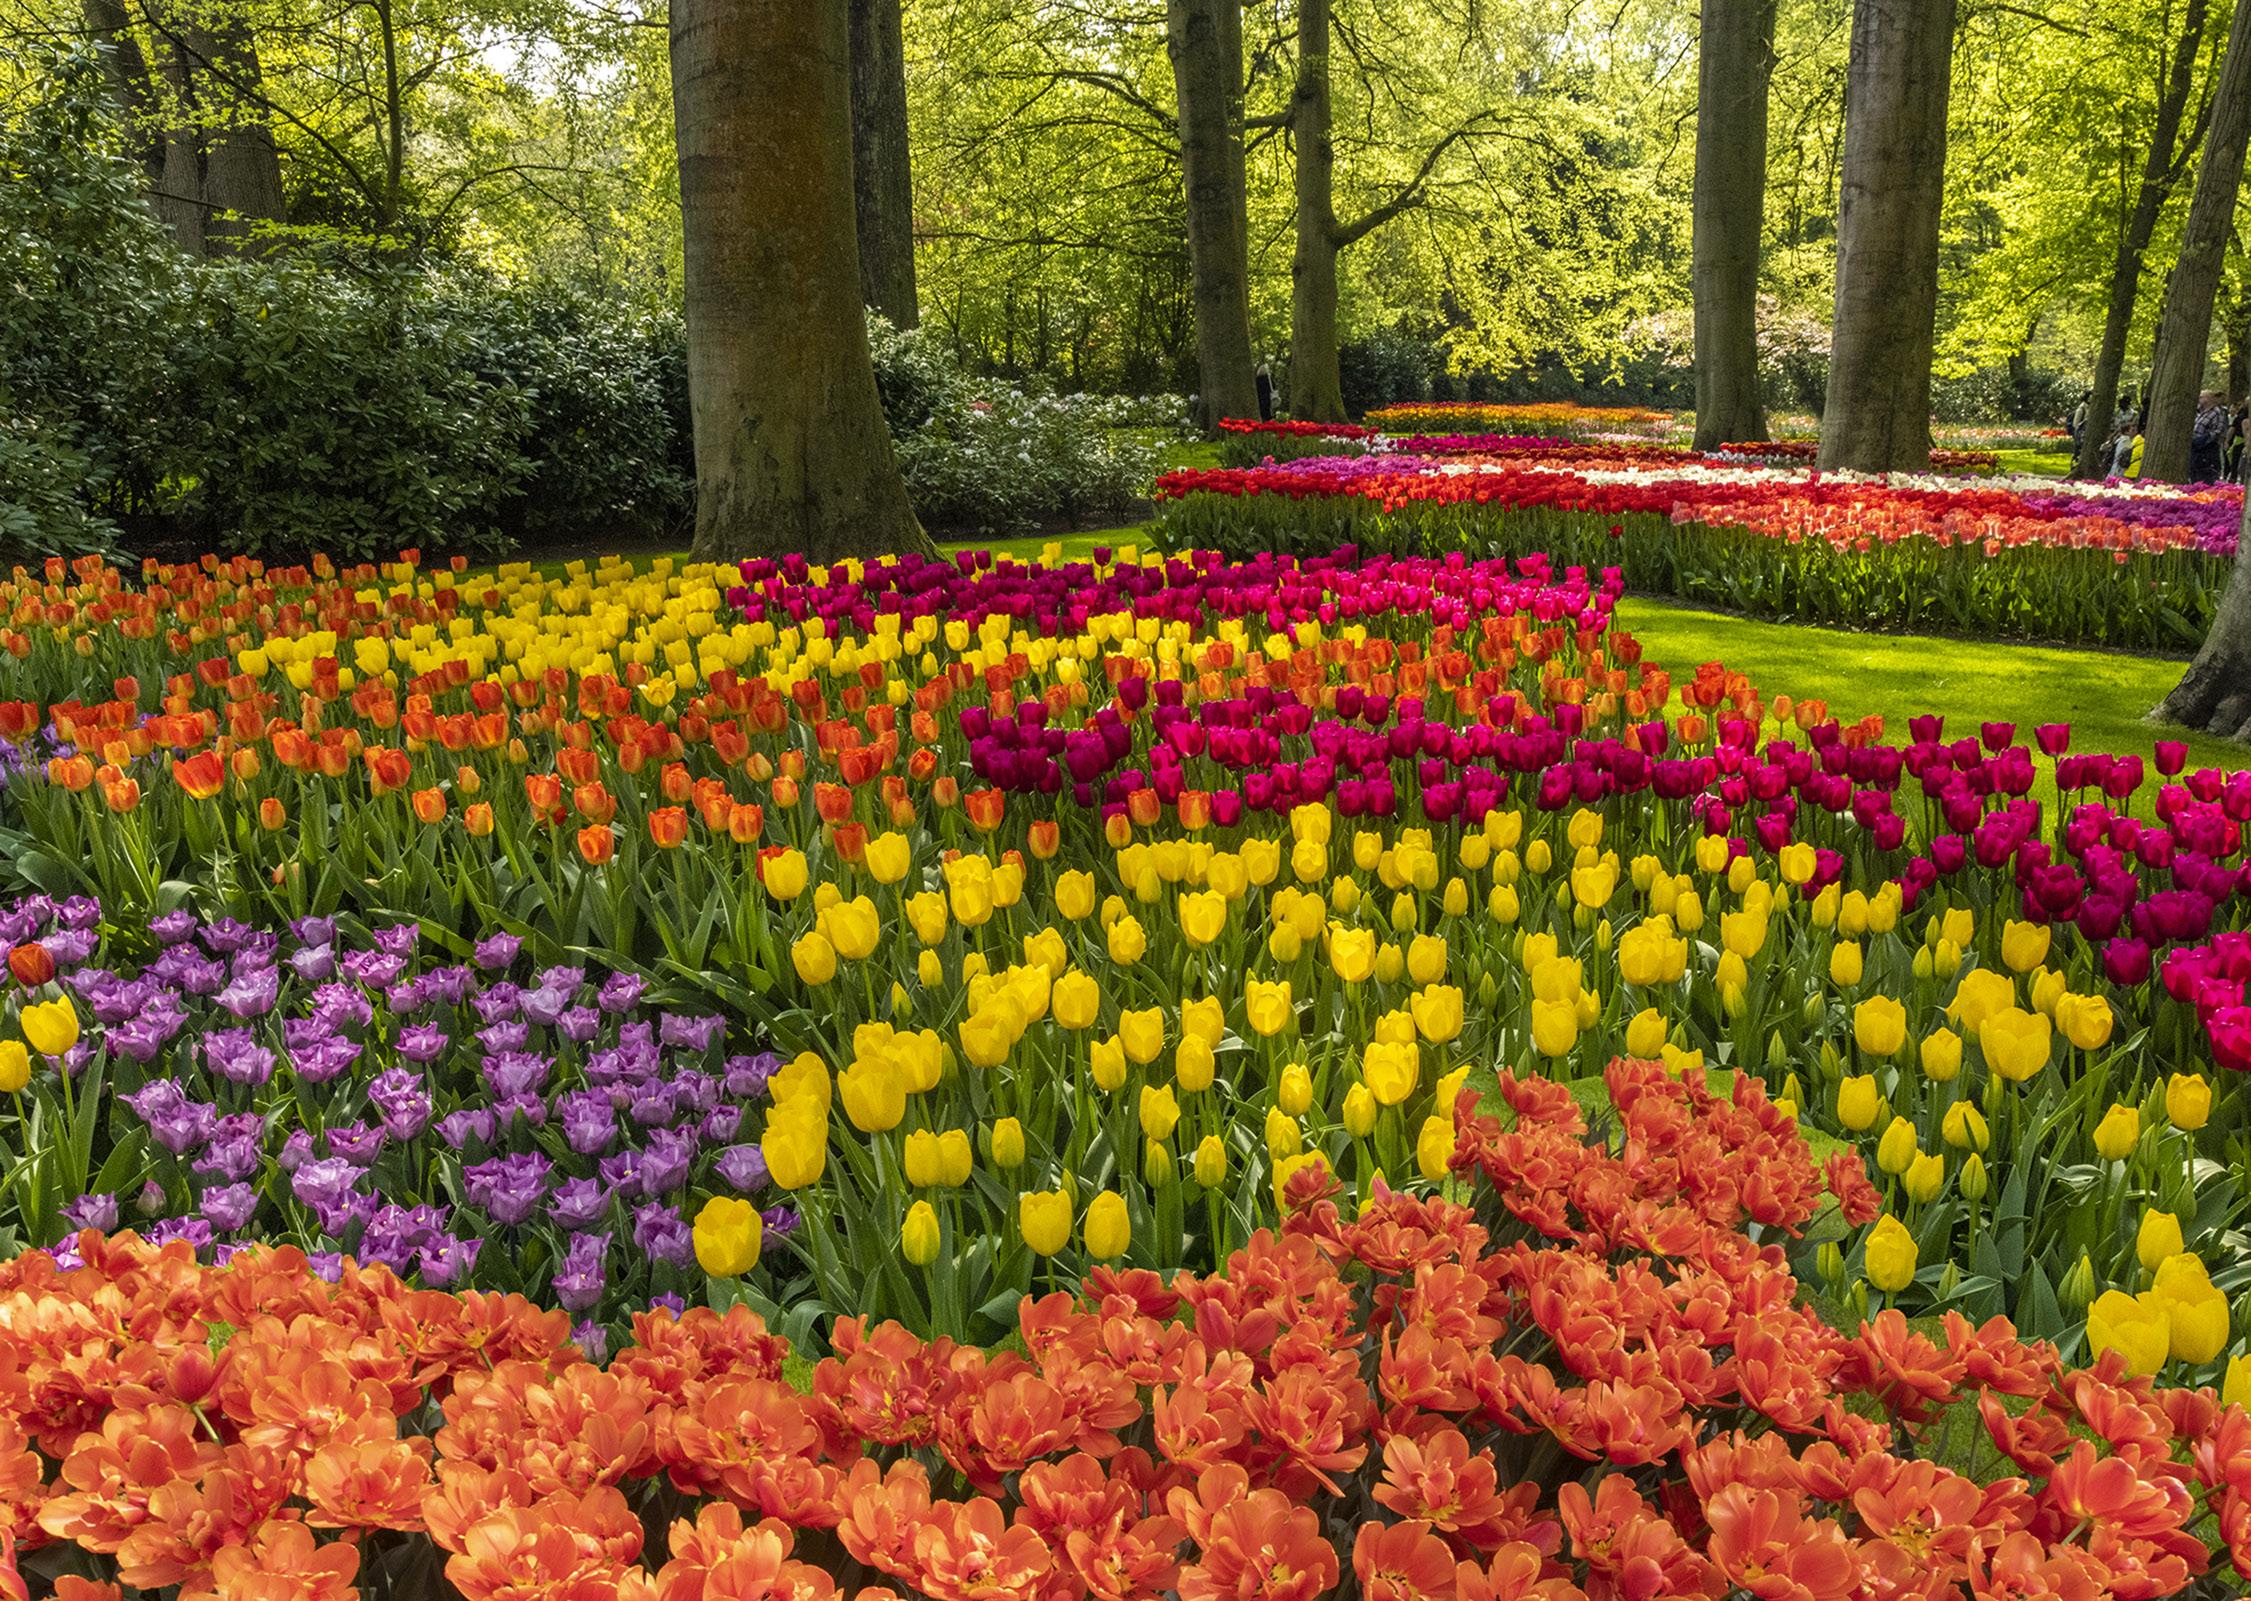
HOLLAND & BELGIUM
April 24 to May 2, 2024
38













39 Nov. ‘12 Dec. ‘12 Jan. ‘13
on the past issues of P H O T O I N S I G H T S you would like to read. Feb. ‘13 Mar. ‘13 Apr. ‘13 May. ‘13 Jun. ‘13 Jul. 13 Aug. ‘13 Sept. ‘13 Feb. ‘14 Mar. ‘14 Apr. ‘14 May ‘14 Jun.‘14 Oct. ‘13 Nov. ‘13 Dec. ‘13 Jan. ‘14
Click











Sept. ‘14 Oct. ‘14 Nov. ‘14 Dec. ‘14 May ‘15 Jun ‘15 Jul.‘15 Aug.‘15 Sept.‘15 Oct.‘15 Nov. ‘15 Dec. ‘15 Jan. ‘16 Feb. ‘16 Jan. ‘15 Feb. ‘15 Mar. ‘15 Apr. ‘15 40
Click on the past issues of P H O T O I N S I G H T S you would like to read.










41 Mar. ‘16 Aug. ‘16 Jan. ‘17 Feb. ‘17 Mar. ‘17 Apr. ‘17 May ‘17 Jun ‘17 Jul. ‘17 Aug. ‘17 Sept. ‘17 Sept. ‘16 Oct. ‘16 Nov. ‘16 Dec. ‘16 Apr. ‘16 May ‘16 Jun ‘16 Jul. ‘16 Click on the past issues of P H O T O I N S I G H T S you would like to read. Oct. ‘17











O T O I N
I
Nov. ‘17 Dec. ‘17 Jan. ‘18 Feb. ‘18 Mar. ‘18 Apr. ‘18 May ‘18 Jun ‘18 Jul ‘18 Aug ‘18 Sept. ‘18 Oct. ‘18 Nov. ‘18 Dec. ‘18 Jan. ‘19 Feb. ‘19 Mar. ‘19 Apr. ‘19 May ‘19 Jun ‘19 42
Click on the past issues of P H
S
G H T S you would like to read.









43
H O T O I N
I
H
Jul. ‘19 Jan. ‘20 Jun. ‘20 July ‘20 Aug. ‘20 Sept. ‘20 Oct. ‘20 Nov. ‘20 Dec. ‘20 Jan.. ‘21 Feb.. ‘21 Mar.. ‘21 Feb. ‘20 Mar. ‘20 Apr. ‘20 May ‘20 Aug. ‘19 Nov. ‘19 Dec. ‘19 Sept/Oct. ‘19
Click on the past issues of P
S
G
T S you would like to read.







Apr.. ‘21 May ‘21 Jun.‘21 Jul.‘21 Aug.‘21 Sept. ‘21 Feb. ‘22 Mar. ‘22 Jul. ‘22 Aug. ‘22 Sept. ‘22 Oct. ‘22 Nov. ‘22 Apr. ‘22 May ‘22 Jun. ‘22 Oct. ‘21 Nov. ‘21 Dec. ‘21 Jan. ‘22 44




45 Dec. ‘22 Jan. ‘23 Feb. ‘23 Mar. ‘23
1/3 focus law
Subject index for past Photo Insight issues
‘15
3D sphere Mar. ‘16
90 degree finder Mar. ‘13
Abstracts in soap Feb. ‘15
Abstracts, Shooting Mar ‘19
Aerial photography Jun. ‘13
Aerial photography
‘21
African safari May ‘16
Airplane windows
Alien landscapes
Anatomy of 8 photographs
Angled perspectives
Aperture vs. shutter speed
Aperture priority
Aurora Borealis
Auto white balance
Autofocus, when it fails
Autofocus failure
Autofocus failure
Autofocus challenges
Auto ISO
Auto White Balance
Autumn Foliage
Autumn Color
Autumn foliage photography
Back button focus
Backgrounds, wild
Backgrounds, busy
Backlighting
Backlighting
Birds in flight
Birds in flight
‘16
‘13
‘16
‘19
‘14
‘17
‘13
‘15
‘15
‘17
‘18
‘17
‘21
‘21
‘18
‘12
‘13
‘16
‘22
‘13
‘14
Birefringence May ‘18
Birds in flight Mar. ‘16
Birds in flight, camera settings
Bird Photography
Blacklight photography
Black velvet
Black and white conversions
Black and white solarization
Black and white with color
Black and white plus color
Blown highlights
Blue monochromes
‘23
‘19
‘21
‘14
Mar. ‘17
Sep. ‘17
Jan. ‘20
Mar. ‘23
Feb. ‘18
Jan. ‘22
Black Plexy Aug. ‘22
Blur, field
Blur technique
Bokeh
Nov. ‘18
Oct. ‘17
Jun. ‘15
Botanical gardens, shooting Apr. ‘22
Butterfly photography Jul. ‘14
Camera buying guidelines
Camera settings for landscapes
Dec. 21
Feb. ‘23
Camera setting priorities Jun. ‘17
Canon R5 Mar. ‘21
Capturing lightning Jun. ‘13
Capturing what you don’t see May ‘21
Catchlights Jul. ‘16
Changing perspective May ‘21
Cheap flash stand Apr. ‘13
Children photography Jun. ‘14
Choosing a telephoto lens Dec. ‘20
Chromatic aberration May ‘13
Chrome Dec. ‘18
Cityscapes Aug. ‘14
Cityscapes May ‘16
Clone tool, fixing an issue Sep. ‘17
Clone tool technique Jul. ‘20
Composites and Light Dec. ‘17
Compositing images Apr. ‘19
Compositing, 7 steps Jan. 22
Composition, different approach Jan. ‘15
Content-aware, New Aug. ‘20
Content aware move tool Jan. ‘23
Contrast vs. exposure Jul. ‘15
Converting to black and white Mar. ‘22
Correcting keystoning Jun. ‘21
Creating a star field Jan. ‘14
Creating Art out of Motion May ‘22
Creating a Sketch
Creative blurs
Dec. ‘17
Jan. ‘14
Dark backgrounds Nov. ‘19
Dawn photography
Jan. ‘17
Dawn photography Feb. ‘17
Dead center Jan. ‘13
Dealing with smog Oct. ‘16
Decay photography Sep. ‘15
Define Pattern Sep. ‘18
Depth of field Aug. ‘16
Depth of field confusion Jan. ‘20
Depth of field and distance Dec. ‘18
Depth of field and obliqueness May ‘21
Depth of field, shallow Apr. ‘20
Depth of field vs. sharpness Nov. ‘20
Double takes Apr. ‘20
Drone photography Mar. ‘23
Drop shadows Apr. ‘19
Dust, Minimizing Aug. ‘19
eBook, how to make Jan. ‘13
Eliminating people from photos Jun. ‘22
Embedded in Ice Oct. 17
Energy saving bulbs Sep. ‘14
Exploring the power visuals of AI Mar. ‘23
Exposing for the sun Sep. ‘16
Exposure, the sun Jul. ‘13
Exposure technique Sep. ‘13
Exposure, snow Jan. ‘14
Exposure triangle Nov. ‘14
Exposure, to the right Apr. ‘15
Exposure compensation Sep. ‘16
Exposure compensation Mar. ‘21
Extension tubes Dec. ‘13
Face sculpting Apr. ‘21
Face sculpting Feb. ‘22
Festival photography Sep. ‘20
Fill flash Sep. ‘13
Filter forge Feb. ‘13
Fireworks Jul. ‘13
Fireworks, Compositing Jun ‘20
Fisheye lenses May ‘13
Fisheye lenses Feb. ‘15
Fisheye fantasies Oct. 21
Flash backlighting May ‘15
Flash, balancing exposure Oct. ‘15
Flash, balancing off-camera Dec. ‘18
Flat art Sep. ‘16
Flexify 2 Mar. ‘20
Flood fixes problems Nov. ‘19
Floral Portraits, Indoors Aug. ‘21
Flowers May ‘15
Jul.
Jan.
Mar.
Jan.
Jan.
Jan.
May ‘14
Sept.
Apr.
Dec.
Apr.
Aug.
Jan.
Apr.
Nov
Mar’
Sep. ‘18
Sep. ‘20
Oct.
Oct.
Nov.
Apr.
Apr.
Oct.
Aug.
Jan.
Jan.
Jun
Feb.
Mar.
46
Subject index for past Photo Insight issues
Flower photography
Flowers in harsh light
Focus on the eyes
Focus points
Focus points
Focus stacking
Focus stacking
Focusing in the dark
Foreign Dancers, Photographing
Foreign models
Fractals, generating
Framing
Freezing ultra action
Fundamentals That Make Great Photos
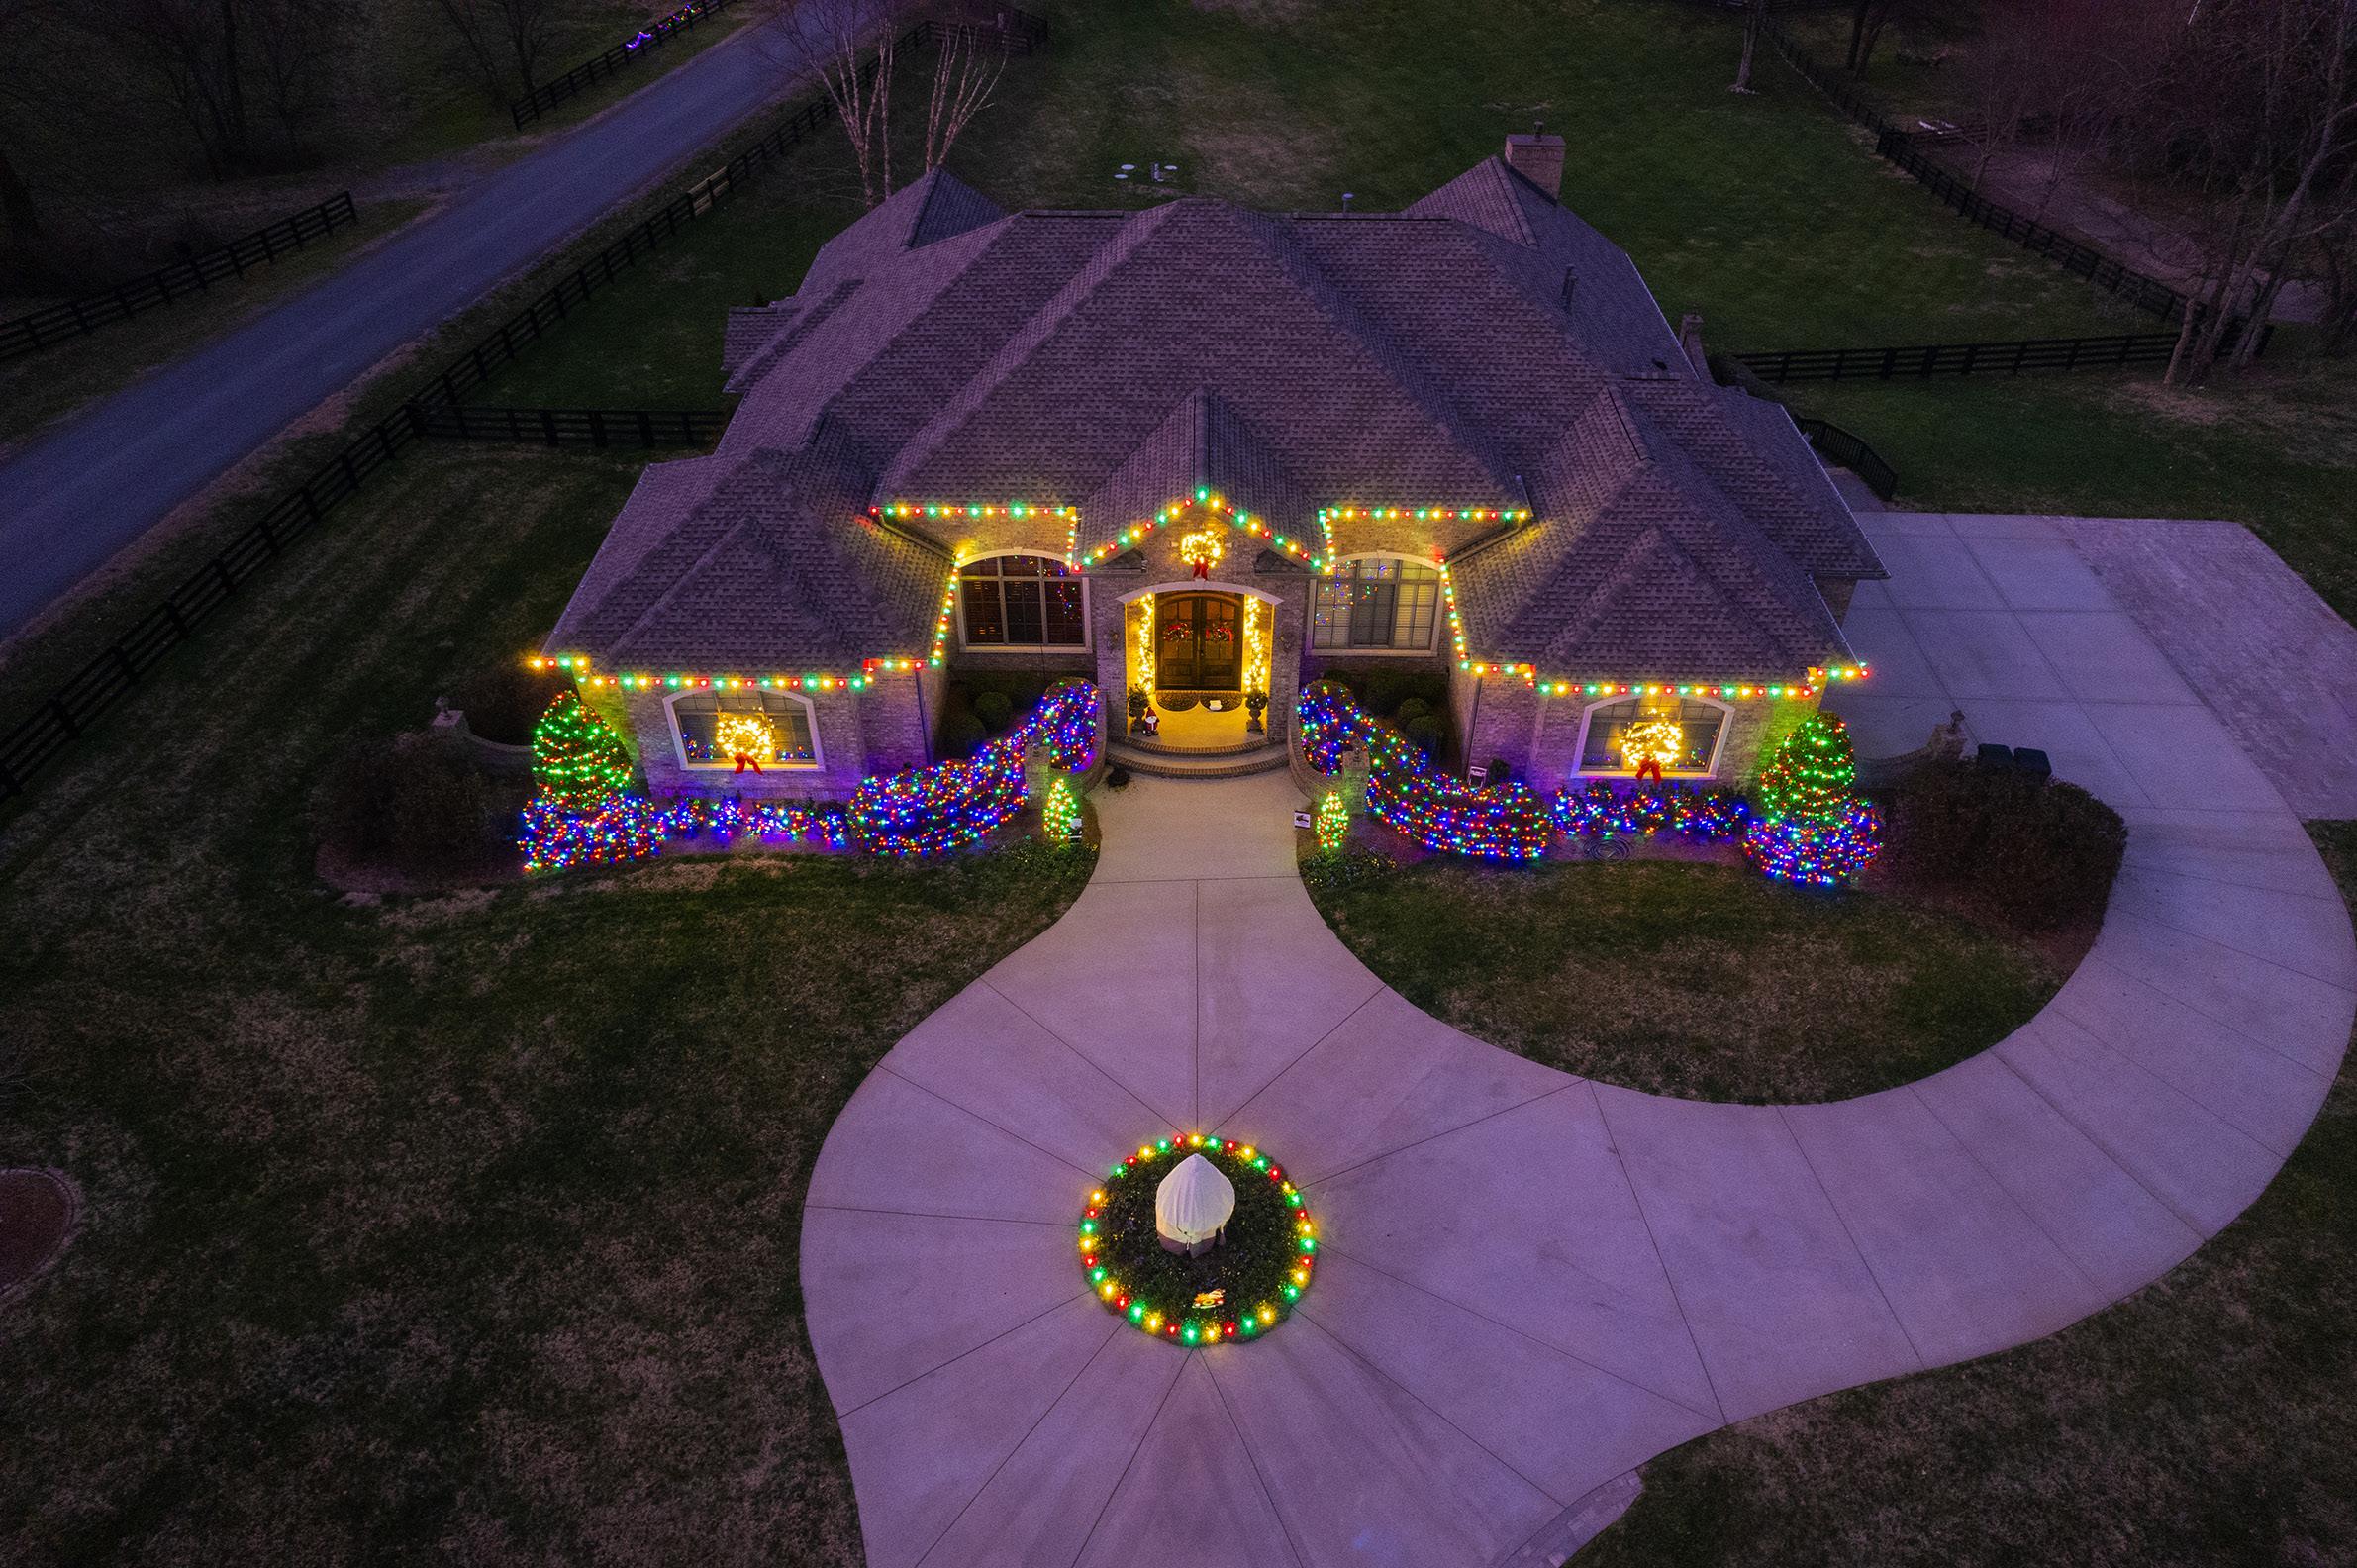
Fun With Christmas Lights
Garish imagery
Getting money for used gear
Great subjects
Ground level shooting
Grunge technique
Heavy Lens Debate, The
HDR, realistic
HDR, hand held
hand held
HDR, hand held
HDR, choosing the number of frames
Highlights
Highlights, overexposed
Histograms, Why I Don’t Use
Histogram problems
Hotels with a view
Humidity
Hummingbird photography
Hyperfocal distance
Image resizing
Implying motion
Impossible DOF
Impossible DOF
Indestructible camera bag
Infrared photography
‘14
‘15
‘19
‘13
‘18
‘16
‘17
‘14
‘14
Insane ISO settings Dec. ‘22
Interiors Oct. ‘15
iPad: Loading photos
Aug.‘17
iPhone photography, pros and cons Apr. ‘22
Jungle photography Dec. ‘14
Kaleidoscopic images
Jan. ‘15
Kaleidoscopis images Aug. ‘20
Keystoning, correcting Aug. ‘15
L Bracket Feb. ‘18
L Bracket Feb. ‘21
Landscape photography Dec. ‘12
Landscape photography
Landscape photography
Apr. ‘14
Nov. ‘16
Layer Masks, The Power of Feb. ‘22
Light fall-off
Light painting
Lighting a face
Lightning photography
Feb. ‘14
Dec. ‘21
Oct. ‘13
May ‘20
Liquify Feb. ‘18
Liquify Distortions
Long lens portraits
Long Lenses for Flowers
Sept/Oct. ‘19
Oct. ‘18
Jul. ‘20
Low light photography May ‘15
Luminar 4
Macro flash
Macro flash
Macro flash
Macro flash
Jan. ‘20
Nov. ‘12
Sep. ‘14
Aug. ‘15
Aug. ‘22
Macro photography and DOF Feb. ‘22
Macro trick
Managing soft focus
May ‘19
Jul. ‘21
Mannequin heads Apr. ‘16
Metering modes Nov. ‘16
Meters, How They Work Jul. ‘18
Meters, when they fail Dec. ‘16
Metering situations, Impossible Jul. ‘19
Middle gray
Nov. ‘15
Minimizing dust on the sensor Nov. ‘21
Mirrors Jan. ‘19
Model shoot
Moon glow
Mosaics
Jan. ‘17
Oct. ‘16
Jun. ‘17
Mundane to Ideal Nov. ‘19
Museum photography
Mar. ‘13
Natural Light Portraits Aug. ‘21
Negative space
Jan. ‘16
Neon edges on black Aug. ‘14
Neutral Density filters
Jun. ‘18
Neutral Density filters and water Mar. ‘22
Night photography
Night Safaris
Feb. ‘14
Jun. ‘18
Night to Twilight Dec. ‘17
Noise reduction
Feb. ‘17
Oil and water May ‘20
Optical infinity
Jun. ‘16
Organization of photos Mar. ‘18
Out of focus foregrounds
Paint abstracts
Paint abstracts
Jan. ‘20
May ‘13
Aug. ‘21
Painting with light Sep. ‘15
Panning motion
Dec. ‘16
Pano-Mirrors with a twist Jan. ‘18
Parades Sep. ‘13
Parallelism Nov. ‘19
Parallelism and DOF Feb. ‘21
Perspective, Super Exaggeration of Dec. 21
Photo terms
Nov. ‘22
Photography to Art Dec. ‘17
47
Apr
‘21
Jul. ‘16
Dec.
‘20
Mar.
‘15
Sep.
‘20
Mar.
‘17
Aug.
‘19
Oct.
‘16
Nov’
17
Jun. ‘13
Sep. ‘13
Jul. ‘19
Fractals
May ‘17
May ‘17
Aug. ‘19
From Terrible to Beautiful
Oct. ‘16
Apr. ‘13
Fun with paint
Fundamental ingredients
Jan. ‘19
Jan. ‘21
Jul. ‘20
Fun with Food Graphic Design
Dec.
‘15
Jan. 22
Apr. ‘15
Jul. ‘19
Mar. ‘13
Great ceilings & HDR Panos
Green screen
Oct. ‘22
Feb. ‘13
Feb. ‘23
Apr. ‘13
May ‘13
HDR, one photo
HDR at twilight
Jun. ‘15
Dec. ‘16
Nov ‘17
Jul. ‘18
Jun. ‘16
HDR,
HDR panoramas
Jun.
Apr. ‘17
‘22 High wind
Apr.
Feb.
Jun
Apr.
‘20
Mar.
‘20
Oct.
Apr.
‘13
Jul.
‘13
Aug.
Sept.‘14
Feb.
Jan.
Dec.
Jul.
Subject index for past Photo Insight issues
Photography solutions Jan. ‘18
Photoshop, content Aware Nov. ‘12
Photoshop, sketch technique Apr. ‘13
Photoshop, replace background Apr. ‘13
Photoshop, actions palette Dec. ‘13
Photoshop, layer masks Feb. ‘13
Photoshop, the clone tool May ‘13
Photoshop, soft foliage Oct. ‘13
Photoshop, mixer brush tool Sept. ‘14
Photoshop, b & w with color Jun. ‘14
Photoshop, drop shadows Jul. ‘14
Photoshop, creating texture Feb. ‘14
Photoshop, face mirrors Feb. ‘14
Photoshop, liquify Mar. ‘14
Photoshop, face mirrors Aug. ‘14
Photoshop, digital spotlight Sep. ‘14
Photoshop, enlarge eyes Nov. ‘14
Photoshop, darken the periphery Dec. ‘14
Photoshop, mirror images Dec. ‘14
Photoshop, beam of light Apr. ‘15
Photoshop, polar coordinates Mar. ‘15
Photoshop, chrome May ‘15
Photoshop, actions palette Nov. ‘15
Photoshop, cut and paste Nov. ‘15
Photoshop, geometrics Oct. ‘15
Photoshop, plugins Oct. ‘15
Photoshop, multiple selections Apr. ‘16
Photoshop, sharpening Apr. ‘16
Photoshop, Flood plugin Apr. ‘16
Photoshop, Desaturation Aug. ‘16
Photoshop, making a composite Aug. ‘16
Photoshop new tool May ‘20
Photoshop, place one element behind Aug. ‘18
Photoshop, the pen tool Feb. ‘16
Photoshop, canvas size Jan. ‘16
Photoshop, using the earth Jun. ‘16
Photoshop, define patterns May ‘16
Photoshop, paste into Nov. ‘16
Photoshop, b & w with color Feb. ‘17
Photoshop, open a closed door Apr. ‘17
Photoshop, palettes May ‘17
Photoshop, My favorite plugins Jan. ‘20
Portrait options Jan. ‘19
Portrait techniques Nov. ‘15
Portraits Mar. ‘13
Portraits, mixed lighting Aug. ‘14
Portrait Professional Nov. ‘19
Portraits, Lens choice Sept/Oct. ‘19
Portraits, side lighting Sep. ‘17
Portraits, window light Mar. ‘15
Portraits, outdoors May ‘17
Post-processing checklist Dec. ‘13
Post-processing: Contrast Aug. ’17
Practicing graphic design, Part I Dec. ‘22
Practicing graphic design, Park II Jan. ‘23
Practicing graphic design, Part III Feb. ‘23
Predictive Focus Sep. ‘18
Problem/solution Apr. ‘17
Problem Solving in Photoshop May ‘22
Problem with cruises Jan. ‘18
Protecting extremeities from the cold Dec. ‘22
Protecting highlights Dec. ‘12
Puppies Jan. ‘15
Puppy photography Feb. ’18
Reflections
Feb. ‘13
Reshaping faces Oct. ‘22
Restoring old photos
Jun ‘20
Ring flash, advantages Jul. ‘21
Ring flash versatility
Rule of Odds
Oct. ‘21
May ‘22
Safari May ‘13
Safari strategies Jul. ‘15
Seeing as the lens does Nov. ‘14
Seeking Cool Snow Photos
Selective filtering
Jan. ‘21
Mar. ‘18
Selective focus Jun. ‘15
Self-critiques
Self-critiques
Self-critiques
Sensor cleaning
Jul. ‘13
Oct. ‘13
Nov. ‘20
Jun. ‘18
Sepia and dark contrast Jun. ‘15
Shade May ‘14
Shady side Jun. ‘18
Shadows, Paying Attention to Mar. ‘18
Sharpness problems
Mar. ‘14
Shooting in Inclement Weather Nov. ‘22
Shooting through wire mesh Sept. ‘14
Shooting into the light Jun ‘20
Silhouettes
Jun. ‘13
Silhouettes, How to make Apr. ‘22
Silhouettes, Exposing for Sept/Oct. ‘19
Silvered landscapes
Mar. ‘20
Sketch, How to Make Jun ‘19
Skies make or break a picture Aug. ‘21
Sky replacement Nov. ‘20
Sky replacement strategies Aug. ‘22
Snow exposure Nov ‘17
Snow exposure
Soft light
Nov. ‘19
Jan. ‘13
Smart phone photography May ‘19
Stained glass
Mar. ‘17
Star photography Jul. ‘16
Star photography and noise Jan. ‘18
Stock photography Sep. ‘14
Sunrise & sunset Jan. ‘19
Tamron 150-600mm Apr. ‘14
Ten reasons photos are not sharp Jan. ‘19
Texture, Adding Mar ‘19
Texture Mapping in 3D Jul. ‘21
Topaz AI Gigapixel Mar ‘19
Topaz glow Jan. ‘15
Topaz glow Sep. ‘17
Topaz Impression Sep. ‘15
Topaz Remask 5 Oct. ‘17
Topaz Simplify 4 Dec. ‘12
Topaz simplify 4 Jun. ‘14
Topaz Studio Apr. ‘18
Translucency & backlighting Nov. ‘18
Travel photography Feb. ‘13
Travel portraits Mar. ‘14
Travel tips Apr. ‘14
Travel photographer’s guide Jun. ‘17
48
Subject index for past Photo Insight issues
Twilight photography in the rain Apr. ‘19
Tripods
Two subject sharp rule May ‘14
Two subject focus rule
Two subject focus rule
Urban heights
Ultra distortion
Unusual Panos
Upside Down Reflections
Warm fingers in winter
Water drop collisions
What NOT to do in photography
You Needed a Zoom
White vignette
Wide angle conundrum
Wide angle lenses
Wide angle portraits
Wide angle lenses
Wide angle lenses: Outside the Box
Wide angle keystoning
Wildlife photos with wide angles
Window light
Window light portraits
Window frames
Winter photography
Winter bones
Winter photography
Winter photography
Wire Mesh, Shooting Through
Workflow
‘21
‘21
‘18
‘22w
‘18
‘13
‘14
‘17
‘22w
‘17
Quiz answers
Your score
90% - 100%: You could have been a pro
80%: Your glasses probably need a new prescription
70%: Don’t quit your day job
60%: You should really be using an iPhone
49
Mar. ‘18
Jan. ‘20
Jun.
Jun.
May
Nov.
Aug.
‘21
Nov.
‘15
May
‘18
Apr.
Aug.
Dec.
When
‘21 White on White
‘20
Aug.
Feb.
‘15 White balance
‘15 White balance, custom Mar. ‘16
May
‘19
Mar.
Nov.
Jun.
Jun.
Nov
Mar.
‘15
Dec.
‘15
Aug.
‘18
Feb.
‘16
Dec.
‘12
May
‘13
Dec.
‘15
Nov.
‘18
Jul. ‘18
May
‘13
1. b 2. c 3. a 4. b 5. a 6. b 7. a 8. d 9. a 10. b
All rights reserved © Jim Zuckerman 2023 email: photos@jimzuckerman.com
Edited by: Donald Moore
This page: The incredible waterfall inside the Singapore airport.

PHOTO INSIGHTS® published by Jim Zuckerman
50


 Richard Smith, Pensacola, Florida


