1 minute read
Zoning


Purpose
A group of lights can be split into different zones which can be controlled by different switches or sensors. For example: in a classroom the teacher might want to have extra control over the school board light with a switch while the general lights in the room stay on.
How to do?
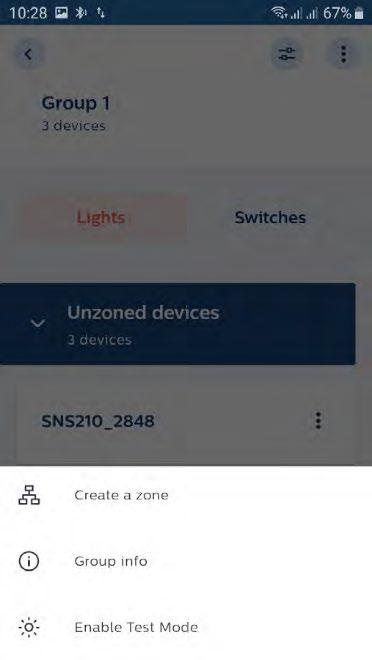
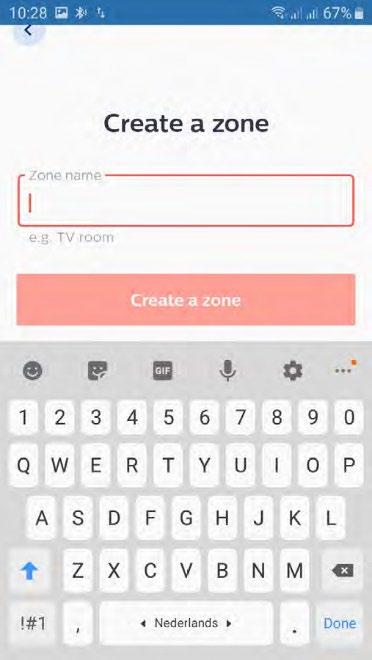
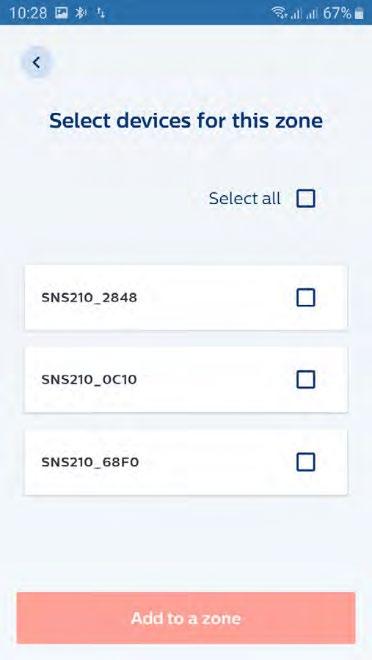
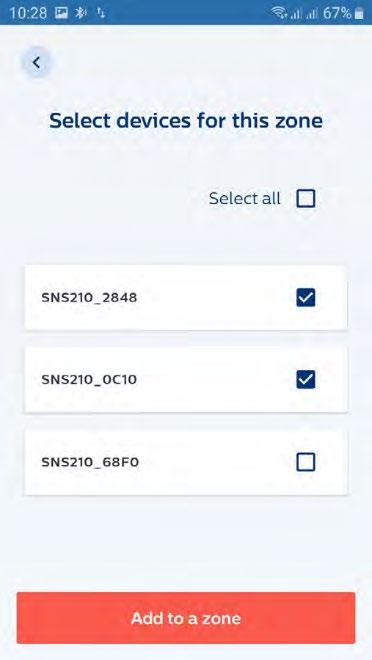
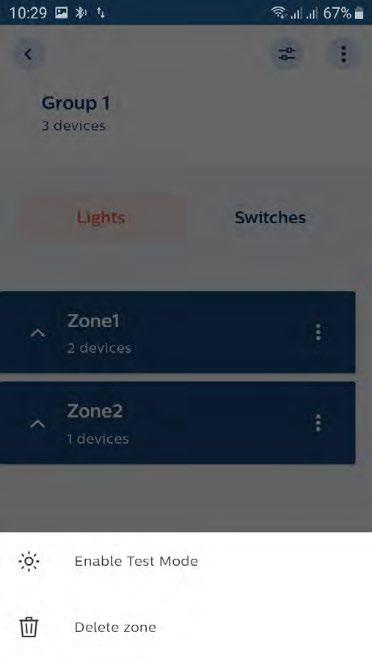
Tap the three dots and choose “create a zone”. After giving it a name the luminaires for that zone can be selected. Finally choose “Add to a zone”.
Repeat this procedure for all the zones needed.
Remarks
• The separation into zones can be verified via ‘Enable Test Mode’. For details, see page 21 about the test mode. • When moving a light into an existing zone or out of a zone, make sure you are in range of that device (within 5m distance). • When creating a large scale zone with MC lamps, set up the zone with a maximum of 10 MC lamps first and add more MC lamps to it in packages of 10 max.