MHS video style guide
Contents 3 Our Team 4 Technical Aspects 6 Lower Thirds 8 Logos & Seals 10 Intros & Outros 12 Hashtags 13 Typography 14 On-Site Shooting 2
We have awesome creative designers & developers Marcello Palombi SENIOR VIDEO PRODUCTION LEAD mpalombi@avantusfederal.com Timothy Beckwith MOTION GRAPHICS DESIGNER tbeckwith@avantusfederal.com Lee Laska LEAD AUDIO/VIDEO EDITOR llaska@avantusfederal.com Taylor Stinson VIDEO EDITOR/LEAD WRITER tstinson@avantusfederal.com 3
Technical Aspects
WHERE SHOULD YOUR FOOTAGE AND IMAGERY COME FROM?
All footage and imagery should come from the Defense Visual Information Distribution Service (DVIDS). Footage and/or imagery found from stock websites or anywhere else besides DVIDS will not be accepted due to licensing.
Video Quality
+ The most common settings for a project is AVCHD. AVCHD is a recording format developed for recording high-definition video to media such as recordable DVD media, hard disk drives, and memory cards. Depending on the media, you will be using either 24 fps or 30 fps for your sequence settings. Ratio should always be 16:9 unless creating a video for social media.
+ Regarding bitrate, all footage should be recorded at the highest possible bitrate. When exporting a draft to Microsoft Teams, keep the bitrate below 10 megabytes.
+ All action should be within the action safe area. This is marked by the yellow highlighted box in the example above. Action safe is 90% of the screen. Title safe will be covered during lower thirds.
4
Color Correction & Effects
+ Final videos should be graded to natural colors.
+ Use the color picker to select something ‘white’ within your frame. The white balance adjusts all the colors to what you have chosen as white. This helps fix shots that are a little yellow or blue based on the camera settings and lighting when filming.

+ Video effects can be as simple as sharpening a selected piece of footage or including Mogrt files to enhance a video project. All effects, nonetheless, should be tasteful and used with discretion.
Audio Quality
Good audio is critical to making a professional video piece. All imported audio will be set at 0.0 dB, but it is important to listen and edit that video as you go. Main audio (i.e. narration or speaker) should be set to a maximum peak of -3.0 dB to avoid distortion or the audio being clipped but can generally be set to -6.0 dB. Background music should be subtle and not overlap the main audio. This range should be limited to between -12.0 dB to -18.0 dB.

5
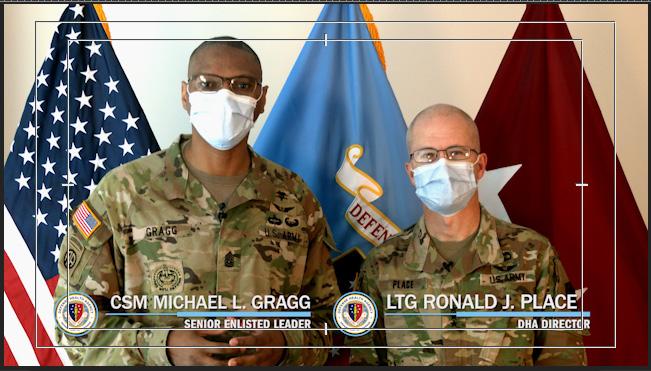
Lower Thirds
MHS STYLE GUIDE
Ensure that ranks and job titles are aligned with the MHS style guide.
FONT SIZE
Lower thirds are typically Franklin Gothic with a weight of medium. Size can range from 100-150 pt but name is generally larger than job title (second line).
SCREEN PLACEMENT
Keep it within the title safe area of the screen. Title safe is 80% of the screen (compared to action safe). Refer to the image on the following page marked by the highlighted box.
Editing Tips to Help You
DROP SHADOW
You can use a drop shadow to enhance the readability of your text.
JUST ONCE
A lower third should only be used once. If the speaker appears more than once, use it the first time that the person appears.
DHA & MHS
When using a lower third for anyone associated with DHA or MHS, make sure you use the appropriate logo. Branding guides are available at health.mil/brand
6
HOW SHOULD A LOWER THIRD LOOK?
A lower third should not be too complicated. When you are not sure what to use, always stick to the basics. Follow the tips that are on the previous page to have an easier experience.
Also keep in mind the following tips if you don’t plan to use a pre-made lower third:
+ Stay away from distracting colors and using too many at the same time.
+ If you use contrasting colors between the background element and the typography, your text will stand out.

+ Avoid lengthy text — keep it short and to the point.
+ Make sure your lower third is in the title-safe area. Your lower third should never block something your viewer needs to see.
+ You can use animations for your lower third, but always keep in mind to not have it visually distracting from your content.
Logos & Seals
Logos
+ Logos should not be distorted in any way and should keep the same dimensions as it appears originally.
+ For the DHA logo, the width of ‘Military Health System’ spelled out is 3x the width of the MHS unit. The width of ‘health.mil’ is 2x the width of the MHS unit.

+ To ensure the prominence & legibility of the MHS/DHA logo, always surround it with a field of clear space.
+ Do not use the logo incorrectly so that it can compromise its integrity and effectiveness. For more detailed explanations on logo use, please view the brand guides at health.mil/brand.
+ Do not alter the size of any part of the overall unit.
+ Do not put “Defense Health Agency” or “Military Health System” on top of the logo or change the size.

+ Do not rearrange any of the elements in any way.
+ Do not compress the dimension.
+ Do not re-align any part of the overall unit.
+ Do not change the font or case.
+ Do not rotate or overlap the logotype and URL.
+ Do not change the stroke weight.
“Dont’s”
8
Logos & Seals
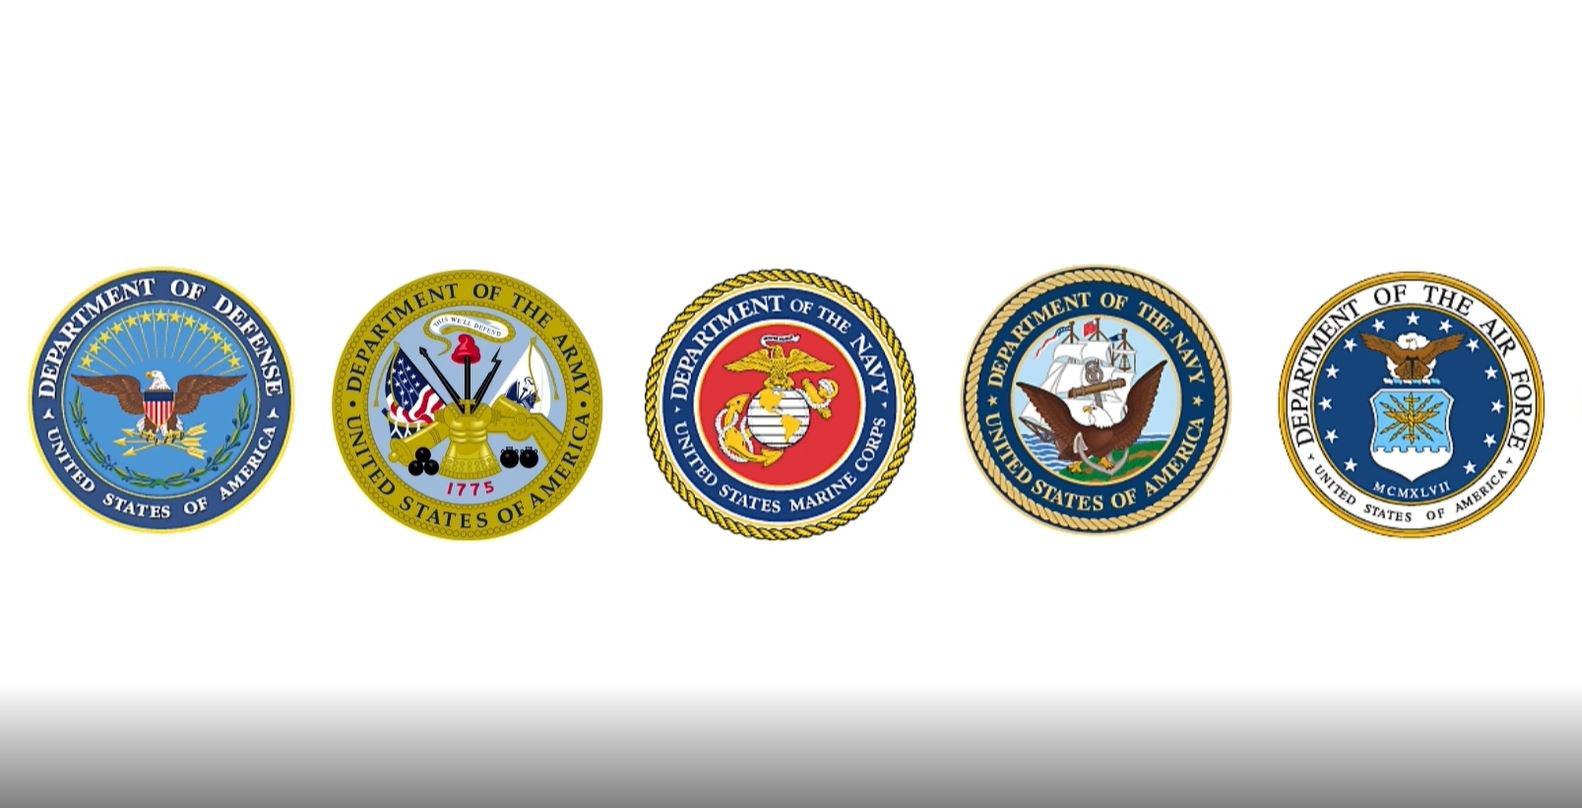
Examples
Seals
+ The DHA and MHS seals are registered with the Institute of Heraldry and should not be modified.

+ To ensure the prominence and legibility of the seal, always surround it with a field of clear space.
+ Incorrect use of seals can compromise its integrity and effectiveness. Therefore, do not reverse out the logo, tint the logo colors, scale the logo in a way that elongates the mark, or add other effects to the logo.
+ For more detailed explanations on logo use, please view the brand guides at health.mil/brand.


9
Intros & Outros
Intros can be as simple as a still image, logo, or your subject. However, using video templates or animations can make your video more engaging and professional. Outros can also be simple and usually includes logos but calls-to-action are sometimes used in videos before using an outro.
Here are some tips to keep in mind:
+ The ideal length for intros and outros is up to 5 seconds, not including if you have a call-to-action.
+ Fade to black or film dissolve are the most appropriate effects to use at the end of your intros/outros.
+ A logo animation for an intro/outro is appropriate, even if it goes over the ideal time limit so long as it is tasteful.
+ Calls-to-action are important when redirecting our audience to a website. We typically place these before the outros.
+ Background music should fade-in and fade-out naturally during intros/outros.
+ Narration, whether voice over or subject, can also begin during the intro. Typically wait 1 second before beginning this audio track.
10
Examples of Intros & Outros


11
Hashtags
+ If your video is part of a larger social media campaign, include the campaign’s hashtag as a watermark in the top left or right corner of the screen within the title safe area.
+ Fonts used should be a bold sans serif (ex. Arial or Calibri) around 50 pt but use your best judgement. Font should be readable to the audience to adhere to ADA guidelines.

+ Opacity for the watermark should be set between 6580%.
+ Always start with using # but make sure you do not use certain punctuation or symbols anywhere else in the hashtag.
+ Don’t string too many words together. The best hashtags are short, simple, and to the point.
12
Typography
Body Paragraph Font

+ Body paragraph text can be serif or sans serif, as long as it is easily readable to the audience as body/ subtitle text is quick.
+ Effects such as cross dissolve can be used to create motion to an otherwise still slide. Also consider kinetic typography to create visually appealing effects during your video.
Title Font
+ Title font should be a sans serif font and large enough to be the main focus of the screen at that moment.

+ Stay away from eccentric fonts that are too hard to read. Keep in mind that intros/outros that have titles are usually short and our audience includes the elderly.
13
On-Site Shooting
Avoid Deadly Techniques!
Avoid techniques such as these to keep your shots high-quality and visually appealing:
+ Firehosing — panning all over the scene
+ Rule-of-thirds — don’t place every subject in the center of your frame unless otherwise specified
+ Backlighting — too much light falling on the background instead of on the subject
Preparing for Video Shoot Day
The key piece for creating a great professional video is making sure that your footage collected is also of sound quality. Properly lighting and shooting your subject is integral for having an engaging video. Here are some key points to keep in mind when shooting:

+ Plan your shoot! If you are going to have multiple subjects, make sure you have the appropriate equipment to accomodate them. For example, if you have two people speaking on camera, you should have 2 lavalier mics for each person, a boom mic for natural sound, and a ZOOM to capture audio with a memory card.
+ For selecting an ideal studio location, make sure it is a quiet, clean setting. Avoid windows if possible because sunlight can cause unflattering light on (cont)
14
the subject. Locations that have background noise can be picked up through the camera microphone.
+ Lavalier mikes should always be used when you have your subject speaking. Have the wire underneath their shirt or taped behind them via looping through their collar. The mike should be approximately three buttons from the top of their shirt for ideal range.
+ Listen through headphones while you shoot to make sure you don’t run into any issues before post-production.
+ Use a tripod to compose your shot. Your scene should be level with your subject. If you choose to have your subject centered, they should be centered. If you choose to not shoot “broadcast-style,” your subject should follow the rule-ofthirds.

+ Make sure your subject is focused. Zoom into their eyes and use manual or auto focus to be sure of this.
+ If your subject is a “hand-talker” frame your shot accordingly. Have your frame either wide enough to include hand movement or framed above the hands & waist to avoid movement.
+ Try to have at least 2 takes of each scene. In case you missed an error during one take, it is ideal to have a back-up to use during post-production.

Shooting Checklist
+ Battery power
+ White balance
+ Sound check
+ Lighting check
+ Memory card check
+ Tripod lock-down
+ Image stabilization on/ off
+ Zoom in/focus/zoom out
+ Compose shot
+ Rehearse with script
+ Shoot!
15

