Christmas eBook 2020 www.cleverpatch.com.au Customer Service 1300 836 522
5 festive craft ideas inspired by Christmas! Contents Christmas Garland .................................................................................... 3 Beaded Embroidery Card ...................................................................... 4 Santa Ornament ........................................................................................ 5 Metallic Yarn Christmas Tree ................................................................ 6 Macramé Bauble ........................................................................................ 7 Templates ..................................................................................................... 8 We’ve supplied FREE templates just for you! Print as many times as you like. www.cleverpatch.com.au We have so many Christmas ideas we want to share with you! So come and visit us online! 2© CleverPatch 2020 - www.cleverpatch.com.au
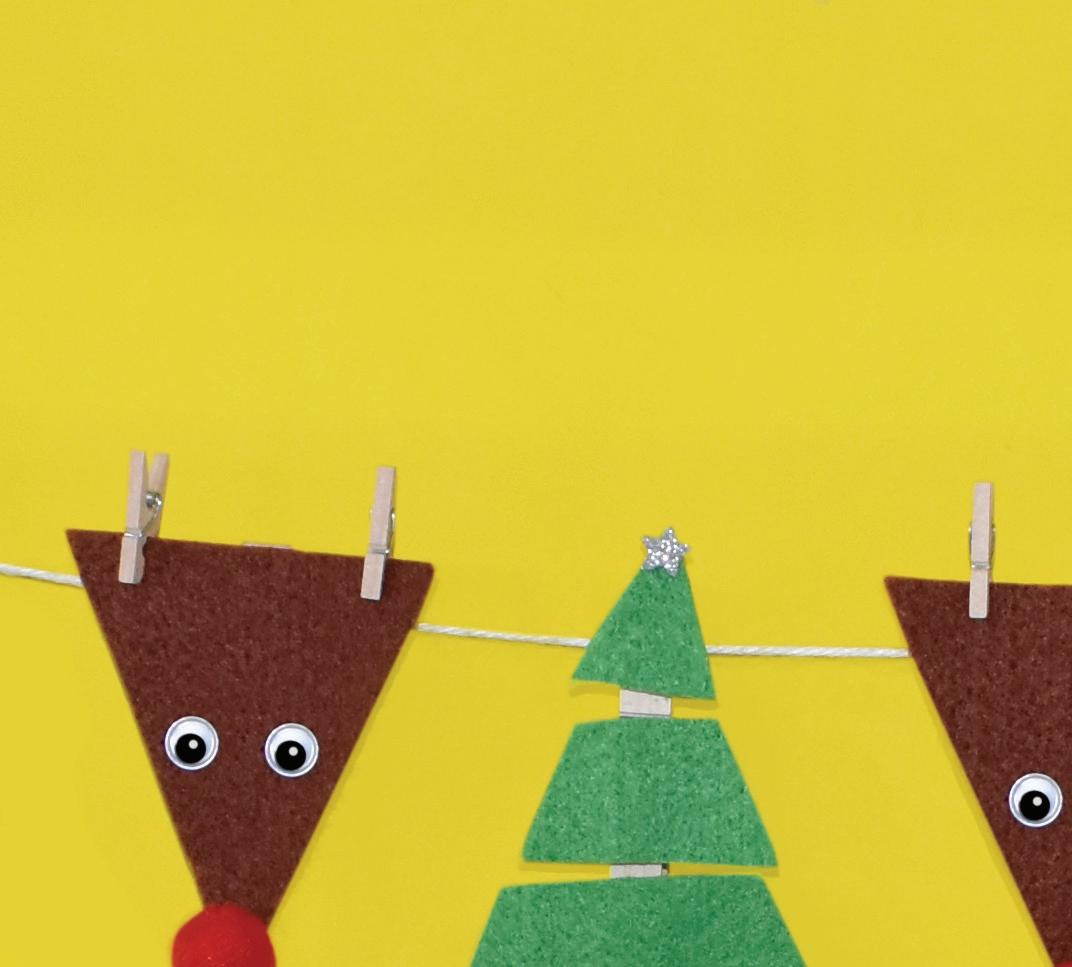
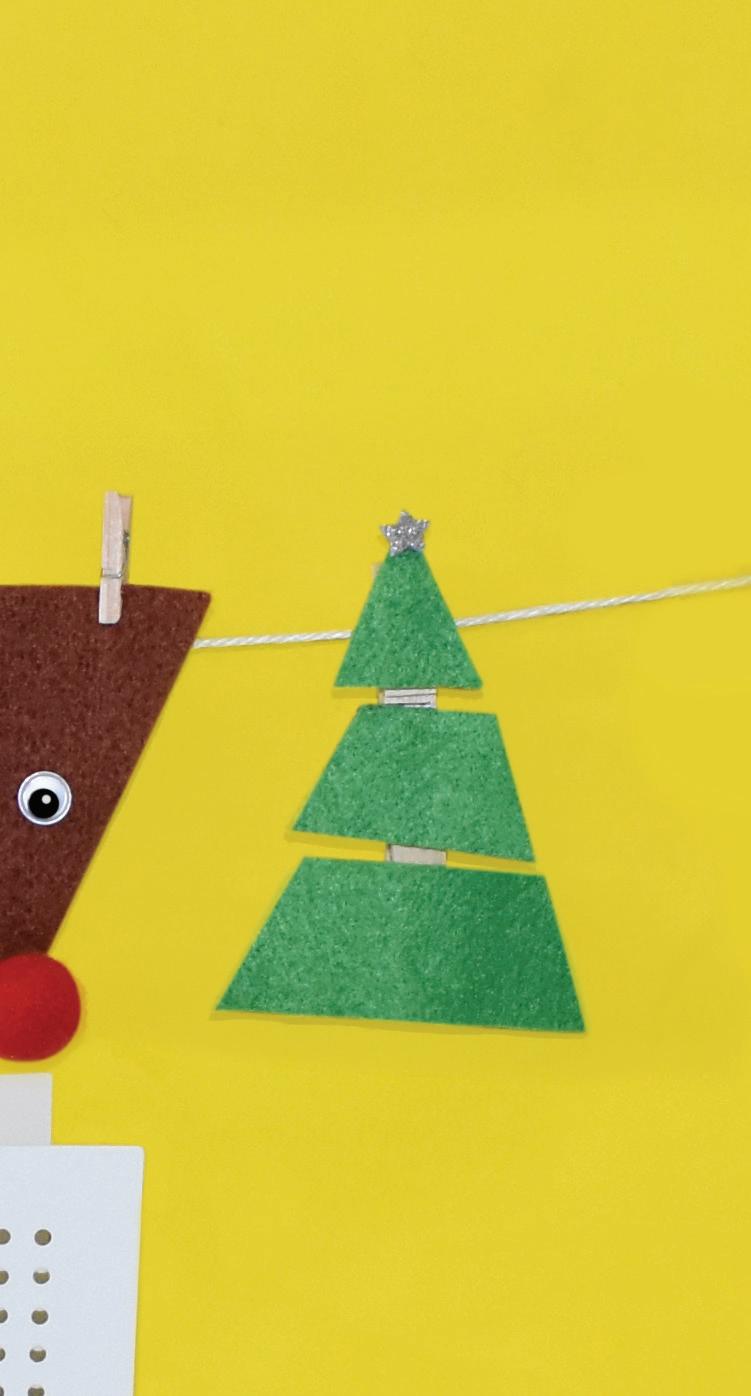
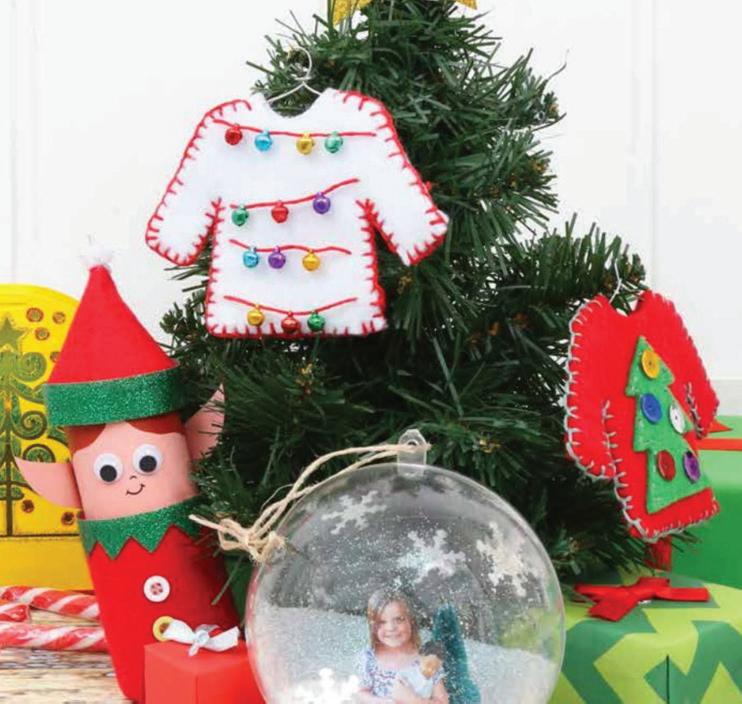
Christmas Garland
Wooden Pegs

Yarn
Natural – Pack of 48


White
Glitter Star Stickers
Natural
100g
Pack of 168
Pack of 60
18698
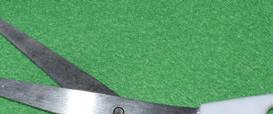
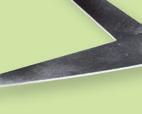
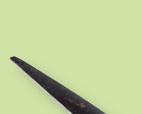
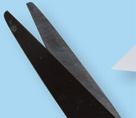
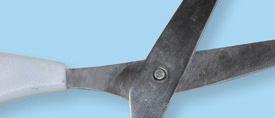
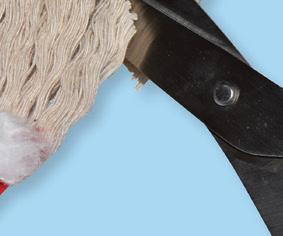
1. Print the template provided on page 8. Cut out each piece of the template. Adult supervision is recommended when using scissors.
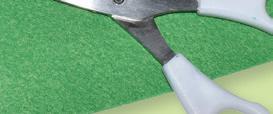
2. Use a pen to trace the templates onto felt. Use the 3 piece triangle on green felt and trace 3 times. Carefully cut out each piece.


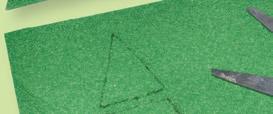


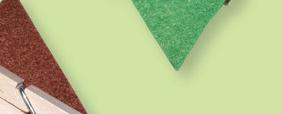


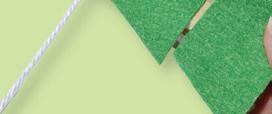
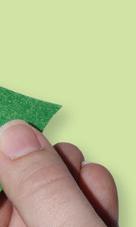


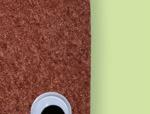
3. Trace the whole triangle onto brown felt 3 times. Cut out using scissors.


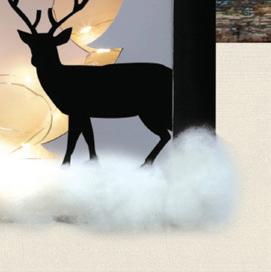
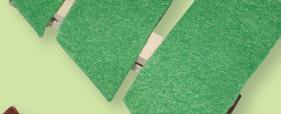
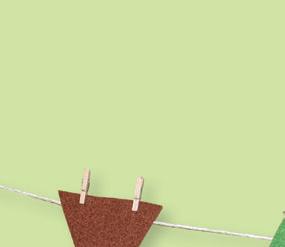
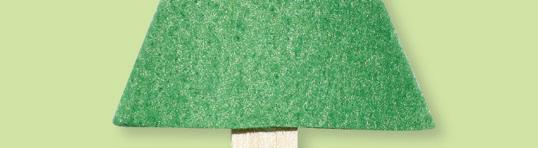
4. Attach pegs to the felt pieces using CleverPatch™ Glue Dots. Make sure the flat top of the Reindeer’s head and the pointy top of the Christmas tree are attached to the end of the peg that opens.

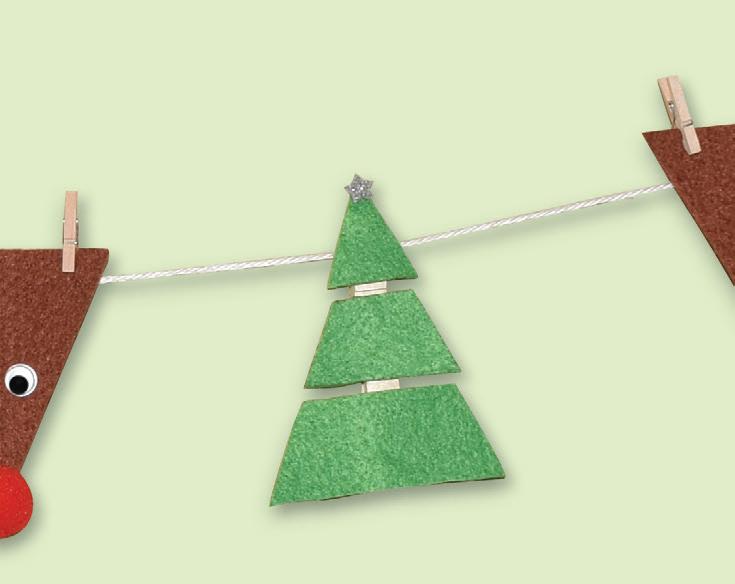
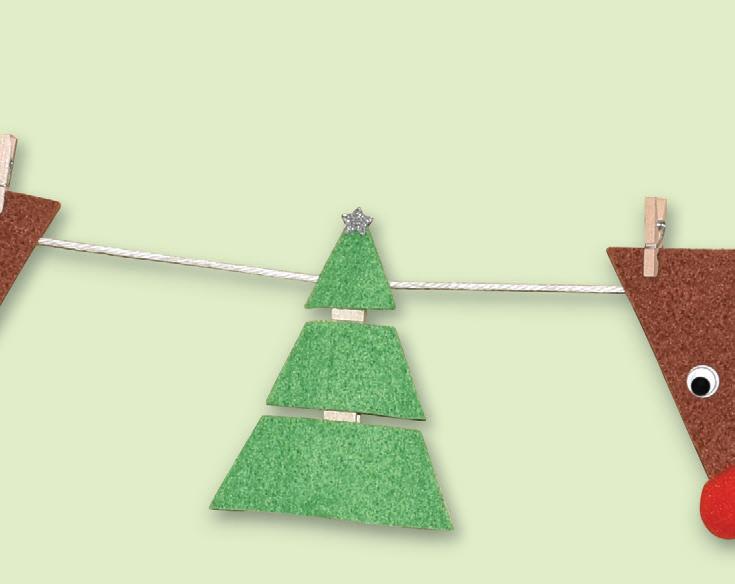
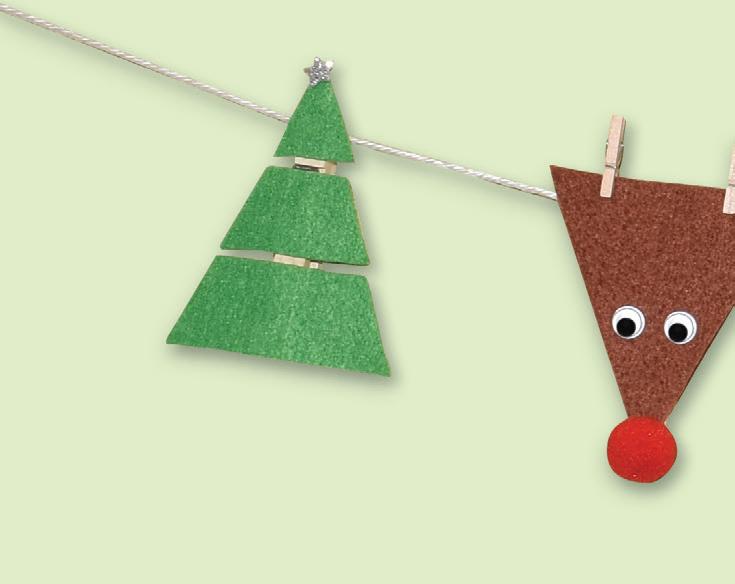
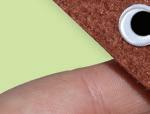
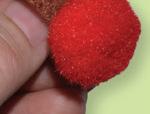
5. Use glue dots to add a pom pom nose and wiggle eyes to the front of the brown felt pieces to create a Reindeer face. Attach 2 tiny pegs to the top of the felt pieces to create antlers.


6. To decorate your felt Christmas trees, add a small self-adhesive foam glitter star.


7. Cut a 1.5m long piece of white soft yarn.


8. Lay out the yarn and attach your tree and reindeer pegs evenly along it.
9. Your Christmas Garland is now ready to hang!
3© CleverPatch 2020 - www.cleverpatch.com.au
Materials: • Felt Sheets – Green – Pack of 10 – 17533 • Felt Sheets – Brown – Pack of 10 – 17538 • Christmas Pom Poms – Pack of 150 – 11498 • Sewing Needles – Blunt Tip – Pack of 25 – 11591 • CleverPatch™ Glue Dots – Permanent – Pack of 300 – 15173 • Wiggle Eyes Black – 0.7cm – Pack of 100 – 16477 •
–
–
• Soft
Wool –
–
– 11307 • Foam
–
– 16842 • Tiny Pegs –
–
– 11197 • Other materials required: Template (page 8), pen & scissors
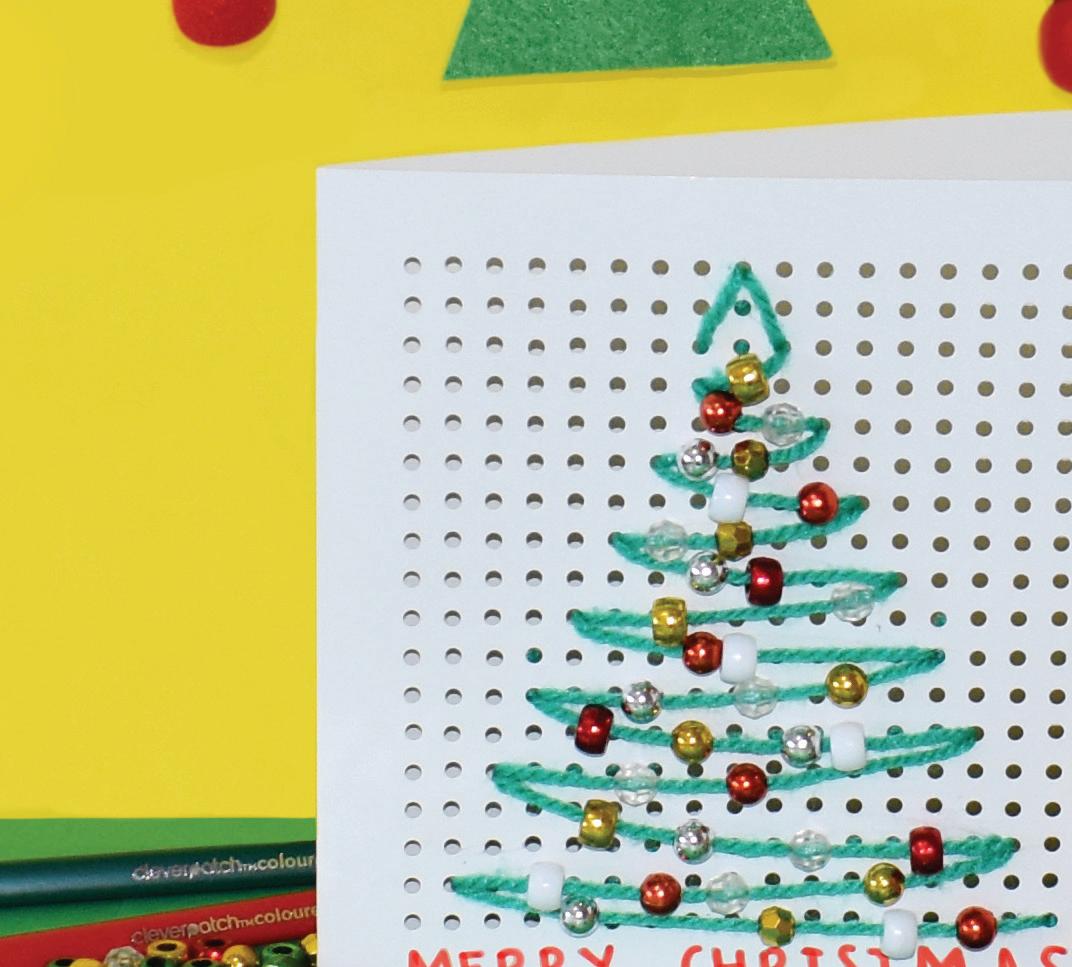
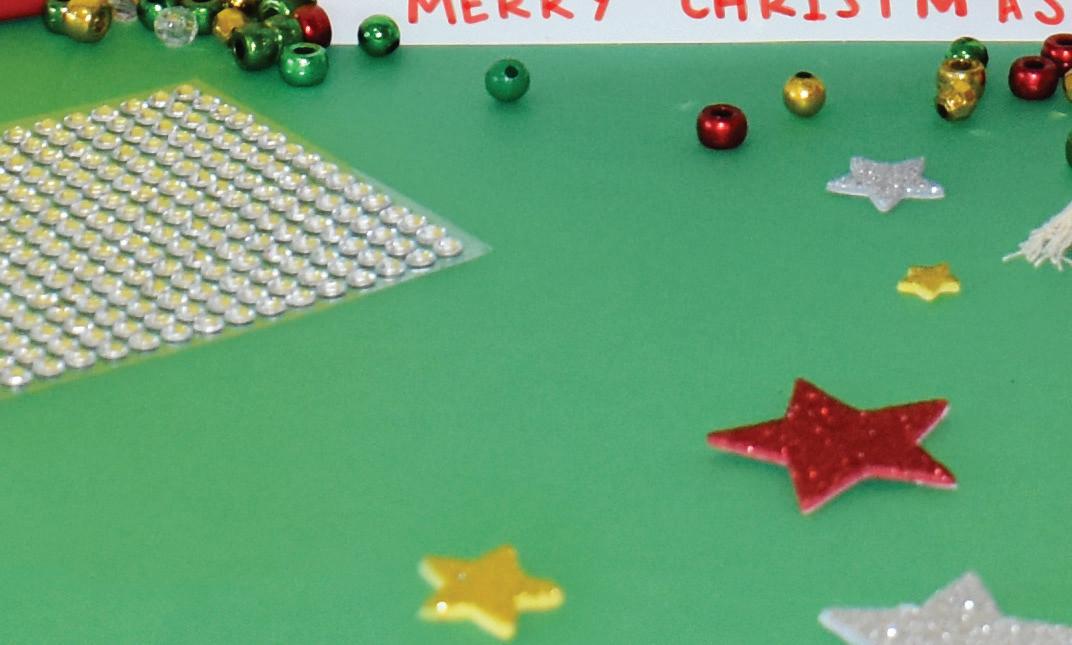
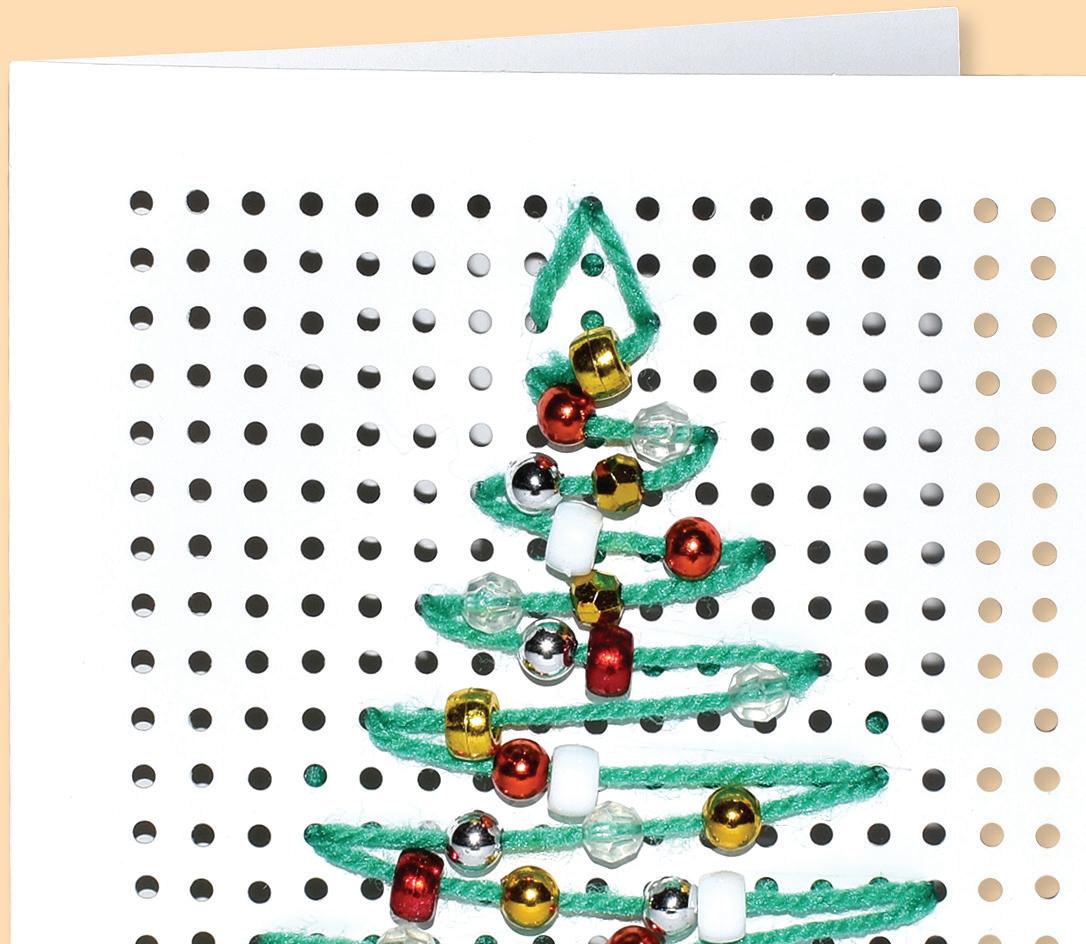
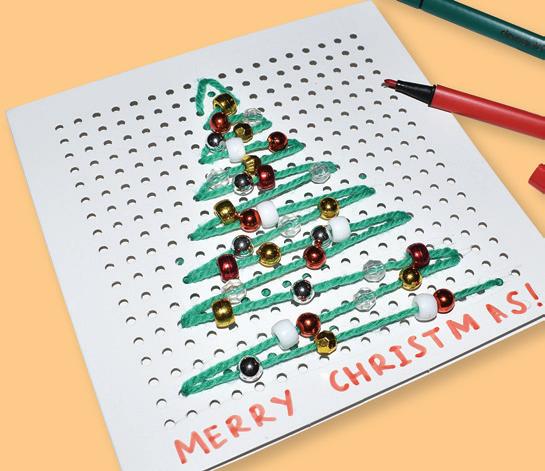
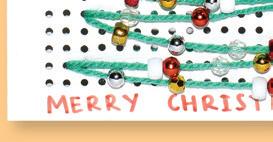
Beaded Tree Embroidery Card
•
•
•
the steps below
create a colourful

Christmas Tree Card
come up with your own design!
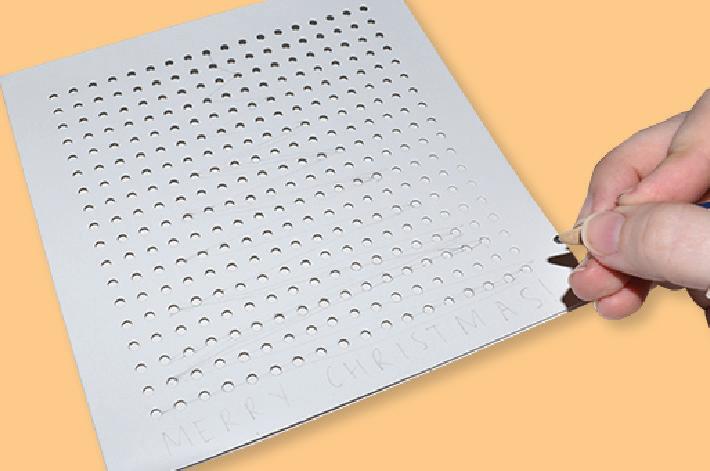
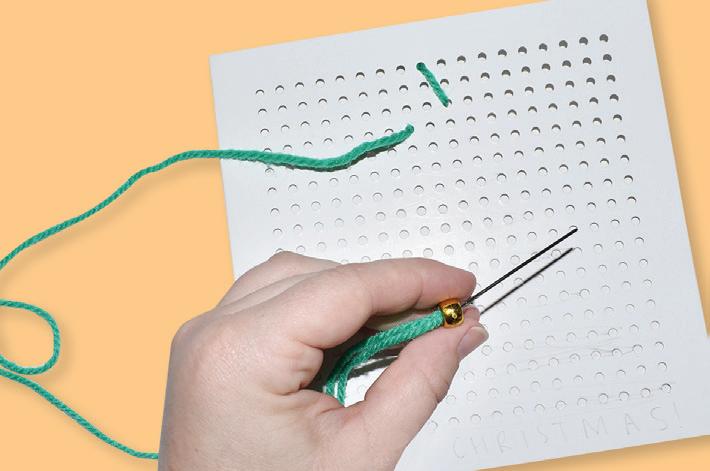
1. Sketch out your design onto your embroidery card using pencil. We have chosen to draw a Christmas Tree design.
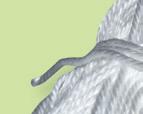
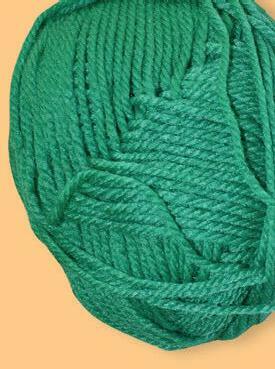
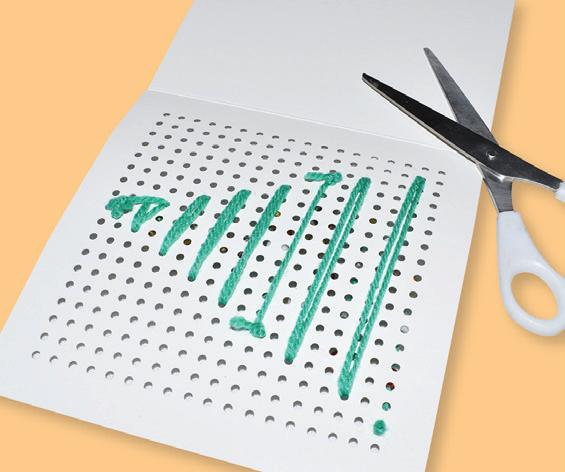
2. Cut a piece of green soft yarn 2 metres long and thread through a blunt tip sewing needle. Adult supervision is recommended when using scissors and sewing needles.


3. Tie the opposite end in a knot so that it holds your embroidery in place.

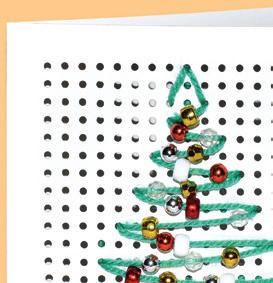
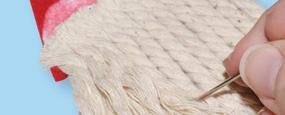
4. Begin threading your embroidery card, following the design you sketched in step 1. Thread on the beads as you go.
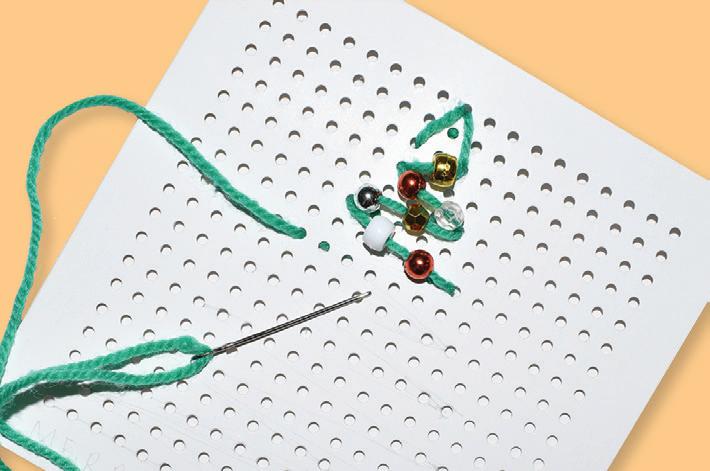


5. Continue to thread the soft yarn and beads onto your embroidery card.

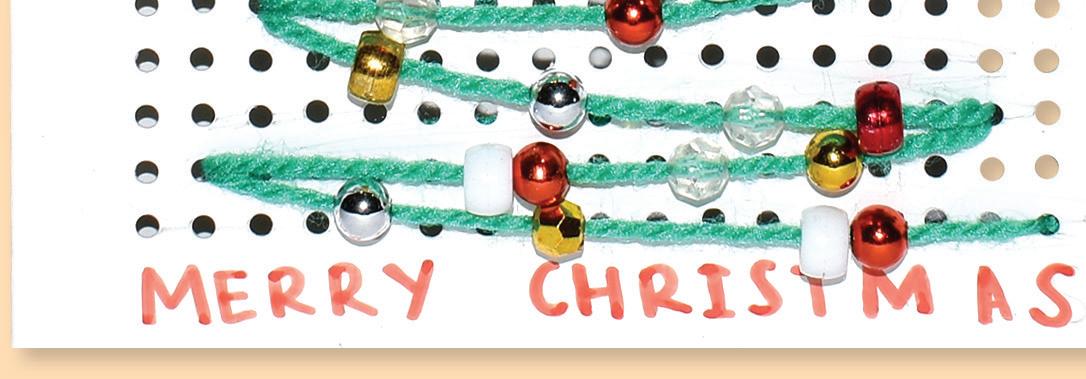
6. Once you have finished threading your design, tie the yarn in a knot on the inside of your card. Cut off any excess yarn.


7. Use CleverPatch™ Markers to write a message on the front of your card.


8. Your Beaded Embroidery Card is now ready to give to someone special!

4© CleverPatch 2020 - www.cleverpatch.com.au
Materials:
Embroidery Greeting Cards – Pack of 10 – 19149 • Soft Yarn Wool – Green – 100g – 11312 • Christmas Plastic Beads Mix – 200g Pack – 11583
CleverPatch™ Triangular Coloured Markers – Pack of 10 – 16232
Other materials required: Scissors Follow
to
Embroidery
or
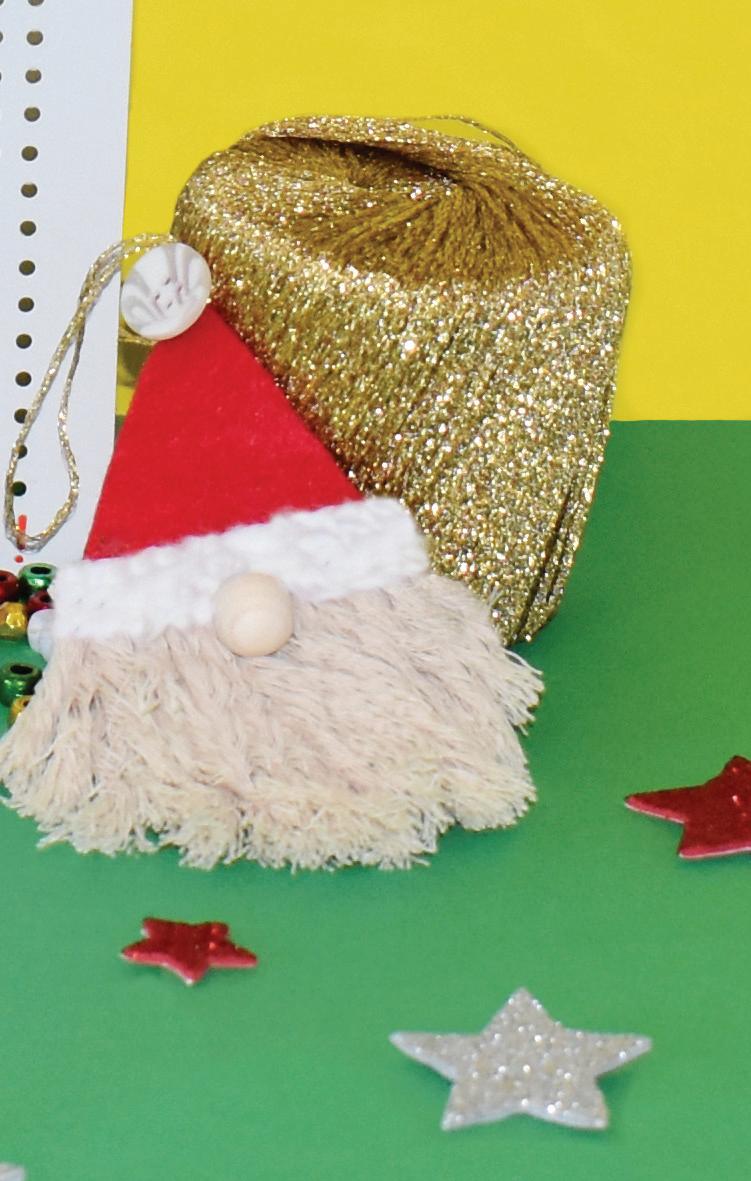
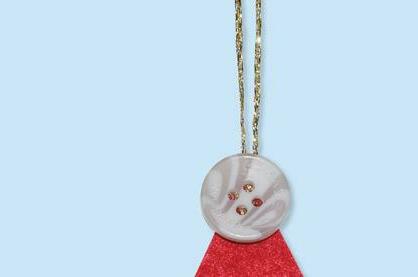
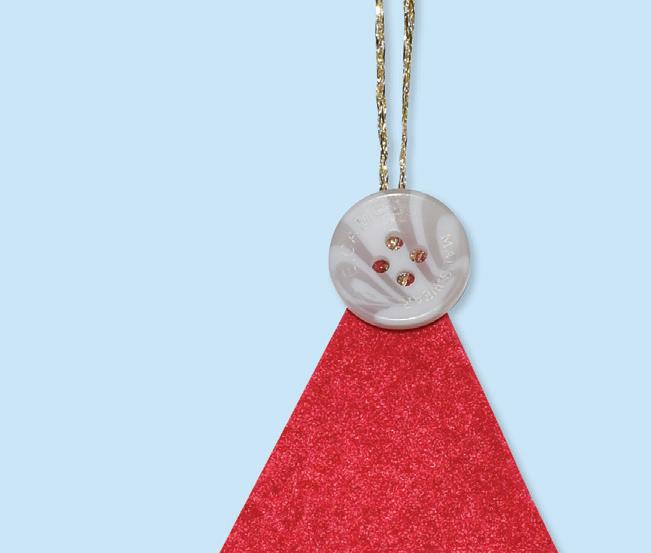
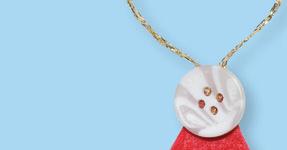
Santa Ornament

Materials:


• Felt Sheets – Red – Pack of 10 – 17530


• Macramé Cord – 4mm x 90m – 18757


• CleverPatch™ Tacky Glue – 250ml – 16494


• Sewing Needles – Blunt Tip – Pack of 25 – 11591
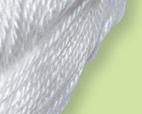
• Cotton Balls – White – Pack of 240 – 11252


• Christmas Buttons – 500g Pack – 17405
• Wooden Beads – Natural – 340g Pack – 10841
• Metallic Yarn – Gold – 20g – 10238


• CleverPatch™ Glue Dots – Permanent – Pack of 300 – 15173


• Other materials required: Scissors, ruler & template (page 8)


1. Print and cut out the template provided on page 8. Adult supervision is recommended when using scissors. Trace the template onto red felt and cut out. This will be your Santa’s hat.

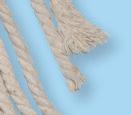
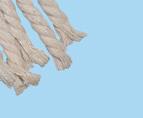
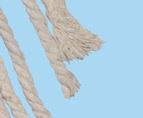
2. Measure and cut 10 pieces of macramé cord, each measuring 15cm long. This will be your Santa’s beard.
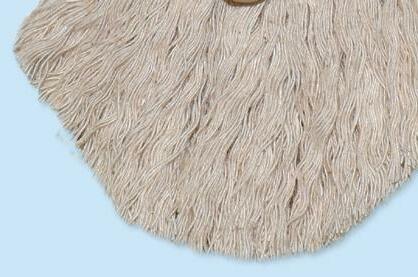
3. Use CleverPatch™ Tacky Glue to attach the macramé cord to the bottom of the felt hat. Allow to dry.
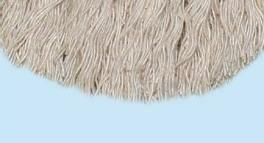


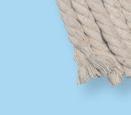
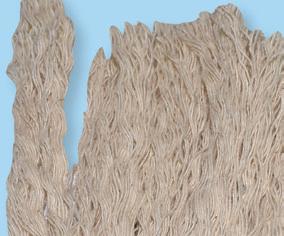
4. Using a blunt tip needle, carefully unravel the macramé cord to create Santa’s beard.


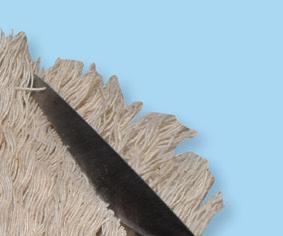
5. Pull apart a cotton ball and spread it across the bottom of the felt hat. Attach with tacky glue.


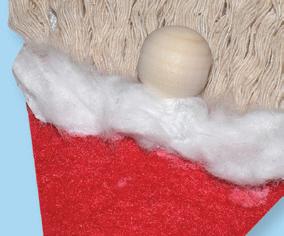
6. Cut a 15cm piece of gold metallic yarn. Tie the ends in a knot and attach to a button using a glue dot.

7. Use another glue dot to attach the button and metallic yarn to the top of the felt hat.


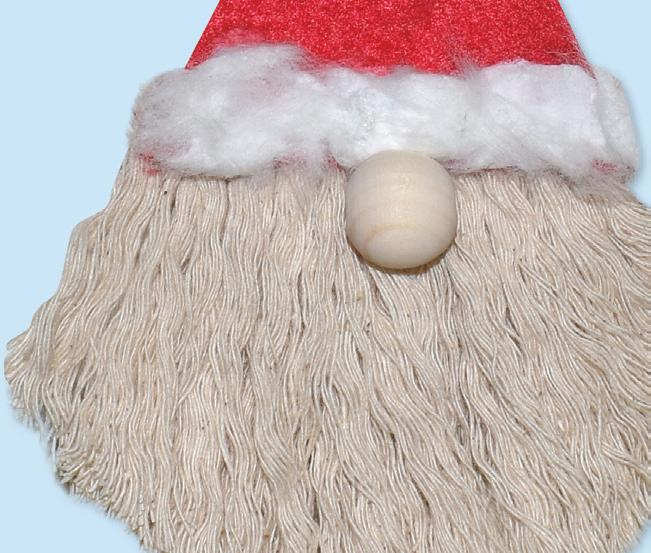
8. Trim the macramé cord to round out the edges and create Santa’s beard. Your Santa Ornament is now ready to hang on the Christmas Tree!

5© CleverPatch 2020 - www.cleverpatch.com.au
This adorable little Santa Ornament will look wonderful on your Christmas Tree!
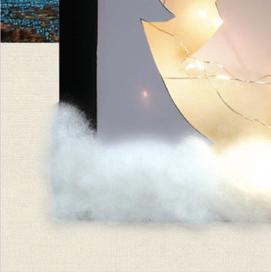
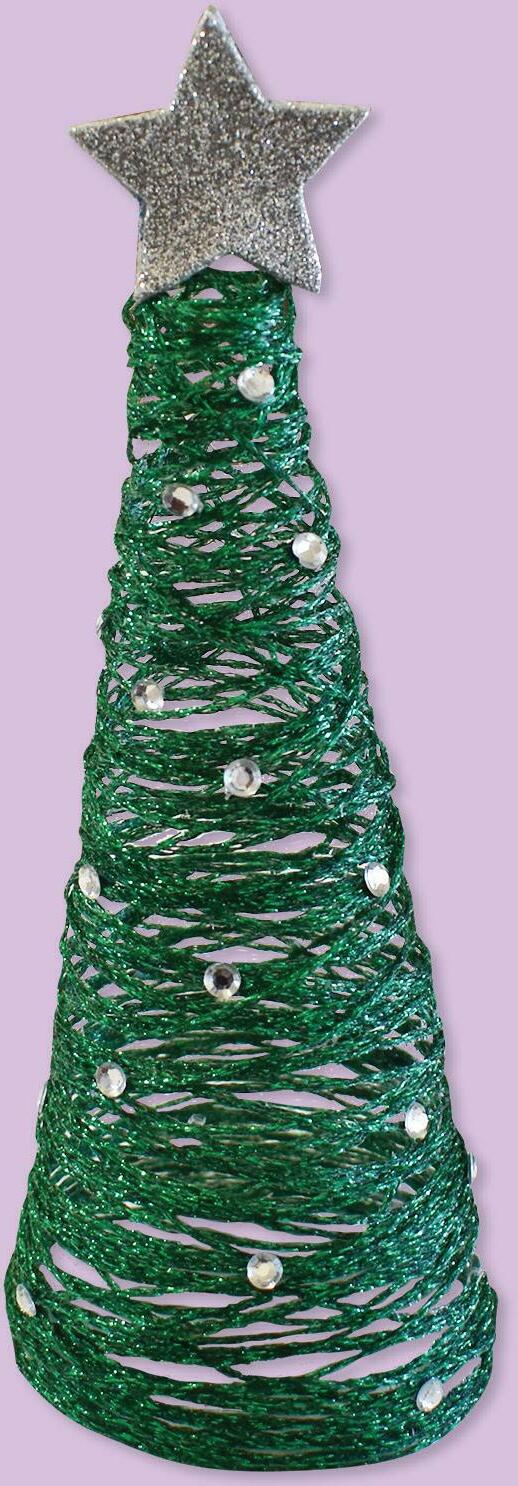
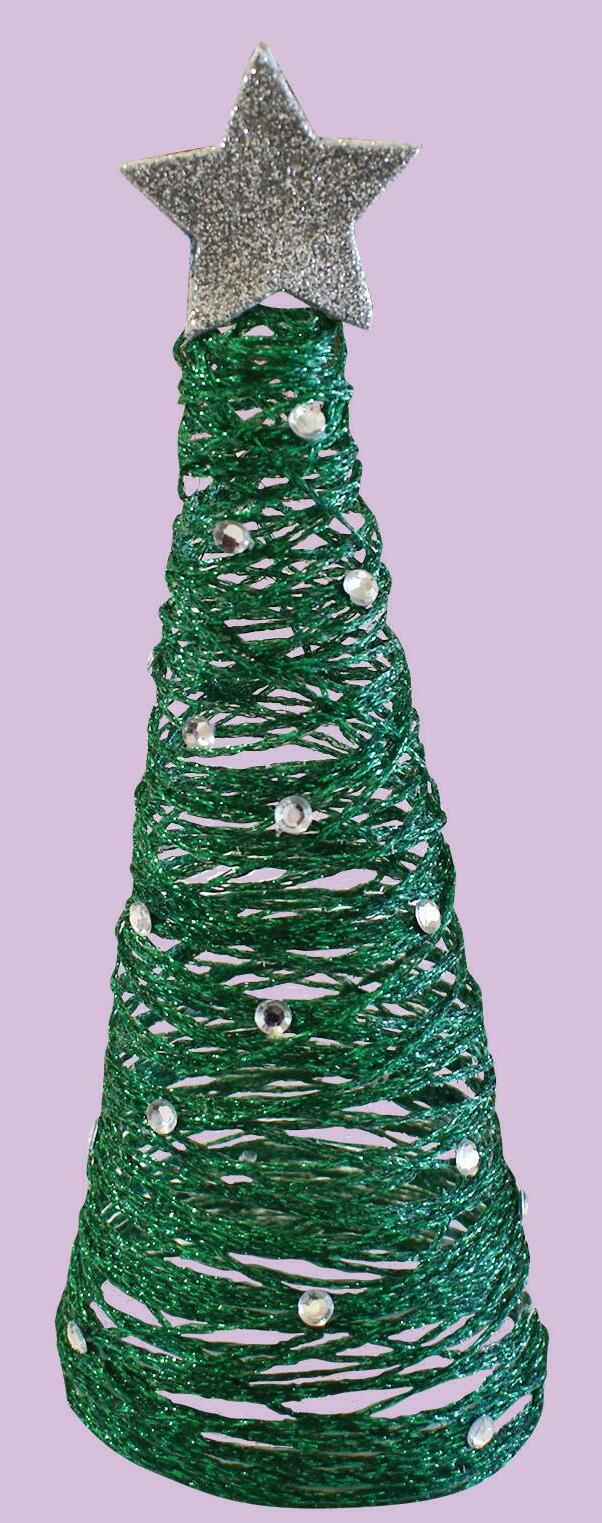
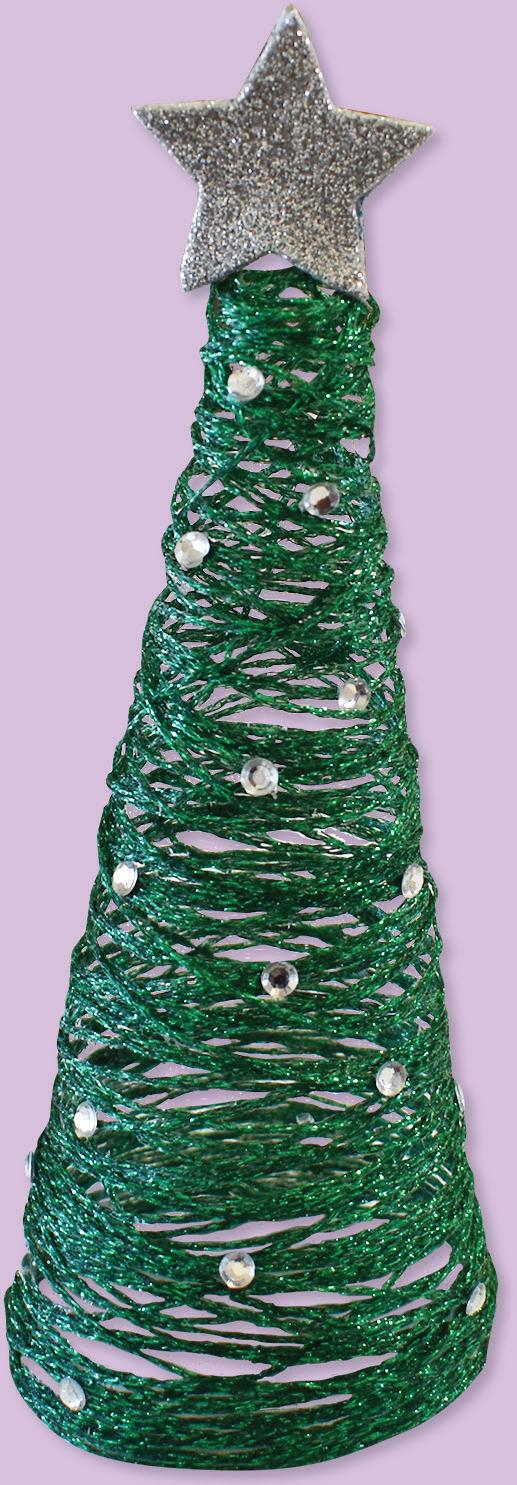
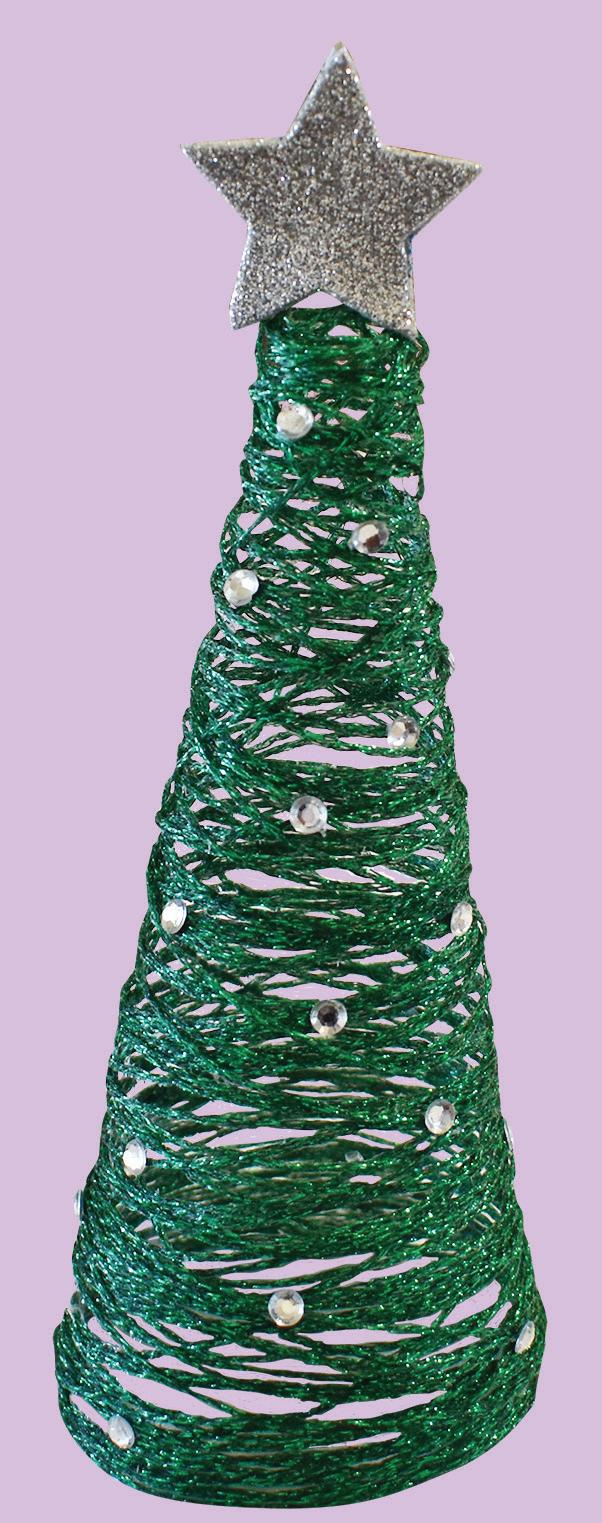
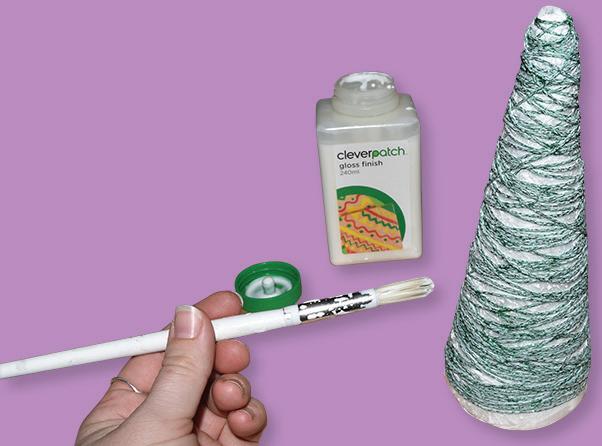
Metallic Yarn Christmas Tree
the end
top
Cover the metallic yarn
with
Finish. Allow to dry.
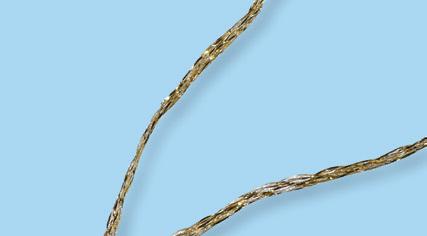
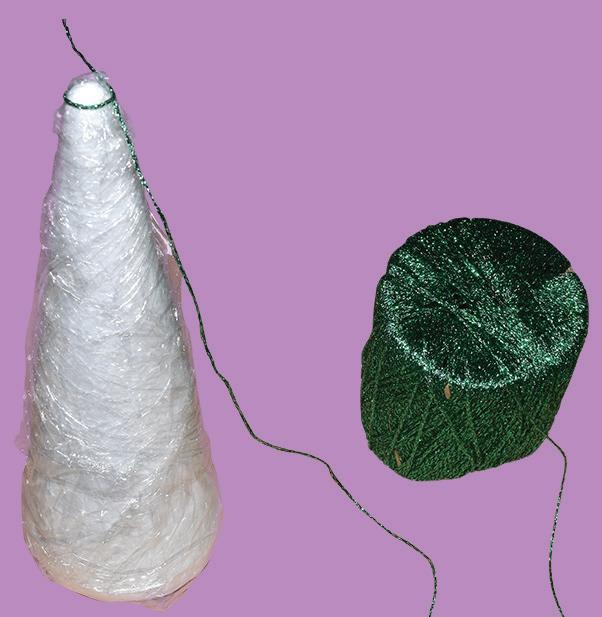
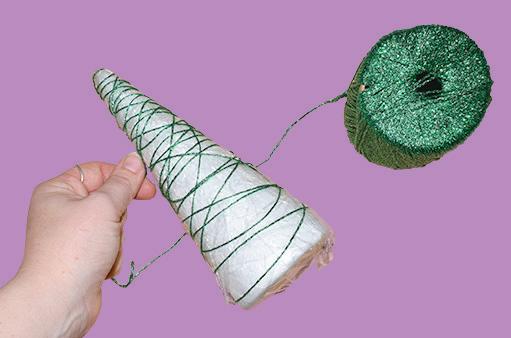
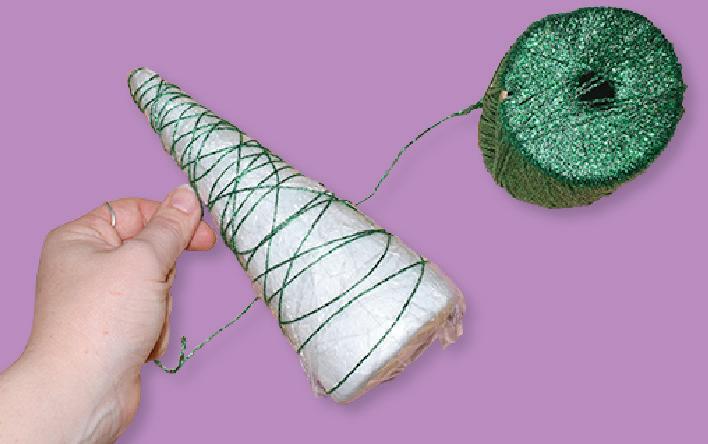
Begin wrapping the cone with the metallic
Wrap it in different directions to help create a strong
4. Once you have covered most of the decofoam cone, cut the metallic yarn. Tie the end to another piece of yarn to hold it in place.

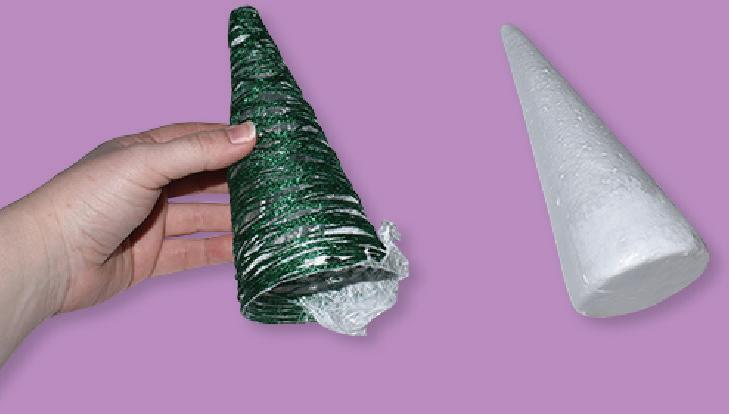
Once the
remove the


remove
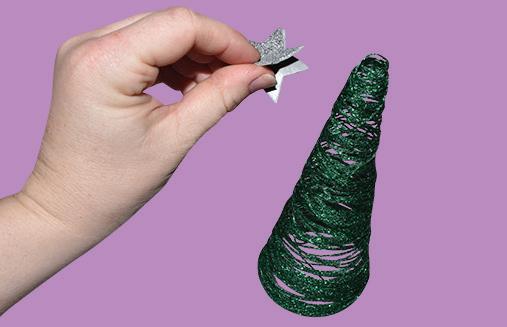
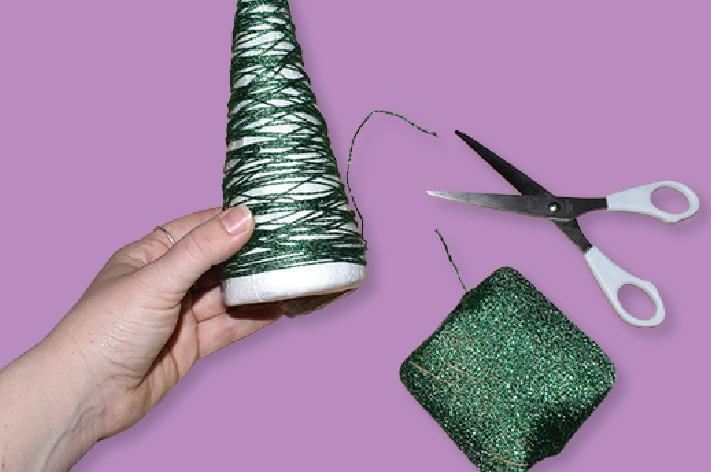
7. Stick 2 foam stars together, leaving an opening at the bottom and stick it onto the top of the yarn tree. Your Metallic Yarn Tree is now ready to decorate your home at Christmas time!
6© CleverPatch 2020 - www.cleverpatch.com.au
5.
completely
CleverPatch™ Gloss
6.
Gloss Finish is completely dry, gently
decofoam cone. Carefully
the cling wrap from the inside of the metallic yarn tree. 3.
yarn.
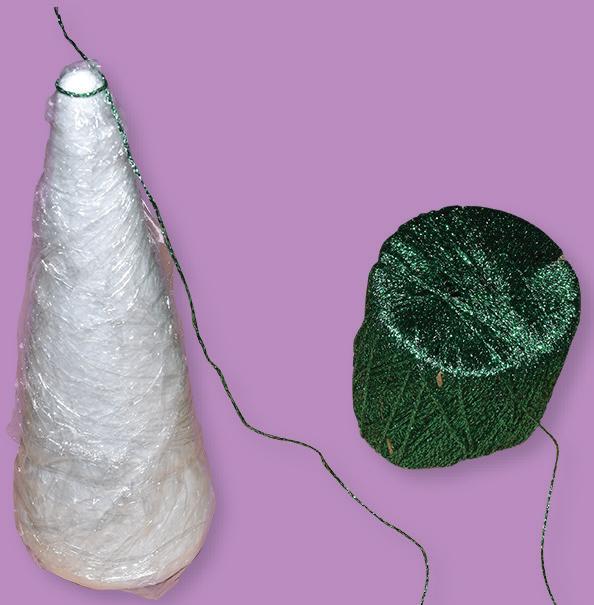
structure. 2. Tie
of the metallic yarn around the
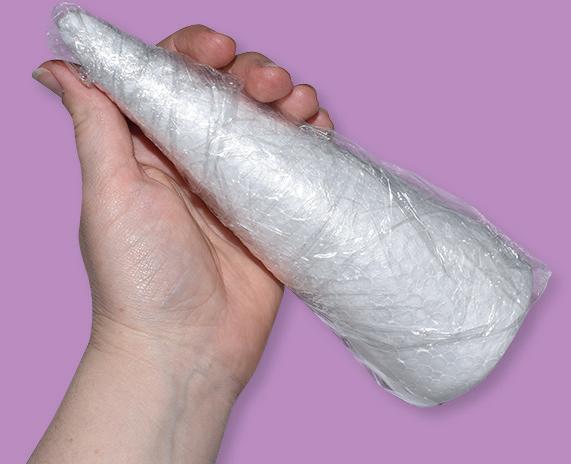
of your decofoam cone. 1. Wrap your decofoam cone in cling wrap. Make sure it is fully covered and tight.
Materials: • Decofoam Cones – Pack of 8 – 11187 • Foam Glitter Star Stickers – Pack of 168 – 16842 • Metallic Yarn – Green – 20g – 10239 • Self-Adhesive Rhinestones – Silver – Pack of 540 – 18126 • CleverPatch™ Gloss Finish – 240ml – 18797 • Other materials required: Glue brush, cling wrap & scissors
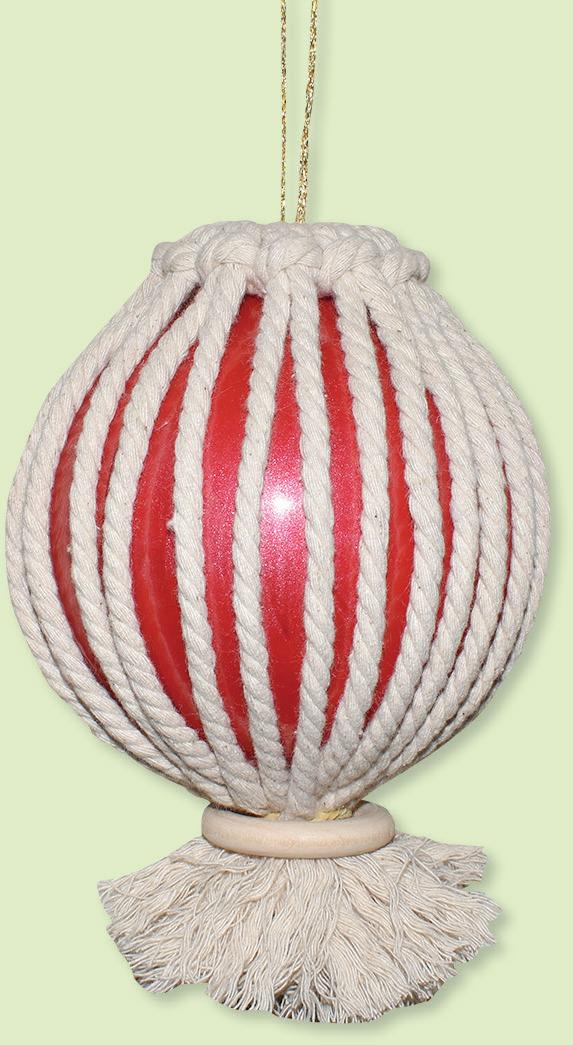
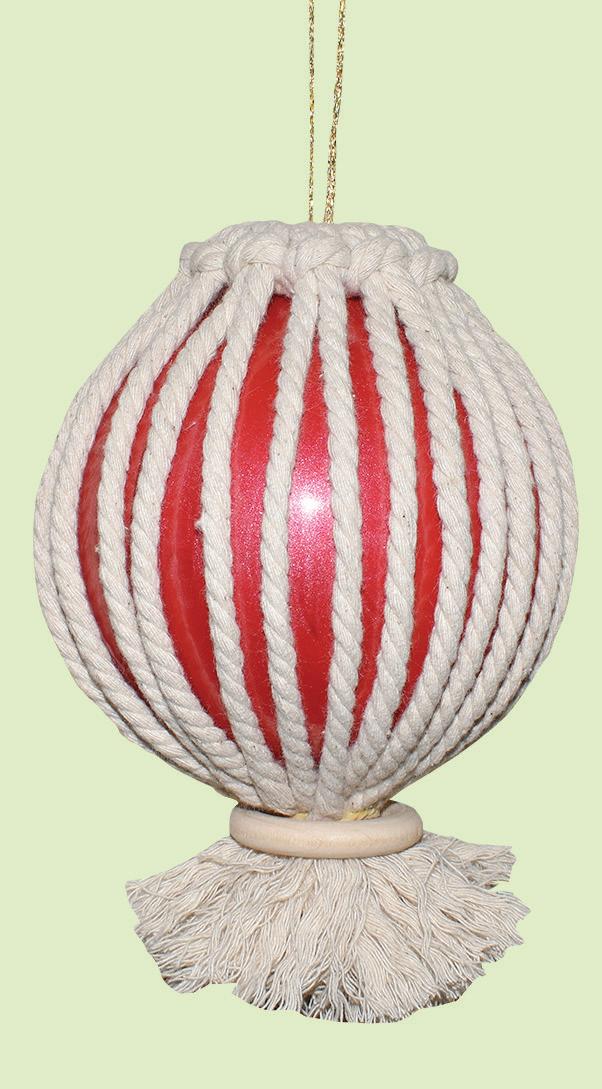
Macramé Bauble
Materials:
• Plastic Construct a Bauble – 10cm Pack of 10 – 18511

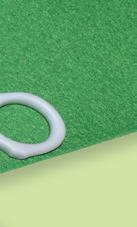
• Wooden Rings – Pack of 20 – 19251
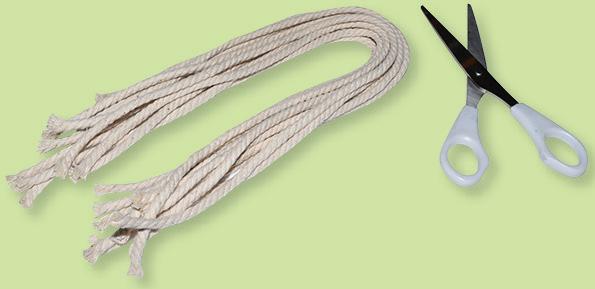
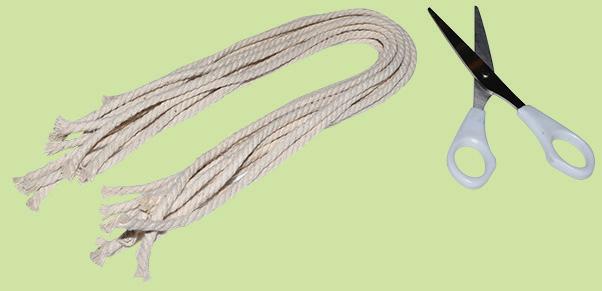
• Macramé Cord – 4mm x 90m


• EC Liquitemp Metallic Paint Red – 500ml – 17615
• Metallic Yarn – Gold – 20g
• Rubber Bands – 100g Pack
18757
10238
10653
• Clear Sticky Tape – 18mm x 66m 17769
• Other materials required: Scissors, ruler & paint brush
1. Paint the inside of your plastic bauble using metallic red paint. Allow to dry.
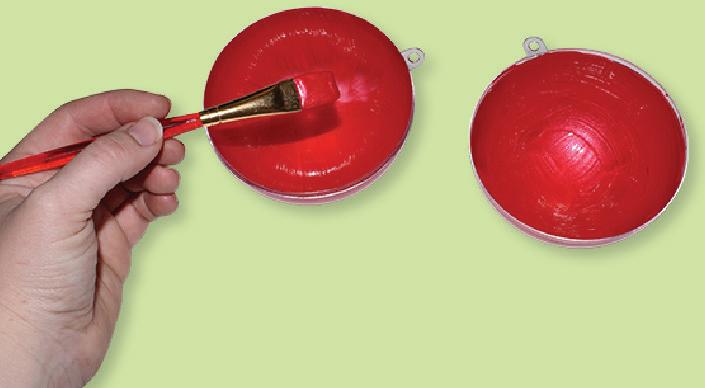
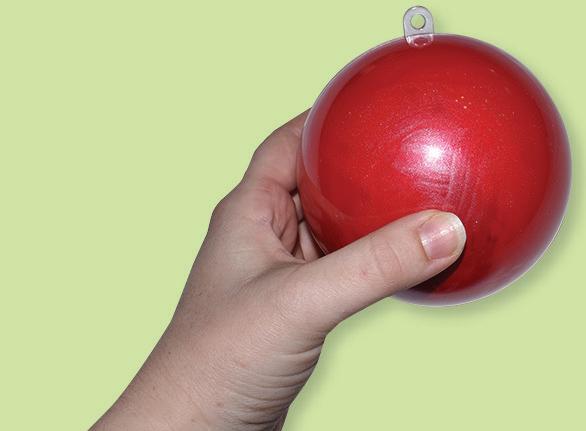
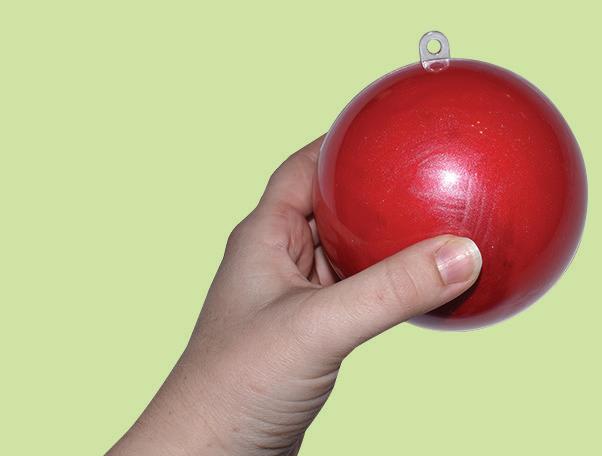
2. Place the 2 pieces of the bauble together. Add clear sticky tape around the join to help hold the bauble together.
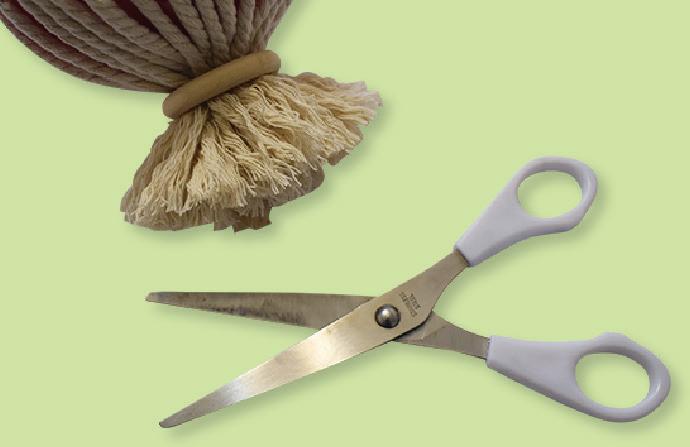
3. Cut 12 pieces of macramé cord each measuring 40cm long.
4. Fold a piece of macramé cord in half and thread the loop through a wooden ring. Pull the two ends through the loop.

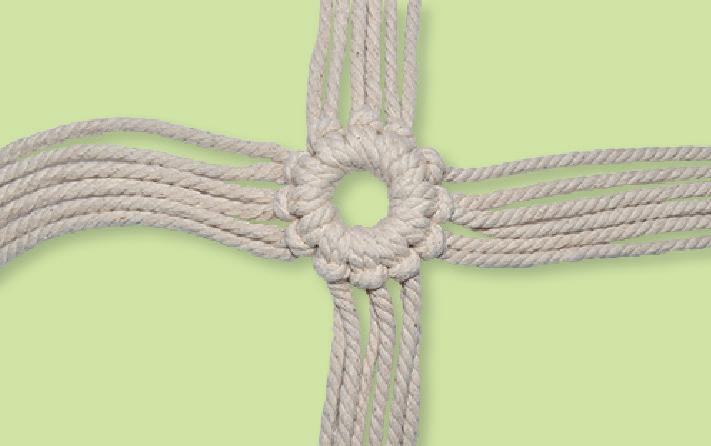
5. Pull tightly on the ends to create a knot around the wooden ring.
6. Repeat step 4 & 5 again for the other 11 pieces of macramé cord you cut in step 3.
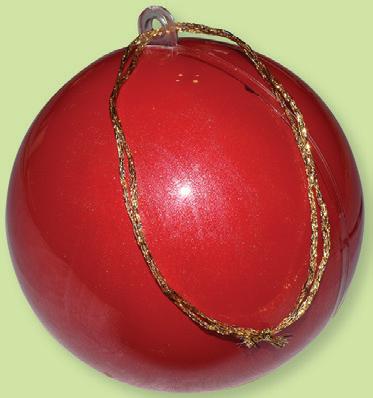
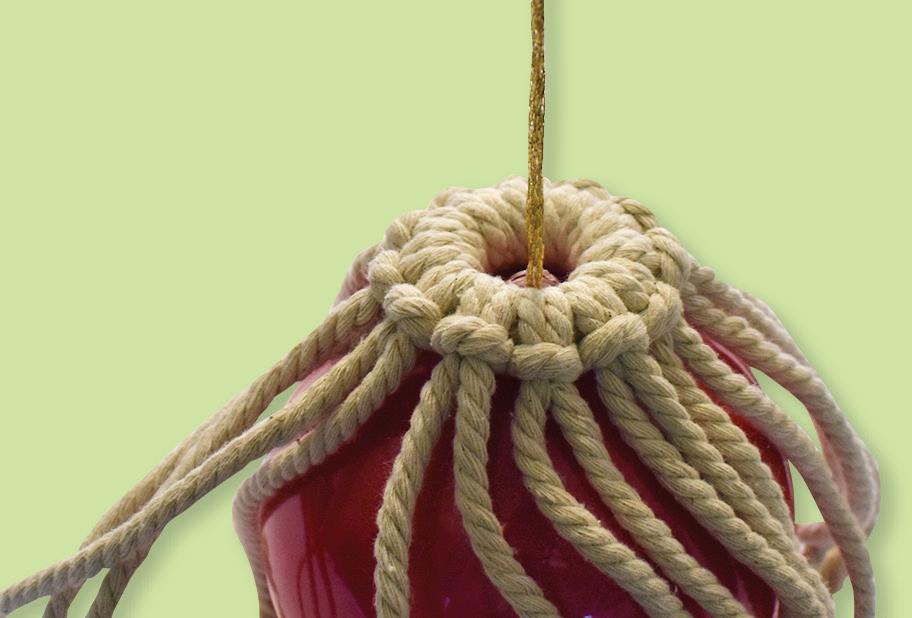
7. Cut a piece of metallic yarn 30cm long and fold in half. Thread through the hole at the top of the bauble and tie the ends in a knot.


8. Thread the metallic yarn loop through the wooden ring with macramé cord and place the ring on the top of the bauble.
9. Gather the macramé cord at the bottom of the bauble and tie together with a rubber band. Adjust the cords around the bauble so they are evenly spaced.
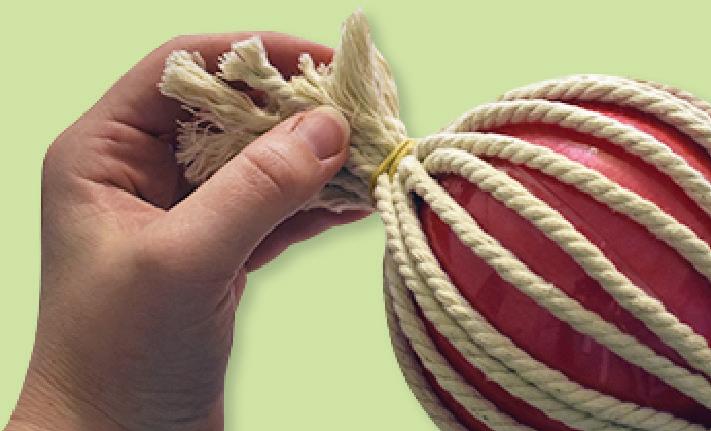
10. Place another wooden ring over the rubber band and unravel the ends of the macramé cord. Trim the ends to the same length. Your Macramé Bauble is now ready to hang!
7© CleverPatch 2020 - www.cleverpatch.com.au
–
–
–
8© CleverPatch 2020. Subject to terms of use at www.cleverpatch.com.au Use this template to create the activities on pages 3 & 5. Christmas Garland & Santa Ornament © CleverPatch ™ 2020 © CleverPatch ™ 2020 © CleverPatch ™ 2020 © CleverPatch ™ 2020

Faith Based eBook 2020 www.cleverpatch.com.au Customer Service 1300 836 522


5 Faith Based craft ideas inspired by Christmas! Contents String Art Star of Bethlehem ................................................................ 11 Match Box Manger ................................................................................... 12 Silent Night Embroidery Hoop ........................................................... 13 Three Wise Men Gifts ............................................................................. 14 Colours of Christmas .............................................................................. 15 Templates .............................................................................................. 16-17 We’ve supplied FREE templates just for you! Print as many times as you like. www.cleverpatch.com.au We have so many Christmas ideas we want to share with you! So come and visit us online! 10© CleverPatch 2020 - www.cleverpatch.com.au
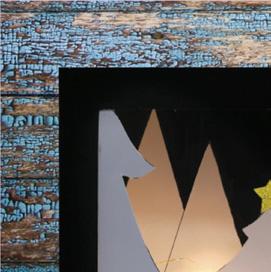
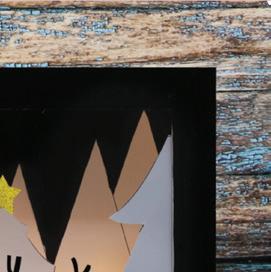
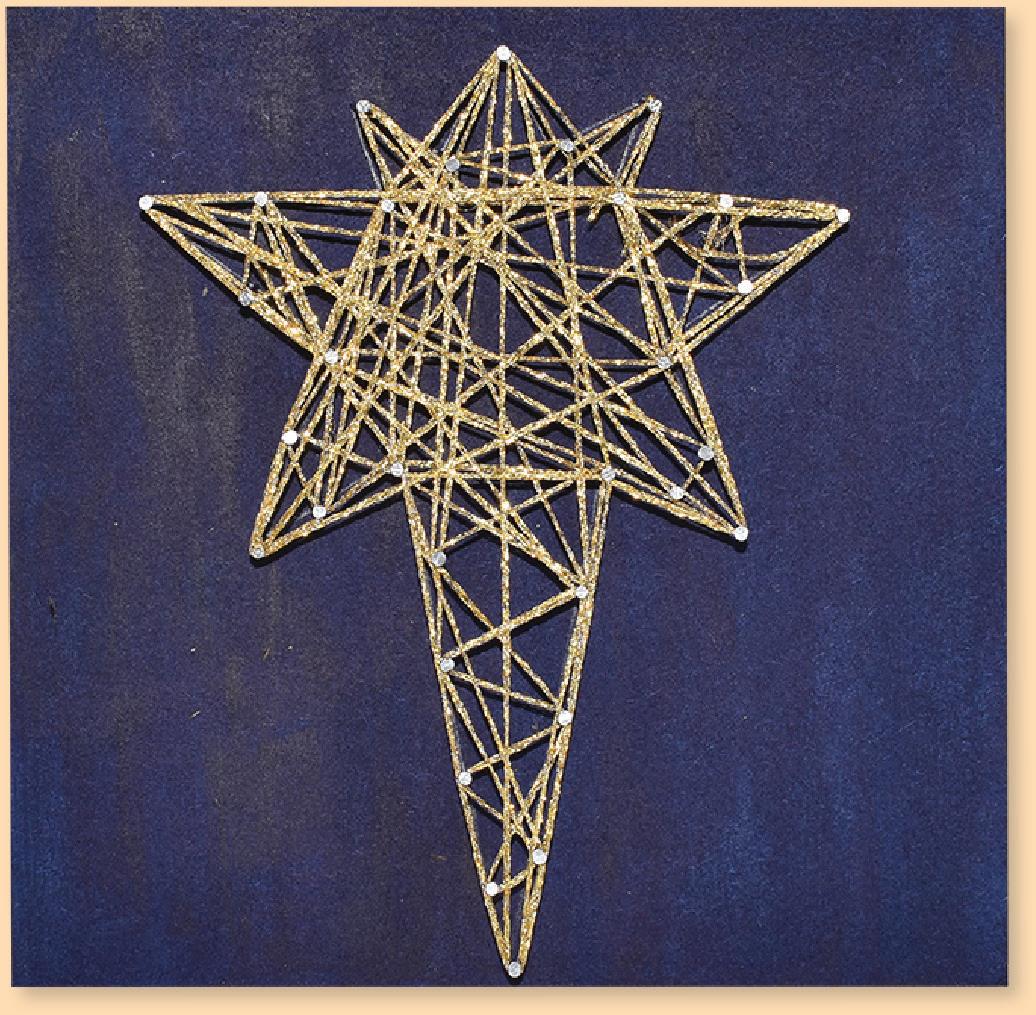
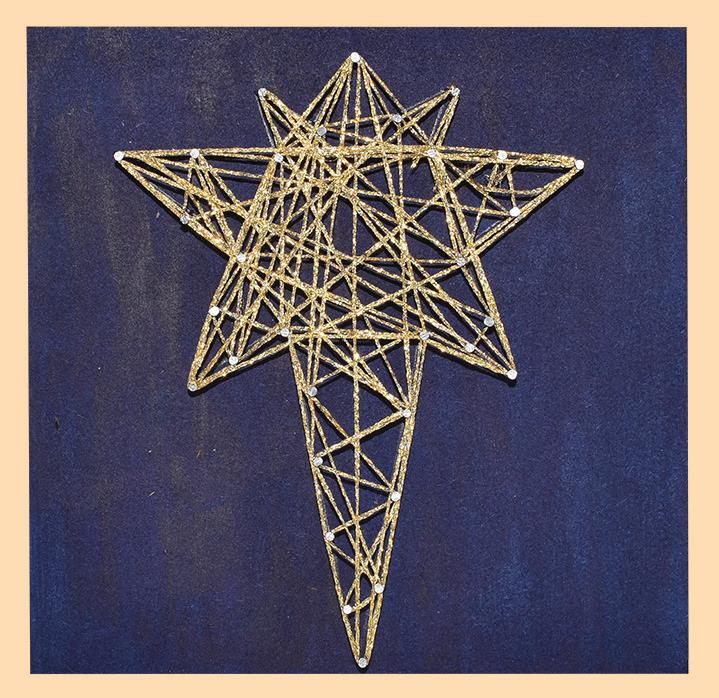
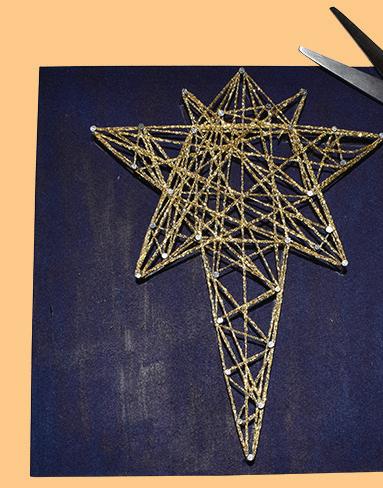
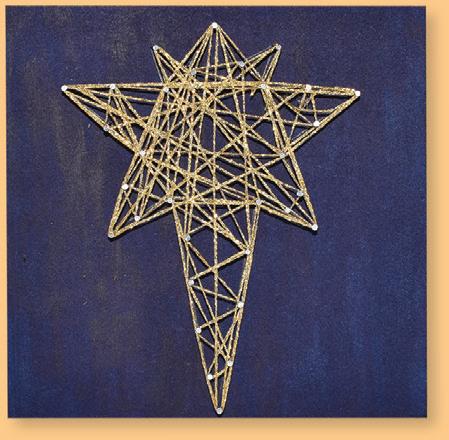
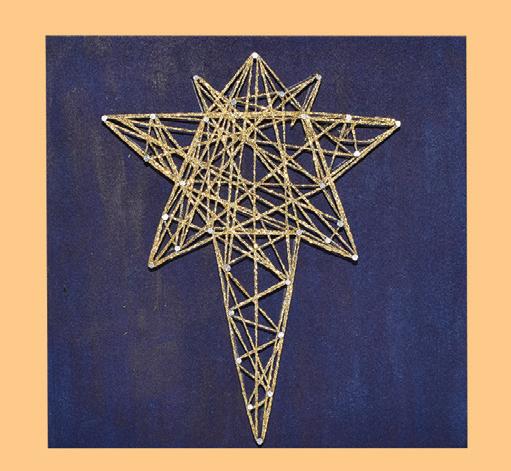
String Art Star of

star template


your Wooden Art Panel
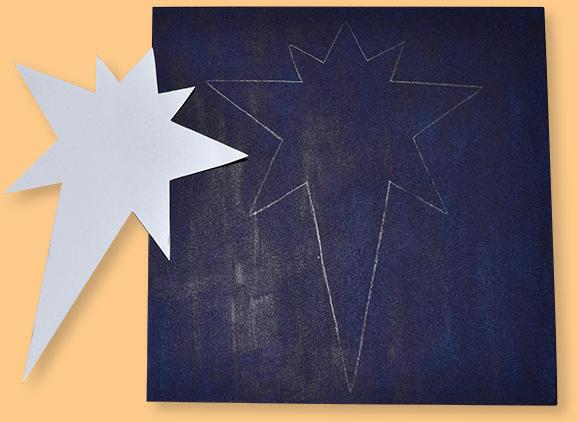
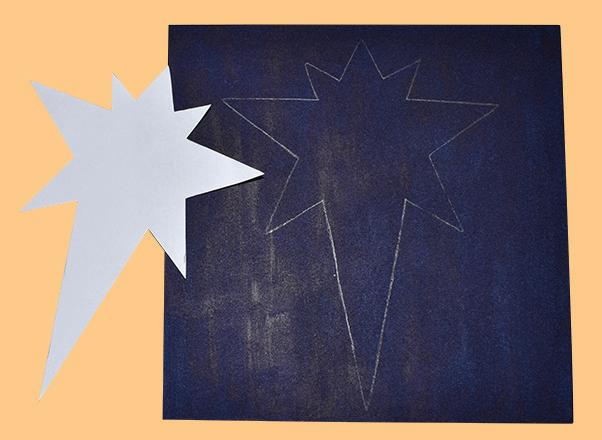
Print and cut out the template on page 16. Adult supervision
recommended when using scissors.


a
around
your
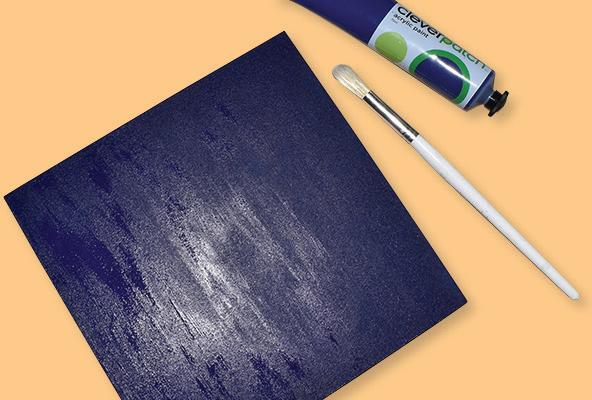
11© CleverPatch 2020 - www.cleverpatch.com.au 1. Paint
using Dark Blue CleverPatch™ Acrylic Paint. Allow to dry. 2.
is
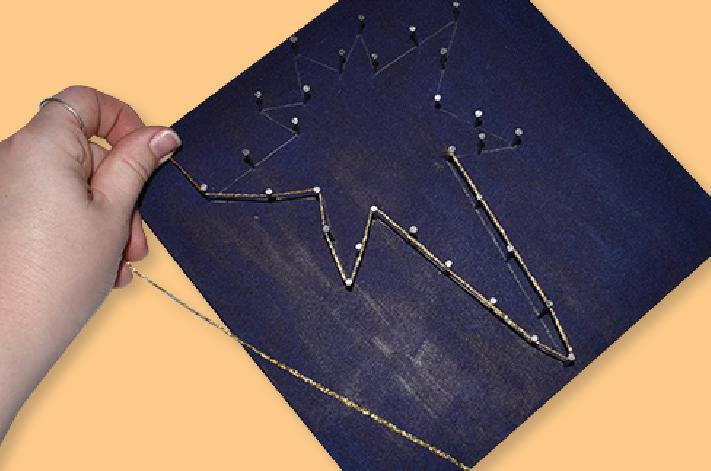
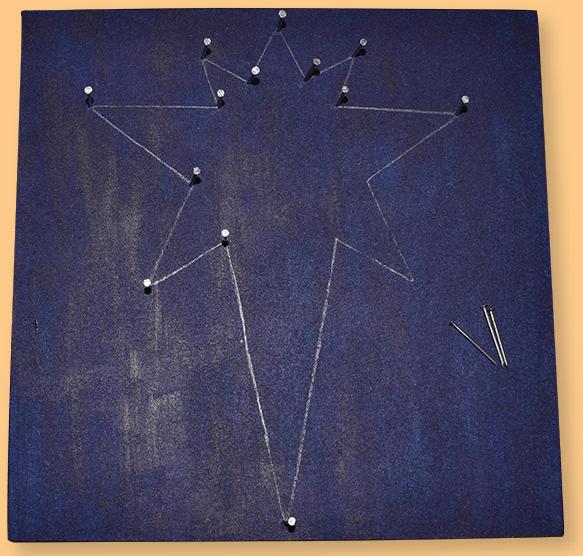
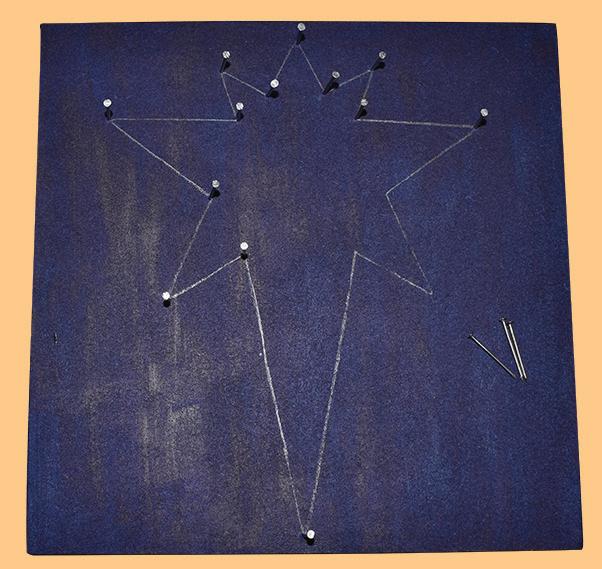
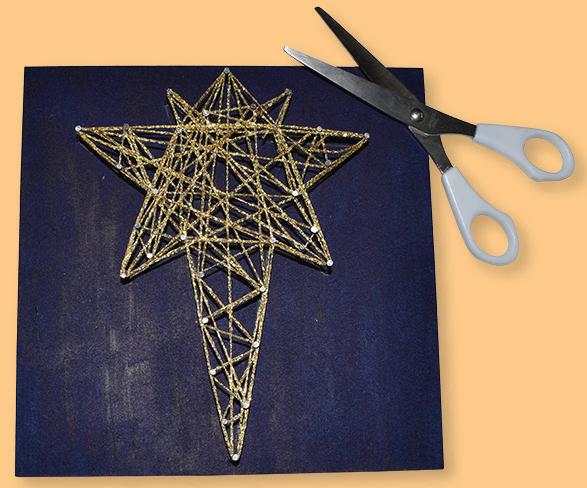
3. Trace the template onto the painted Wooden Art Panel using a pencil. 6. Once you have the outline of the star, weave the yarn through the nails to fill it in. 5. Cut
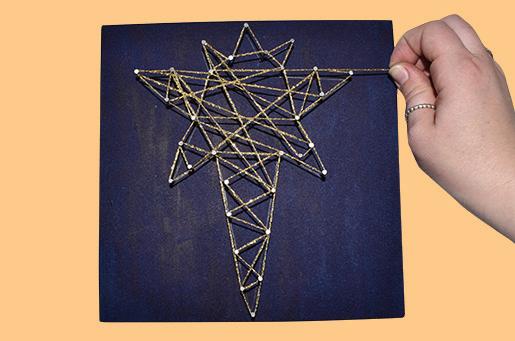
piece of metallic yarn 3 metres long and tie one end
a nail. Begin weaving the yarn around the nails to create the outline of the star. 4. Hammer nails in even increments along the pencil lines, we used 32 nails in total. Adult supervision is recommended when using a children’s hammer and nails. 7. Once you have reached the end of the yarn, tie it in a knot around the closest nail. 8. Hang
String Art Star of Bethlehem using the routed hanger in the back of the Panel.
Bethlehem Materials: • Wooden Art Panels – Pack of 10 – 19097 • CleverPatch™ Acrylic Paint Tube Dark Blue – 75ml – 16912 • Wooden Children’s Hammer – 15337 • Nails – Pack of 500 – 17668 • Metallic Yarn – Gold – 20g – 10238 • Other materials required: Paint brush, scissors, pencil & template (page 16) Use the
provided or draw your own design!
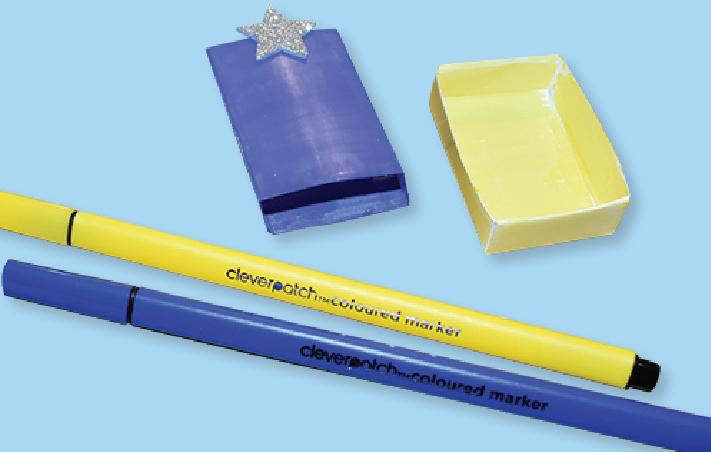
Match Box Manger
Materials:
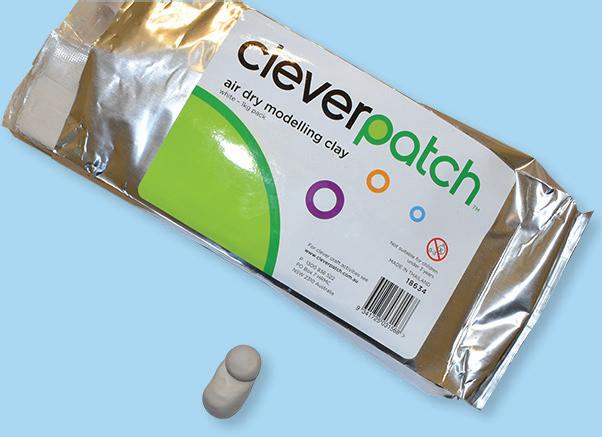
• CleverPatch™ Air Dry Modelling
• Wood Wool
50g Pack
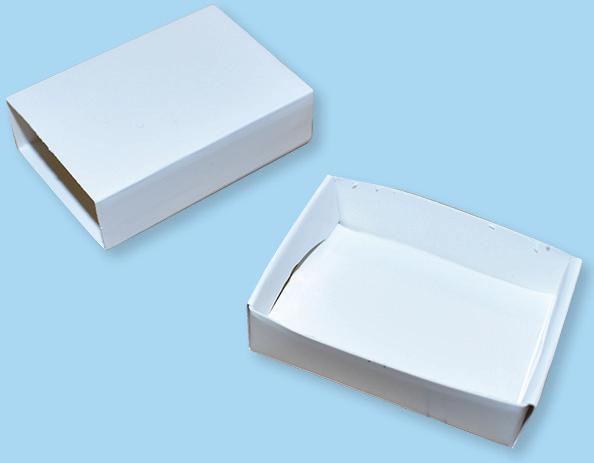
• Cardboard Match Boxes
• Foam Glitter Star Stickers
• CleverPatch™ Triangular Coloured
• CleverPatch™ Acrylic Paint Tube
• CleverPatch™ Acrylic Paint Tube
• CleverPatch™ Acrylic Paint Tube

• Micador Stay Anywhere™
• Other
White
Light Blue


Burnt
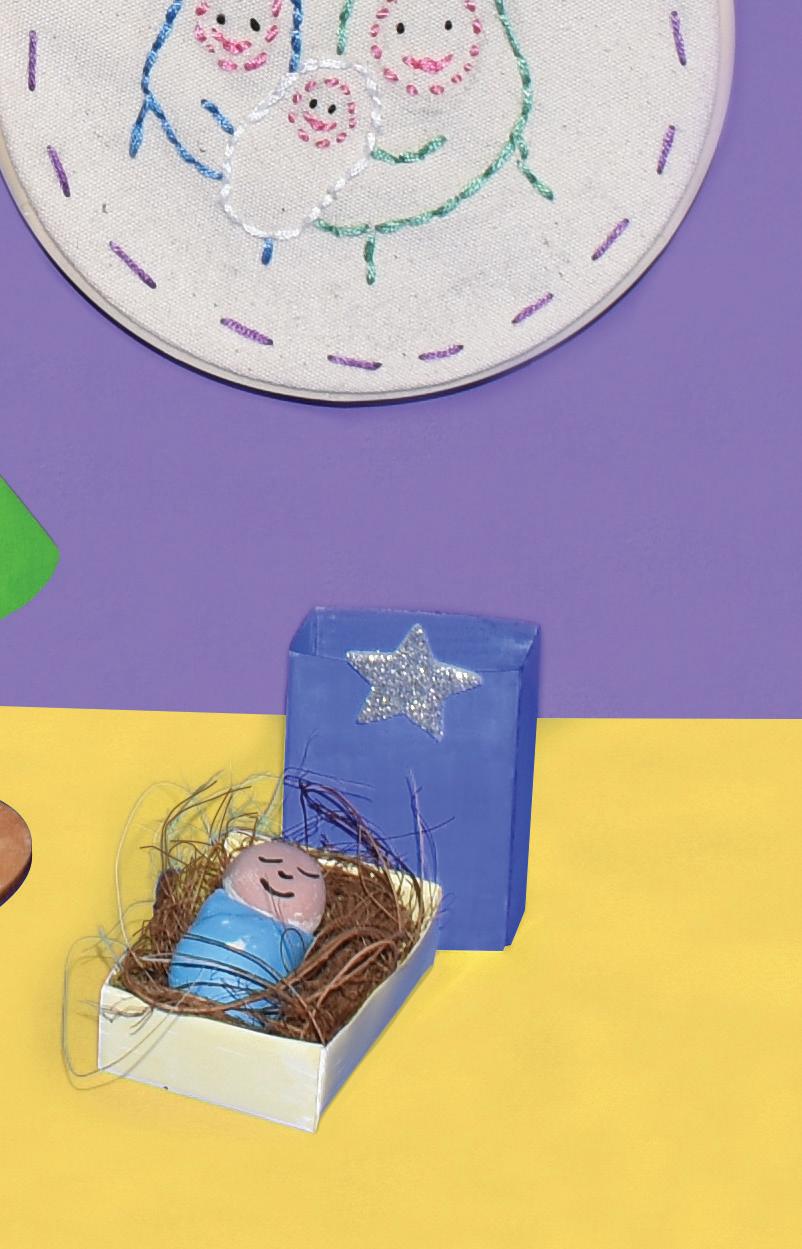
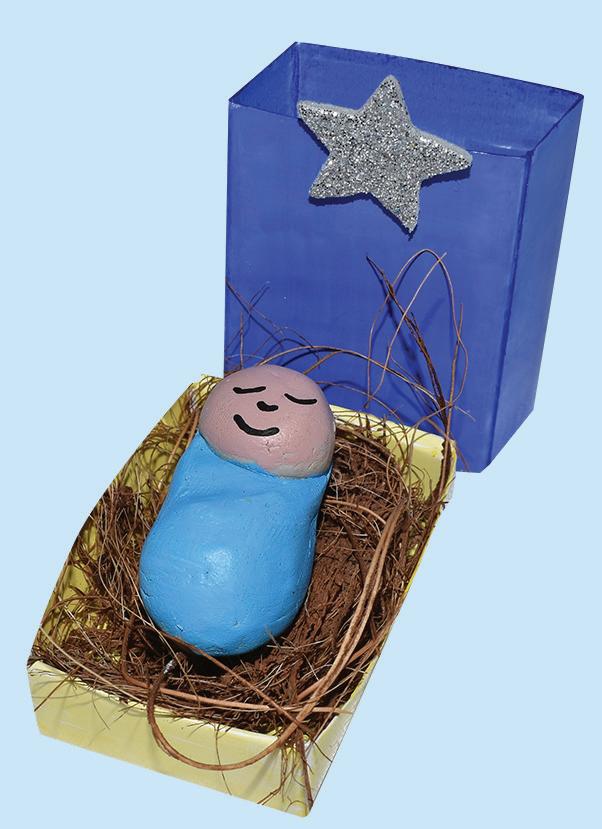
The perfect mini craft this Christmas!
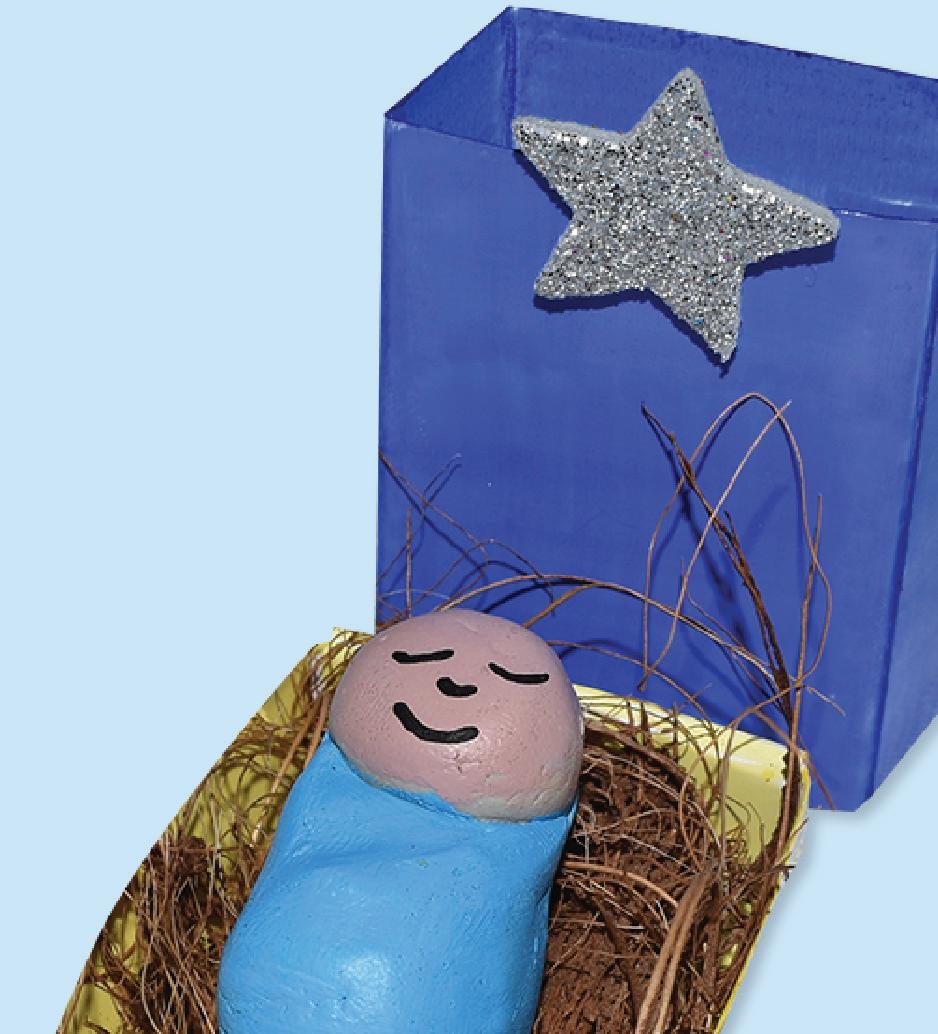
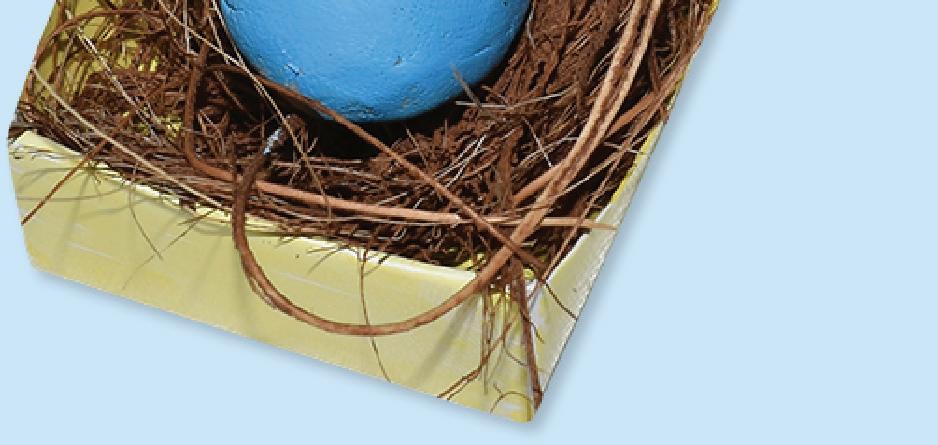
1. Use CleverPatch™ air dry modelling clay to create your baby Jesus. We made ours 4cm long to fit snug in the match box. Allow to dry.


2. Construct your cardboard match box.
3. Decorate your match box. We have used CleverPatch™ triangular makers and a self-adhesive foam star. Allow to dry.
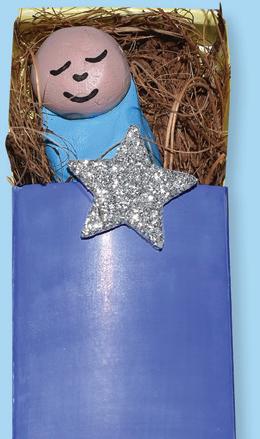
4. Add colour and a face to your clay baby Jesus. Mix burnt sienna and white acrylic paint together to create a skin colour. Mix light blue and white together for a baby blue blanket colour. Use a marker to draw on a face. Allow to dry.
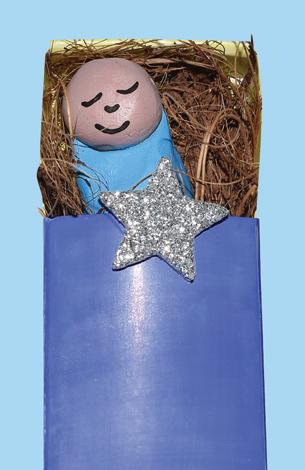

5. Add wood wool to the inside of the match box and place the baby Jesus on top.
6. Slide the match box and baby Jesus into the lid. Your Match Box Manger is now ready!
12© CleverPatch 2020 - www.cleverpatch.com.au
Clay – White – 1kg Pack – 18634
–
– 19221
– Pack of 10 – 19260
– Pack of 168 – 16842
Markers – Pack of 10 – 16232
–
– 75ml – 16886
–
– 75ml – 16881
–
Sienna – 75ml – 16884
Permanent Pens – Pack of 12 – 14216
materials required: Paint brushes
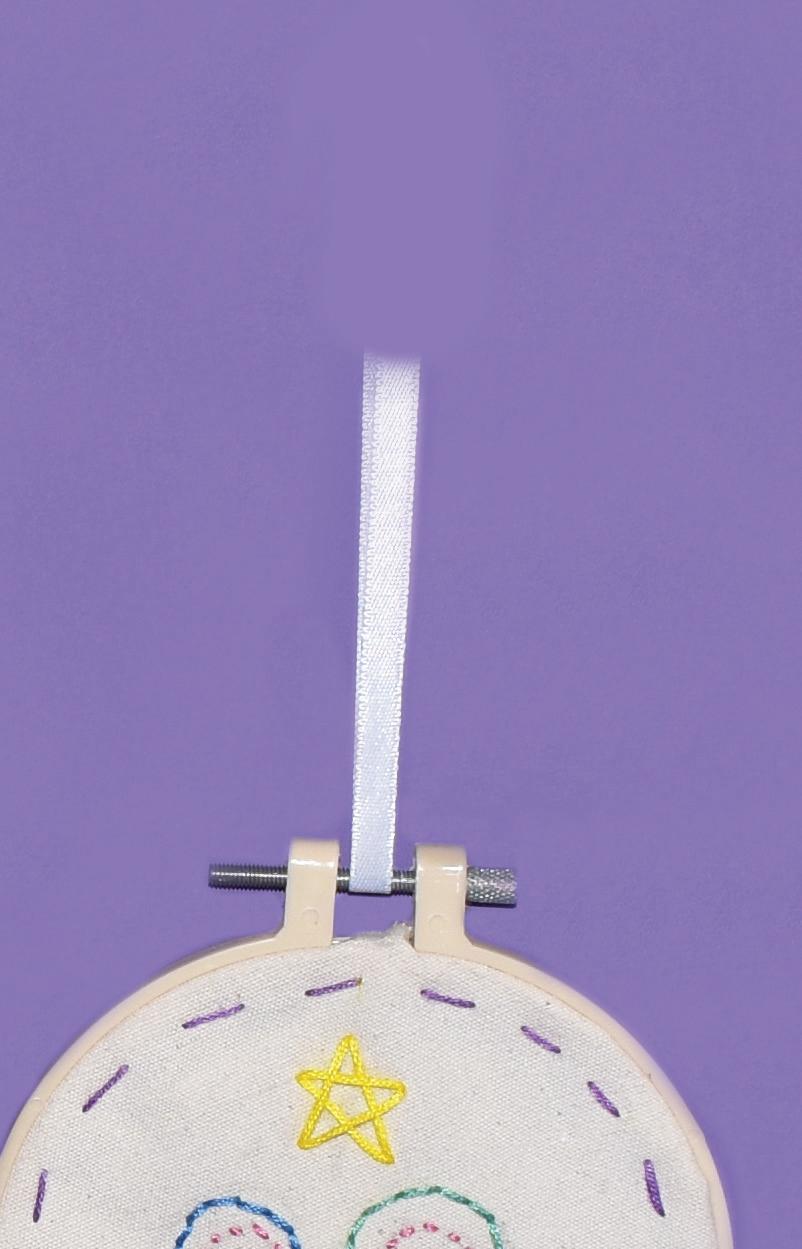
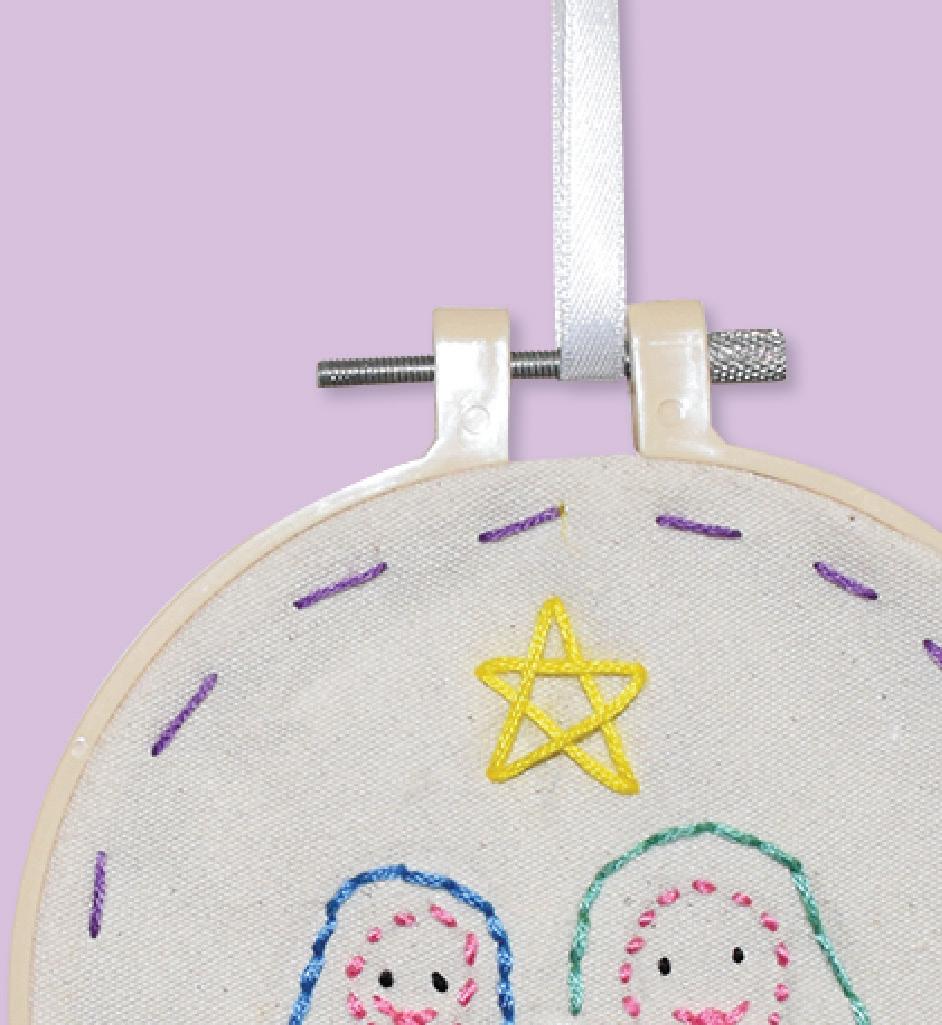
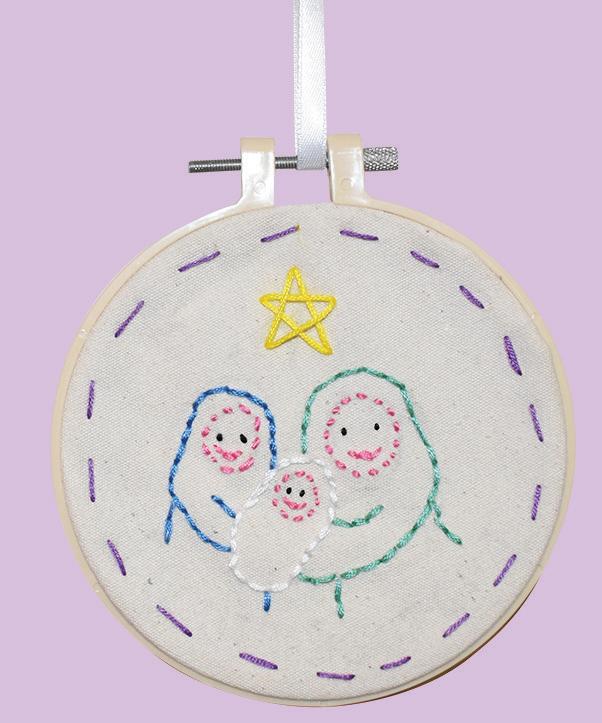
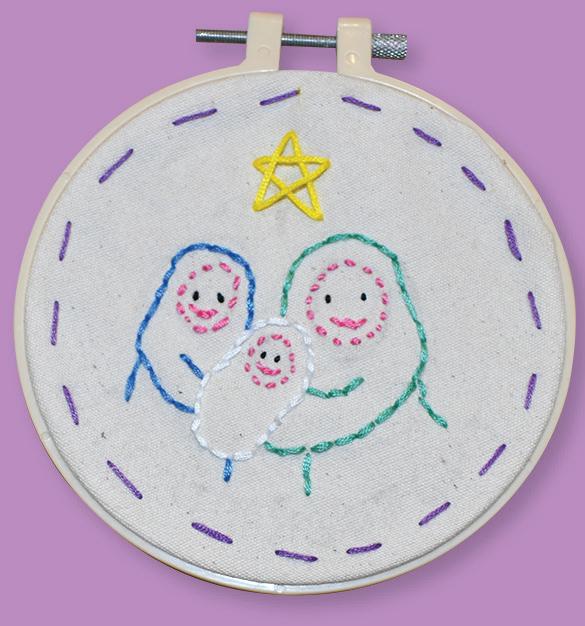
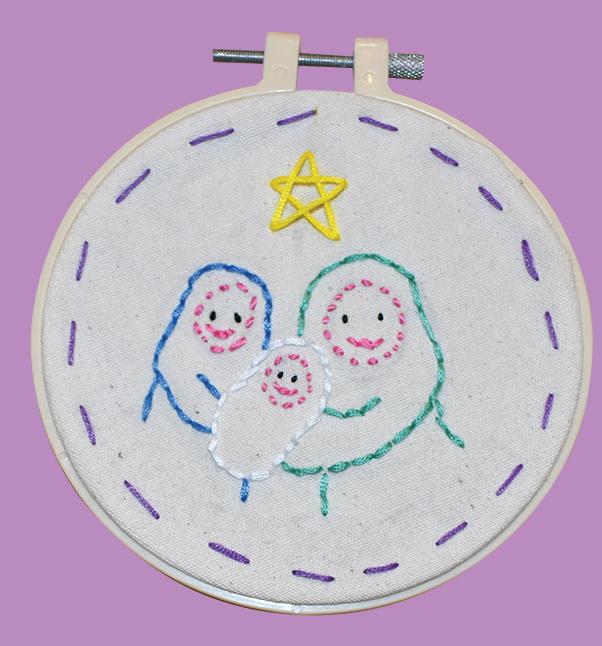
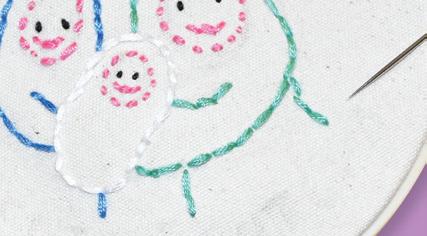
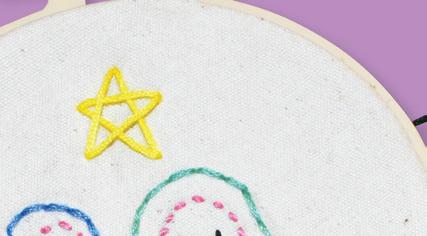
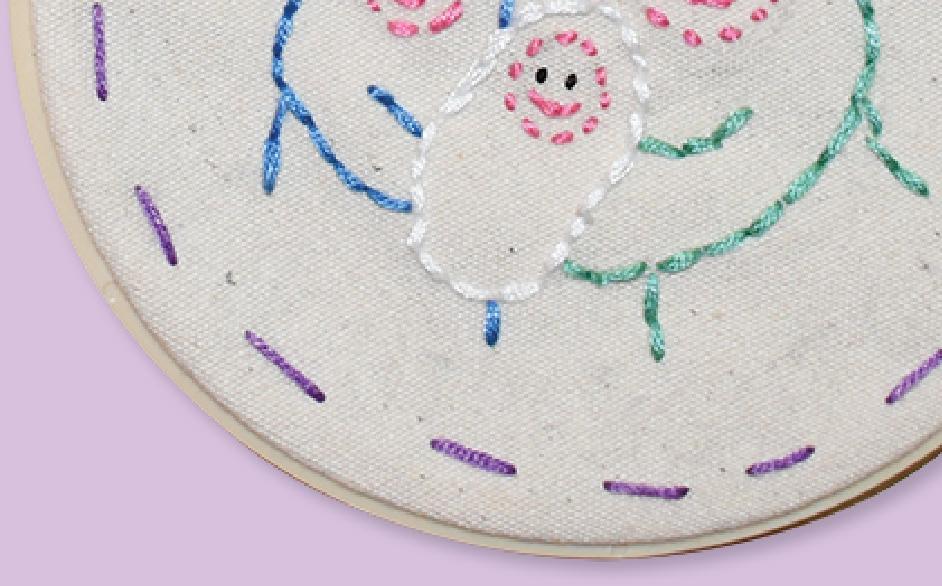
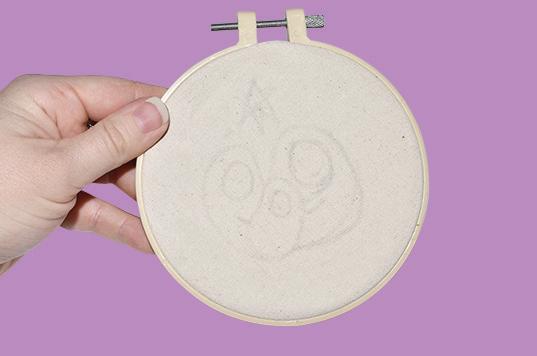
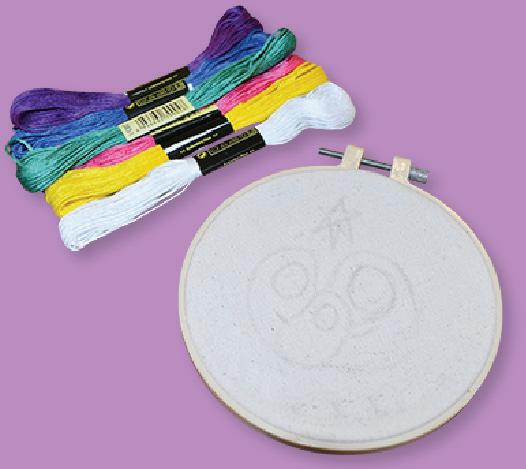
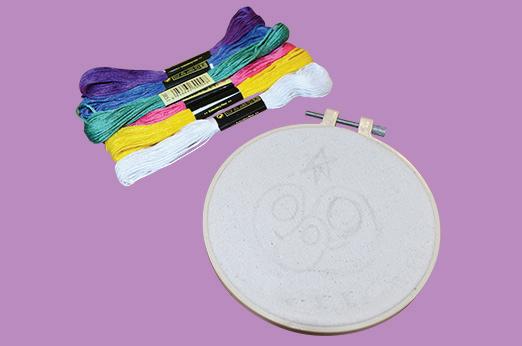
Silent
1. Lightly sketch out your design onto the embroidery hoop. We have chosen to do Mary, Joseph and baby Jesus.

Hoop

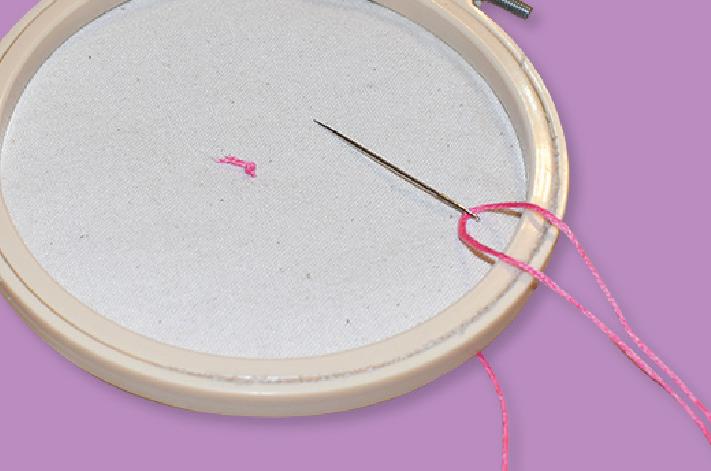
Continue to re-thread the needle
tie a knot in the back with each different colour.
2. Plan out your colours and what type of embroidery stitches you will do. Cut each colour to length. We cut 1m of each colour and that was plenty for our design. Adult supervision is recommended when using scissors.
3. Thread your first colour onto the sewing needle and tie a knot in one end before you begin to embroider. Adult supervision is recommended when using a sewing needle.


We also chose to add a border to our design. Once you have finished your design, make sure each of the ends are tied into a knot and trim off any excess thread.
6. Cut a piece of white ribbon 15cm long. Thread it through the metal piece at the top of the embroidery hoop and tie the ends together. Your Silent Night Embroidery Hoop is now ready to hang!


13© CleverPatch 2020 - www.cleverpatch.com.au
4.
and
5.
Night Embroidery
Materials: • Mini Embroidery Hoop with Fabric – 18930 • Embroidery Thread – Set of 11 Colours – 13732 • Sewing Needles – Sharp – Pack of 6 – 17870 • Satin Ribbon – White – 25 Metres – 11151 • Other materials required: Scissors, ruler & pencil Copy our design or come up with a design of your own!
3


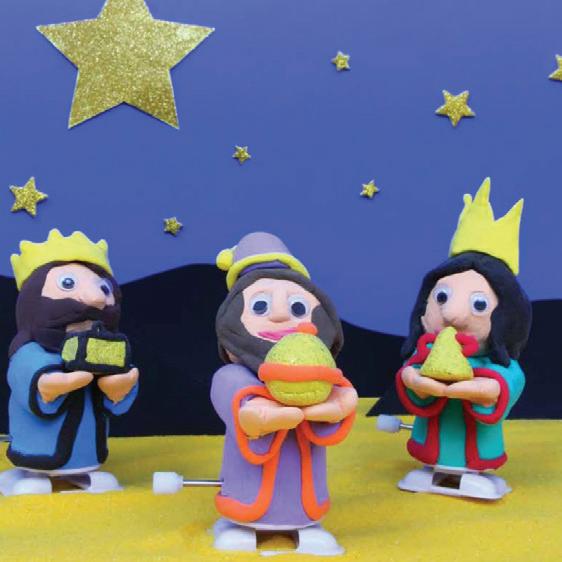
Wise Men Gifts

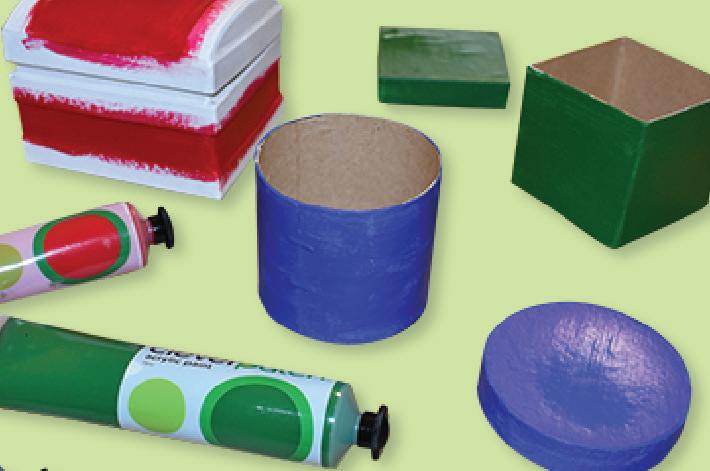
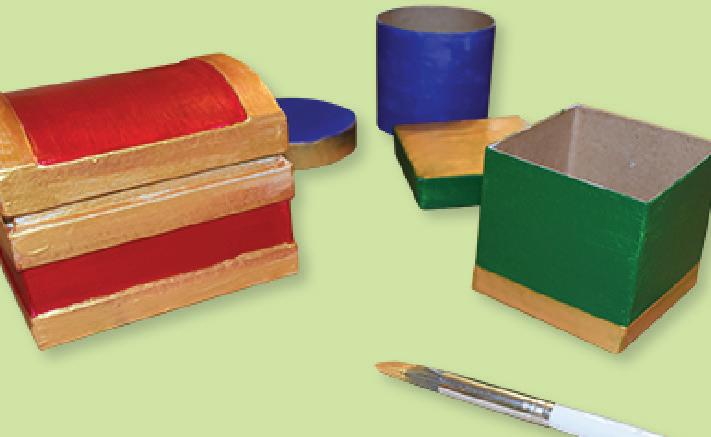
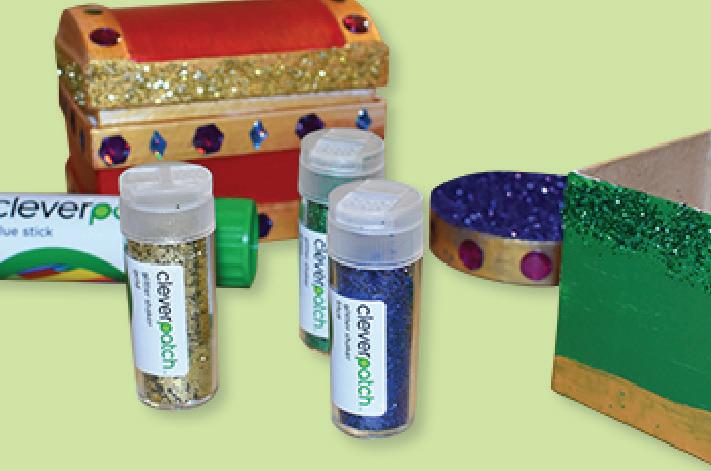
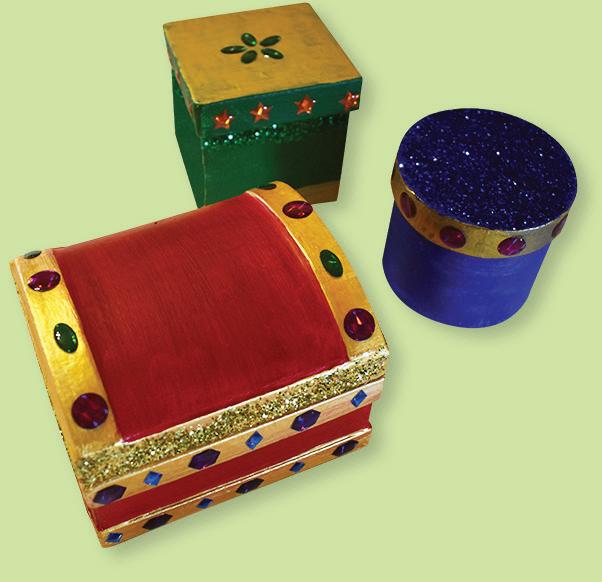
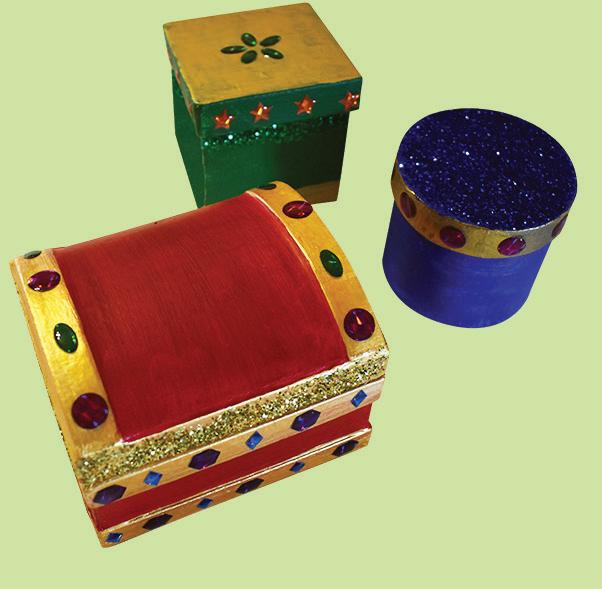
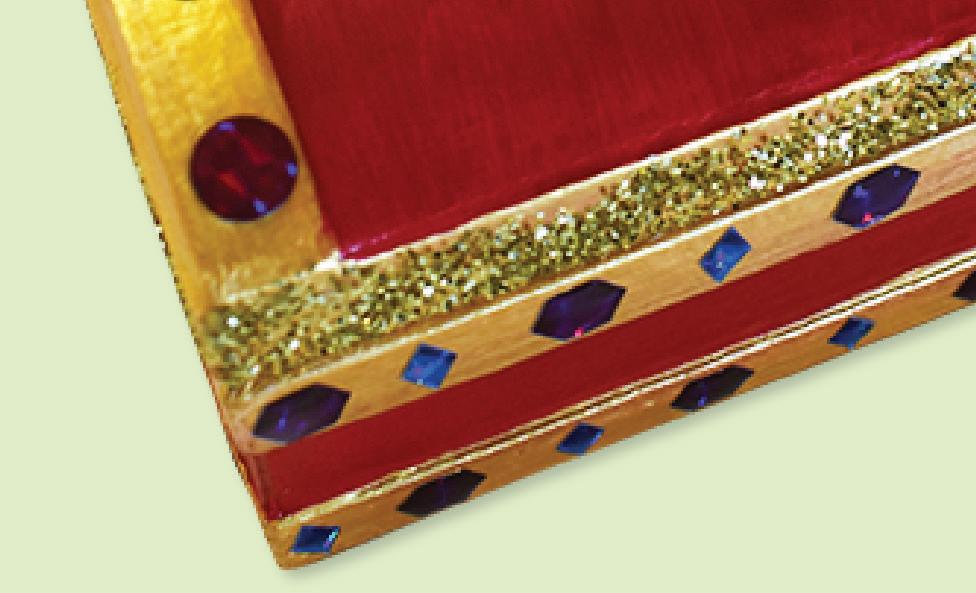
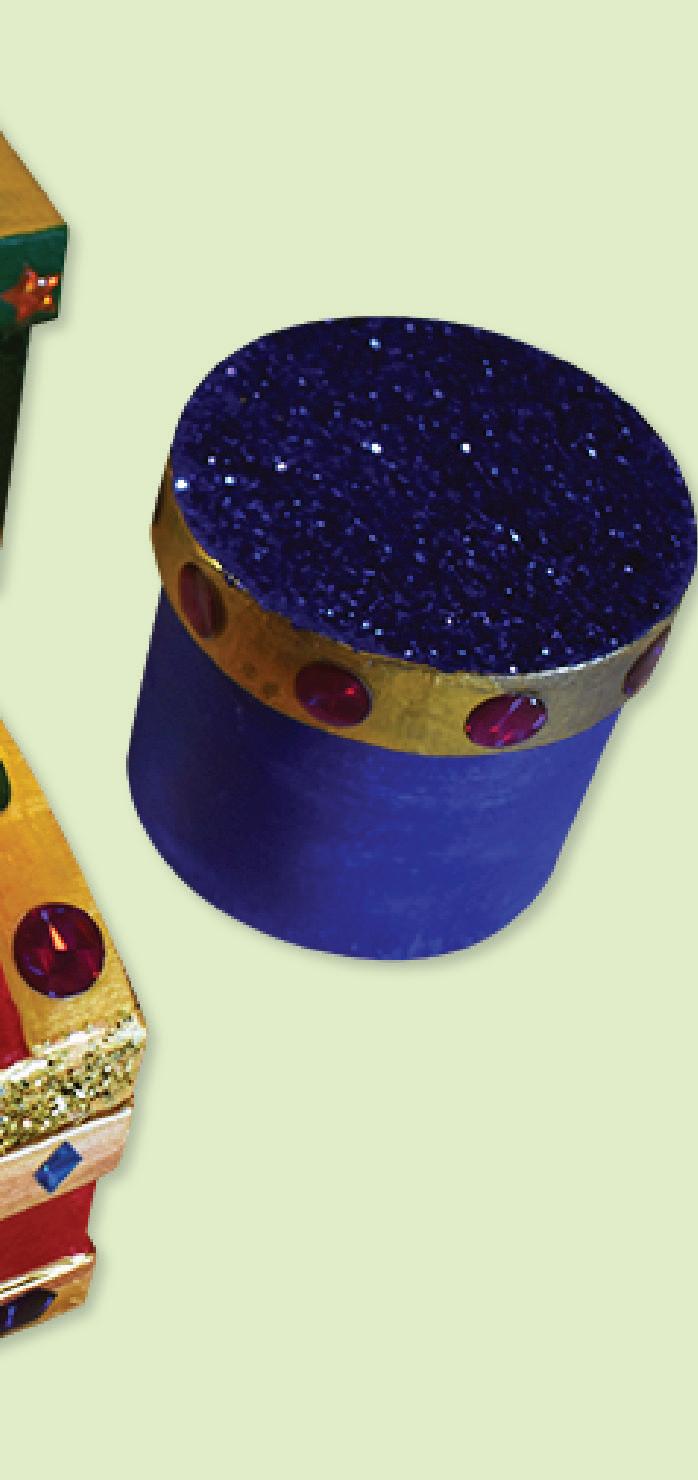
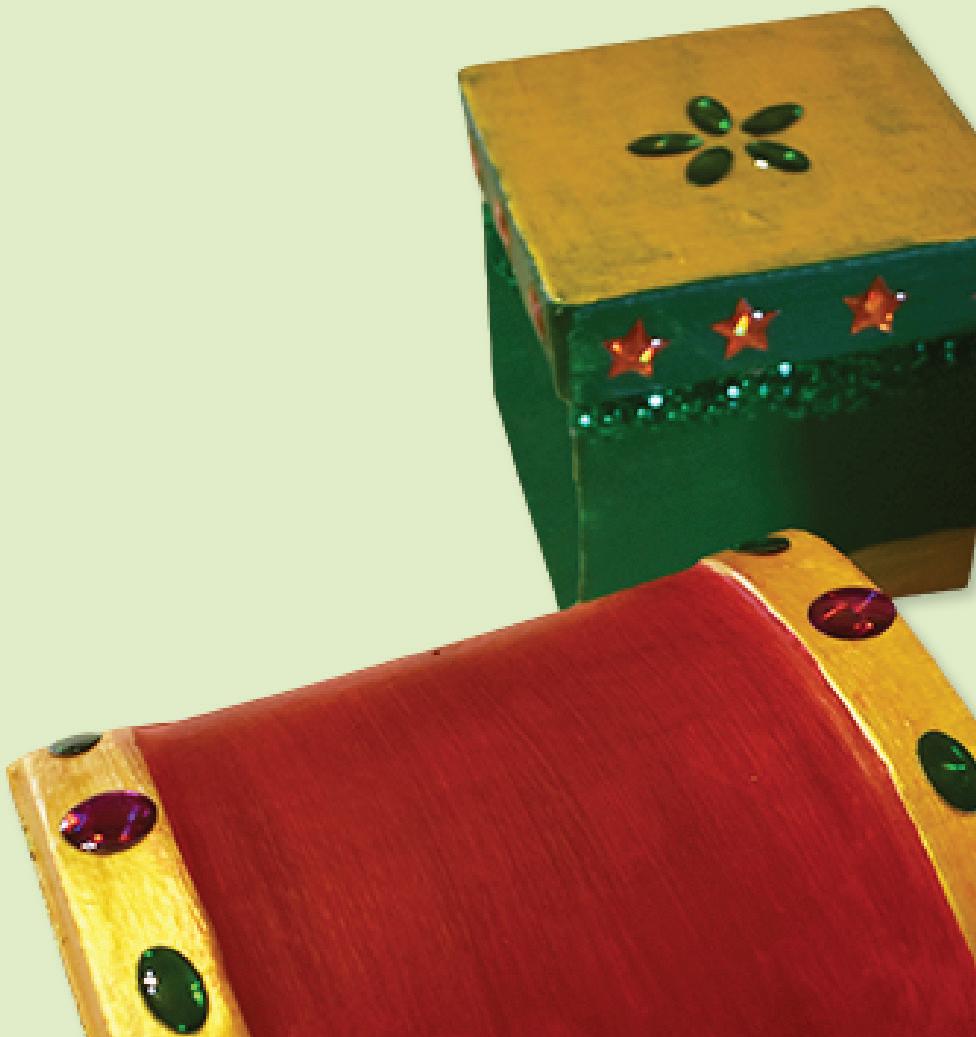
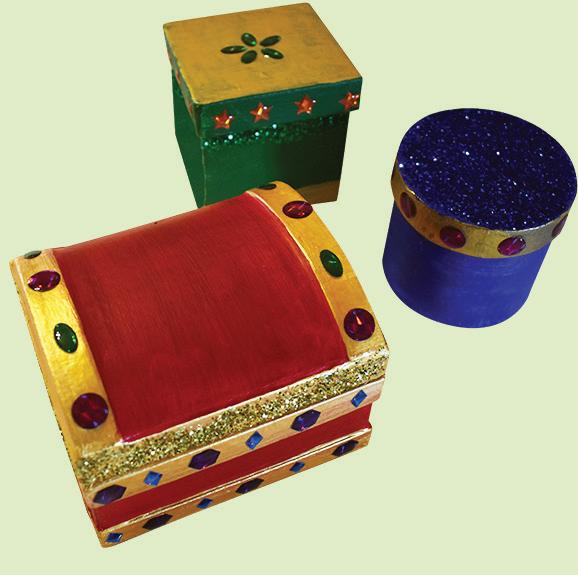
14© CleverPatch 2020 - www.cleverpatch.com.au 3. Add some sparkle by attaching stick on jewels to each of your papier mache boxes. 2. Add a touch of gold to each papier mache box using gold acrylic paint. Allow to dry. 1. Paint your papier mache boxes using CleverPatch™ Acrylic Paint Tubes. We have used red, dark blue and dark green. Allow to dry. 4. Add some shimmer by applying glue then gently sprinkling glitter over the top. Allow to dry. 5. Your papier mache boxes now look like the gifts presented to Jesus by the 3 Wise Men!
The Three Wise Men gave gifts to Jesus at his birth. The gifts were Gold, Frankincense and Myrrh.
Materials: • Papier Mache Box – Square – 11205 • Papier Mache Box – Round – 12127 • Papier Mache Treasure Chest – 18182 • CleverPatch™ Acrylic Paint Tube Dark Blue – 75ml – 16912 • CleverPatch™ Acrylic Paint Tube Red – 75ml – 16877 • CleverPatch™ Acrylic Paint Tube Dark Green – 75ml – 16913 • CleverPatch™ Acrylic Paint Tube Gold – 75ml – 16888 • CleverPatch™ Glitter Shakers – 9g Set of 7 Colours – 17914 • Stick on Jewels – Pack of 288 – 14884 • CleverPatch™ Glue Stick – 40g – 13974 • Other materials required: Paint brushes
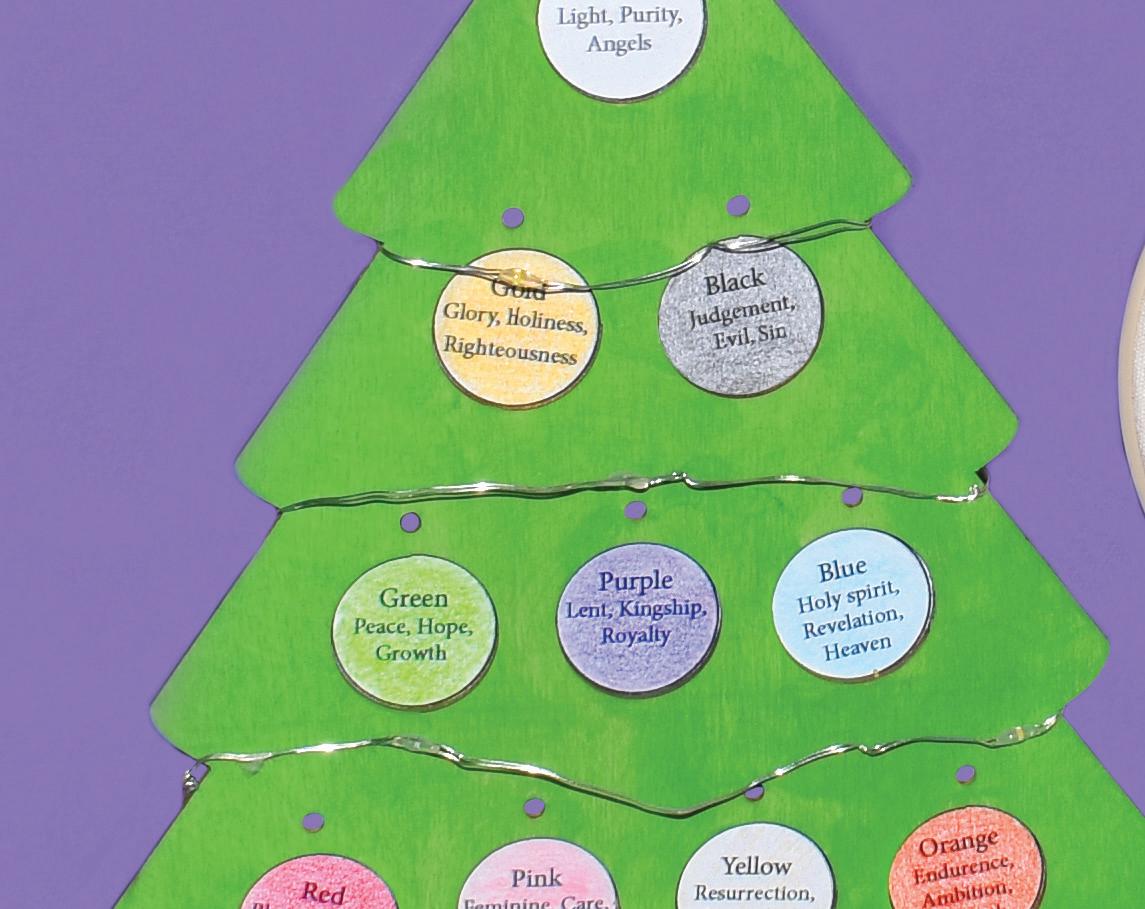
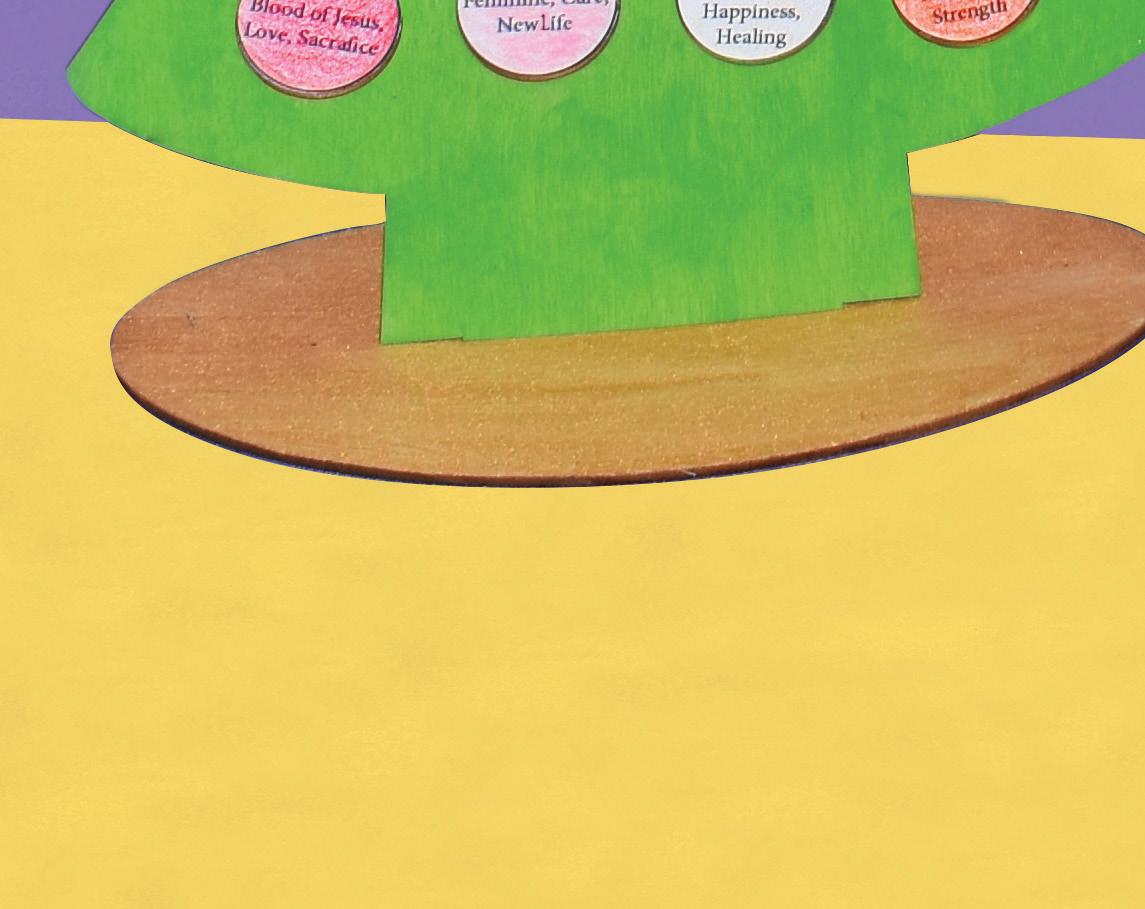
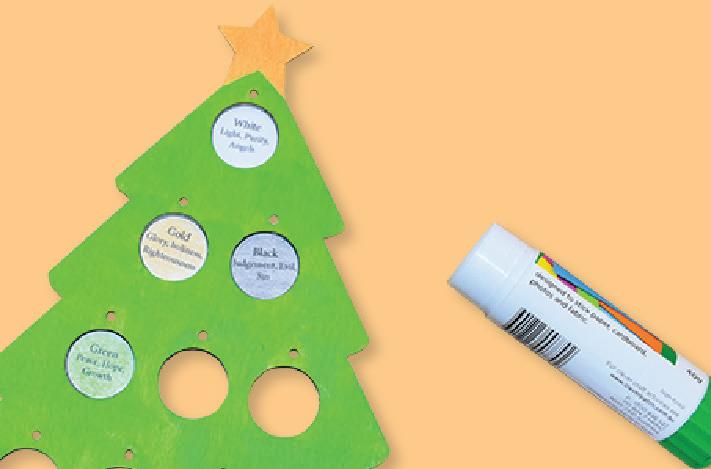
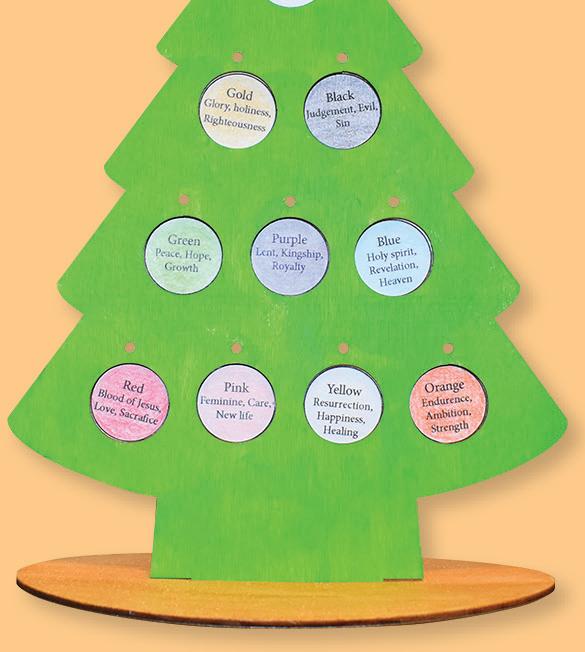
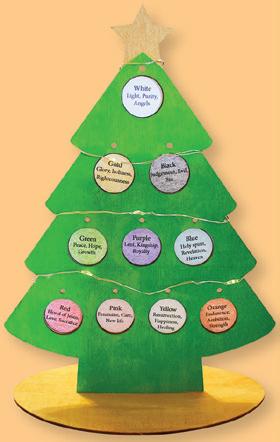
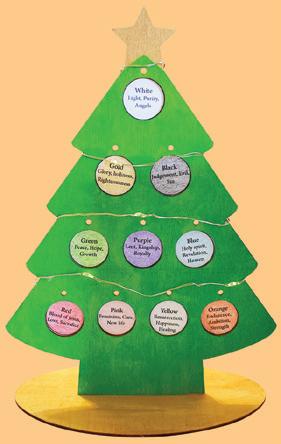
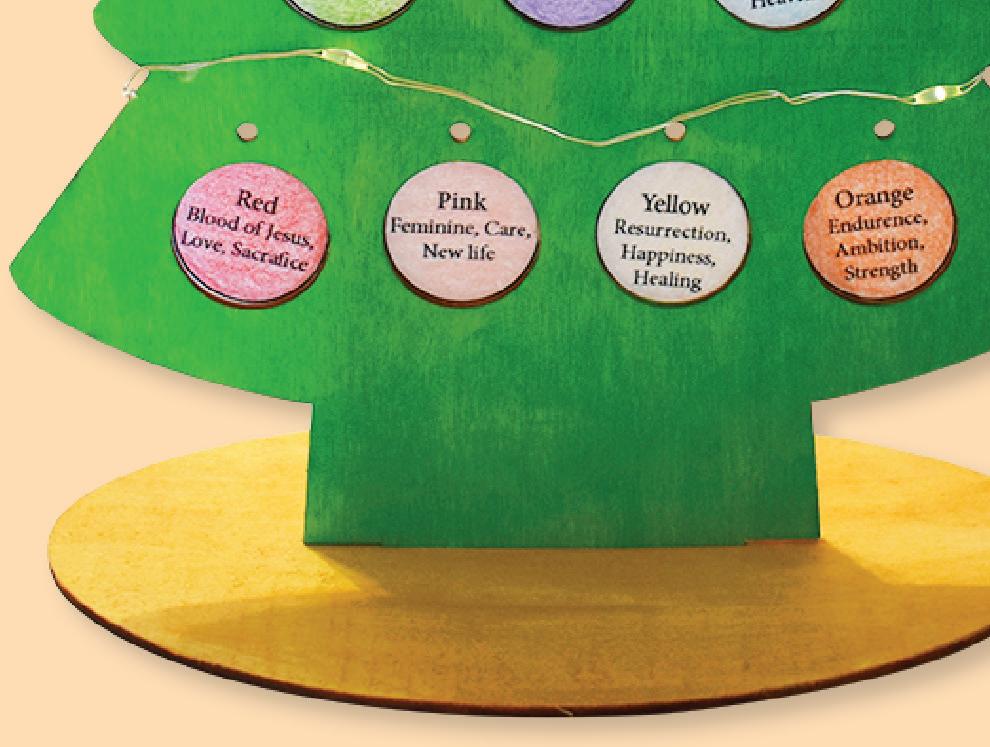
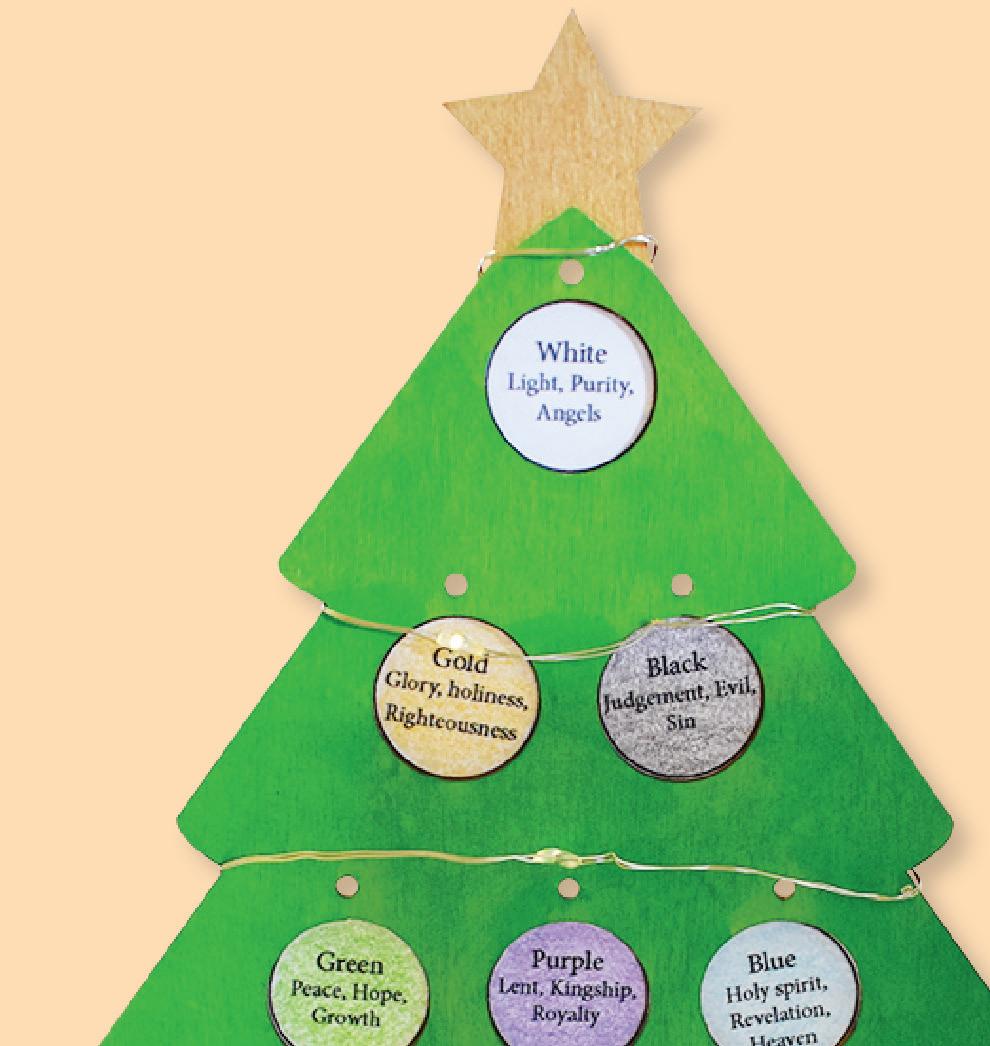
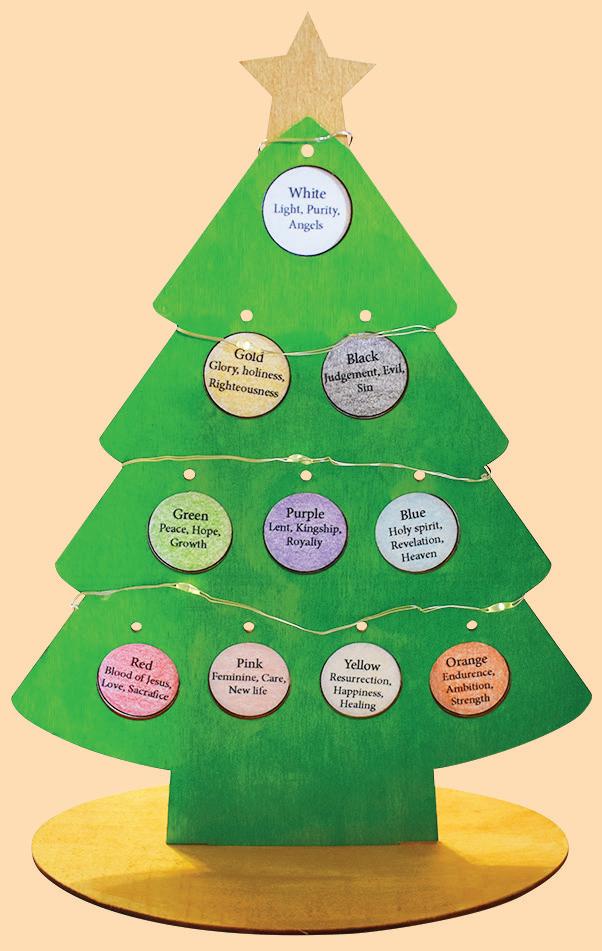
Colours of Christmas
on the


Tree
the template pieces

each
the back
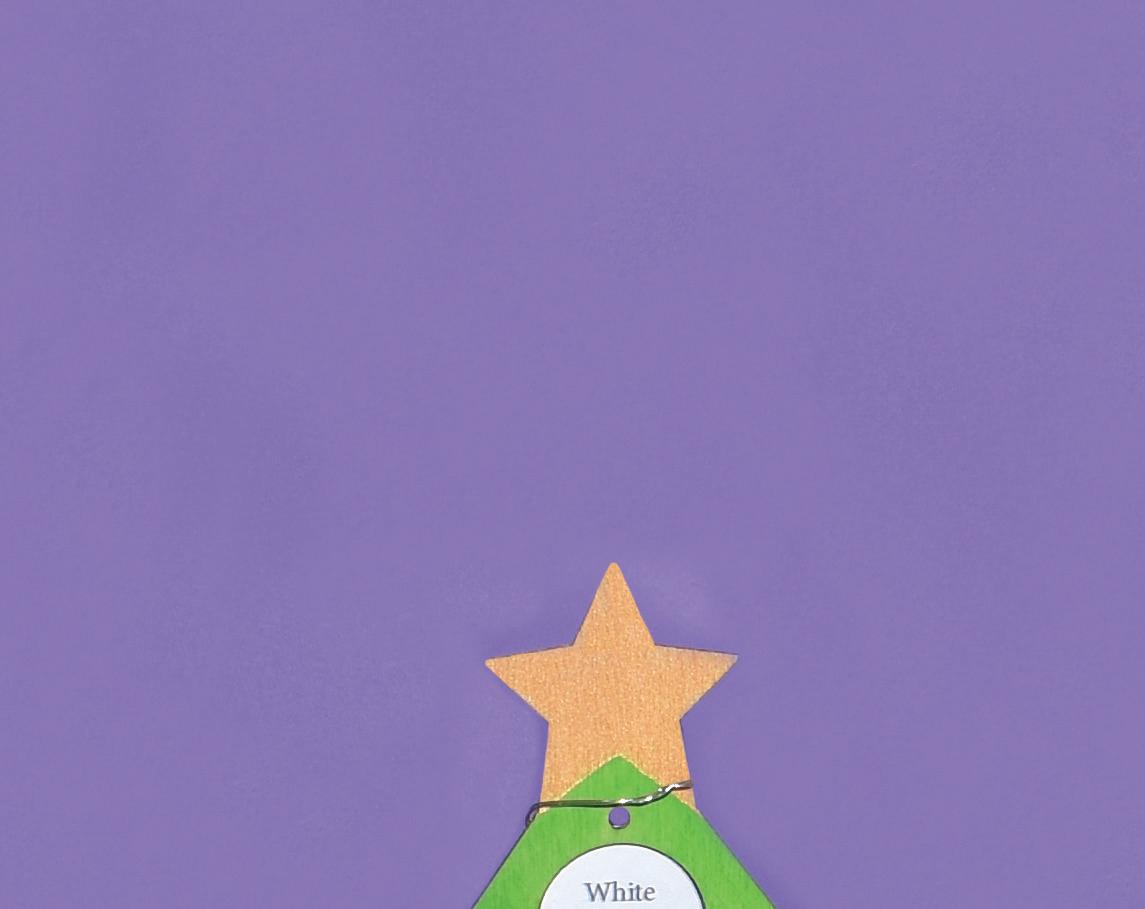
Colours of Christmas Wooden
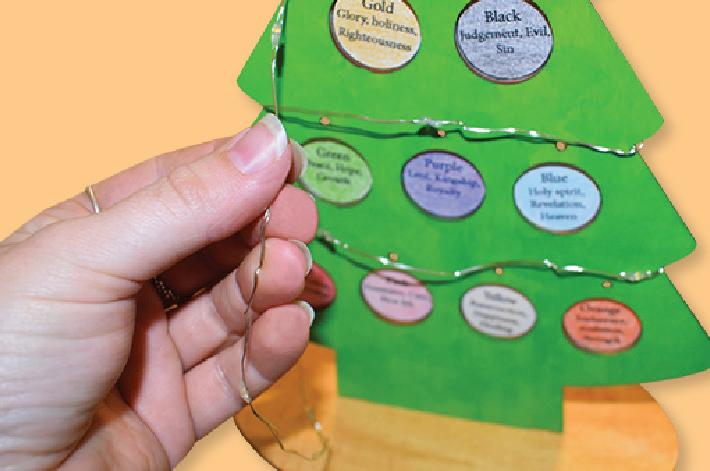
15© CleverPatch 2020 - www.cleverpatch.com.au 4. Attach the base to your Wooden Christmas Tree. Glue is recommended for permanent assembly. 5. Wrap an LED Light String around your Wooden Christmas Tree to give it some sparkle! 6. Your
Tree is now ready to educate everyone at Christmas time! 3. Colour
using coloured pencils. Glue
piece of the template to
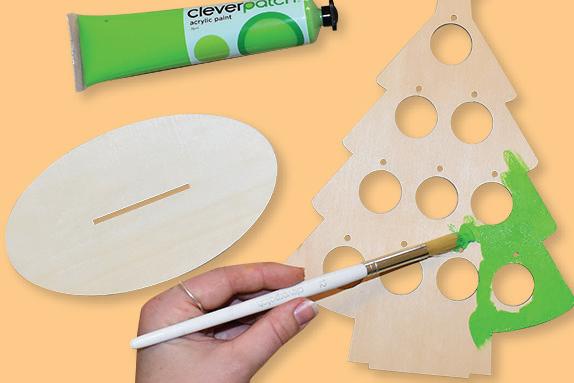
of your Wooden Christmas Tree. Allow to dry. 2. Print and cut out the template on page 17. Adult supervision is recommended when using scissors. 1. Decorate your Wooden Tree using CleverPatch™ Acrylic Paints. We have used light green and gold. Allow to dry.
Materials: • Wooden Ornament Trees – Pack of 10 – 18962 • CleverPatch™ Acrylic Paint Tube – Gold – 75ml – 16888 • CleverPatch™ Acrylic Paint Tube – Light Green – 75ml – 16880 • Faber-Castell Classic Colour Pencils – Pack of 72 – 17630 • CleverPatch™ Glue Stick – 40g – 13974 • LED Light String – 18940 • Other materials required: Scissors, paint brush & template (page 17) Each colour
Christmas
has a special Liturgical meaning.
16© CleverPatch 2020. Subject to terms of use at www.cleverpatch.com.au Star of Bethlehem Use this template to create the activity on page 11. ©CleverPatch™ 2020
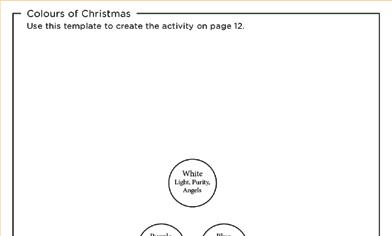
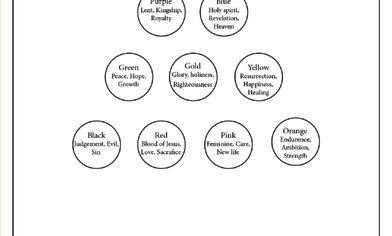
Colours of Christmas
Use this template to create the activity on page 15. Cut out along the grey lines.


17© CleverPatch 2020. Subject to terms of use at www.cleverpatch.com.au
